Do-It-Yourself: Upgrading Apple's 27" iMac With An SSD
Love Apple or hate it, the company's iMac is a popular machine. Per the usual, though, Apple way overcharges for an SSD upgrade. Today, we're going to show you how to replace the iMac's hard drive with your own SSD and hopefully save a bundle of money.
Save Some Money By Doing It Yourself
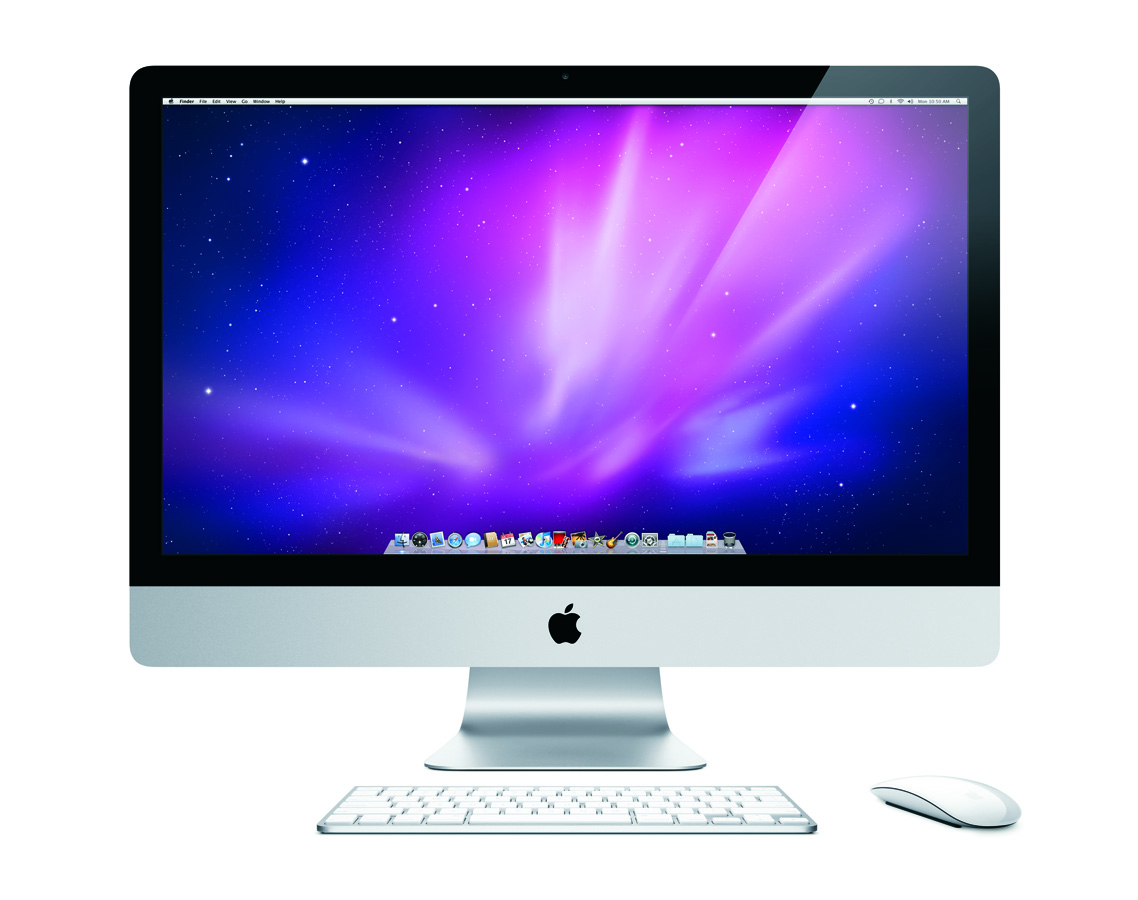
Apple’s iMac is a great machine. Unfortunately, upgrades for it are expensive, particularly if you want an SSD. Currently, Apple charges $500 for a 256 GB solid-state upgrade. A 256 GB Samsung 830 SSD only costs $290, and a Crucial m4 can be found for even less (under $250, even). And both prices include free shipping.
Today, we show you how to enjoy the added performance of an SSD on your 27" iMac without breaking the bank, so long as you're willing to put in a bit of work. Remember, though, doing this voids your warranty, and we aren't responsible if something goes wrong along the way.
One more comment before we get started: our iMac’s fan continuously ran at full speed after we swapped out its drive. This is due to certain firmware hooks that allow OS X to read the drive’s sensor data without involving its SMART attributes. This problem can be taken care of with fan control software.
On The Operating Table: 27" iMac
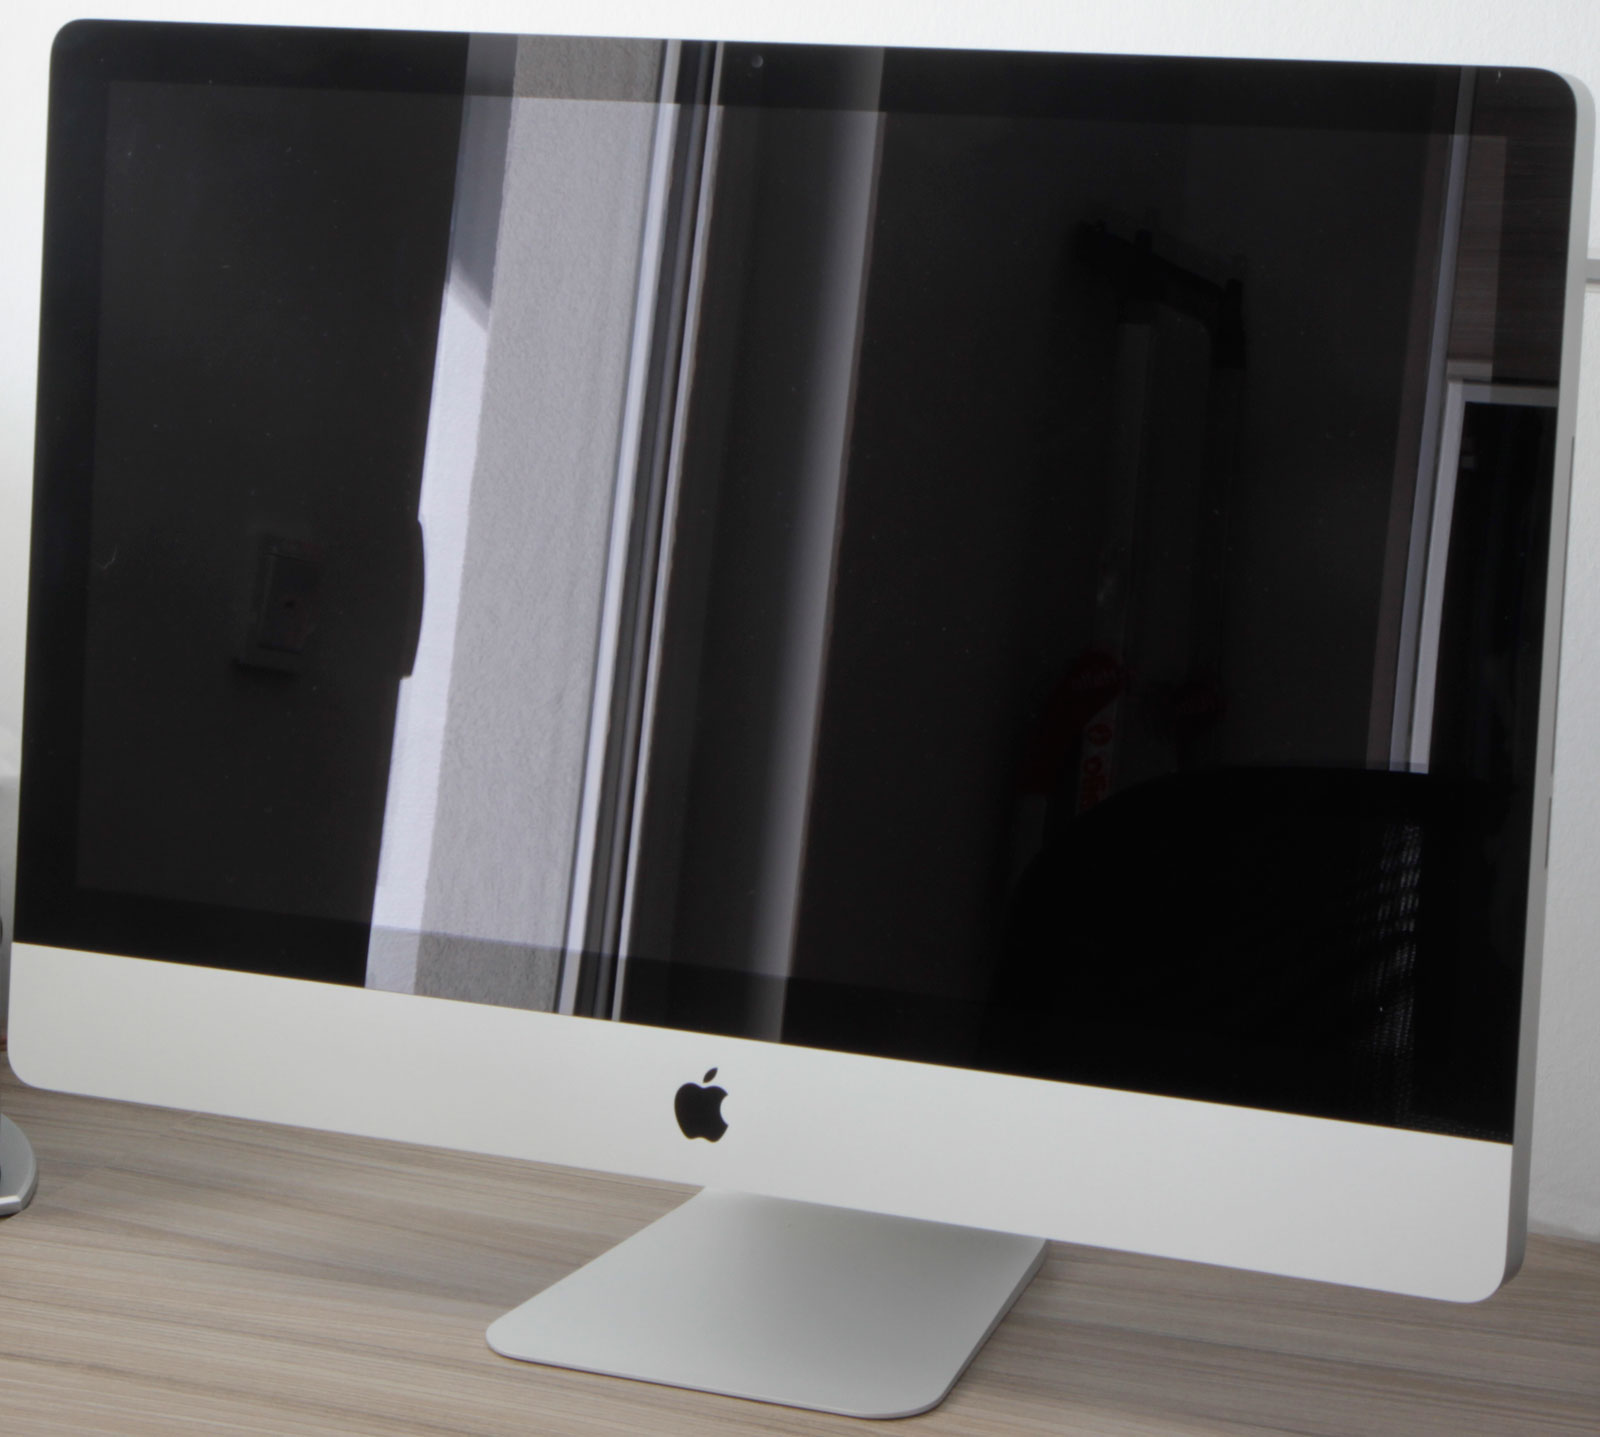
Here is our 27" iMac. Right now, its storage subsystem is slow. But soon it will soon sport a brand new SSD.
Our New 240 GB SSD
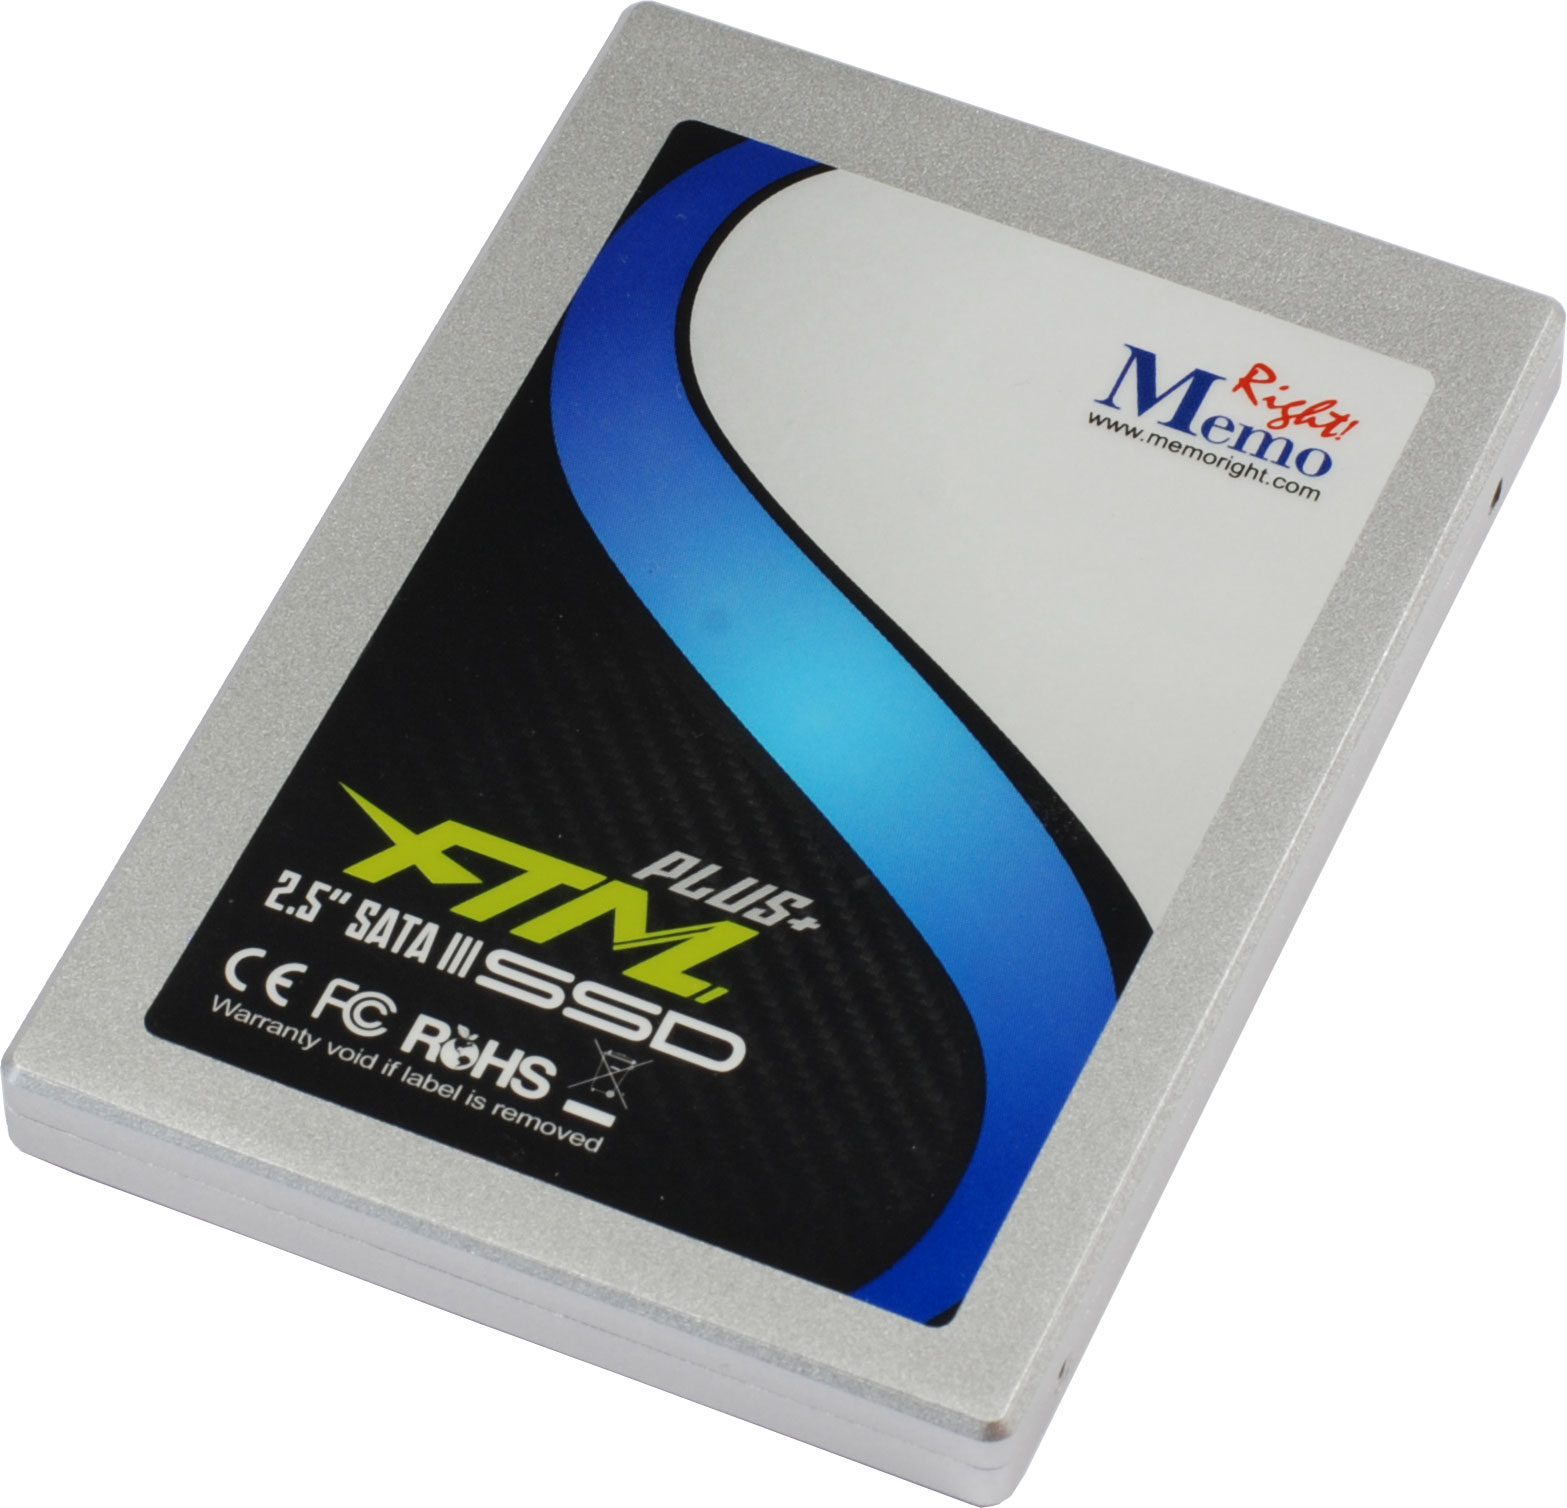
We end up with a lot of SSDs sitting around the lab after our round-ups and Charts updates. For this piece, we snagged a SandForce-based 240 GB drive from Memoright. Before we started working on deconstructing the Apple system, we connected this drive to the iMac through an external USB enclosure and mirrored its hard drive using Carbon Copy Cloner.
The Right Tools For The Job
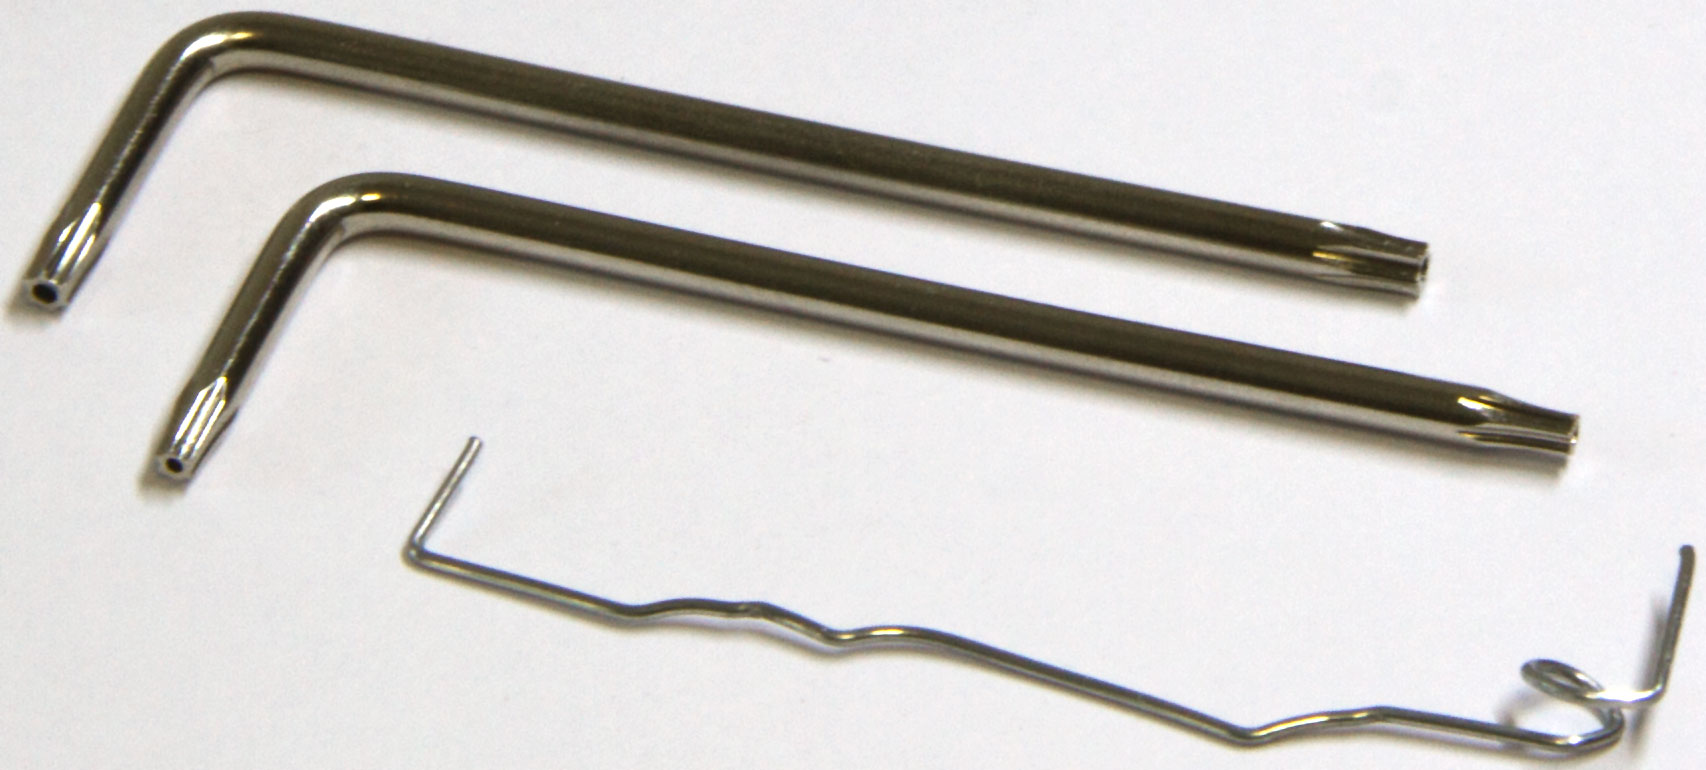
It's important to have the right tools for this job. Specifically, you’ll need two Torx screwdrivers: T8 and T10.
Glass-Lifting Tool
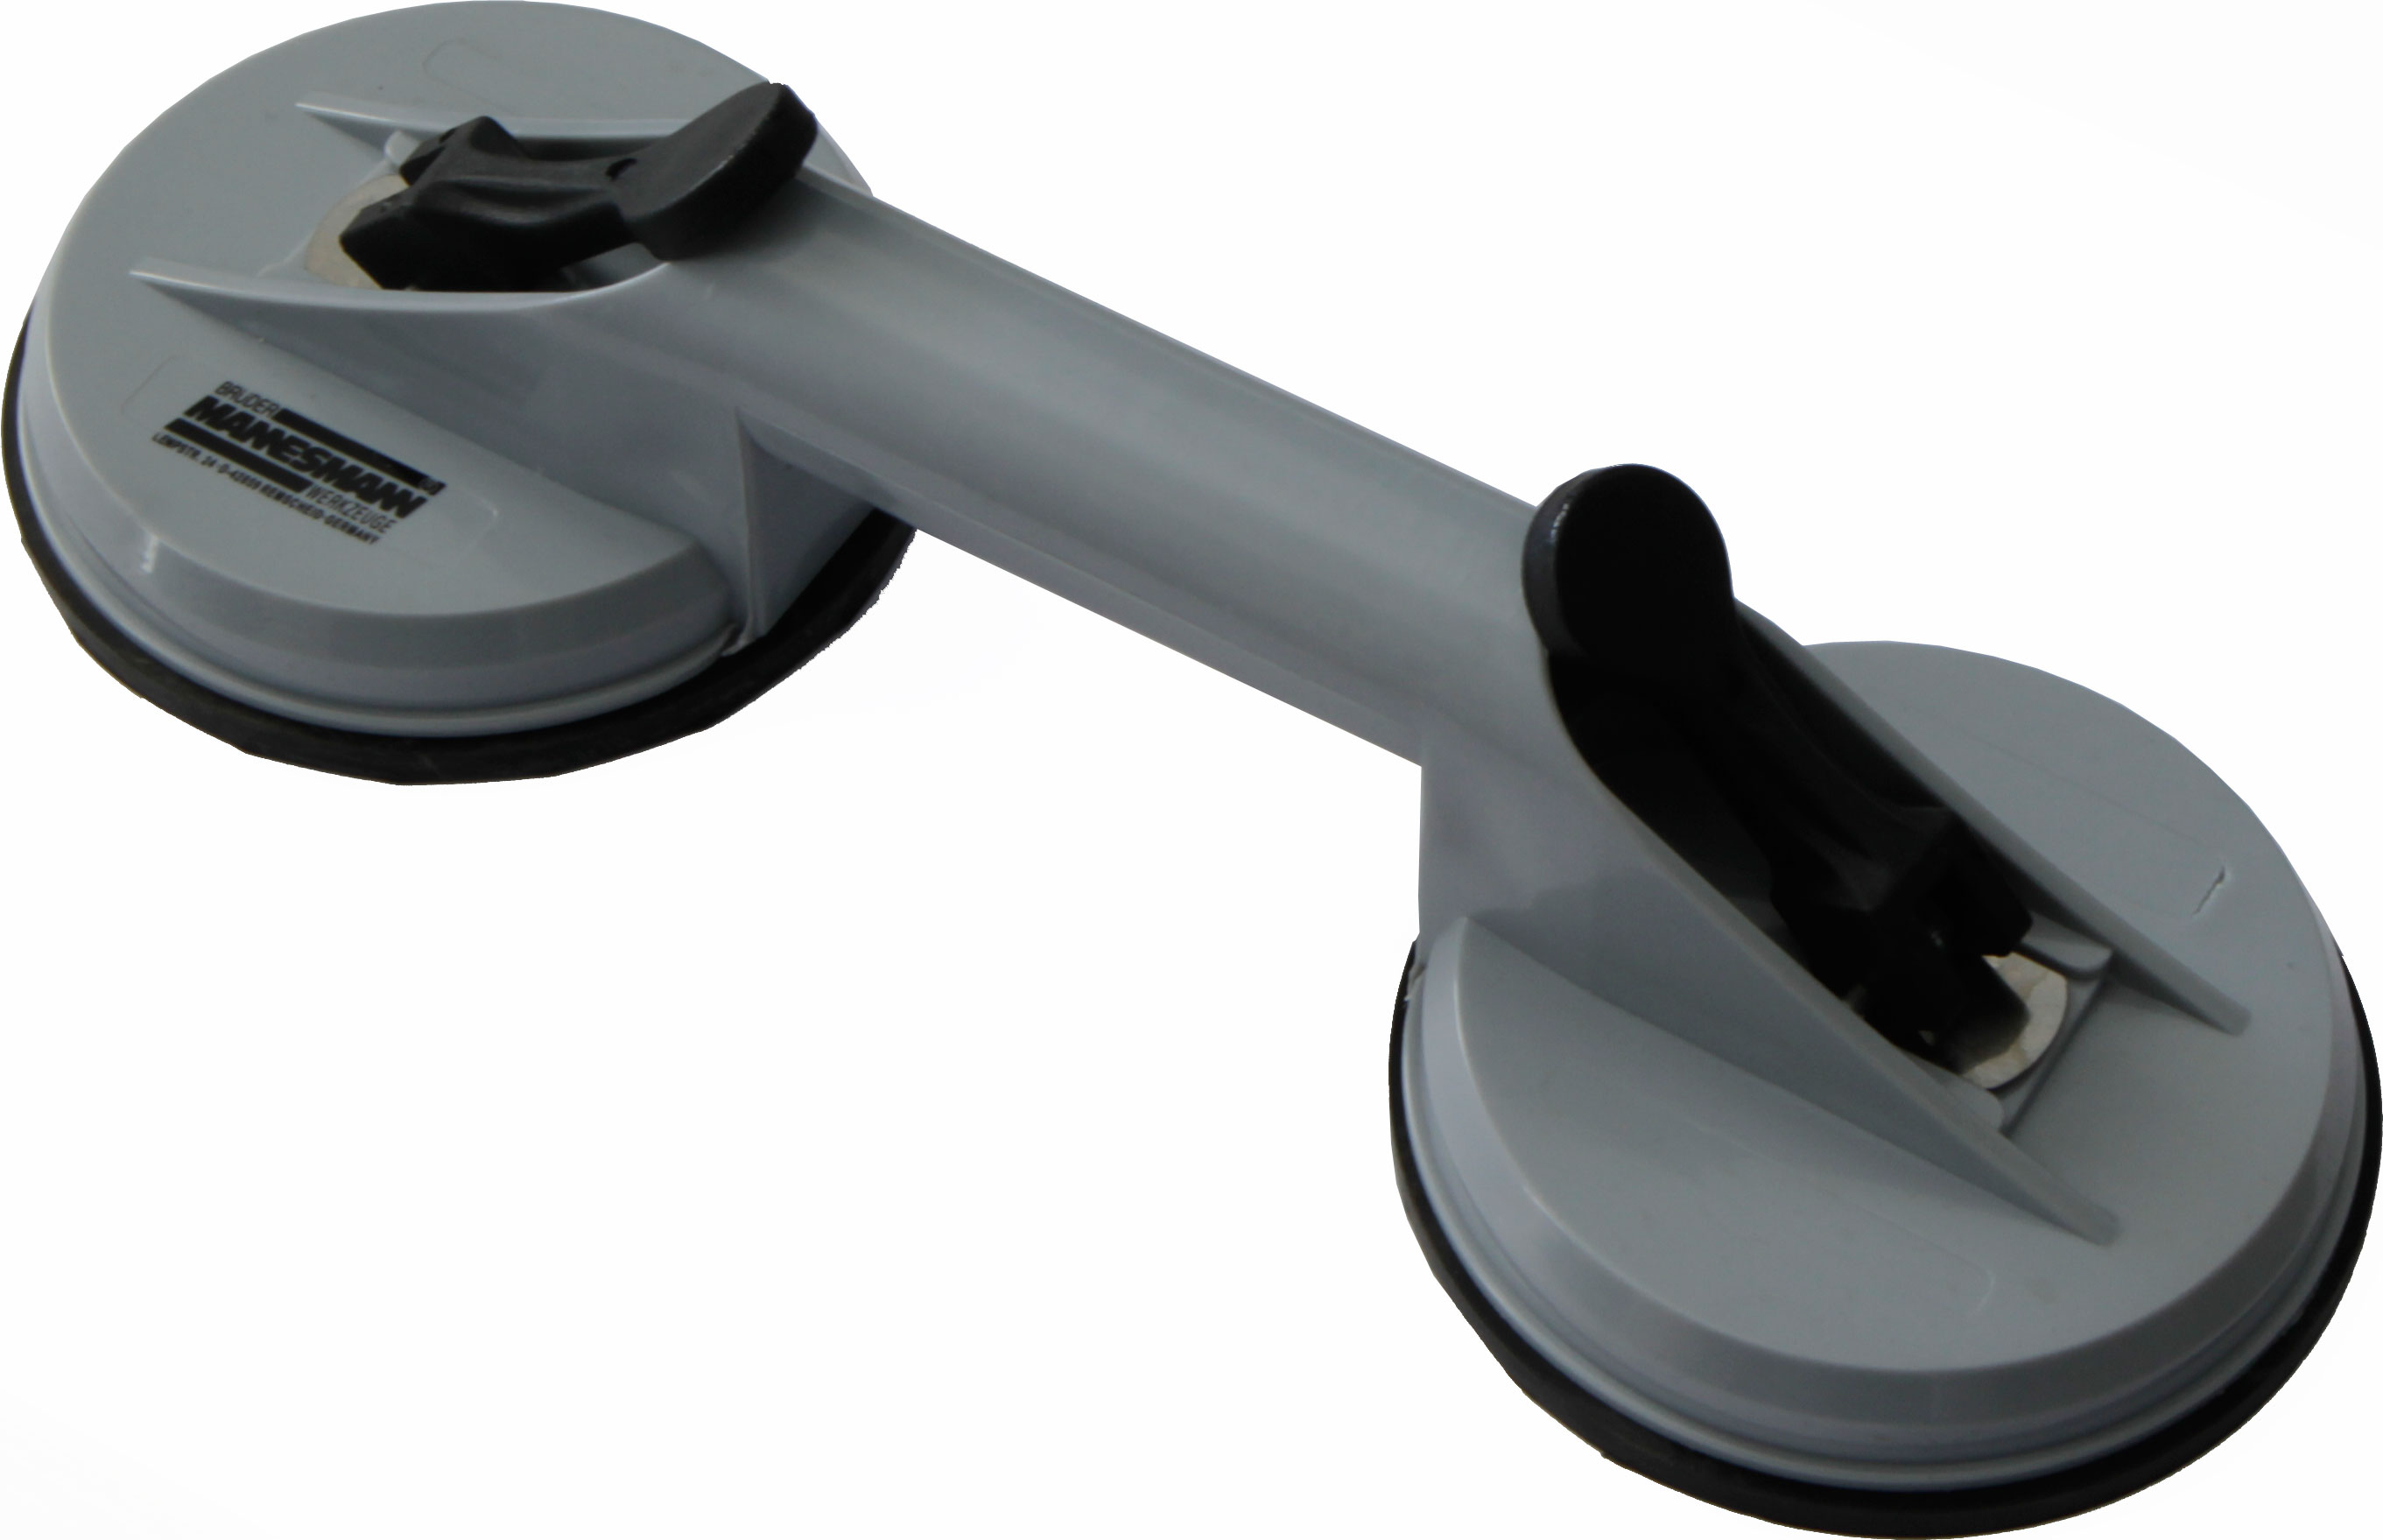
You'll also need a vacuum suction cup glass-lifting tool to pull up the iMac's screen. We used a double-cup model, which is available on Amazon for about $11. Or, you can find them at your local hardware store.
Stay On the Cutting Edge: Get the Tom's Hardware Newsletter
Get Tom's Hardware's best news and in-depth reviews, straight to your inbox.
The Patient Is Prepped And Ready To Go
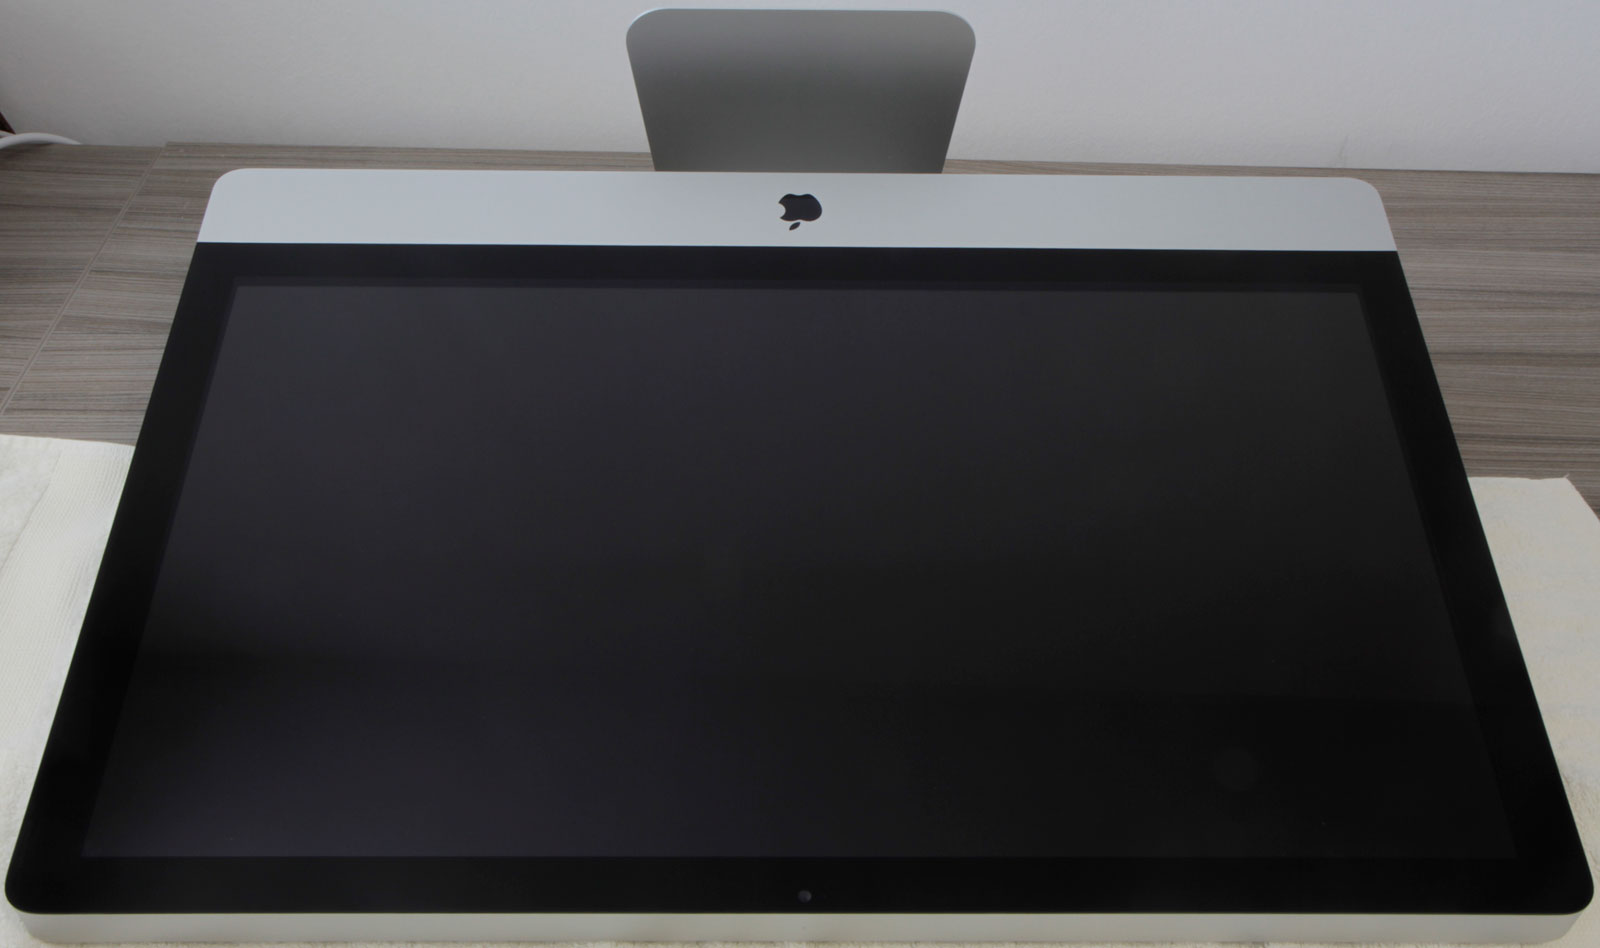
First, you're going to want to disconnect all of the iMac's cables and lay the system on its back. We recommend putting down towels to avoid scratching its chassis. Also, make sure to have at least as much spare space as the iMac takes up so that you can set the panel down right next to the enclosure once you lift it out.
Lift And Pull
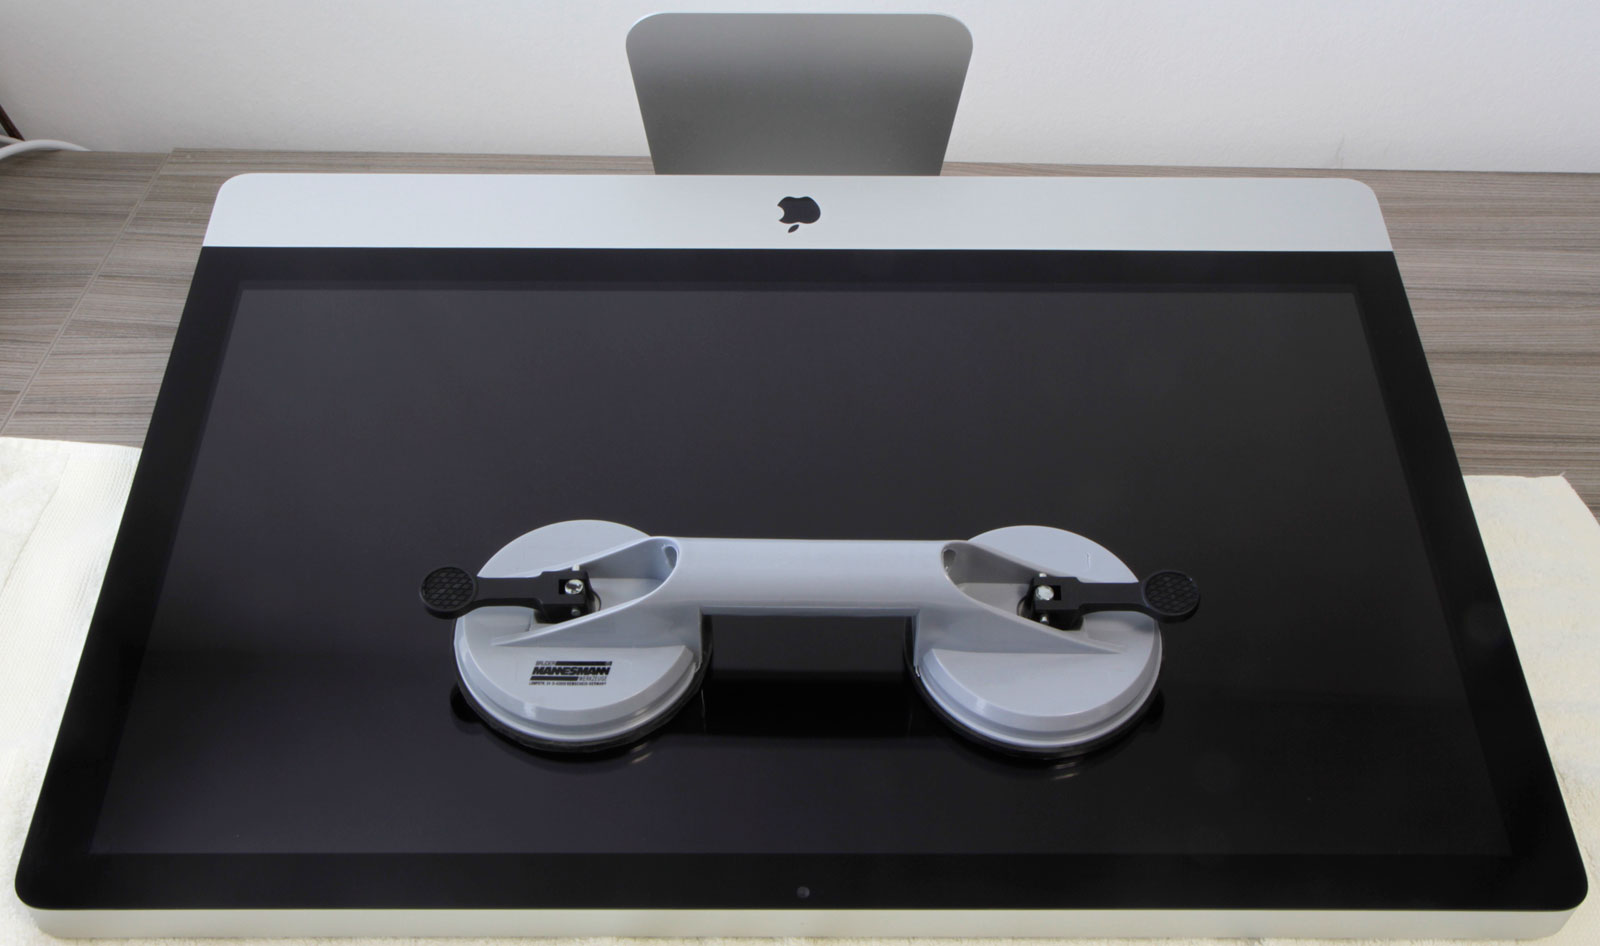
Now, you’ll need the suction cup tool. The iMac’s protective glass front isn't held in place by screws, but by magnets. To detach it, make a solid connection with the glass-lifting tool to the top third of the sheet, and then lift up. Once the magnets give way, slowly pull the cover toward you until the clamps at the bottom of the glass release and clear the chassis. Once you're done, set the protective cover aside.
Detached iMac Glass Front
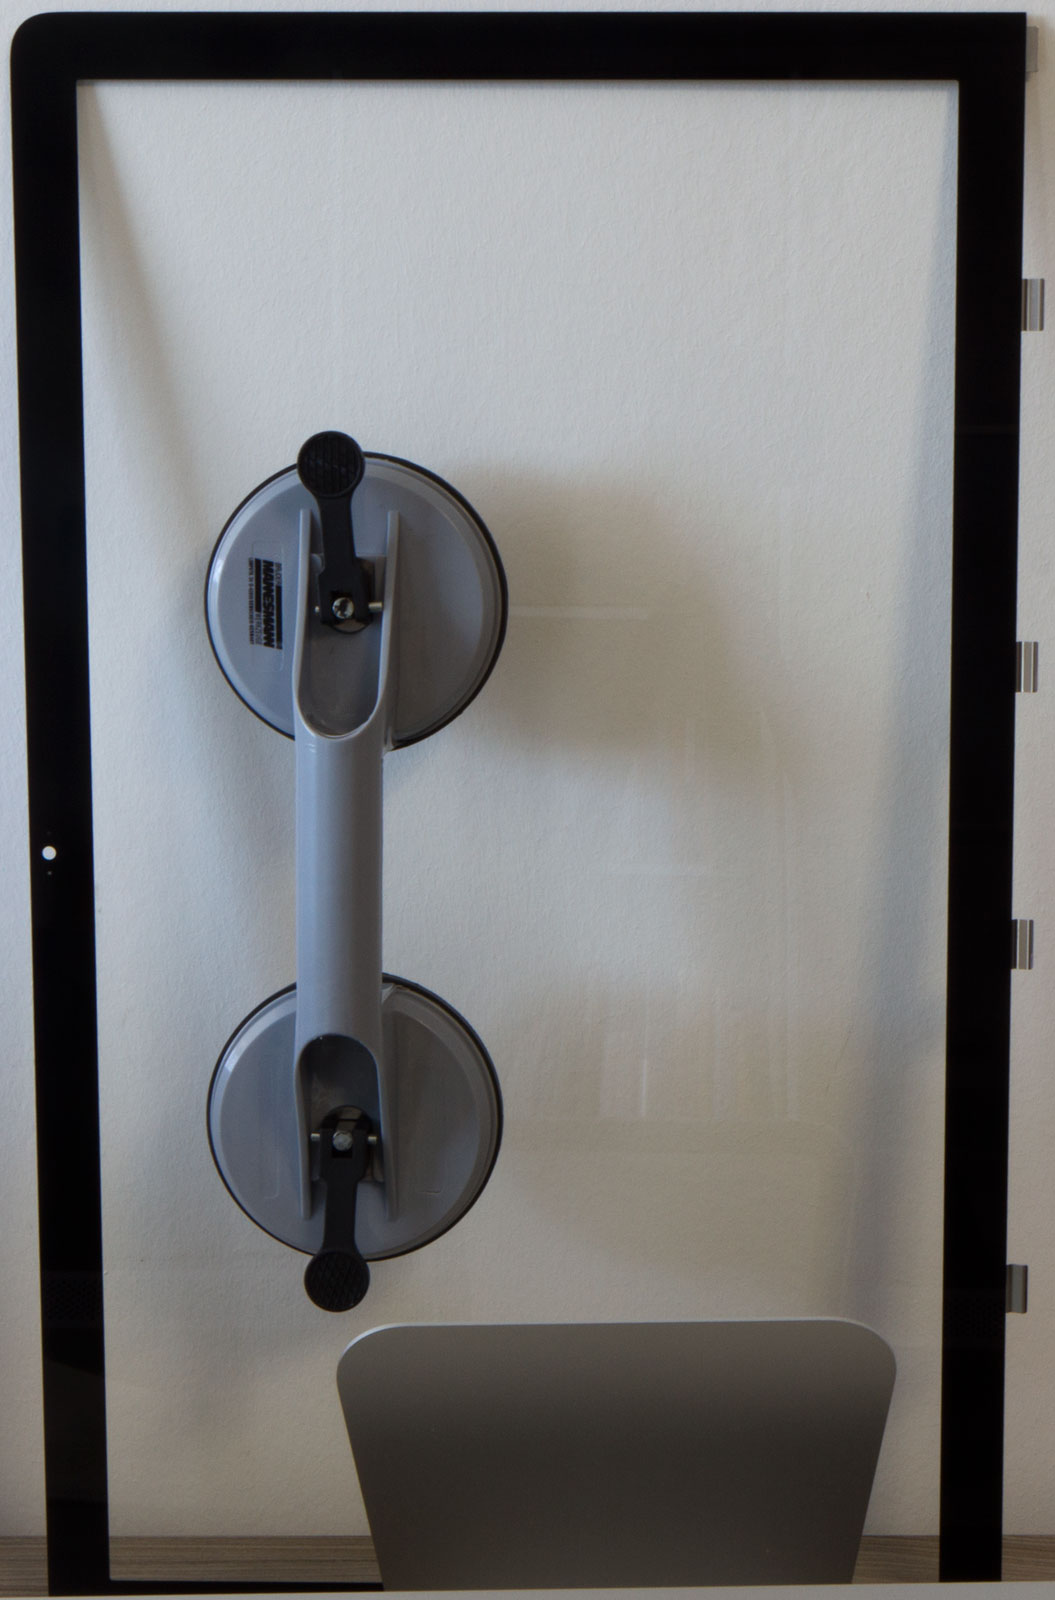
This is what the iMac's protective panel looks like on its own, separated from the iMac. Looks lonely, doesn't it? Feel free to leave the lifting tool in place to keep the glass company, since you won't need it for anything else.
Removing The Screws
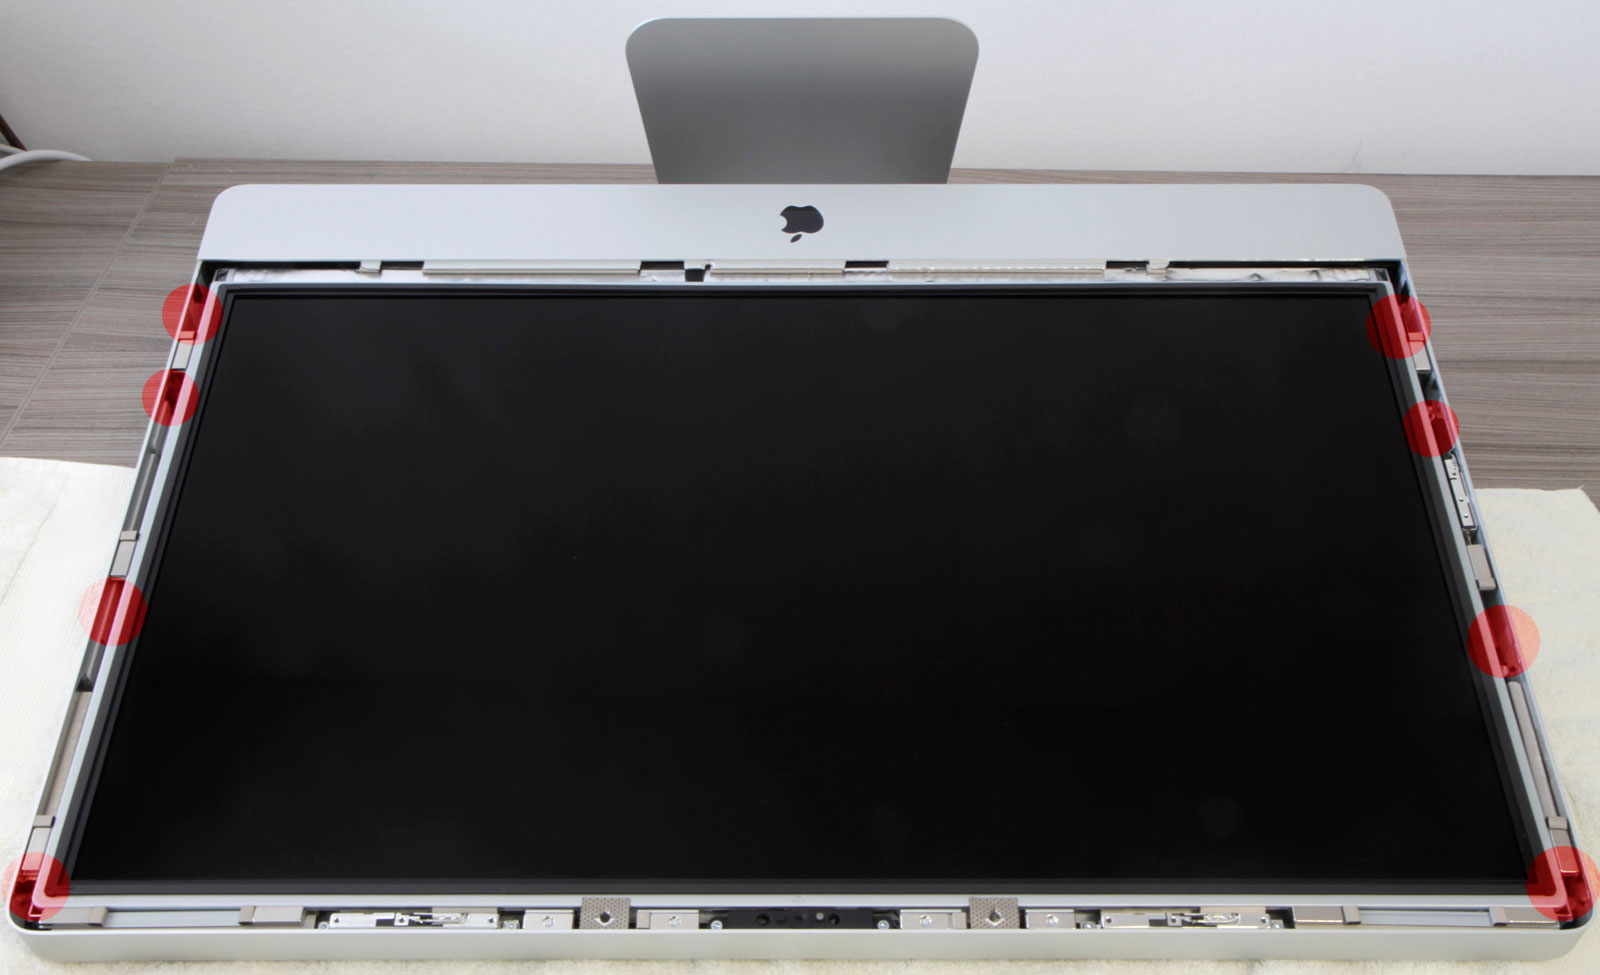
Next, use the Torx T10 tool to remove a total of eight screws (four on each side of the display). We've highlighted each one's location in the image. Be careful, though, because the magnets make this a bit of a challenge.
Taking Out The Display, Part One
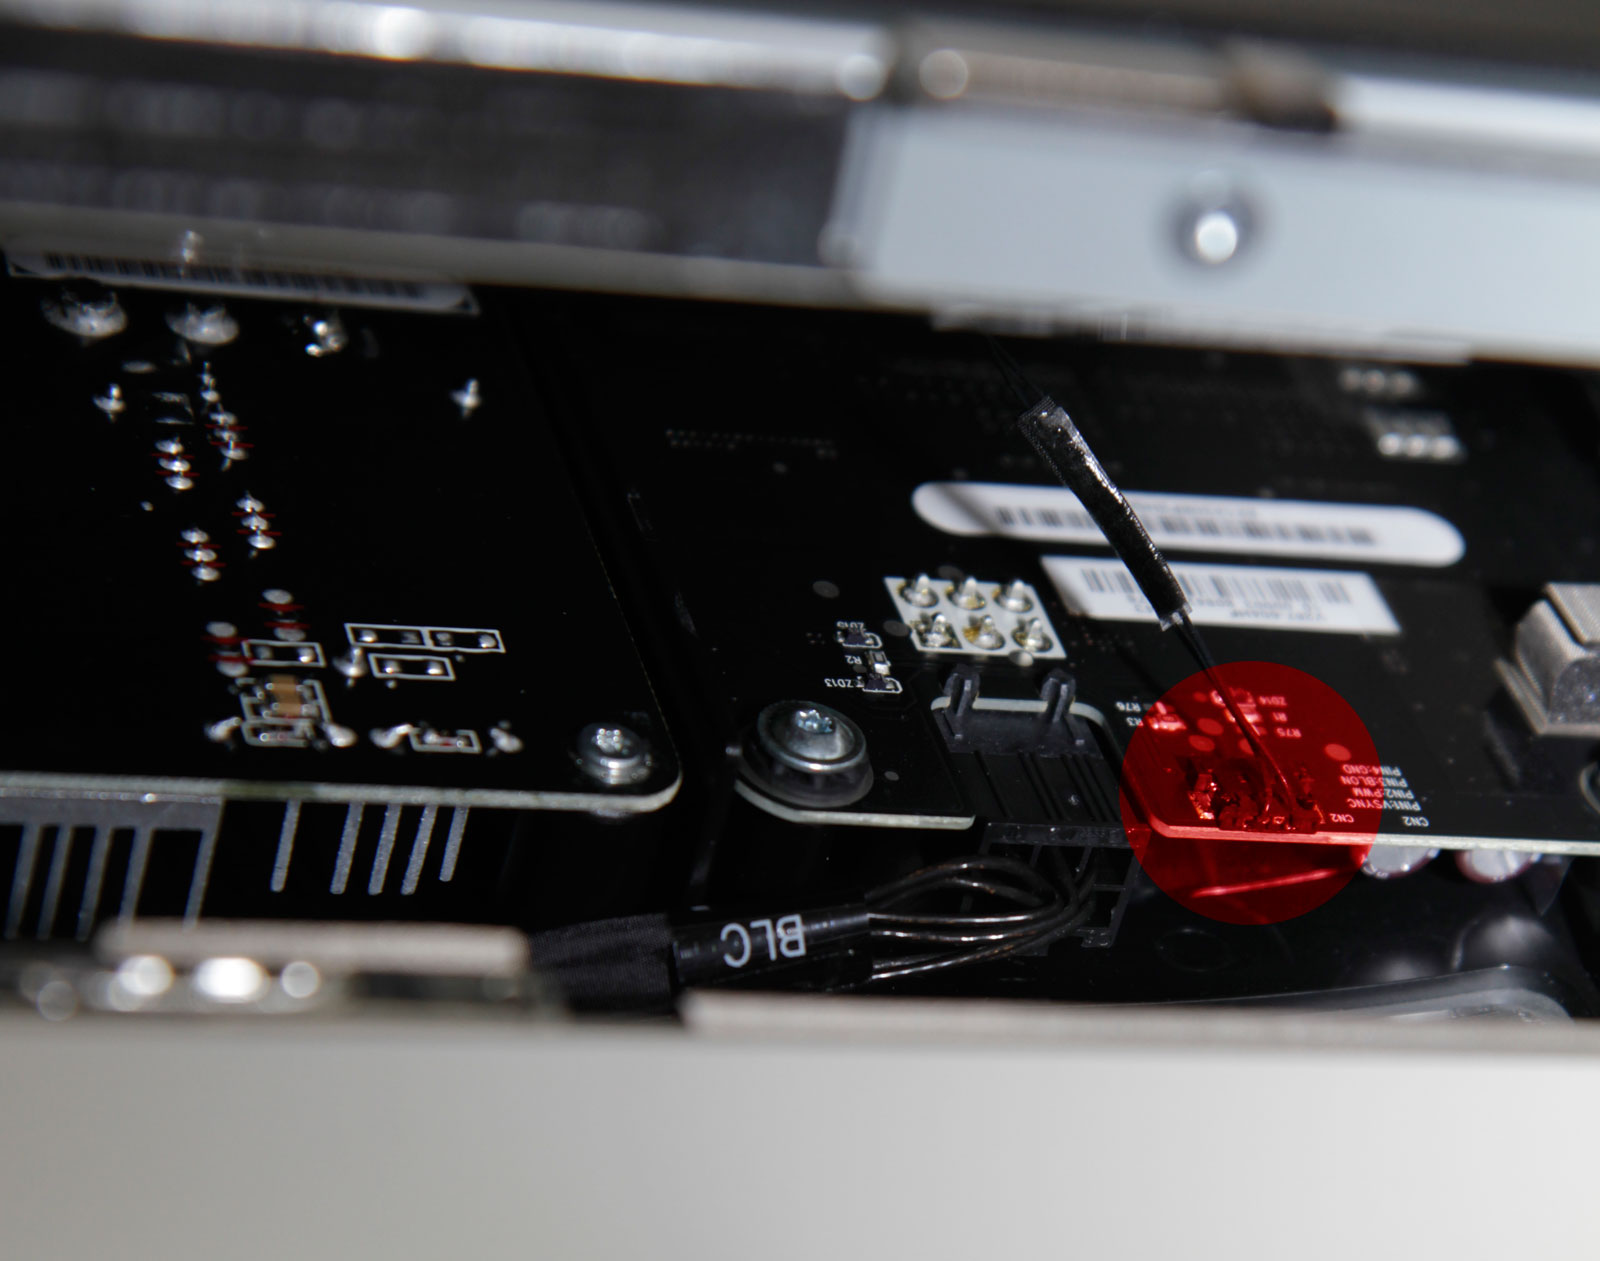
This is the hardest part of the upgrade process: removing the display. It's very important that you don't let anything touch the screen because any smudge or speck of dust is easily visible and hard to remove once you put the iMac back together. In fact, you might even want a second person to help with this step.
Start by gently lifting the display about an inch. You should see a cable on the right side (see the picture for the location). Carefully squeeze it together and then unplug it.
Taking Out The Display, Part Two
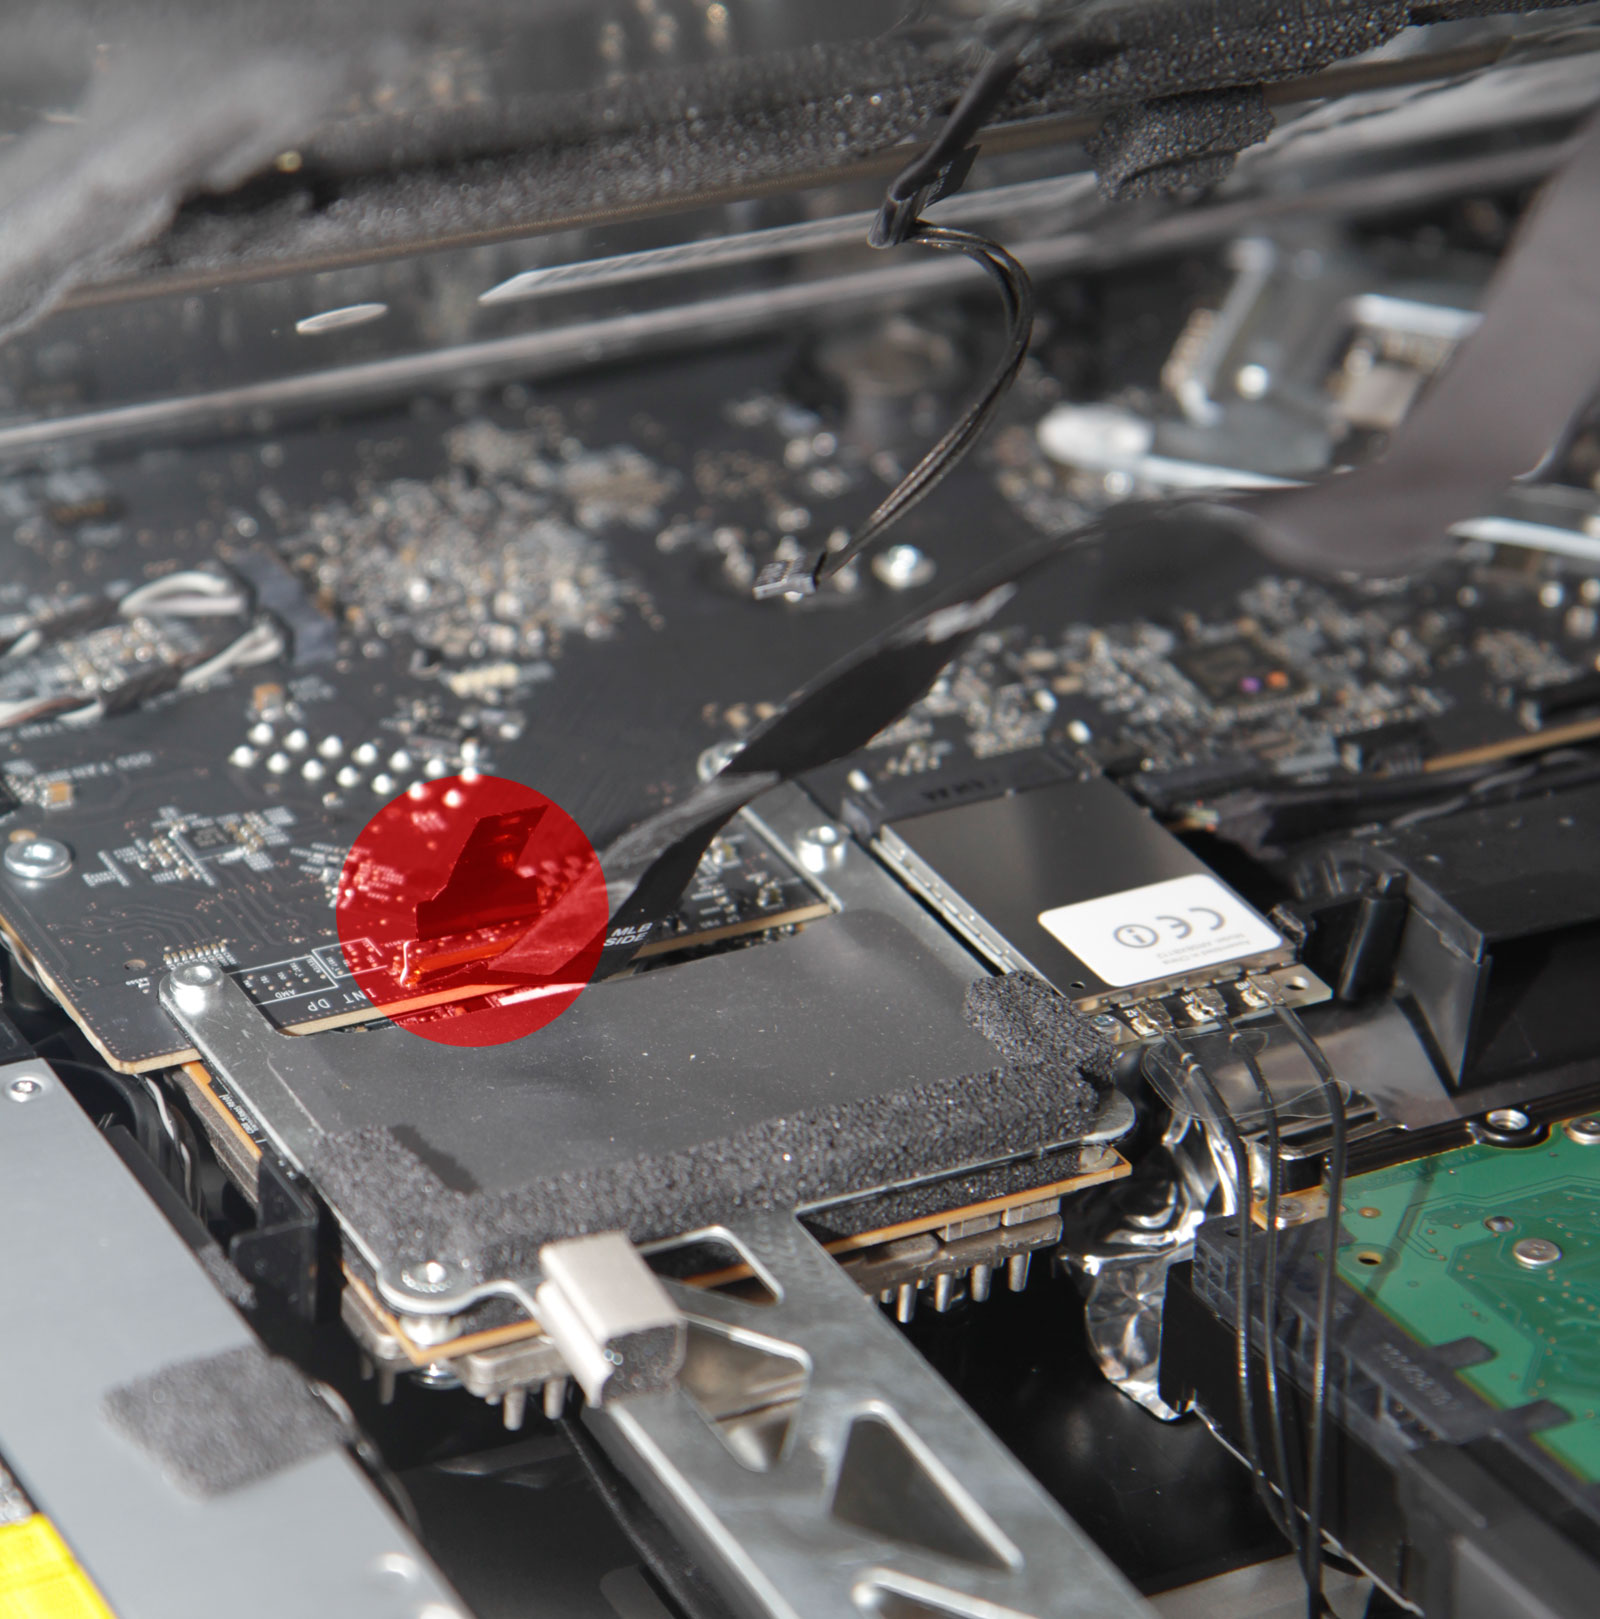
Once you've detached the first cable, continue to carefully lift the display. You need to detach three more cables. The first is around the middle of the right side, and can simply be unplugged. Don’t be concerned if this makes a noise similar to tape being unrolled. The second cable (marked in the picture) has a small strap. Pulling it up will flip up a tab. After that, simply unplug the cable. The final cable (already unplugged in the picture) is right next to the second one, and can be unplugged just like the first.
-
tipmen ^^Reply
I will start the hate amuffin :)
Phew! I'm glad the sheeple will save $200+. It is unlikely that a majority of Apple owners would be able to do this. Hell I bet they aren't even willing (besides voiding the warranty). I think they have this belief if apple does the upgrade it will be "better". -
amuffin $20-30 just to install a SSD which then costs another 200+ dollars. THEN I don't get my HDD Data and STORAGE!!! NO DUAL DRIVES!!!!Reply -
Plasmid Seems like a lot work given such basic upgrade, now imagine replacing the motherboard. horror story/ true story :)Reply -
amk-aka-Phantom Pfff. 95% of Mac users don't even know there're swappable parts incide their PC.Reply
