3D Printer Layer Shifting: How to Avoid it
Prevent the issue of some layers of 3D prints shifting to the sides
Get Tom's Hardware's best news and in-depth reviews, straight to your inbox.
You are now subscribed
Your newsletter sign-up was successful
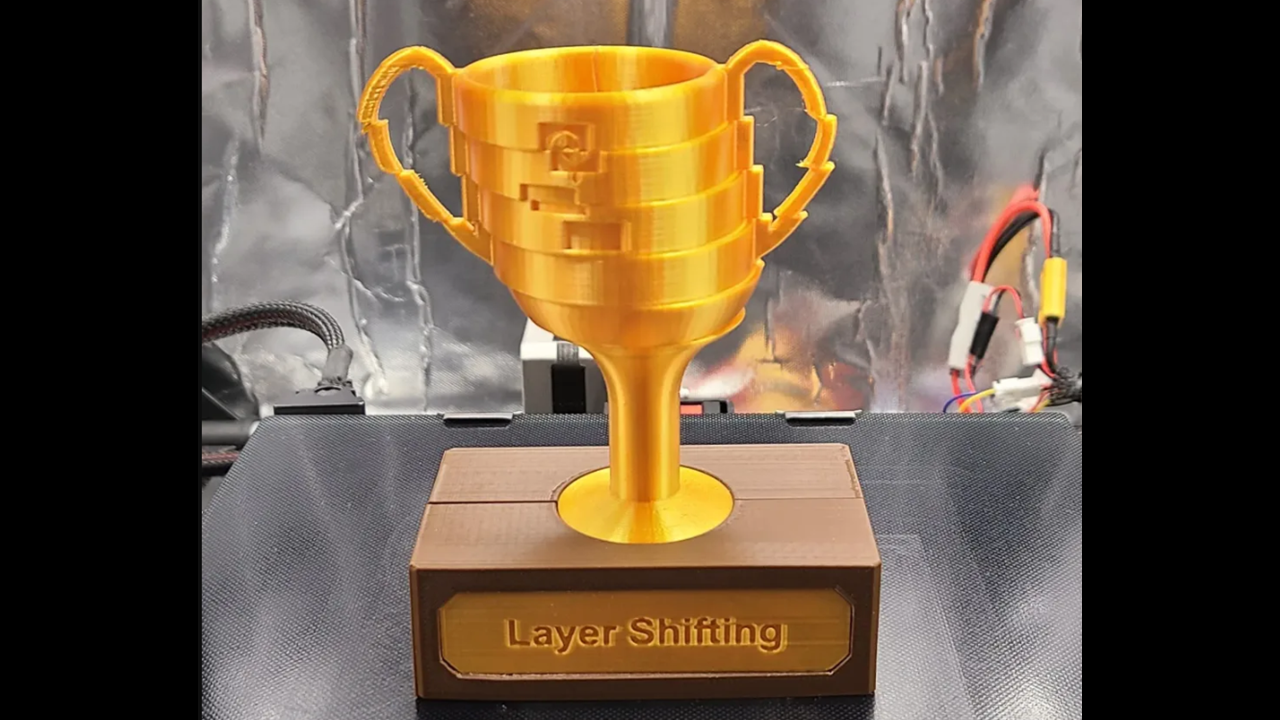
Layer shifting is an issue where the layers of the 3D-printed object misalign or shift during the 3D printing process resulting in noticeable defects in your design. You may notice the upper layers are not correctly positioned on top of the lower ones, and the entire print might be tilted. In severe cases, you can even see cracks or splitting of the layers, especially when the print head collides with previous layers.
Several factors contribute to this issue, including mechanical issues within the printer, like loose screws and belts, to software problems like using a higher speed and acceleration settings in the slicer. Even if you are using one of the best 3D printers, if you don’t correctly set the various components of your 3D printer and slicer settings, it will cause issues during printing. But thankfully, fixing this issue isn’t hard, as we have explained below.
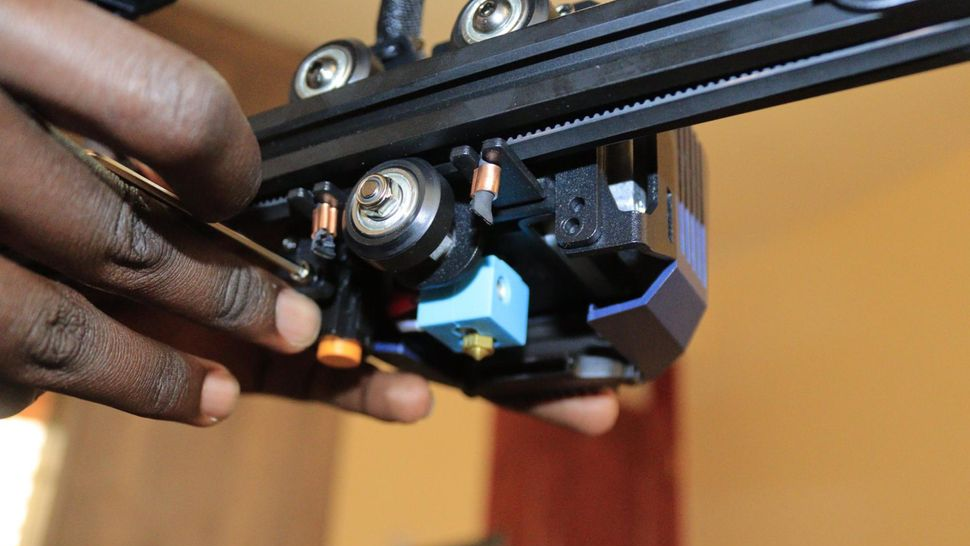
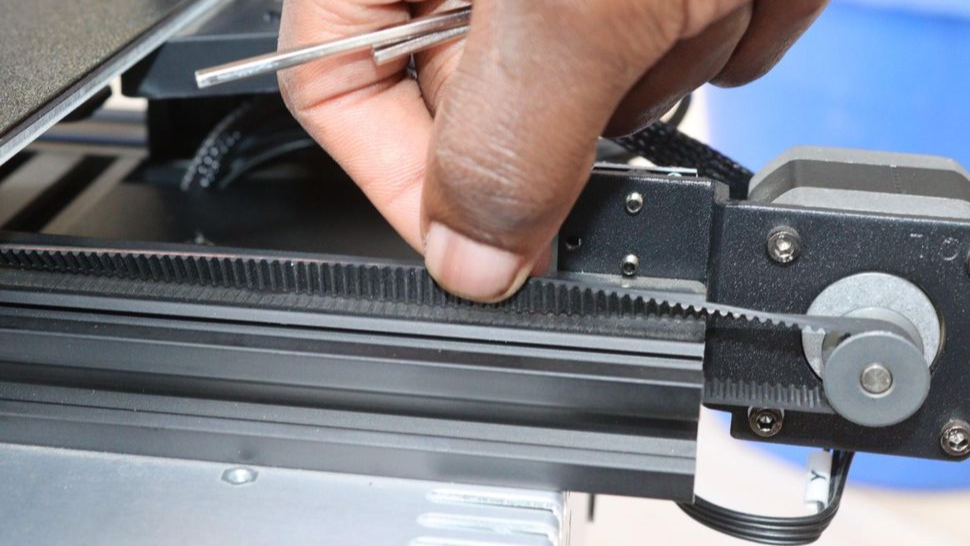
Properly Tighten the Screws and Belts
Screws hold all the components of your 3D printer in place, and the belts control the movement of the print head along the X and Y-axis. When the stepper motor turns, it drives the belt, and this causes the print head to move across the build platform horizontally.
It’s important to always check all the screws in your 3D printer and the belts to ensure you tighten them well because when loose, it will cause inaccurate movements and vibrations as the printer moves resulting in layer shifting. As you do so, be careful not to overtighten, especially the belts, as they will strain the motors and bearings.
In addition to properly tightening the screws and belts, you should also consider lubricating the extruder gears, bearings, rails, and other moving parts to ensure they operate smoothly with minimal friction preventing any uneven motion that might affect your print quality. As you do so, be careful not to overdo it, as it can attract dirt and debris, which can cause other issues.
You should also consider using a firm table that is sturdy and doesn’t wiggle during 3D printing. If your 3D printer has no rubber feet, you should consider adding them. For example, you can use glue to attach them to the corners of the base to absorb the vibrations. This can also help fix a noisy 3D printer. If you still face shifting because of vibrations, you can buy four clamps and use them to hold the sides of the printer to your table.
Calibrate Your 3D Printer Correctly.
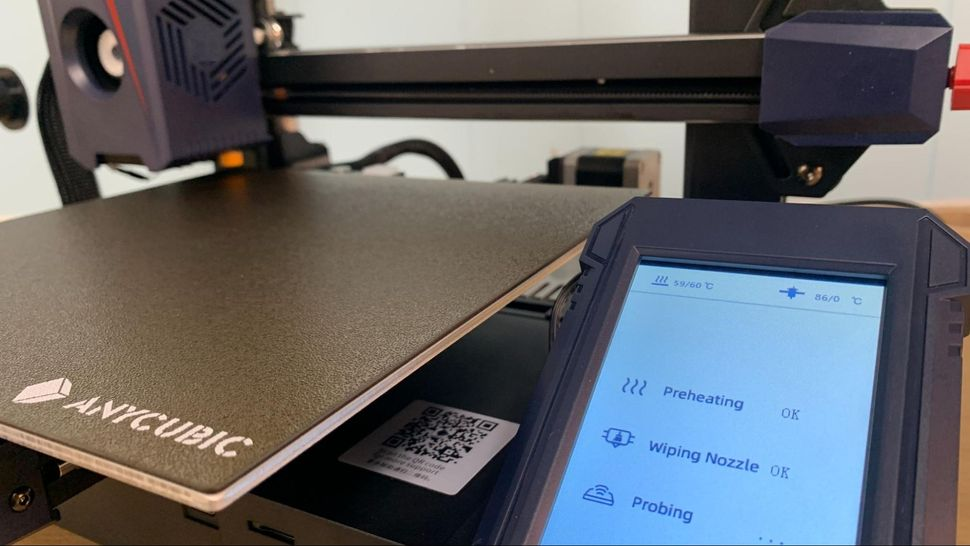
When troubleshooting any 3D printing issue, the first thing most of us check is if the printer is calibrated correctly. That same applies to layer shifting. You need to check if all the components of your machine are set correctly to avoid issues. The first thing you need to consider is to level the 3D printer bed properly. An uneven or misaligned print bed will make the design not adhere properly to the bed, and you need to ensure that you do it right.
Get Tom's Hardware's best news and in-depth reviews, straight to your inbox.
You can manually level the 3D printer bed or use the automatic feature if your 3D printer supports it. After leveling your 3D printer bed, the next thing you need to calibrate is the E-steps. You have to ensure that it deposits the right amount of filament during the printing process. If the nozzle extrudes less filament than required, the print will have gaps, or the layers might be weak and easier to shift. The filament that you are using should also be the one ideal for your nozzle to avoid jamming or clogging that can bring other issues that can lead to shifting of layers. You should ensure that you use the best 3D printer filaments as they have uniform diameter and are free of impurities.
Also, you need to check your 3D printer axis and calibrate it properly. You can print a small cube, measure each dimension, and use the values to fine-tune your axis. You also need to replace your 3D printer nozzle if it’s damaged, or you can simply clean it properly to avoid any debris from preventing the filament from extruding correctly.
Use Proper Speed and Temperature
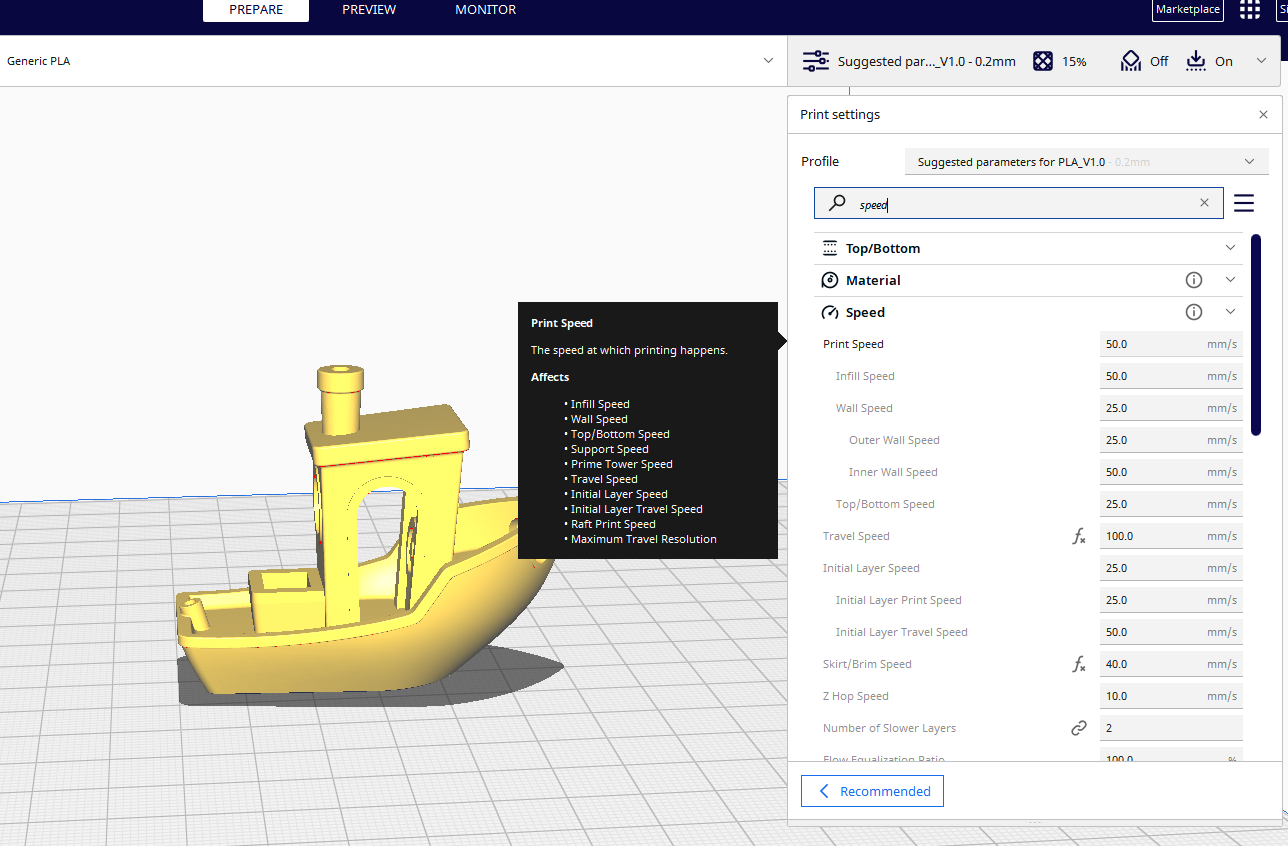
If you print at a higher speed, it can result in excessive stress on the moving parts of your 3D printer resulting in vibrations and even making the screws and bolts loose. You also maintain a consistent speed as sudden changes, especially in sharp corners, can cause the layers to shift. Also, high speed can cause the pulleys to skip some teeth, resulting in layer problems and so you should keep a speed of about 50-60 mm/s.
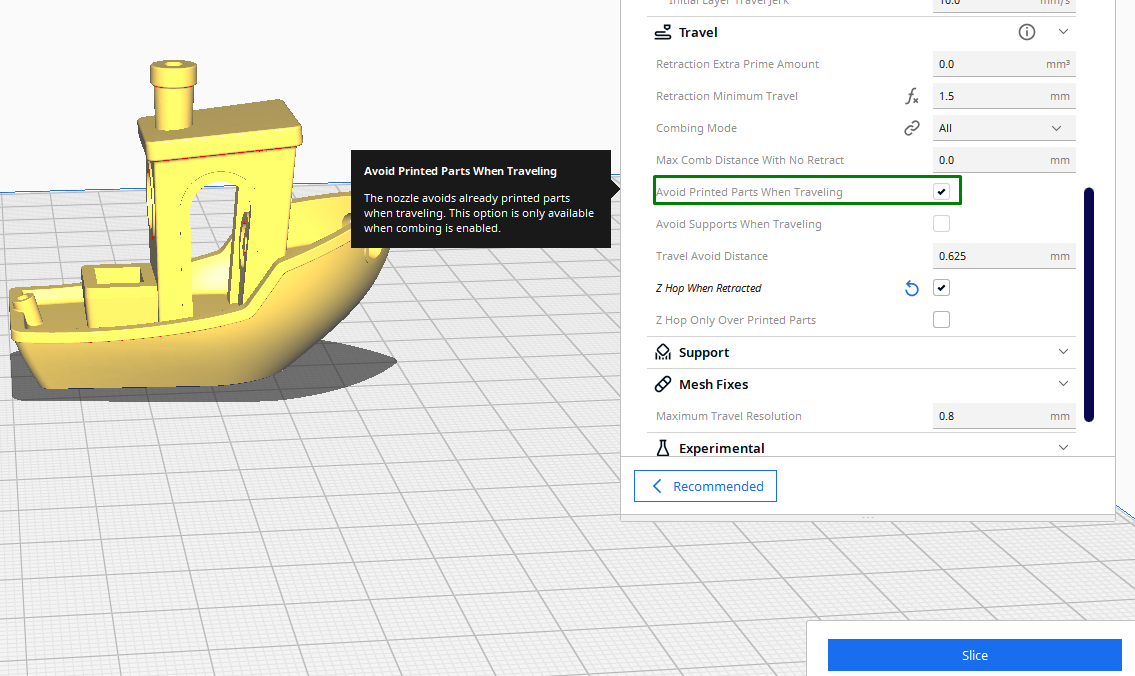
Also, you should keep the travel speed to around 100 mm/s. Anything above that can bring issues. You can find travel speed settings in the Travel section of your slicer. If you have enabled combing, you should check the Avoid Printed Parts When Traveling.
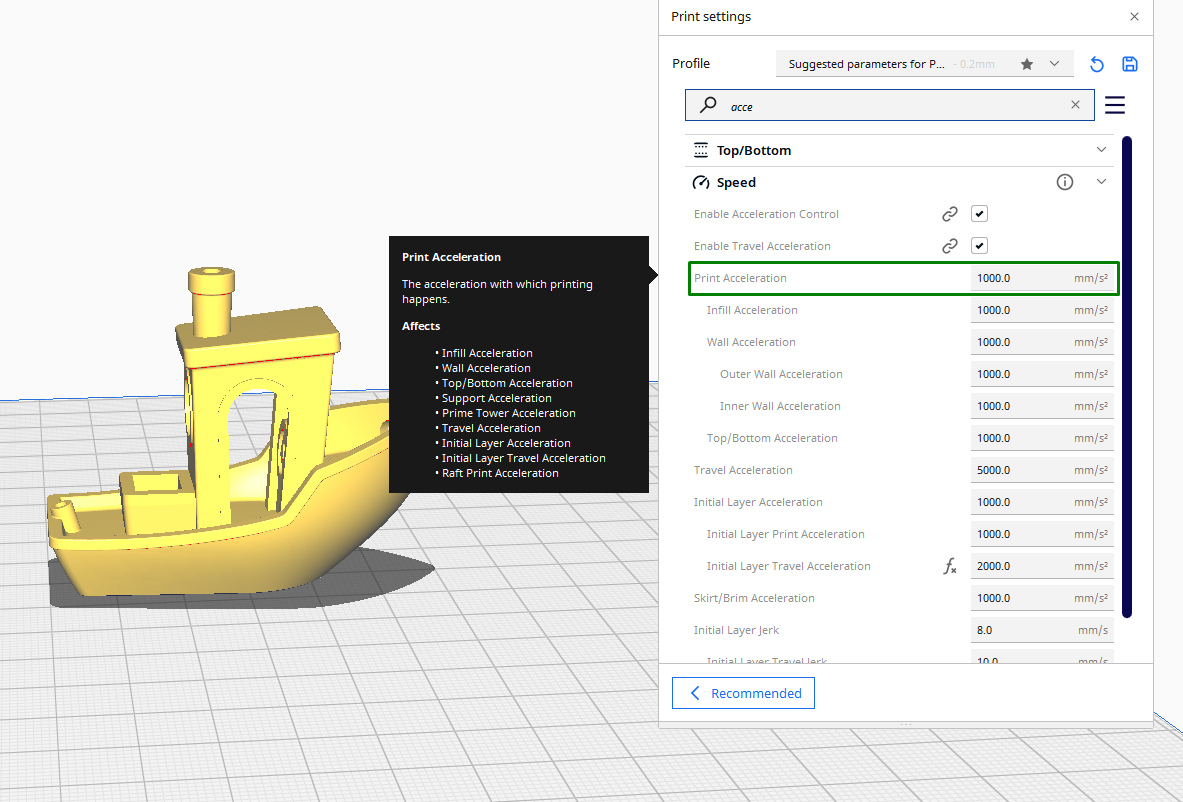
In the speed settings, there are also Print Acceleration and jerk settings and in Cura you can find that the default value for acceleration is usually around 1000 mm/s.
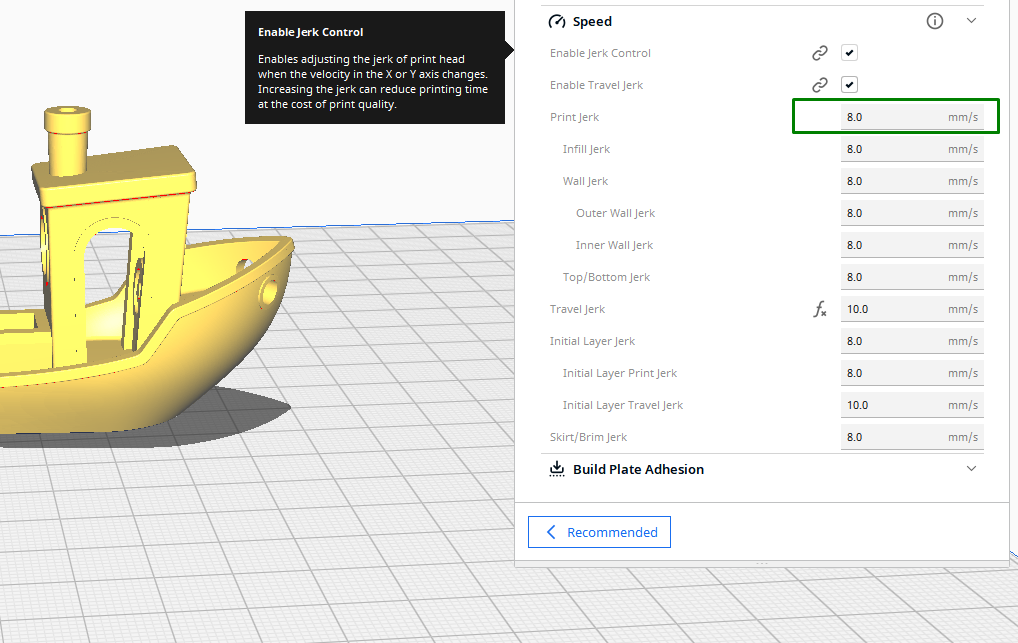
The default value of jerk settings, on the other hand, is around 8 mm/s.
Both of these settings control how the print head moves and changes direction. If you use values higher than the default, it can result in layer shifting as it can result in vibrations and increased movements of the print head.
In addition to speed, ensure that temperature is consistent. If the bed temperature is not constant or set too low, for example, the first layer may not bond correctly to the surface and it will cause some sections to detach, which leads to misalignment of the subsequent layers, especially due to warping and curling of the base layers.
Enable Z Hop Feature
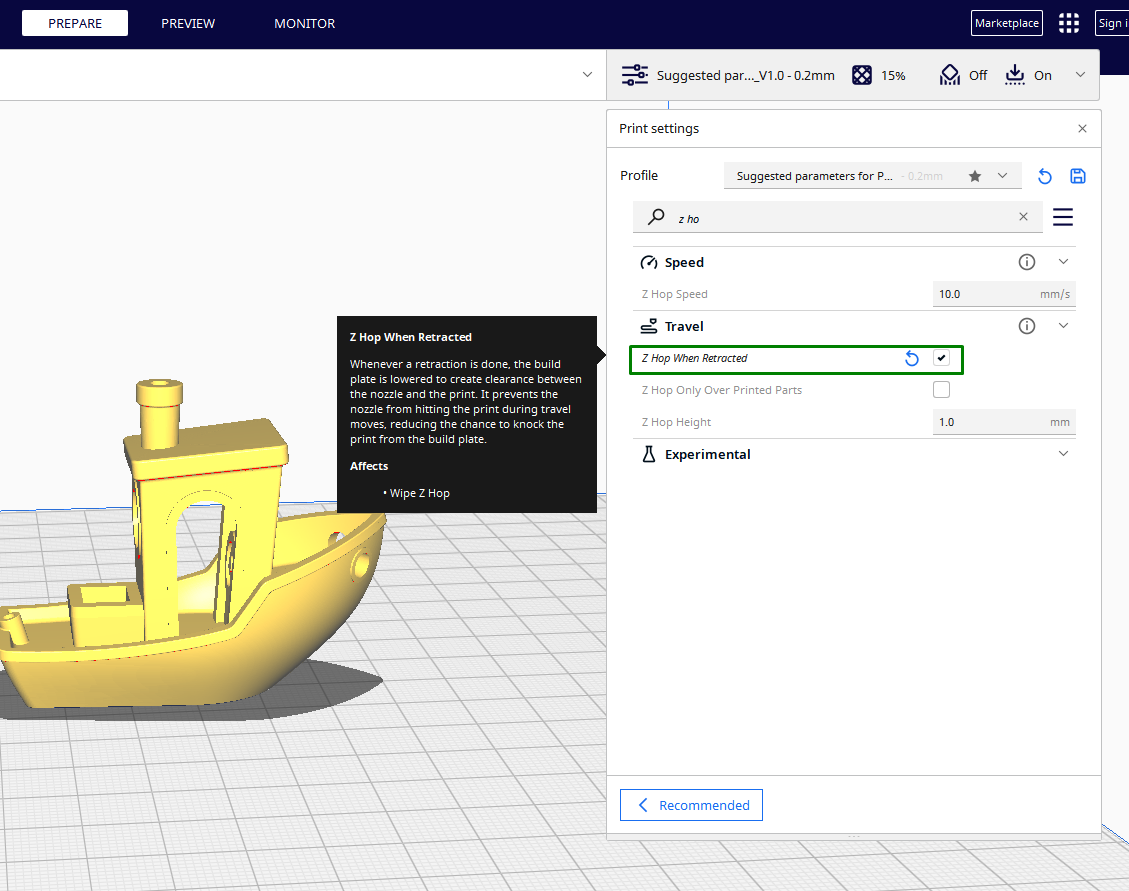
Z hop is a feature that instructs the printer to slightly lift the print head in the Z-axis as the printer moves between different sections of the print or when it moves to a new location. This vertical movement ensures that the print head doesn’t collide with any of the previous printed layers and this also prevents layer shifting. This feature is helpful, particularly when printing designs with tall or thin structures. You can enable this feature in any of the best 3D printer slicers.
The above methods should help you fix the layer-shifting problem. If it doesn’t, you should also check on your wires and the cooling fans and ensure they all work as expected. After adjusting your settings and checking the hardware, I recommend printing a layer shift torture text design before you start printing your design to see if everything is working as expected.
Related Tutorials
More: How to Use PrusaSlicer: A Beginners Guide
More: 5 Ways Fix Z Banding in 3D Printing
More: How to Use FreeCAD for 3D Printing
More: How to Convert OBJ Files to STL Files for 3D Printing
More: How to Clean and Cure Resin Prints
Sammy Ekaran is a freelancer writer for Tom's Hardware. He specializes in writing about 3D printing tutorials and guides. You can find more of his work on various publications, including Makeuseof, All3dp, and 3Dsourced.
