Building Ikigai, My Award-Winning Wooden PC Mod
Here’s how I built a unique mod, combining CNC with hand woodworking.
Glue Up and Sanding
The glue up was a big moment for me as it meant I was getting closer to being done. It also meant I needed to be very sure I was not forgetting a hole somewhere that I would have to drill by hand later.
I wanted to avoid unsightly glue lines on this dark wood so I dyed the wood glue with some Transtint wood dye.
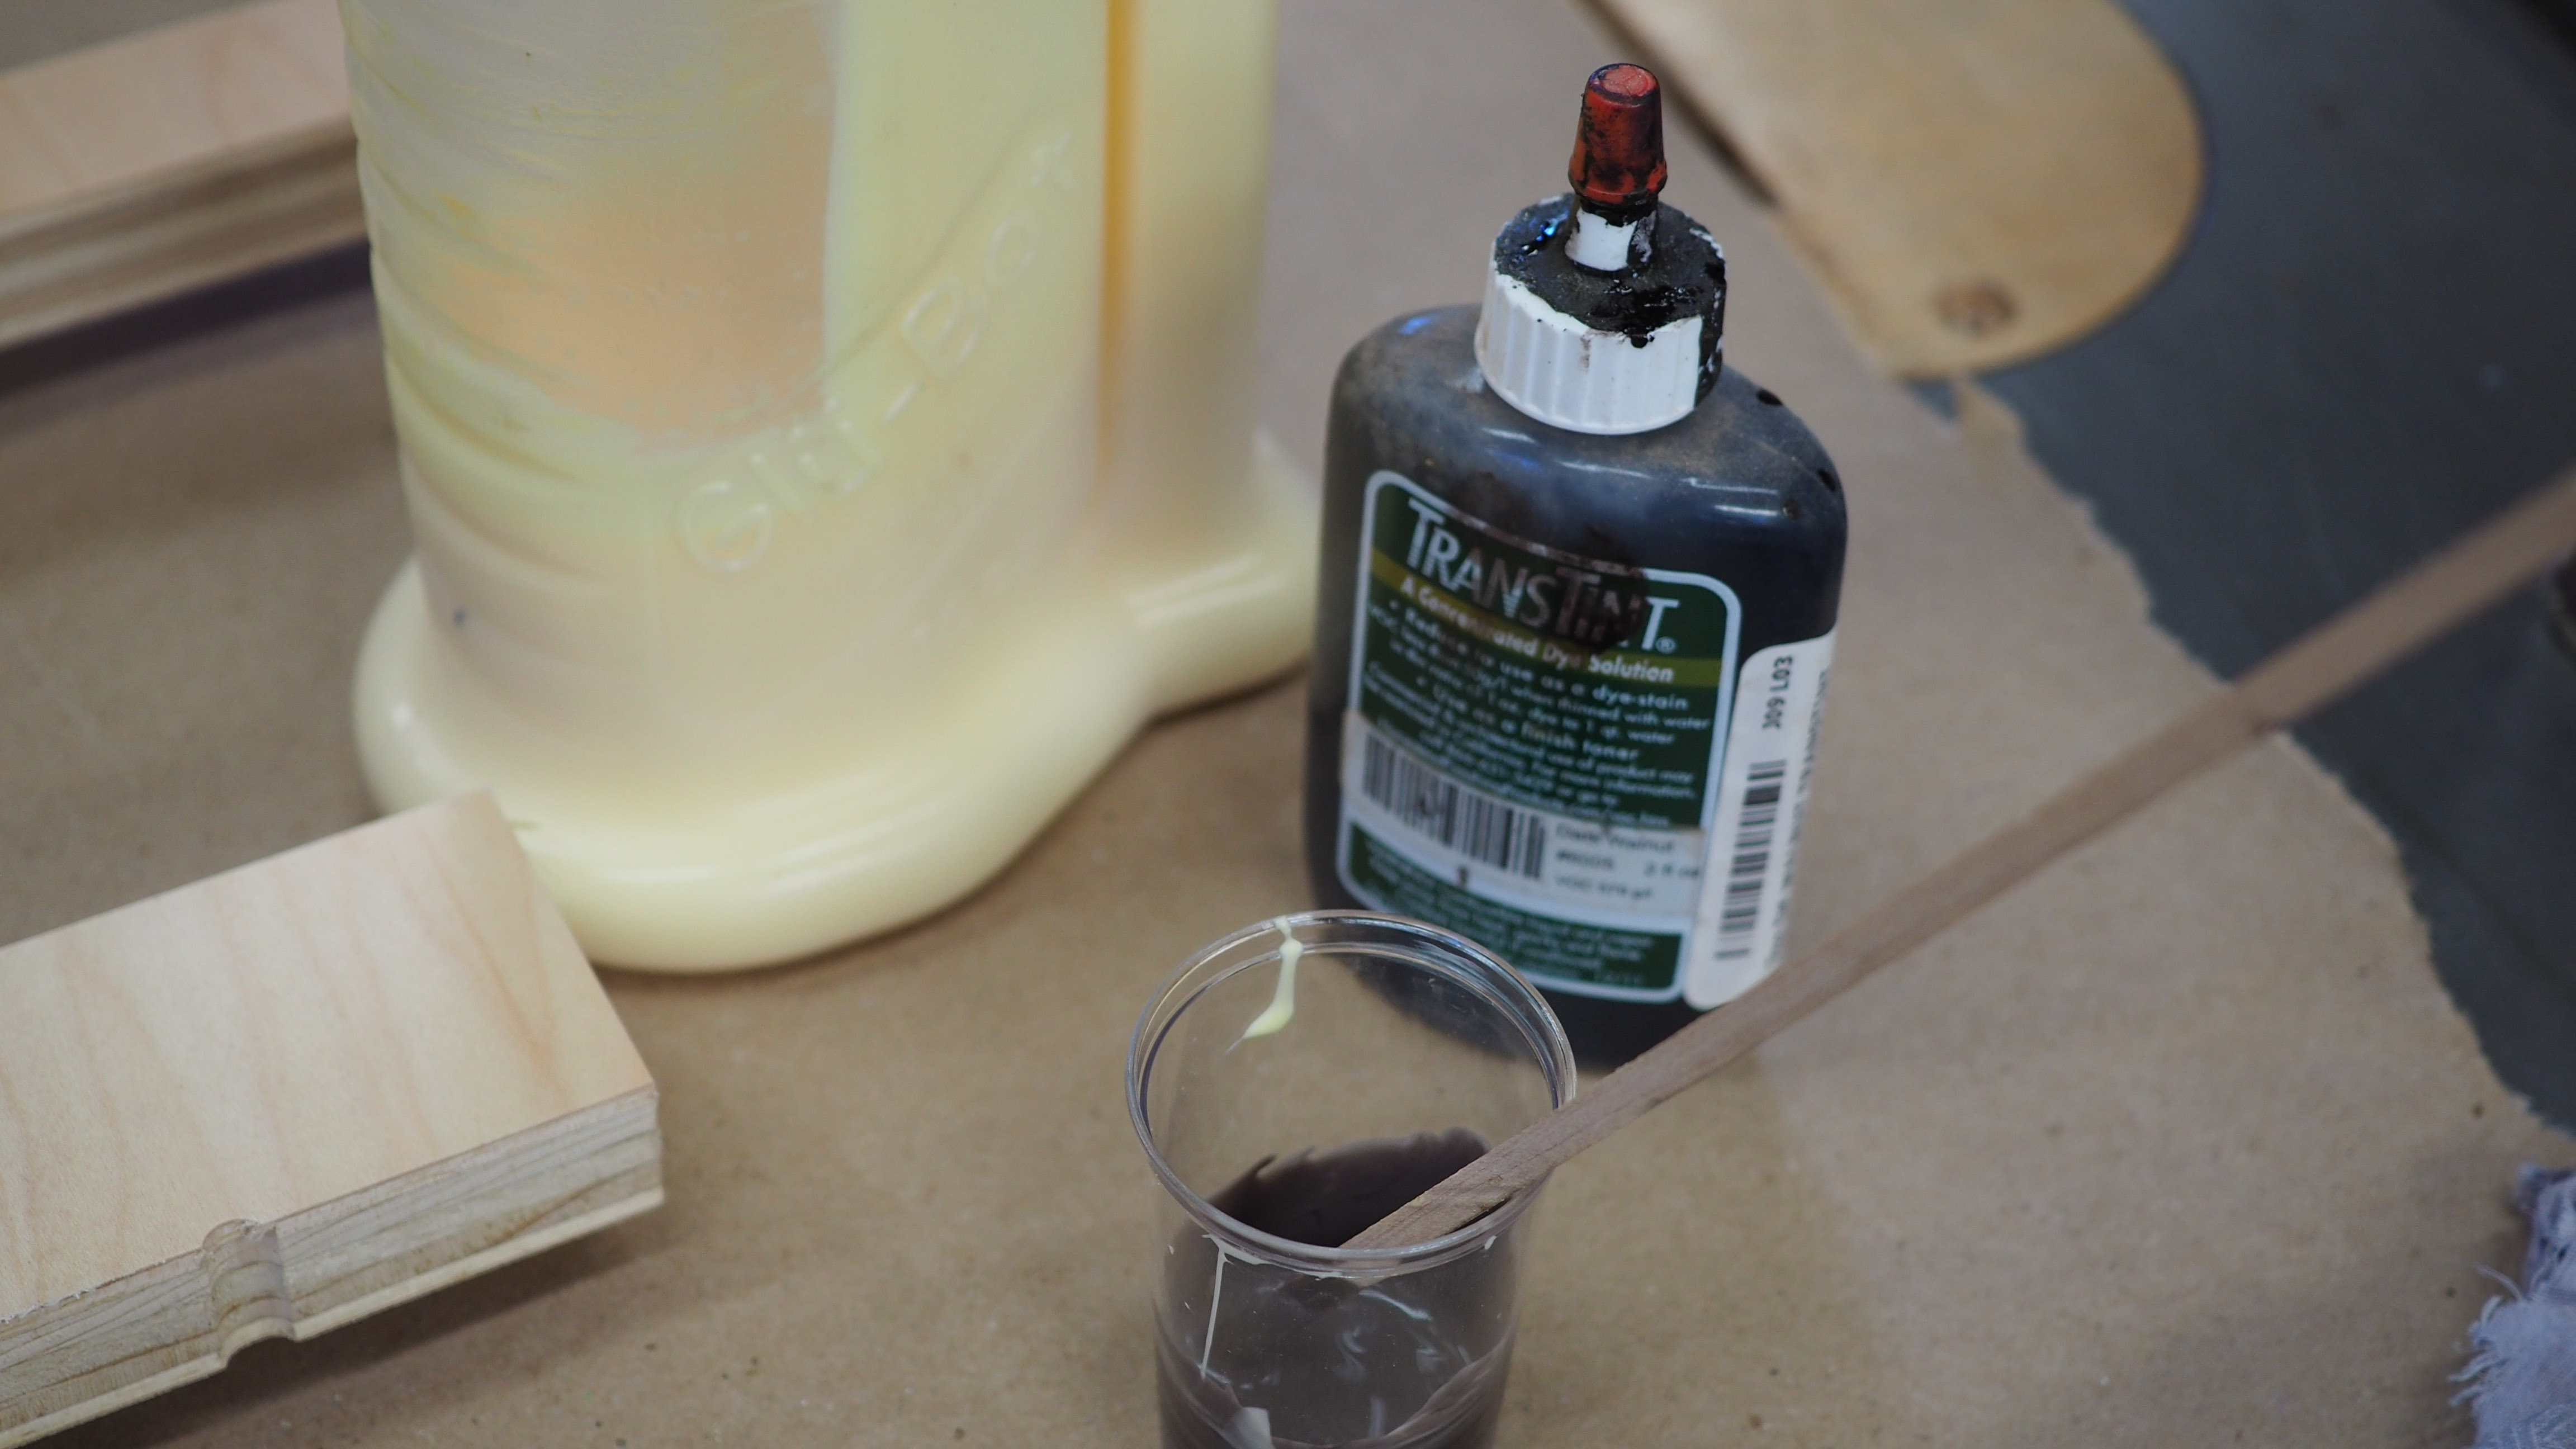
When I was ready to go, I turned off my phone, put on some relaxing music and got to work. The glue up of pieces you’ve been working on for hours can be stressful so being in the right headspace is important.
Without too much trouble I got both assemblies in clamps.
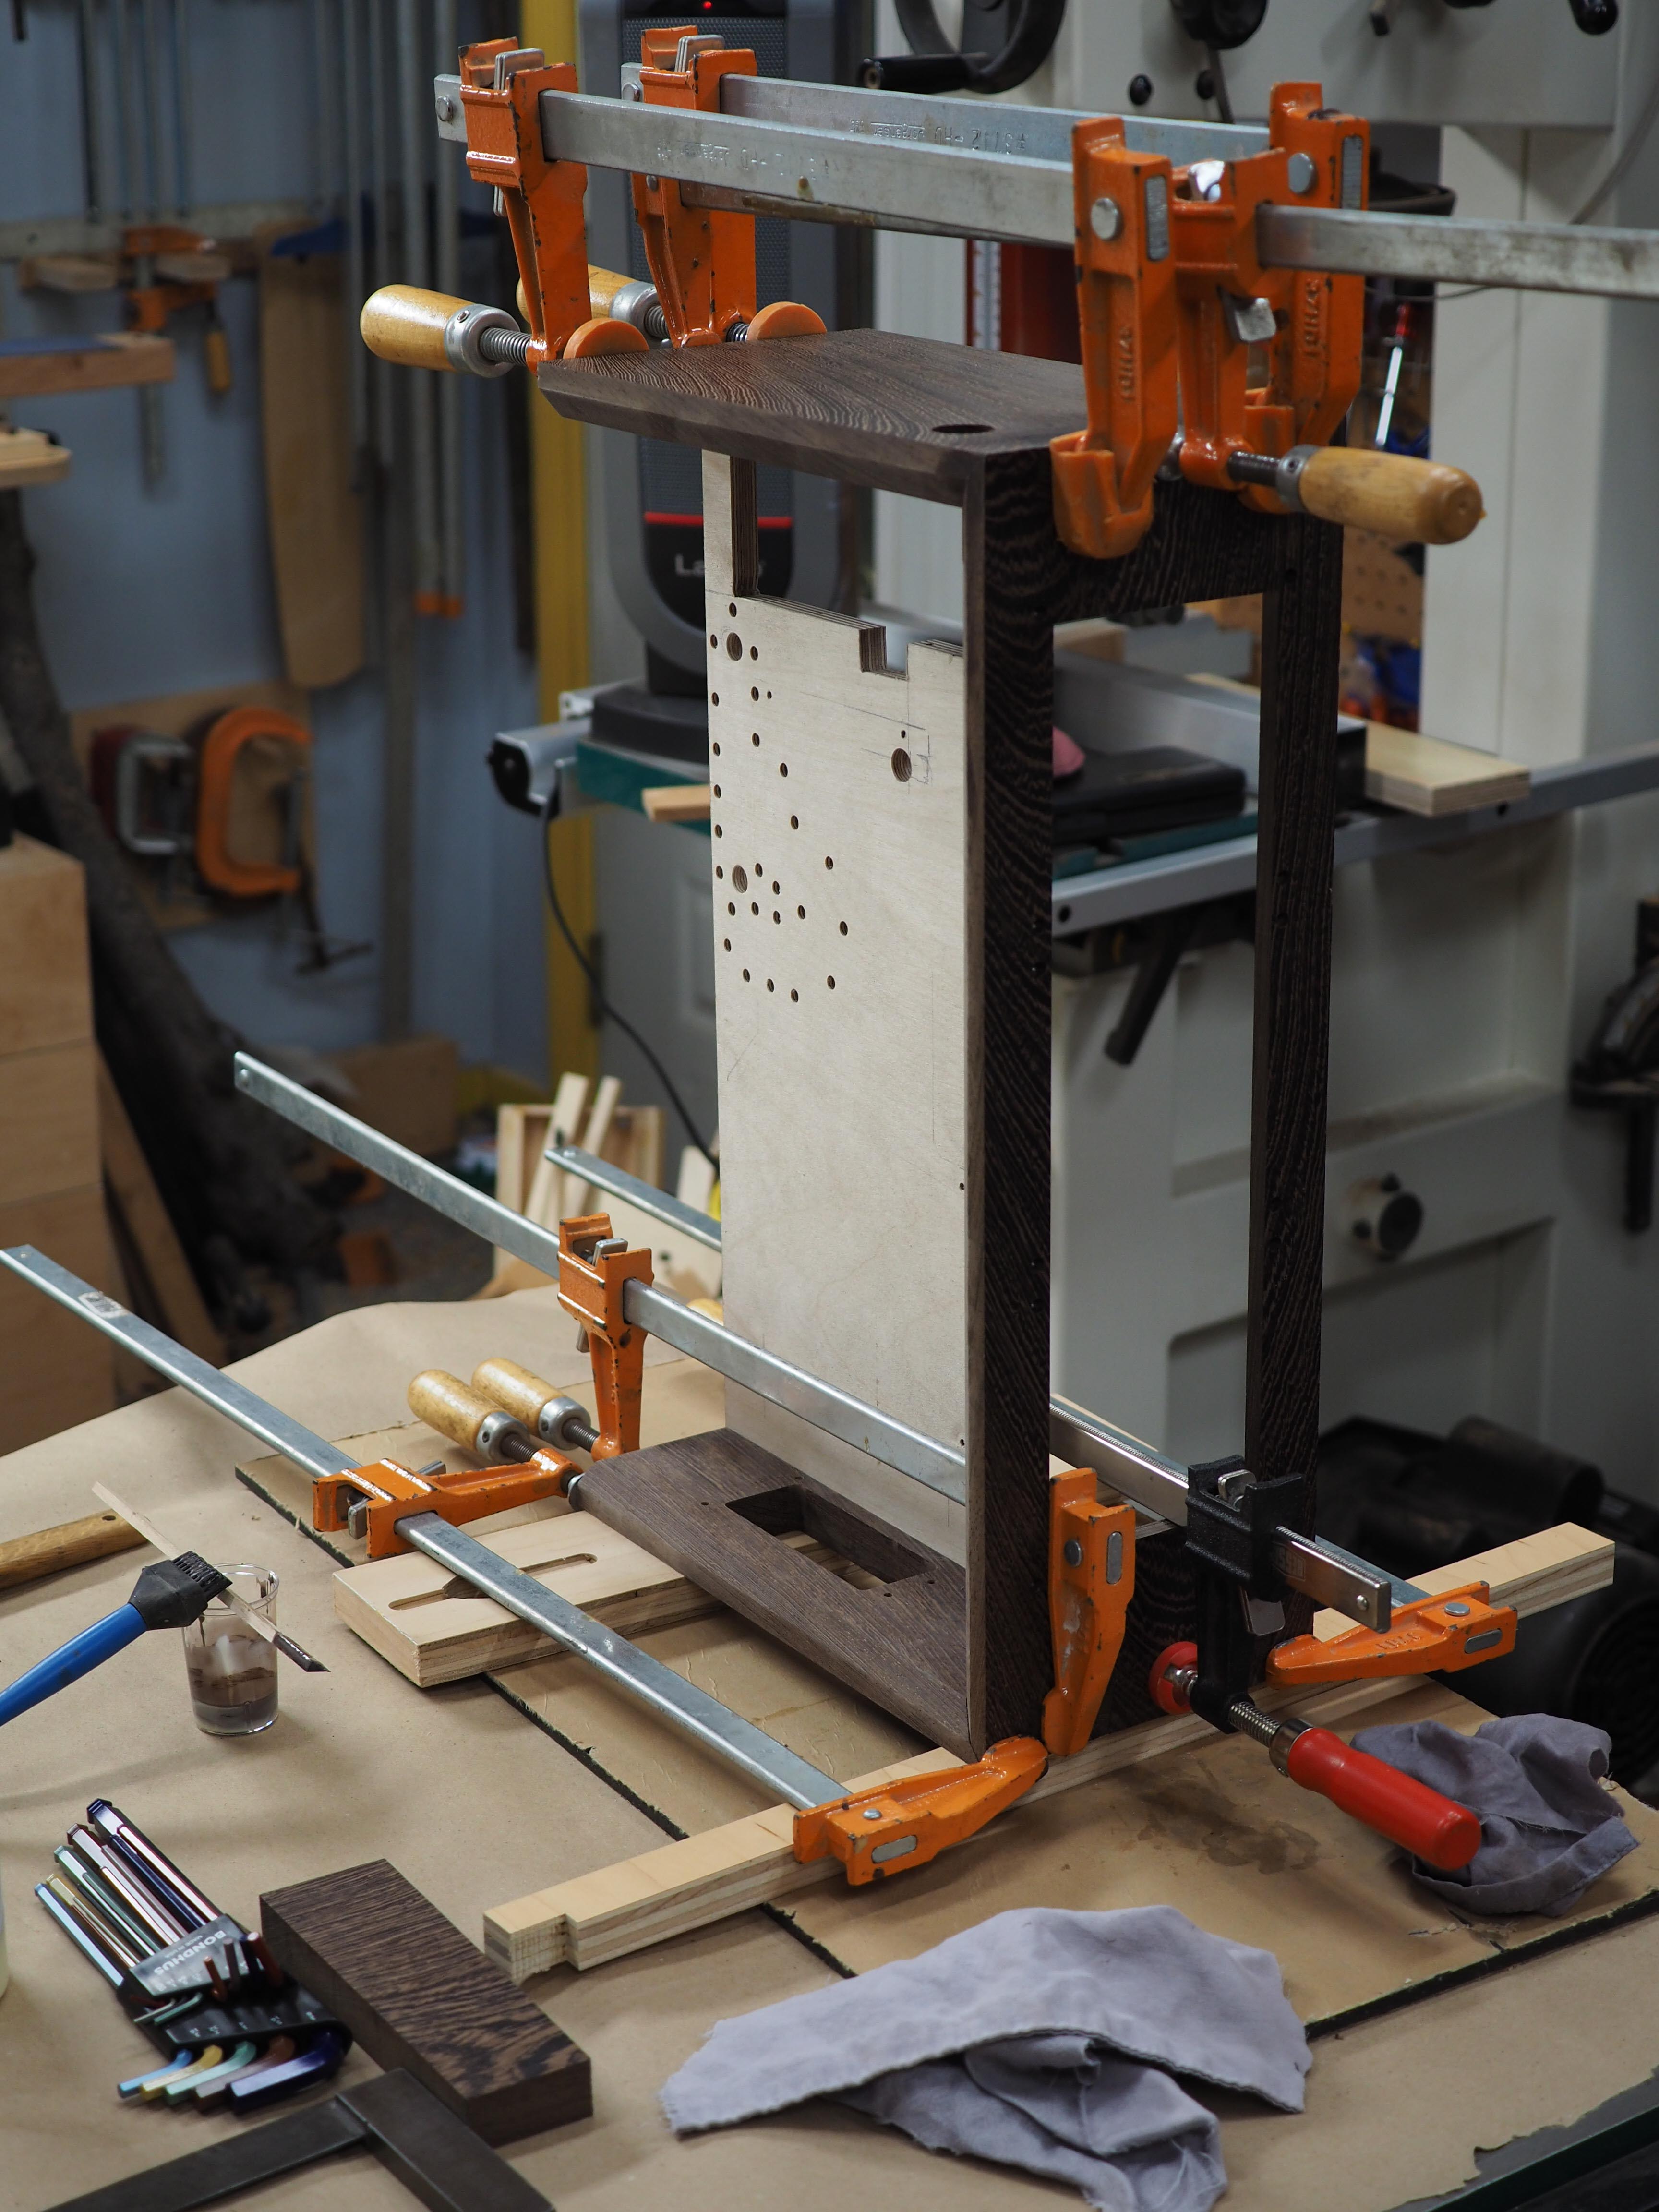
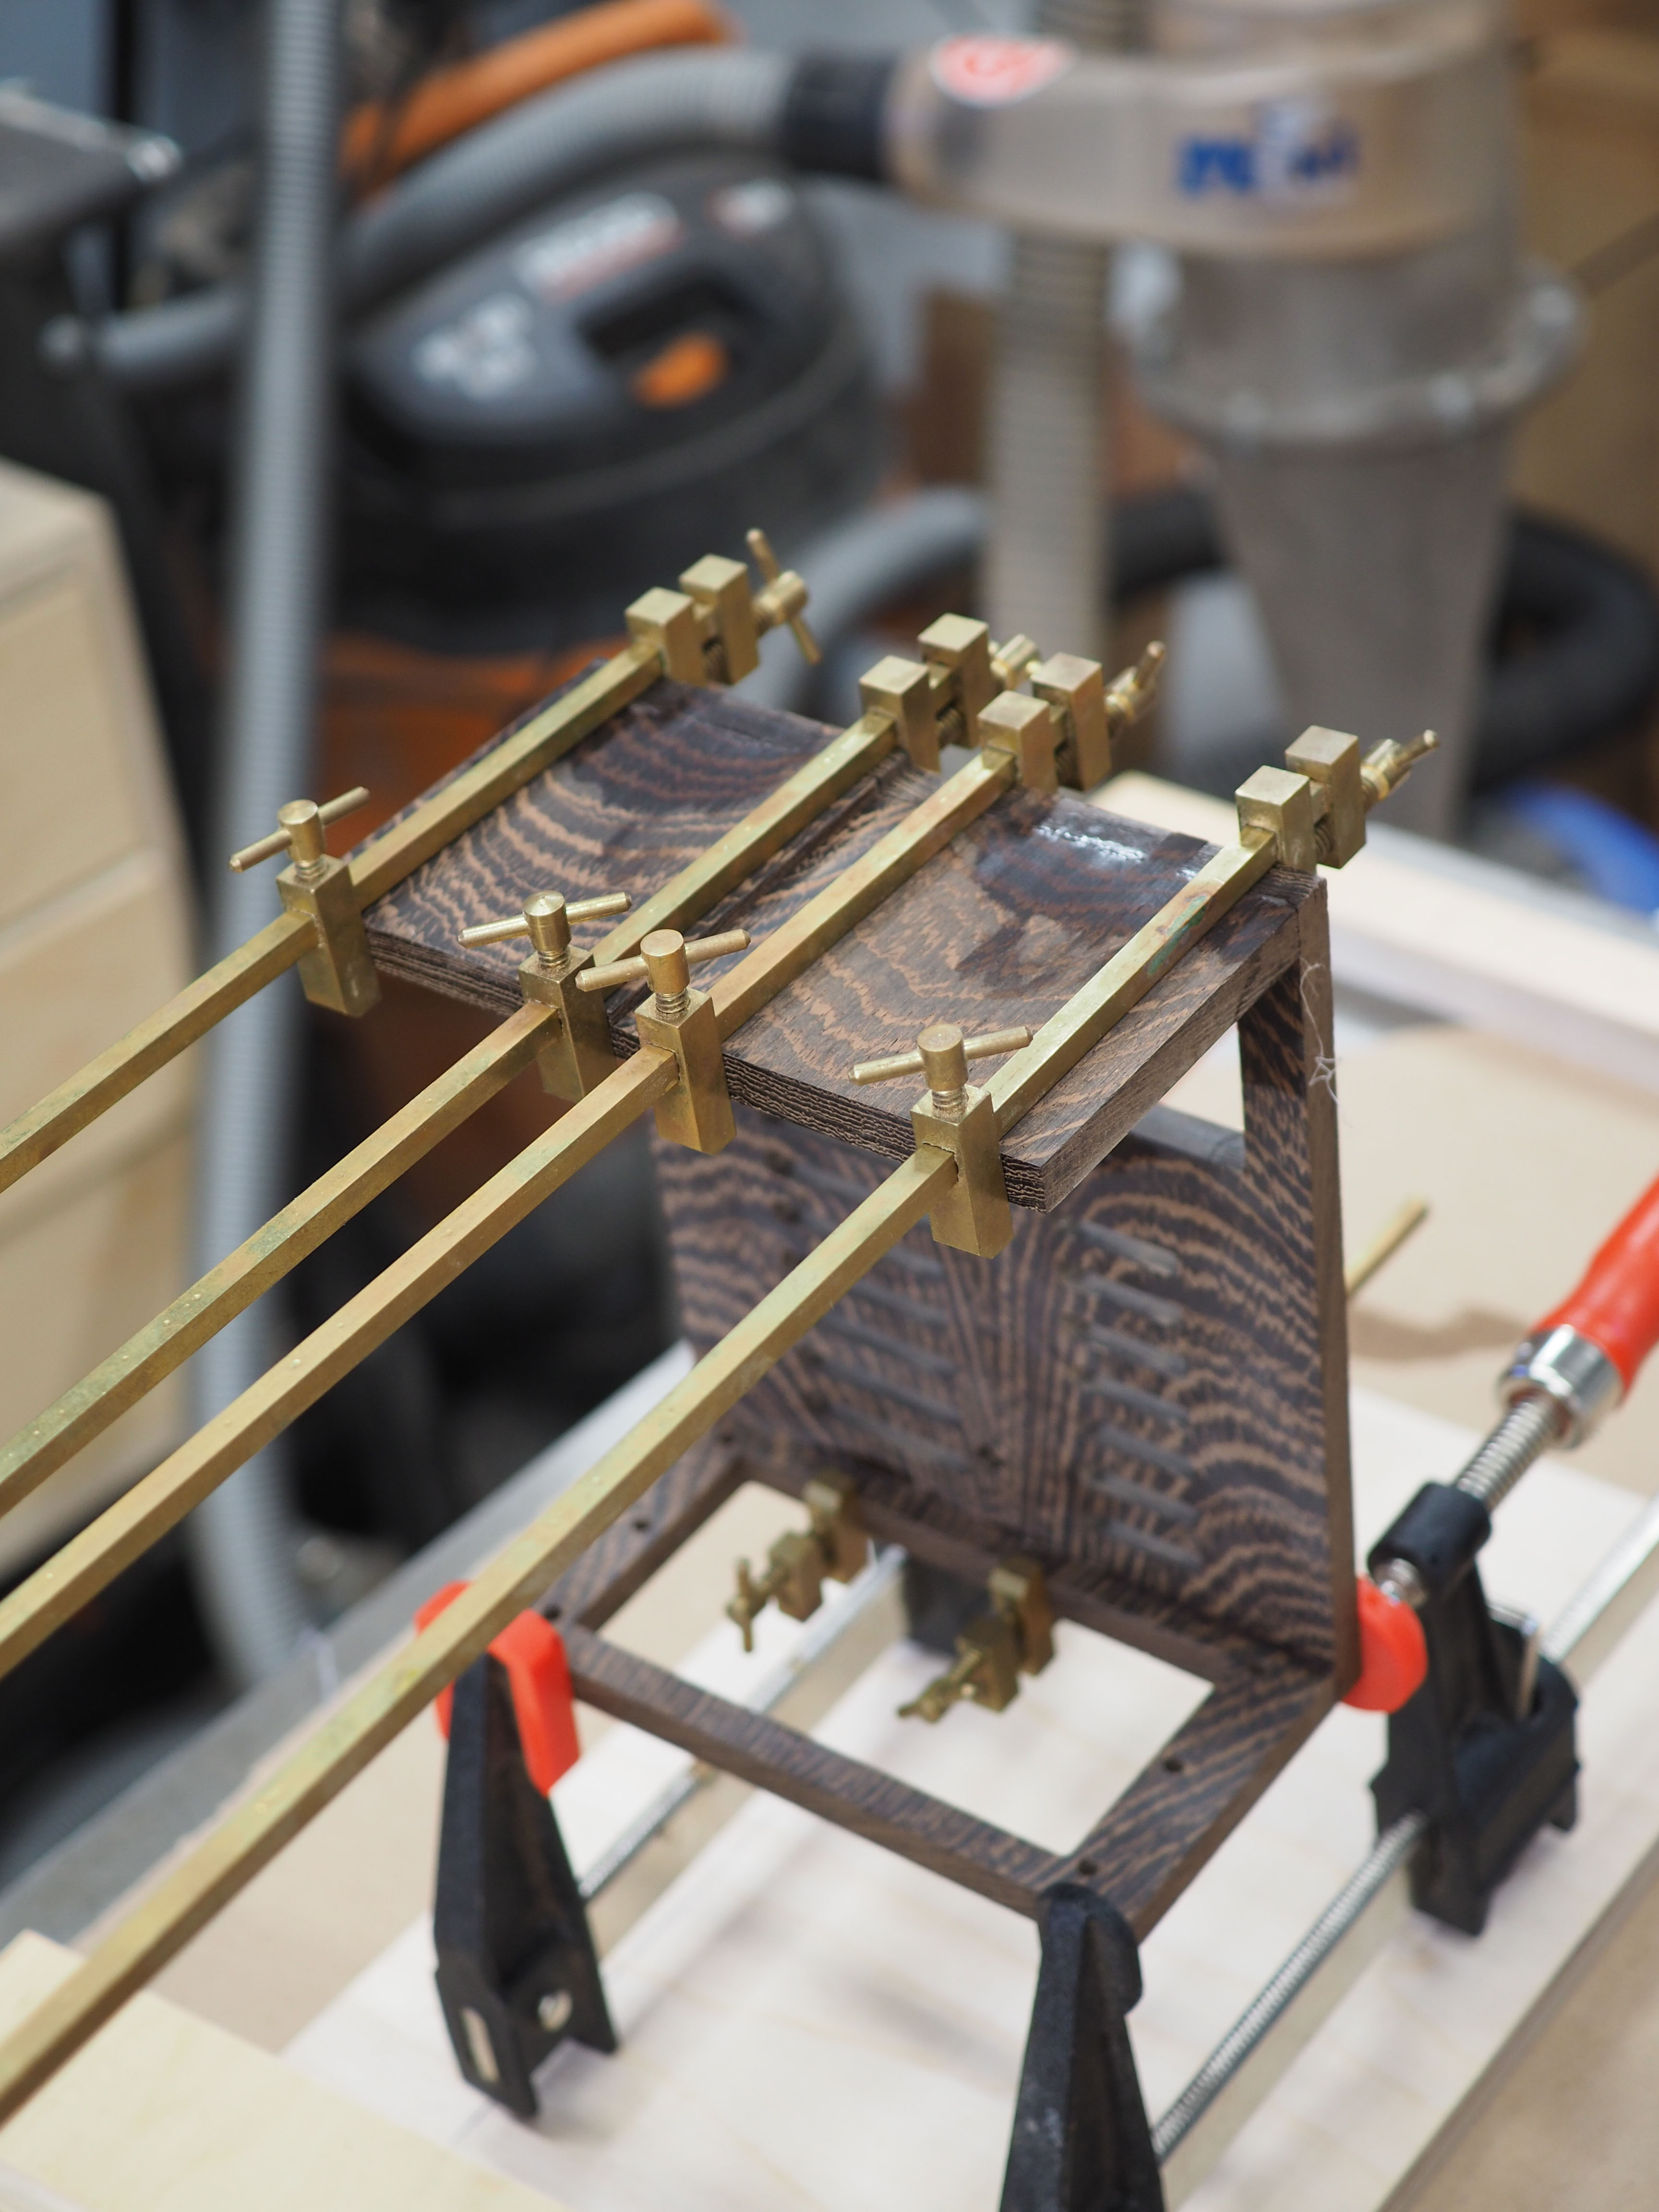
Once the pieces were successfully glued up, I could begin the sanding process. I started with 120 grit and went all the way up to 600 for a super smooth finish. I also sanded the insides of the assemblies before gluing up to make the process easier.
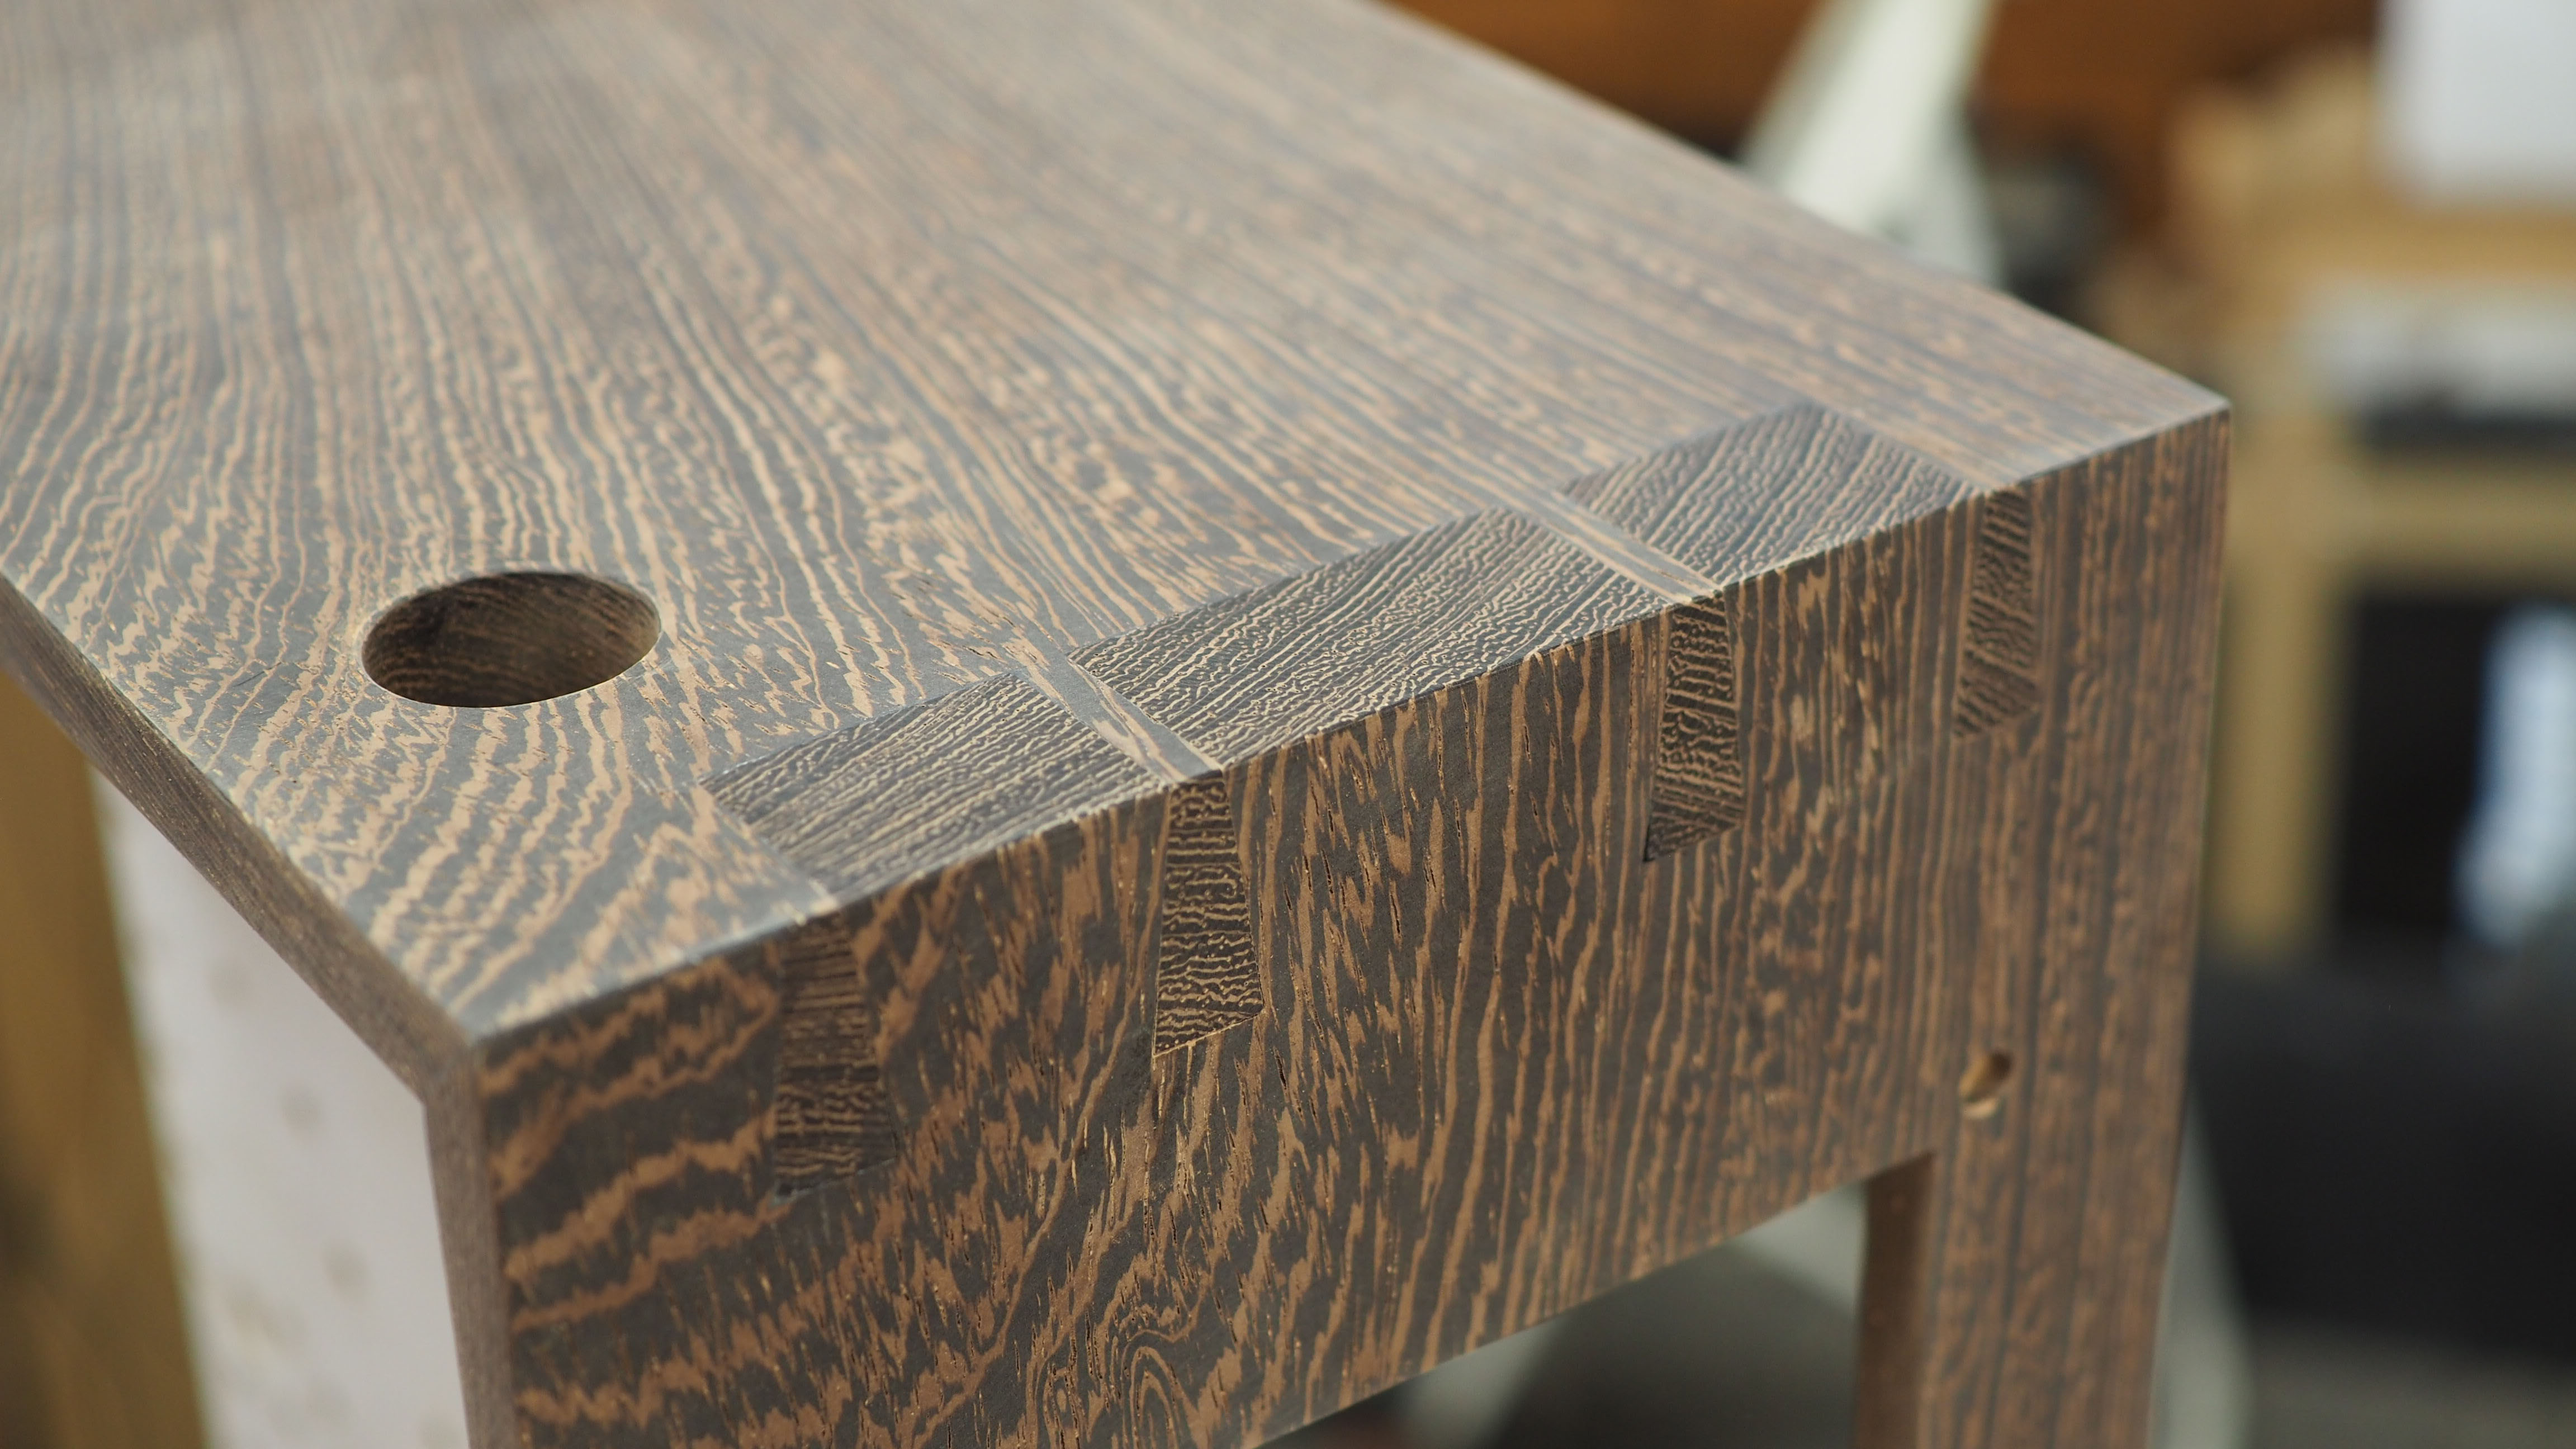
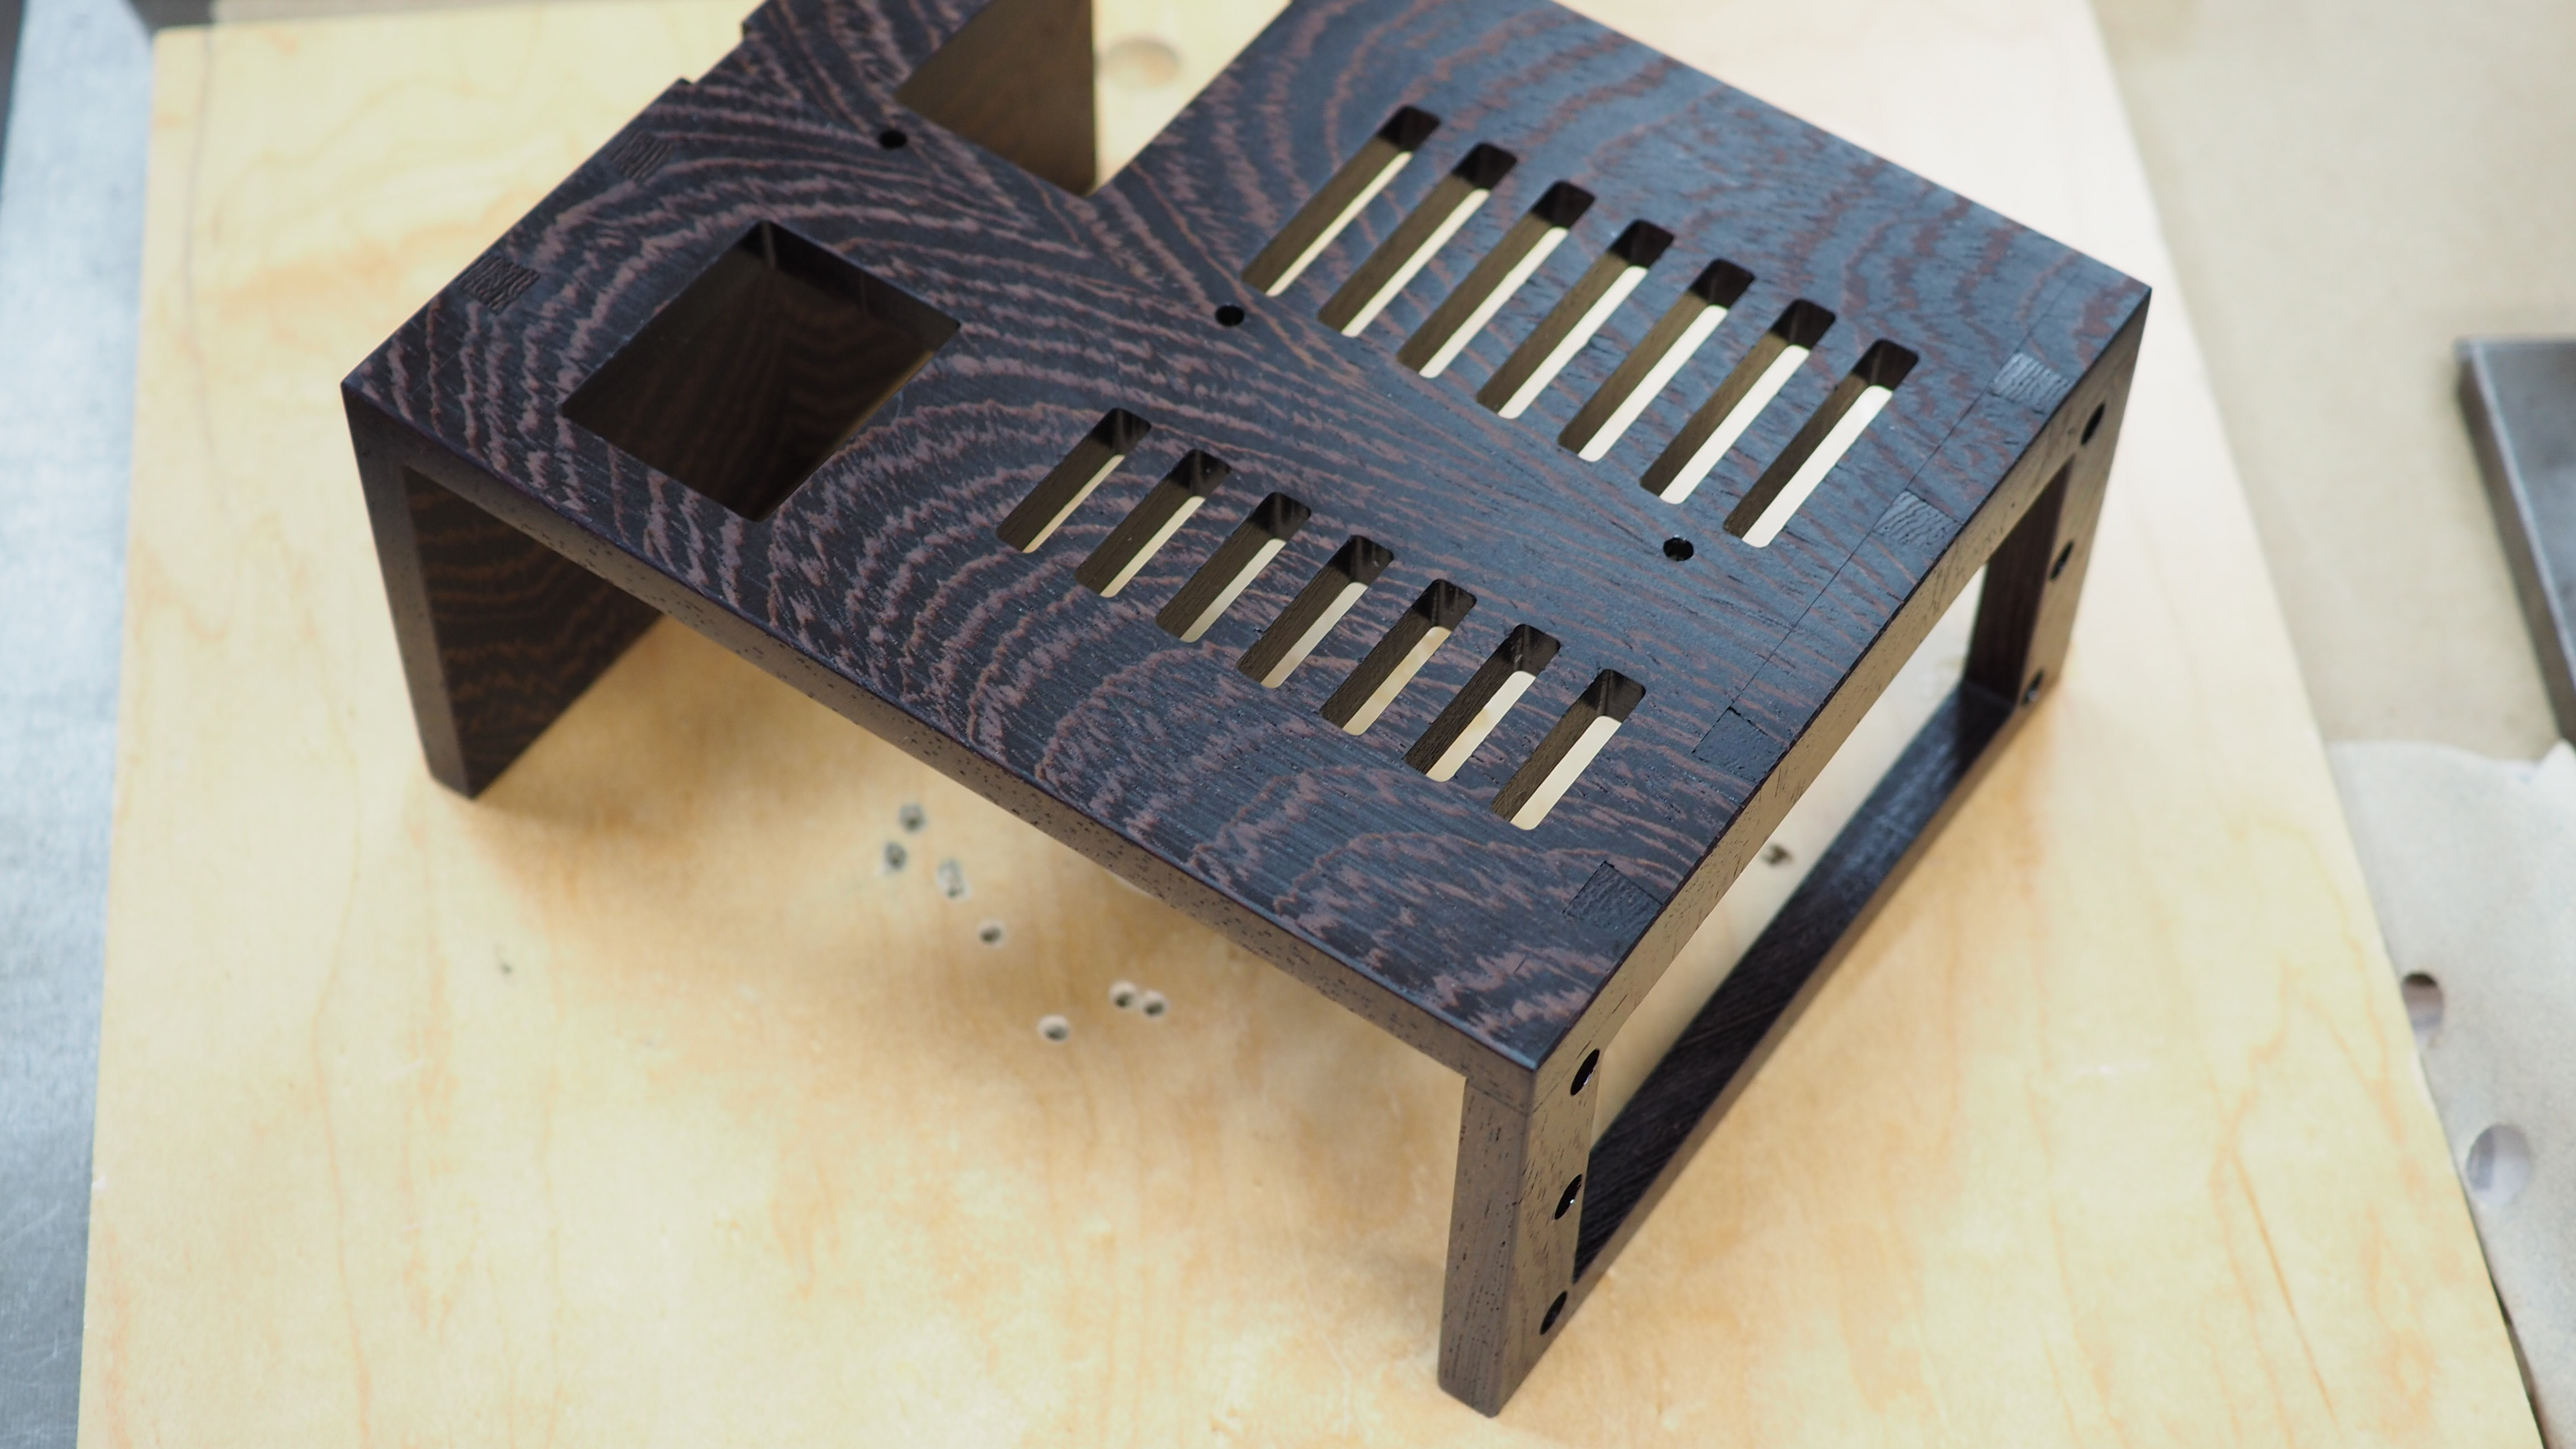
Here are both assemblies sanded and ready for finish.
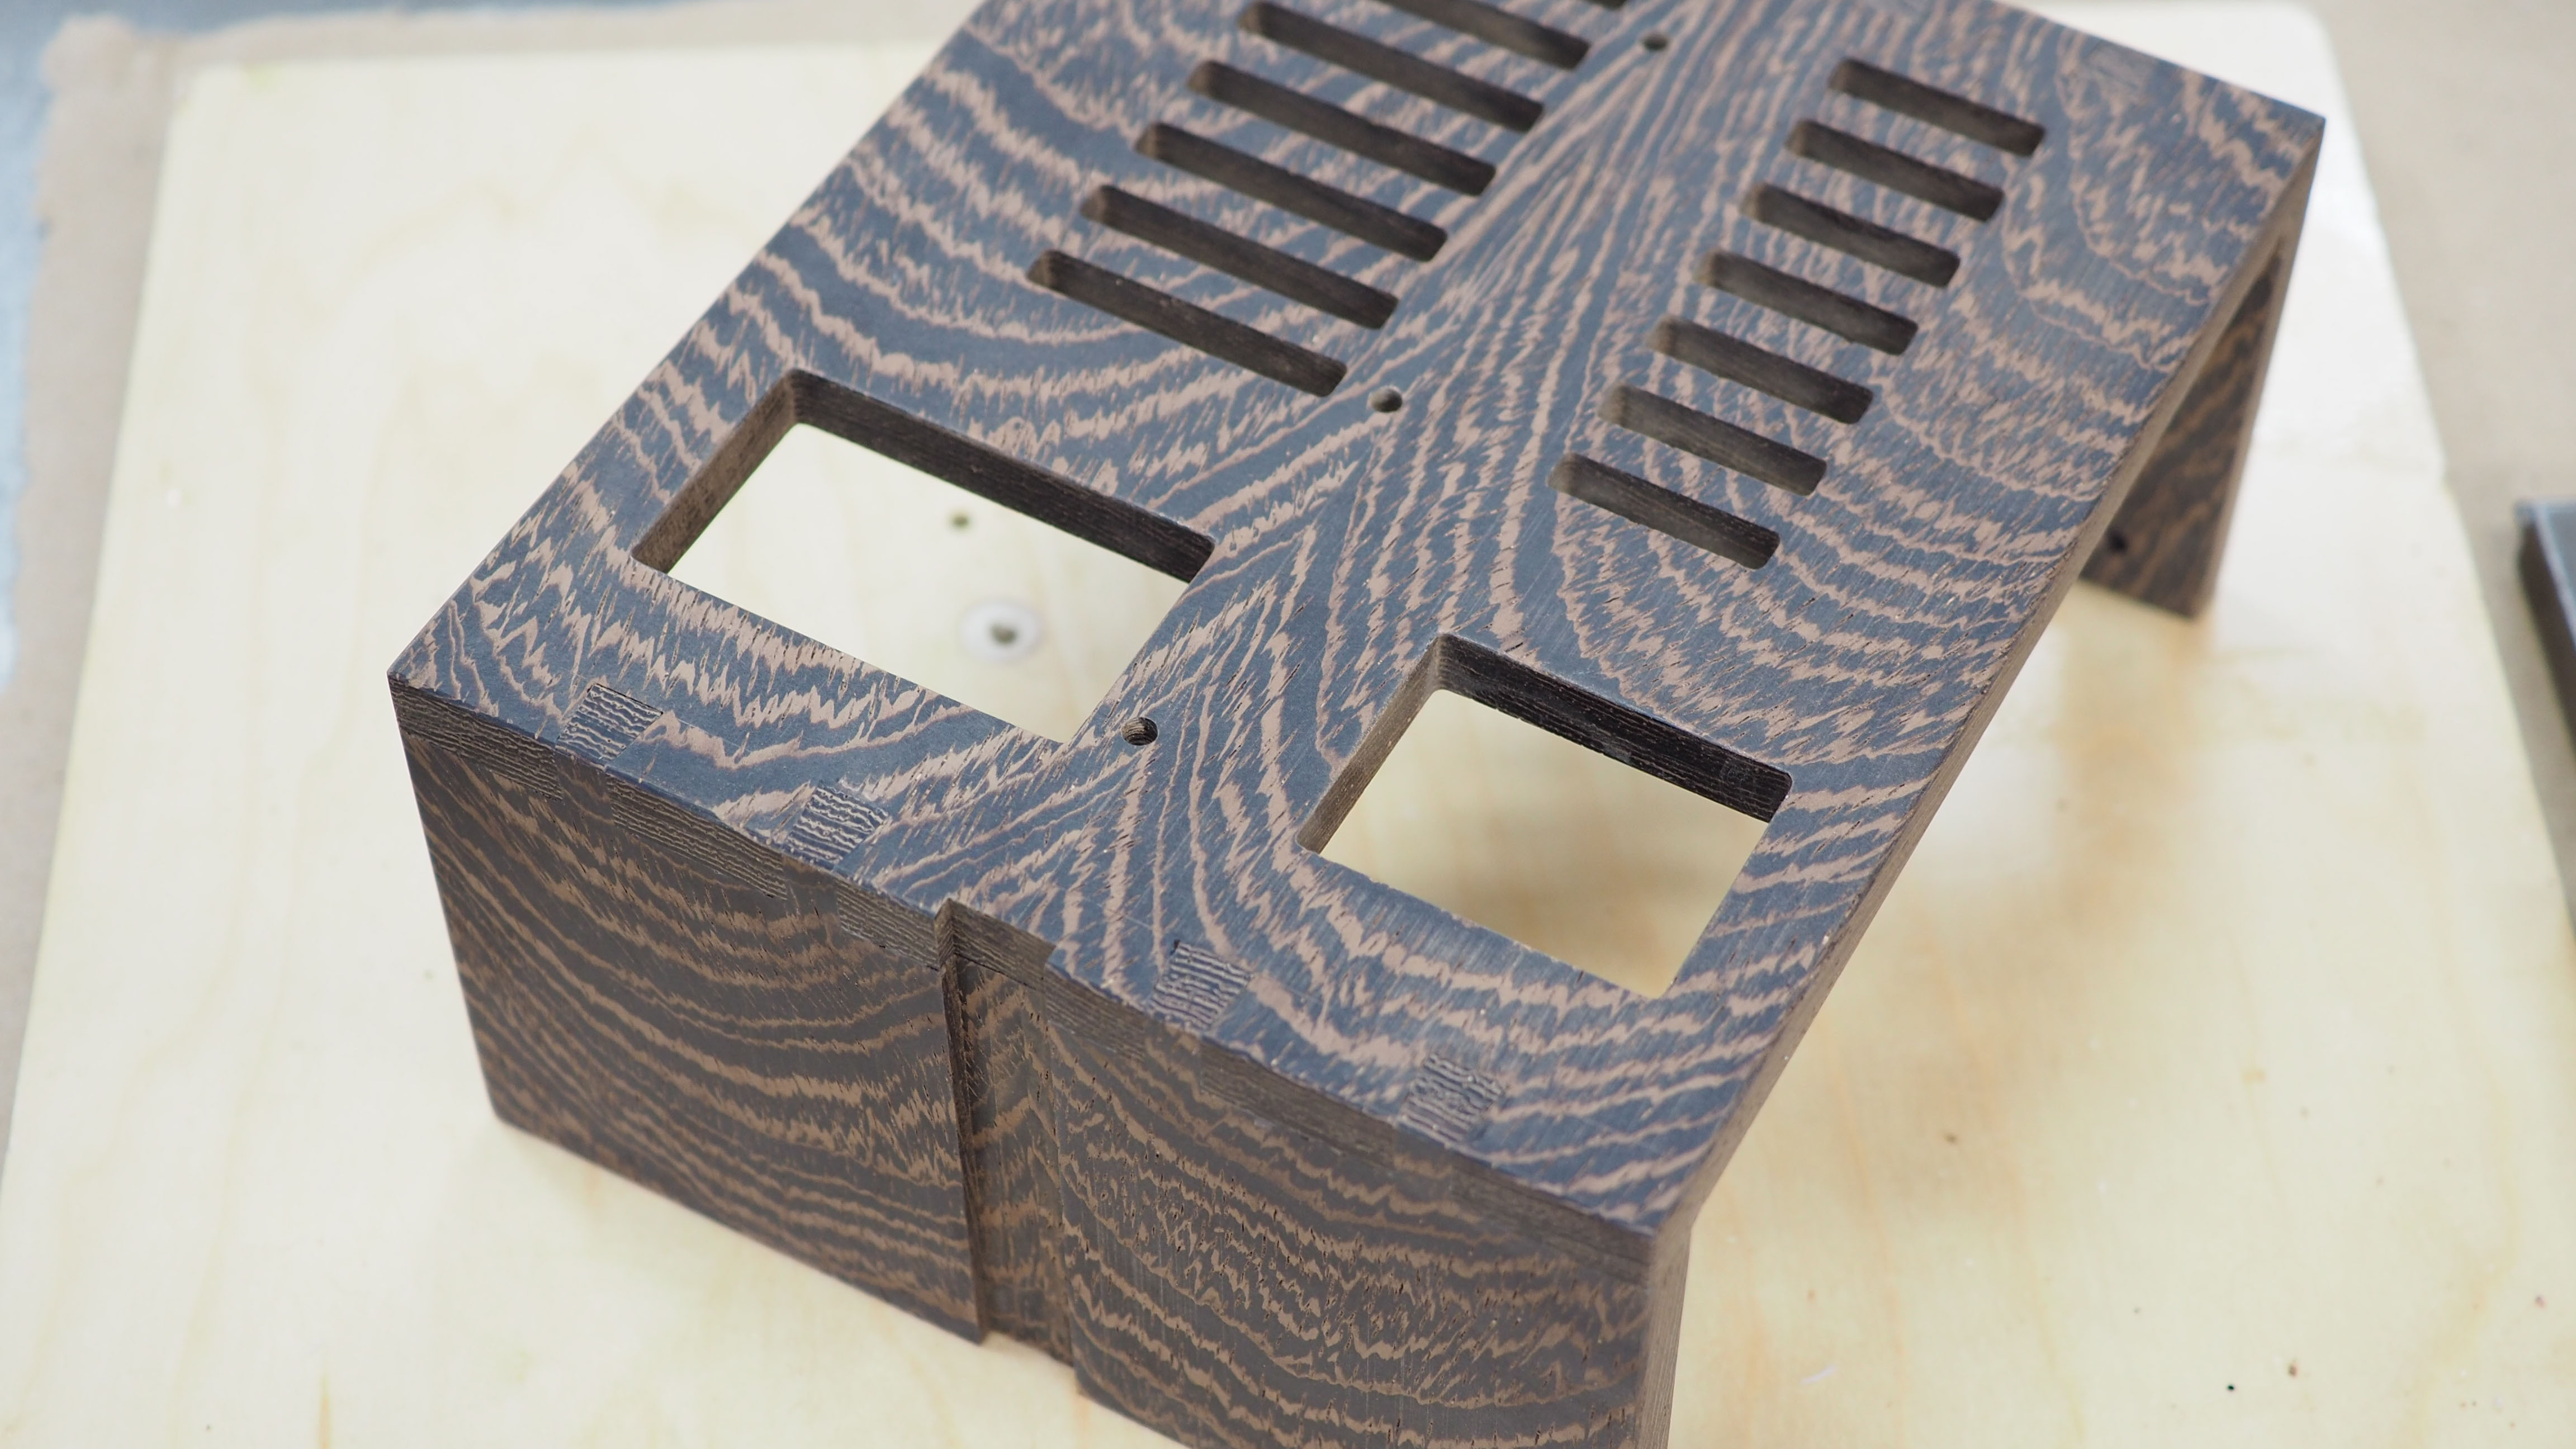
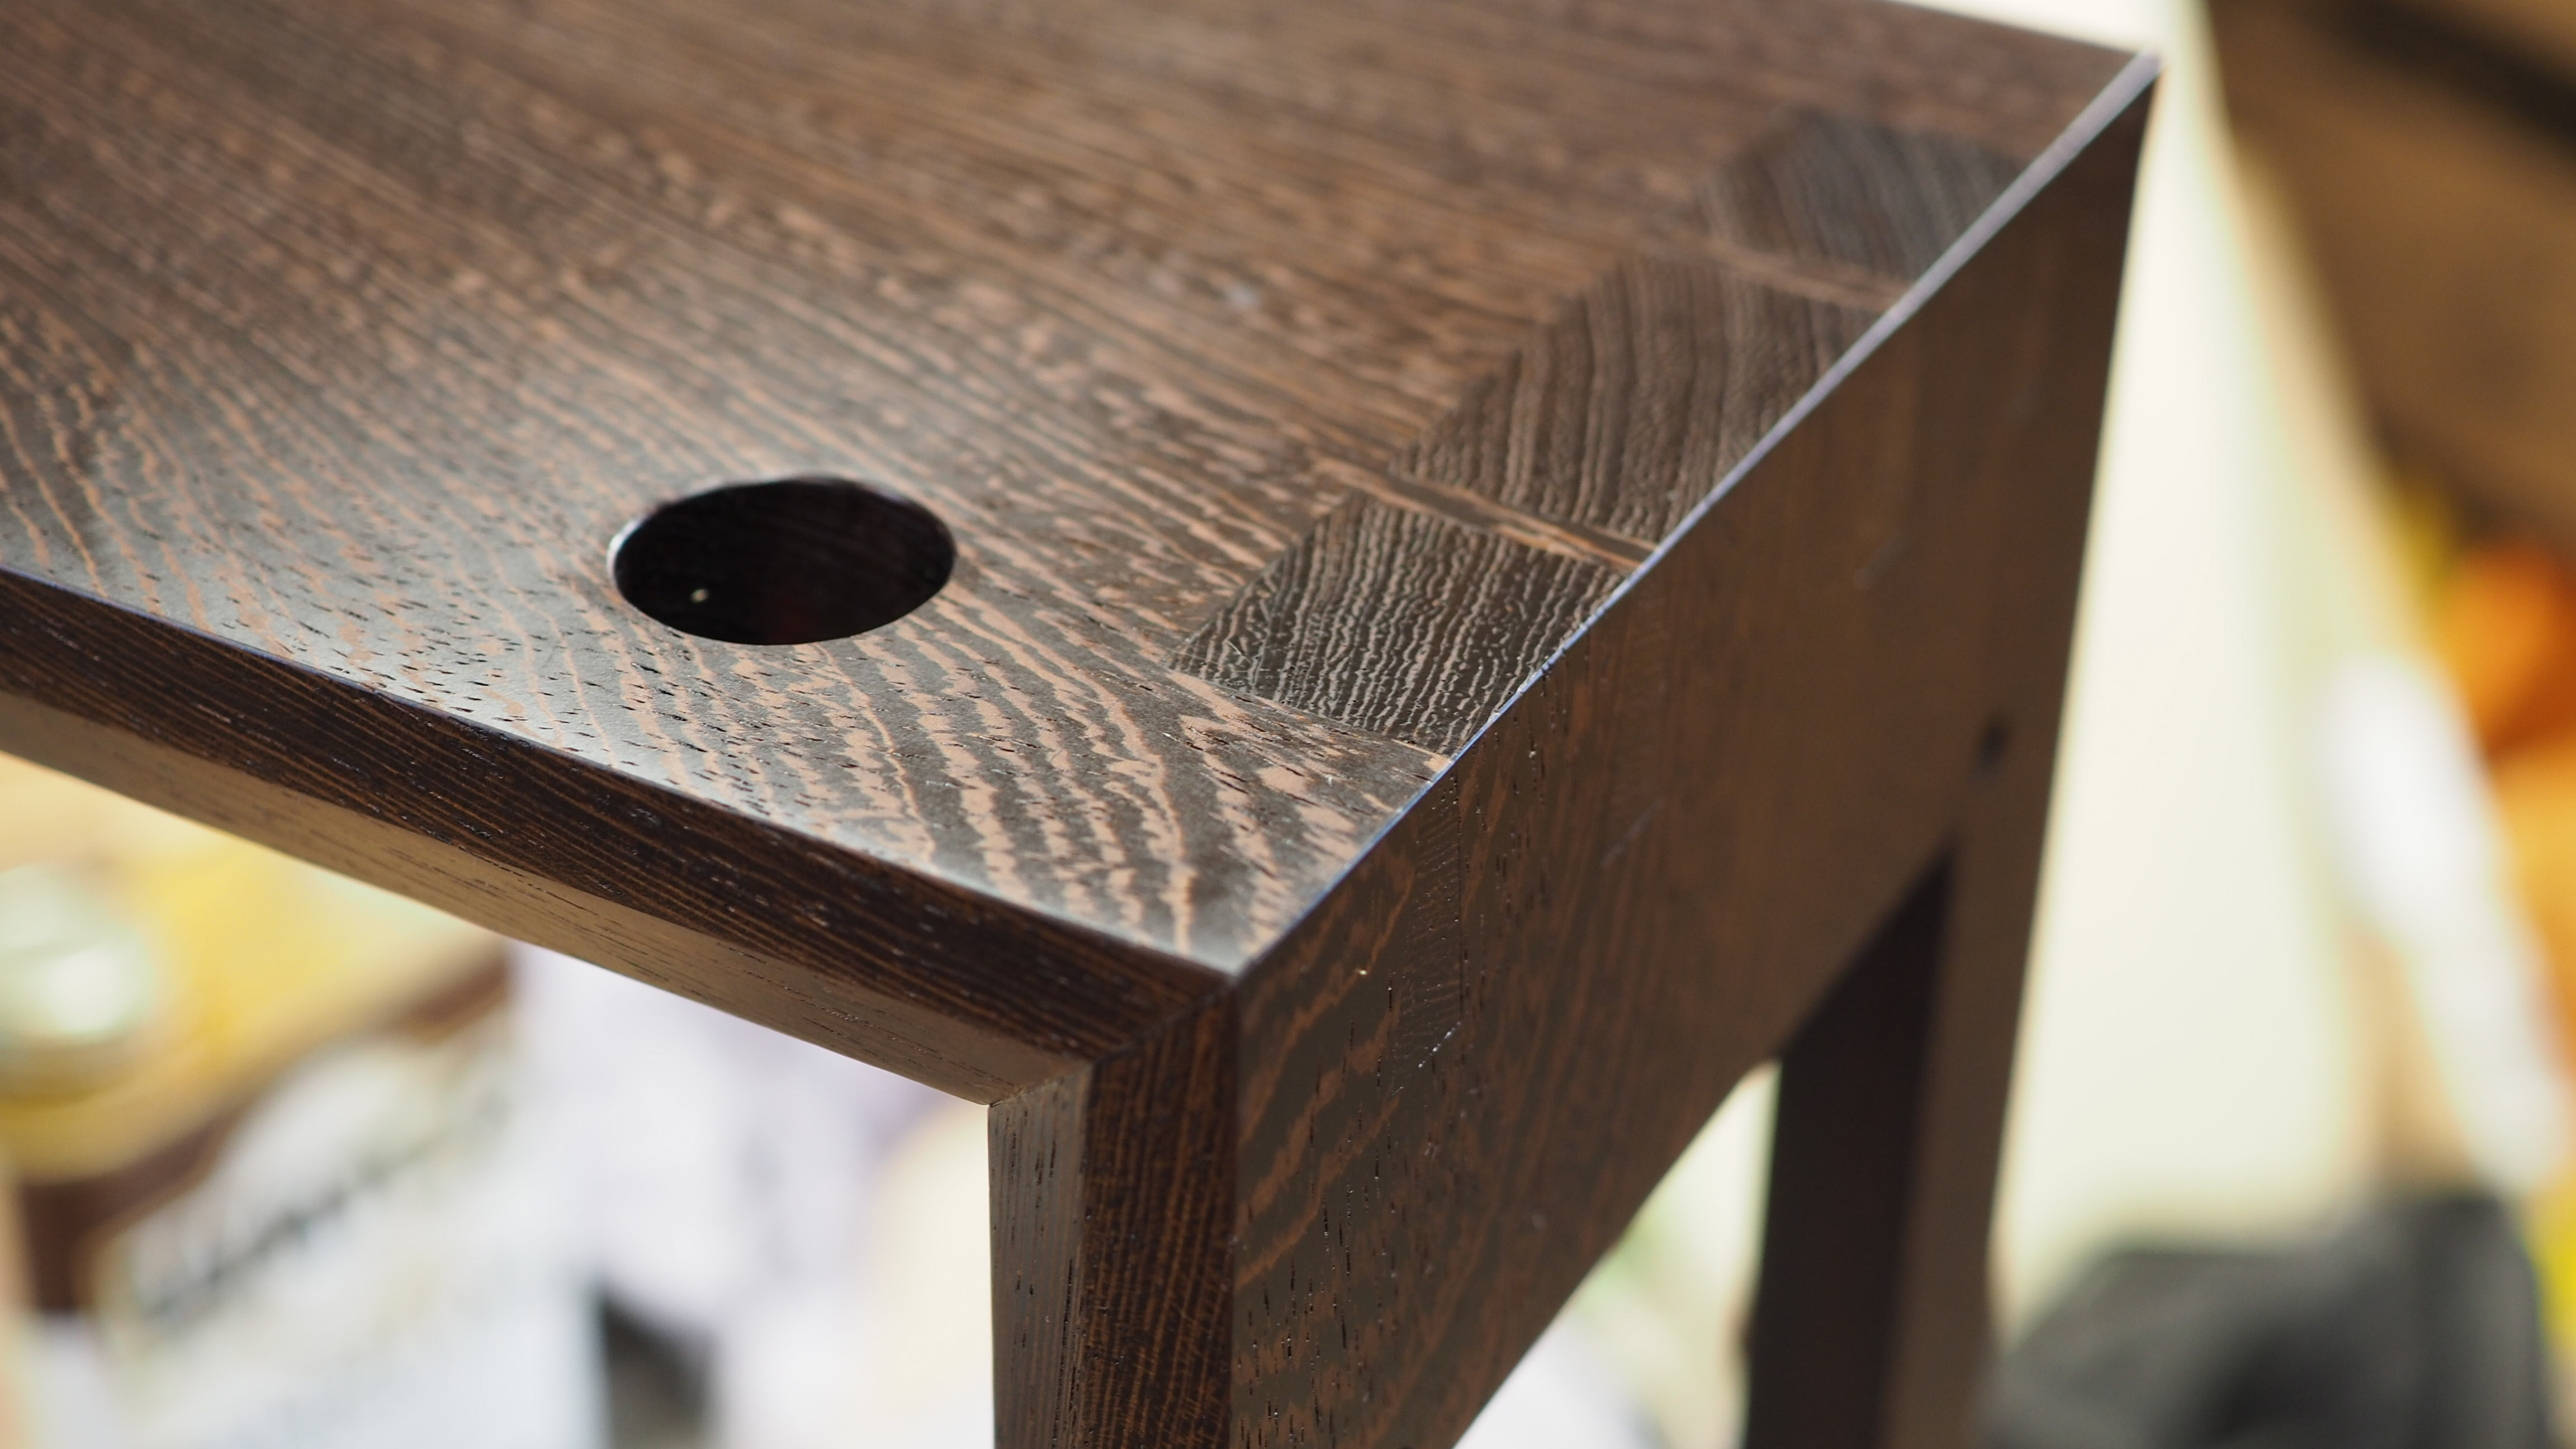
The finish is a multistep process, but I started with a flood coat of Danish Oil to really bring out the grain. I followed this with a few coats of wipe on Polyurethane to build up the lustre.
Get Tom's Hardware's best news and in-depth reviews, straight to your inbox.
Acrylic Finishing
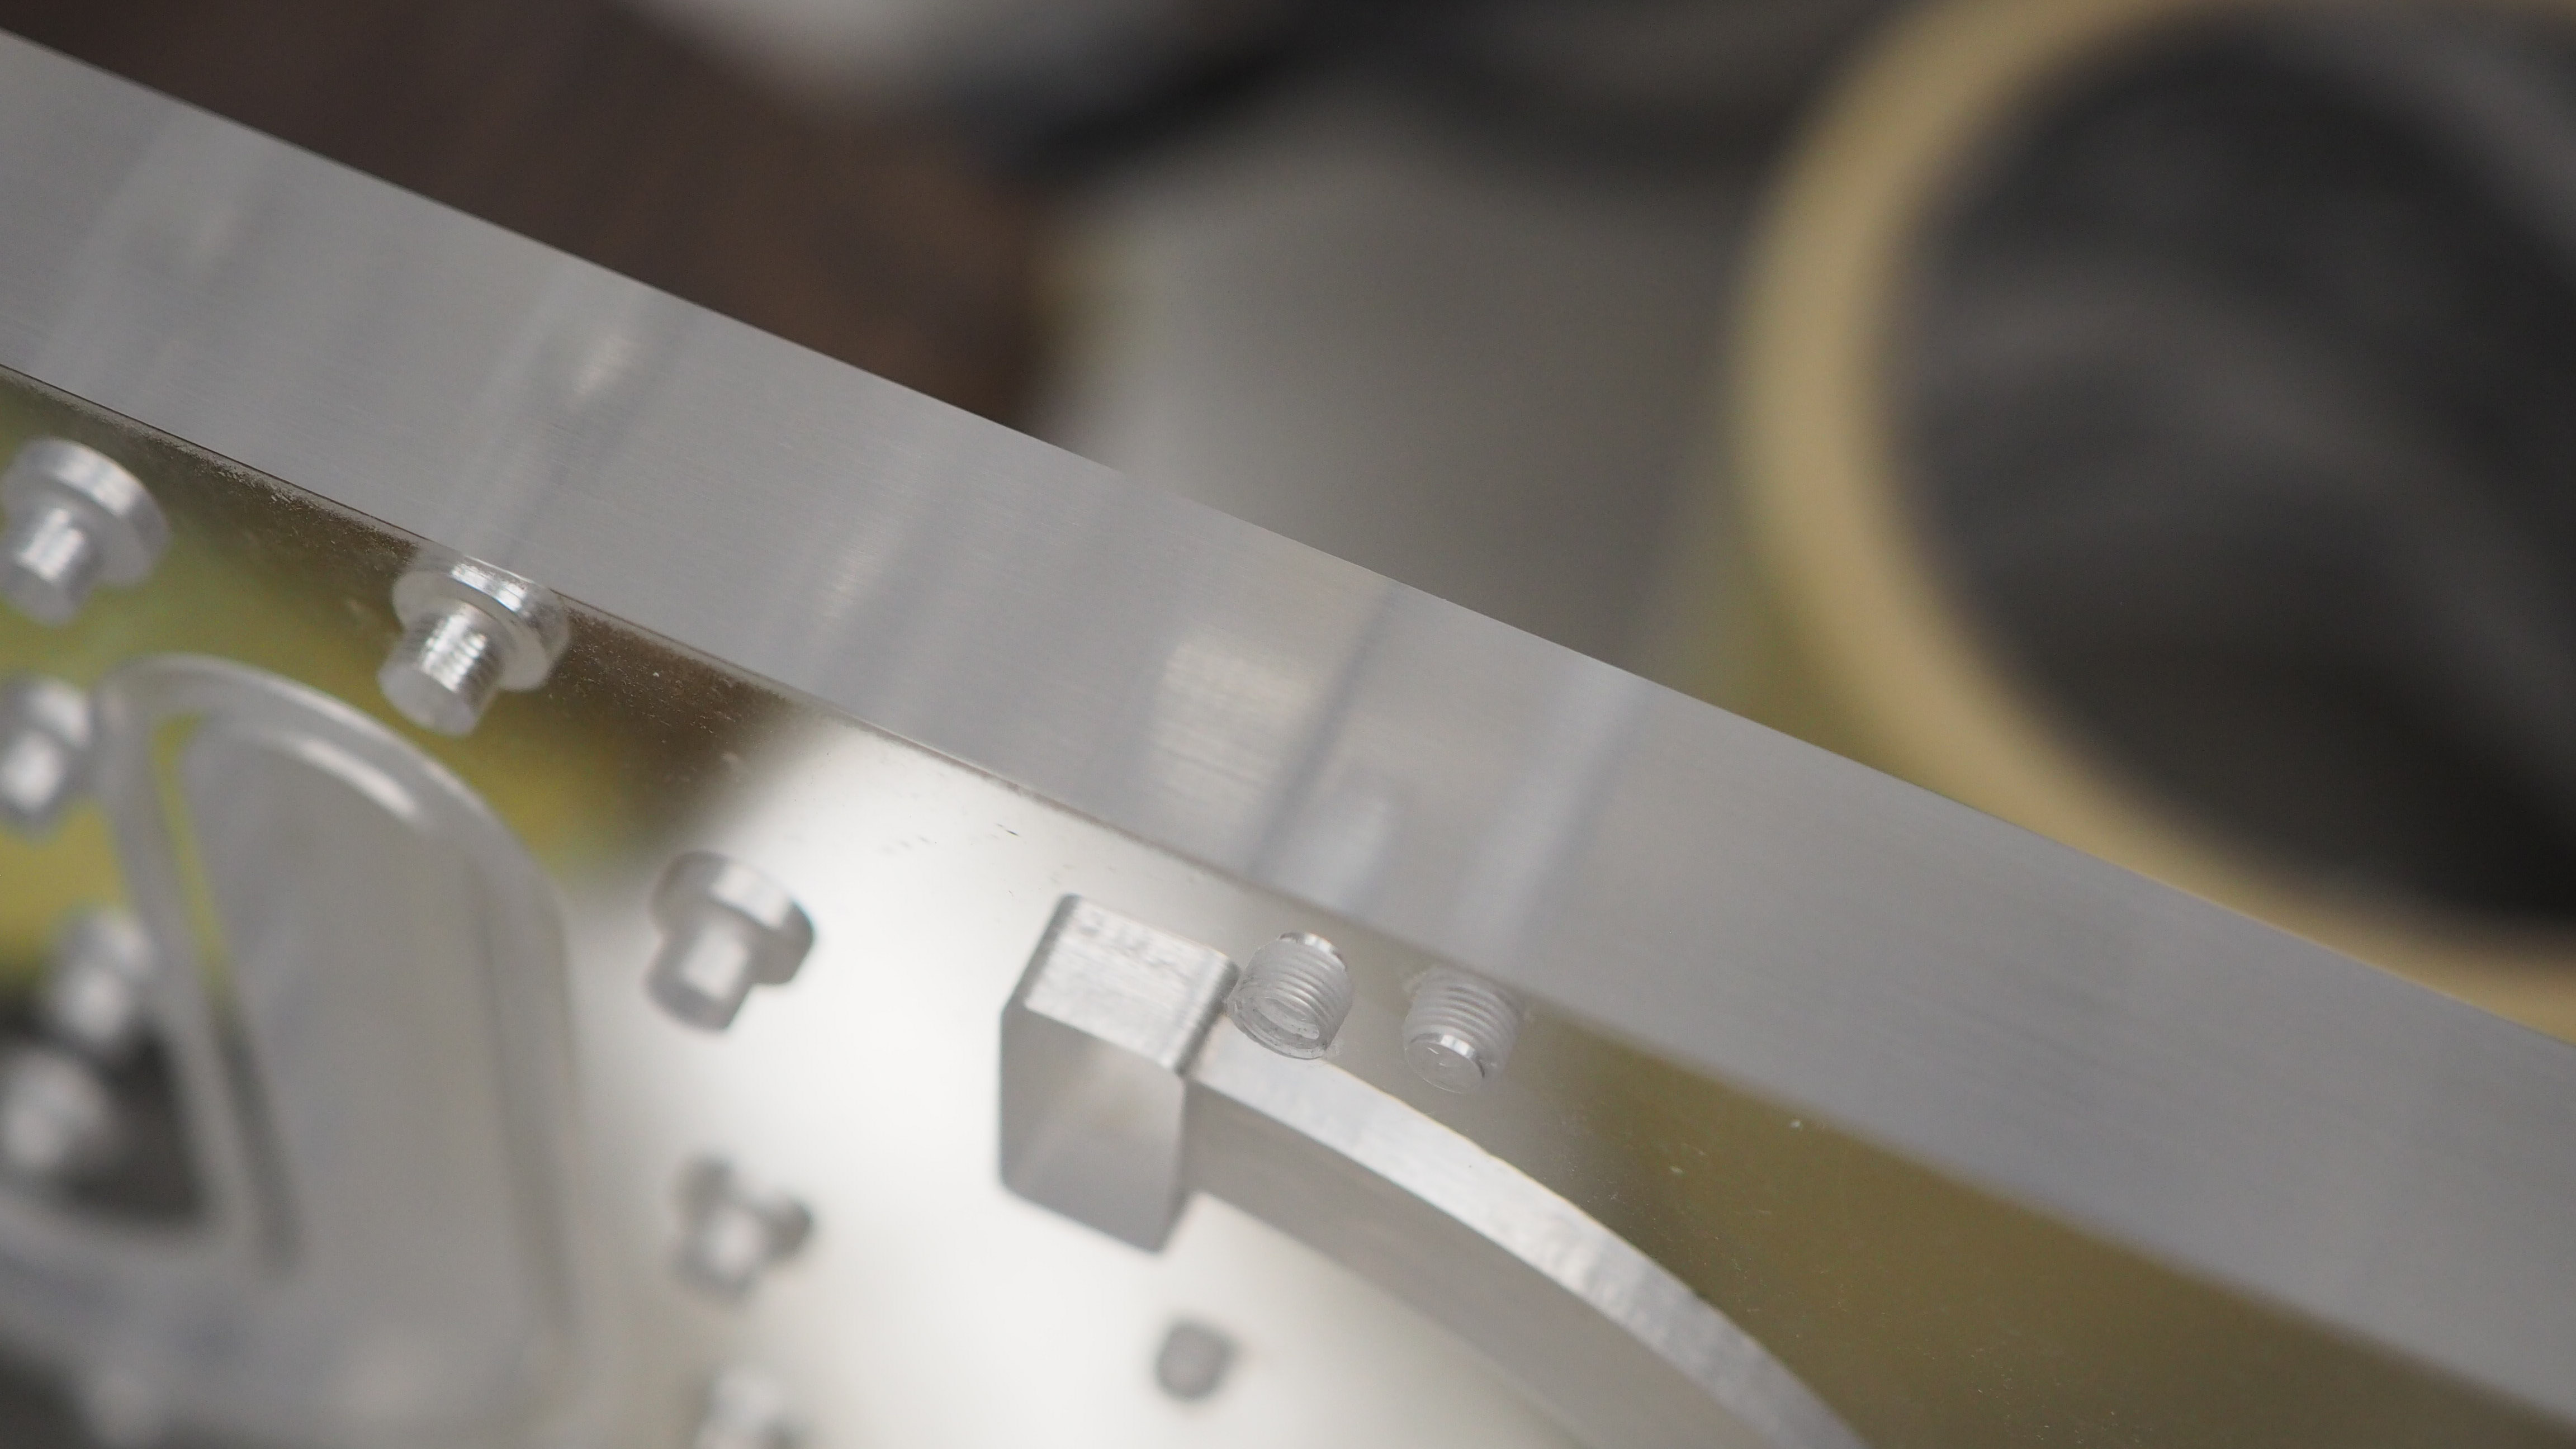
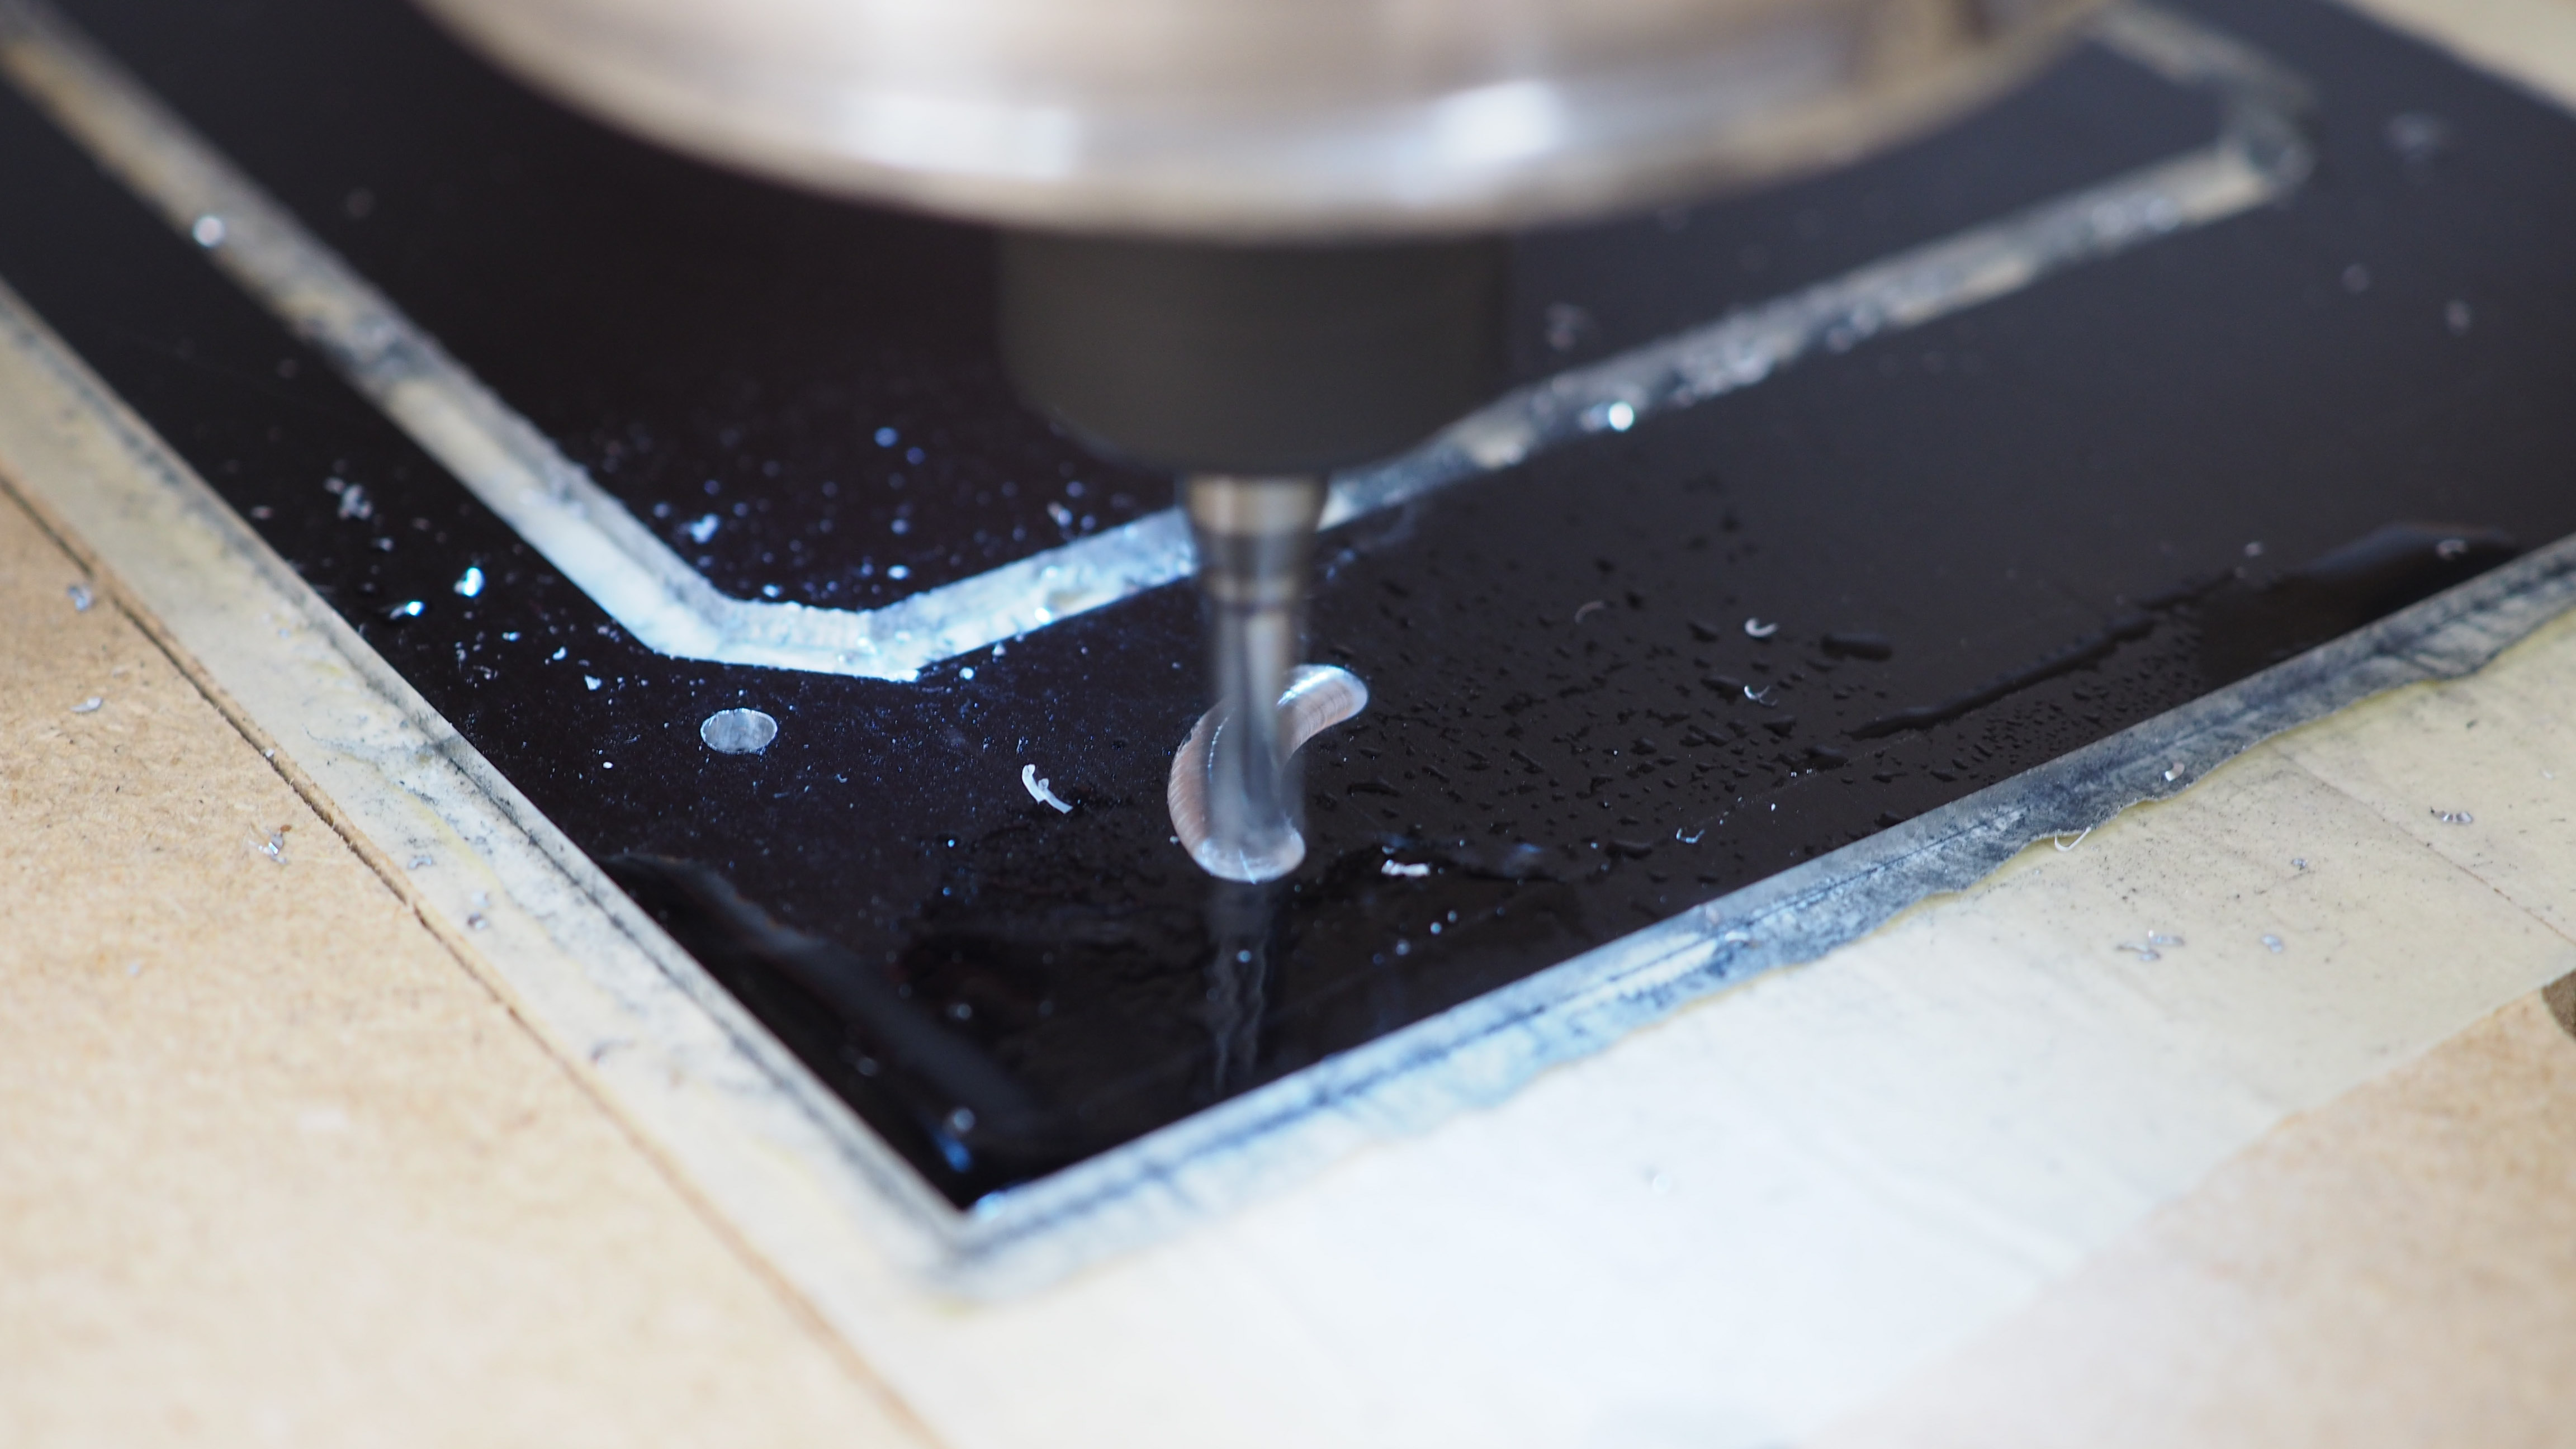
One of the odd jobs left to do was finishing the edges of the acrylic. My CNC does a decent job of making smooth cuts, but I did not want any machine marks. This is also an easy way of really making the case seem like it is almost done.
To do this, I put a sheet of sandpaper on my table saw and used the flat surface to keep the edges flat too.
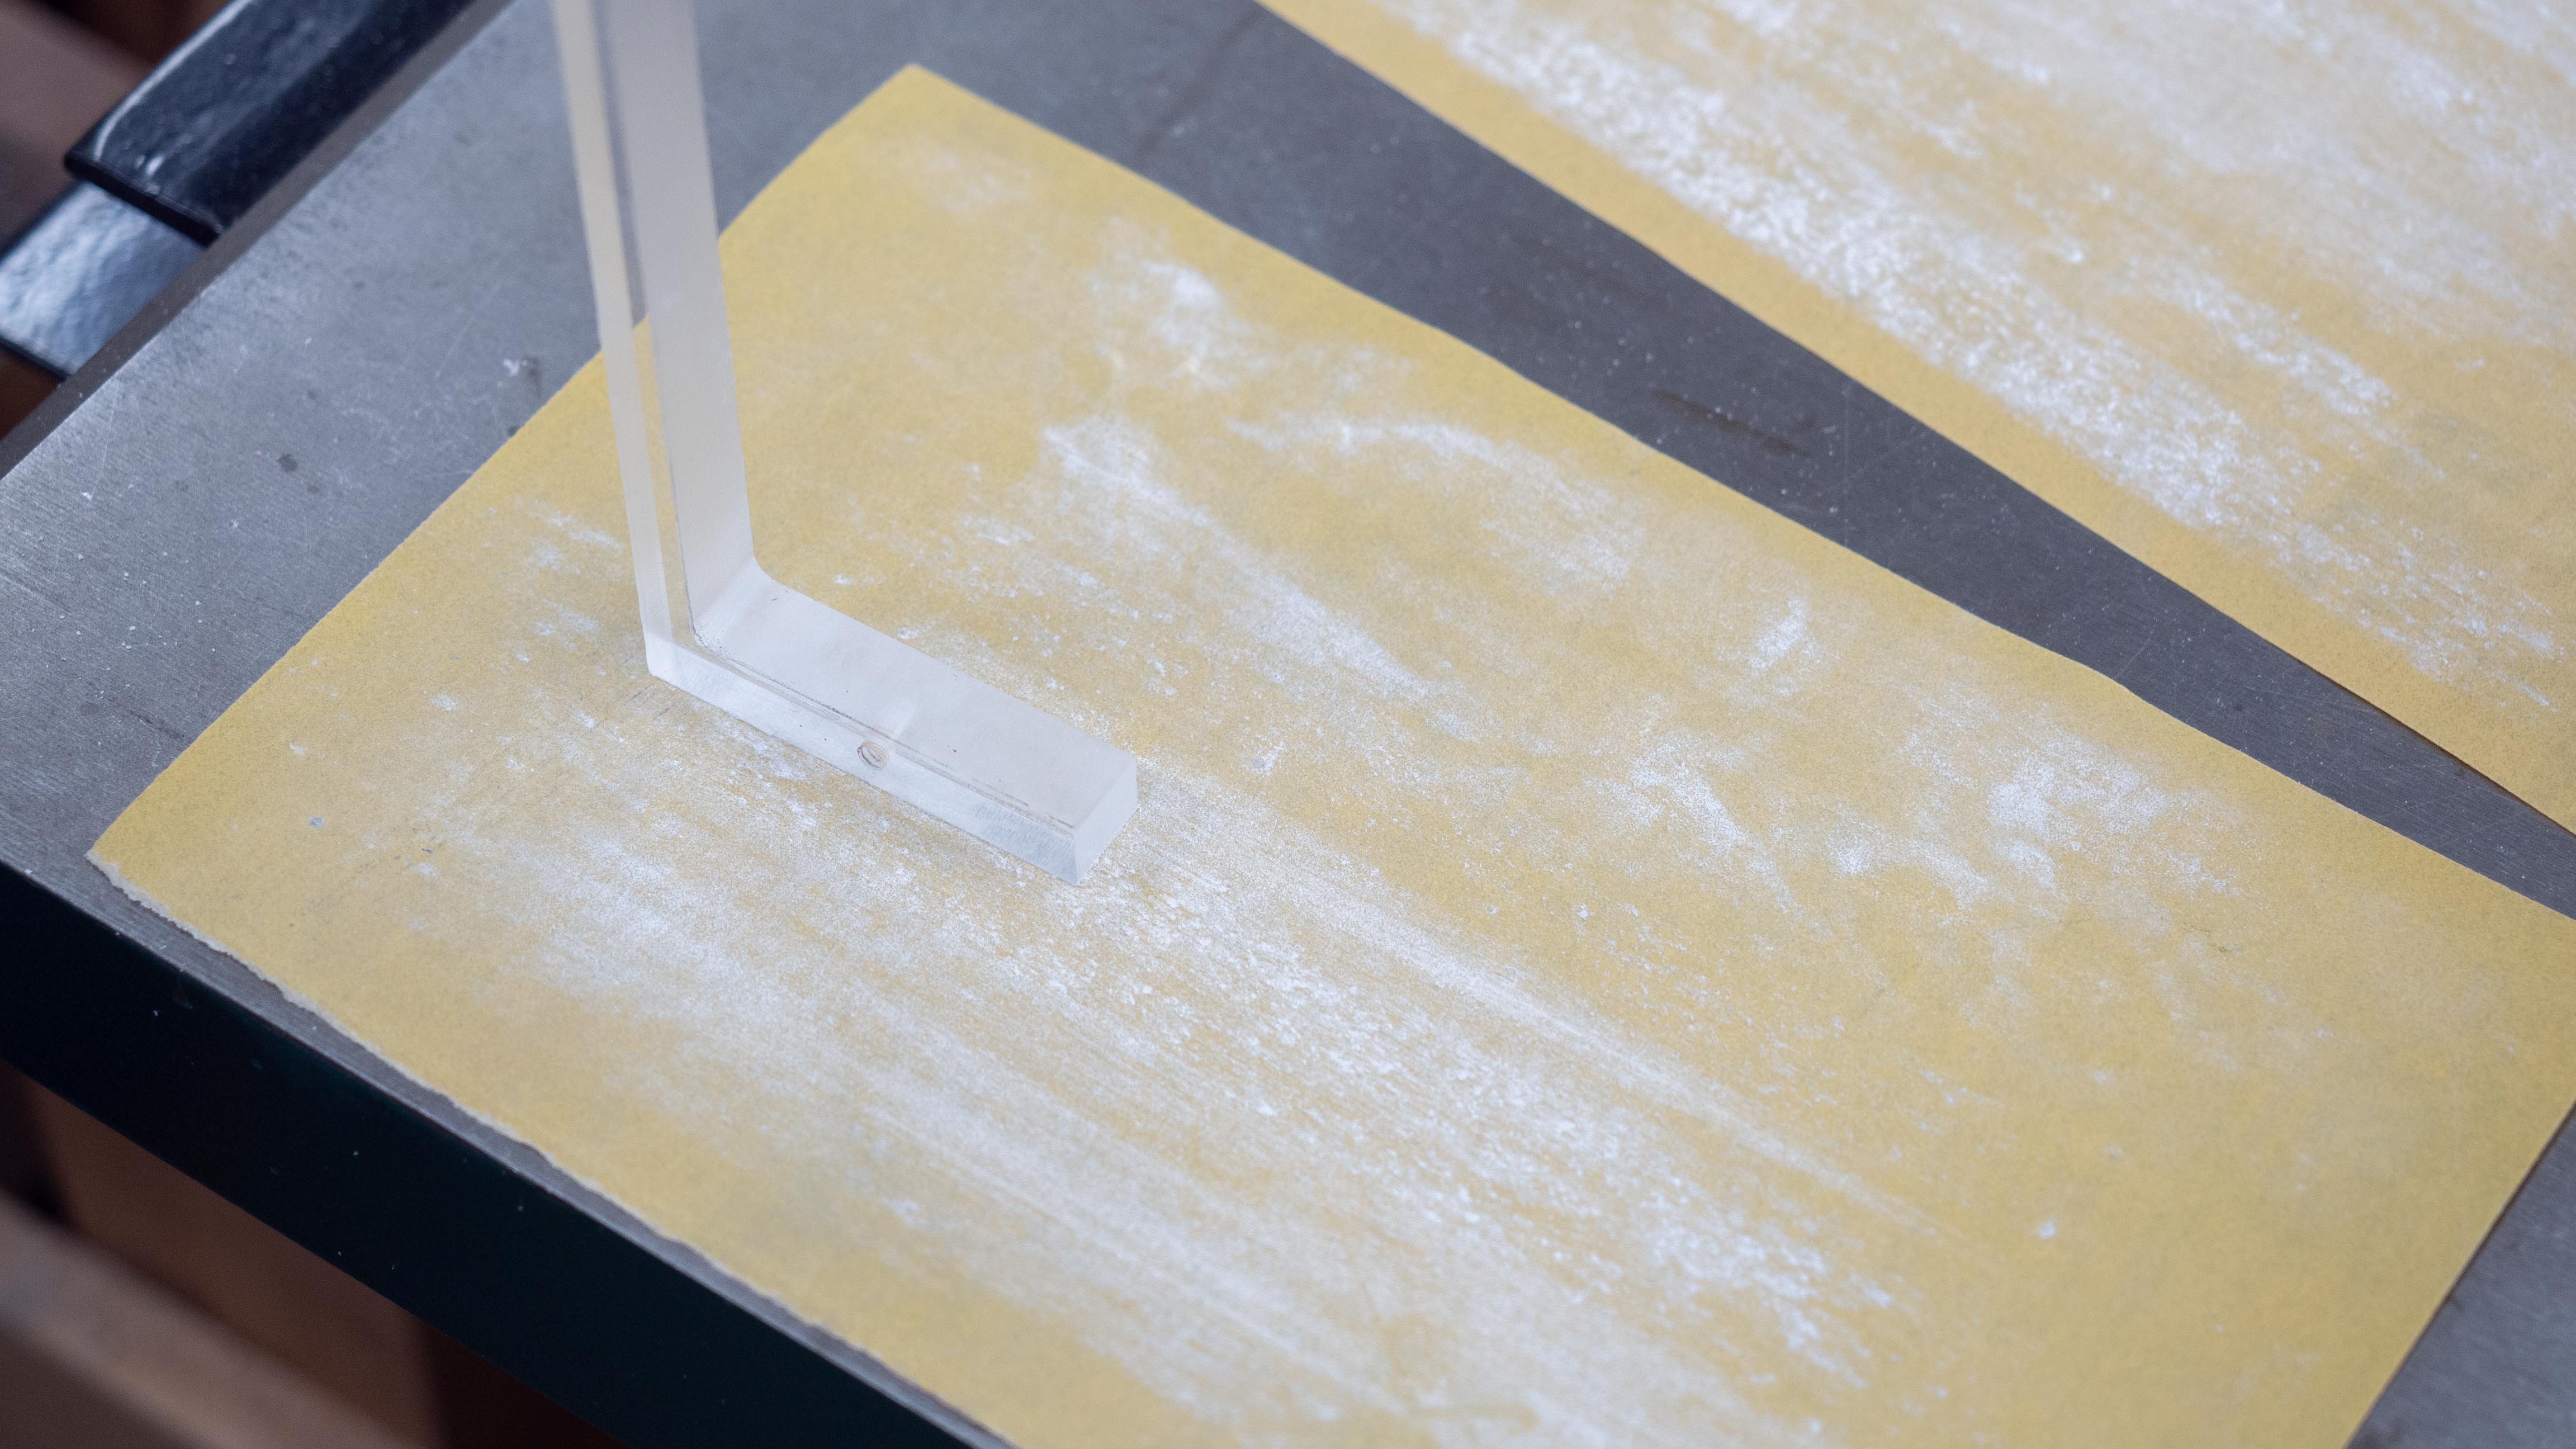
I did this for each acrylic edge in the case.
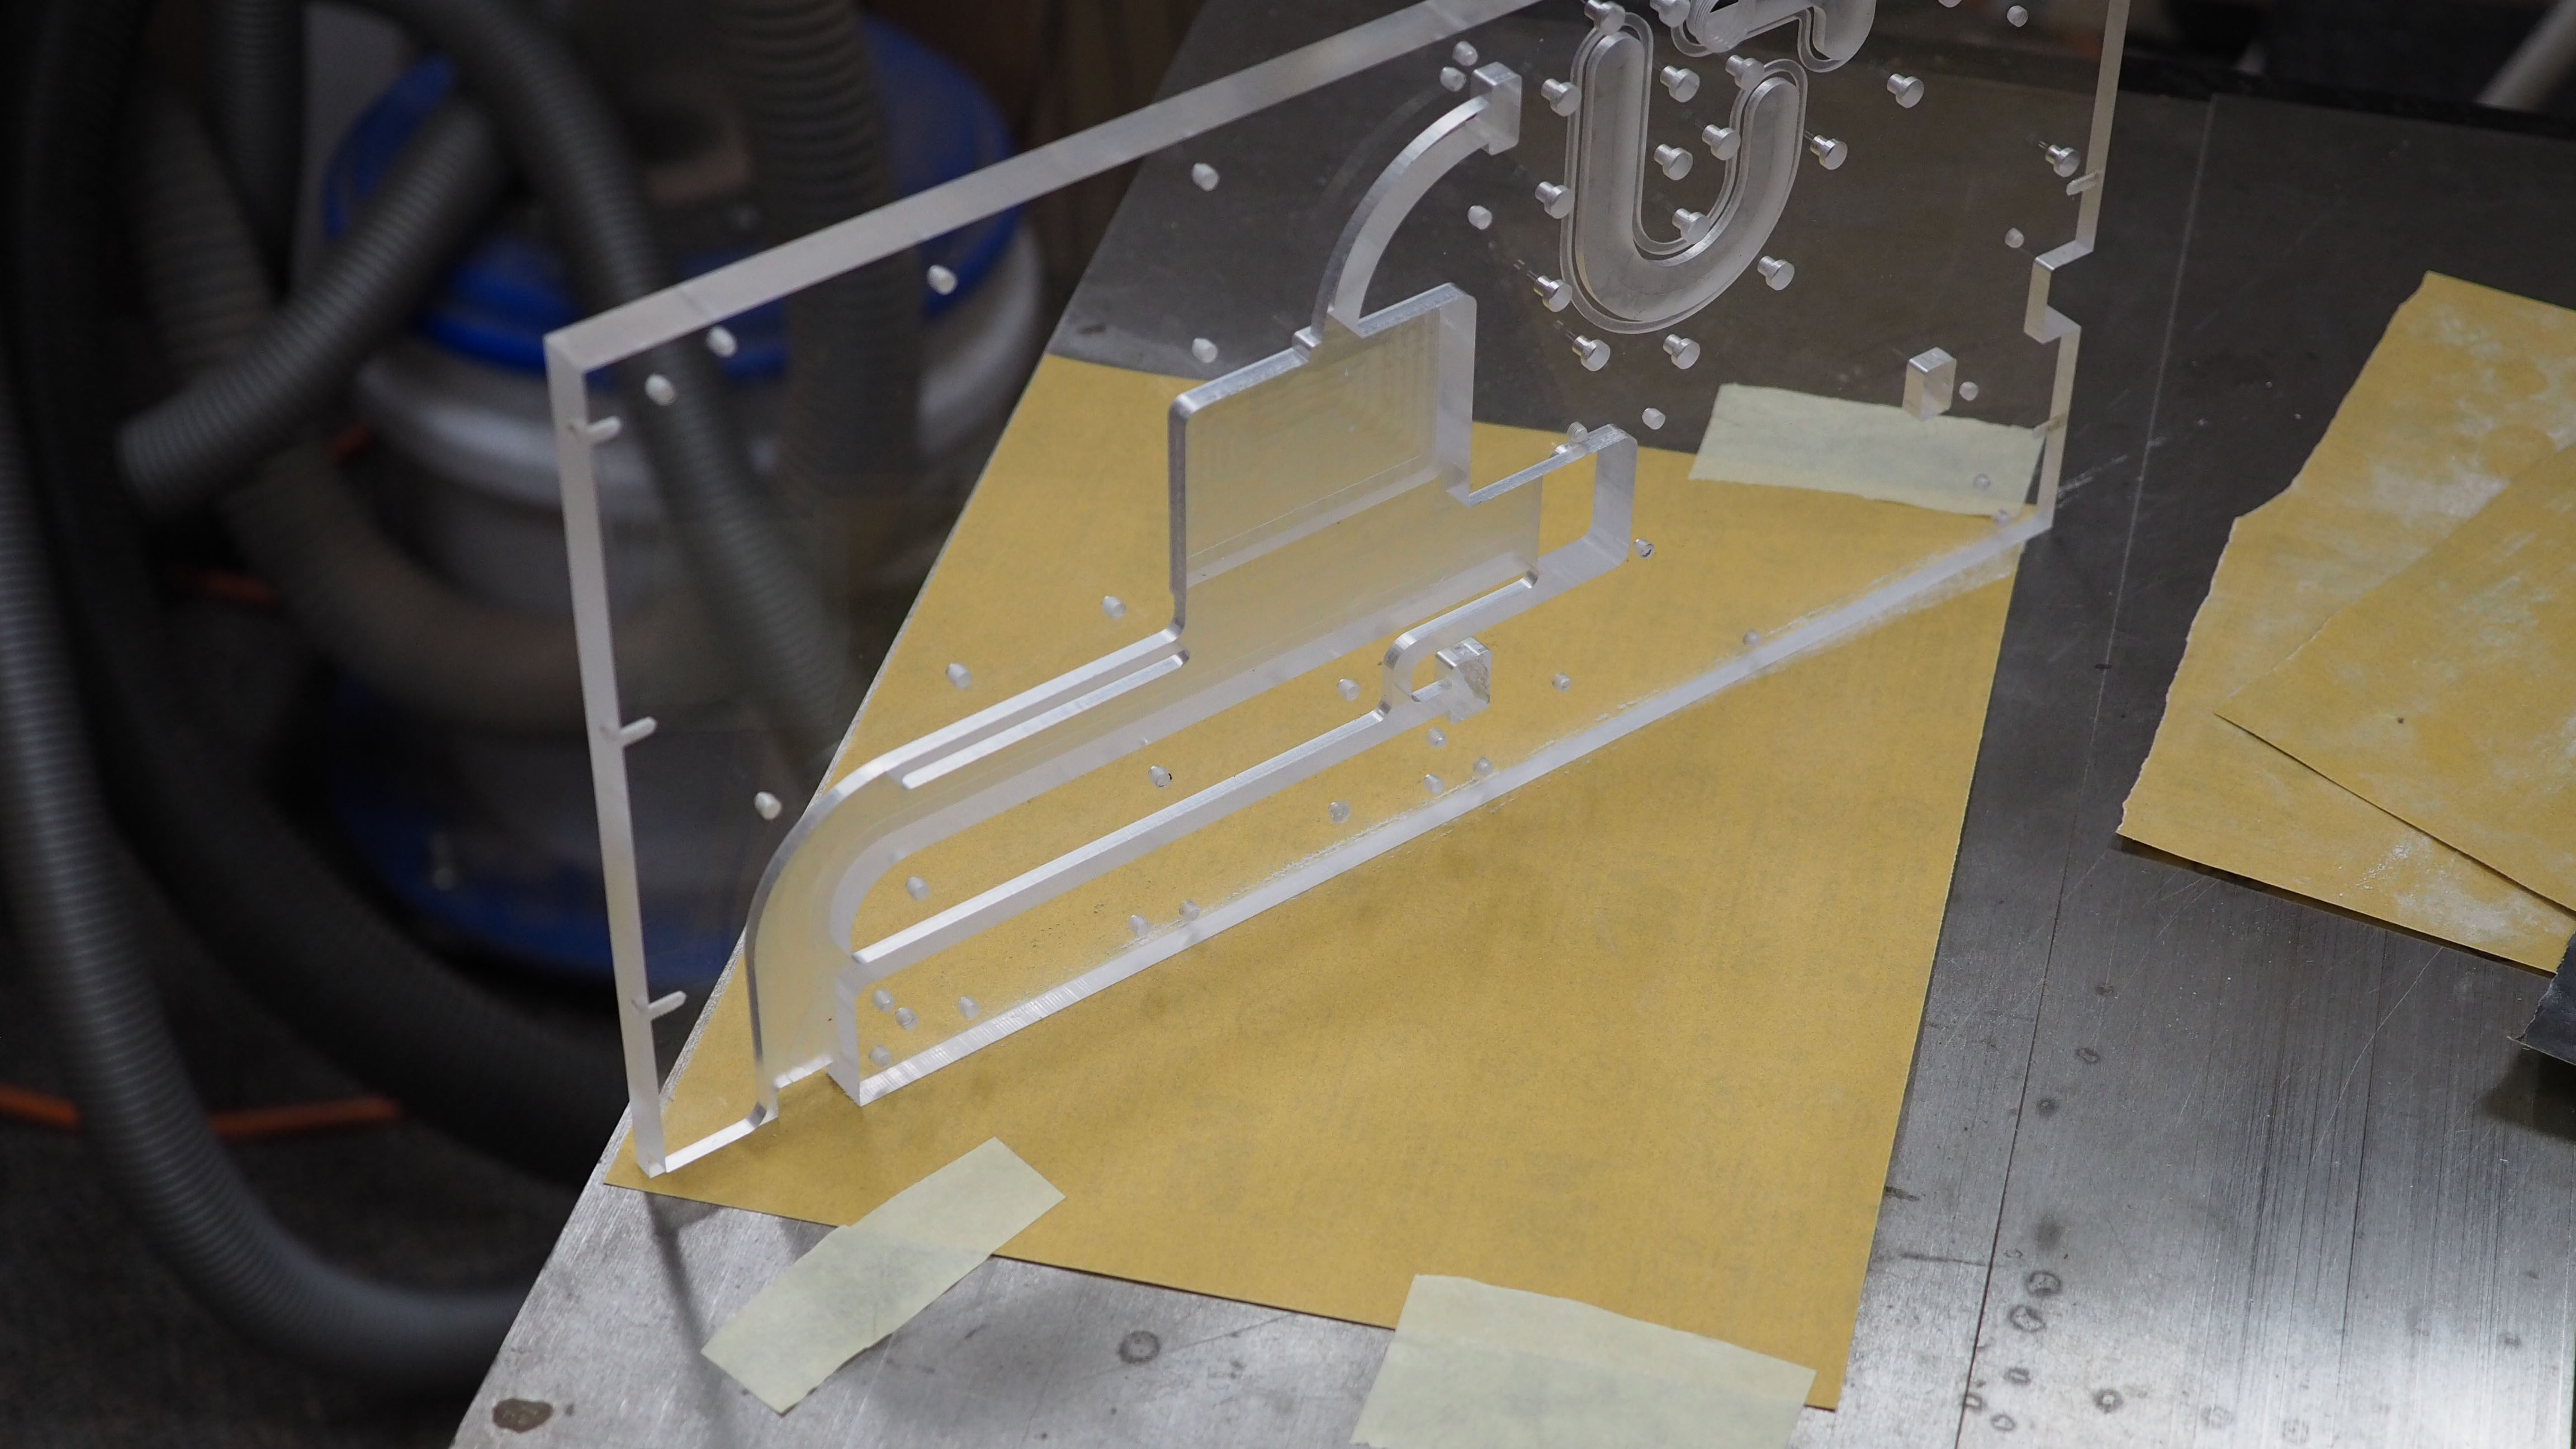
It is not super noticeable, but the edge went from this, with little ridges.
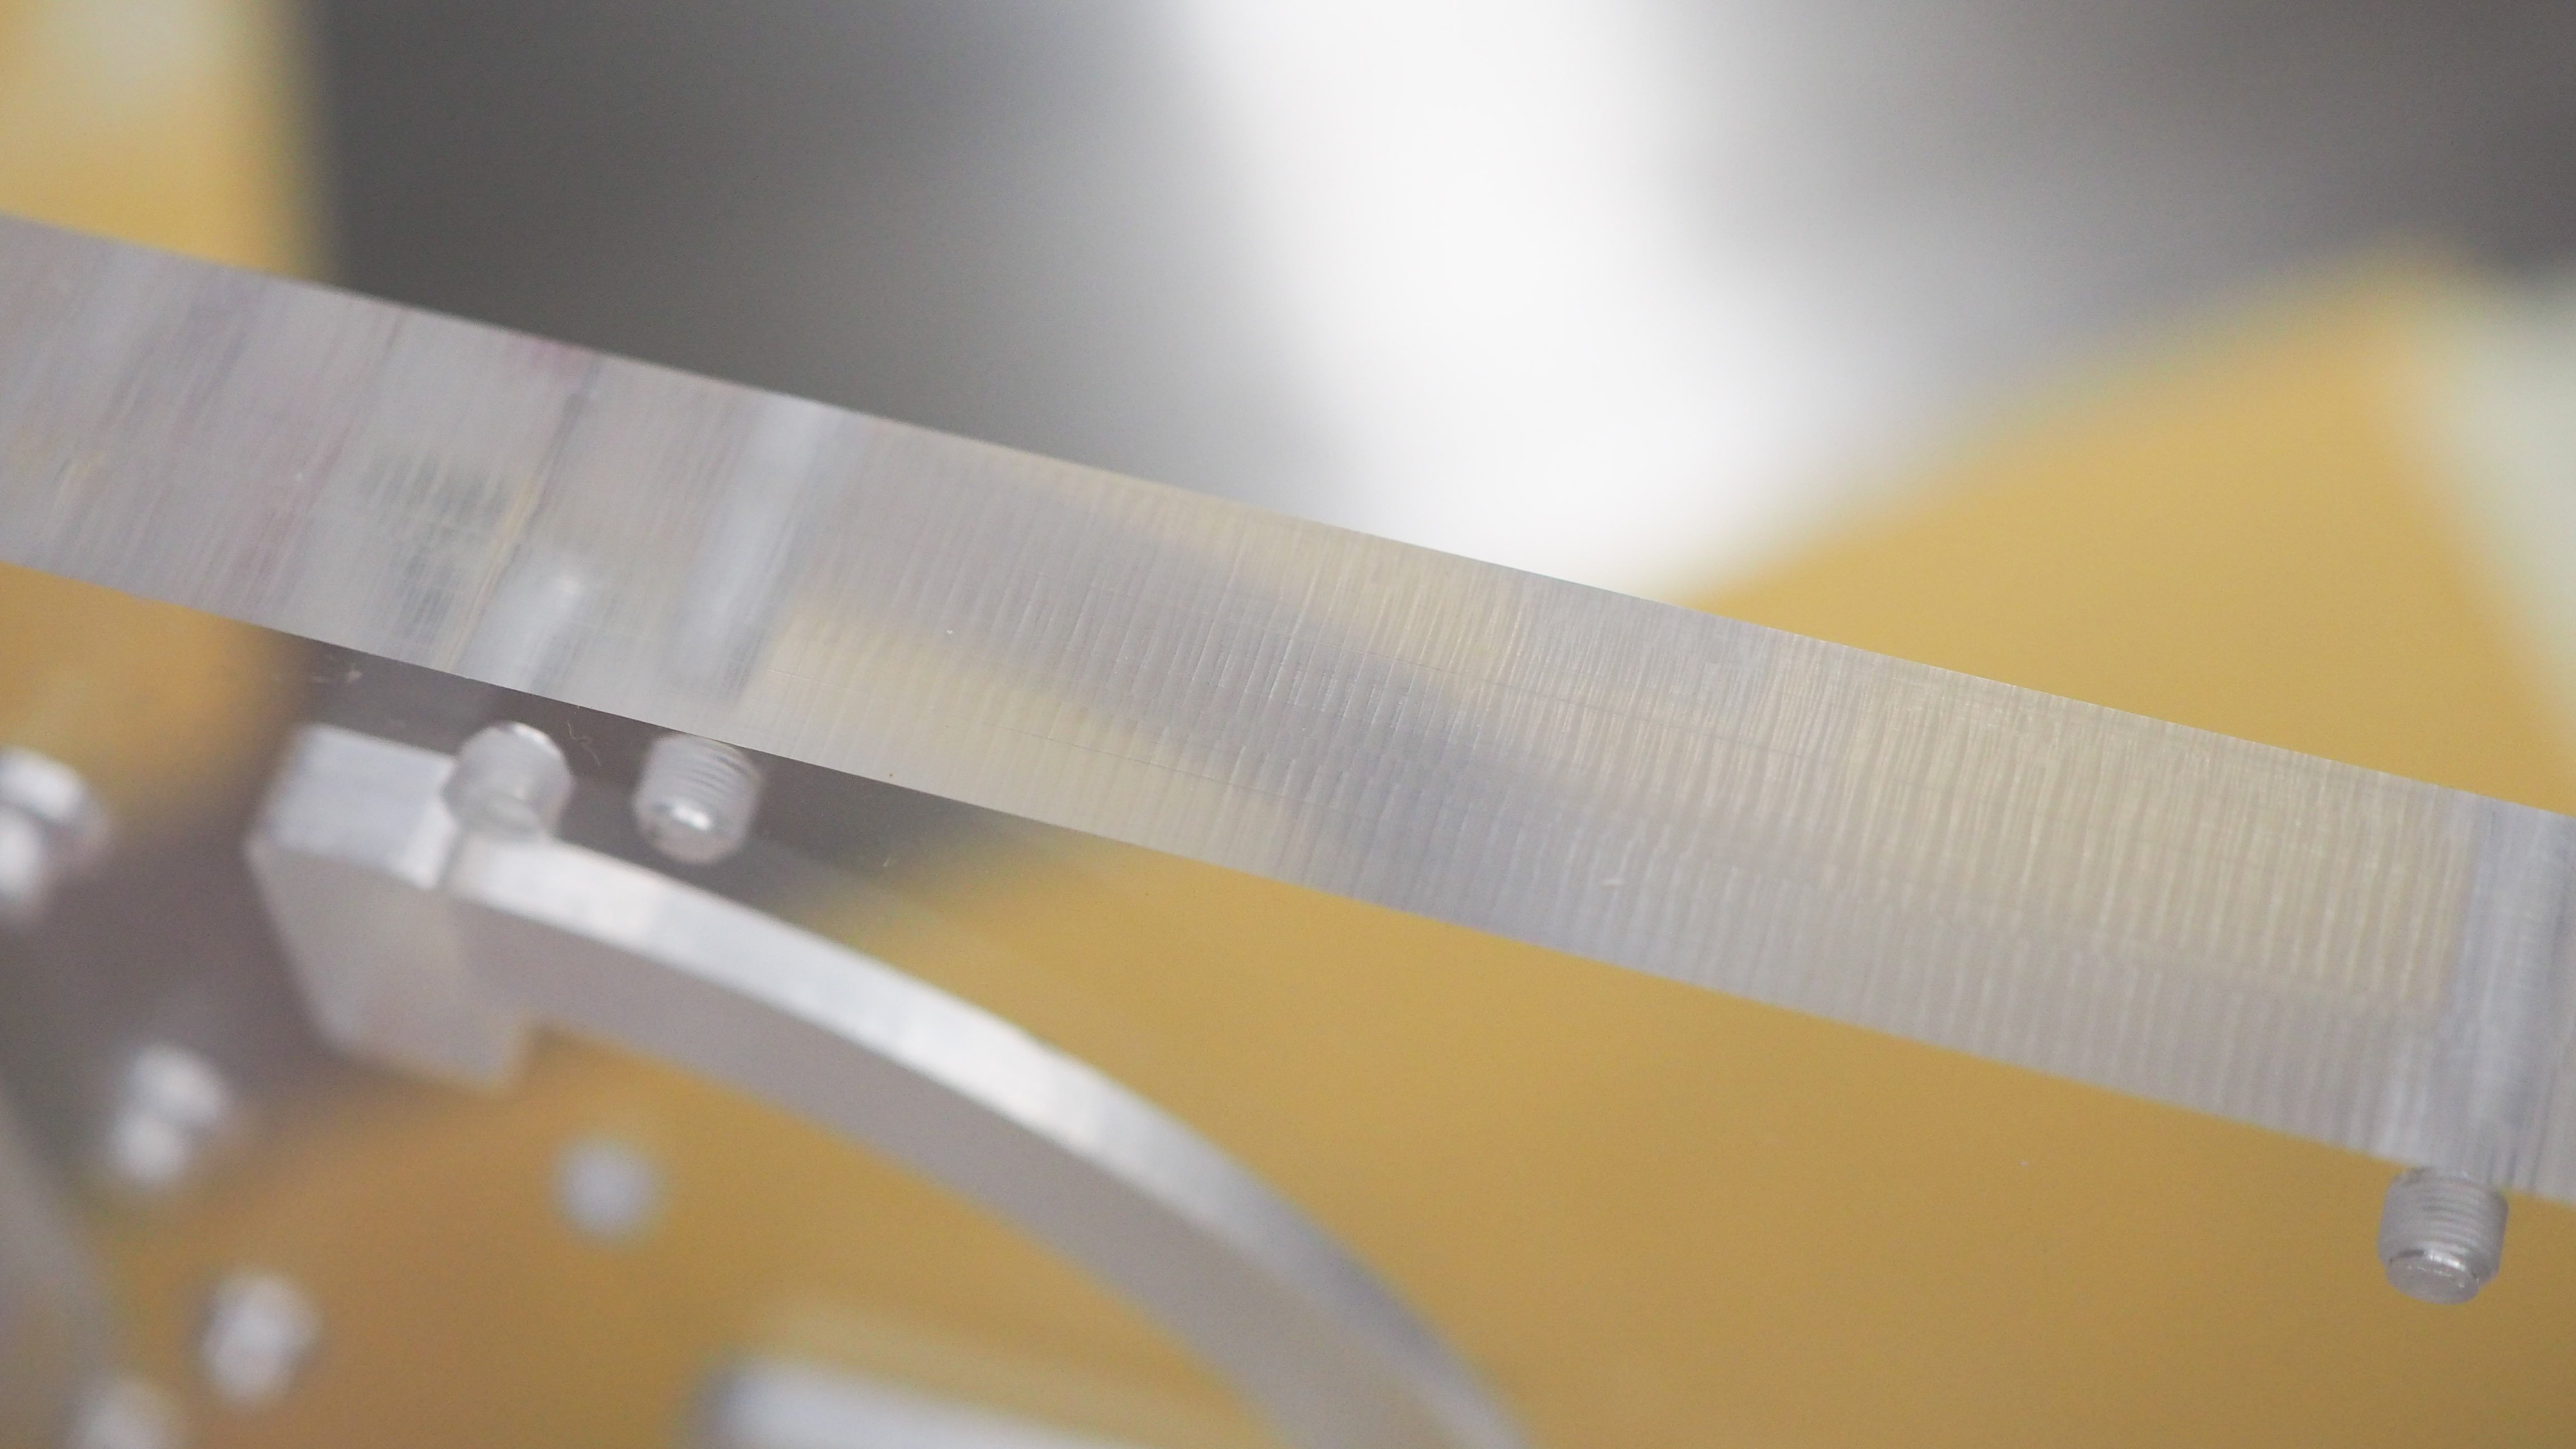
To this, after I used 220, 320, and 600 grit sand papers.
Radiator Shroud
One of the last main elements to figure out was the radiator shroud. I left the design of this until the end since I didn’t know exactly how the case would look at this point and I figured it would be easier to design it later on in the process.
I used some scrap plywood to make a model of the shroud which would cover the radiator and fan assemblies, simplifying their overall look to match with the rest of the case design.
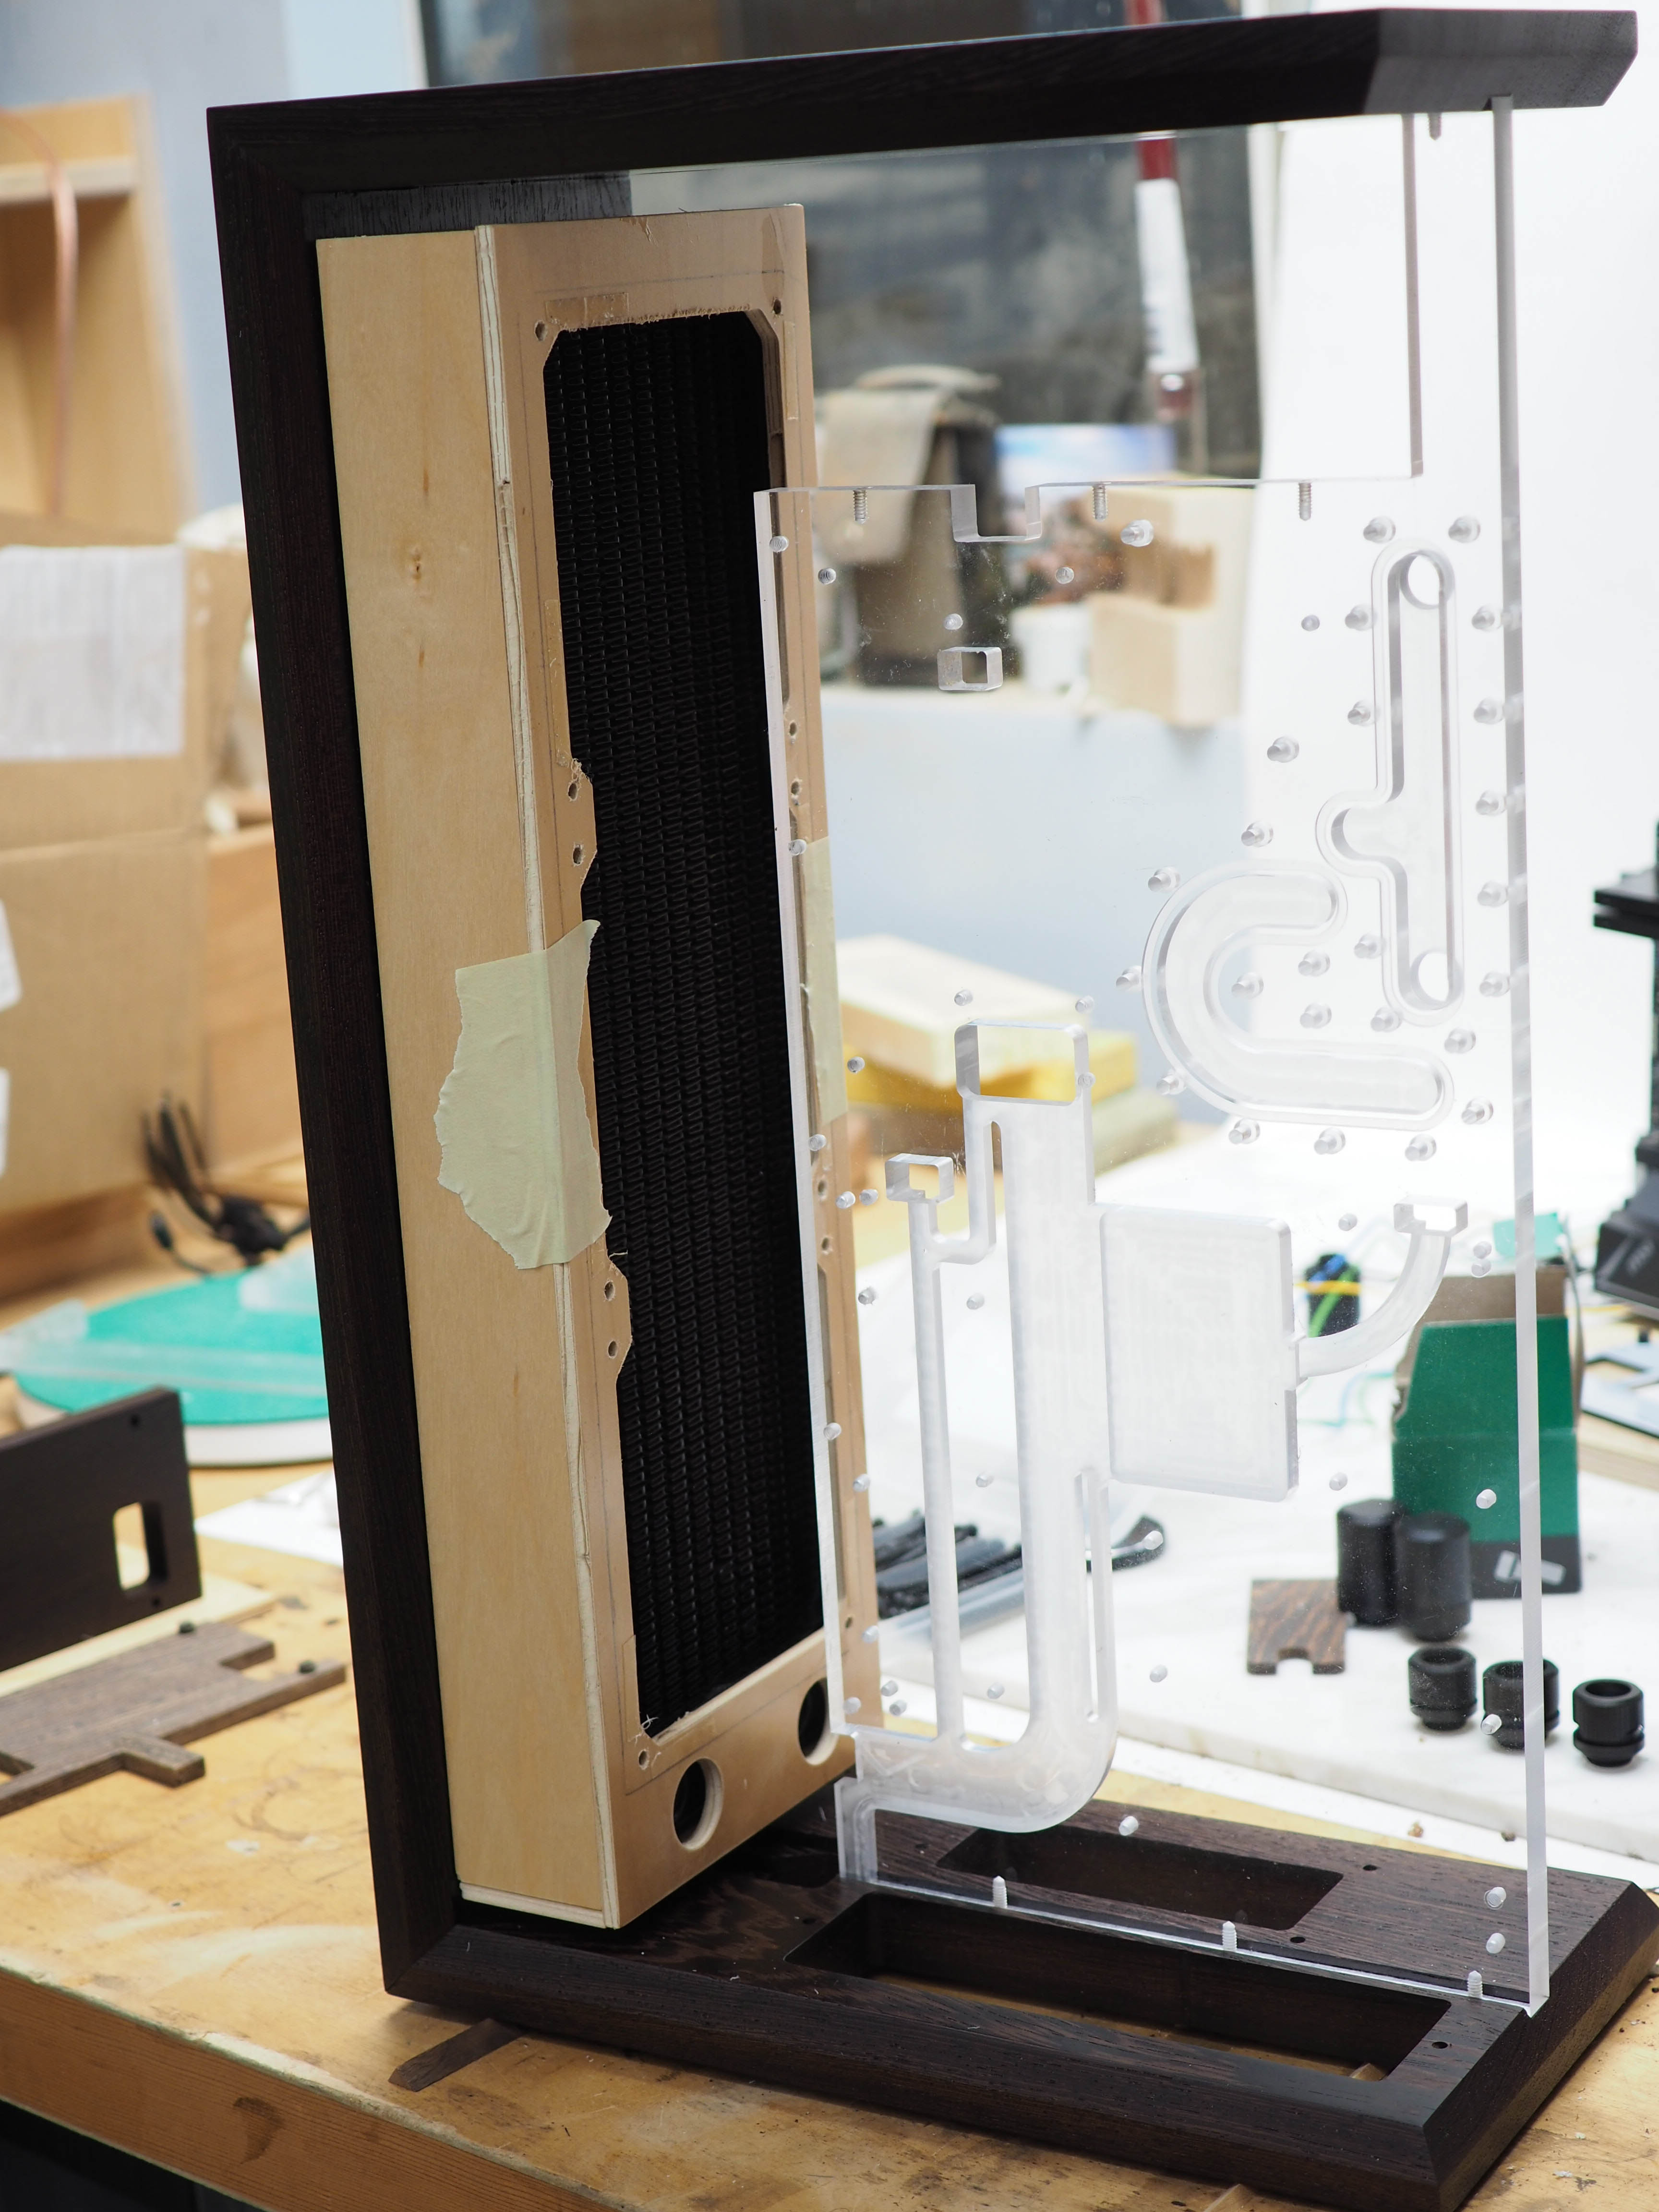
Again, I chose Wenge for the frame portion of the shroud.
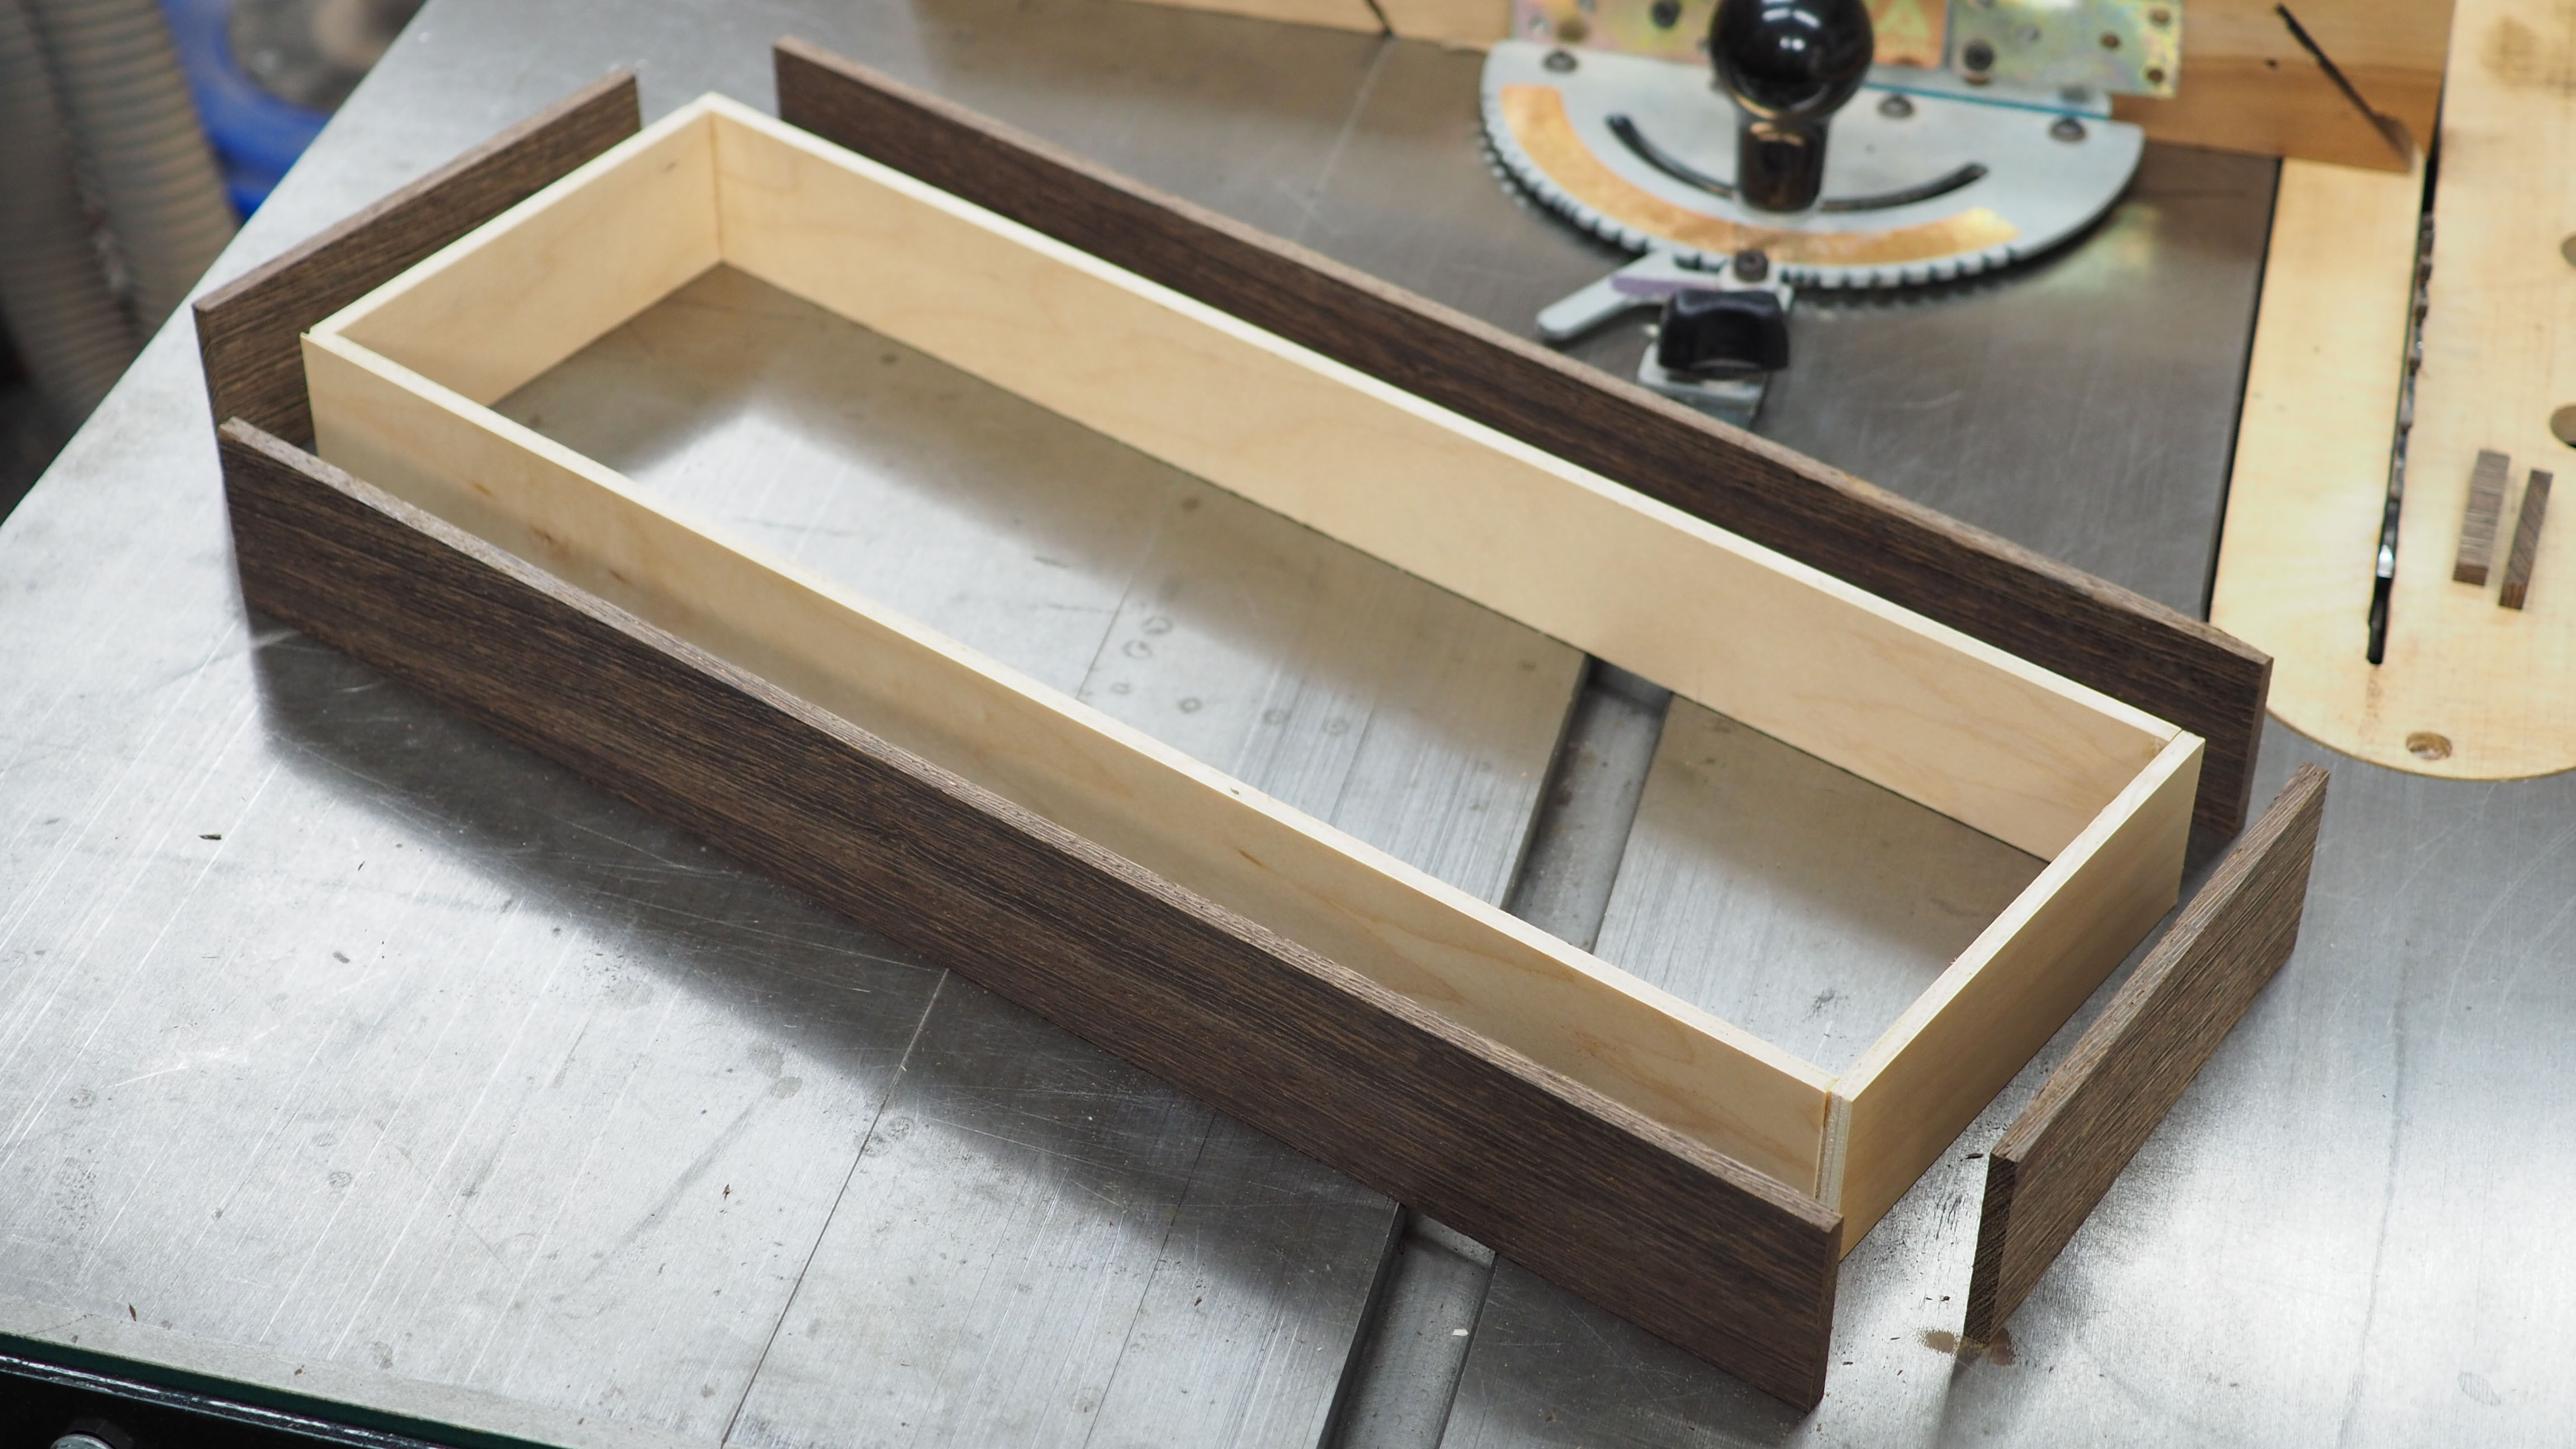
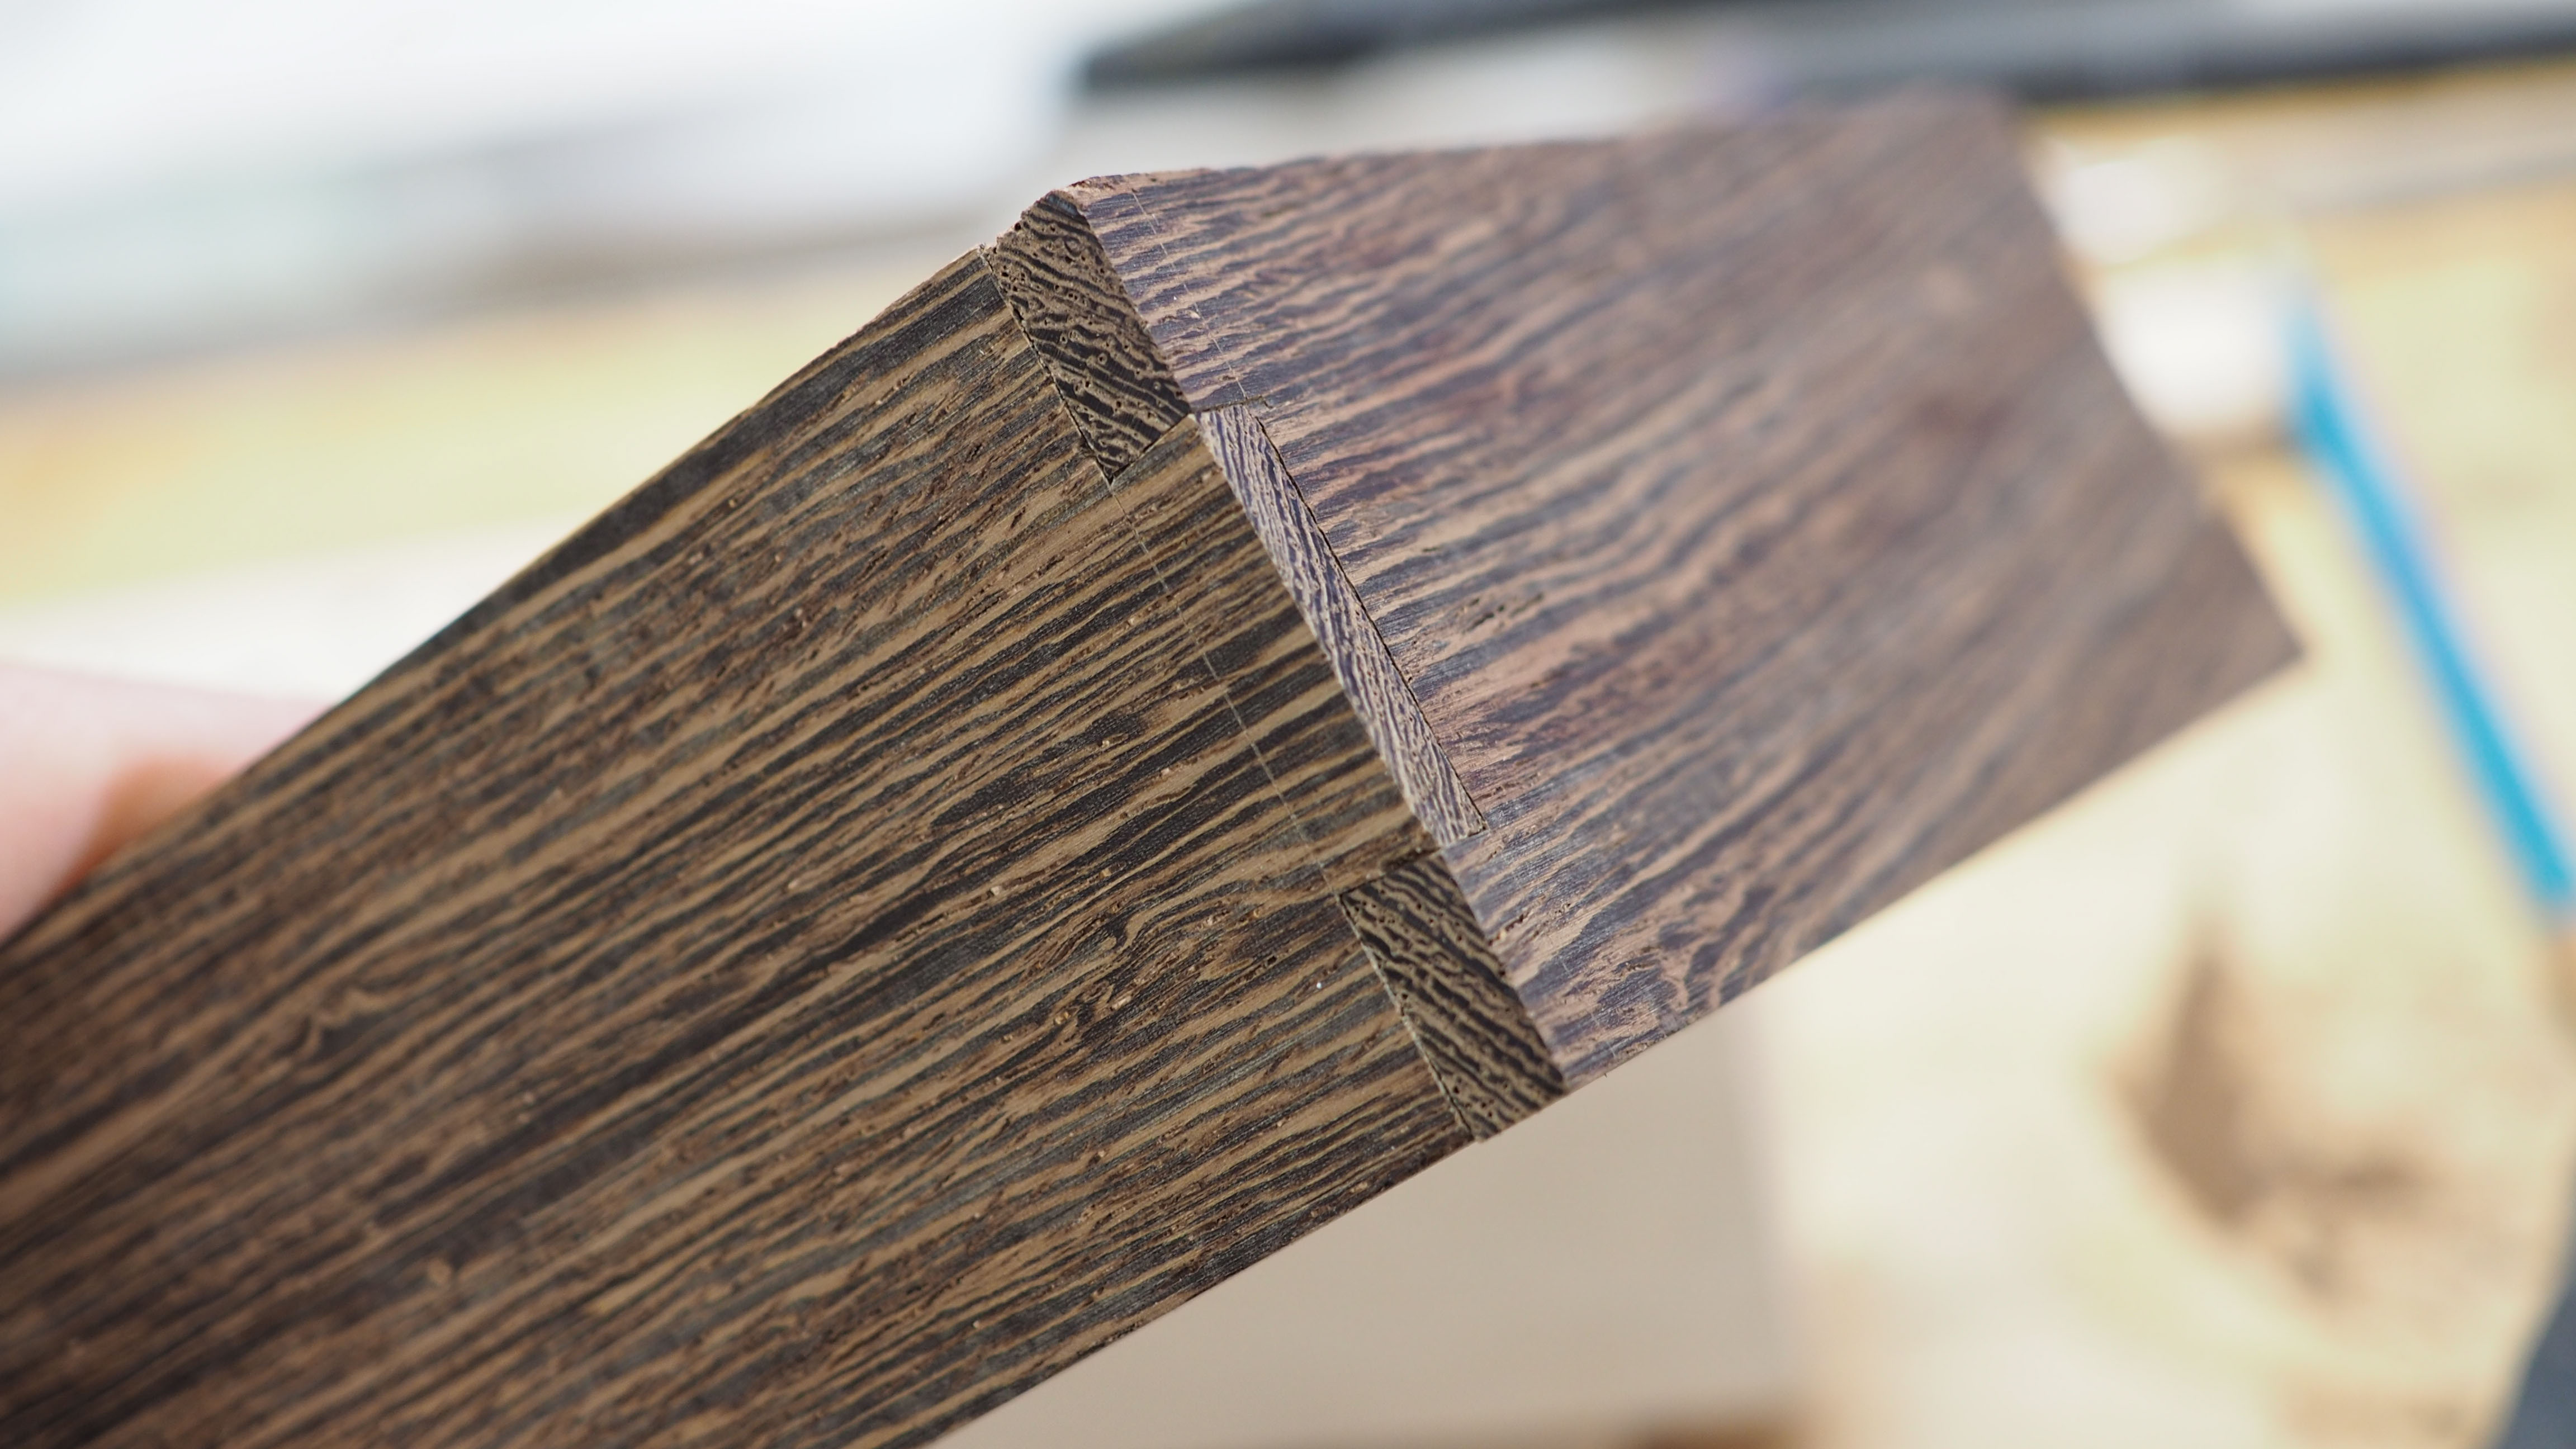
I wanted a simple joint that I could take apart if need be. big friction fit dovetail did the trick.
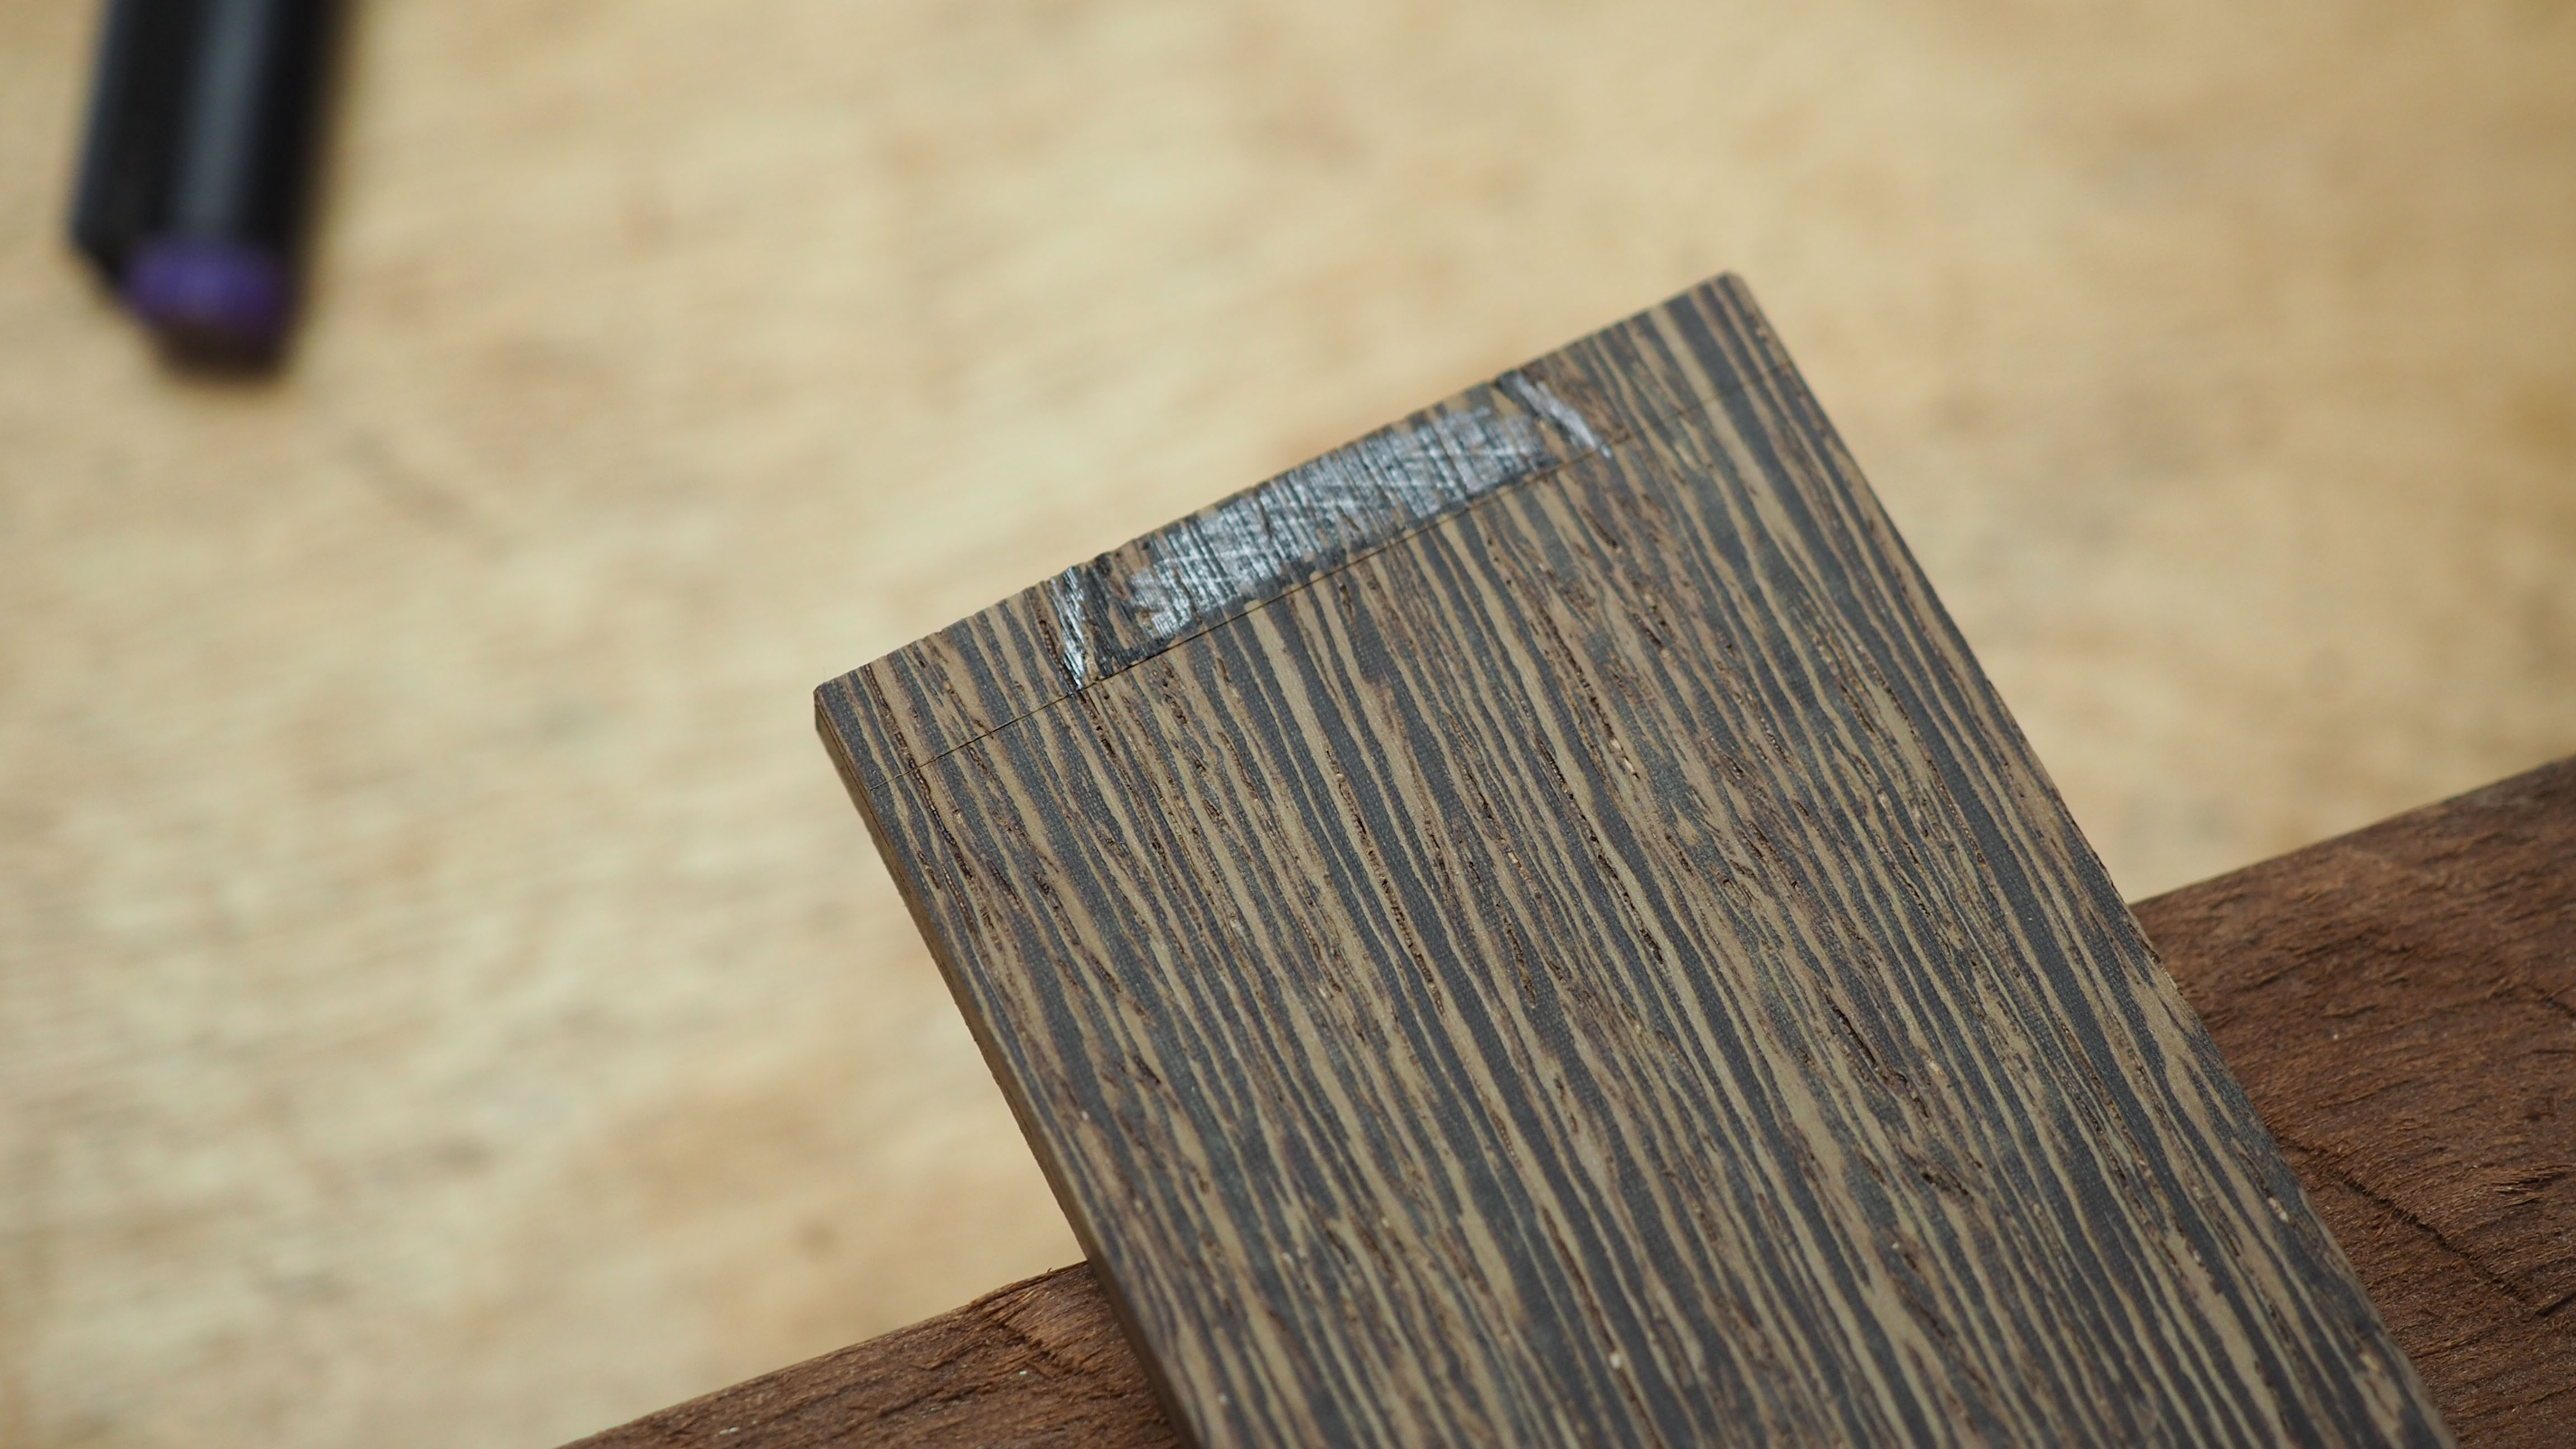
I layed out the joinery similar to the other dovetails, but this time only making one tail in the center.
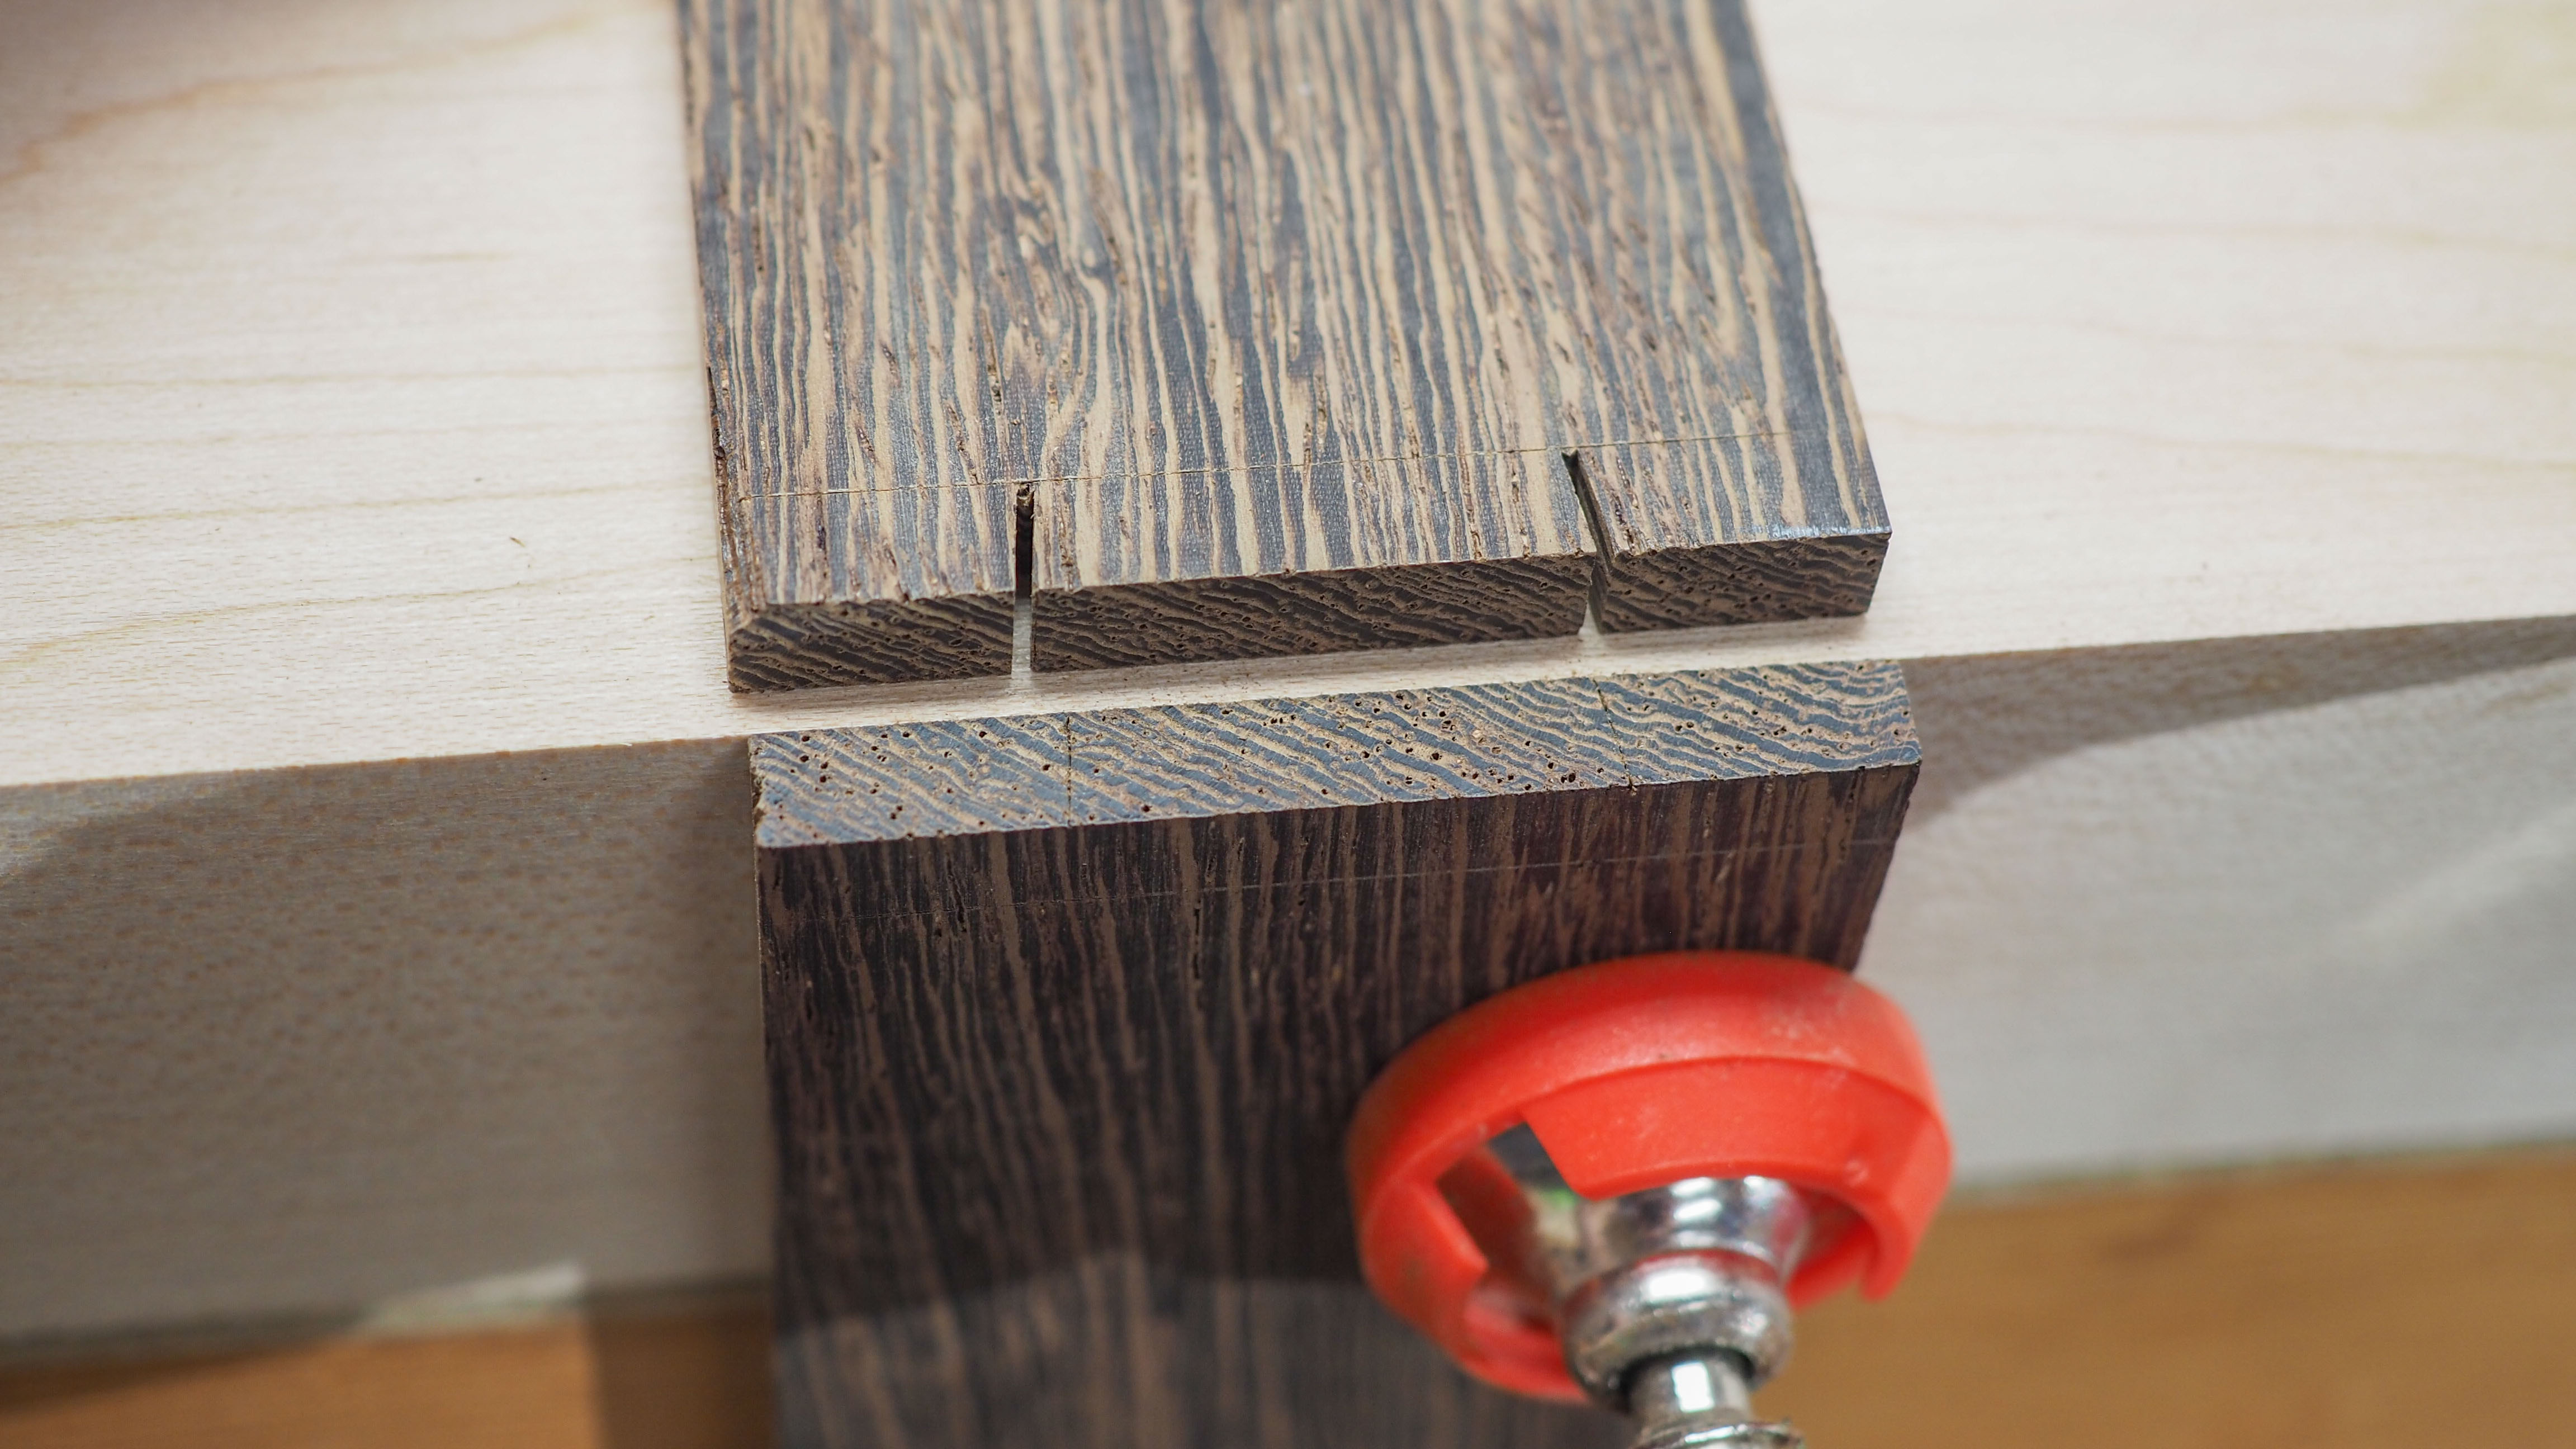
Next, I test-fitted the first dovetail with some cleanup left to do.
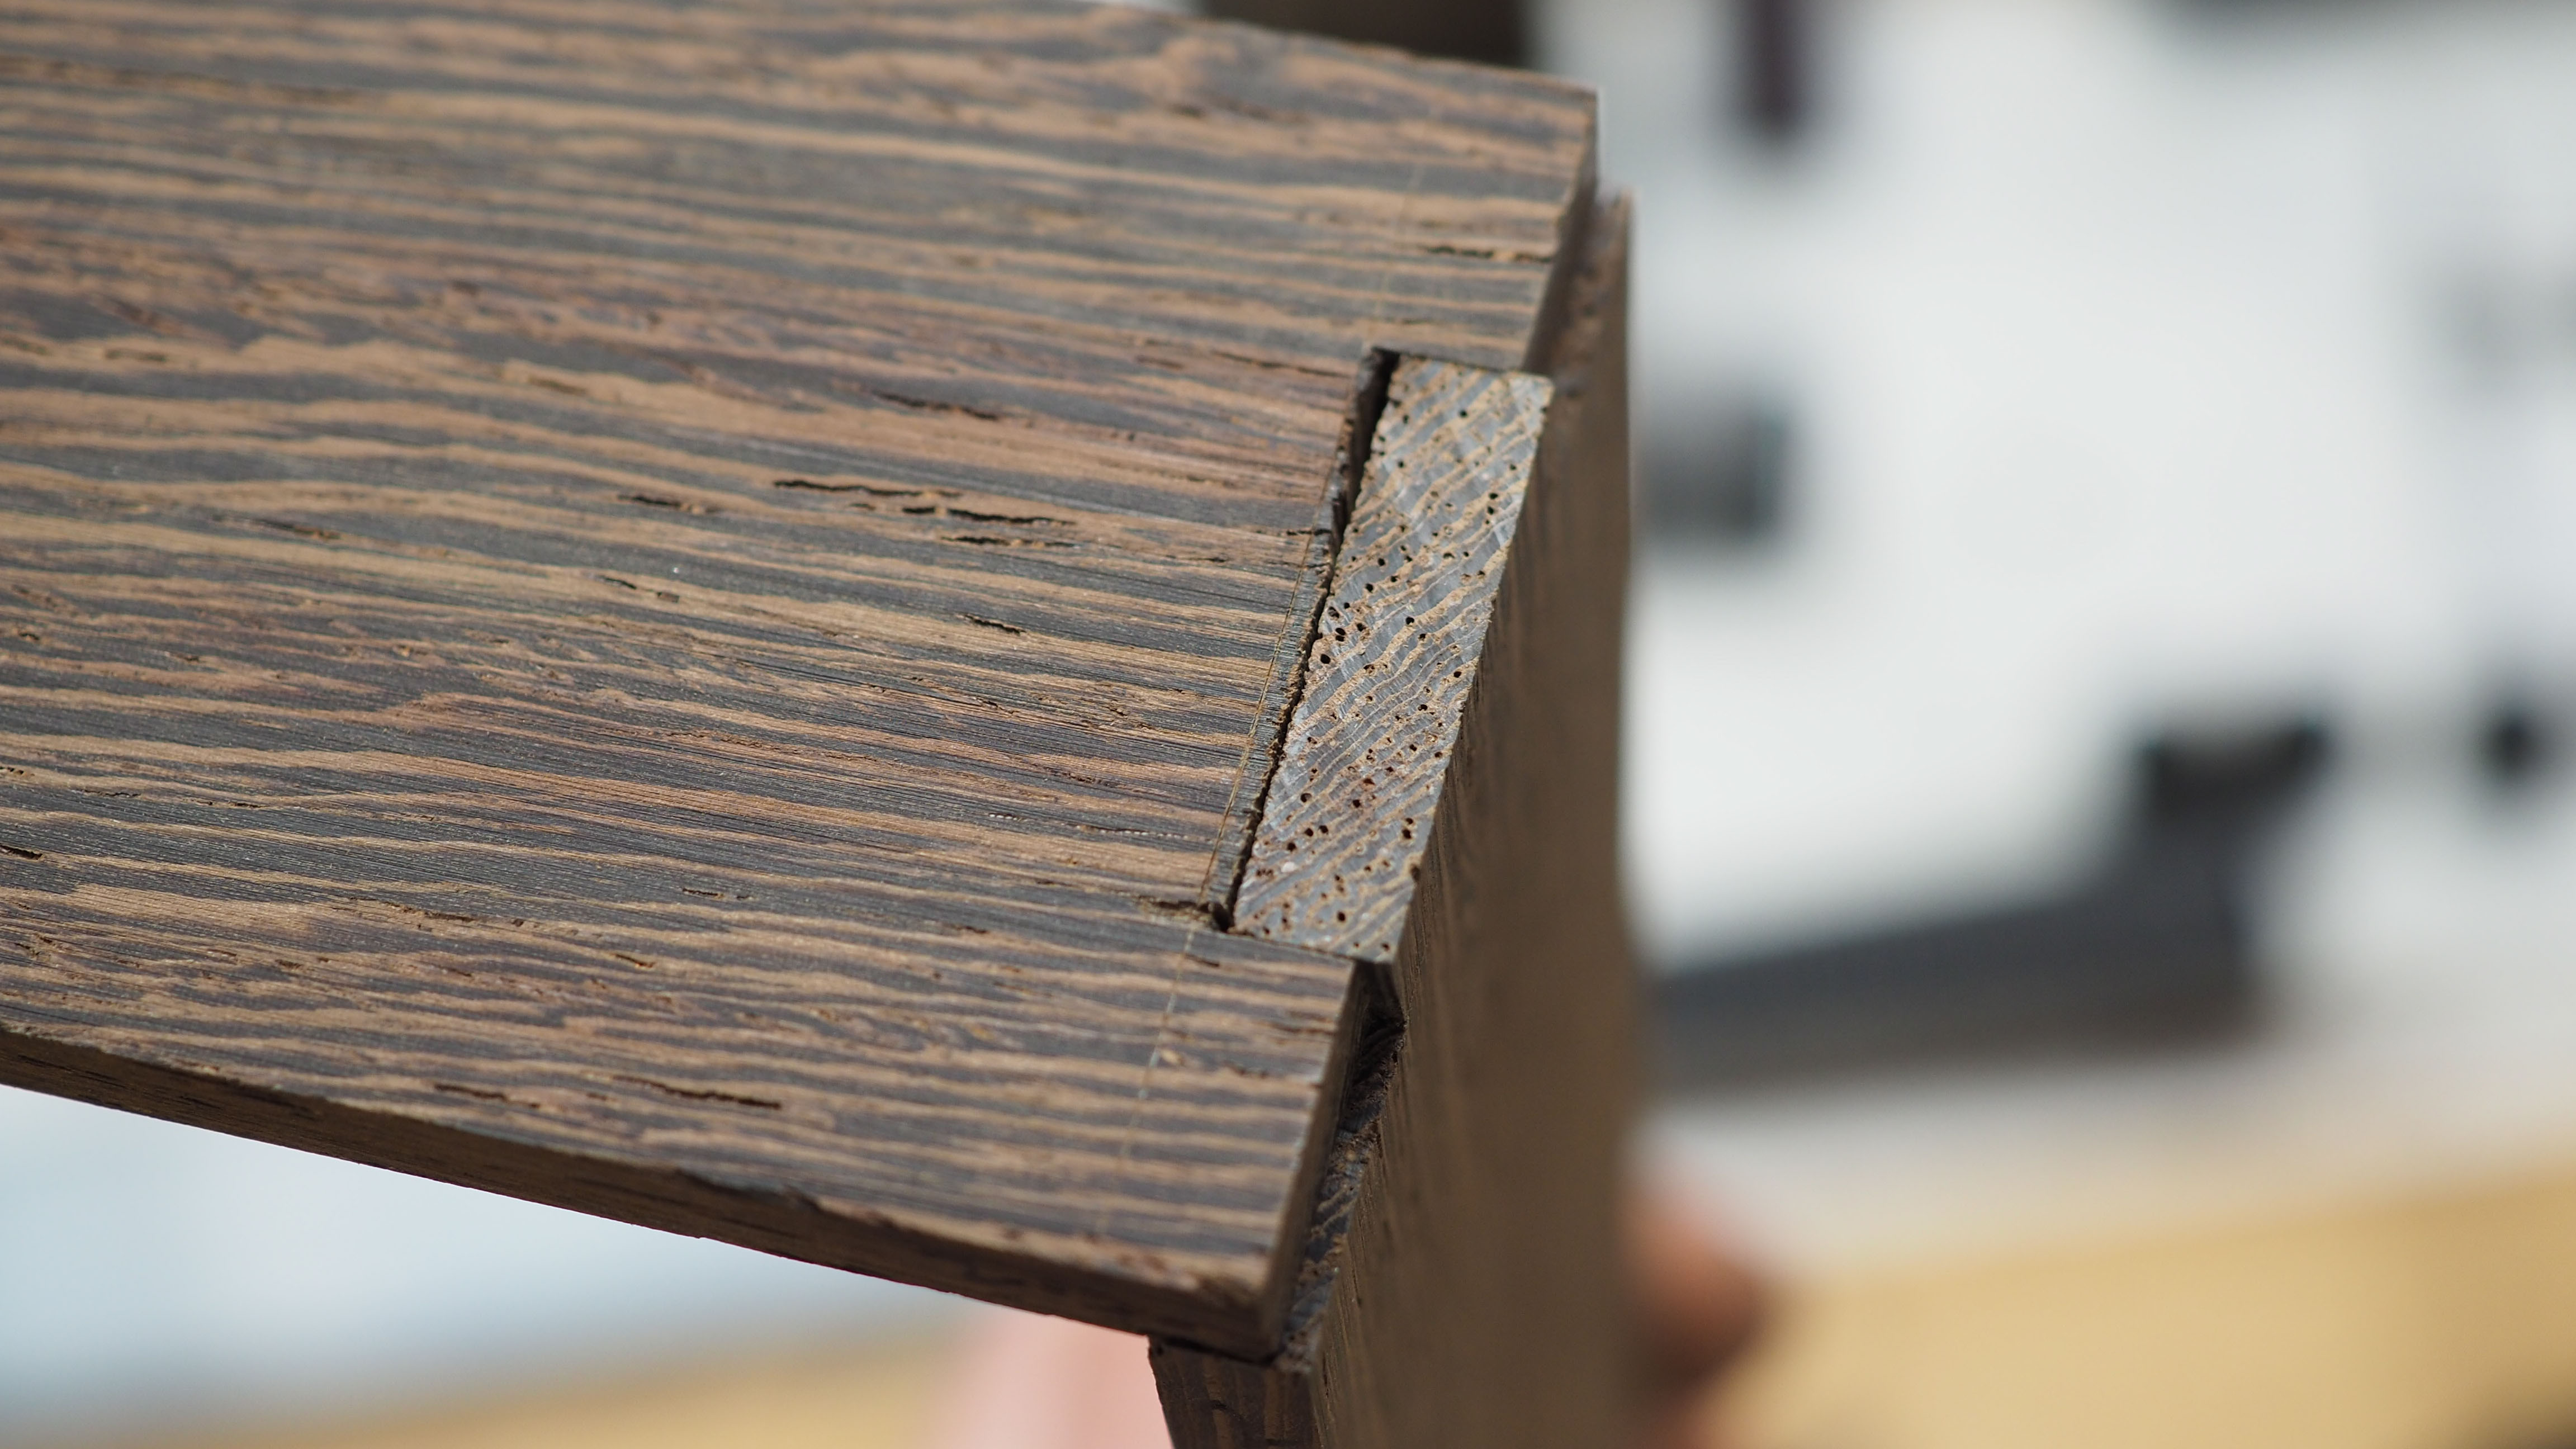
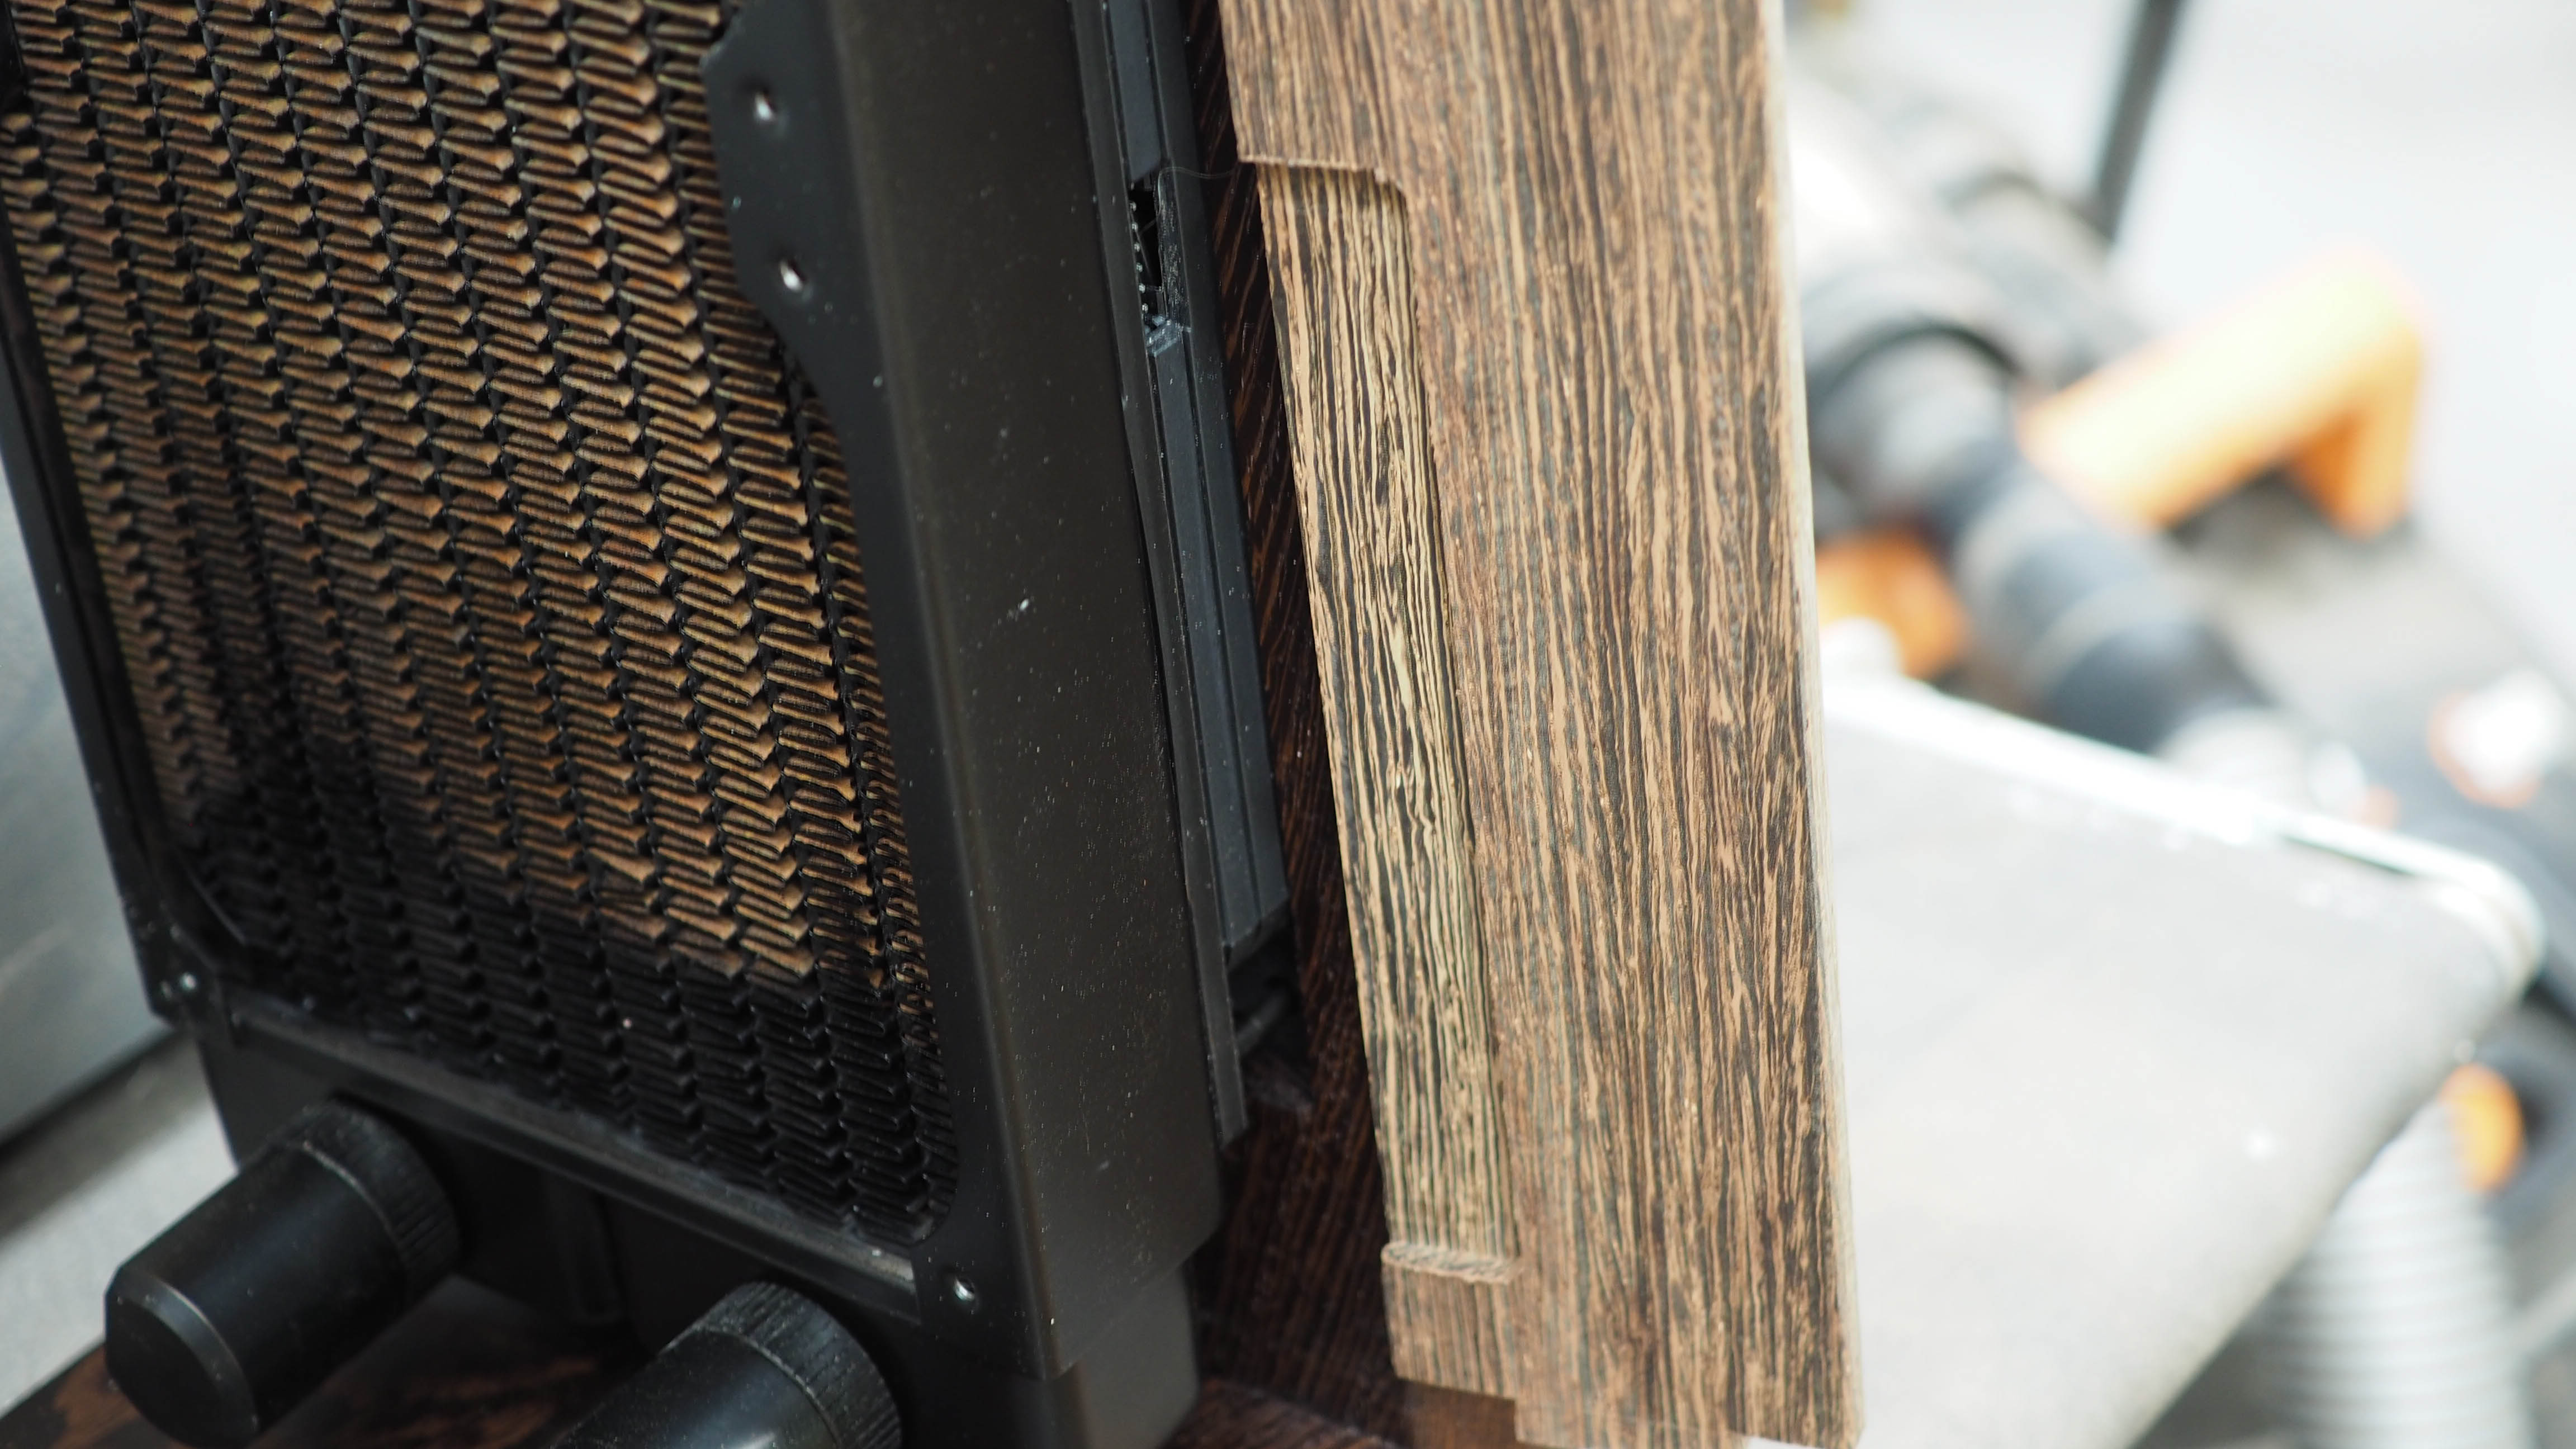
This is a perfect fit. The top, bottom and one side will be glued up while one side remains friction fit so I can slide it over the radiator assembly.
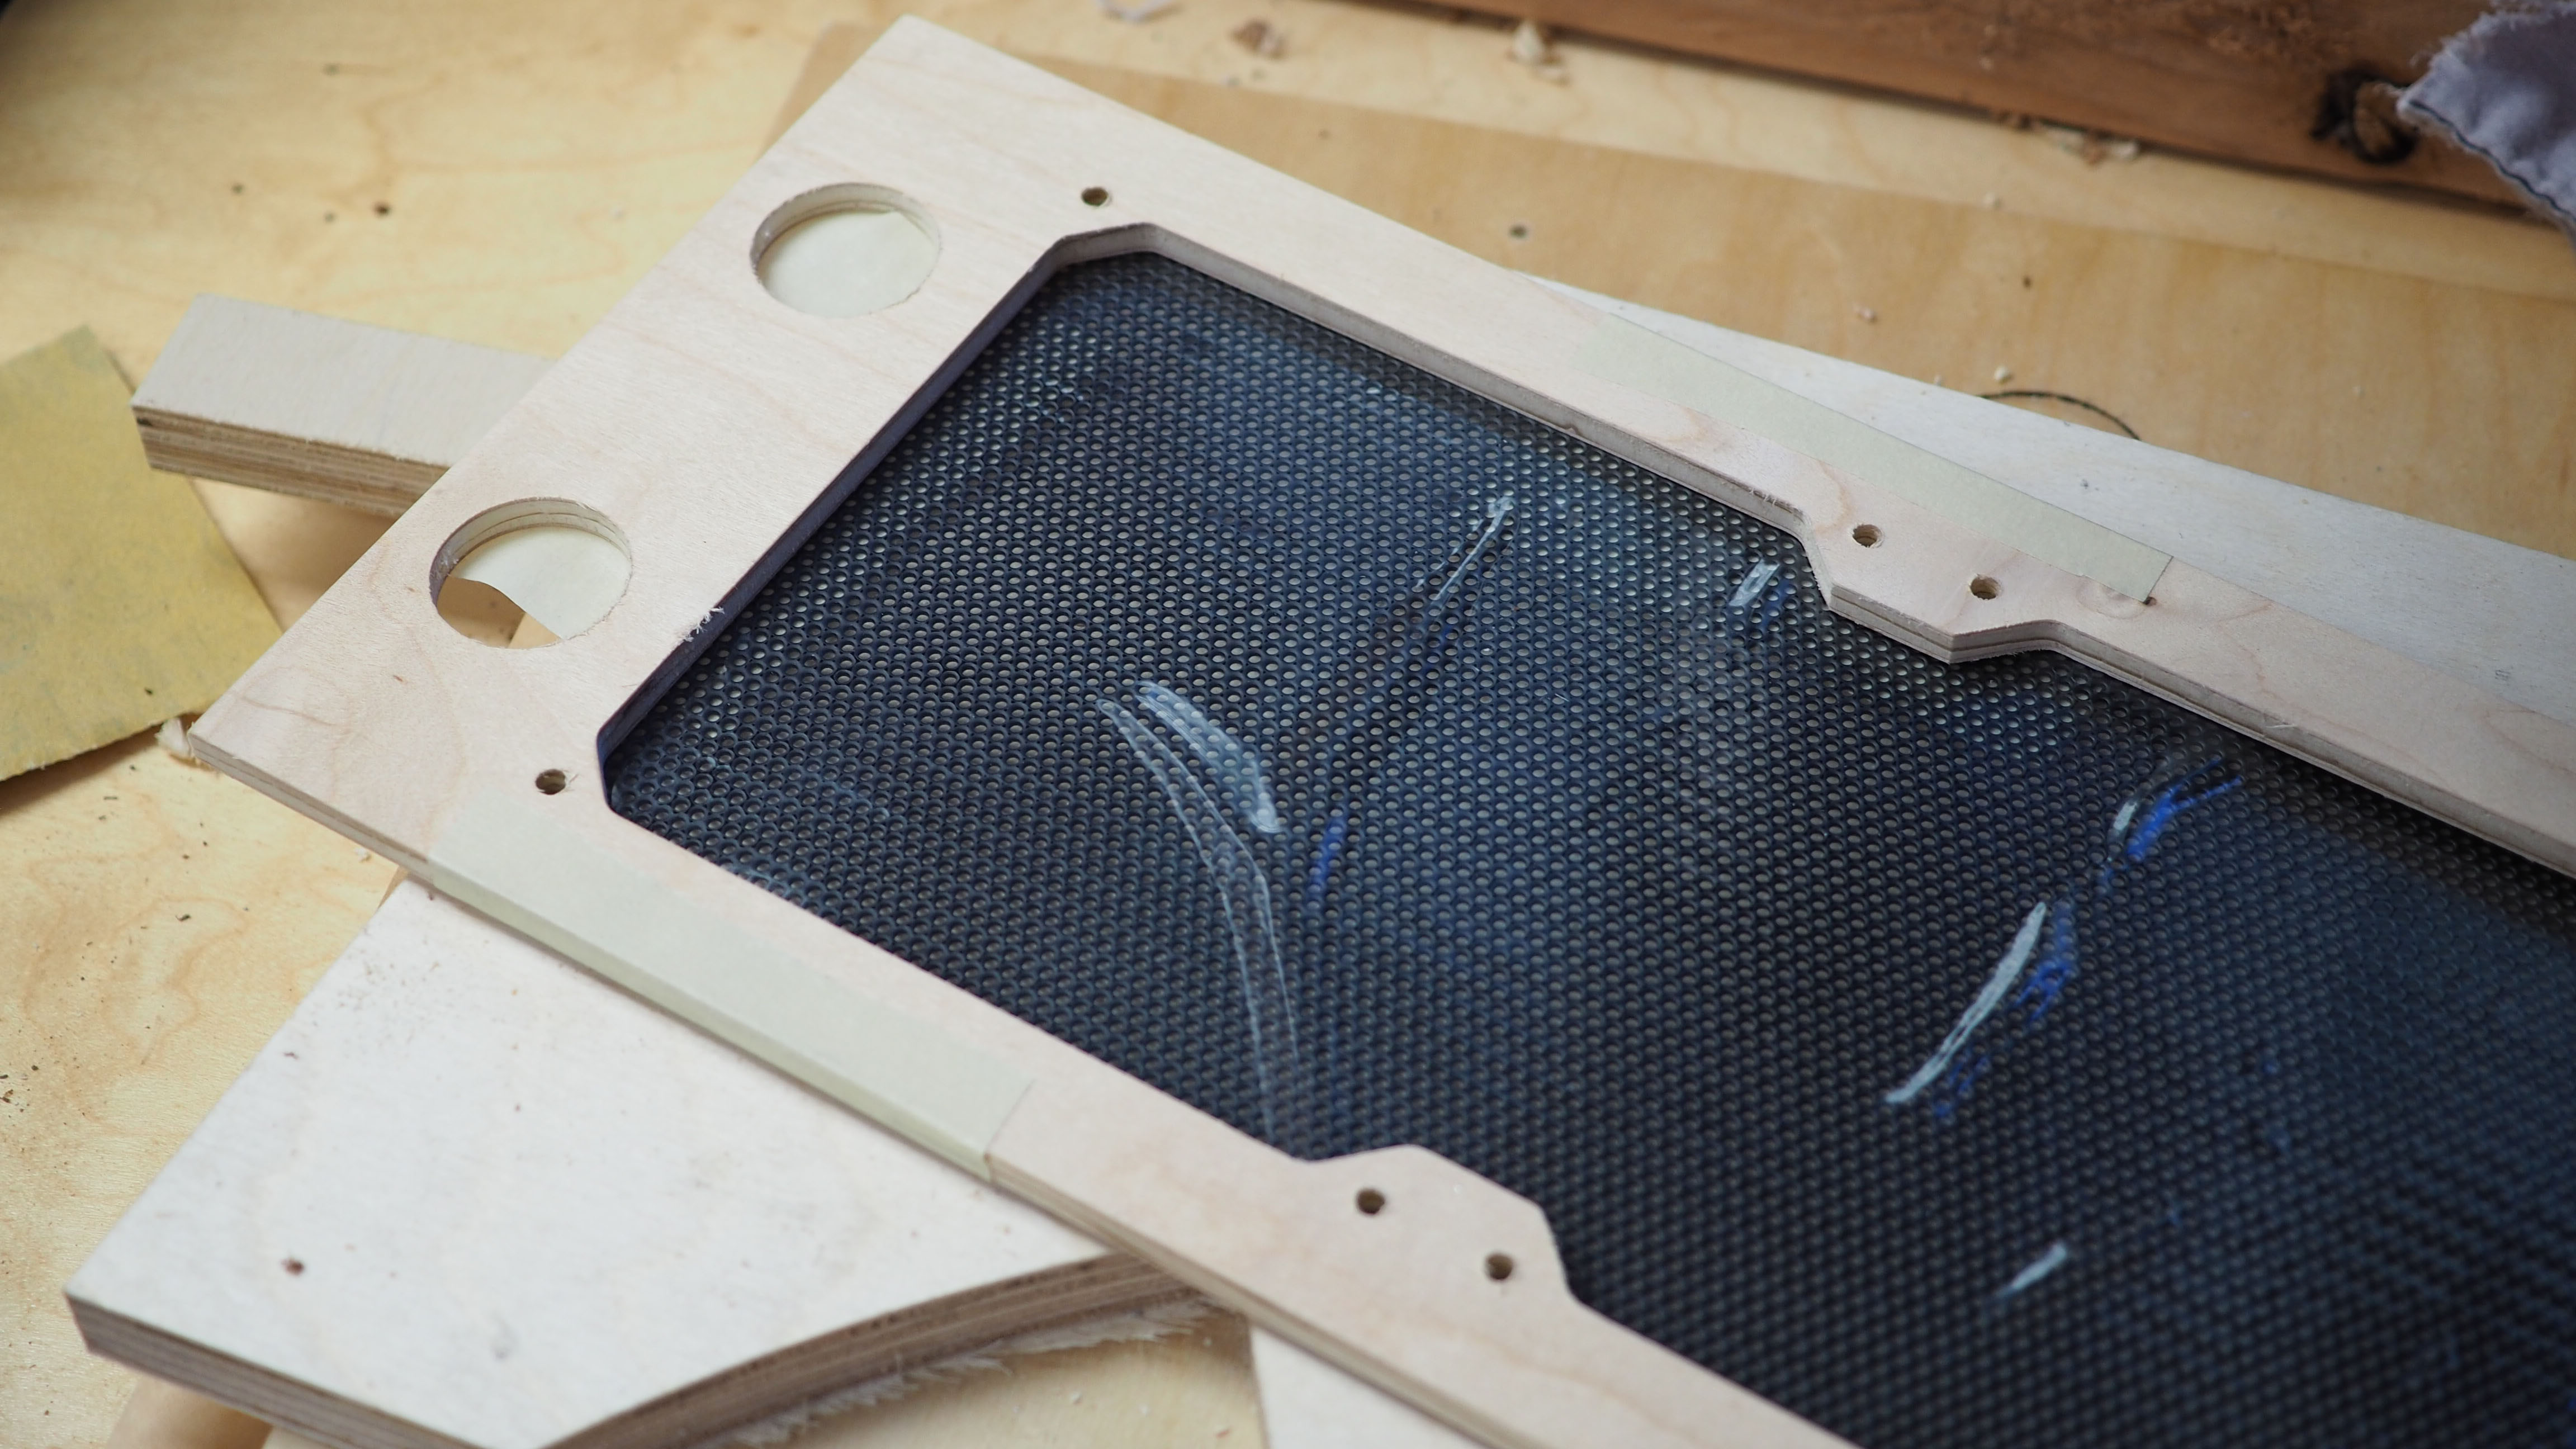
I used some 2mm anodized aluminum from AC Ryan to make a simple fan grill. I did not want any more eye catching elements on the inside of the case so I kept it simple.
Luckily it all fits well, my test pieces paid off.

Lastly, I machined a slot in the shroud where the fan wiring will be routed to the bottom of the case and out to the power supply.
If I’ve learned one thing from case modding, it is that mesh makes everything look better. I used some AC Ryan mod mesh on the back of the case under the Kumiko to really make the Kumiko pop.
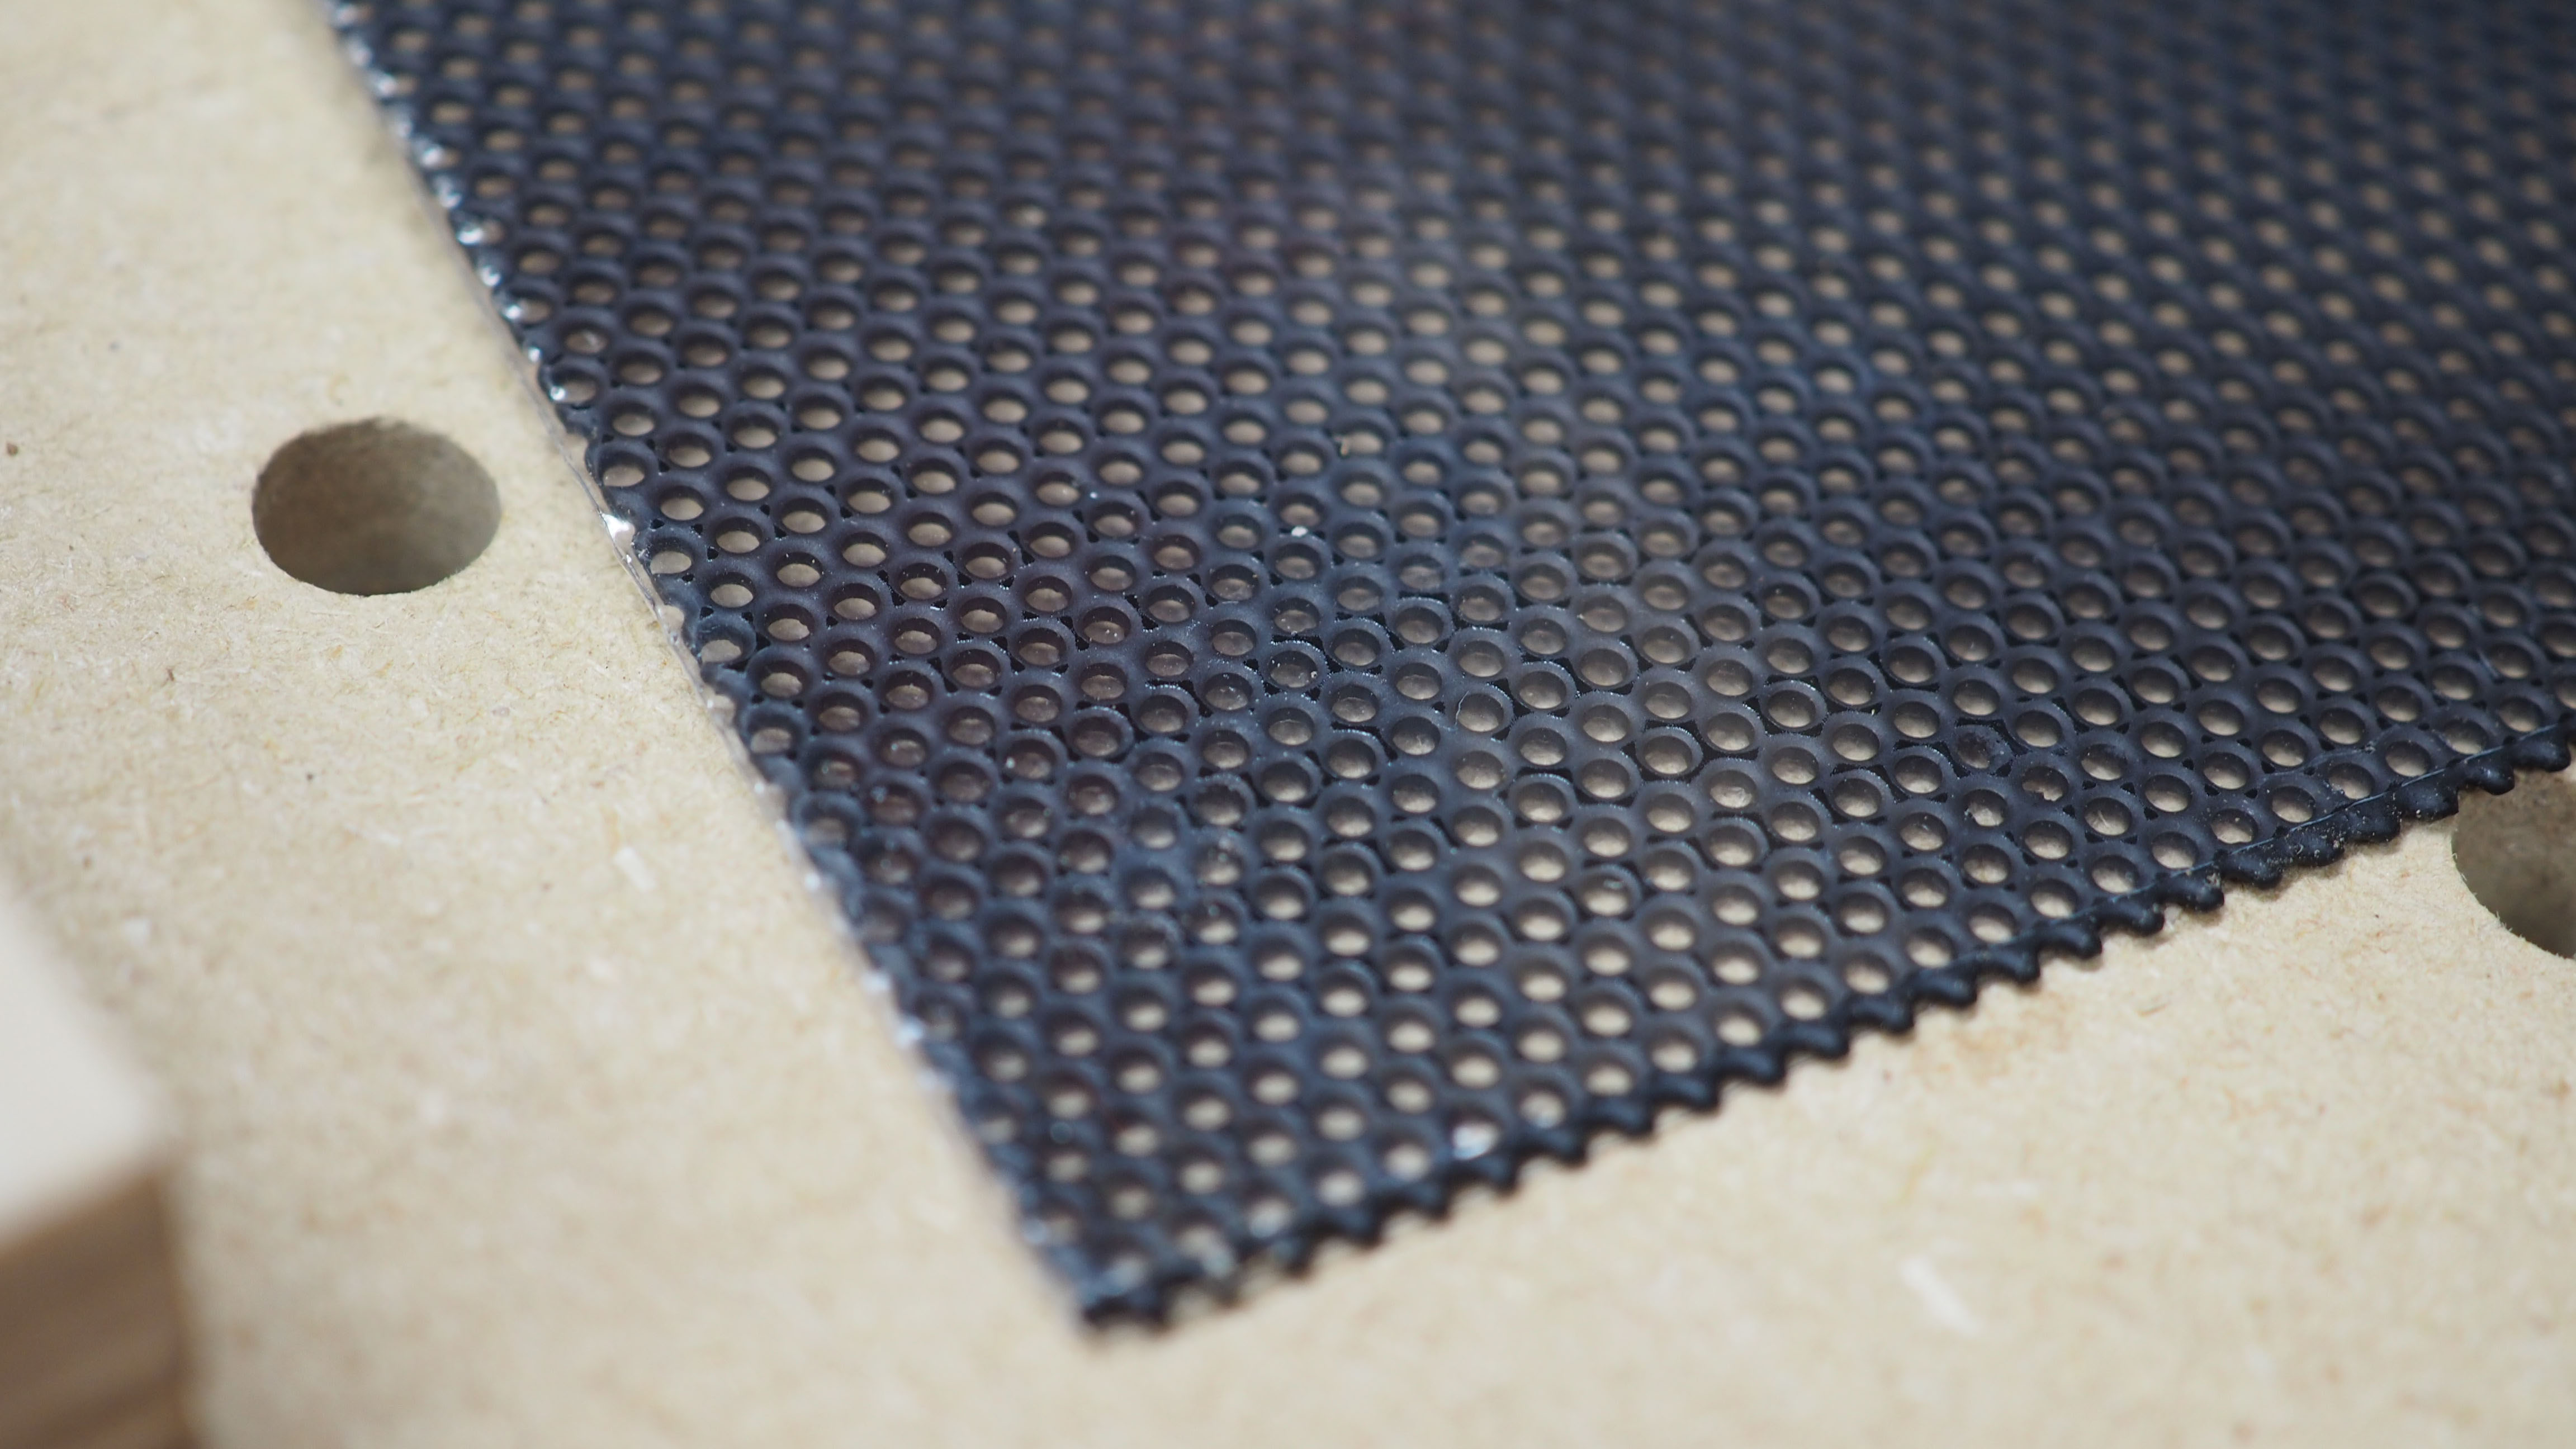
The holes are big enough that the fans will be fine and it will still filter out some dust as well.
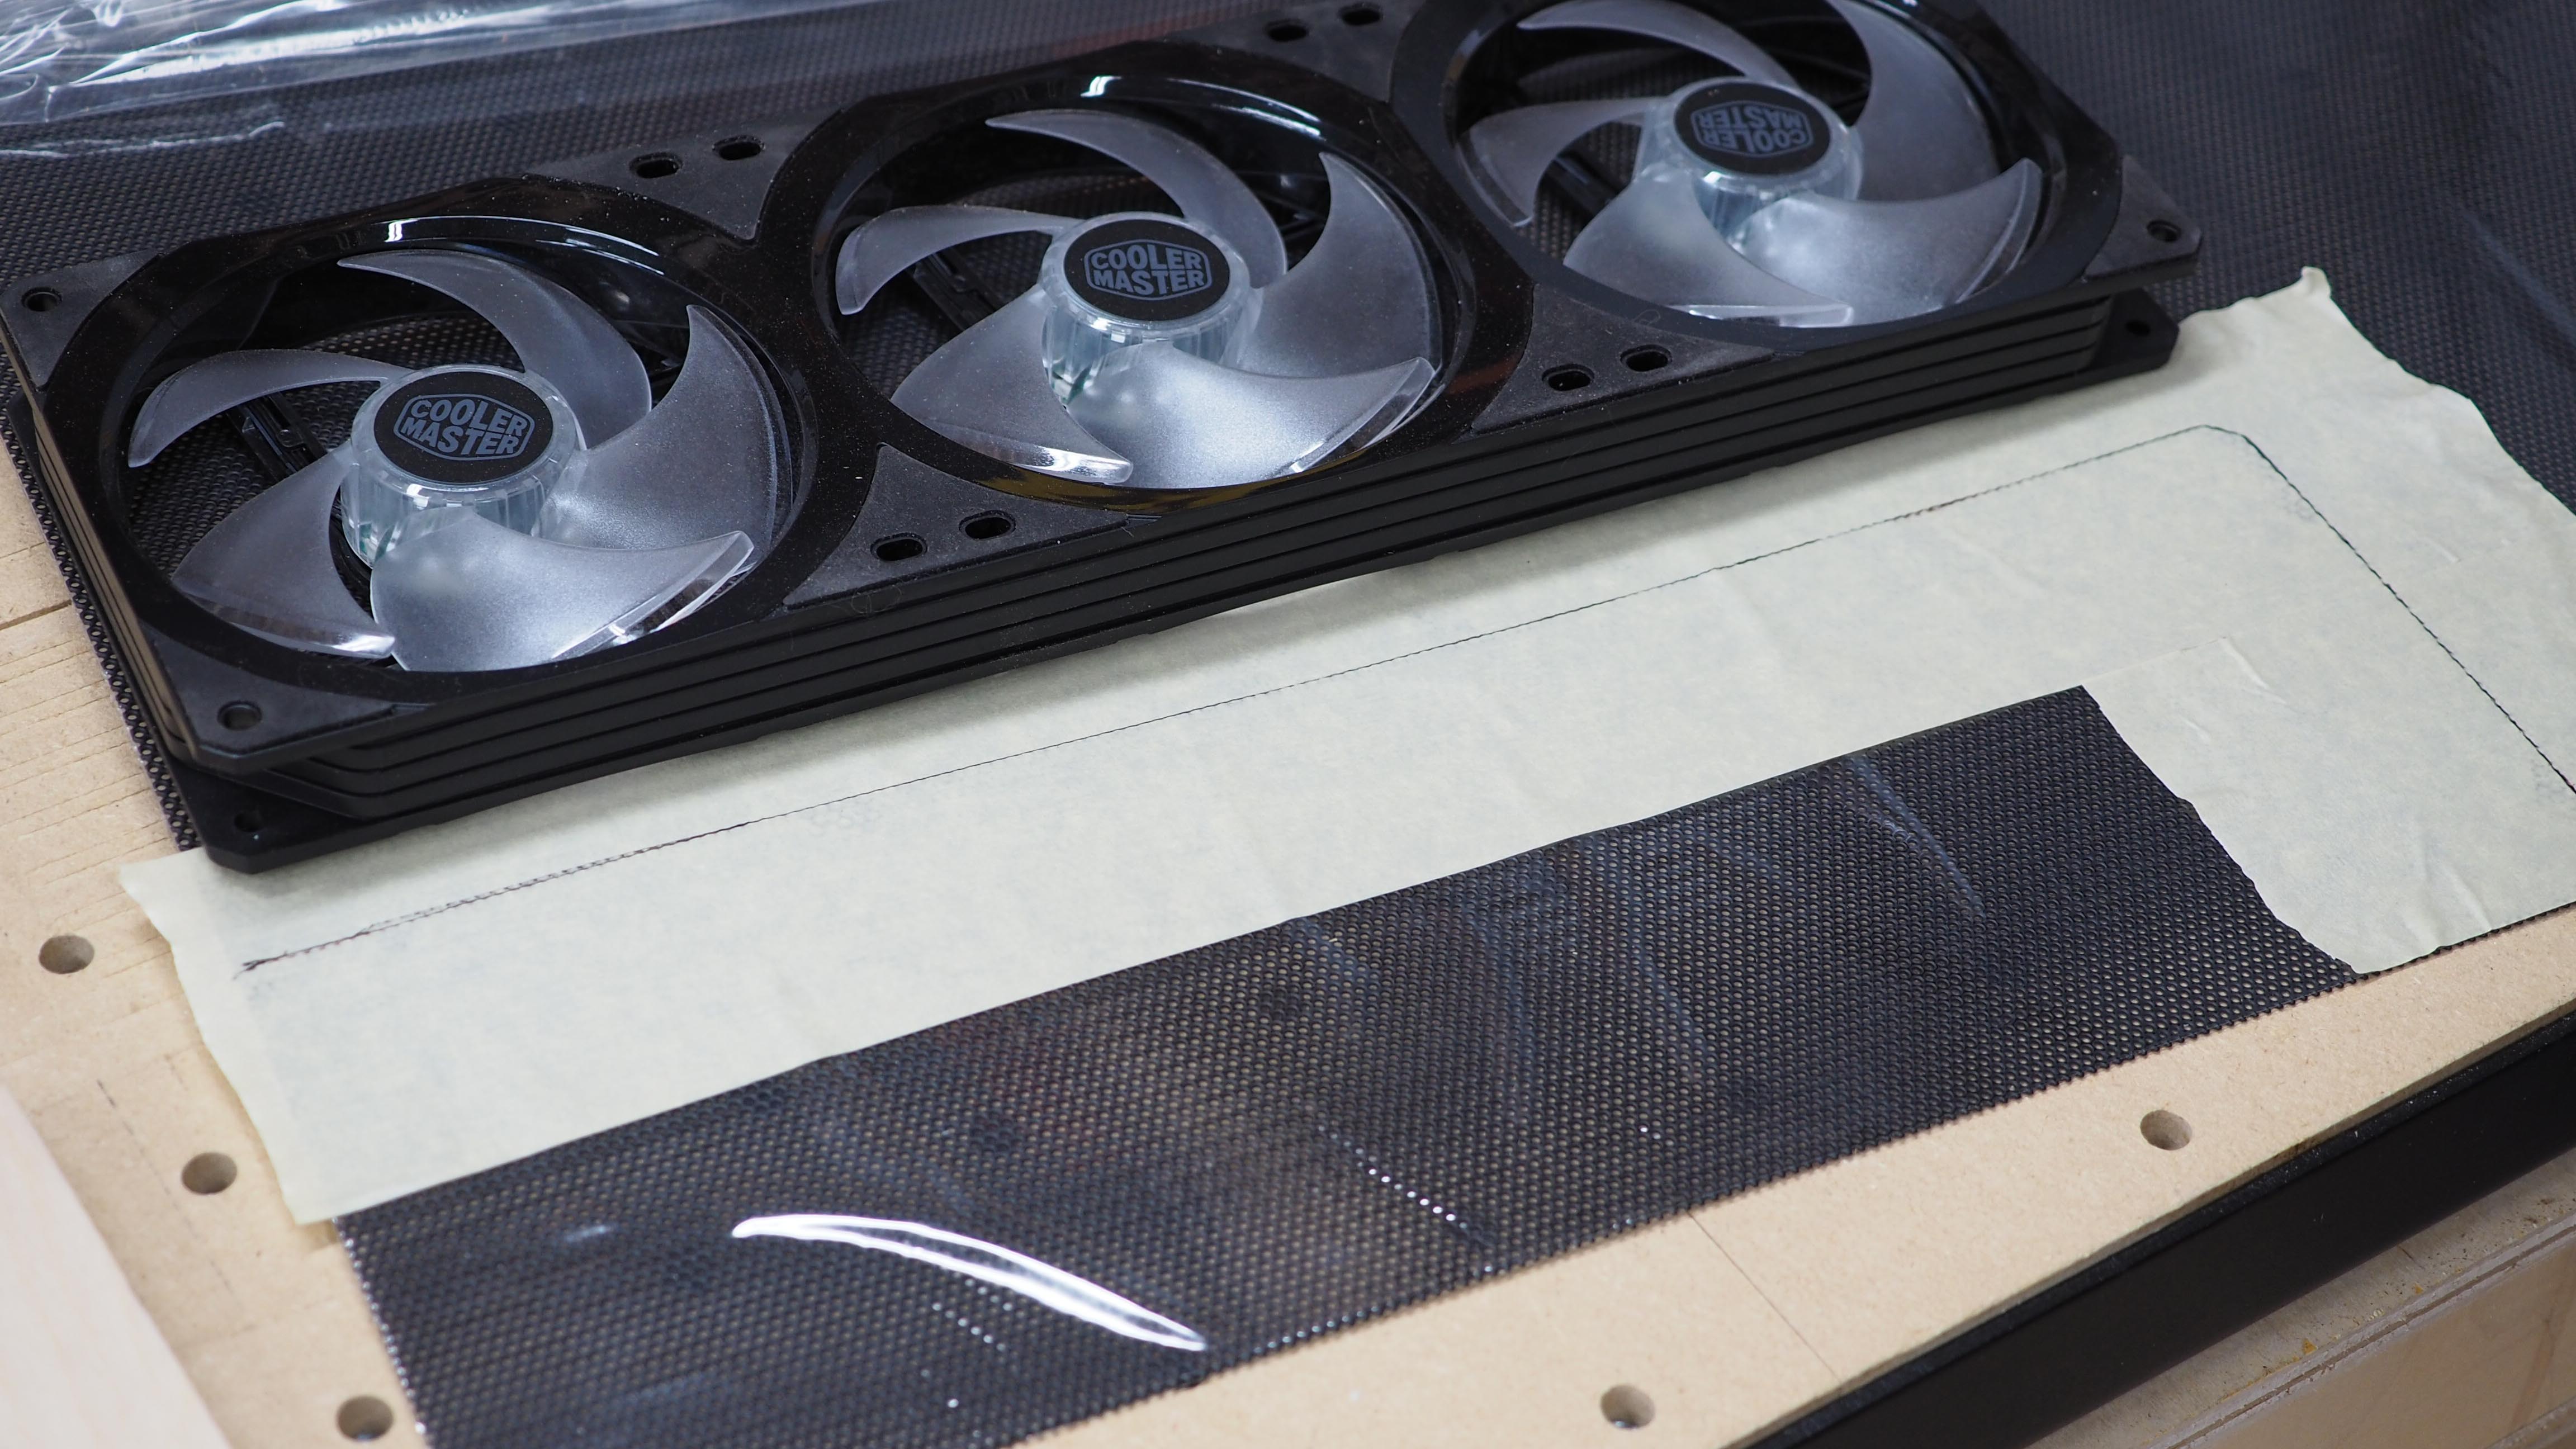
I cut the mesh with tin snips and drilled bolt holes using my practice grille as a guide.
Lighting Groove
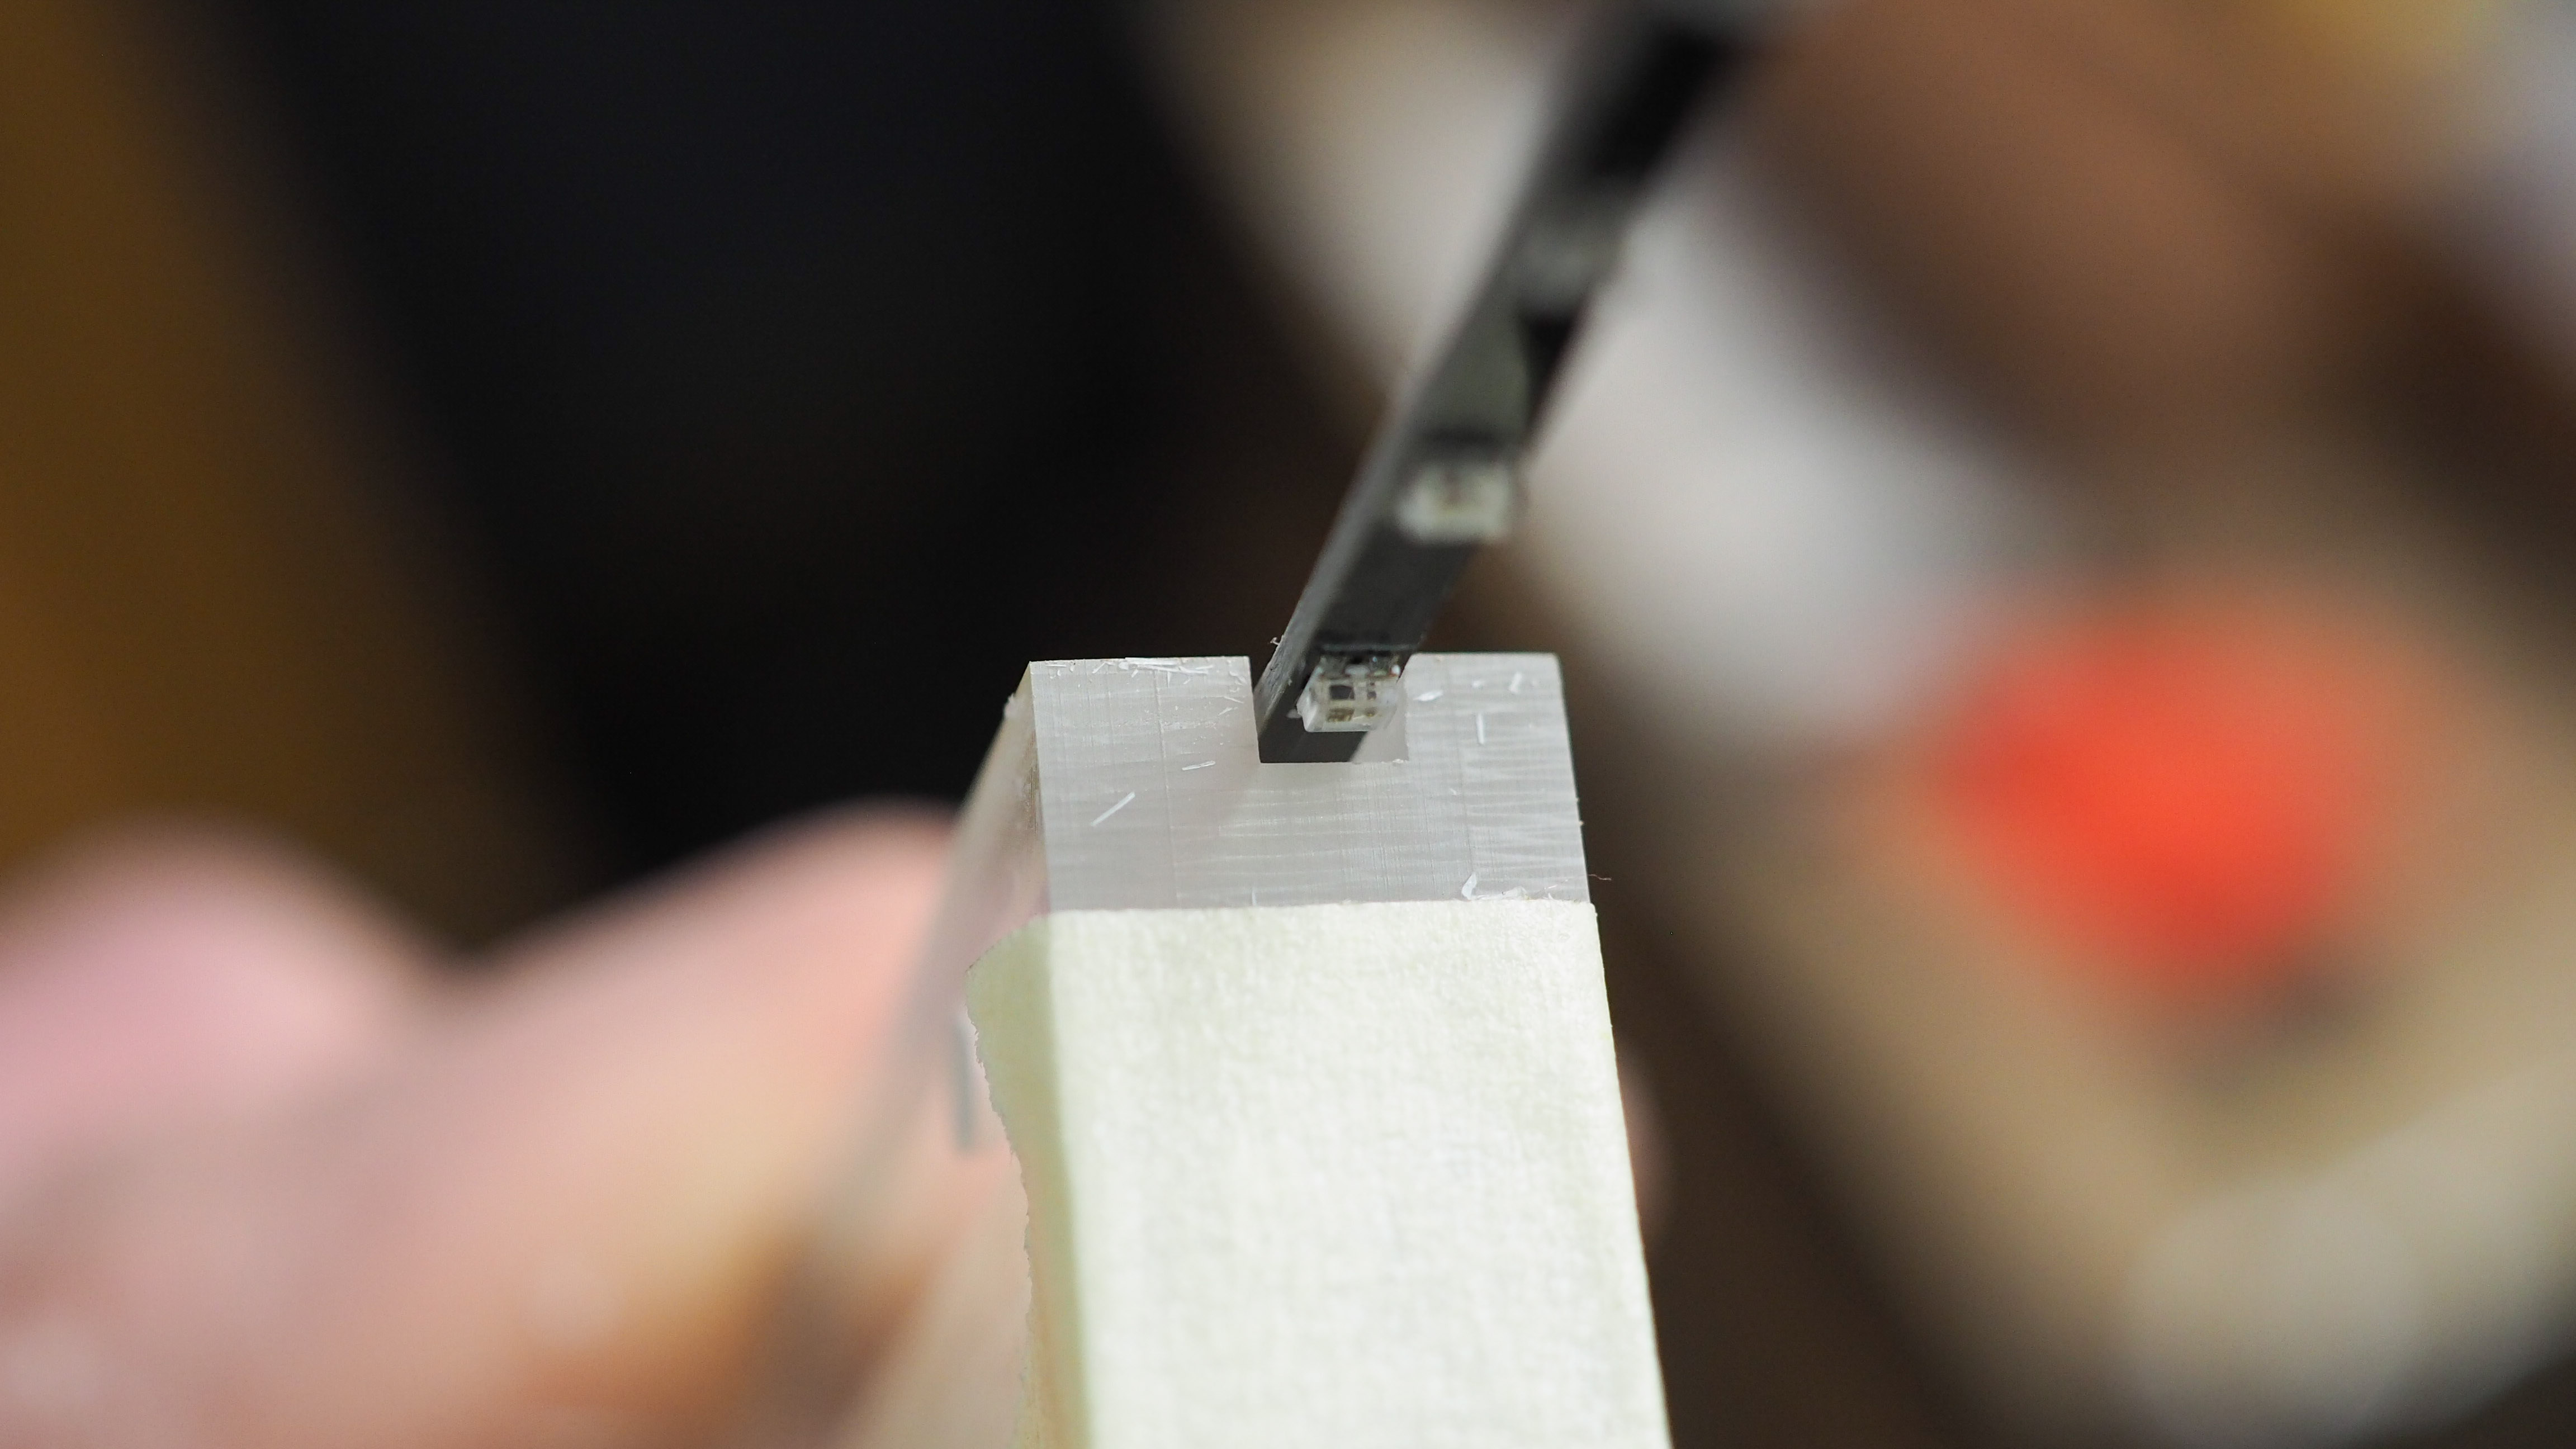
Lighting is important to really set off a build so I wanted to light up the acrylic panel. Luckily for me, lighting solutions have gotten super compact since I began modding in 2005, so I used this Alphacool light strip that is only a few millimeters wide.

I routed a groove on the acrylic behind where the power cable sits and attached the light strip.
-
waltc3 Incredible, masterful...my head began to throb just looking at all the disparate steps and preparations...;) Bravo.Reply