How to Overclock A Raspberry Pi 5
Push your Raspberry Pi 5 to the max!

Get Tom's Hardware's best news and in-depth reviews, straight to your inbox.
You are now subscribed
Your newsletter sign-up was successful
The Raspberry Pi 5 is already the fastest Raspberry Pi ever made, but there’s free, extra performance buried deep inside. All we need are a few lines of code and some cooling to unlock the full potential of the new Raspberry Pi flagship.
We’ve written in the past about the benefits of overclocking a Raspberry Pi 4 specifically, and we managed a stable 2,147 MHz (from a then stock 1500 Mhz, stock is now 1800 MHz) with active cooling. But we can overclock any model of Raspberry Pi, even the original from 2012!
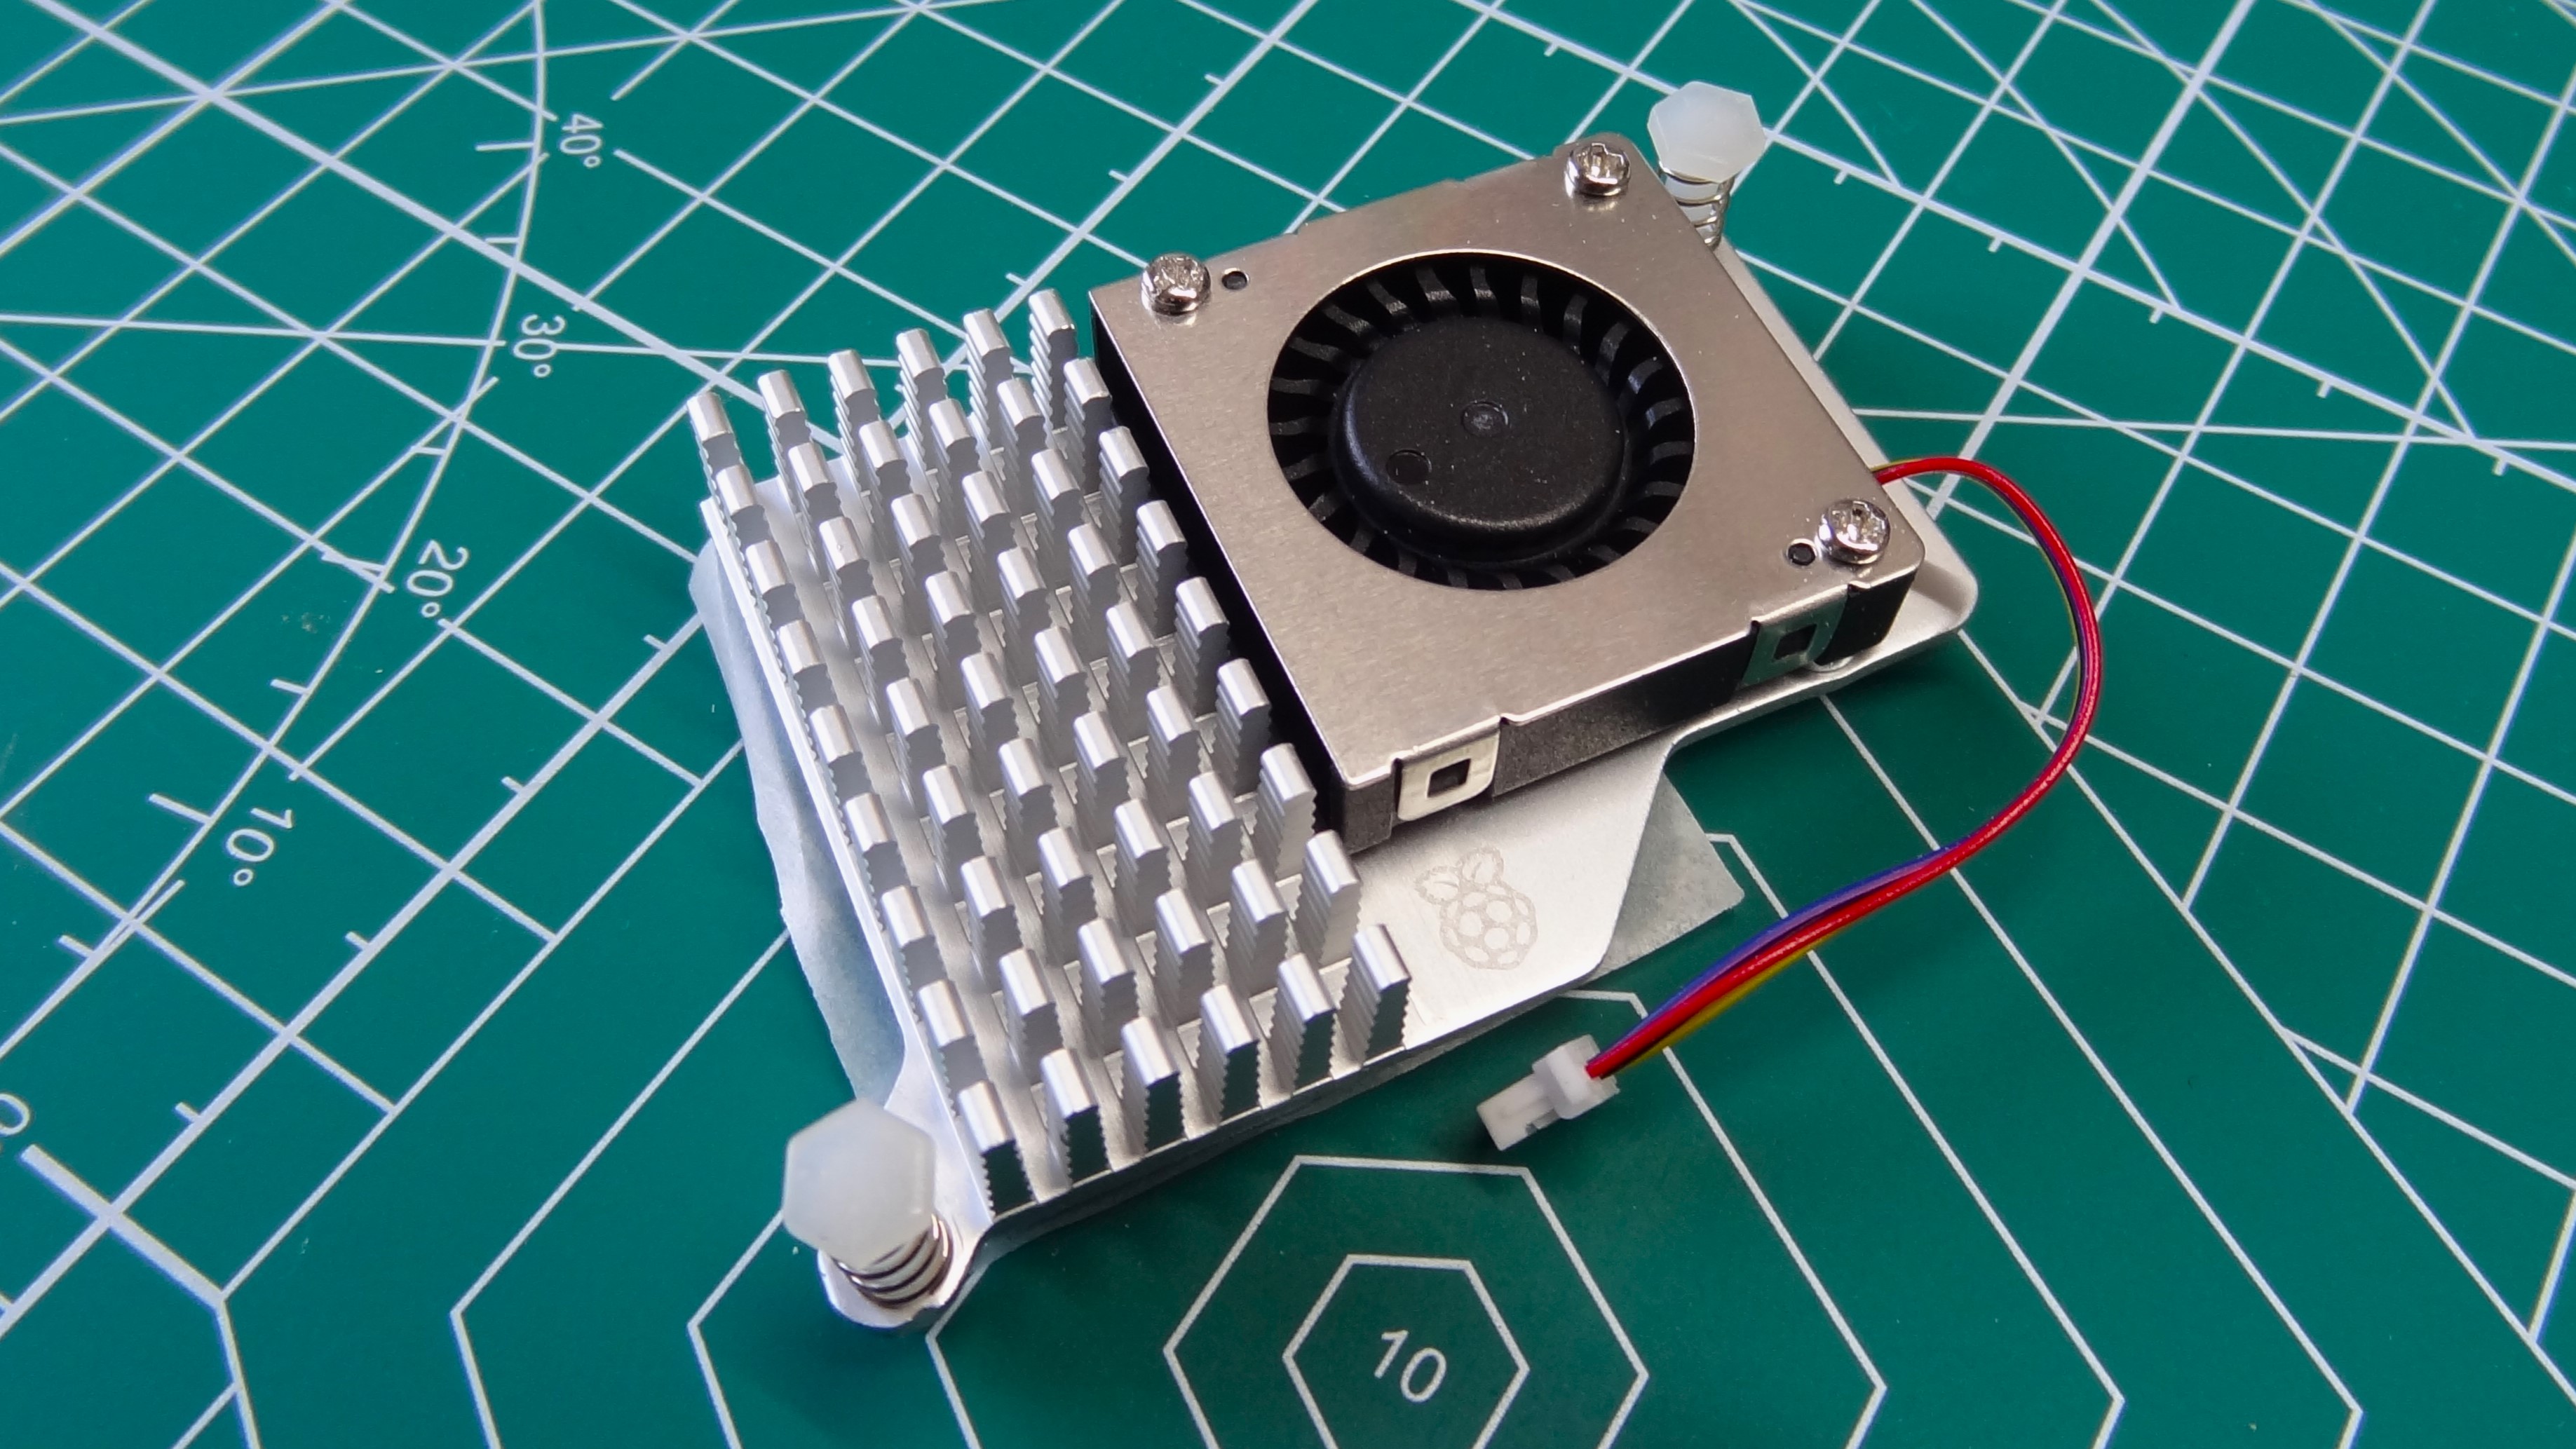
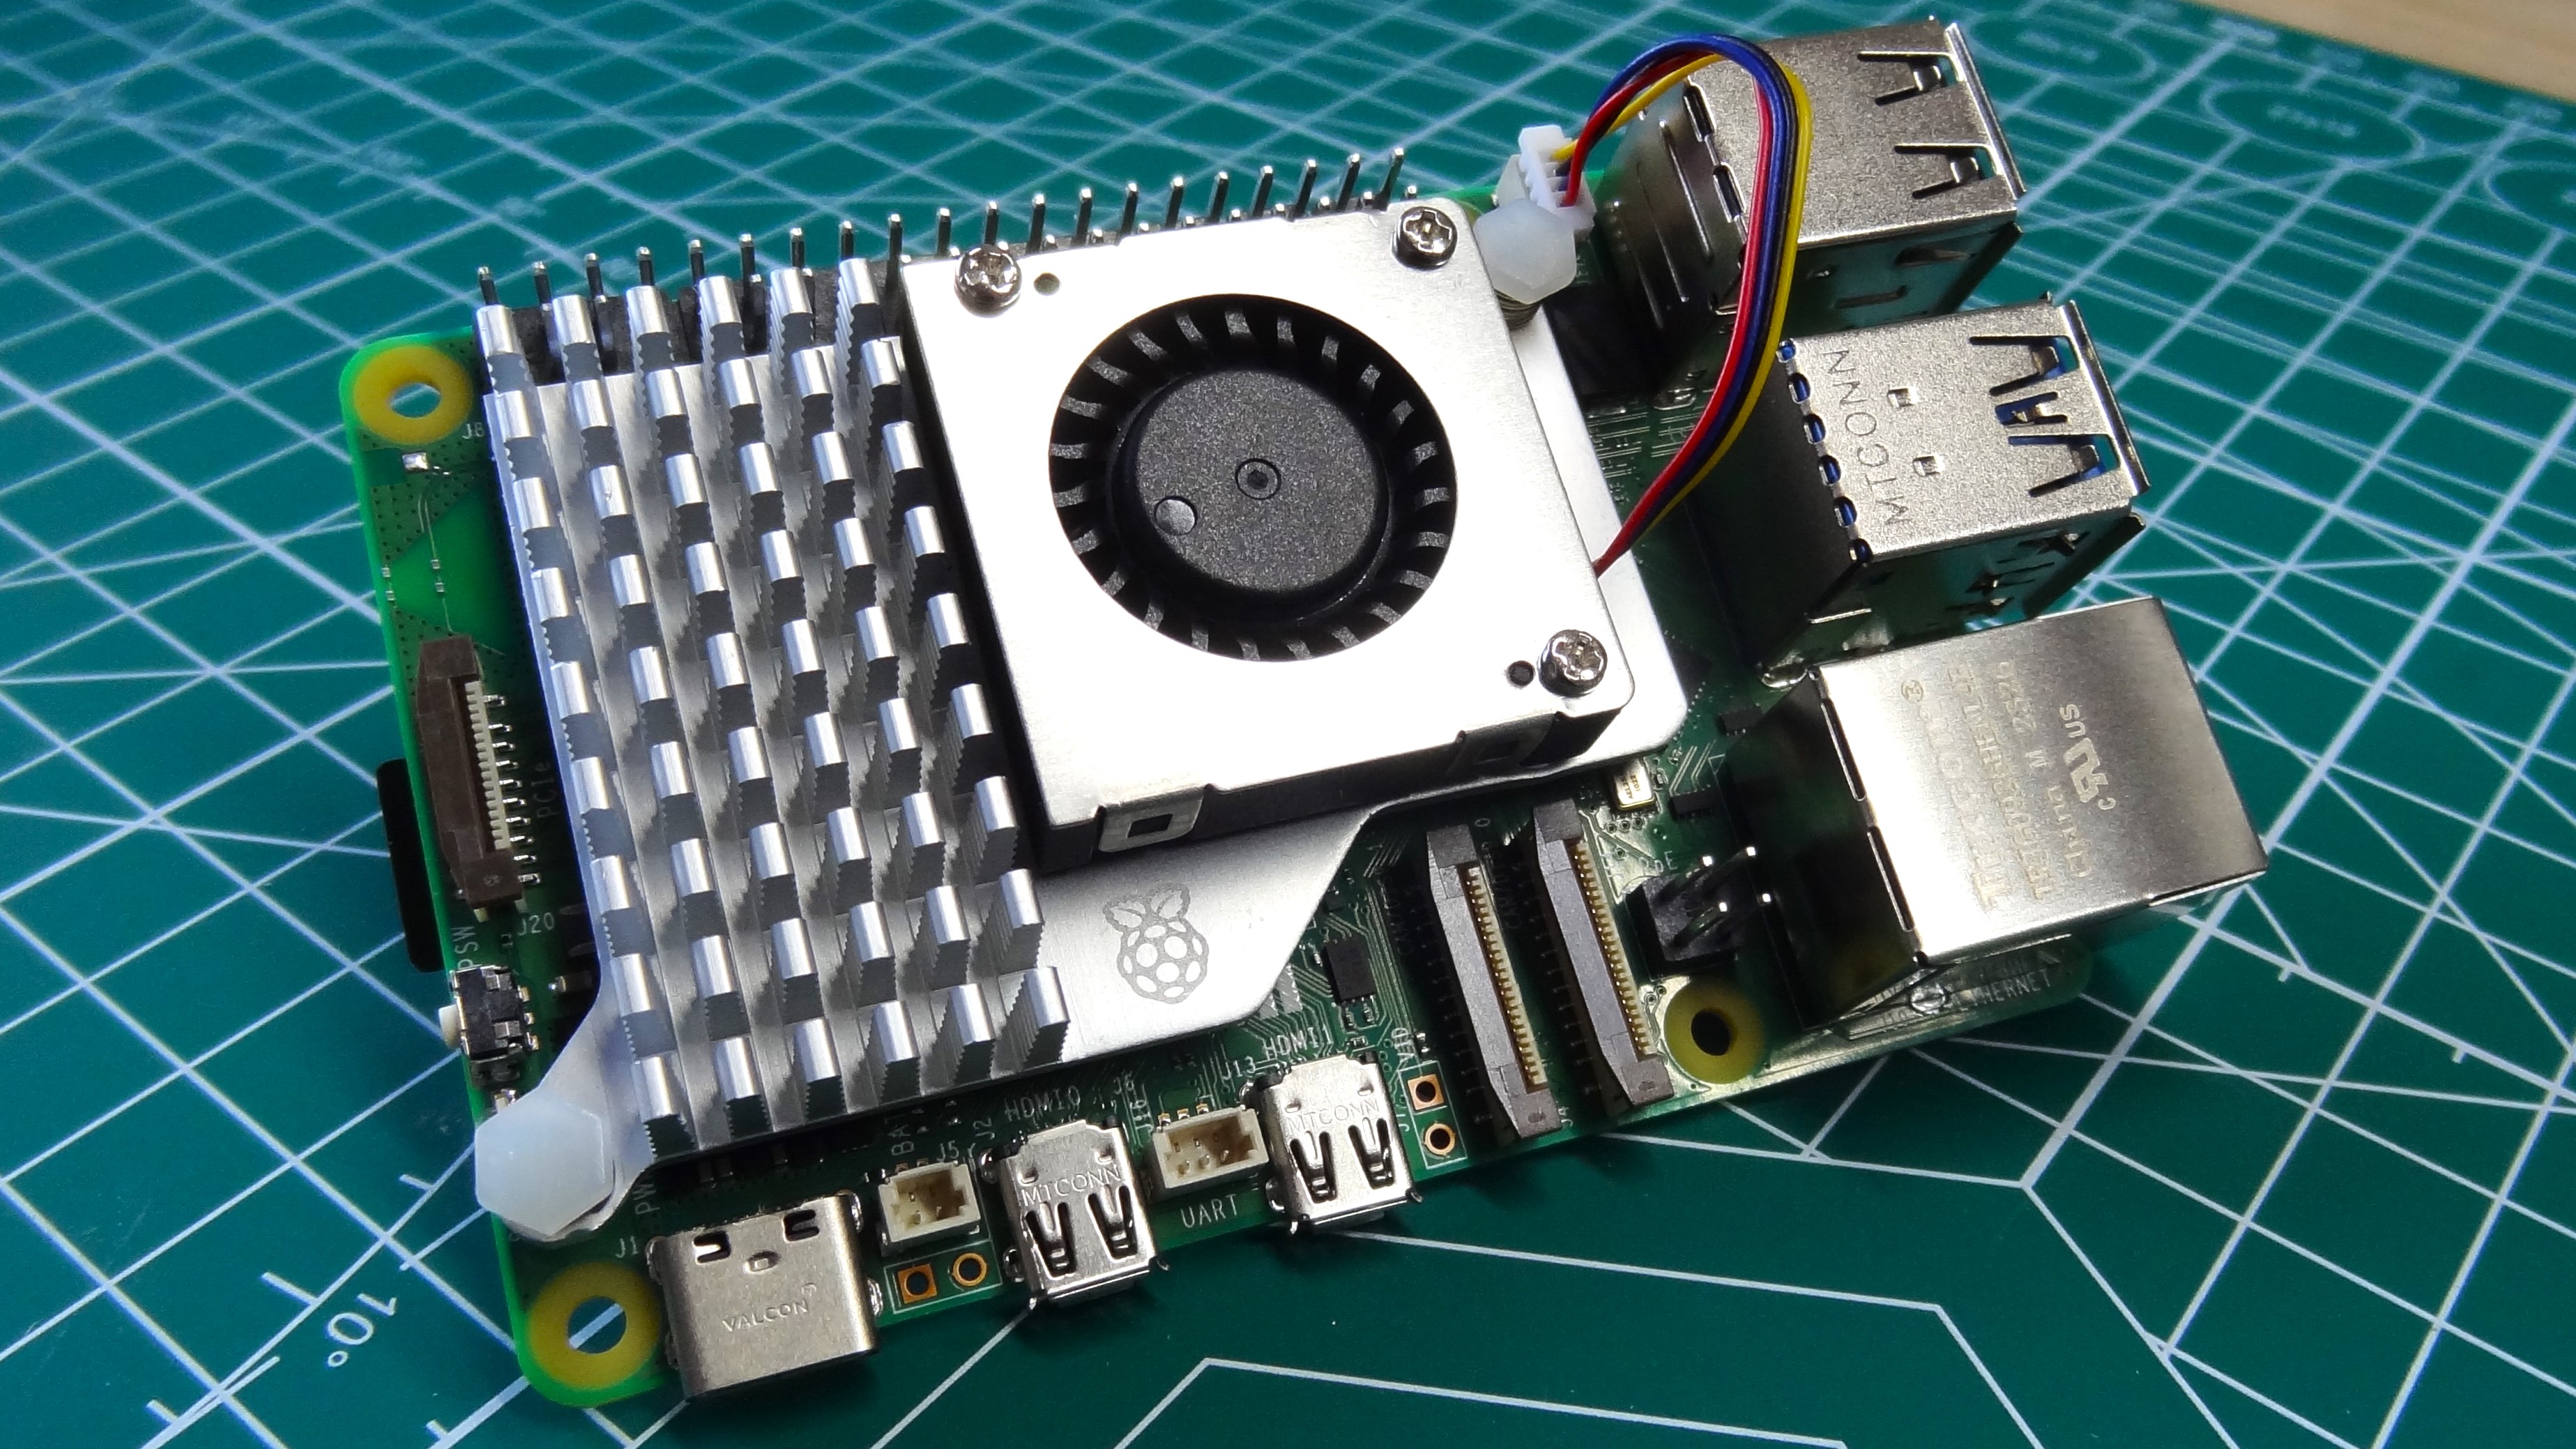
Before you begin the process of overclocking your Raspberry Pi, make sure that you have adequate cooling. At minimum, you should have a heat sink on the CPU and RP1. We would strongly suggest using the official Active Cooler.
It is the current best choice to keep your Raspberry Pi 5 cool. It fits on top of the SoC, RP1 southbridge and the Wi-Fi chip using thermal pads to draw heat into the heatsink. From there a small fan, connected to the fan header, will blow cool air across the aluminum fins of the heatsink.
Note, of course, that while unlikely, it’s also possible to damage your Pi during the process.
How to Overclock a Raspberry Pi 5
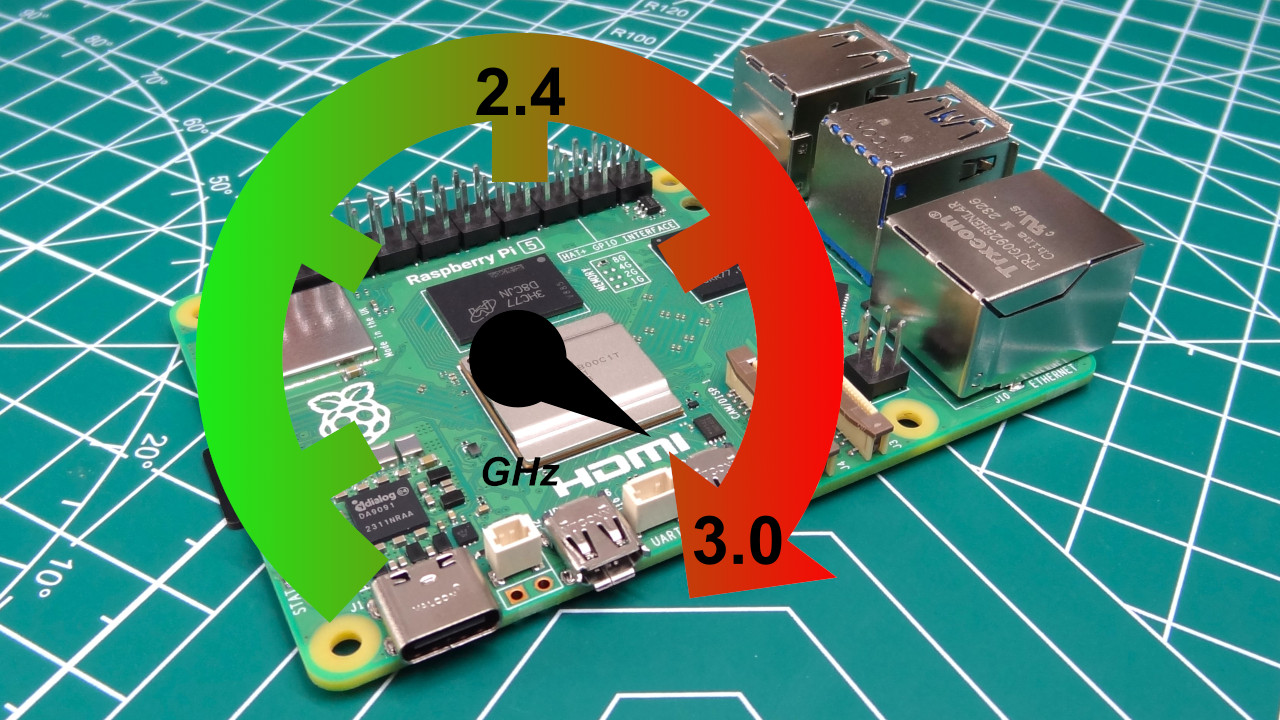
Overclocking any Raspberry Pi is a simple process of editing a file called config.txt with a series of instructions. In this how to, we will shoot for overclocking the CPU from 2.4 GHz to 3 GHz, and the new VideoCore VIII GPU from 800 MHz to 1 GHz.
There is an element of luck to overclocking any CPU / GPU. They all may come from the same production lines, but the “silicon lottery” means that not all chips can overclock equally. We hit 3 GHz without too much effort, but your CPU may only reach 2.9 GHz.
Get Tom's Hardware's best news and in-depth reviews, straight to your inbox.
1. Attach your cooling solution to the Raspberry Pi 5 before powering on.
2. Update the available repositories and then upgrade your Raspberry Pi 5. This will ensure we have the latest software available.
sudo apt update && sudo apt dist-upgrade3. Open config.txt for editing. It’s found in the /boot directory.
sudo nano /boot/firmware/config.txt4. At the bottom of the file make a new line and add these lines to overclock the CPU to 3 GHz and the GPU to 1 GHz.
arm_freq=3000
gpu_freq=1000
5. An optional step. Use force turbo to run the CPU and GPU to run at maximum speed. This overrides any scaling governors and makes the CPU and GPU run at 100%. Active cooling is essential for this to work correctly.
force_turbo=16. Save the file by pressing CTRL + X, Y then ENTER.
7. Reboot the Raspberry Pi 5. If the Raspberry Pi fails to boot, power off the Raspberry Pi, remove the micro SD card and insert it into another computer. In the BOOT partition edit config.txt and check your settings. You may need to reduce the overclock by 100MHz in order to boot.
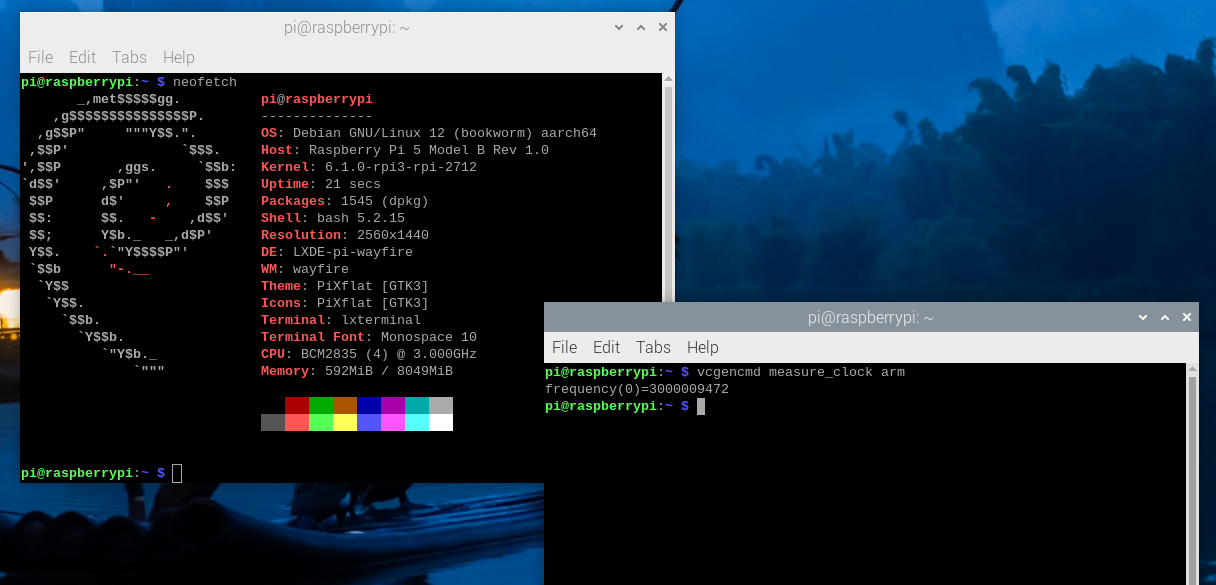
8. Open a new terminal and use this command to see the current CPU speed of the Pi. Press CTRL + C to stop reading the CPU speed.
watch -n 1 vcgencmd measure_clock arm9. Use this command to see the current GPU speed of the Pi. Press CTRL + C to stop reading the GPU speed.
watch -n 1 vcgencmd measure_clock coreWhen idle the CPU will run at a low speed to keep the CPU cool while it is idle. If we were to open a web browser or another heavy application, then the CPU speed would increase to match the demand. We’ve got a full how to benchmark your Raspberry Pi 5 tutorial which shows you how to write a script to read the data in real time and save to a CSV file for later examination.

Les Pounder is an associate editor at Tom's Hardware. He is a creative technologist and for seven years has created projects to educate and inspire minds both young and old. He has worked with the Raspberry Pi Foundation to write and deliver their teacher training program "Picademy".
-
bit_user Again, it's disappointing not to see any power or performance-scaling data, nor even confirmation of what cooling solution you used to achieve that overclock and what temperature it maxed out at.Reply
As I mentioned in the comments on the benchmarking article, I'd recommend stressing the CPU using stress-ng –cpu 4 –cpu-method matrixprod . To stress the GPU, try glmark2-es2 –off-screen –run-forever.
The rest of my comment is here:
https://forums.tomshardware.com/threads/how-to-benchmark-a-raspberry-pi-using-vcgencmd.3822216/ -
bit_user Reply
According to what?jackt said:You cant overclock it much since its overclocked by design.
As far as I'm aware, this SoC was designed specifically for the Pi 5. So, how can you really say the stock clocks are OC'd? -
jackt Reply
acording to the cpu temperature and the need of a fan.bit_user said:According to what?
As far as I'm aware, this SoC was designed specifically for the Pi 5. So, how can you really say the stock clocks are OC'd?


