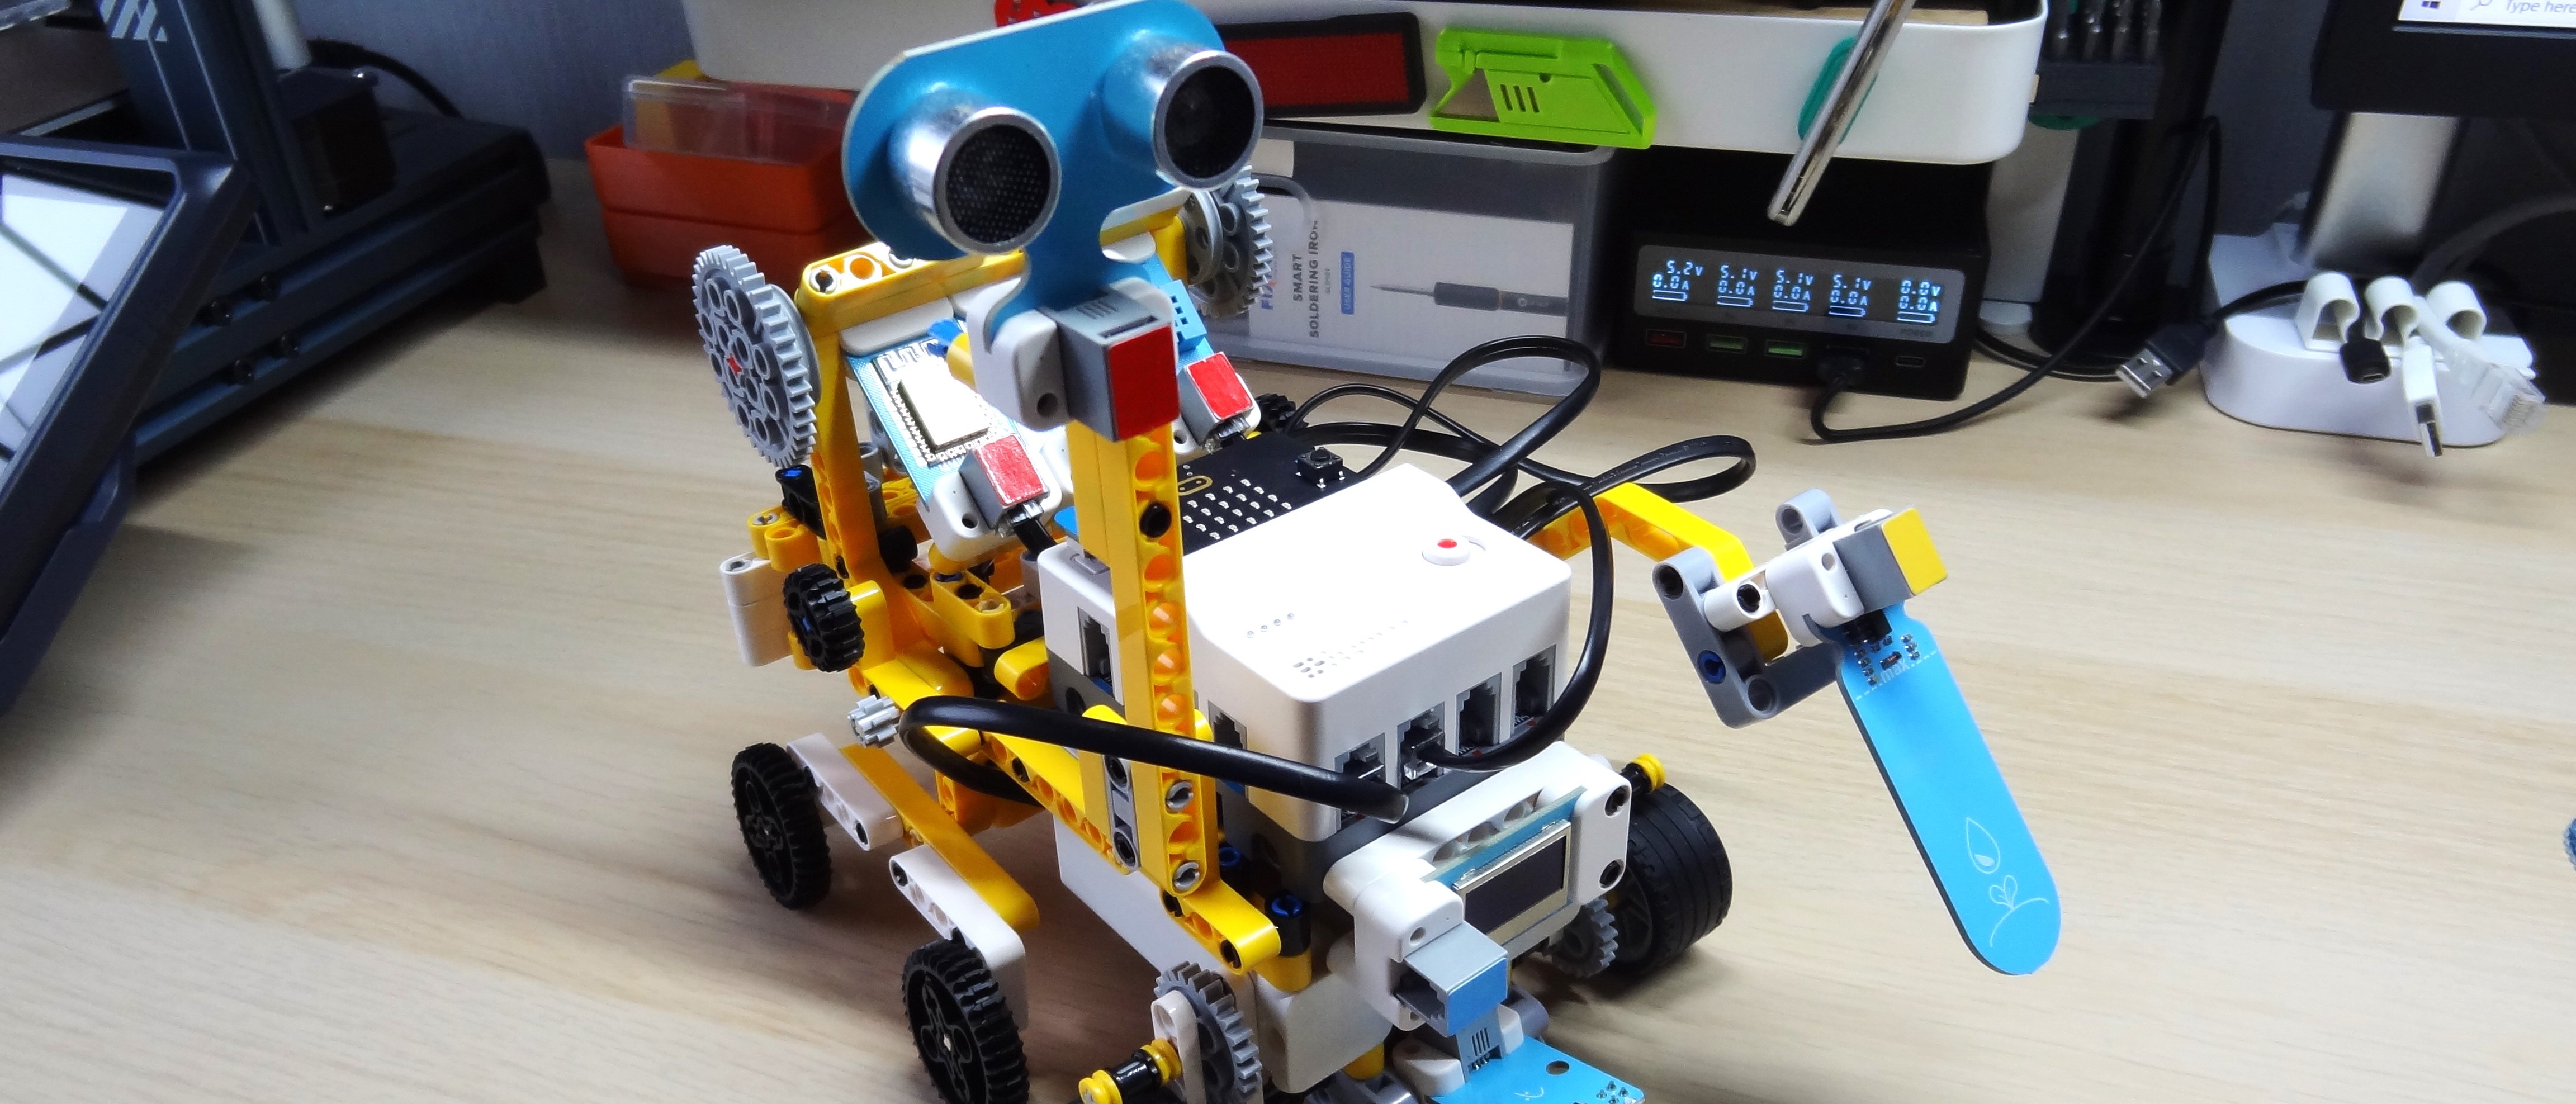
Tom's Hardware Verdict
For educational users this is a great kit that undercuts the brand leader but doesn’t skimp on quality. That said, it is still pricey and the lessons really need to be PDFs.
Pros
- +
Lower cost than similar Lego kit
- +
Great build quality
- +
Chose of sensors and electronics
- +
Easy to code
- +
Learning resources are good
- +
Big box to contain all the components
Cons
- -
Pricey
- -
Micro:bit is $24 extra
- -
Lessons are not in printable format
Why you can trust Tom's Hardware
Learning electronics at the same time as coding can be a daunting task. Is there a bug in your code or hardware? How do you build a chassis for a robot? What does this sensor do? With that in mind, Elecfreaks’ $229 Space Science Kit is powered by the BBC micro:bit, and uses a block based coding language to make the process smooth for learners of all ages and abilities.
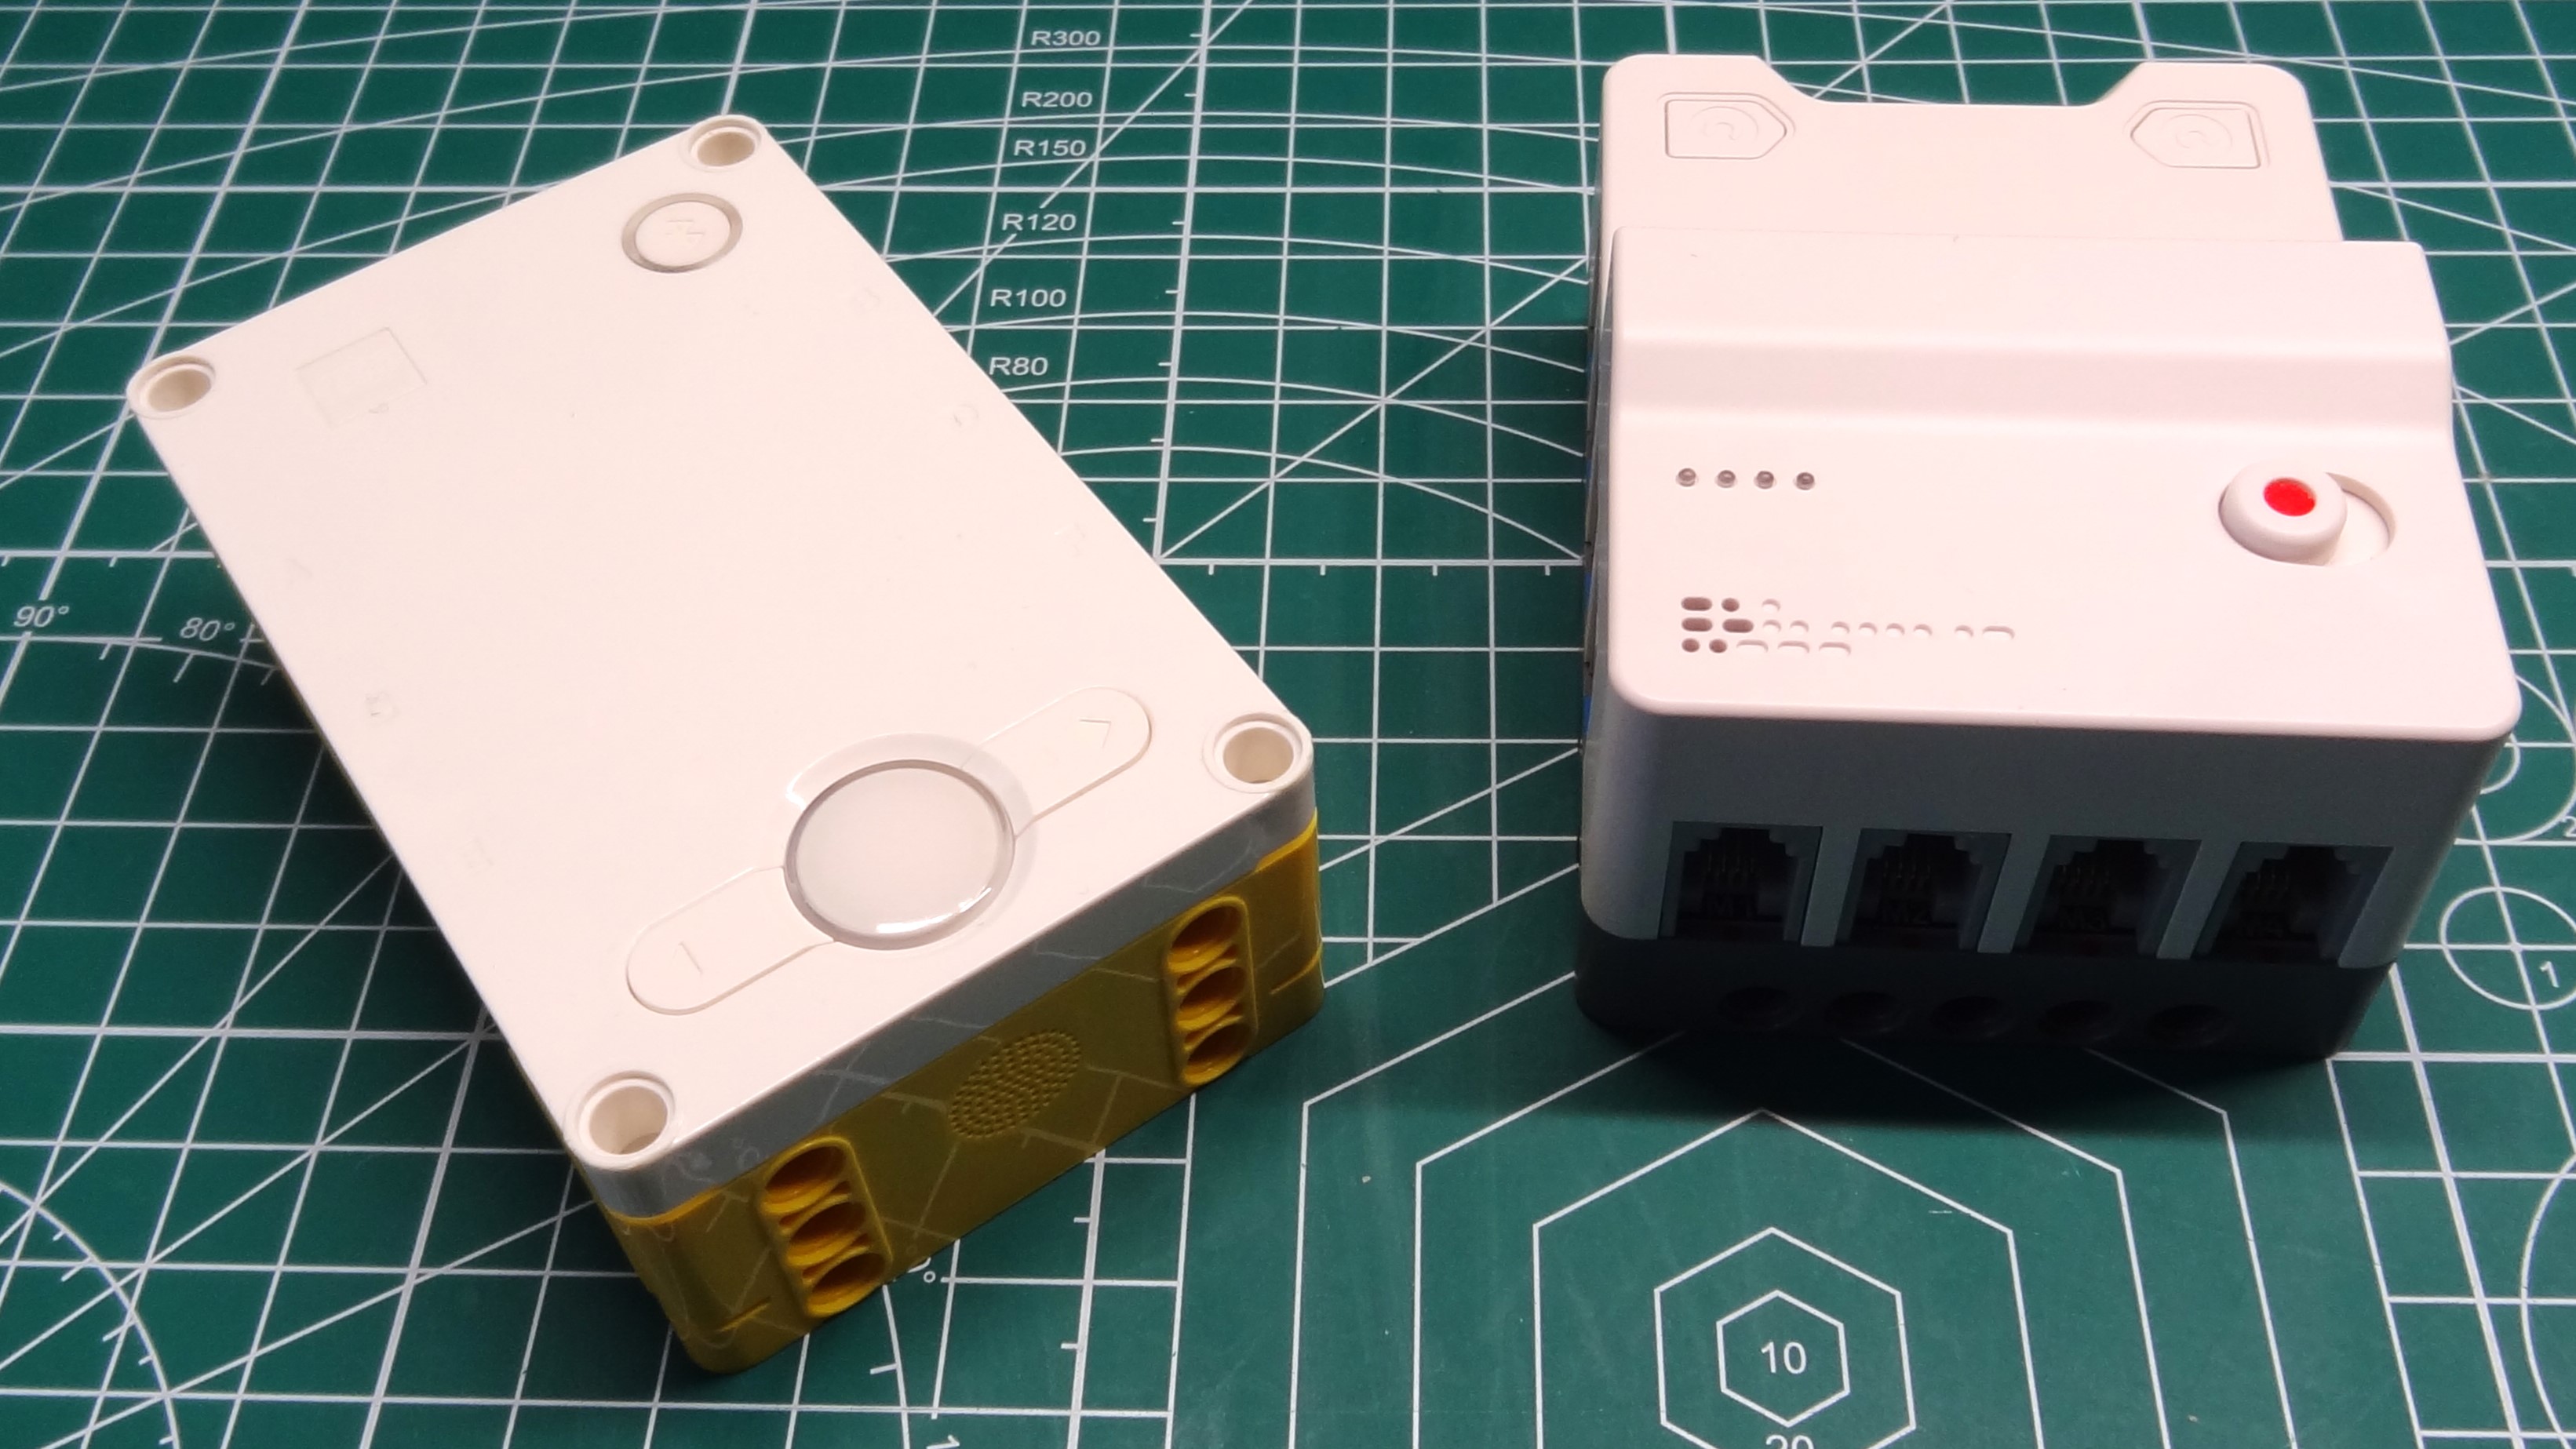
But the kit isn’t just a simple board. Instead the kit contains a Nezha Breakout Board v2, similar to Lego’s Spike Hub or the Raspberry Pi Build HAT, a box full of “Lego compatible” bricks that ape Lego Technic and a variety of sensors and motors. We also get a “play mat” on which the science experiments can be conducted.
Is the Elecfreaks Space Science Kit worth $229 of your hard earned money? Or is it destined for educational establishments? Does it build with the same feel as Lego? Is it compatible with Lego? We shall find out!
Elecfreaks micro:bit Space Science Kit Technical Specifications
| Breakout / Smart Hub | Nezha Breakout Board V2 |
| Connections | 4 x IO 4 x Motors 4 x I2C |
| Battery | 4 Hours (Claimed) |
| Kit | Lego (Technic) / Fischer compatible |
| Axles, Gears, Cogs, Connectors, Beams | |
| Electronics | 2 x Motors Soil Moisture Sensor DHT11 Temperature and Humidity Sensor OLED Display Sonar:bit Ultrasonic Sensor UV Sensor Wi-Fi Module Line Tracking Sensor |
| Power | 900mAh LiIon battery, claimed 4 hours of use. |
| Charging | 5V 3A input via USB Type-C |
| Breakout Dimensions | 80 x 60 x 45mm |
Elecfreaks micro:bit Space Science Kit Build Process
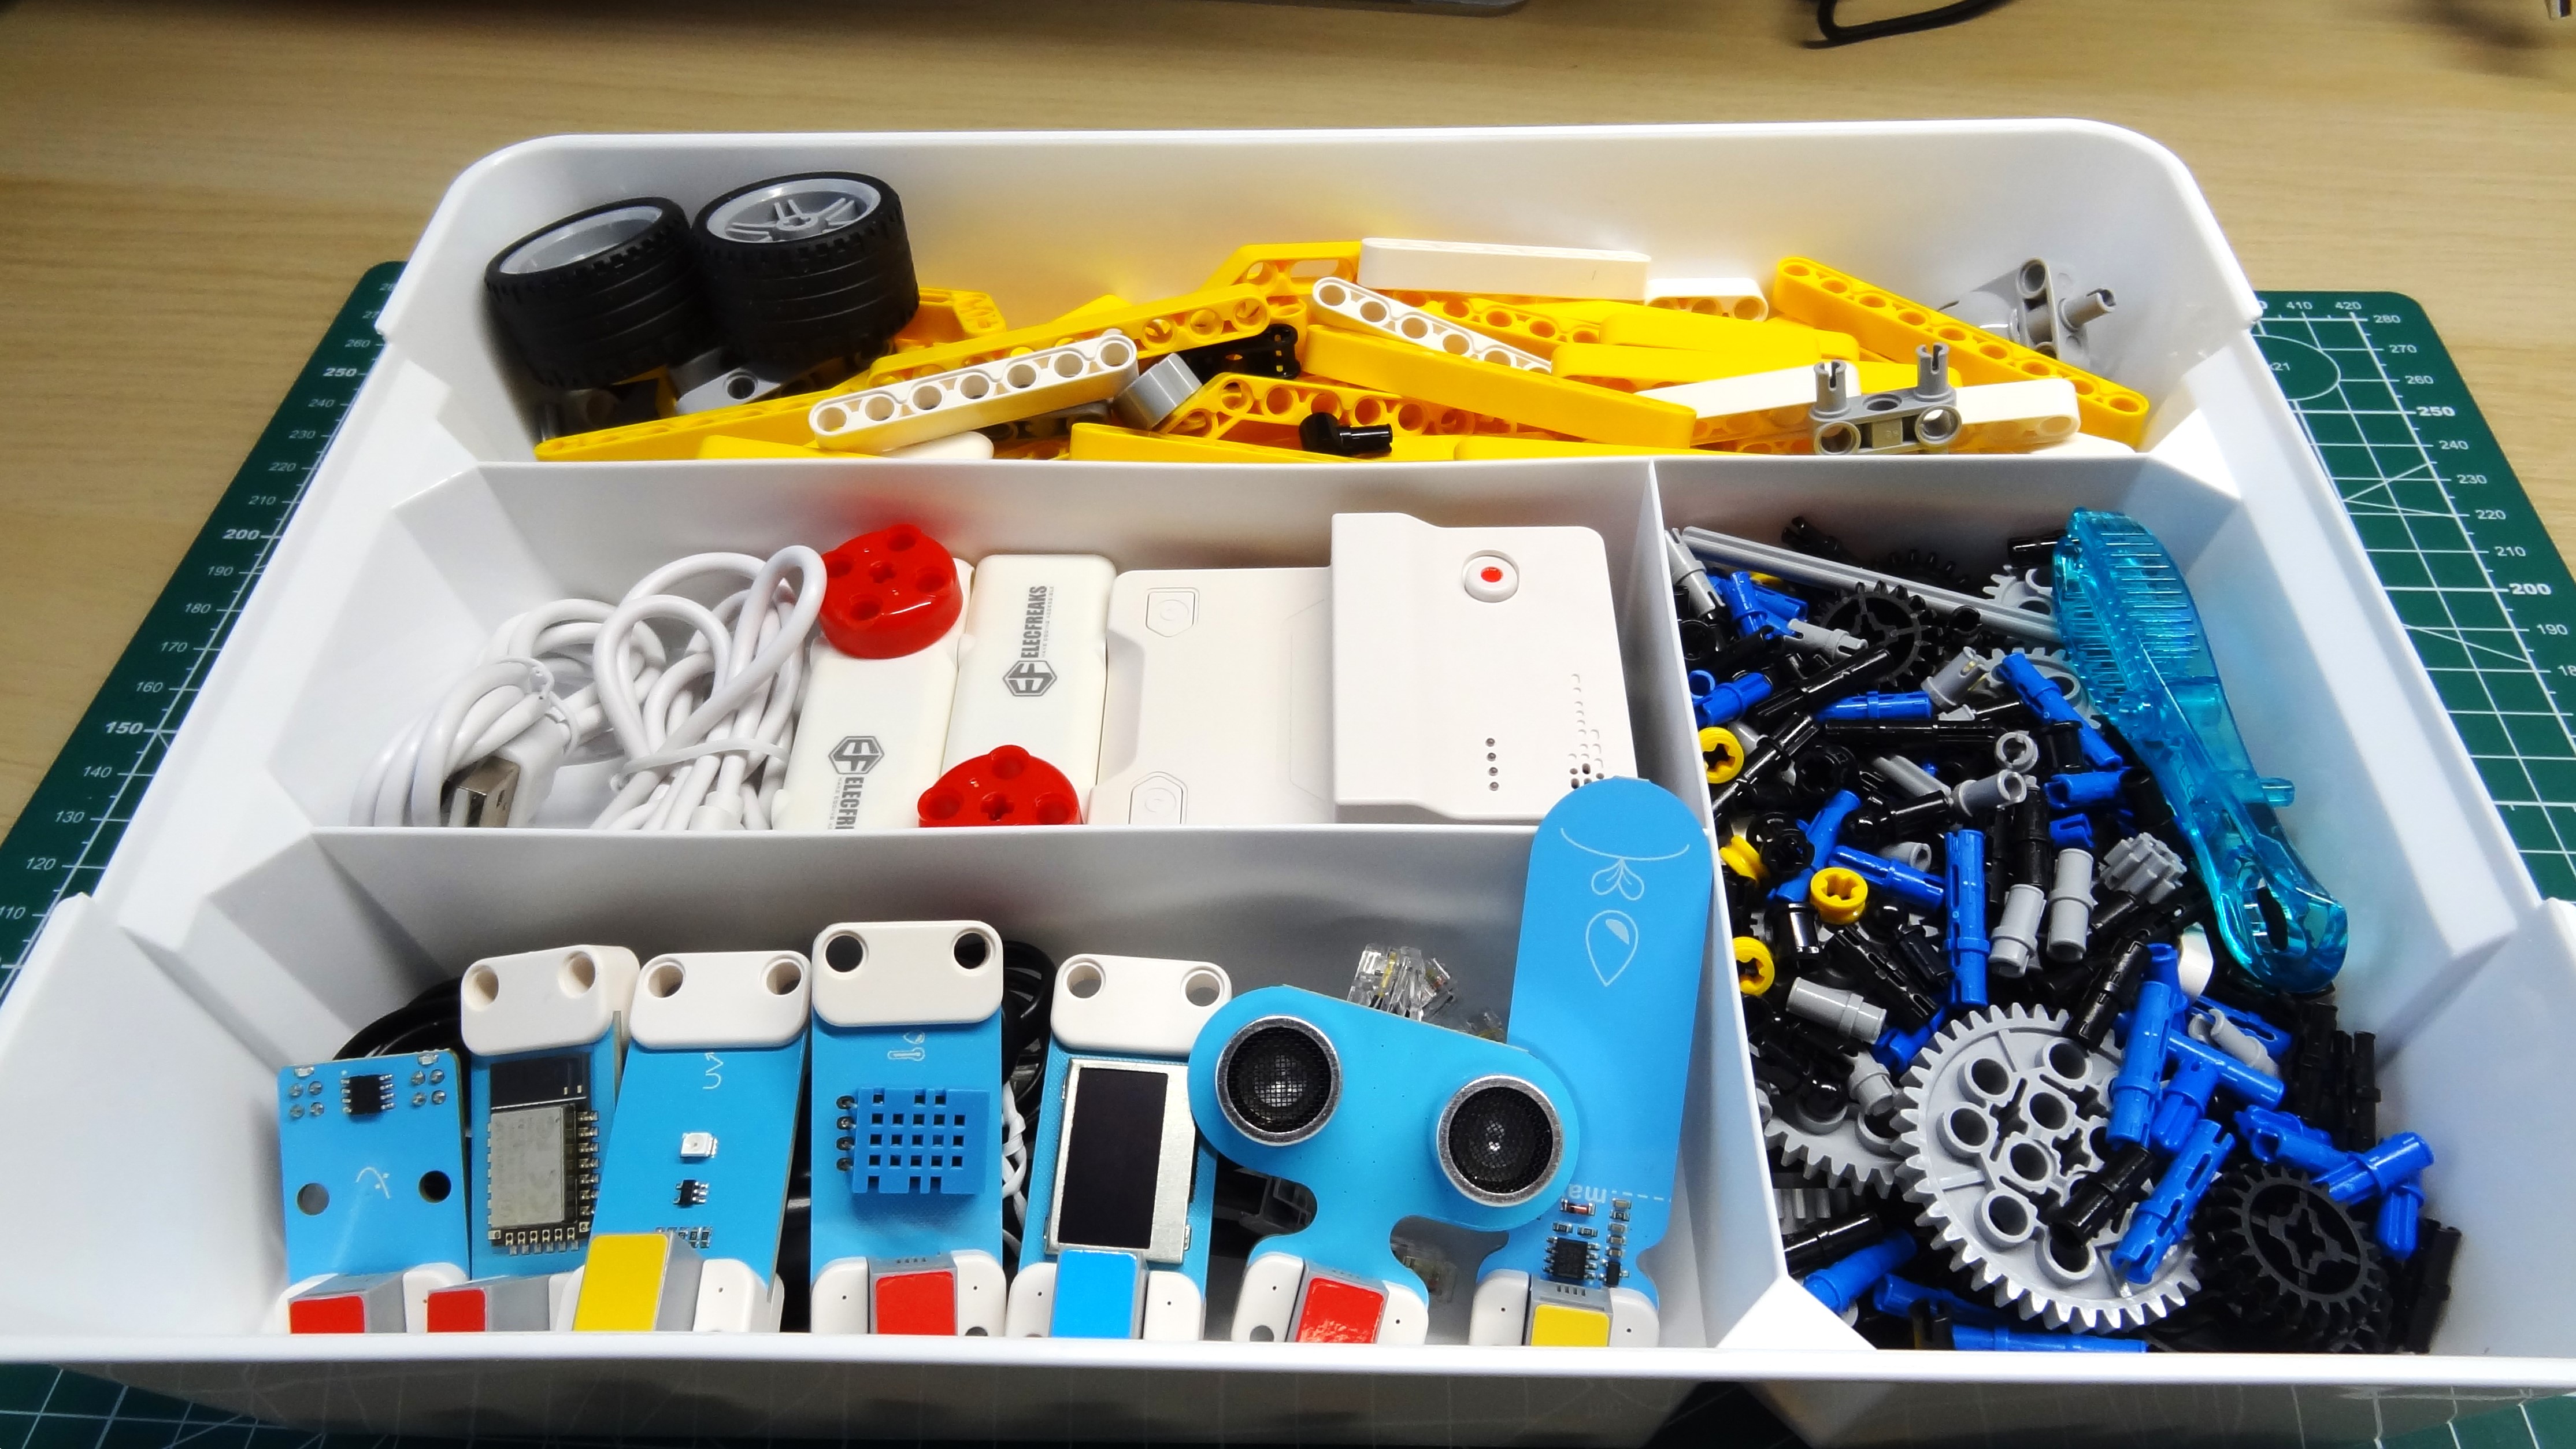
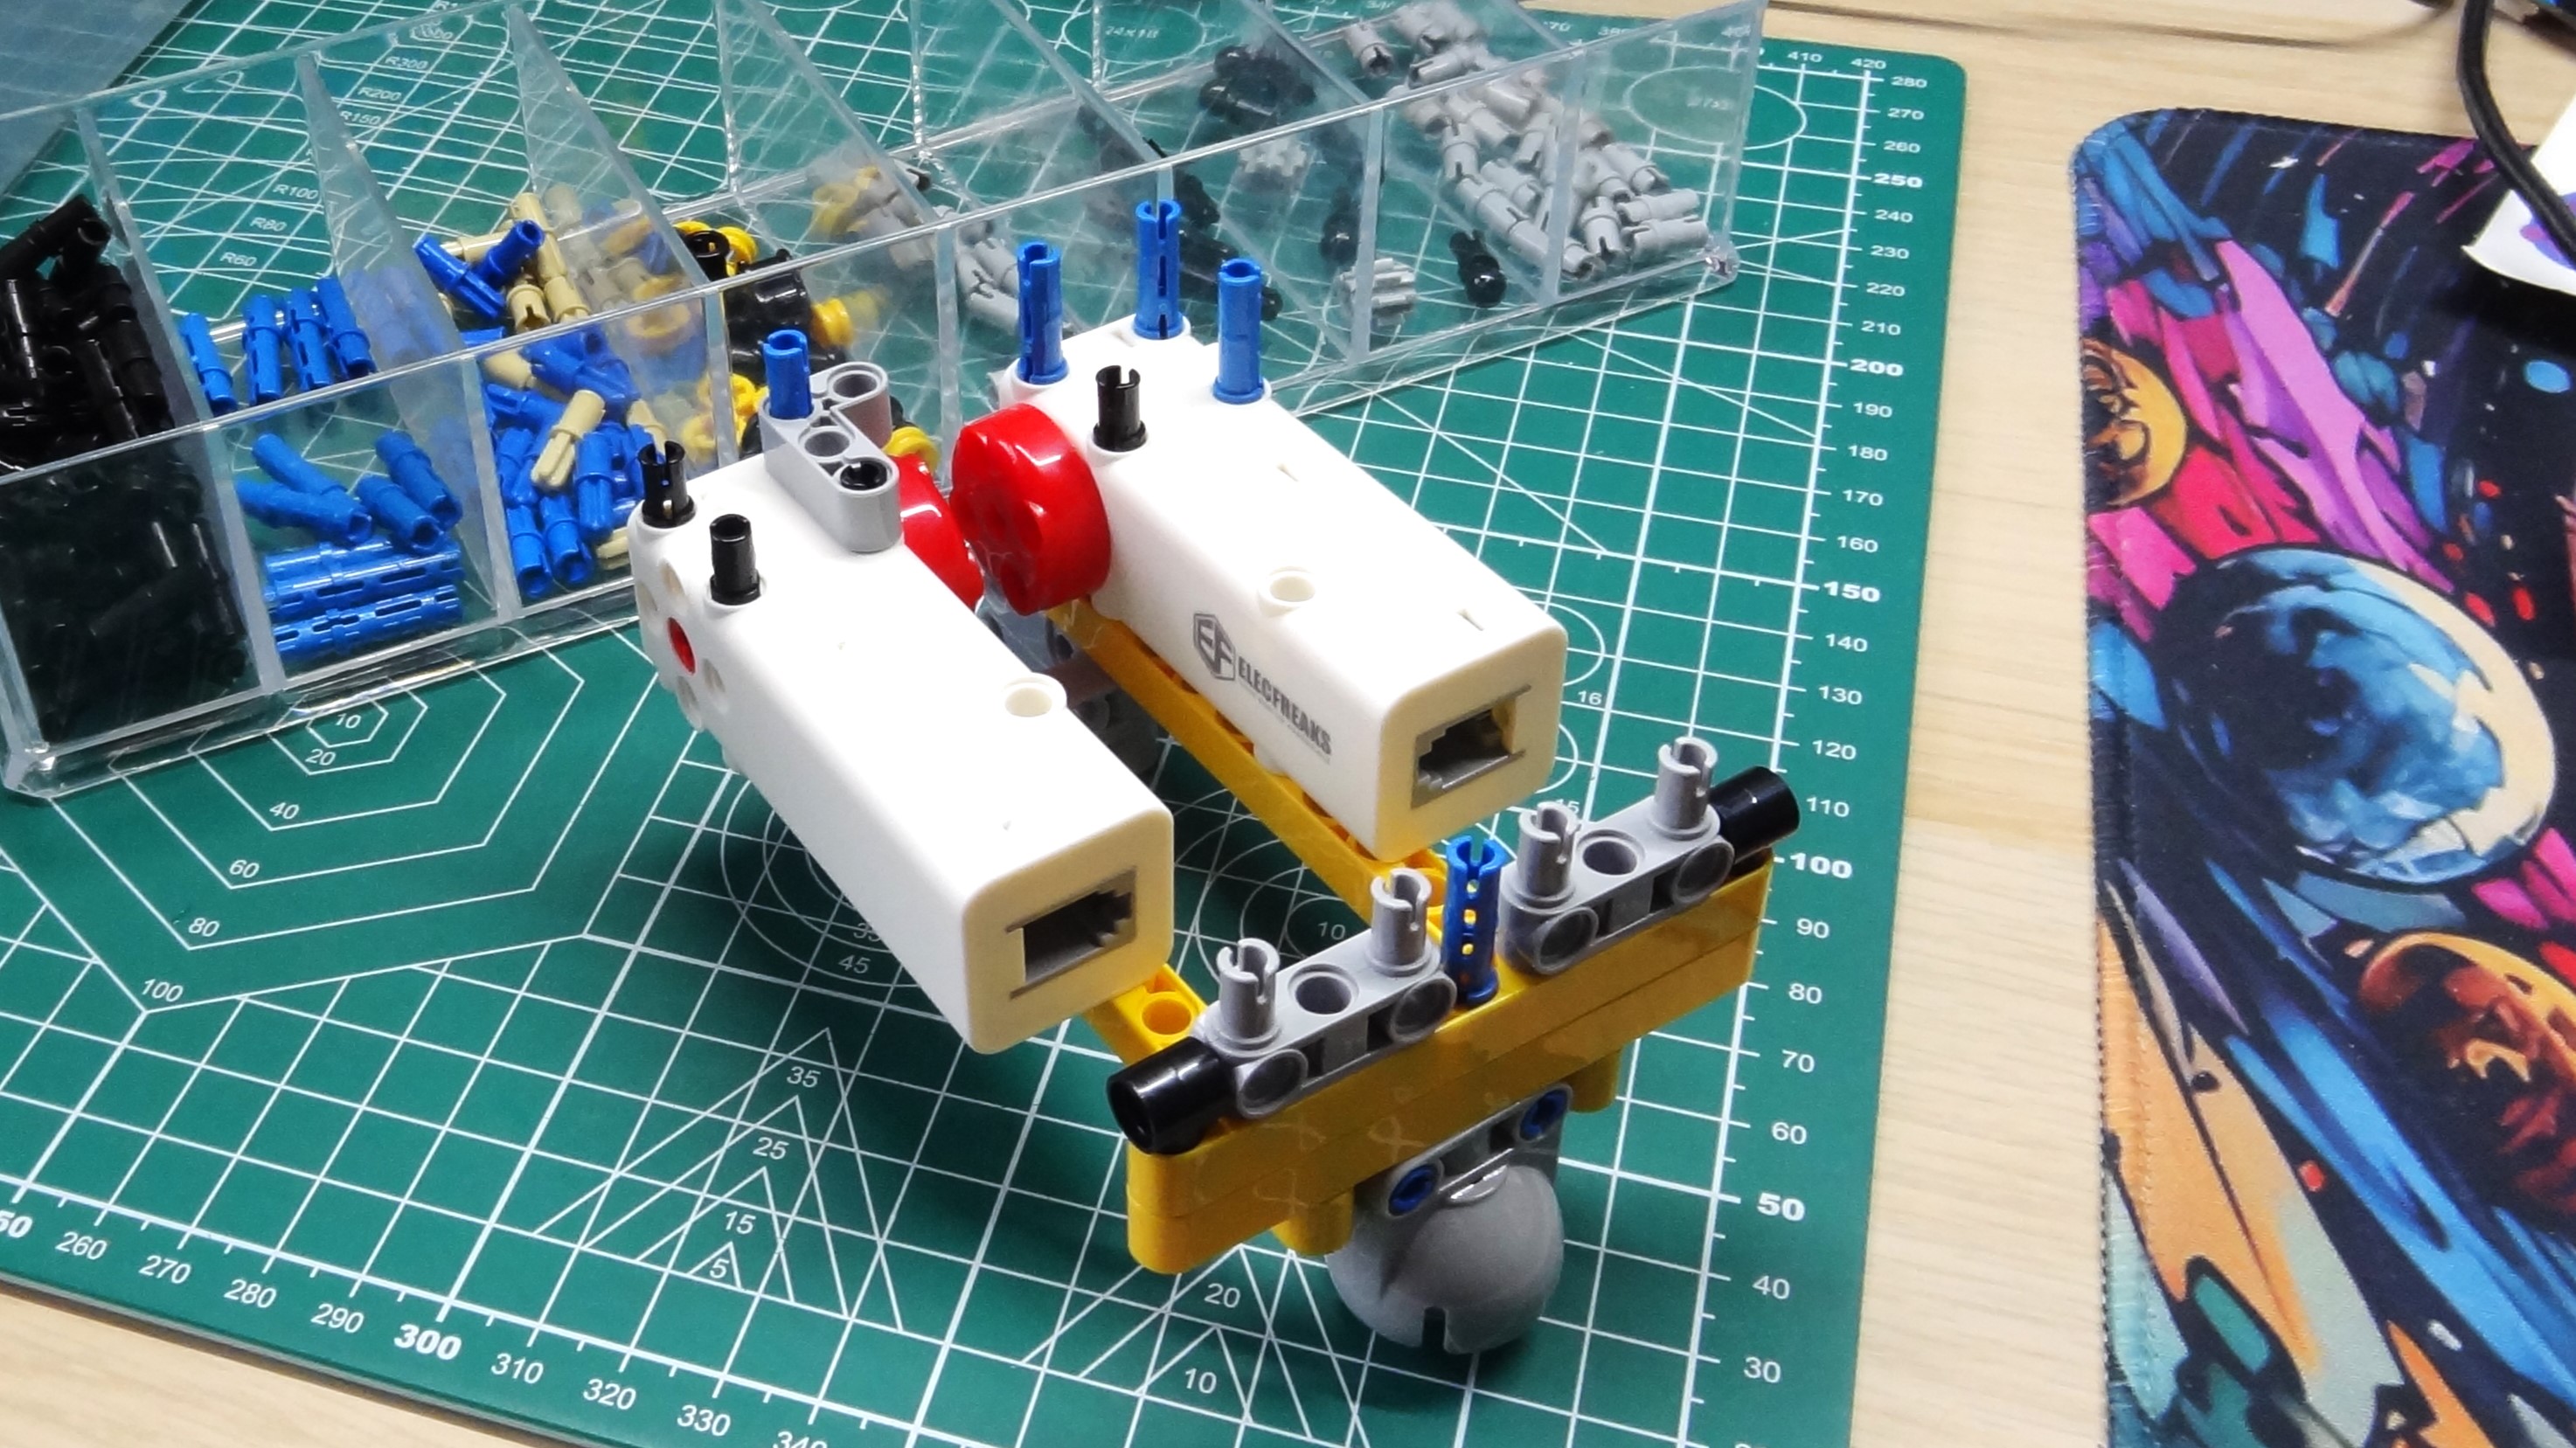
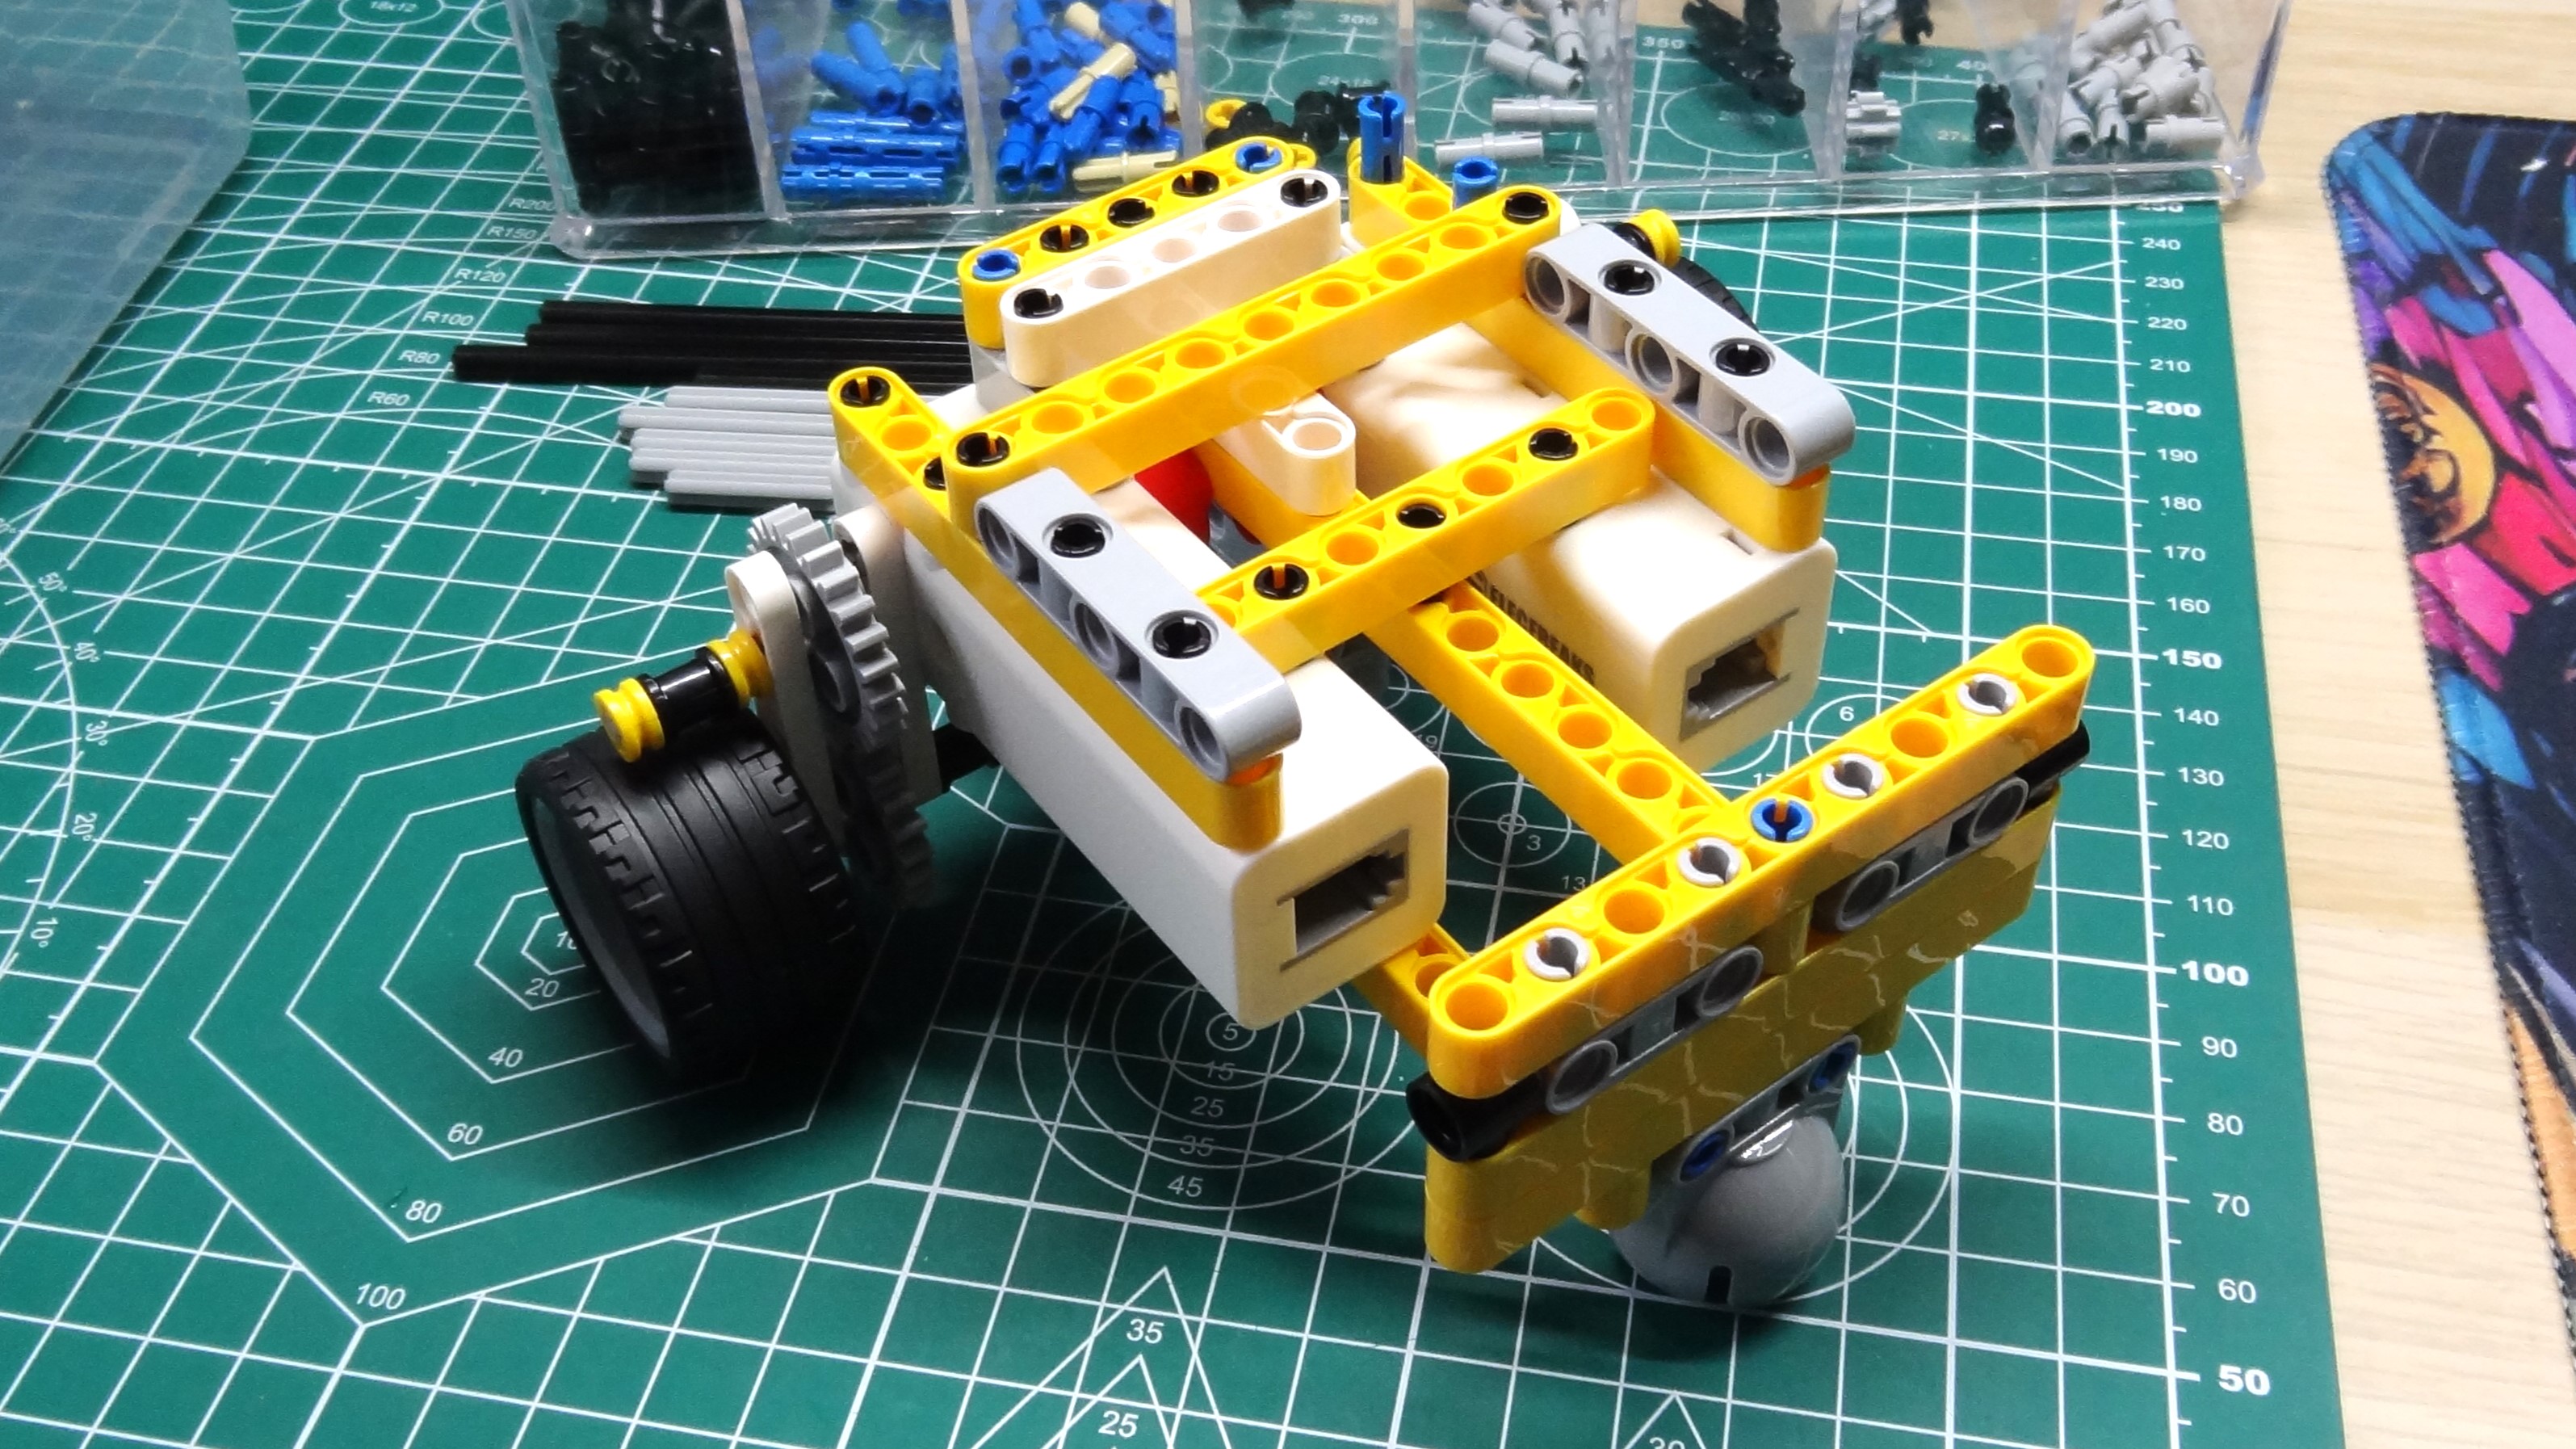
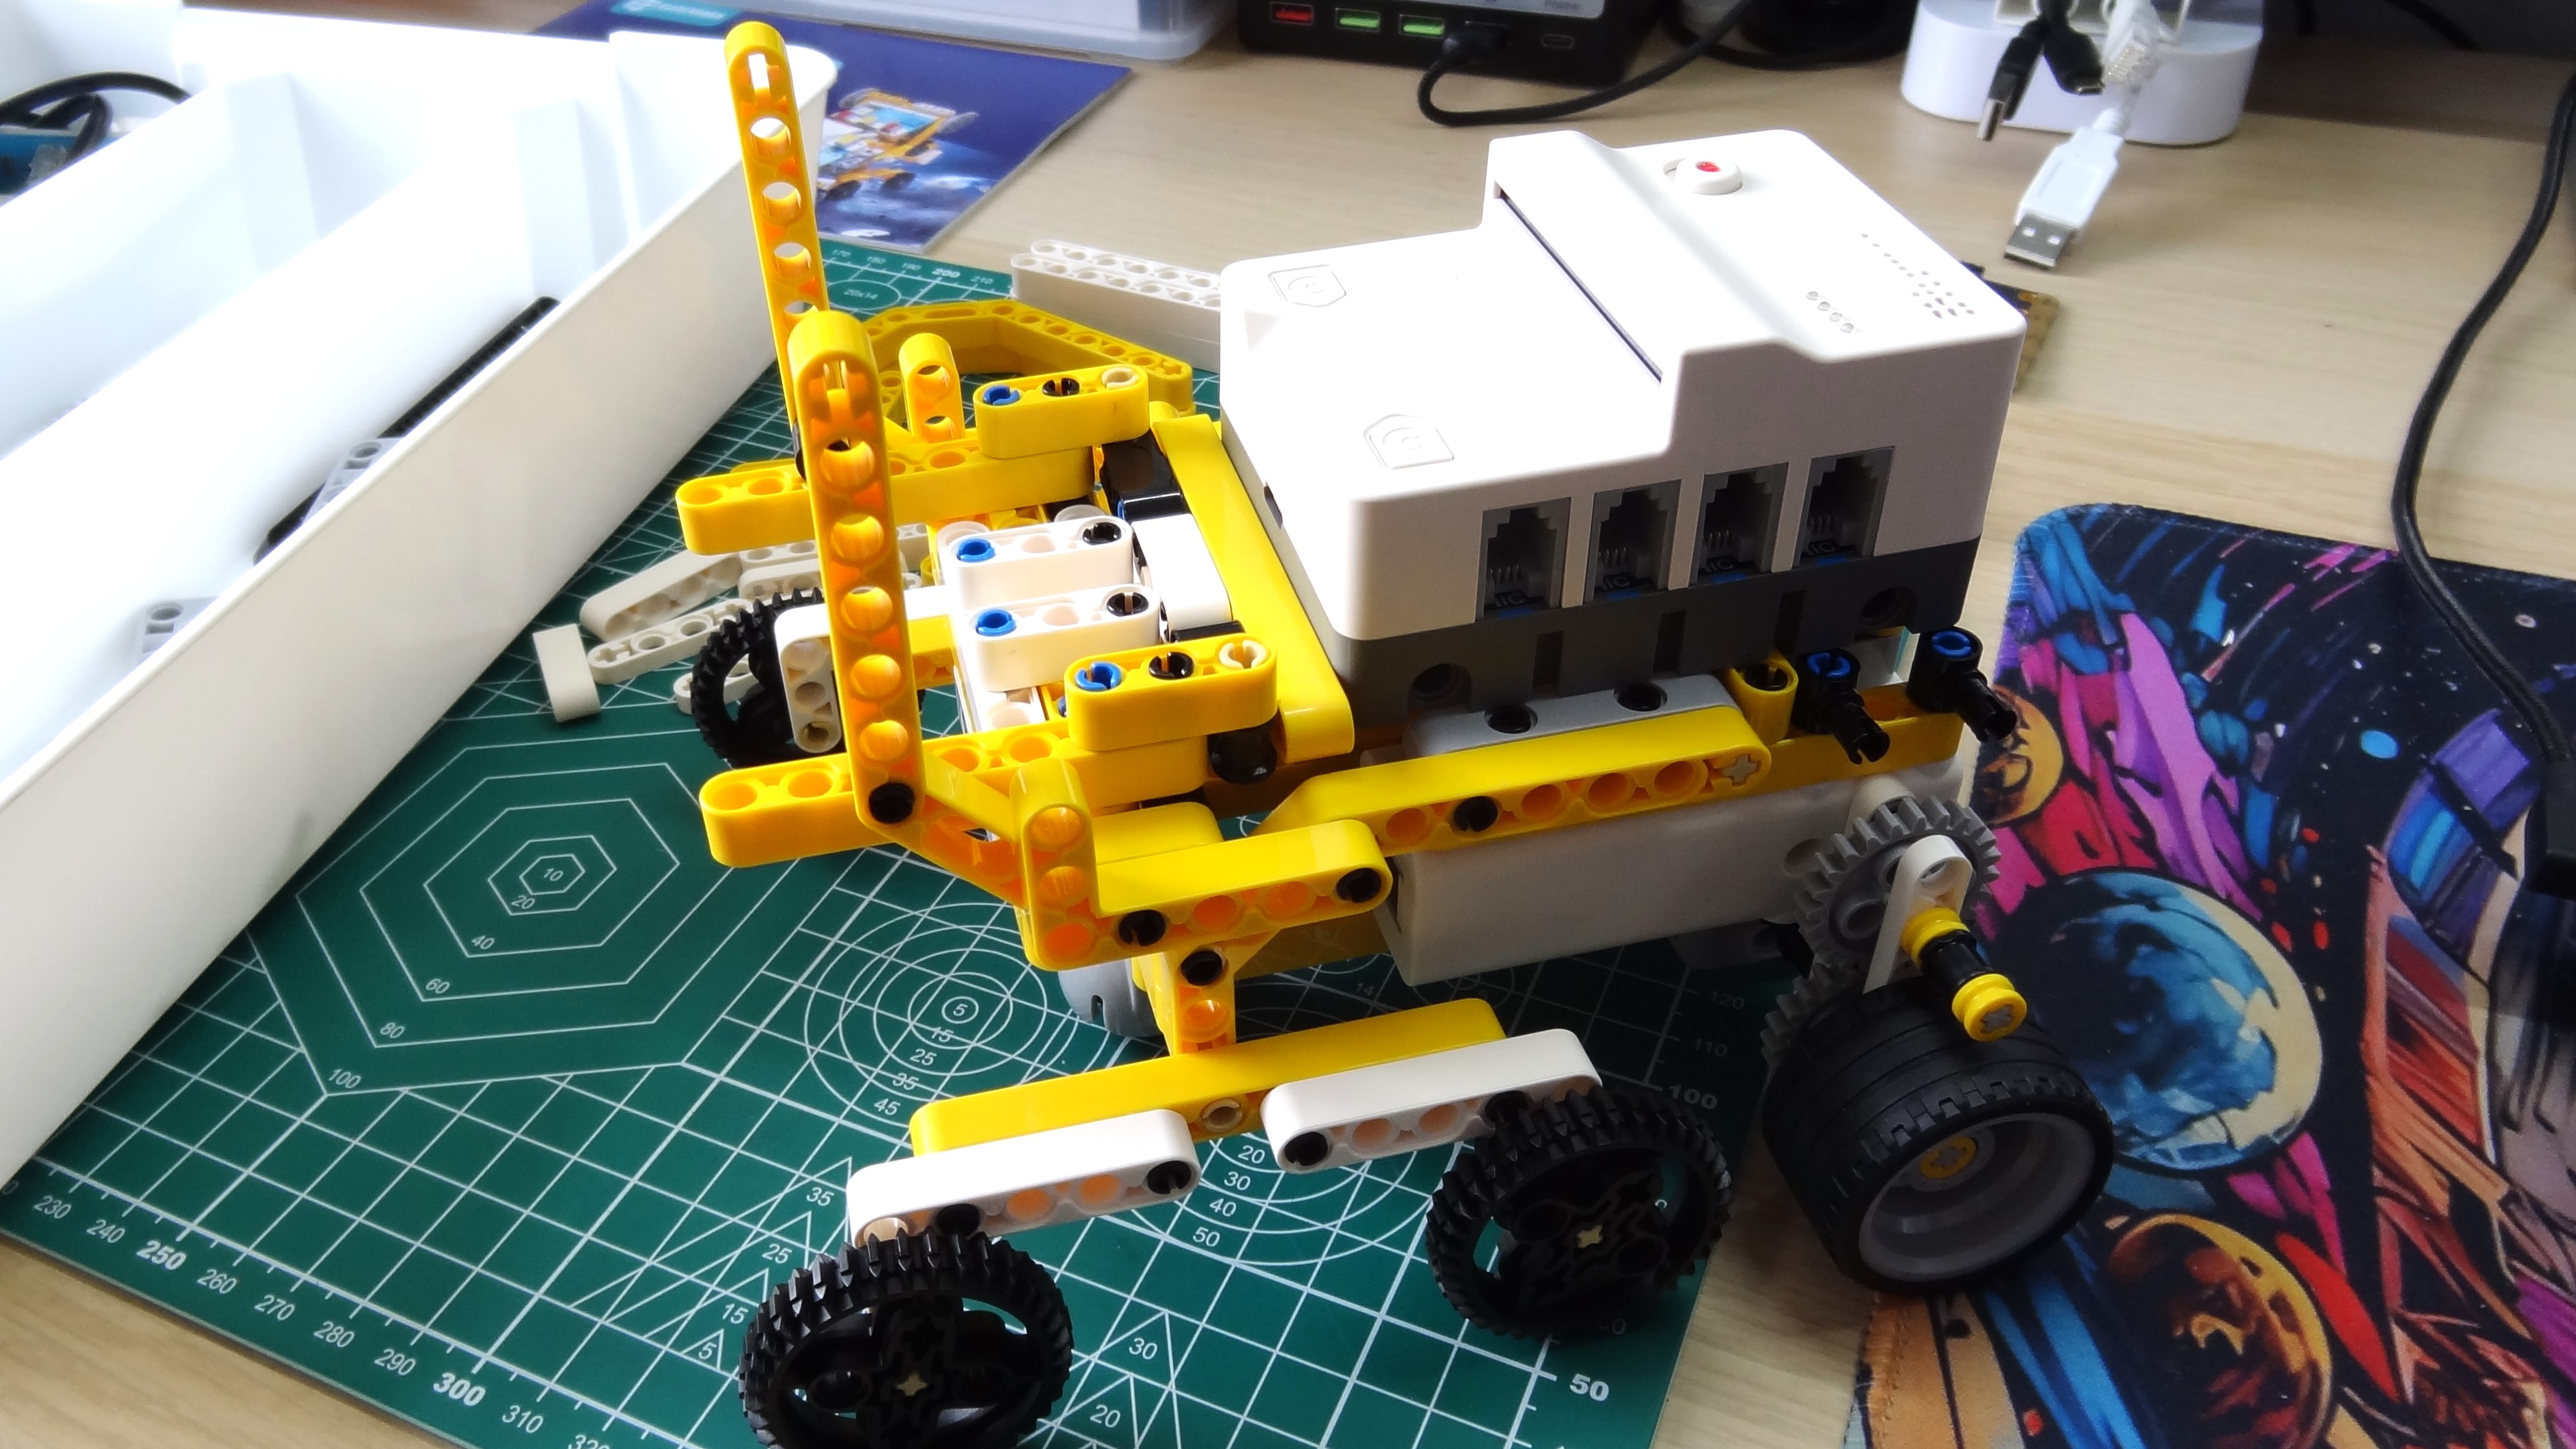
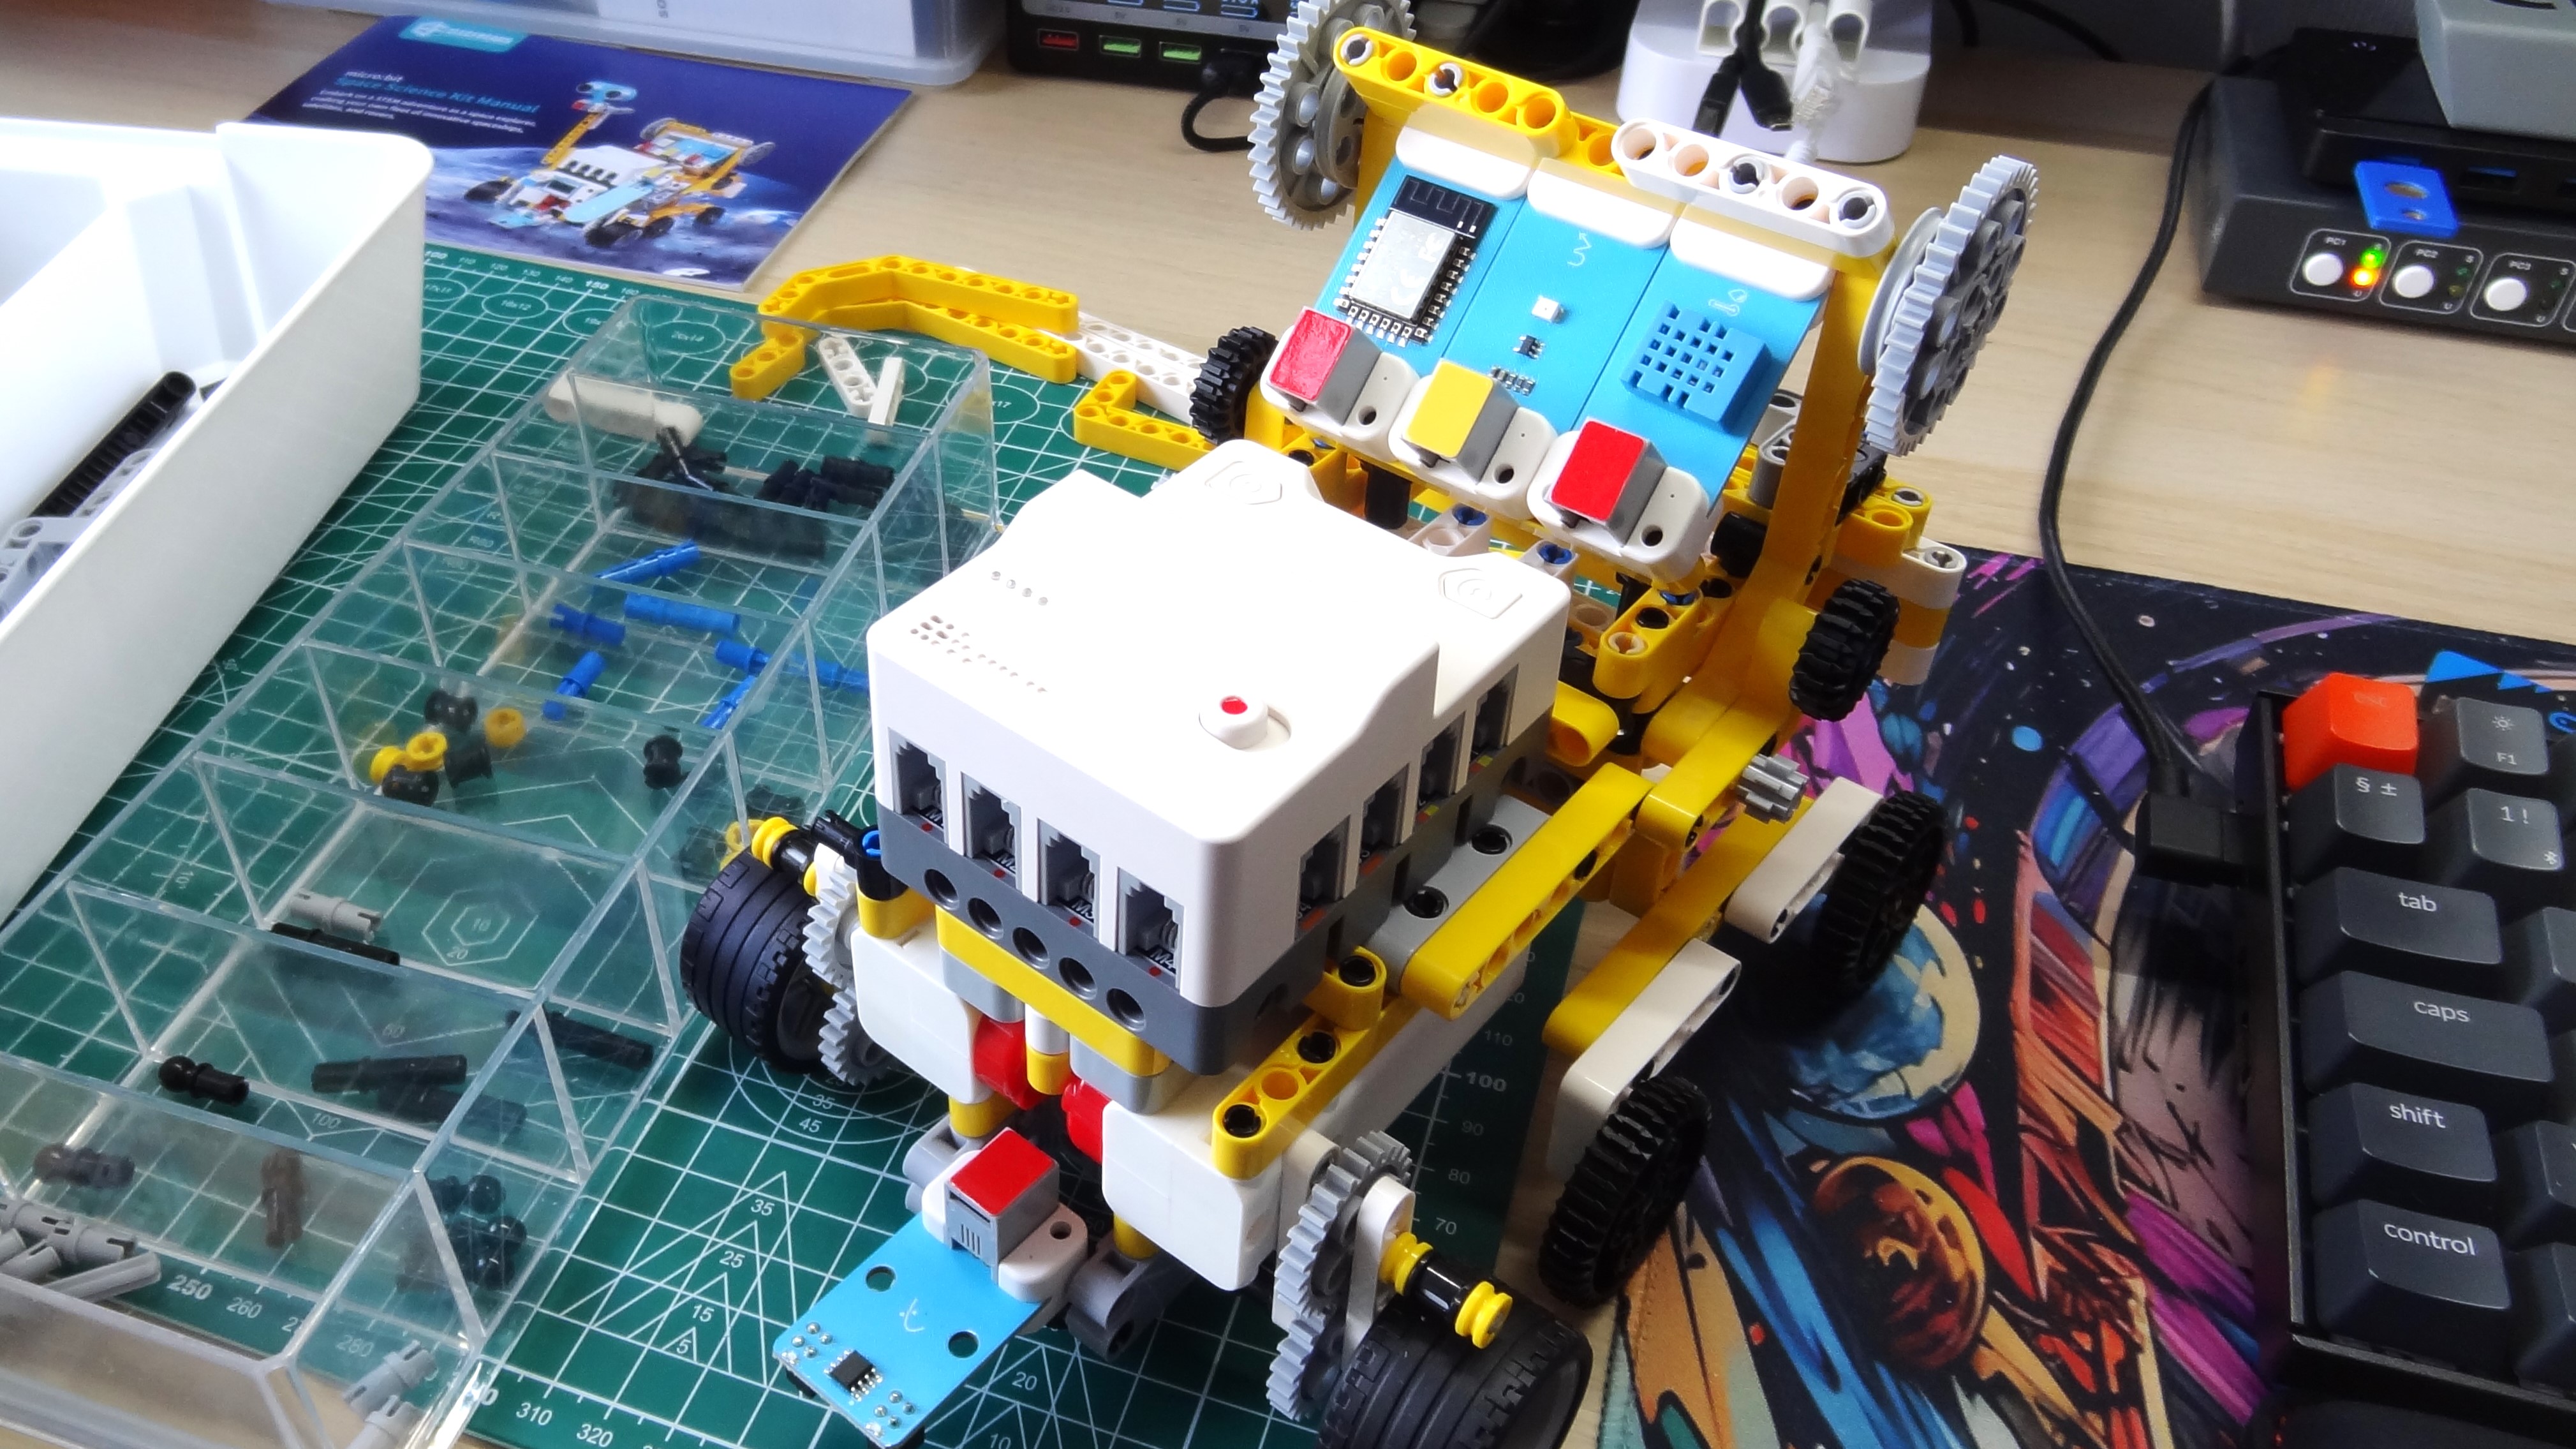
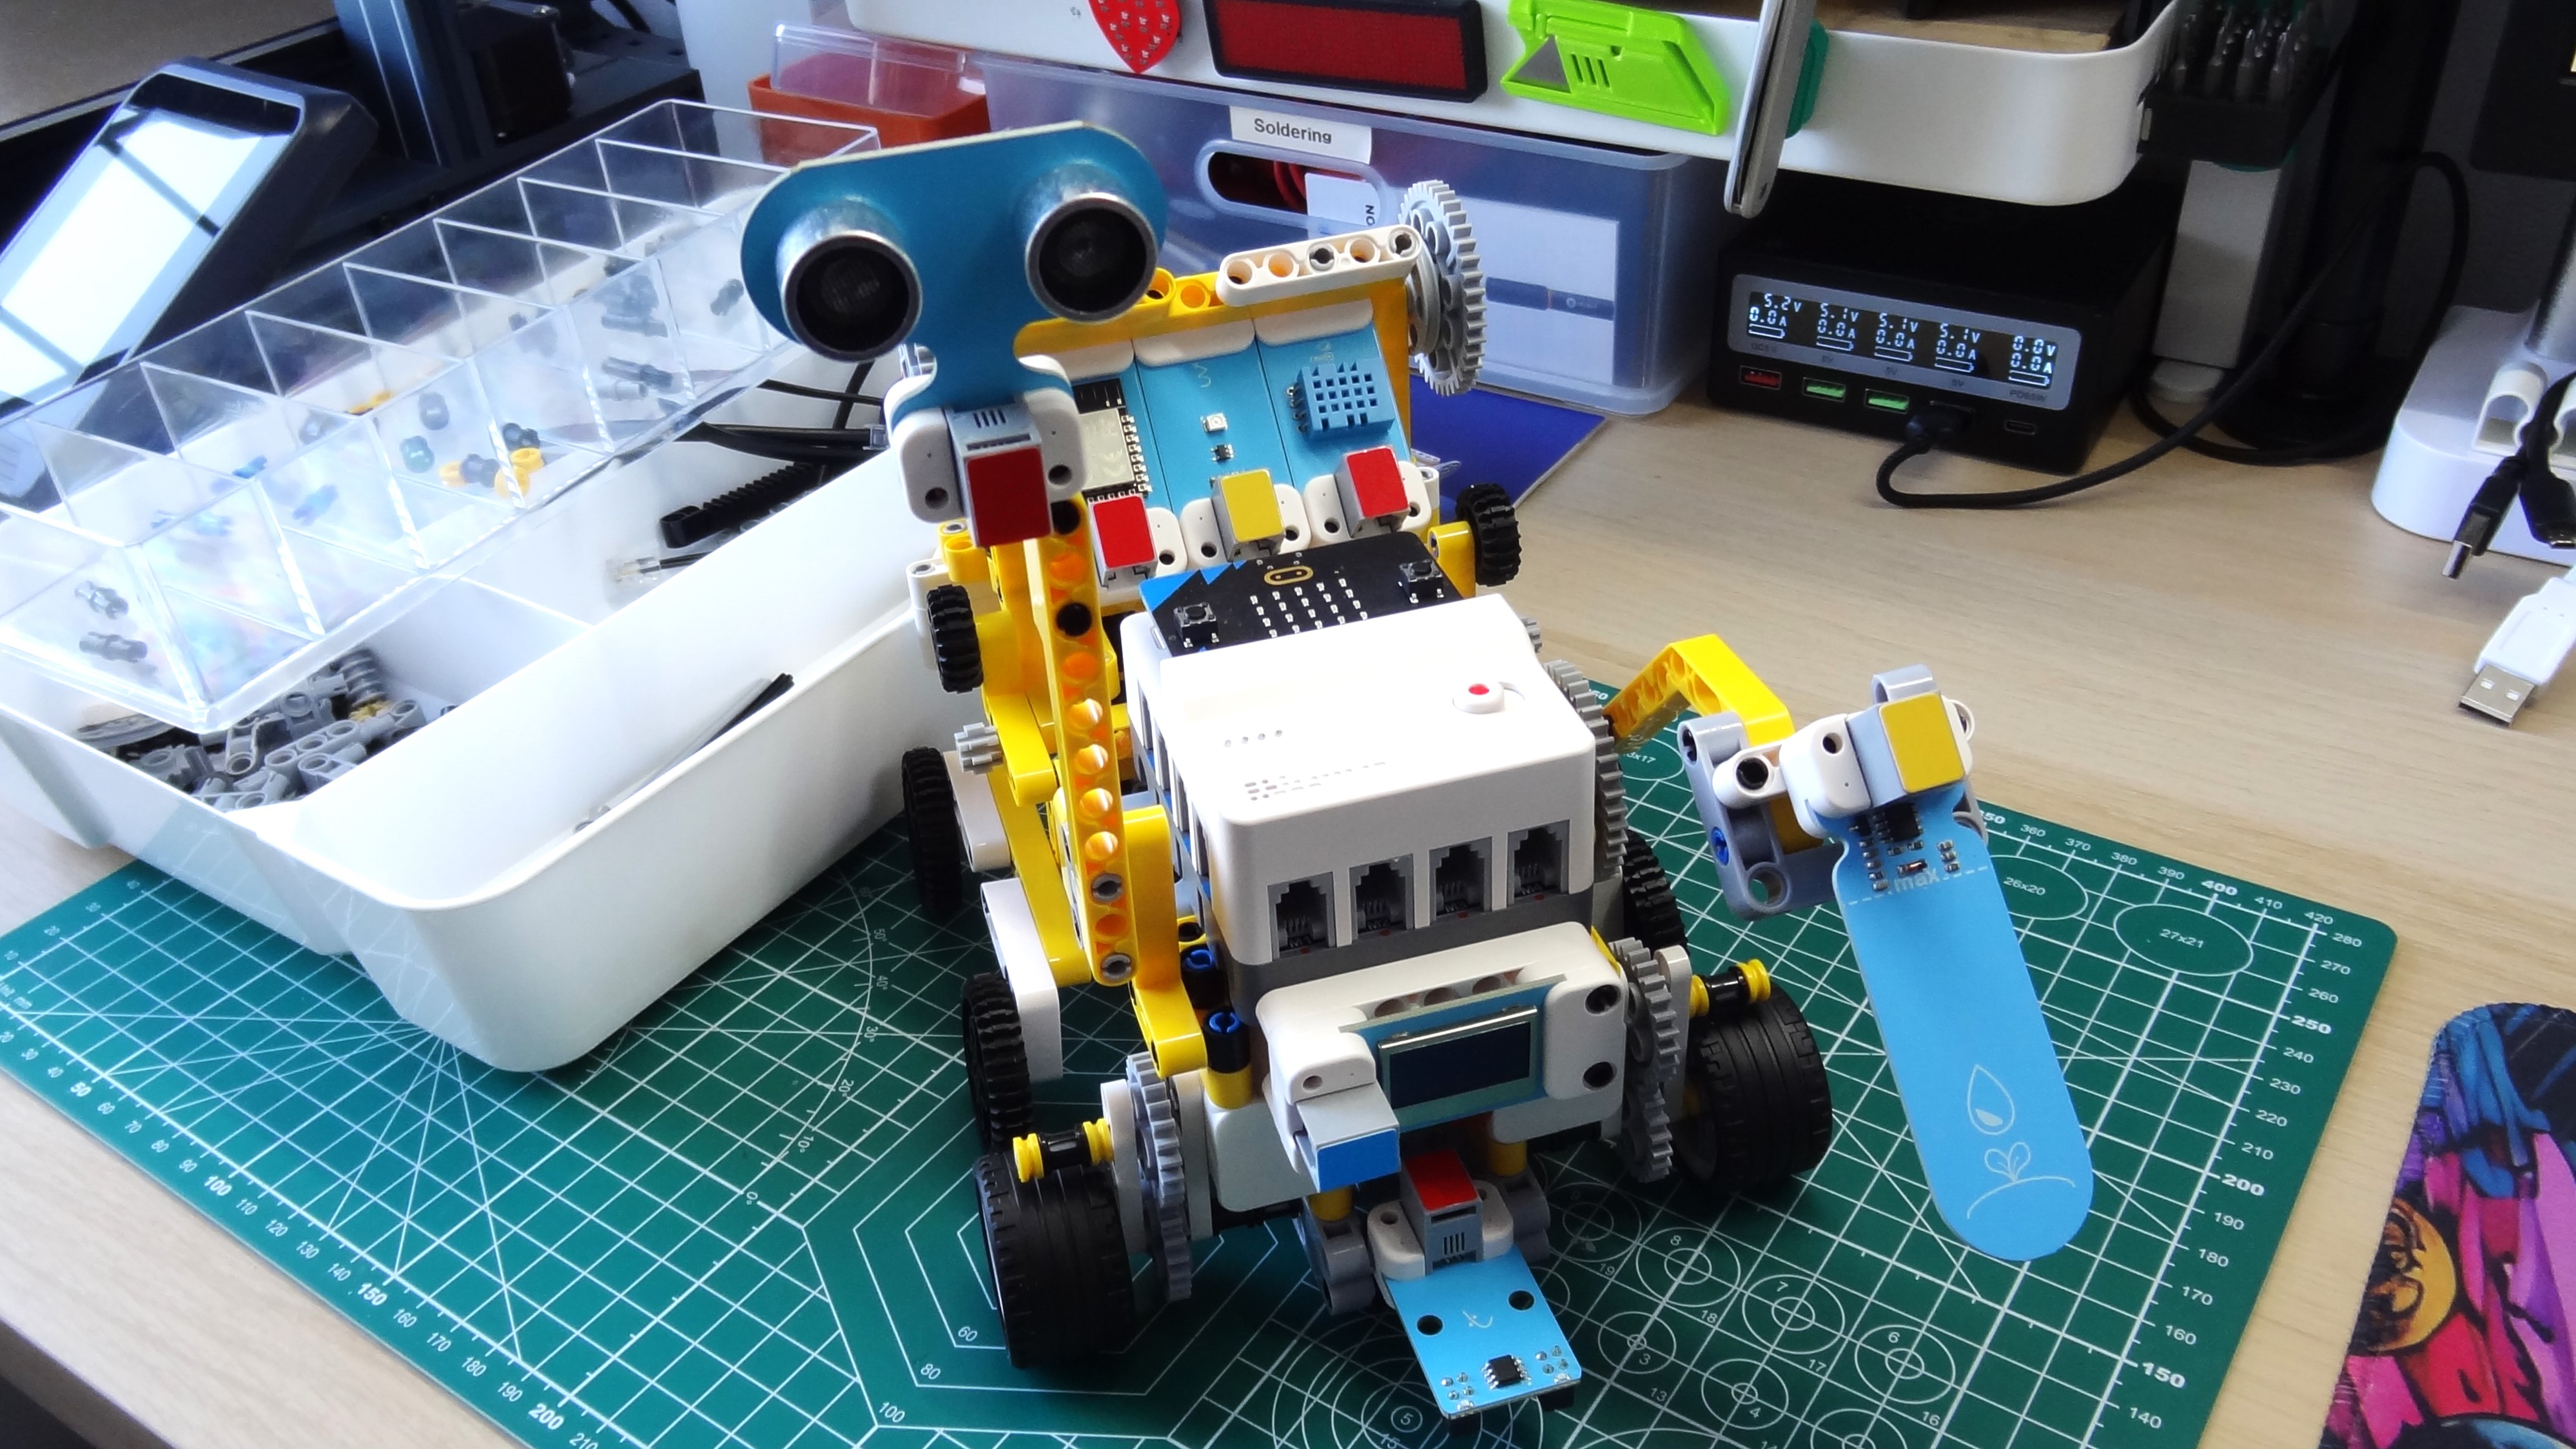
The construction blocks contained in the kit are compatible with Lego Technic and Fischer building systems. I know this for a fact as I was missing two parts from my kit, luckily I have a Lego Spike Prime kit with the exact parts. Apart from some ID numbers and logos, the Lego and Elecfreaks parts were identical.
Typically, Lego components are made to a high tolerance, and that means they fit well and securely. Clones of Lego products often miss this level of tolerance, and the resulting builds are flimsy and weak. But not this time. I built the robot rover and it felt solid with no creaks or flimsy feel. My biggest issue during the build process were the unused components. The cogs and gears that look cool, but do absolutely nothing. We can skip a few steps and leave these off.
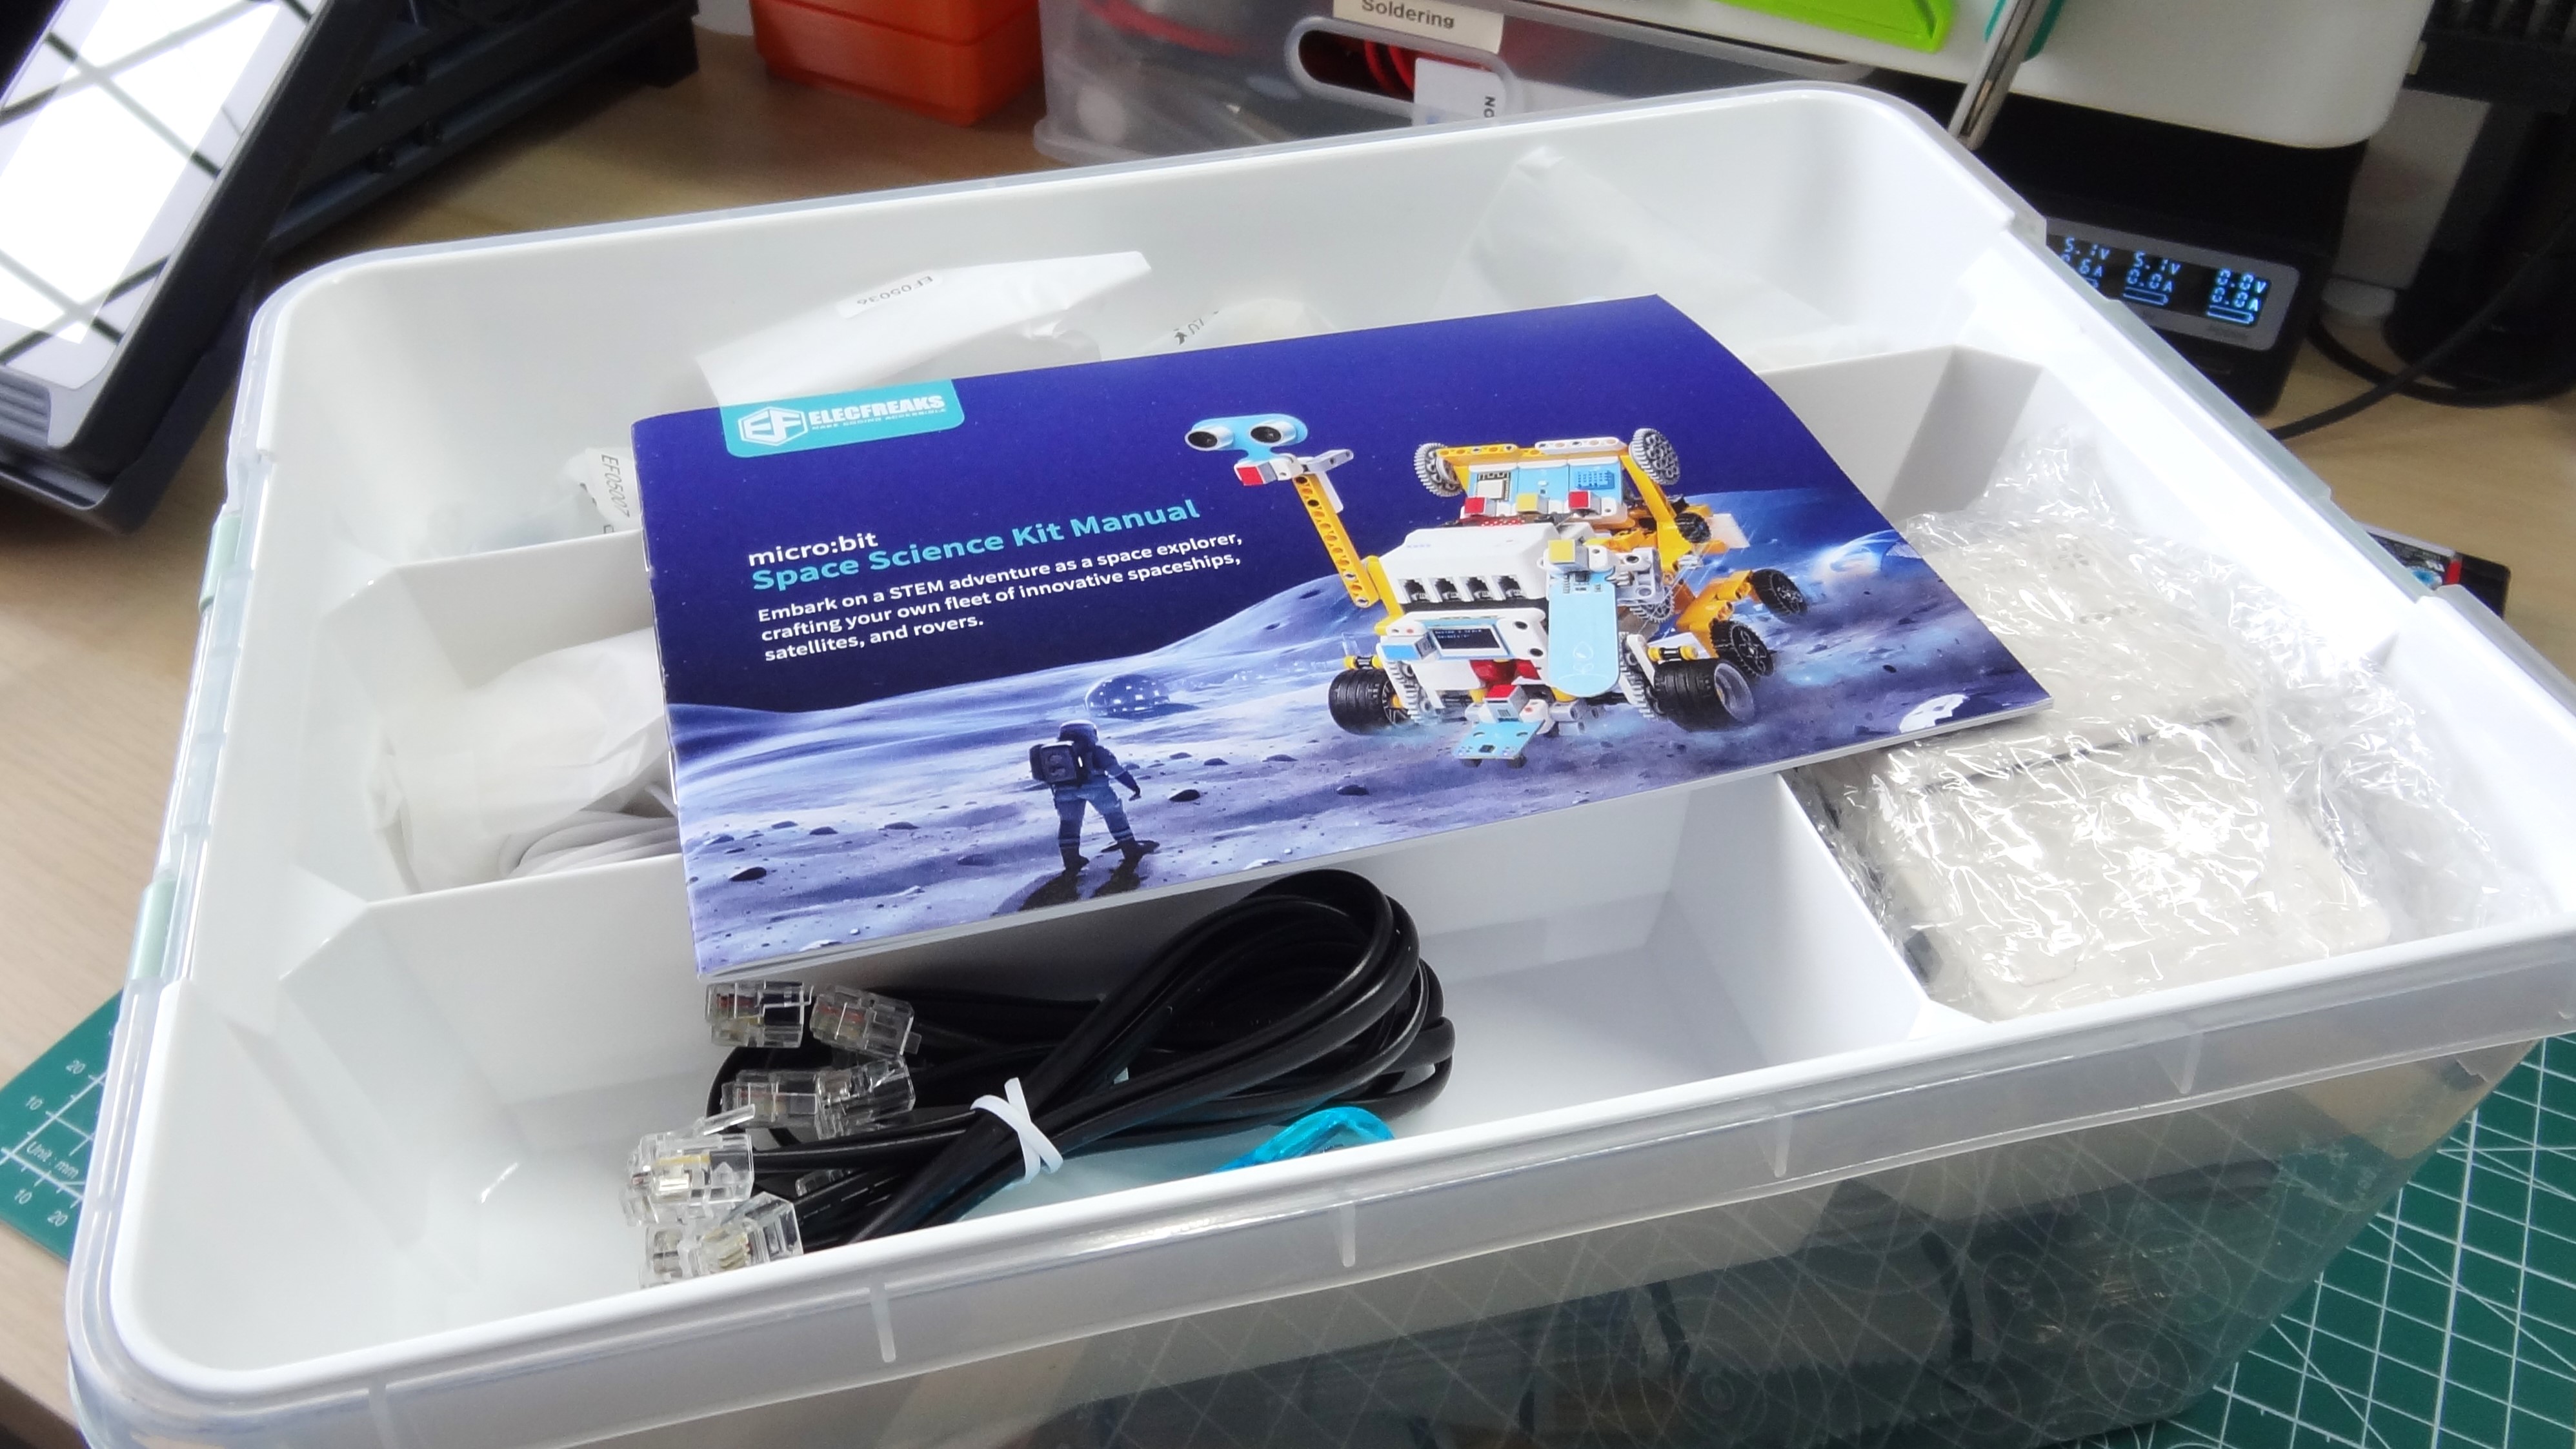
The build itself uses a PDF instruction manual. This was a very “Lego” experience, but there were times where the clarity of the instructions was poor. The length of axle pieces was hard to judge, requiring me to twice build the motorized wheels. Sometimes it was hard to identify where a part would be fitted. Experienced Lego builders will be able to spot the friction points in the process. My top tip before you start is to group the pieces by their design. It will make finding the right piece much easier.
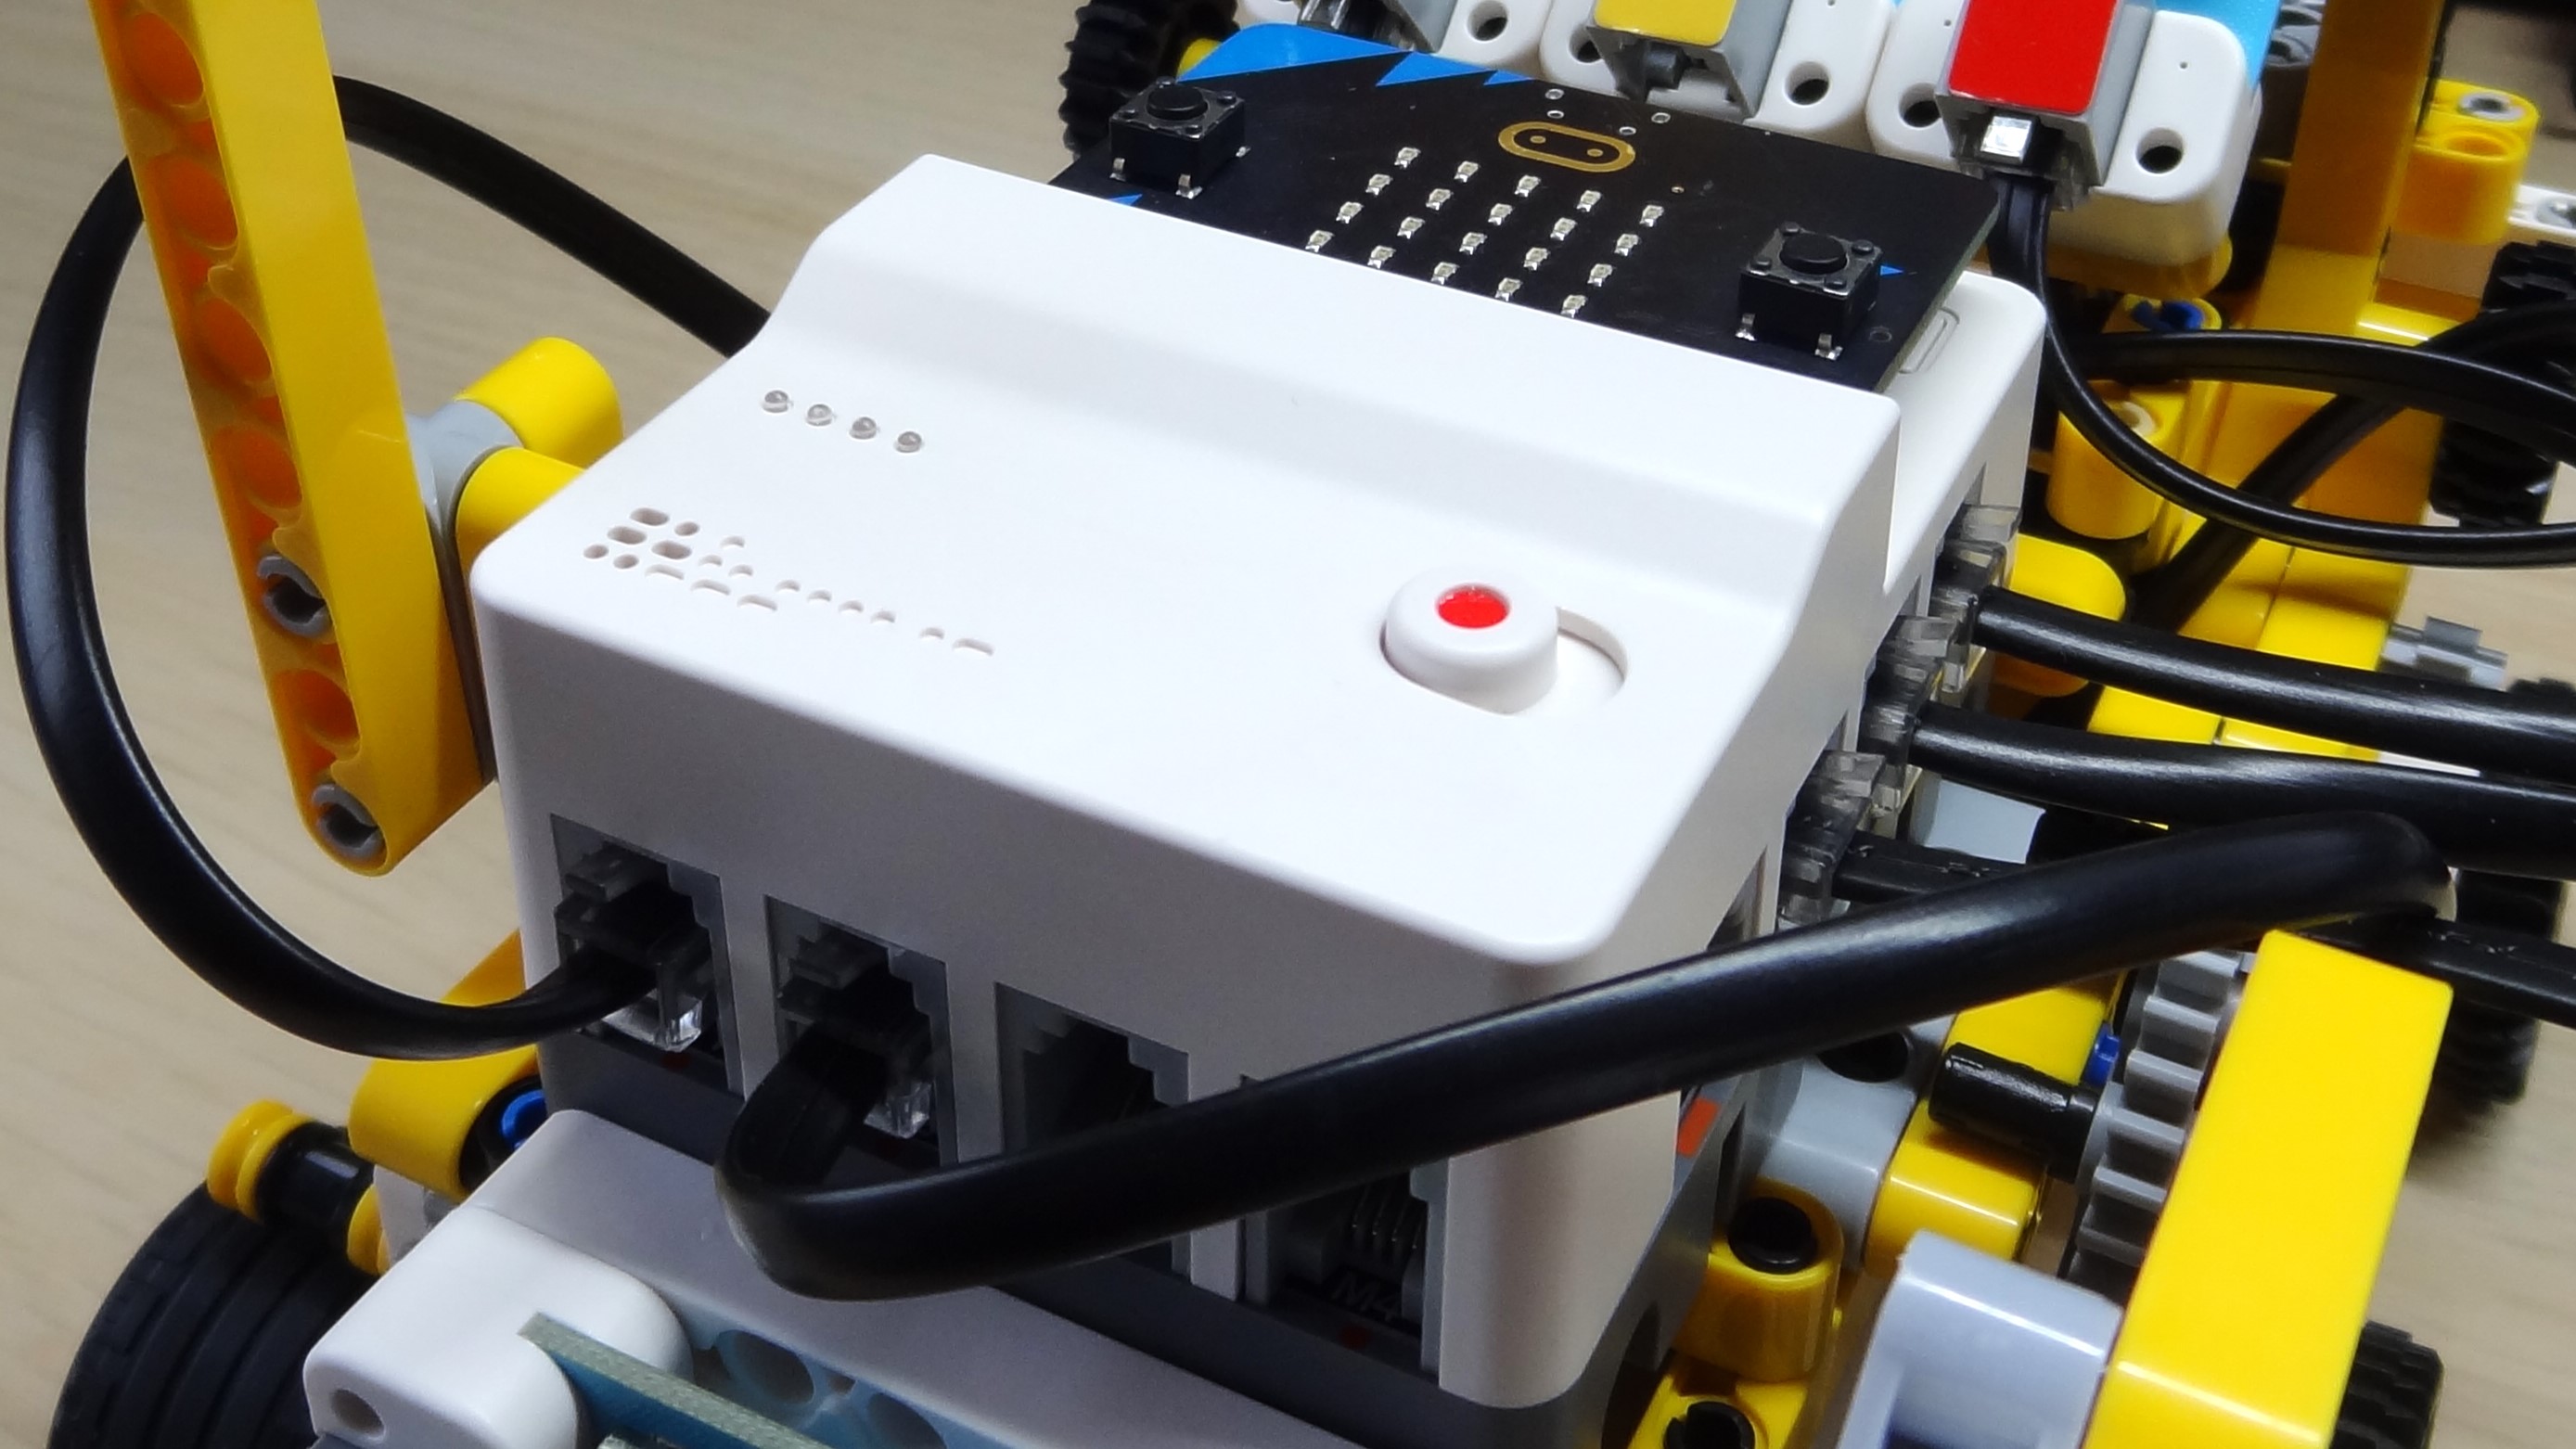
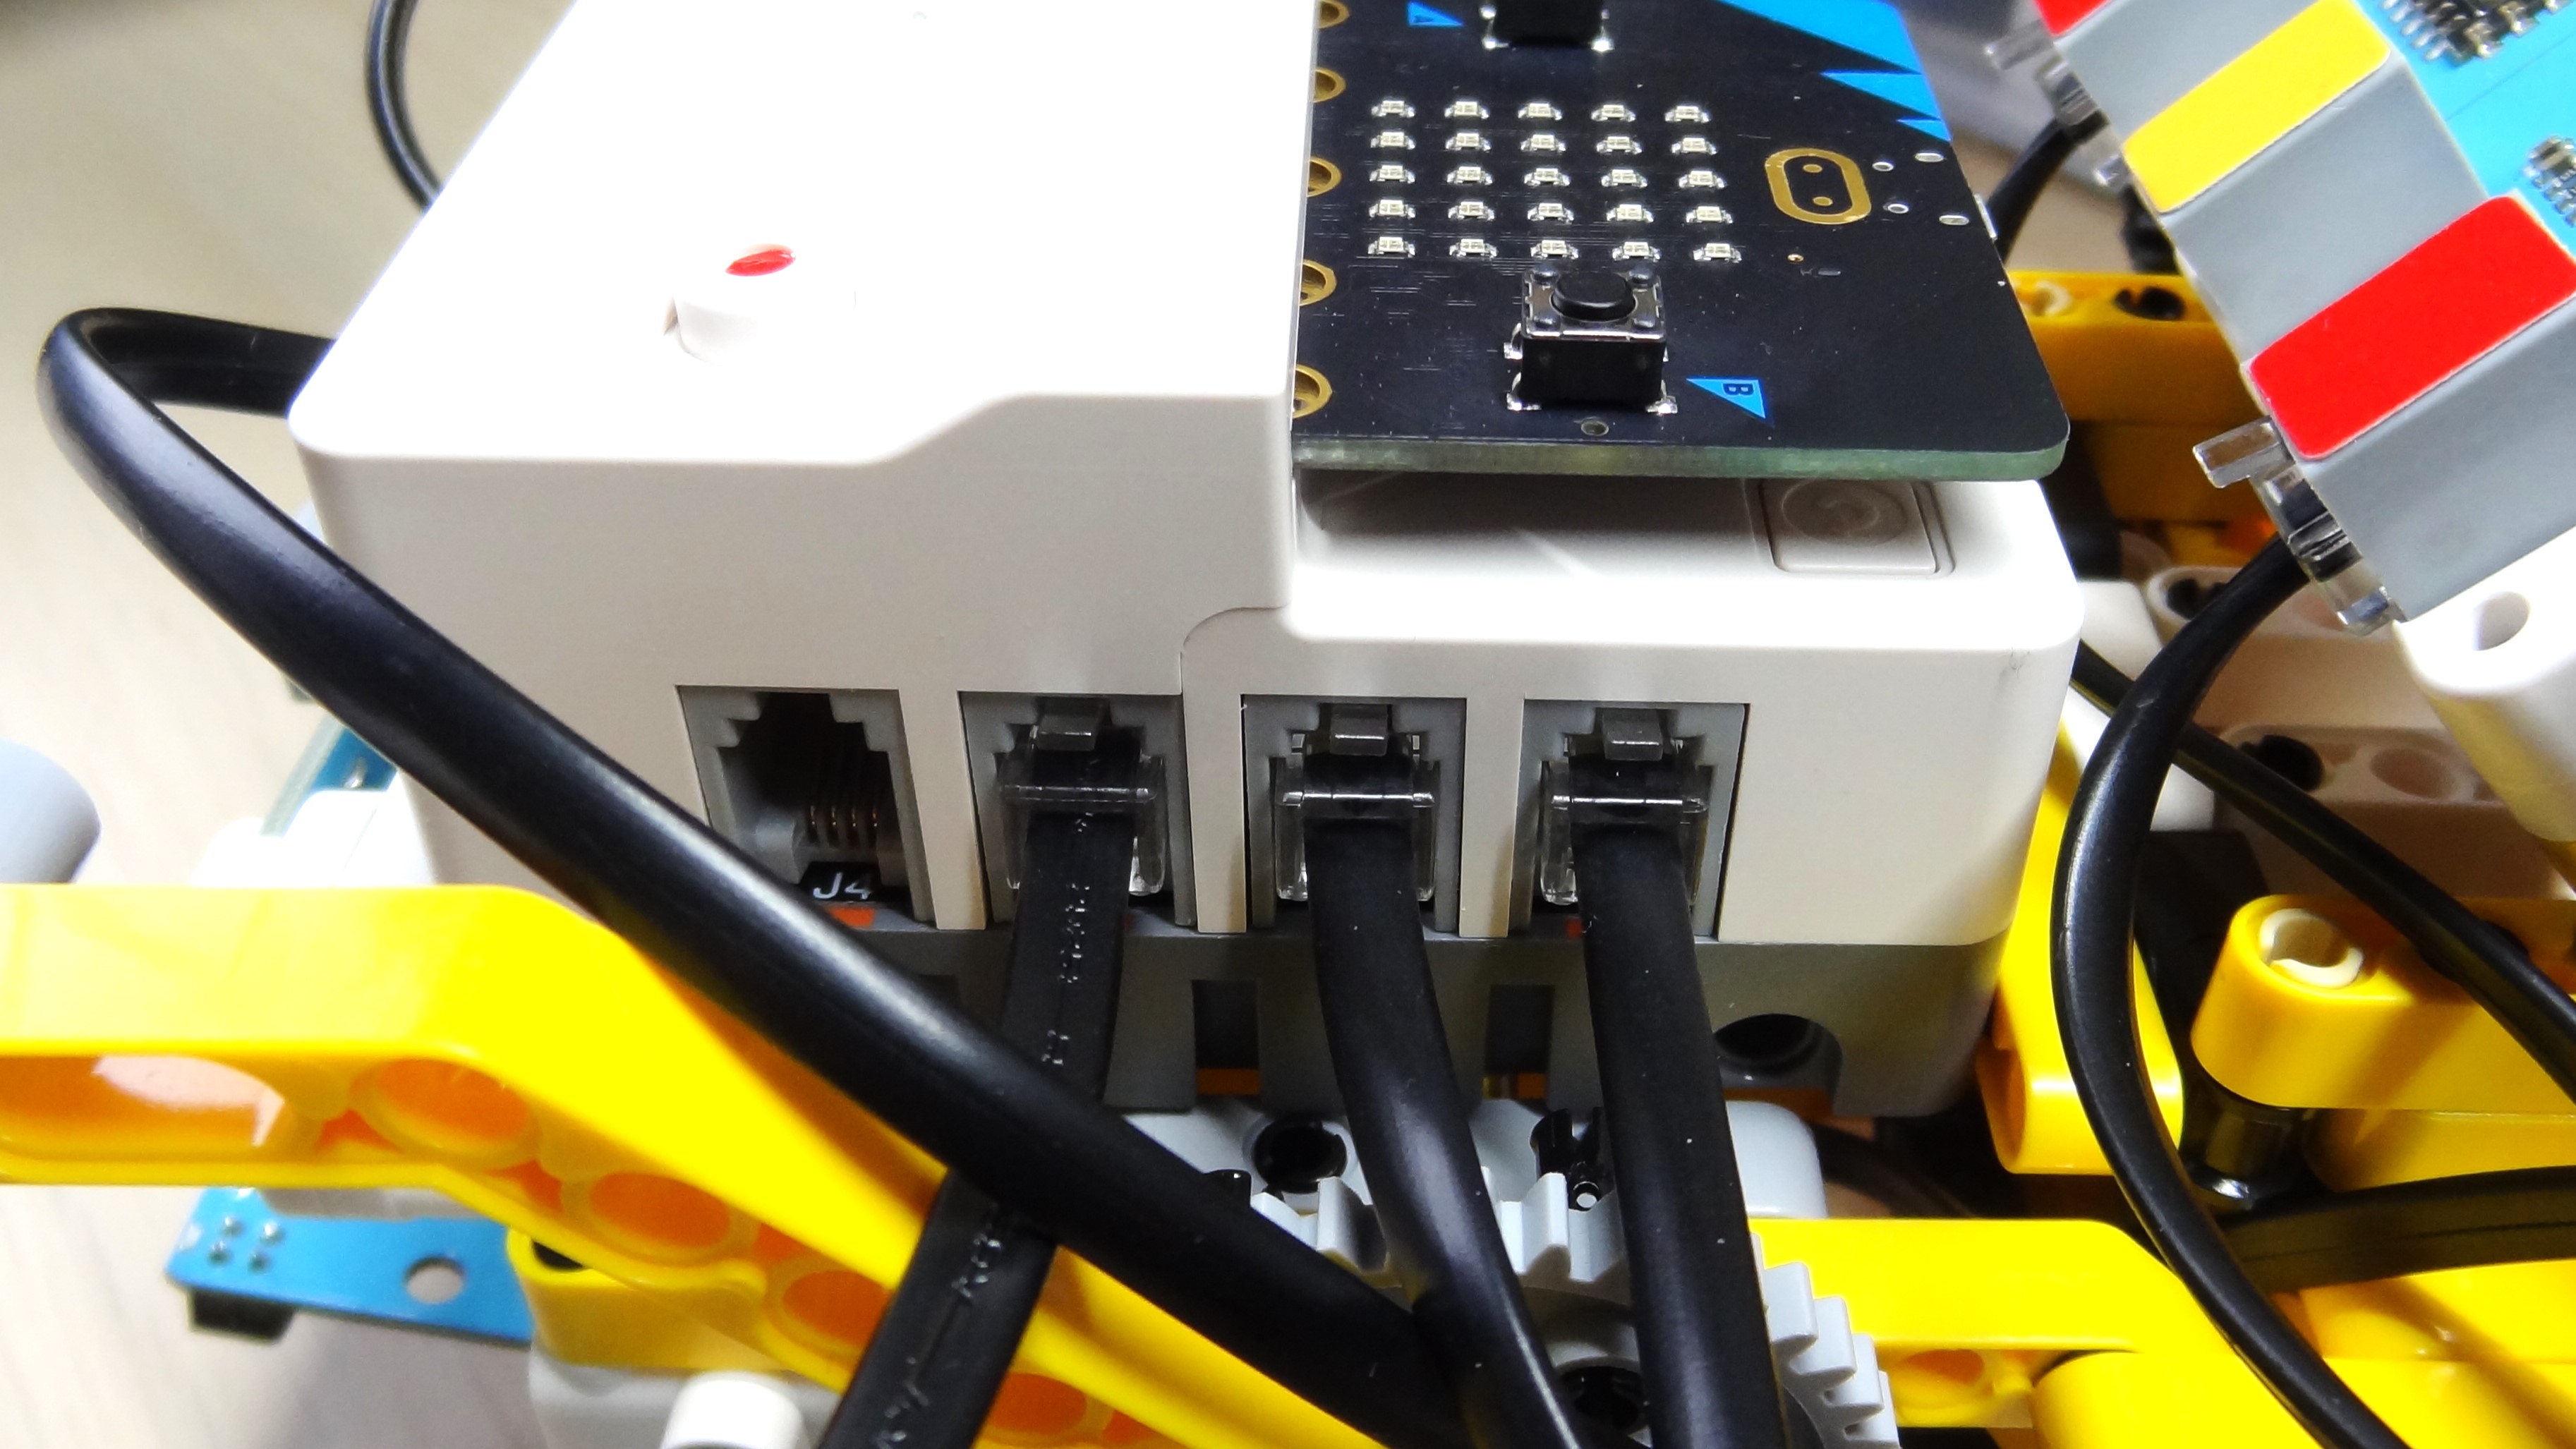
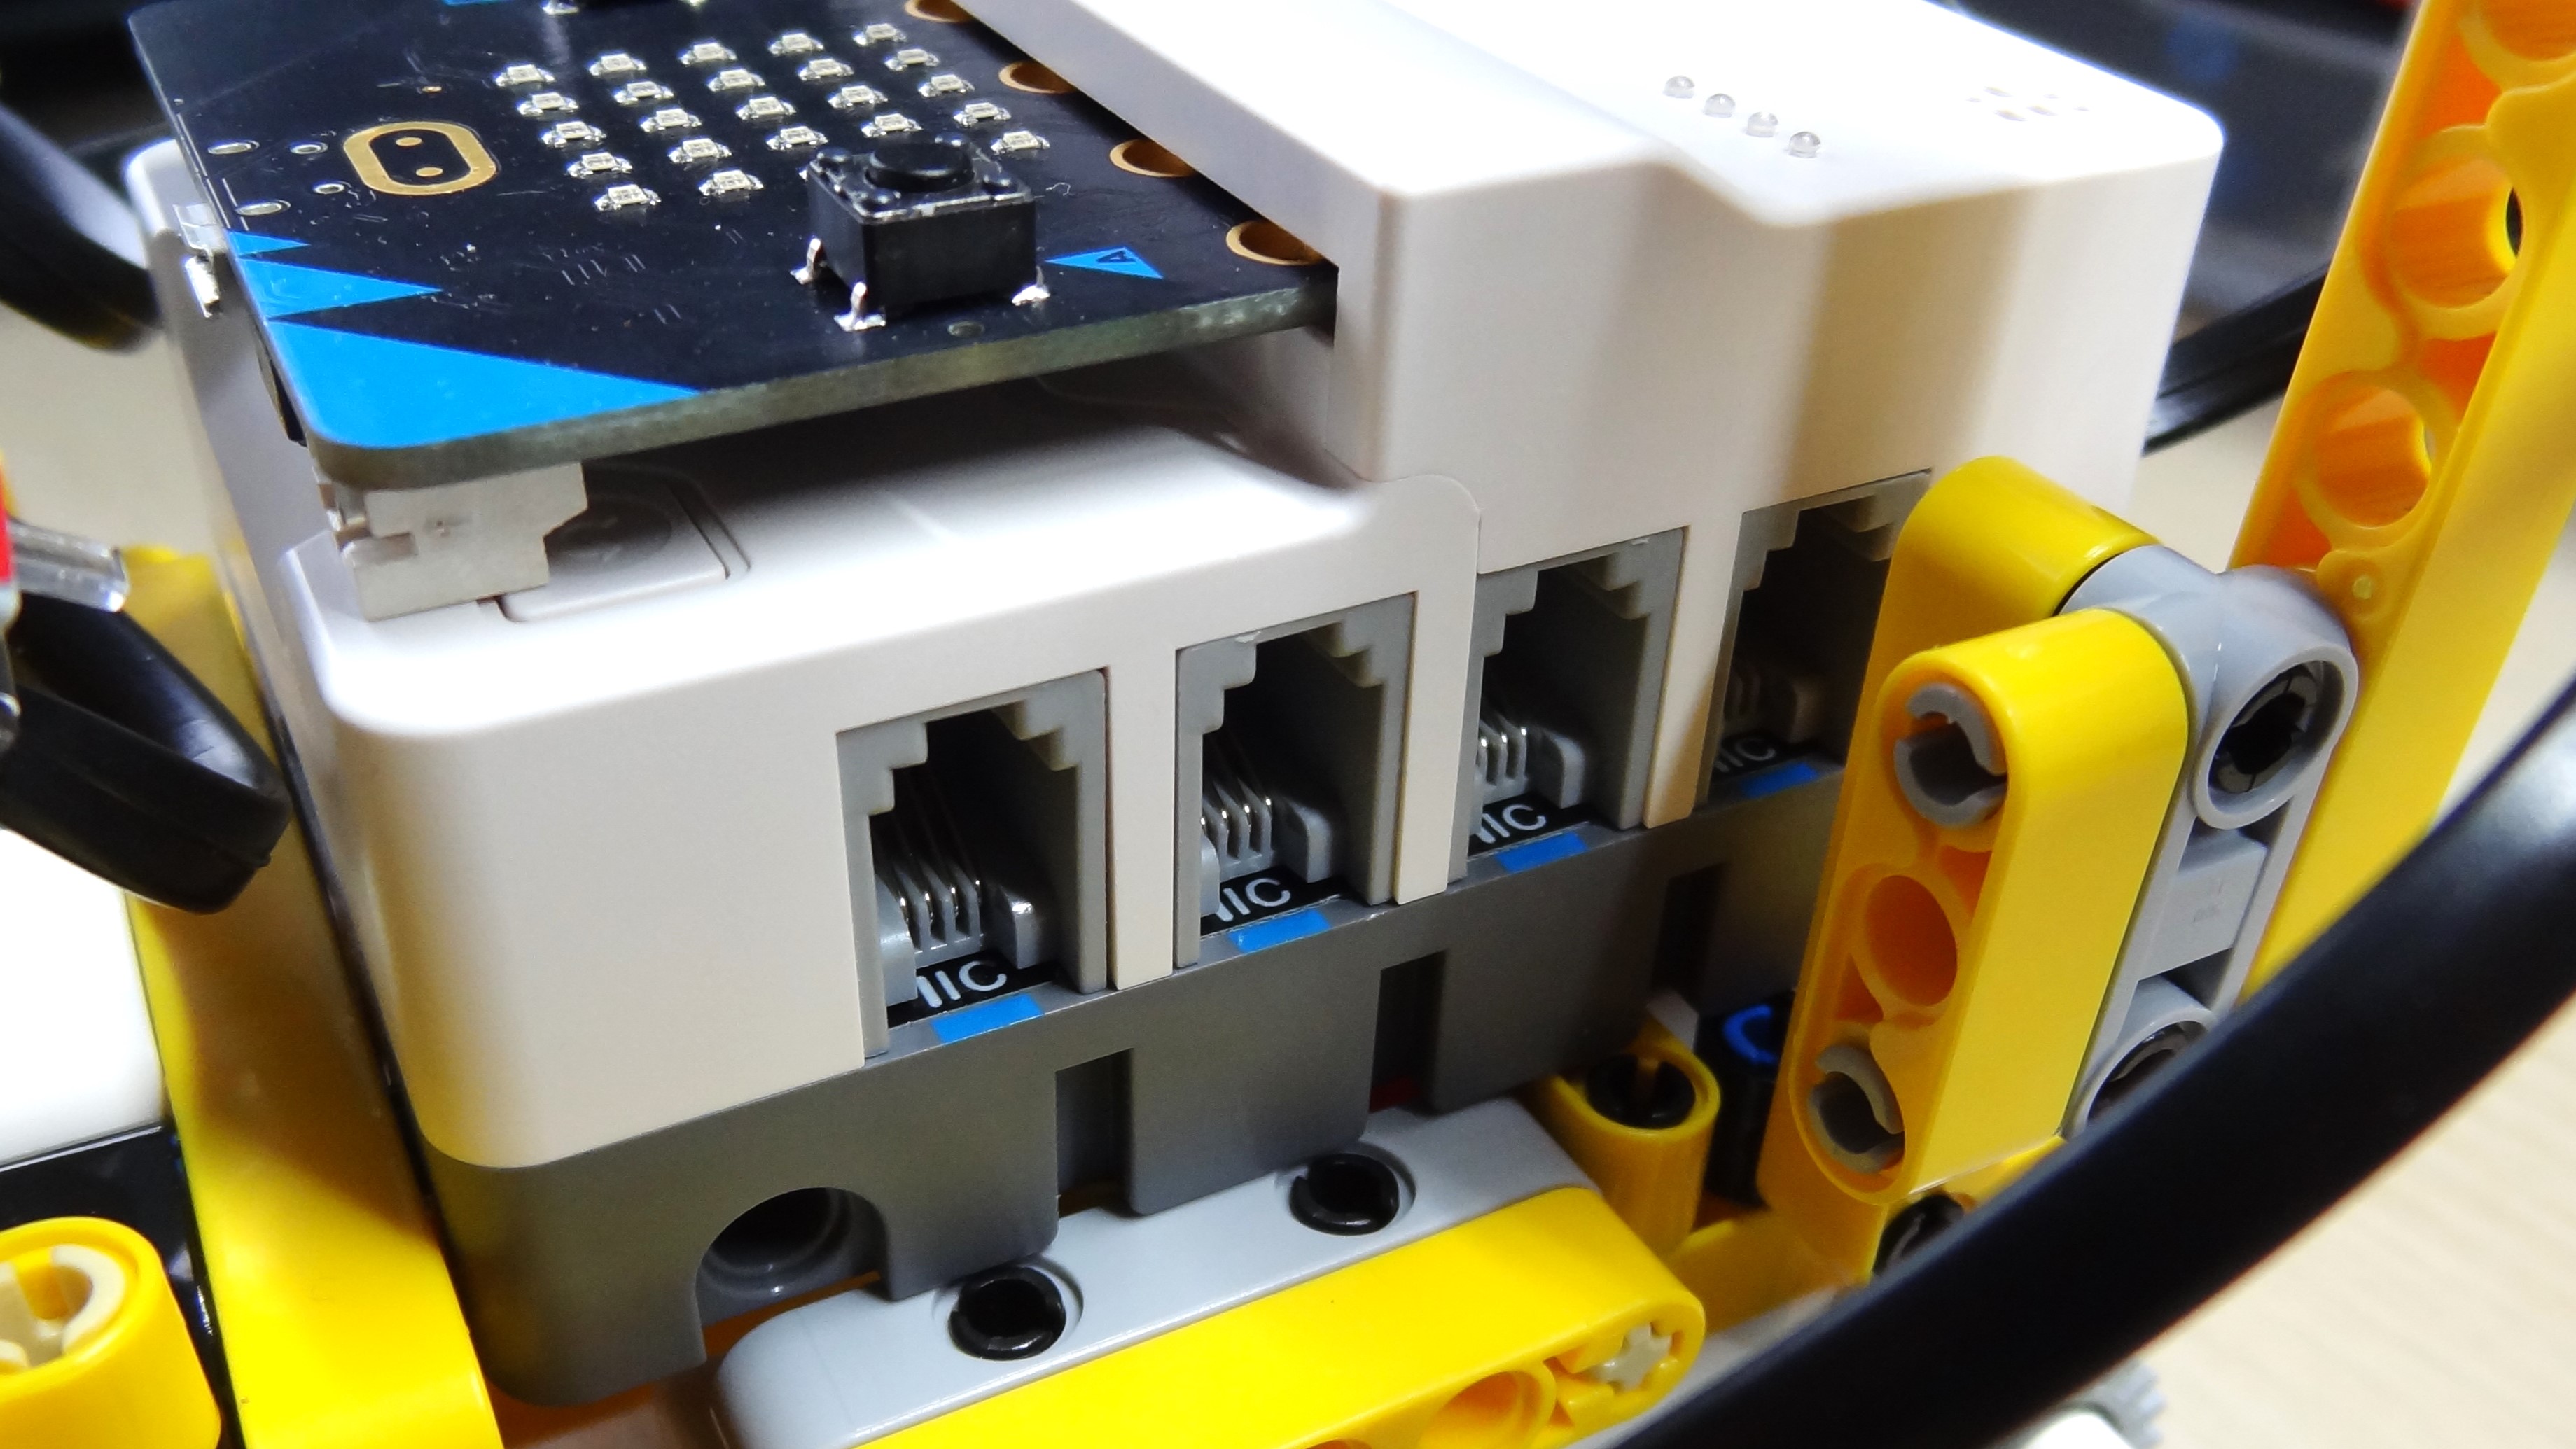
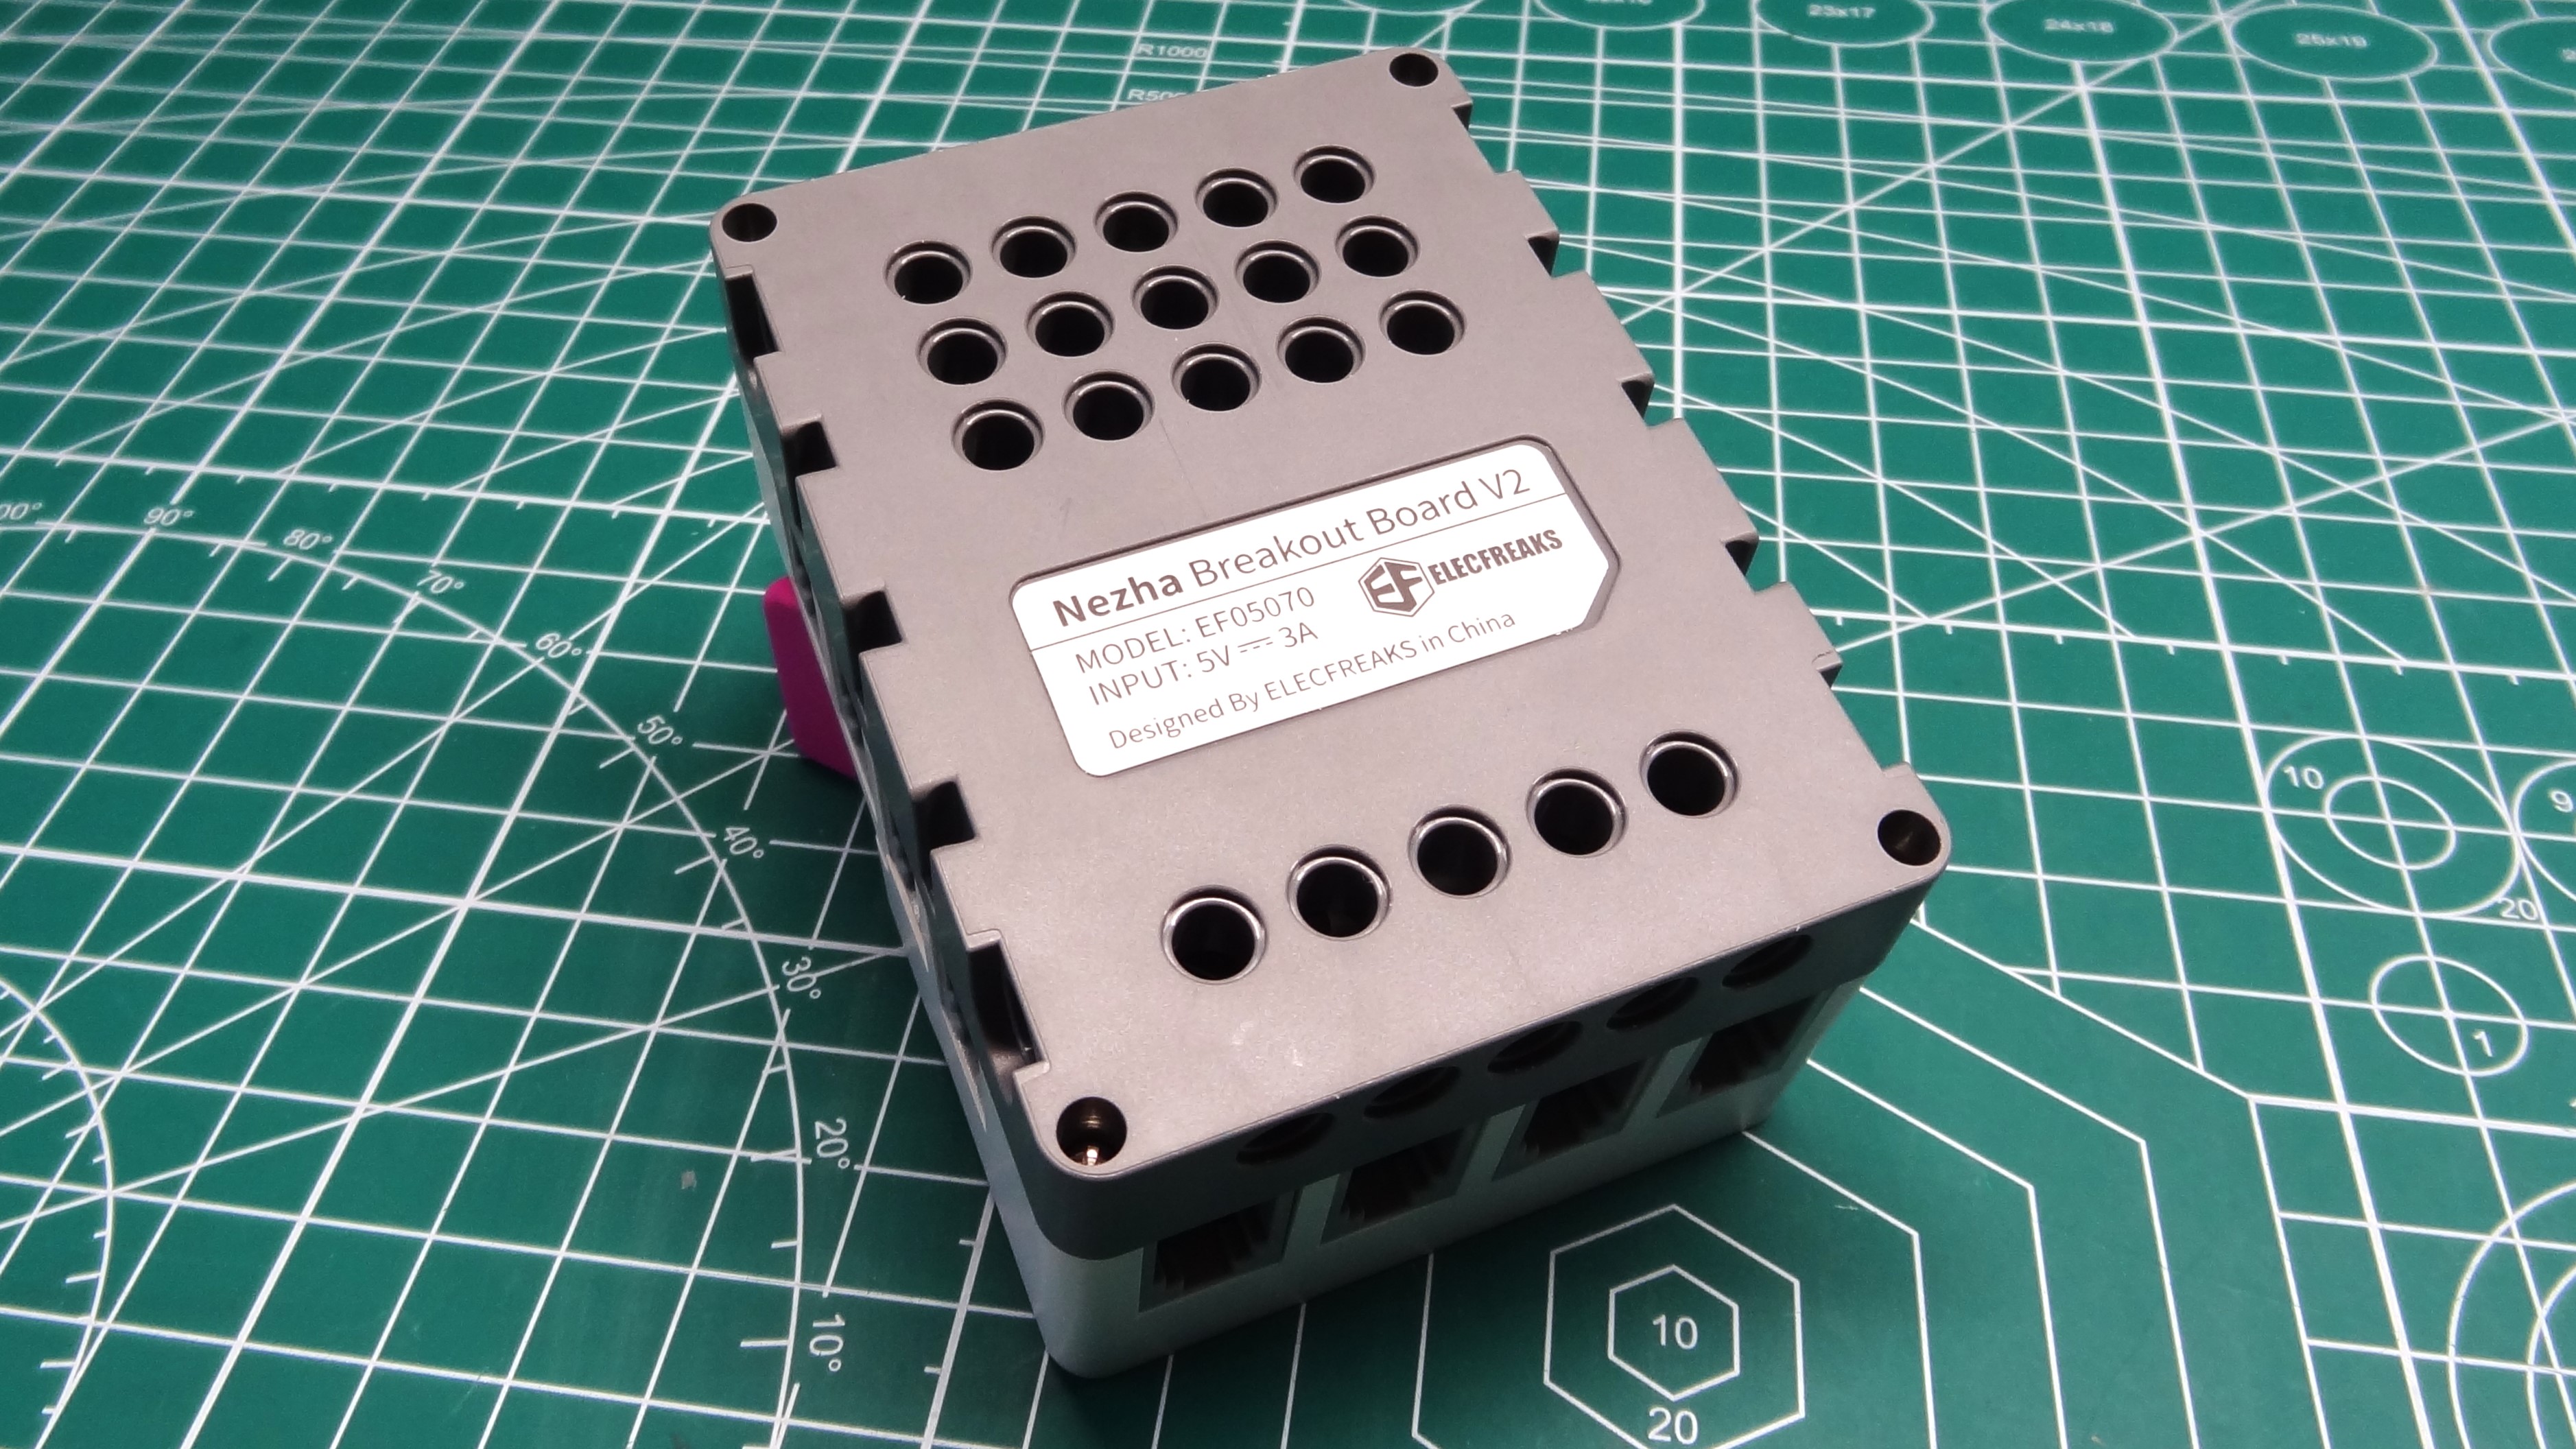
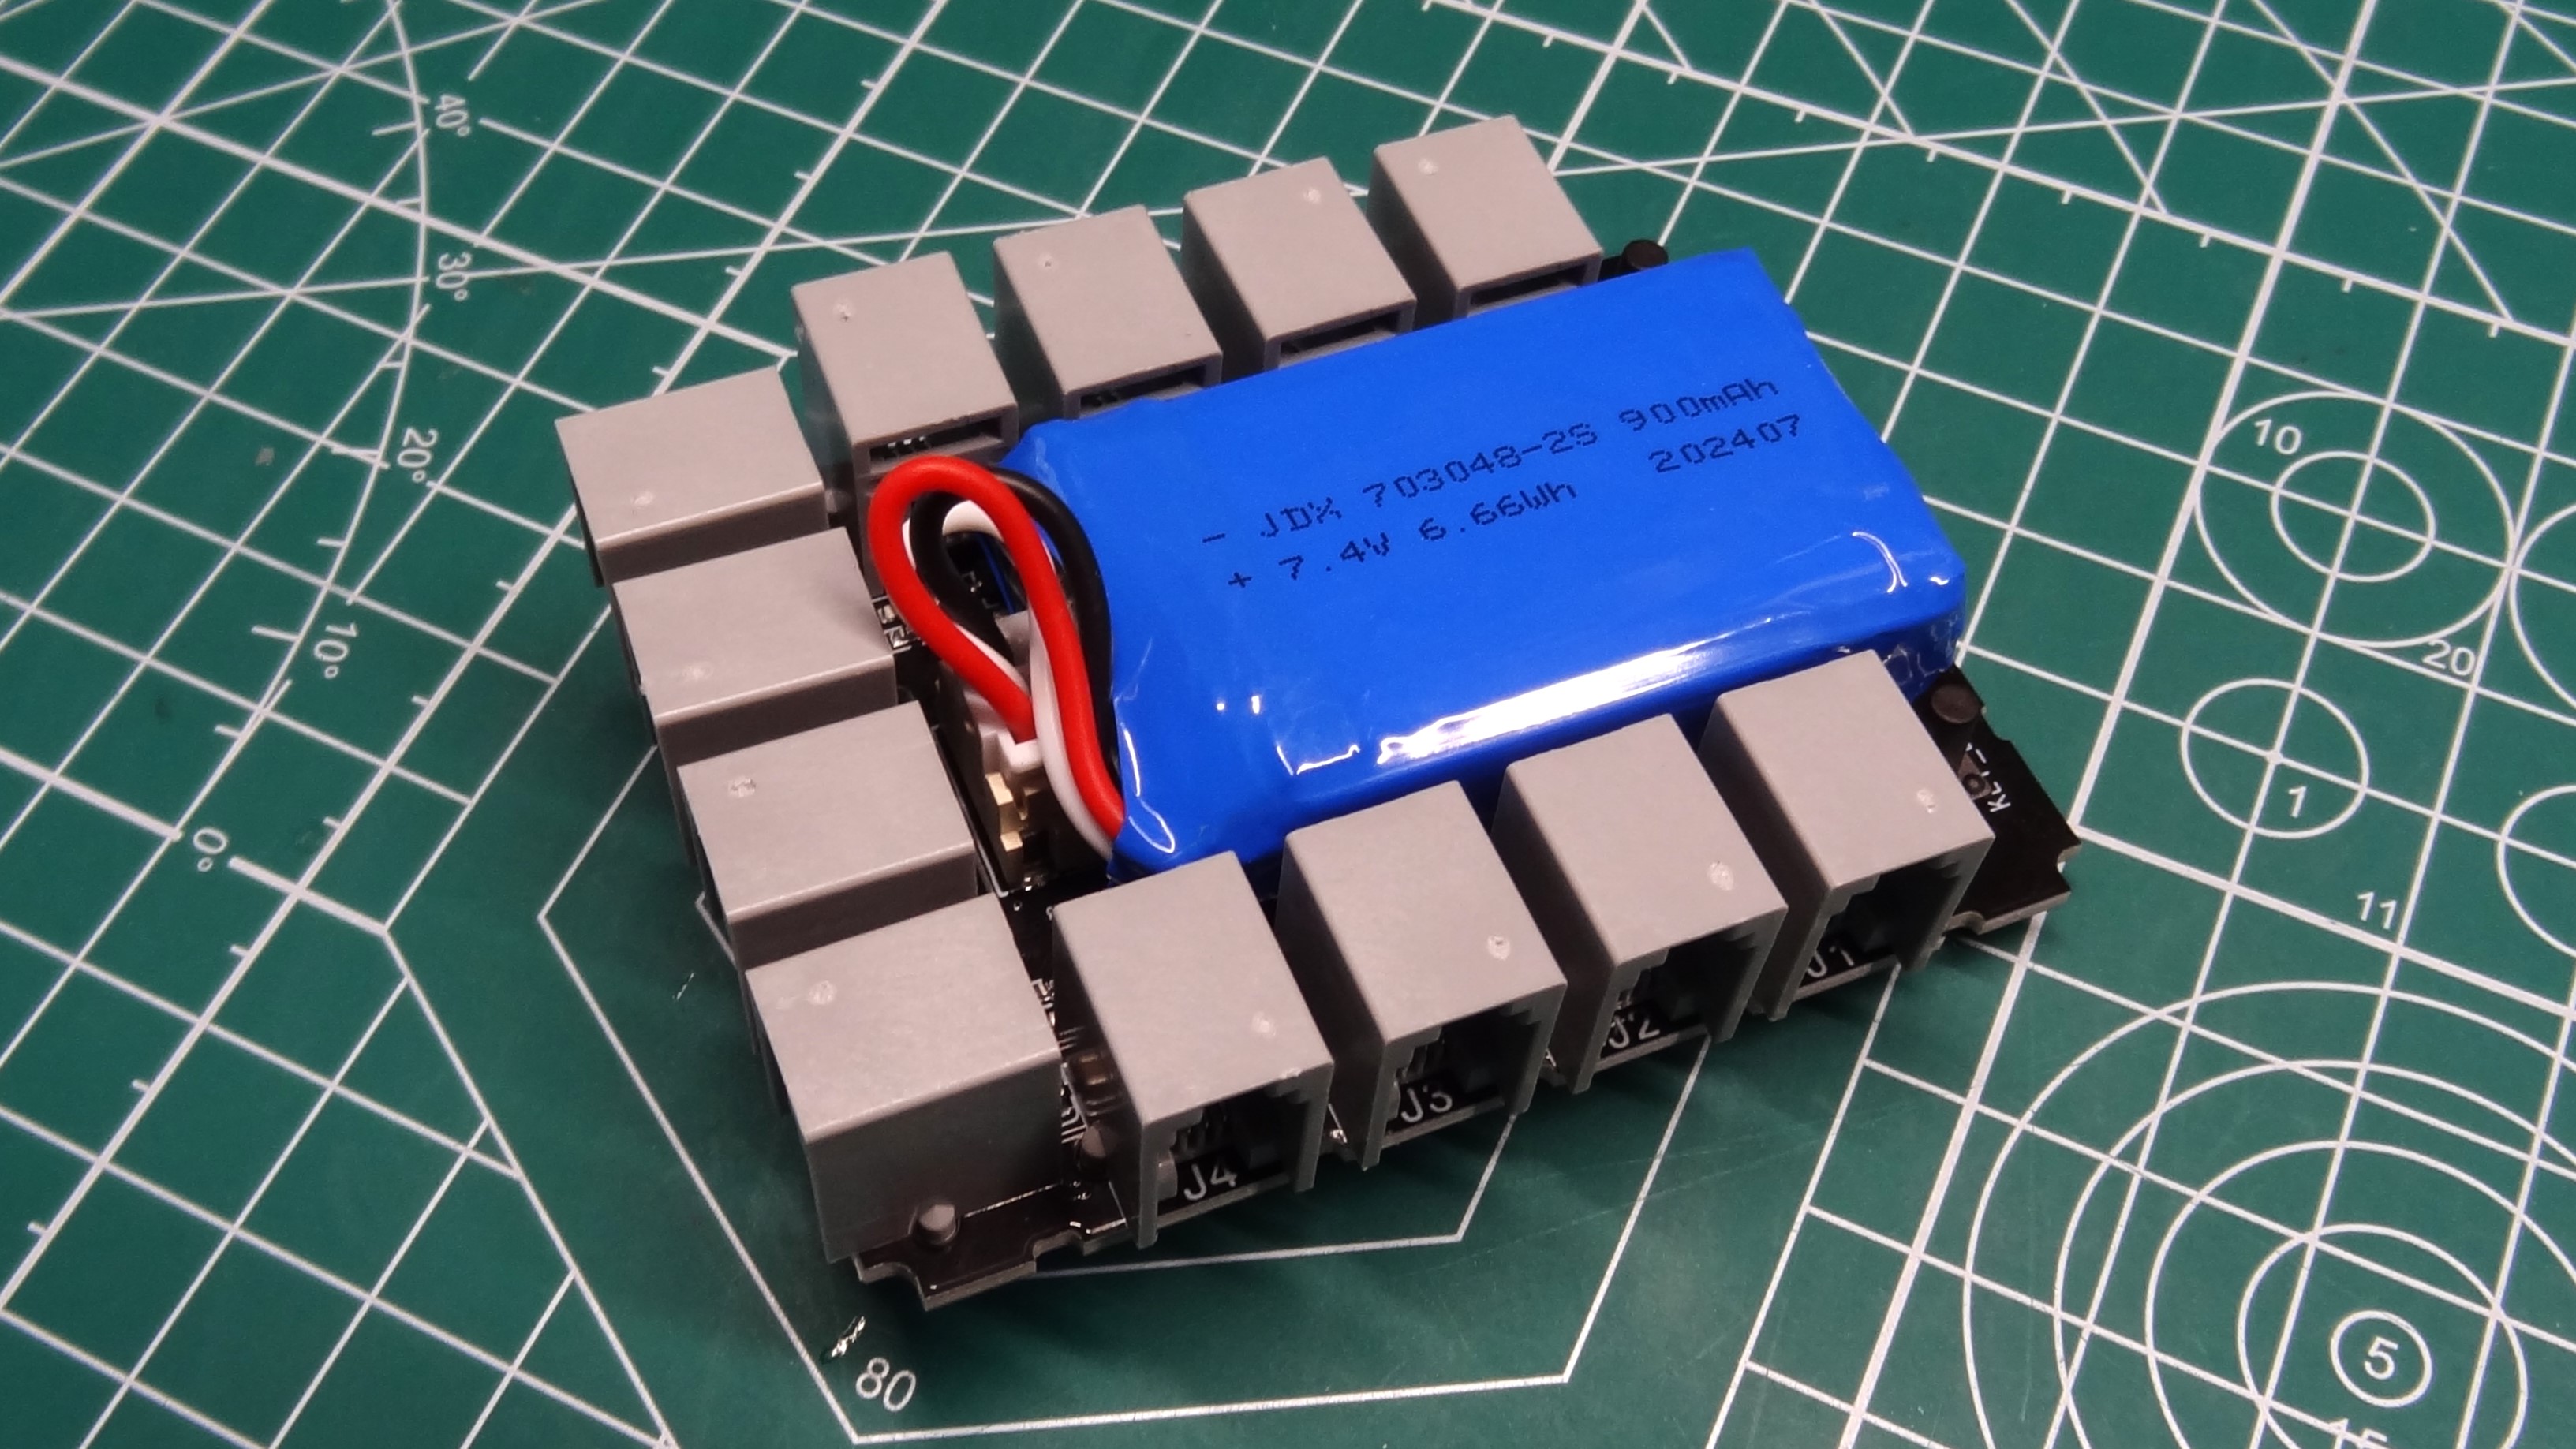
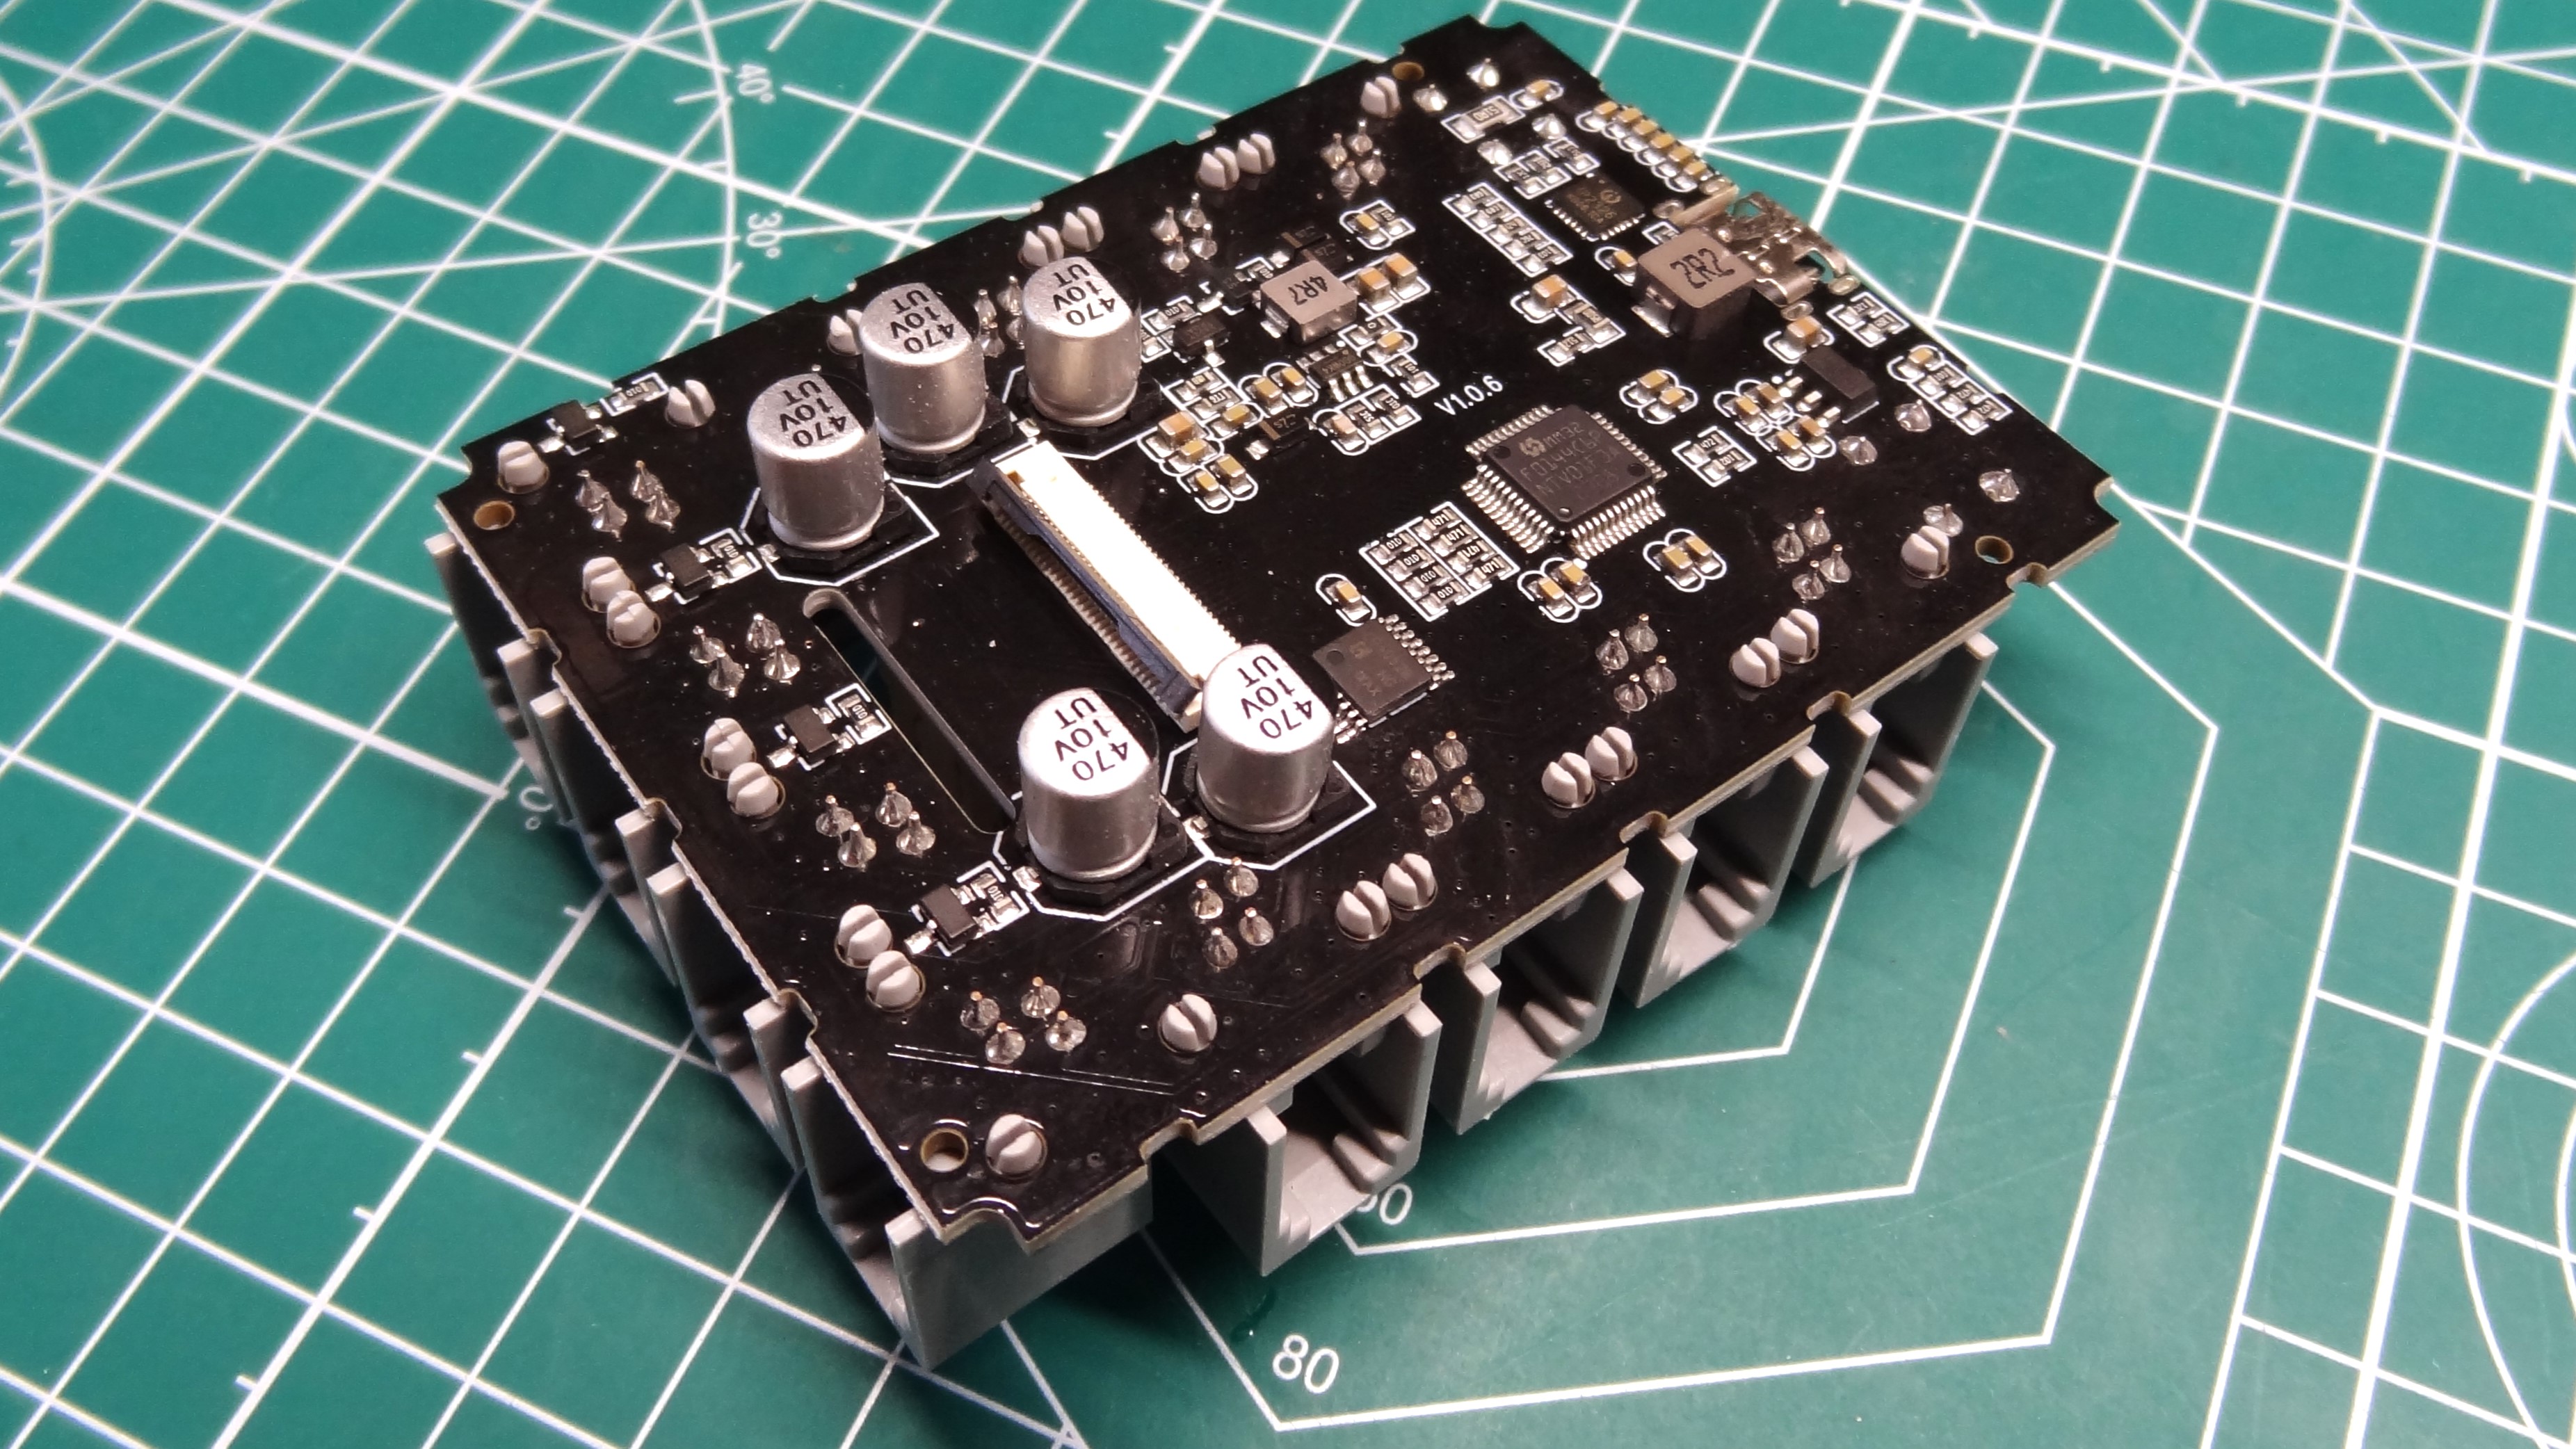
The electronics used in the kit connect to the main hub using RJ11 jacks. The hub has color-coded connections that match the intended components. The M connectors, on the front of the hub, are used for the motor. Inside the hub there will be an H-bridge motor controller that sends power to the motors.On the driver’s side (US) we have ports J1 to J4 and these are used for simple sensors, like the DHT11 temperature sensor. On the passenger side, we have four connections for I2C devices. At the rear of the breakout is a solitary USB type-C connector which is used to charge the built-in battery.
More sensors and components can be purchased from Elecfreaks. I spotted two, the $6 noise sensor and the $20 BME280 temperature sensor. There are a plethora of different sensors on offer via Elecfreaks.
Elecfreaks micro:bit Space Science Kit Coding Process
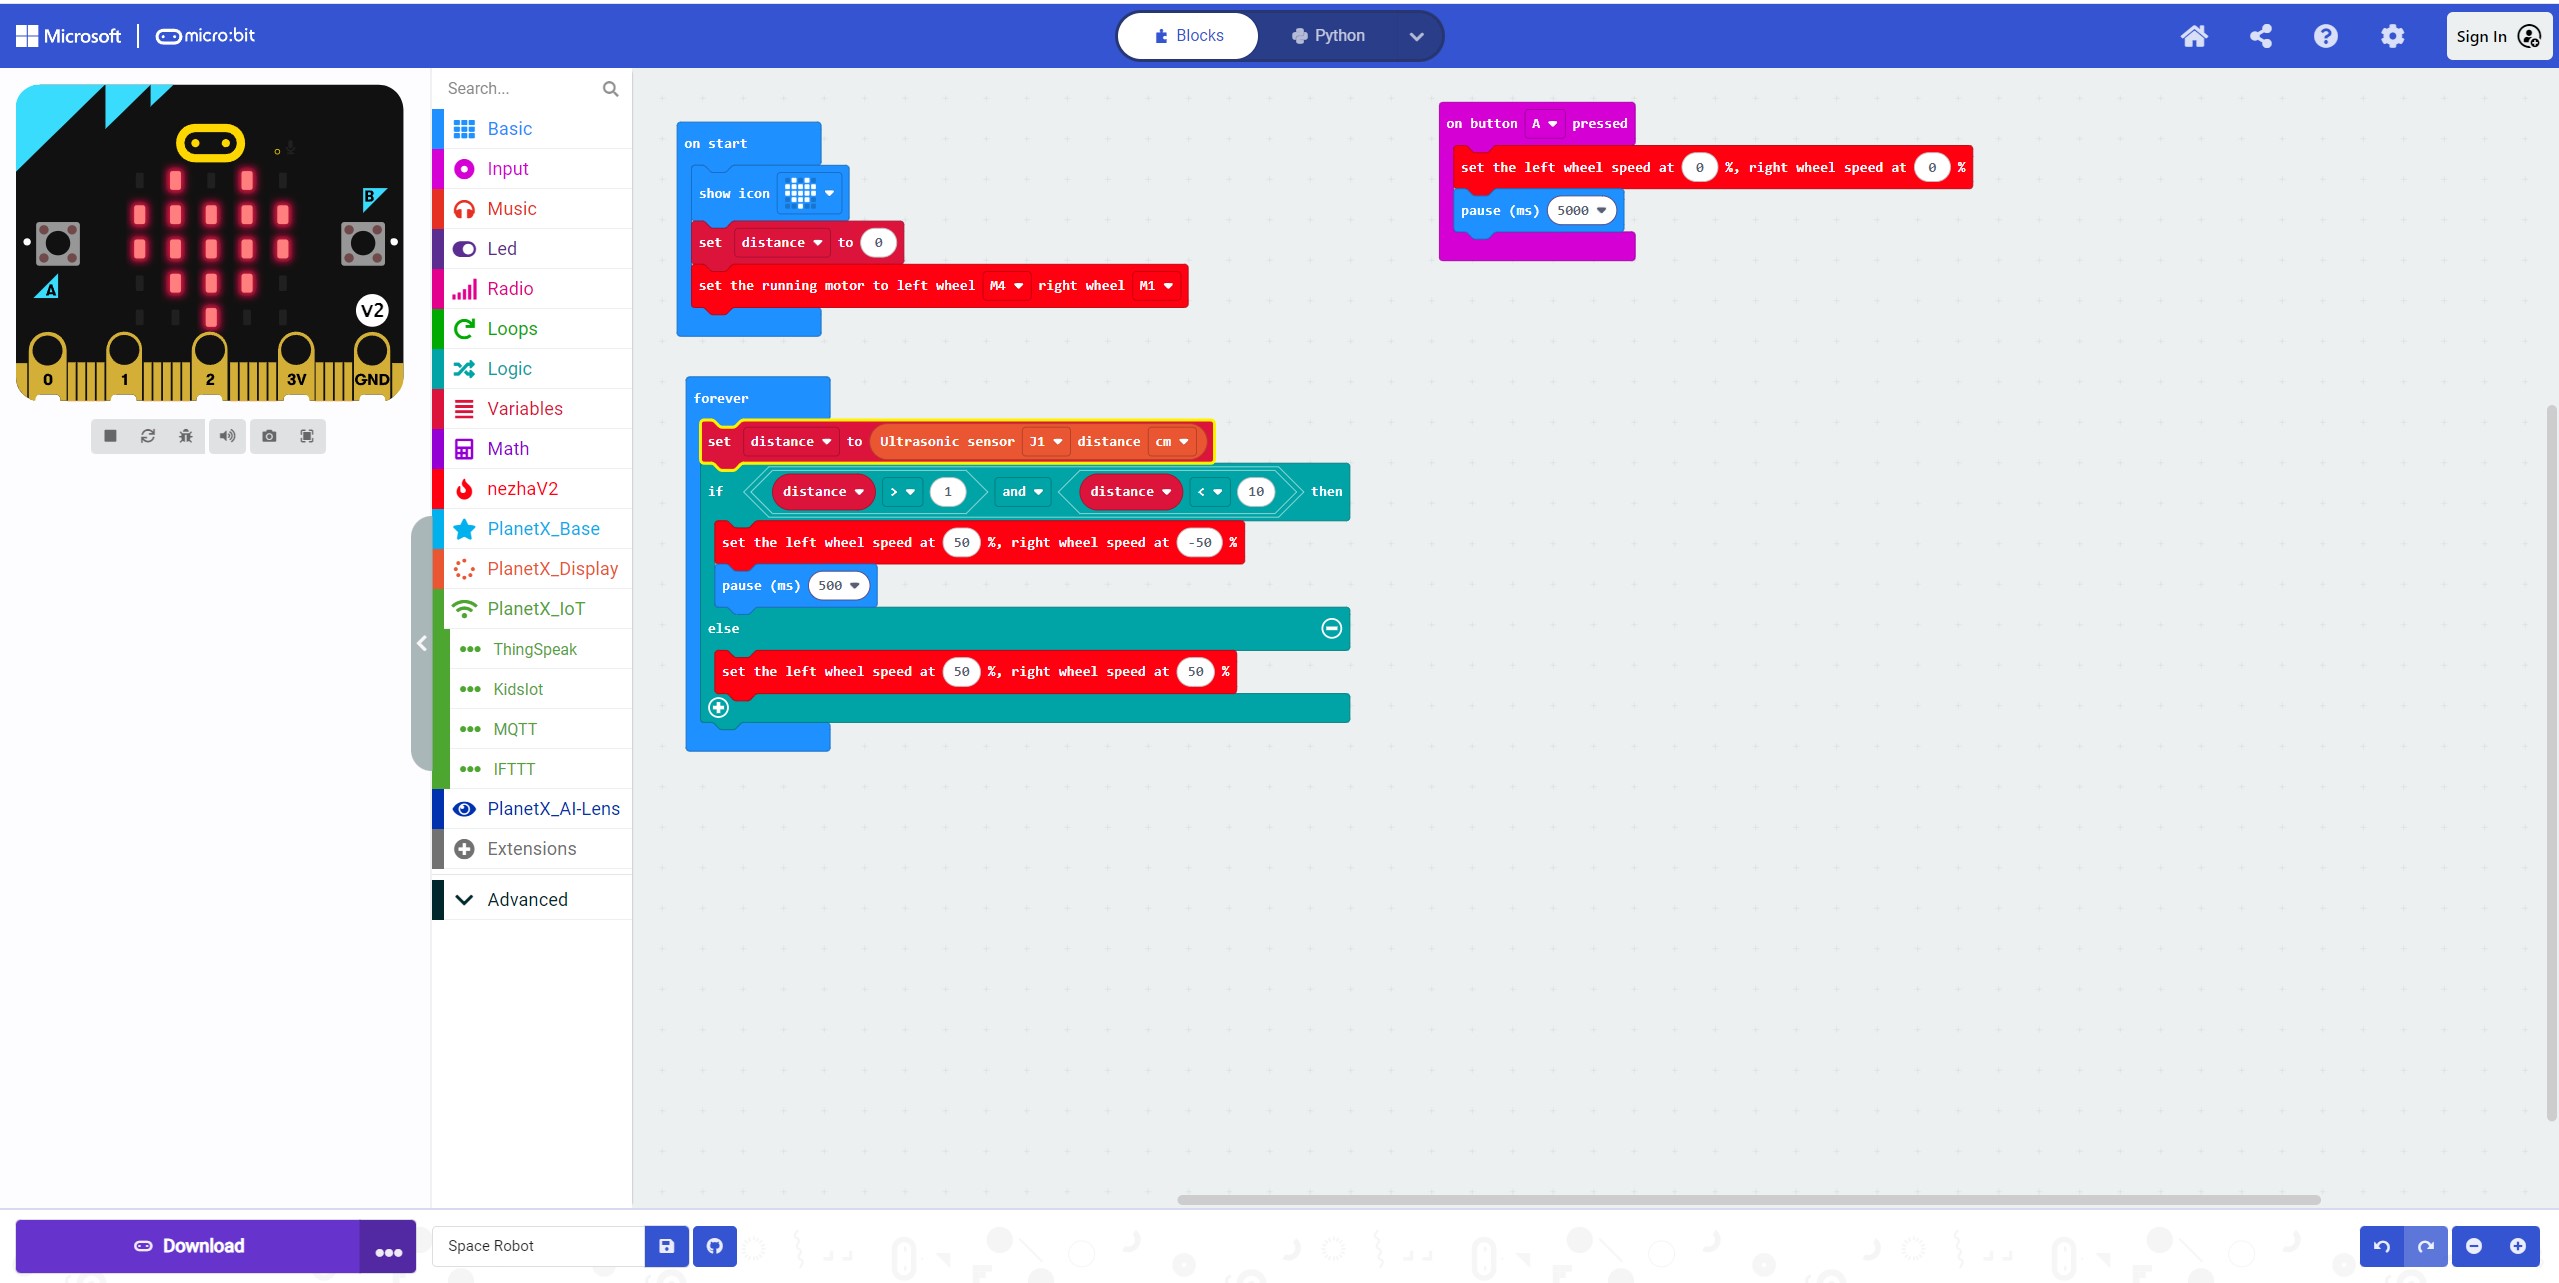
Coding the kit can be completed using the micro:bit blocks editor or via JavaScript. We didn’t spot any means to write code in Python with the kit. Micro:bit has its own Python editor, or you can use Nicholas Tollervey’s Mu editor. But you’re on your own with Python.
Being a kit aimed at education and beginners, we chose to follow Elecfreaks’ manual and use the Blocks editor. Installing the extra “Nezha2” and “PlanetX” extensions was simple, and abstracted away the complexity of controlling motors and working with sensors.
Building project code is a means of attaching the blocks to one another, with loops and logic to control the flow of the code. In a few minutes I had a simple motor test script in place. I then flashed this code to an awaiting micro:bit v2, and once complete I placed the micro:bit into the breakout and powered on. The robot completed its manoeuvres and then stopped. With the success in hand, I opted to write a short script using the HC-SR04P ultrasonic sensor. This sensor would measure the distance from an object, and using some logic I told the robot that for any distance less than 10 centimeters, the robot should stop, turn to the left, and then check the distance. If the distance was greater than 10CM, it should move forward before repeating the process. This code worked as expected, and gave me the confidence to try out a few more components.
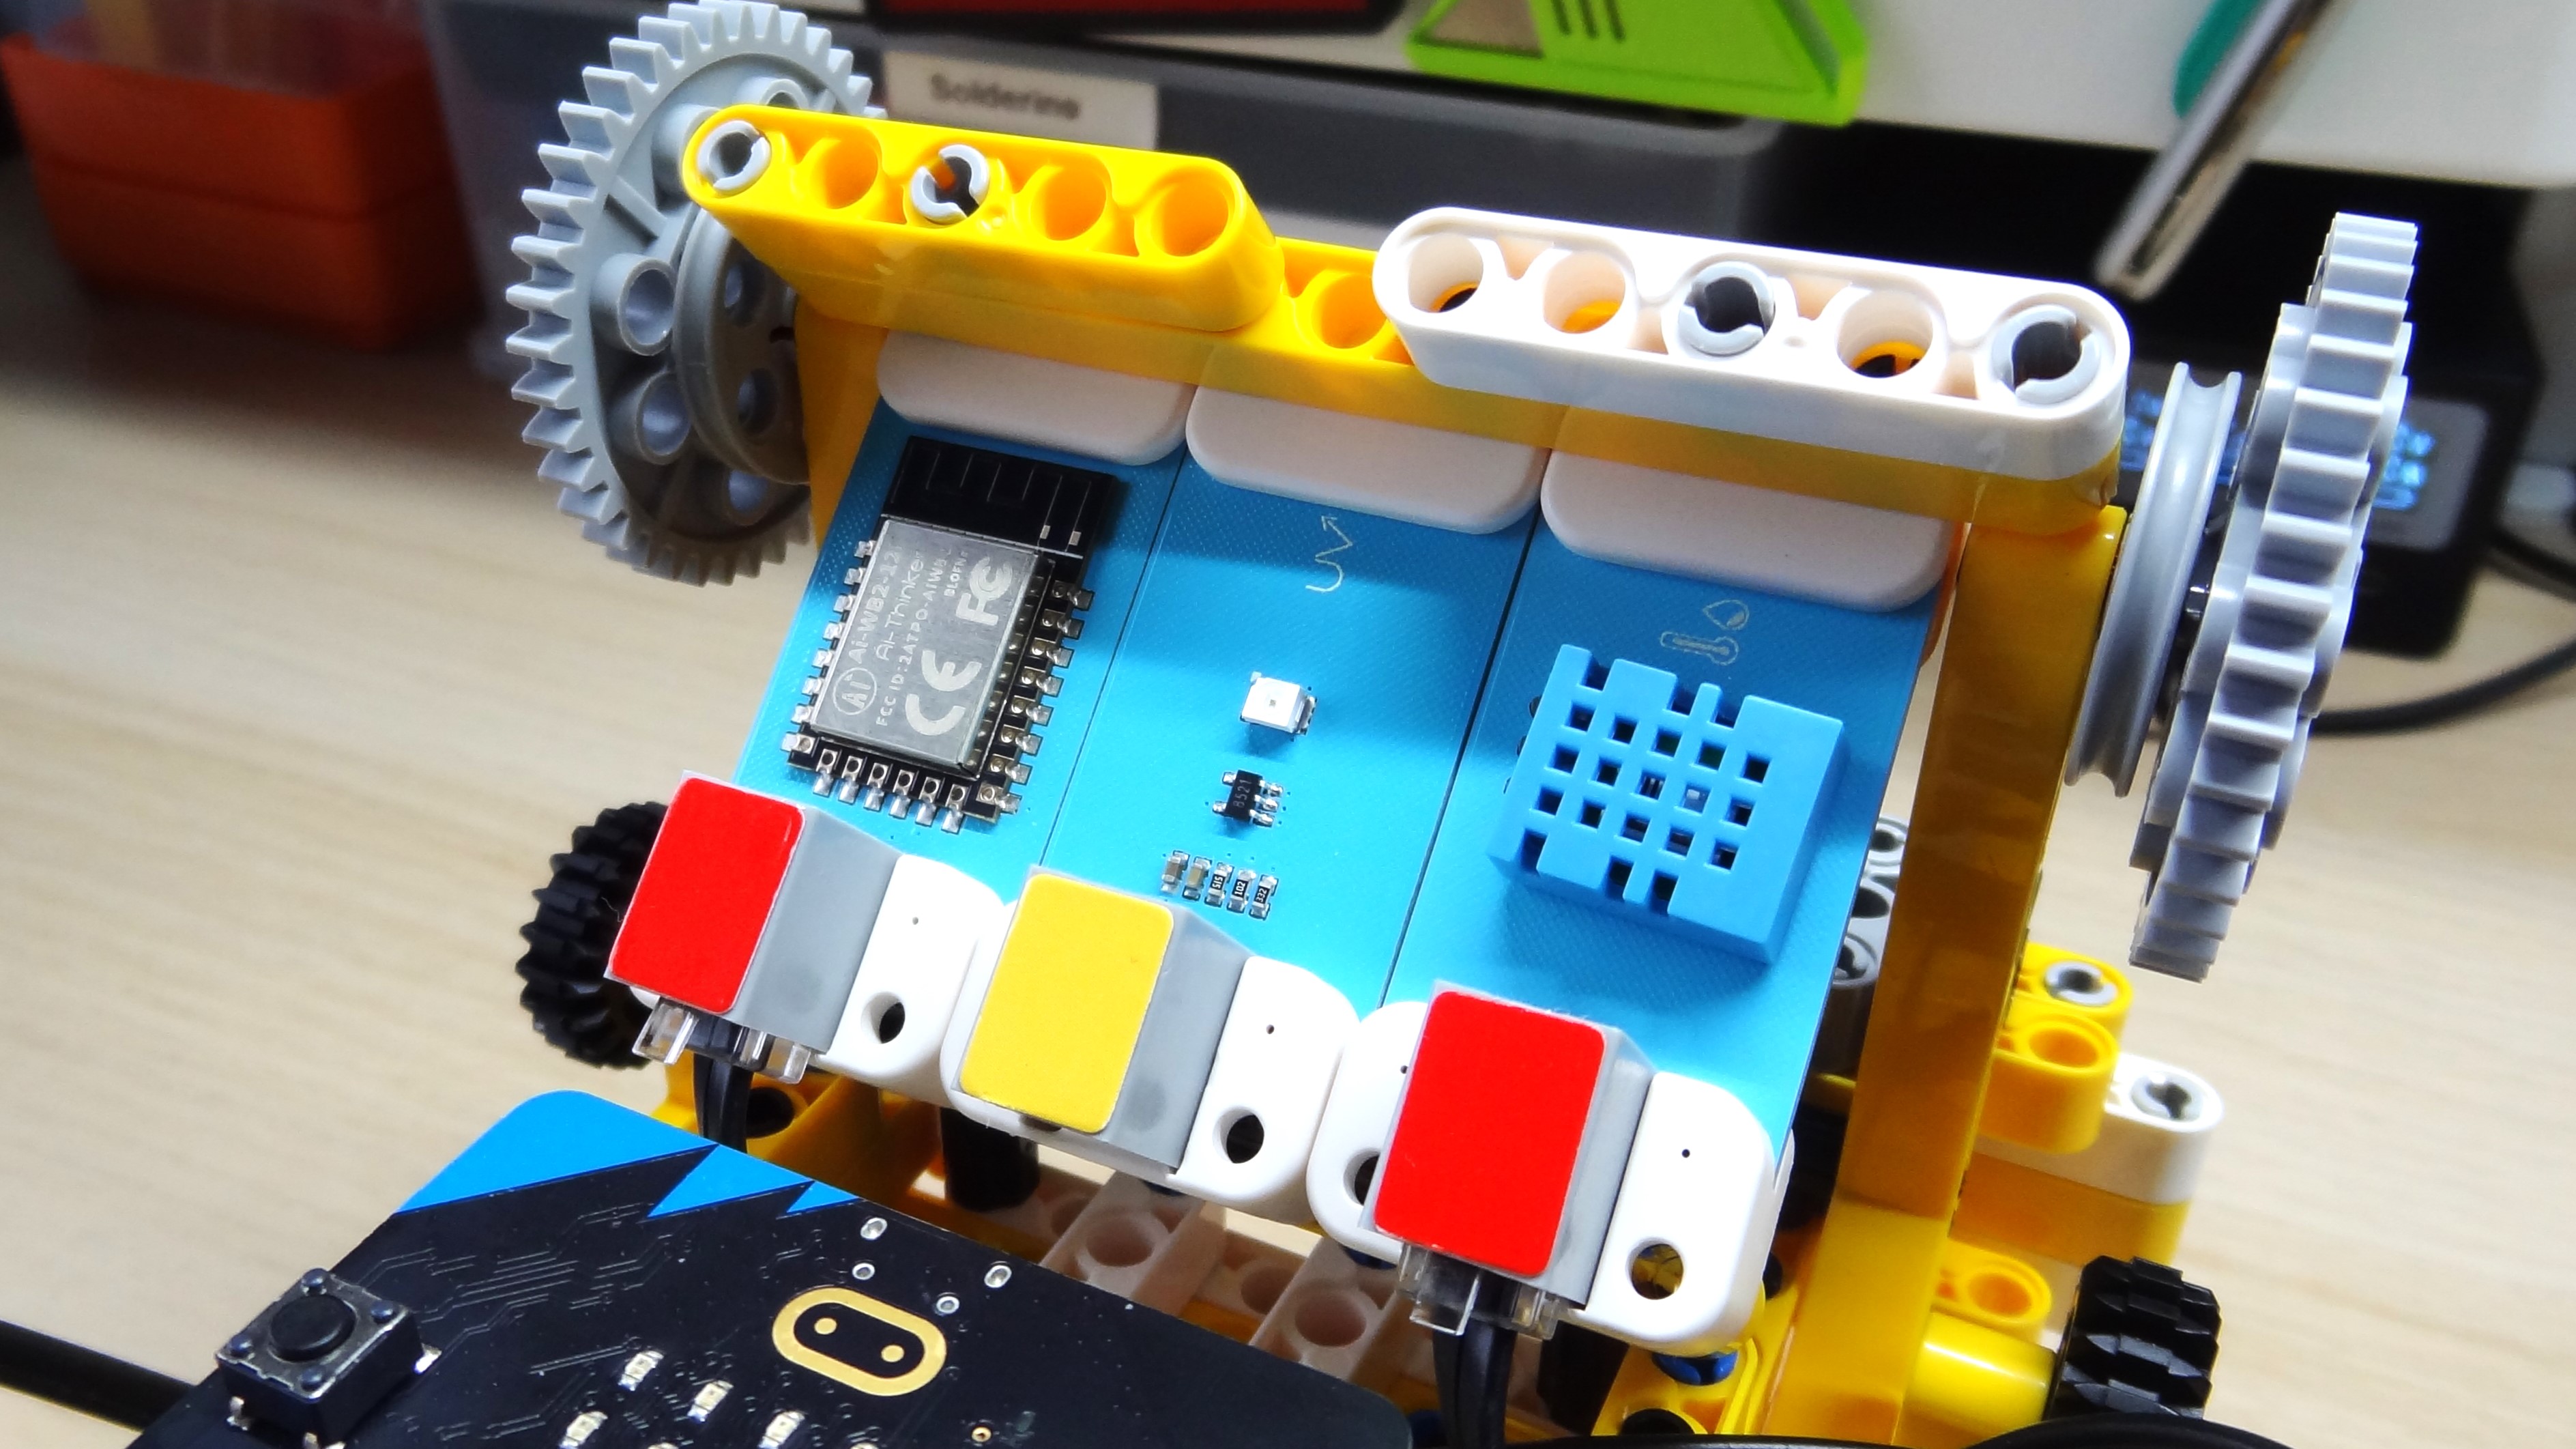
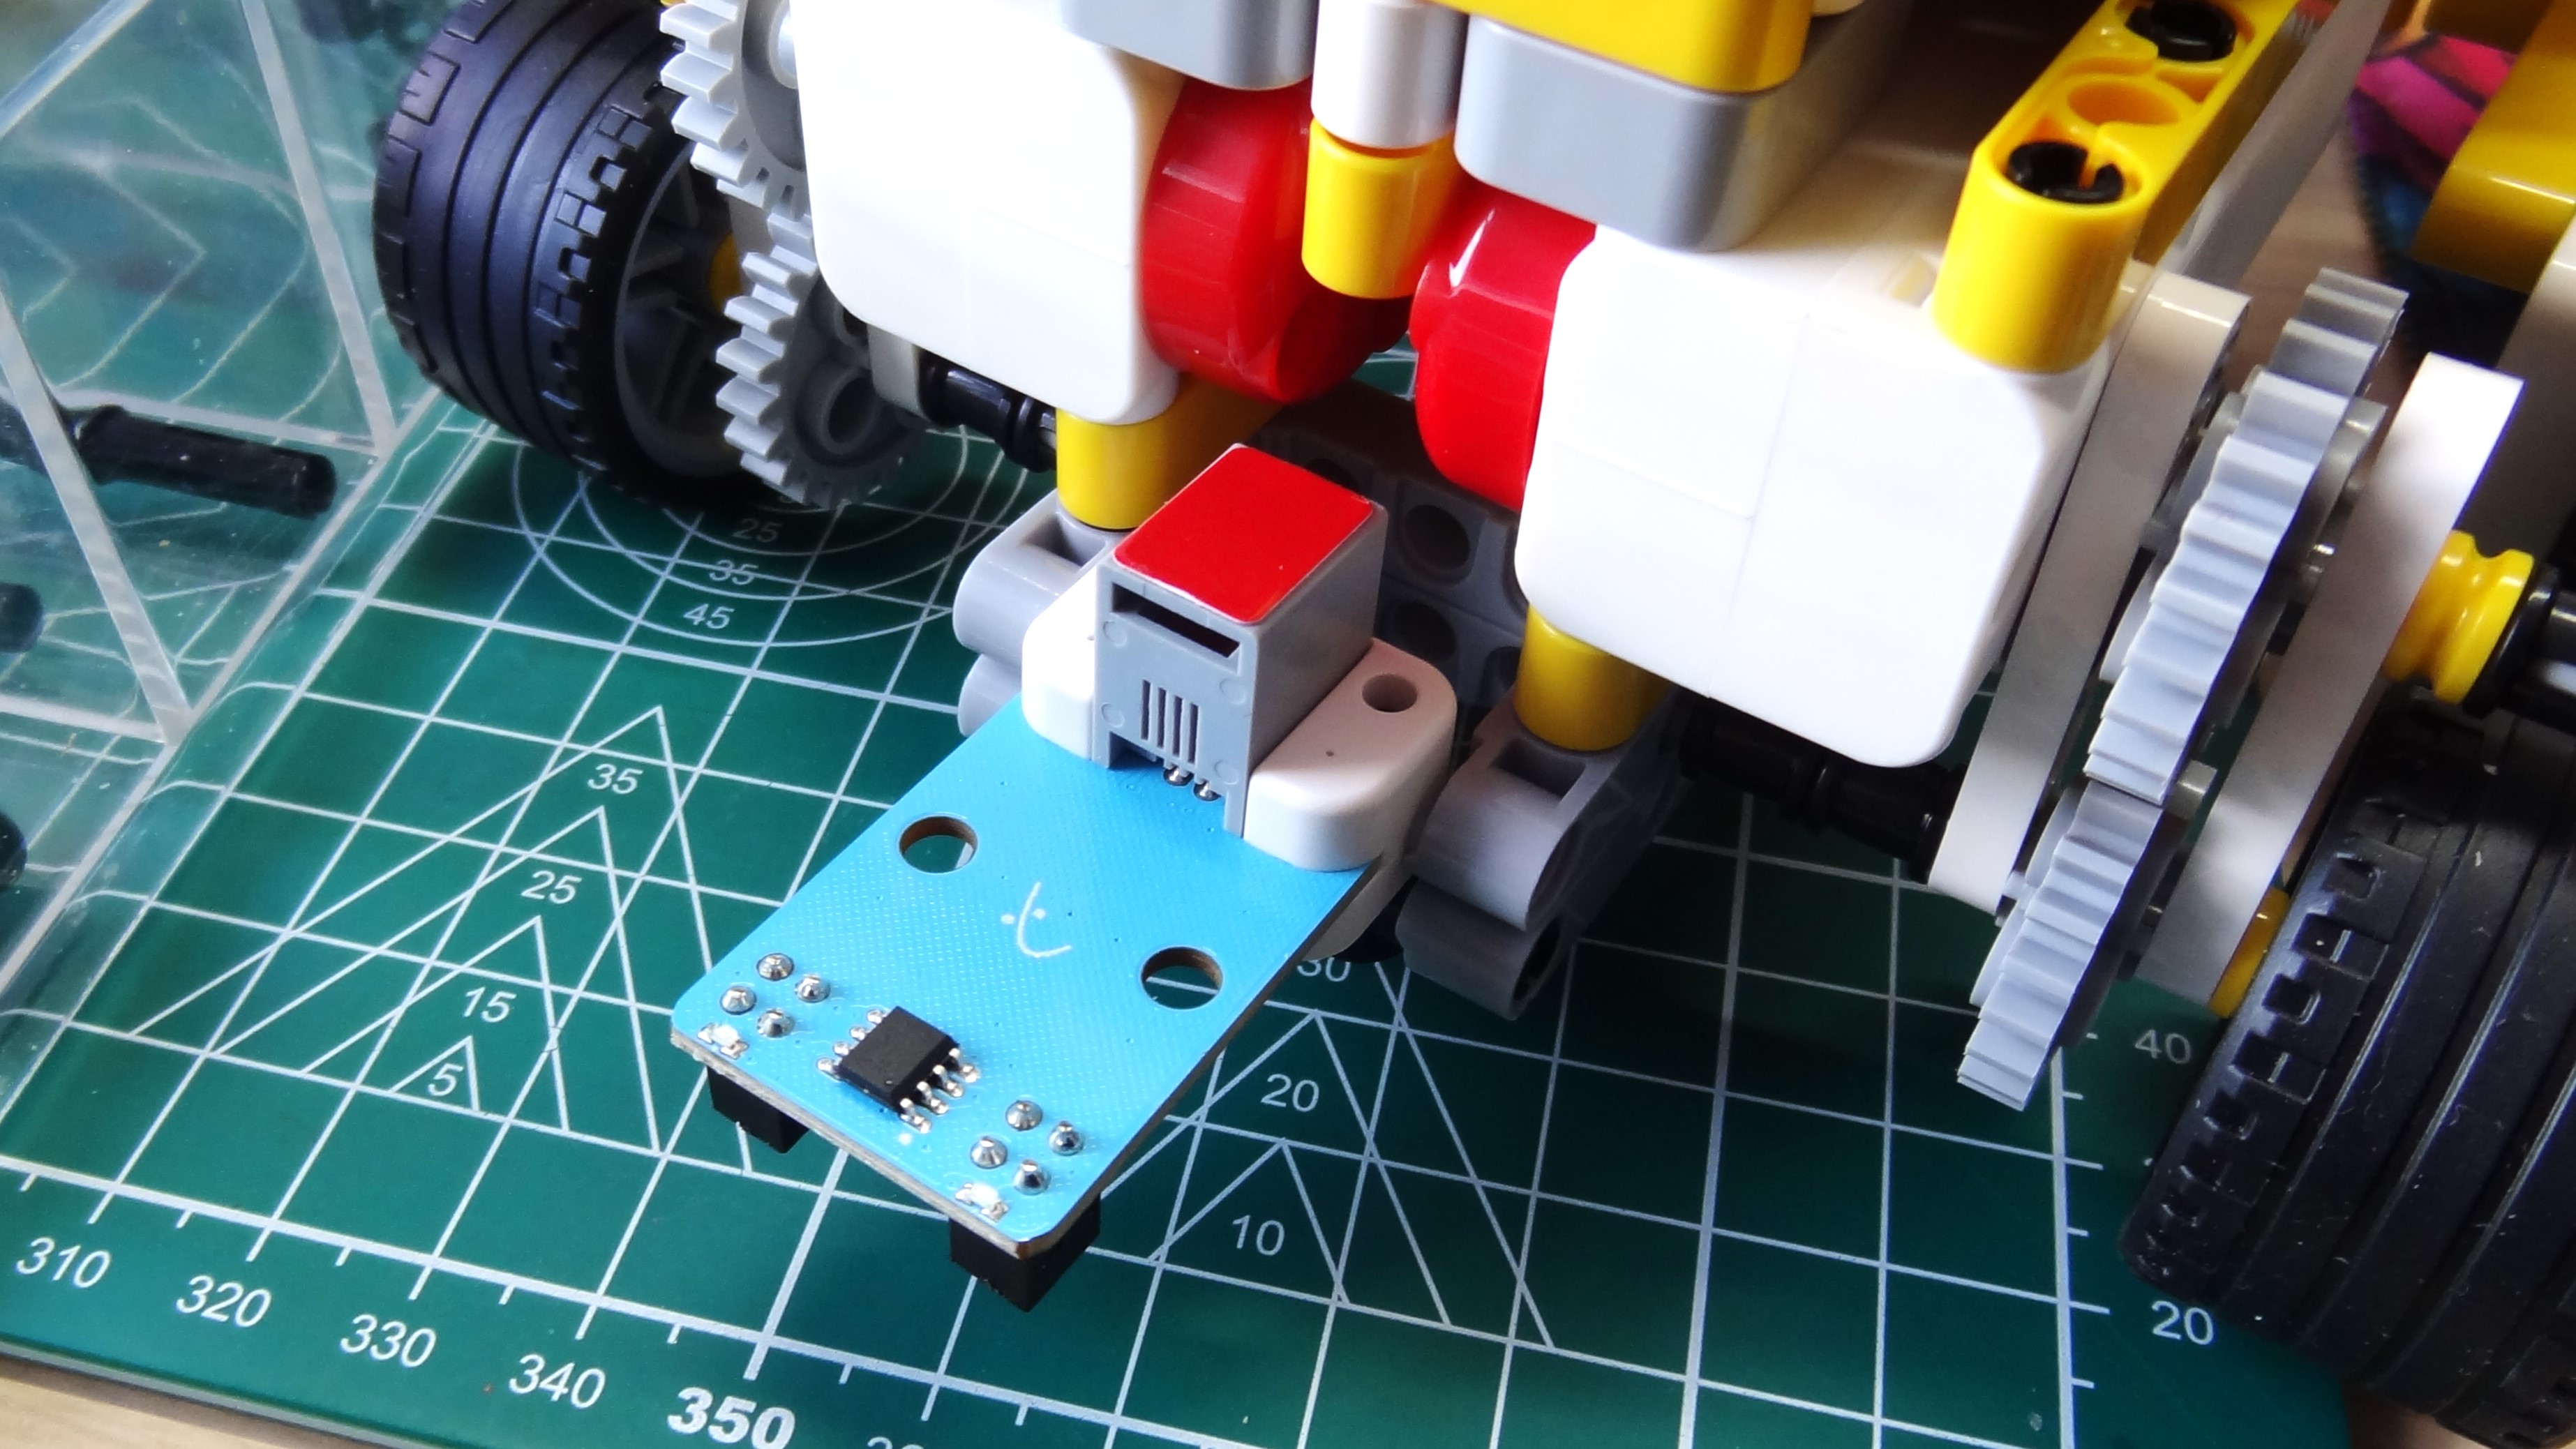
The DHT11 temperature sensor is an electronics classic. Simple to use, and precise enough for hobbyists. I made a simple script to read the temperature and to then scroll the temperature across the micro:bit’s 5x5 LED matrix. So easy to do thanks to the extensions created in the code editor.
A lesser known electronics component is the AI-WB2-12F, essentially a Wi-Fi and Bluetooth module that connects to the micro:bit via a serial interface on the breakout. After configuring the SSID and password for my router, I wrote a simple script to connect to my own MQTT broker, and to publish messages using the MQTT protocol. The messages were the current temperature, recorded by the DHT11 sensor. The broker routes the messages to any subscriber devices on the network, in this case my laptop and an Android phone. It all worked as expected and without too much hassle.
Who is the Elecfreaks micro:bit Space Science Kit for?
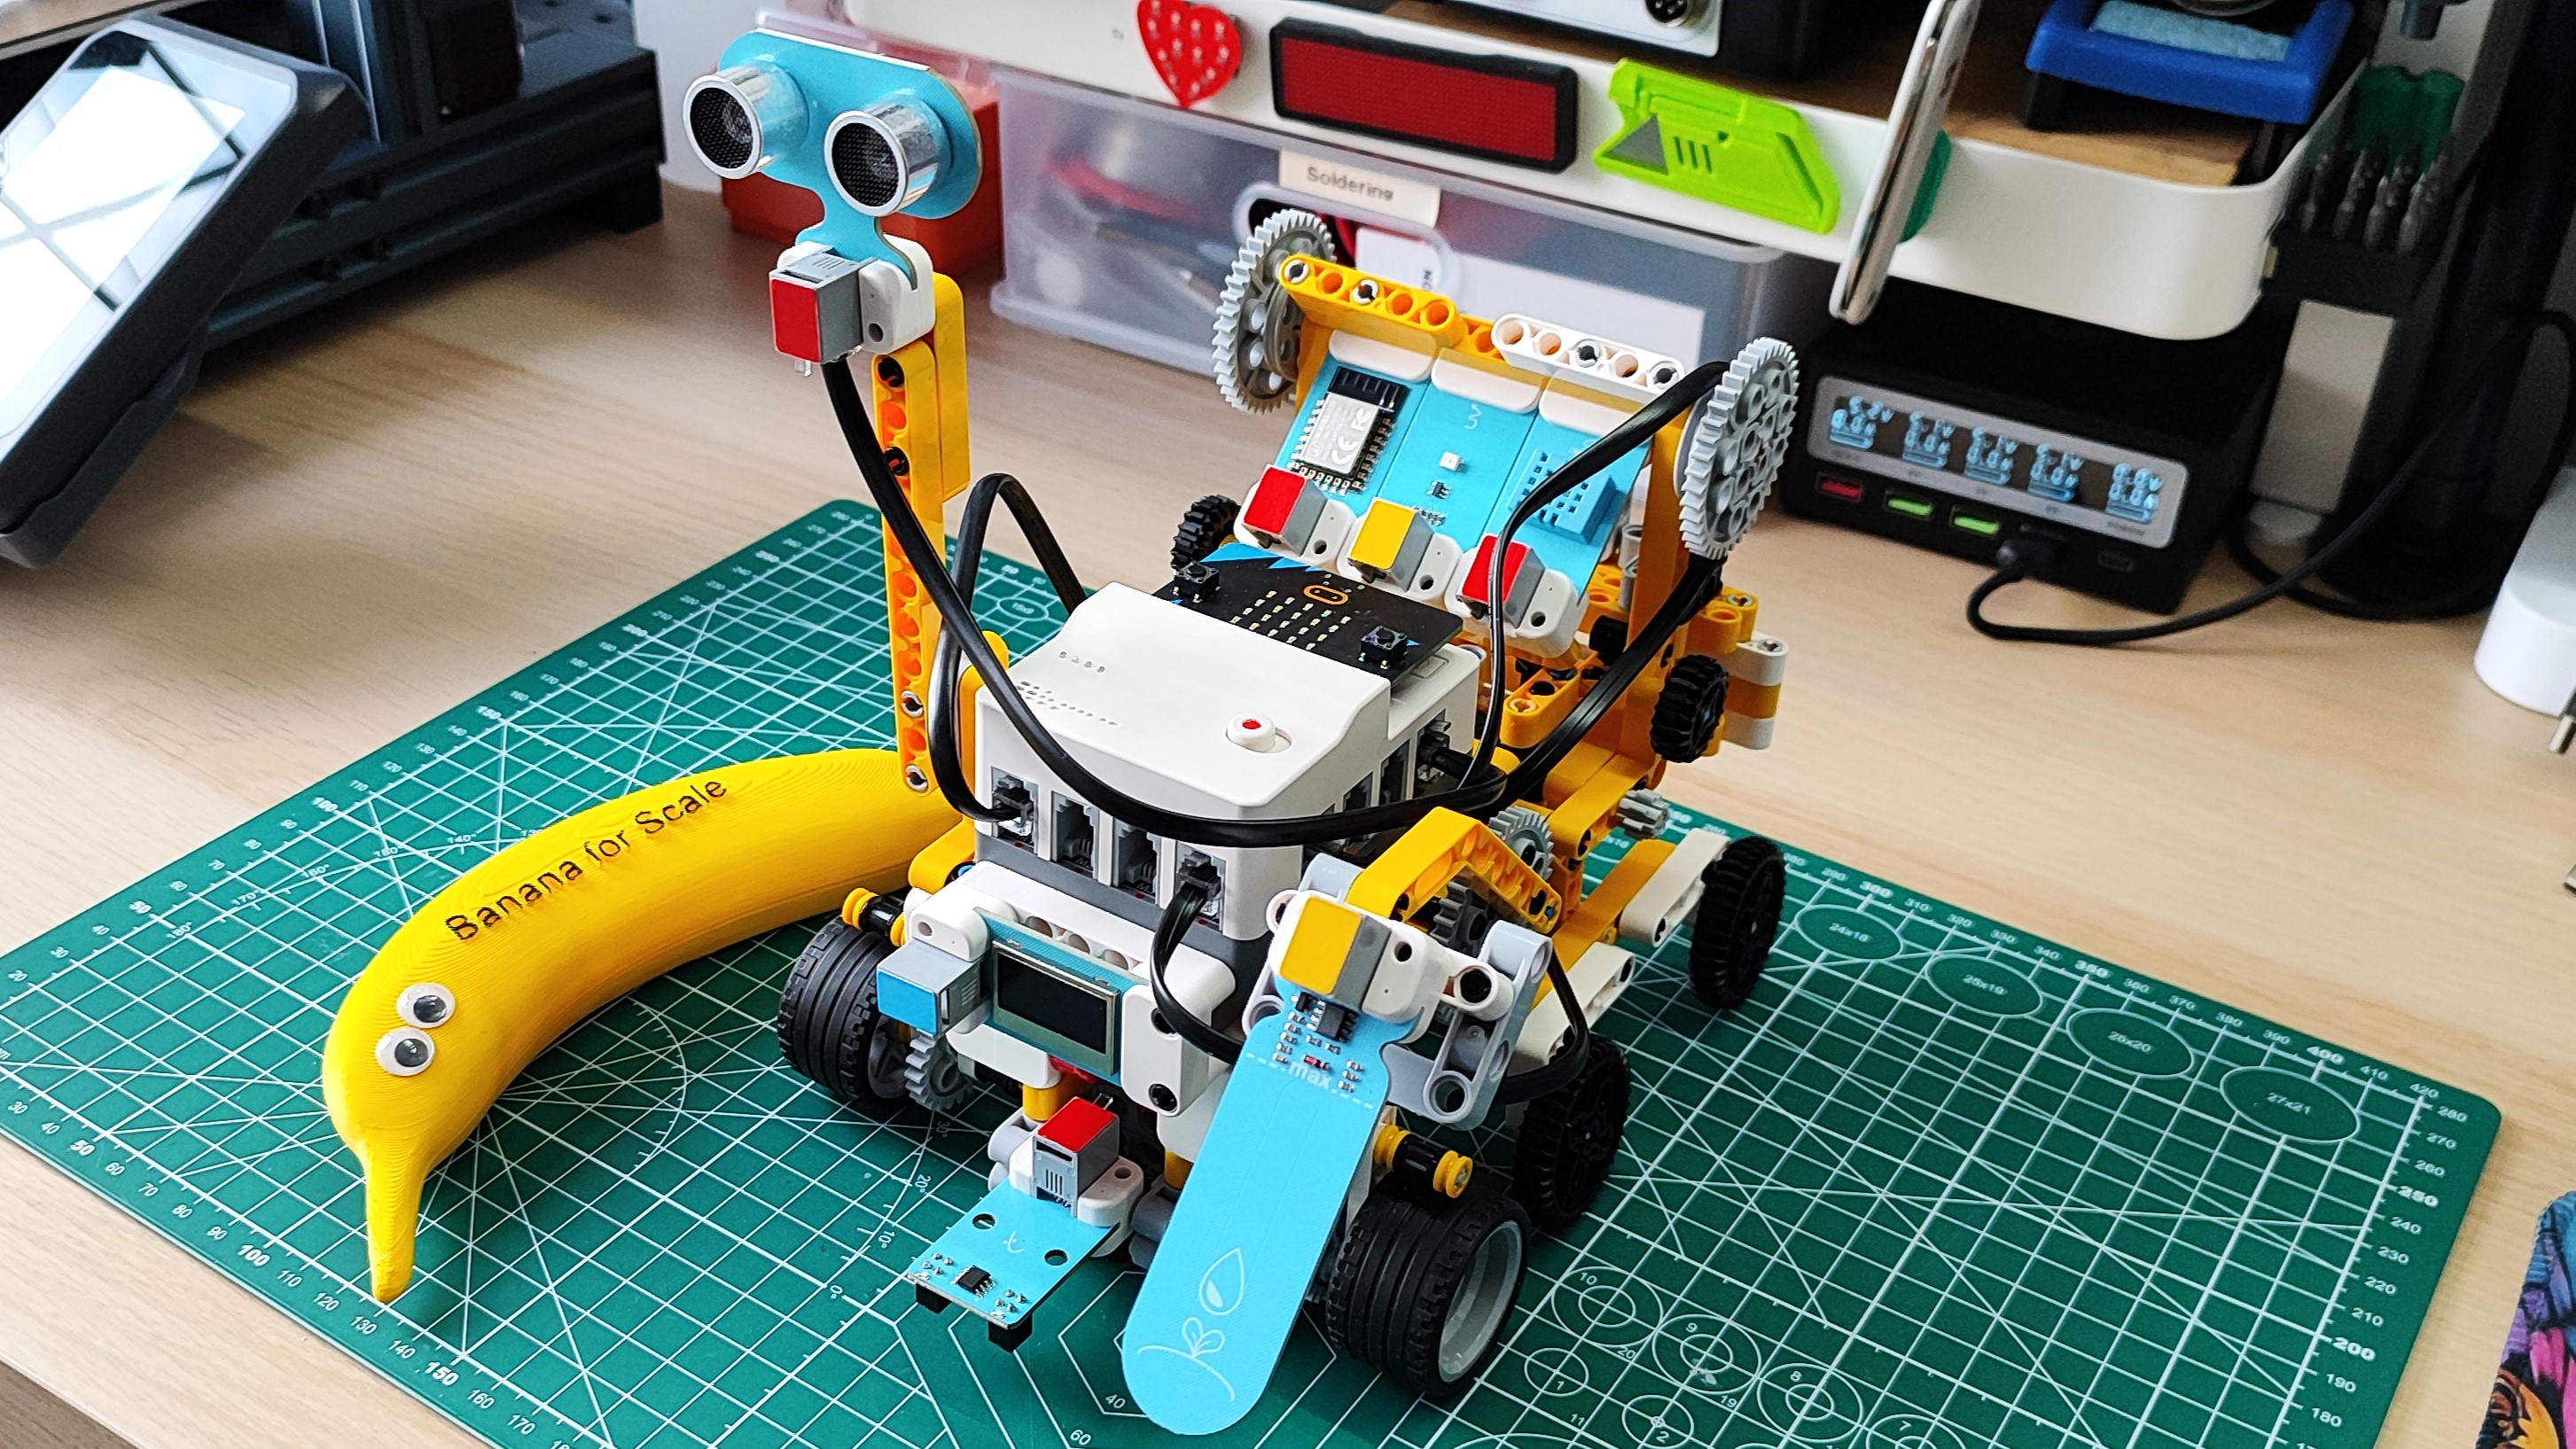
Educators are going to love a kit like this. Because it comes with everything that you need, you can just pull the kit out and hand it to the learners. We’d prefer it to come with a micro:bit. Surely there is room in the price to bundle a board or two? You can spend $24 more to get a micro:bit v2, but that takes the price for $254!
Backing up the kit are a series of lessons, called “Cases”. These cases provide a clear objective for the educator to measure against, and the preparation, process and reflections to build and understand each case. The resources are great, but as an ex-informal educator I know that educators want resources that they can print off and use in class. These cases are formatted for the web and not for download. I, and other educators would love to see PDFs of the build process for children to follow.
For home users, the price is rather overwhelming. $229 is a large amount of money to drop on any kit. Some may, but education is where this kit is destined to do the most good.
Bottom Line
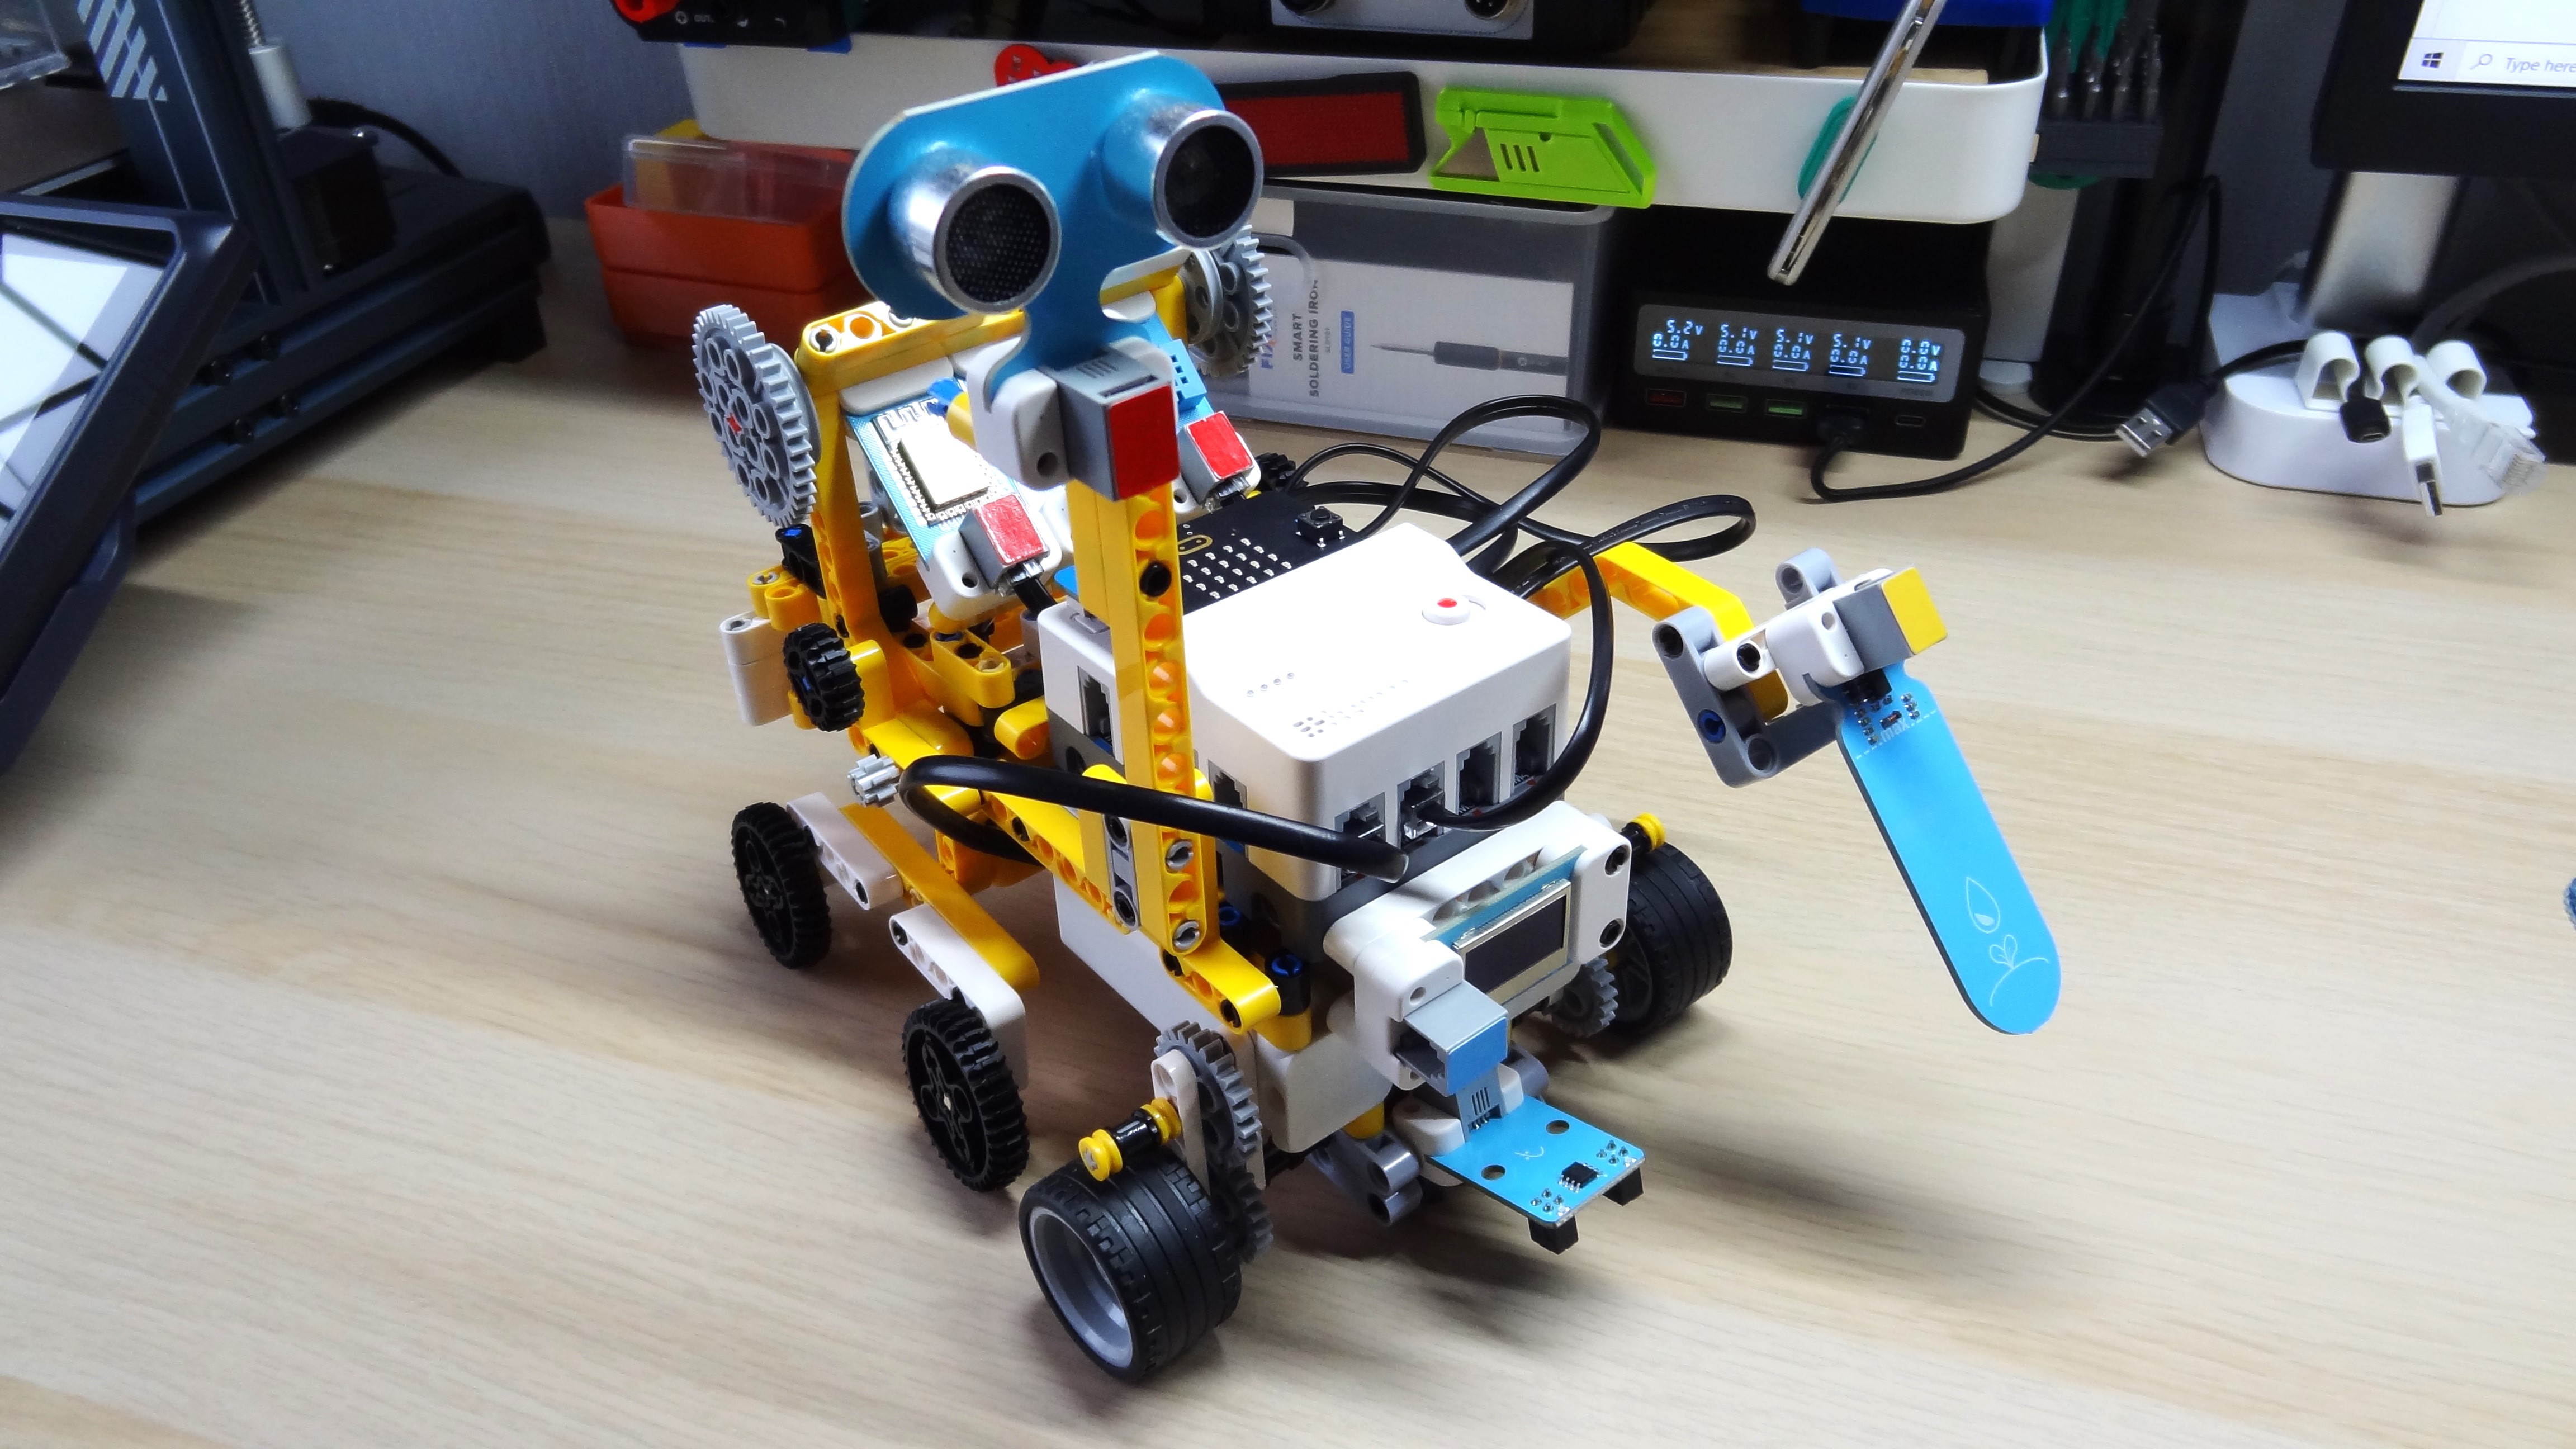
I enjoyed my time with this kit. Being an Adult Fan of Lego, a coder and a life-long love of electronics meant that it hit every spot.
$229 is a large hit on your wallet, but a Lego set of a similar feature set is the $400 Lego Spike Prime kit. So yes the Elecfreaks Space Science Kit is a lower cost option that provides a great out of the box experience. The “Lego” compatible parts are great, and work with Lego. The electronics are well thought out, and connect easily to the hub. The micro:bit integration and coding makes it easy to use. Educators will eat this kit up, especially for basic robotics and science lessons.
Les Pounder is an associate editor at Tom's Hardware. He is a creative technologist and for seven years has created projects to educate and inspire minds both young and old. He has worked with the Raspberry Pi Foundation to write and deliver their teacher training program "Picademy".
