Tom's Hardware Verdict
A solid board that apes the Arduino Uno form factor well, and provides a plethora of GPIO options for very little money. But is the Arduino Uno layout necessary?
Pros
- +
Grove and Stemma QT
- +
NeoPixels
- +
LEDs on the GPIO pins
- +
Buzzer
- +
LiPo / Li-Ion Charging
- +
Servo connections
Cons
- -
Is the Arduino Uno layout necessary?
- -
Arduino Shield compatibility requires work
Why you can trust Tom's Hardware
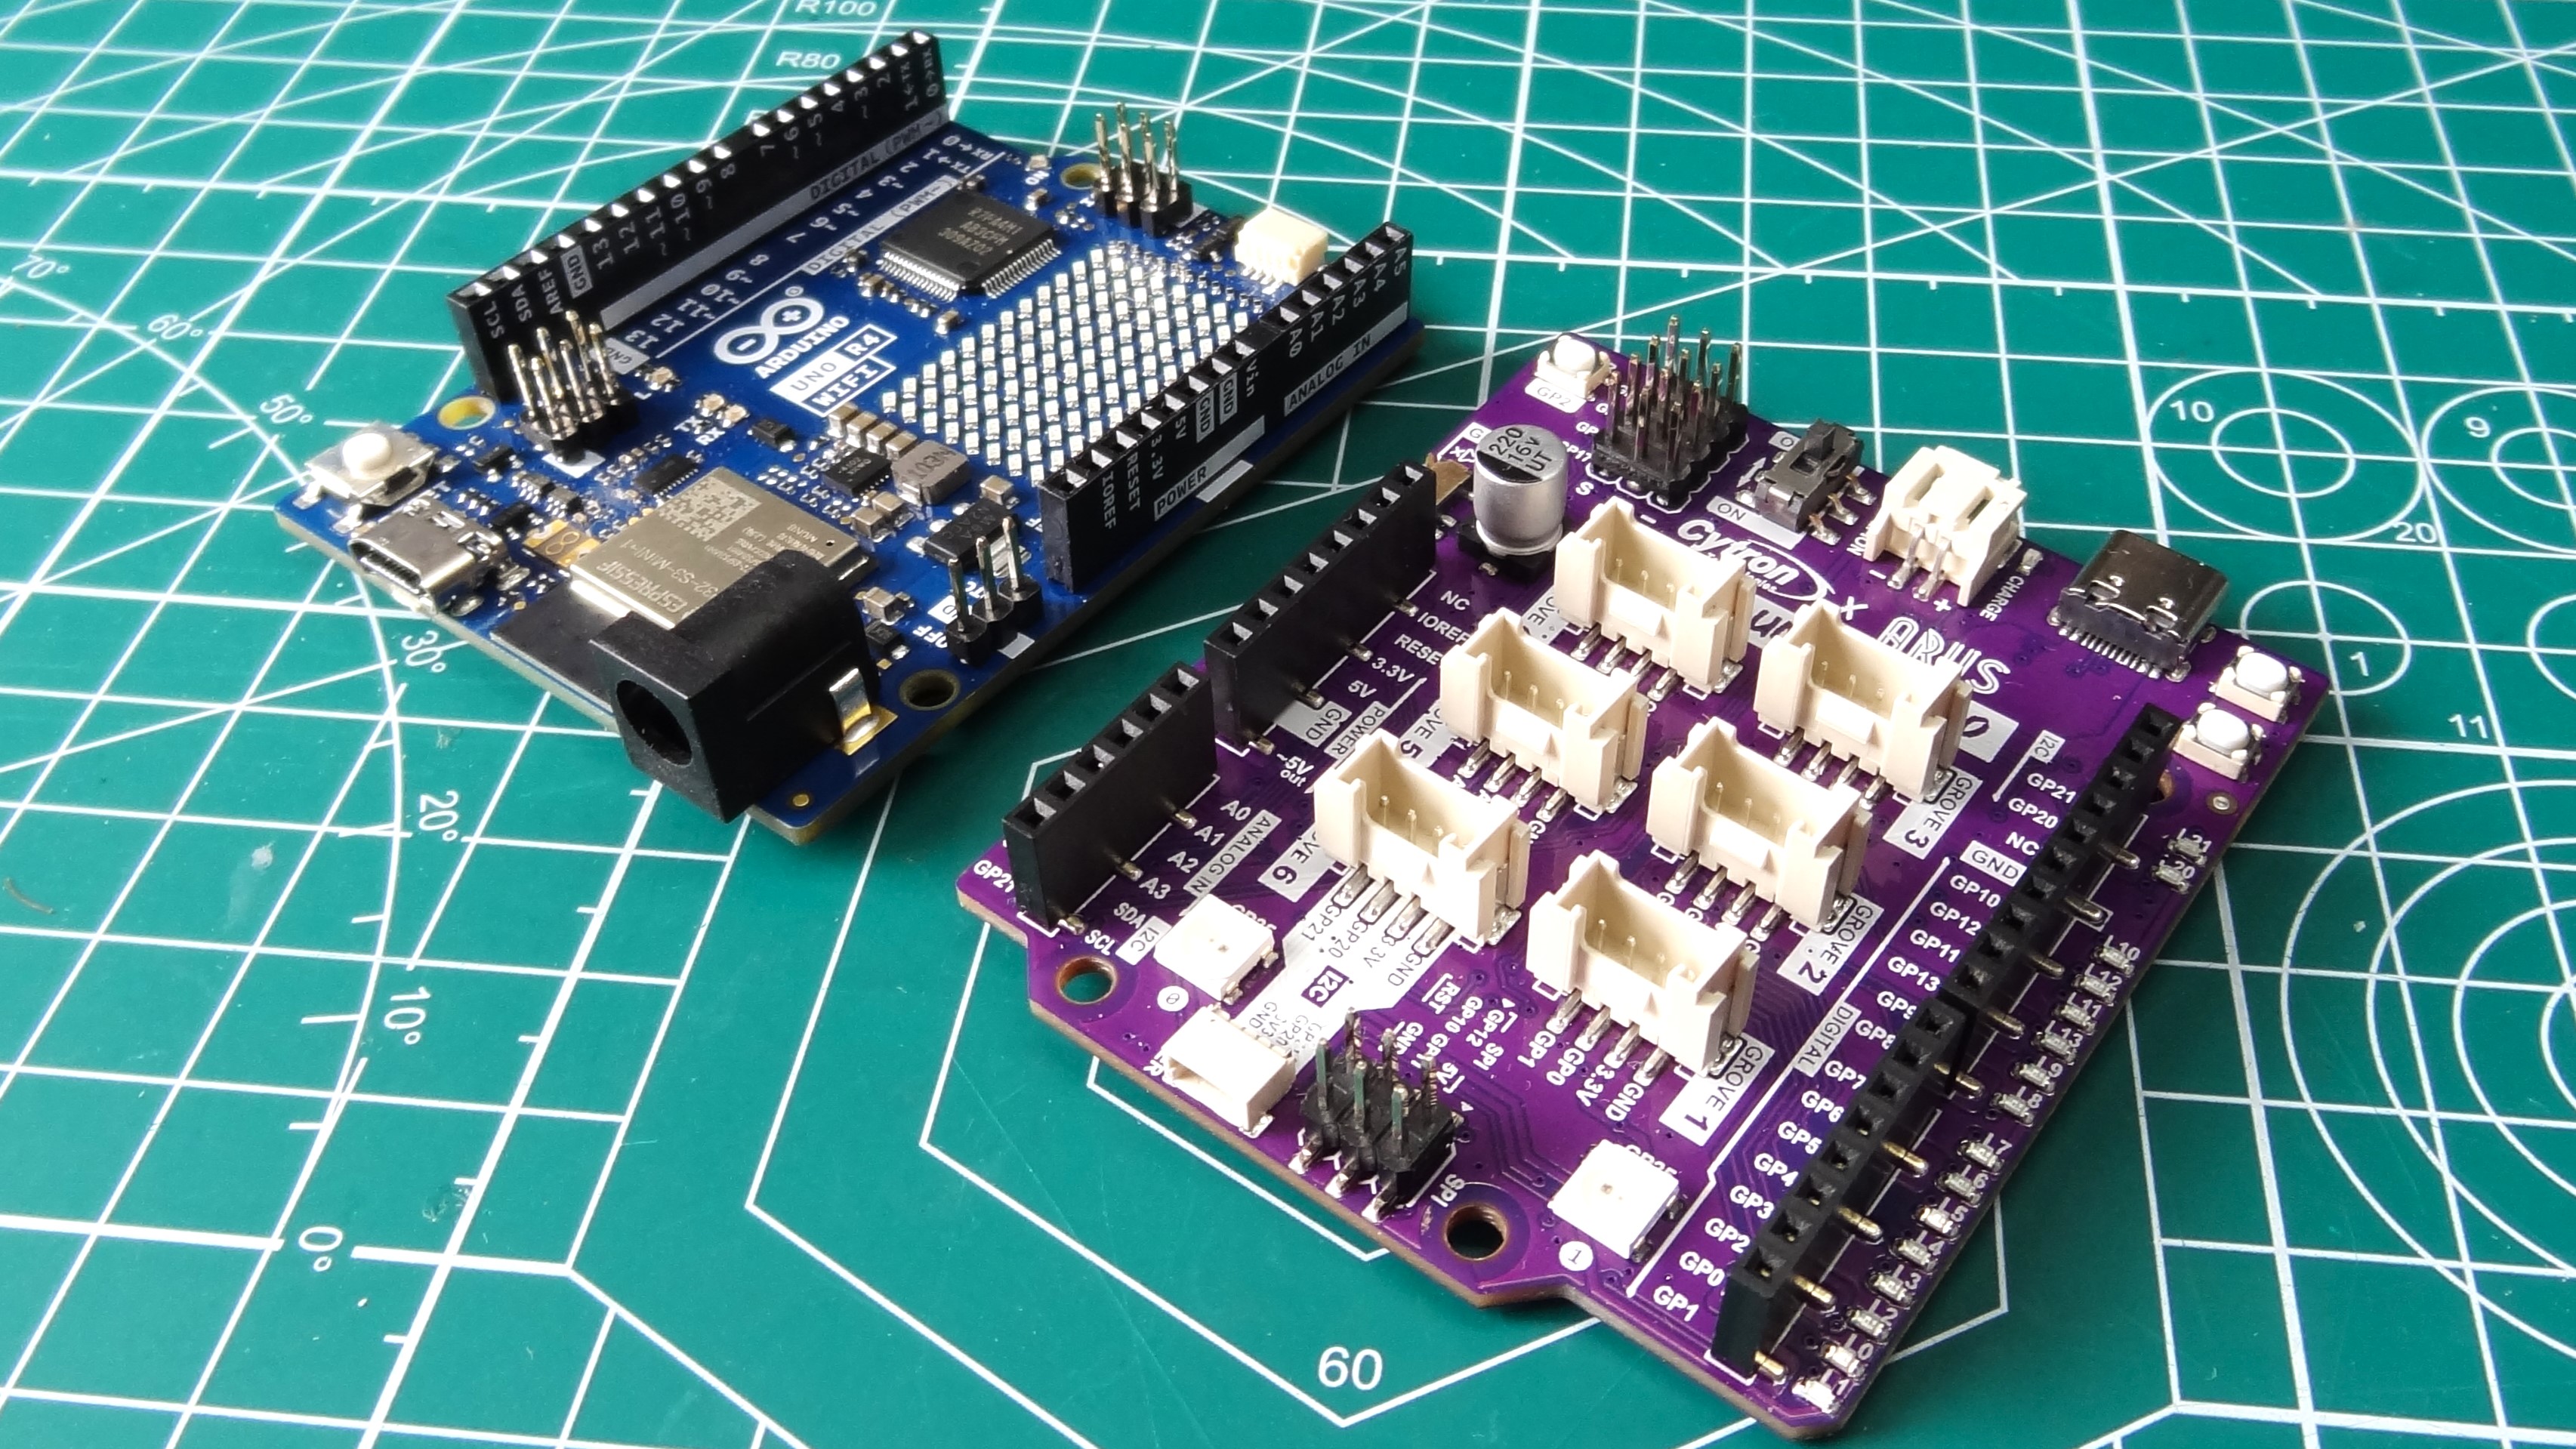
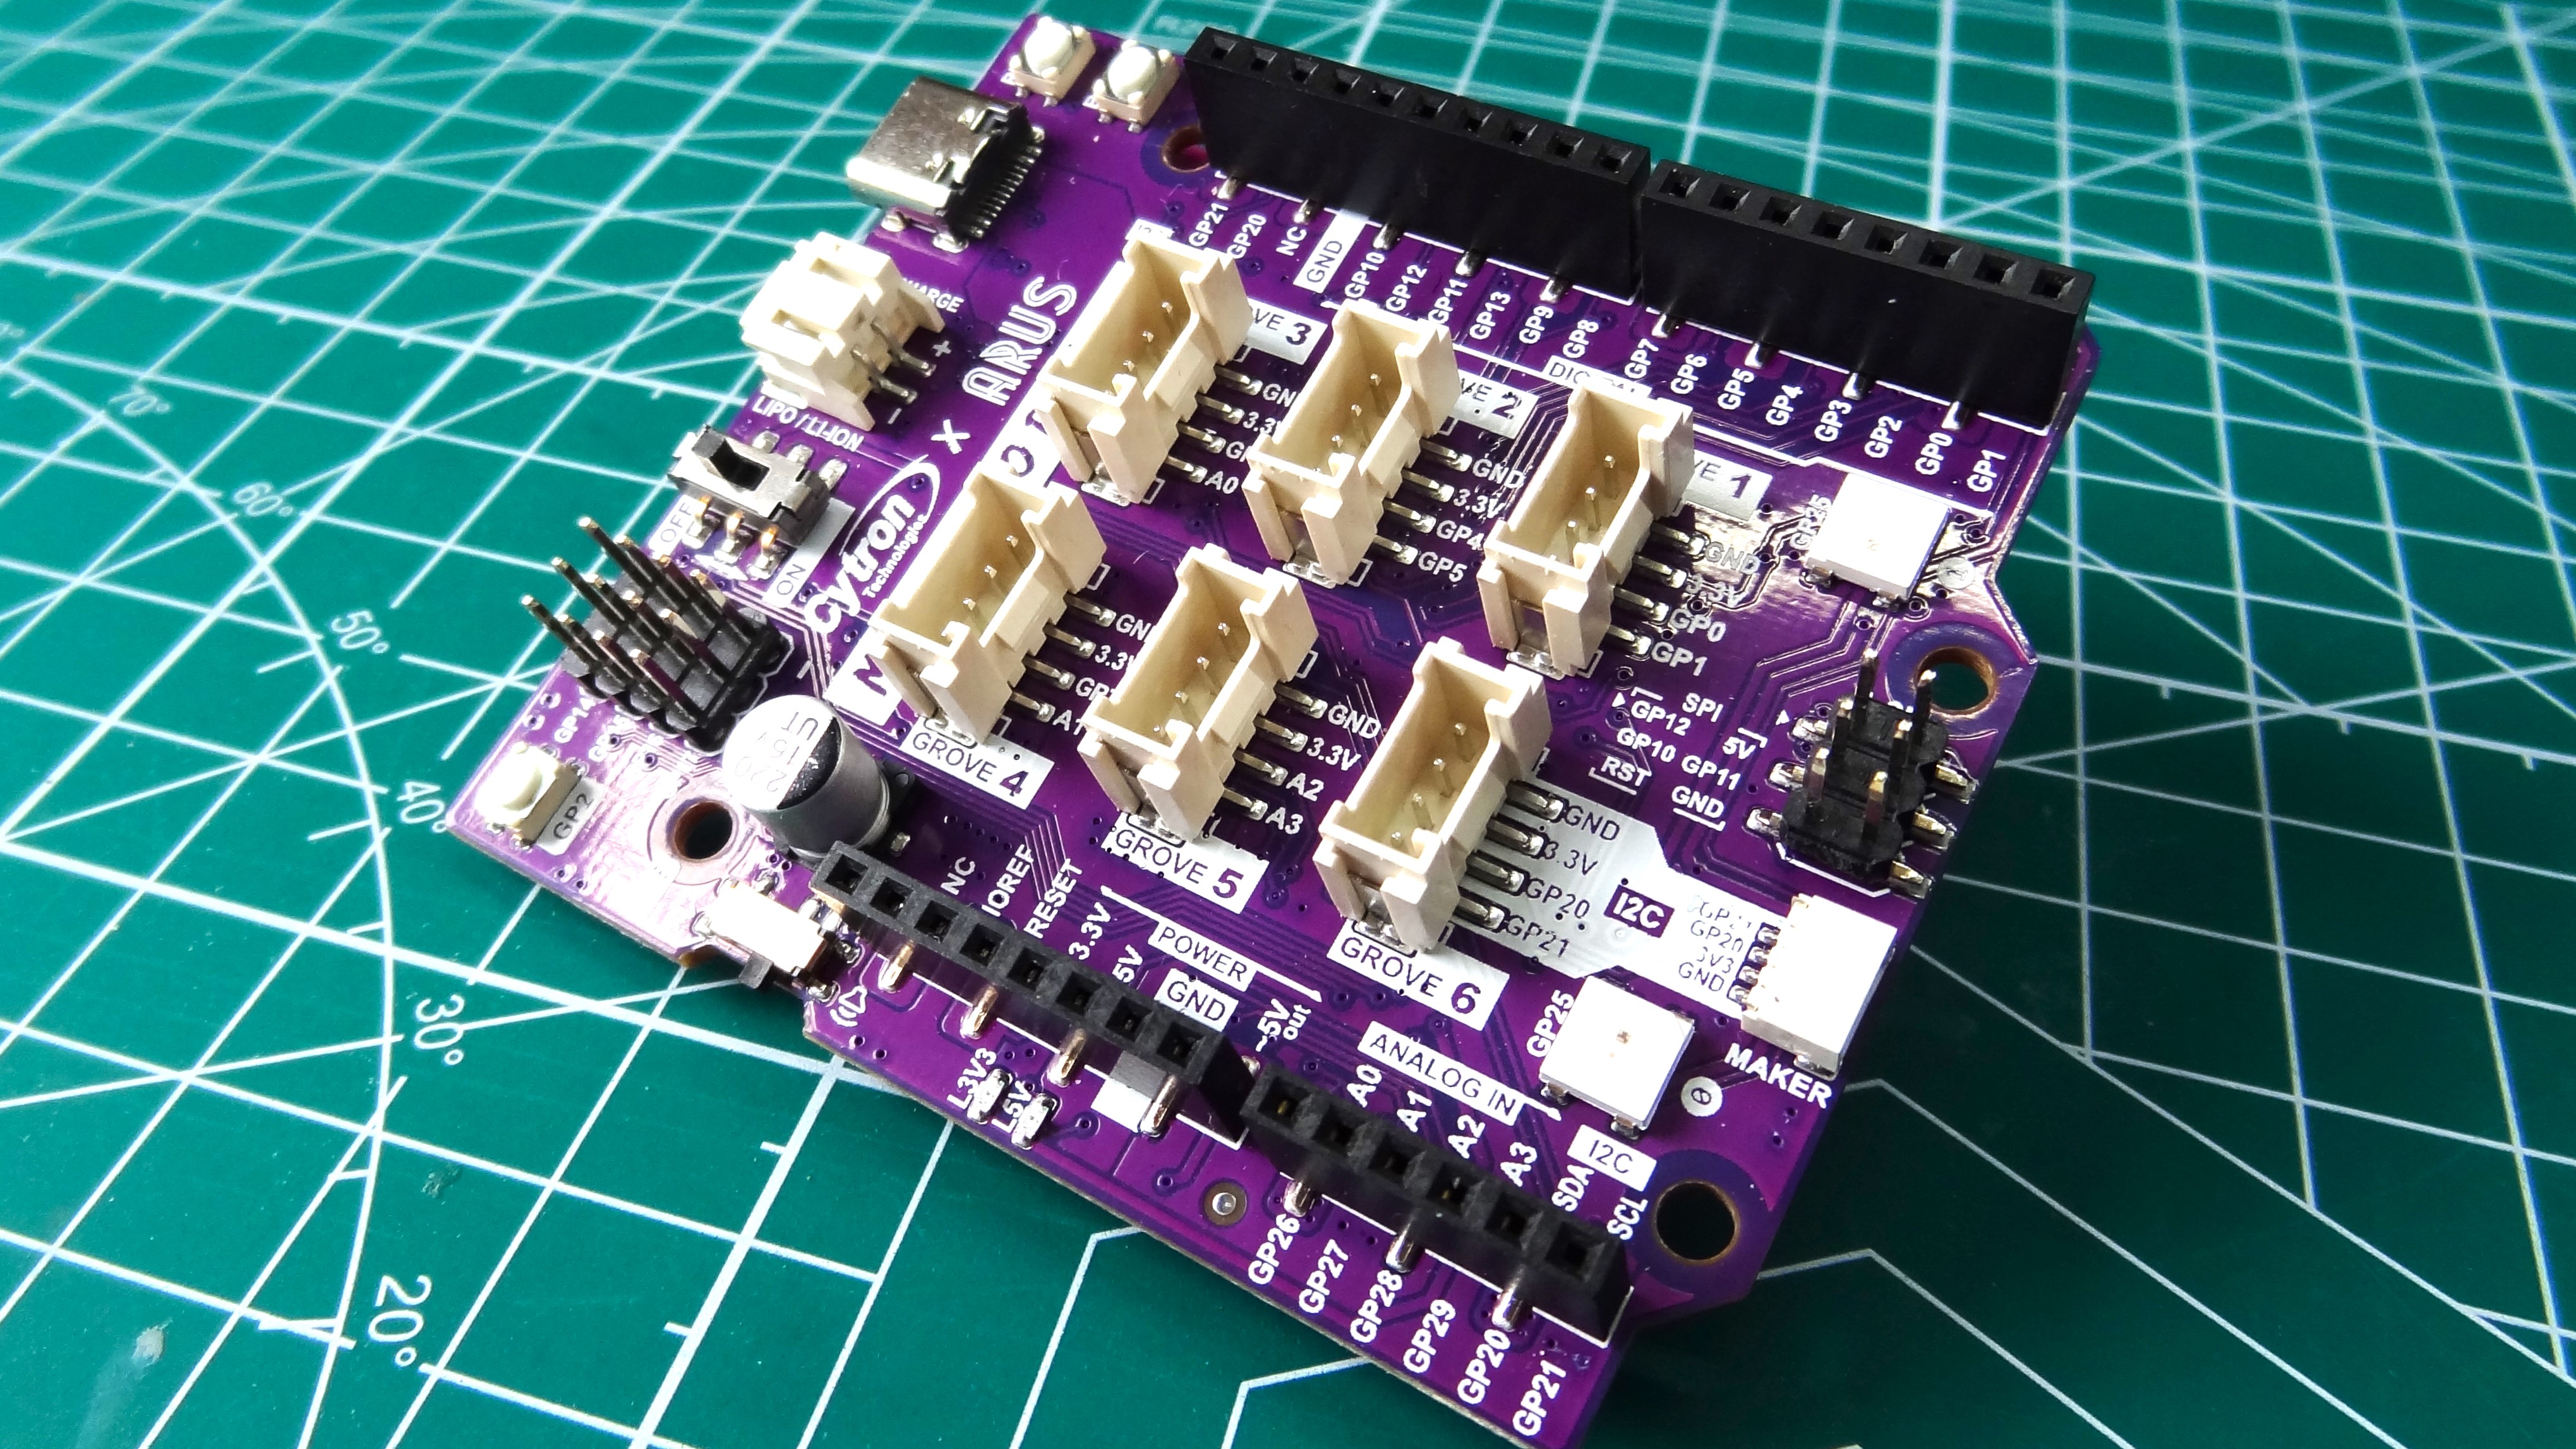
Fresh on the success of its Edu Pico, Cytron has something else for the maker / educator who wants to get into coding with the Raspberry Pi Pico’s RP2040 chip. Cytron’s $15 Maker Uno RP2040 is a more traditional affair. No big board full of sensors, this is a more barebones product that shares the footprint of the Arduino Uno, going so far as to ape the pinout of the classic maker board.
The key differences between the Maker Uno RP2040 and the Arduino Uno are the RP2040 and a selection of Grove and Stemma QT, along with LiPo charging and servo connections. So should we buy the Maker Uno RP2040, another Cytron board or go for the classic Arduino Uno? Let's find out!
Cytron Maker Uno RP2040 Technical Specifications
| Header Cell - Column 0 | Cytron Maker Uno RP2040 | Arduino Uno R4 WiFi |
|---|---|---|
| Microcontroller | RP2040 Arm Cortex M0+ Dual Core at 133 MHz | Renesas RA4M1 (Arm Cortex-M4 running at 48 MHz) |
| Wi-Fi | N/A | ESP32-S3 running at up to 240 MHz, 384KB ROM, 512KB SRAM |
| RAM | 264KB SRAM | 32KB |
| Storage | 2MB Flash | 256KB Flash |
| GPIO | 24 Multi-function pins 24 x Digital I/O 4 x Analog Inputs (SWD) | 14 x Digital IO, 6 x PWM, 6 x Analog, DAC |
| Row 5 - Cell 0 | 2 x I2C, 2 x SPI, 2 x UART | 2 x I2C, SPI, CAN, UART |
| Row 6 - Cell 0 | 6 x Grove Connections 1 x Maker port (Stemma QT) 2 x RGB LEDs (WS2812B) User Button Speaker | 12 x 8 LED Matrix |
| USB | USB C | USB C |
| Power | USB C 5V LiPo / Li-Ion 3.7V 5V Power via GPIO | 6-24V Input voltage |
| Dimensions | 69.4 x 60.96mm | 68.85 x 53.34mm |
Design of the Maker Uno RP2040
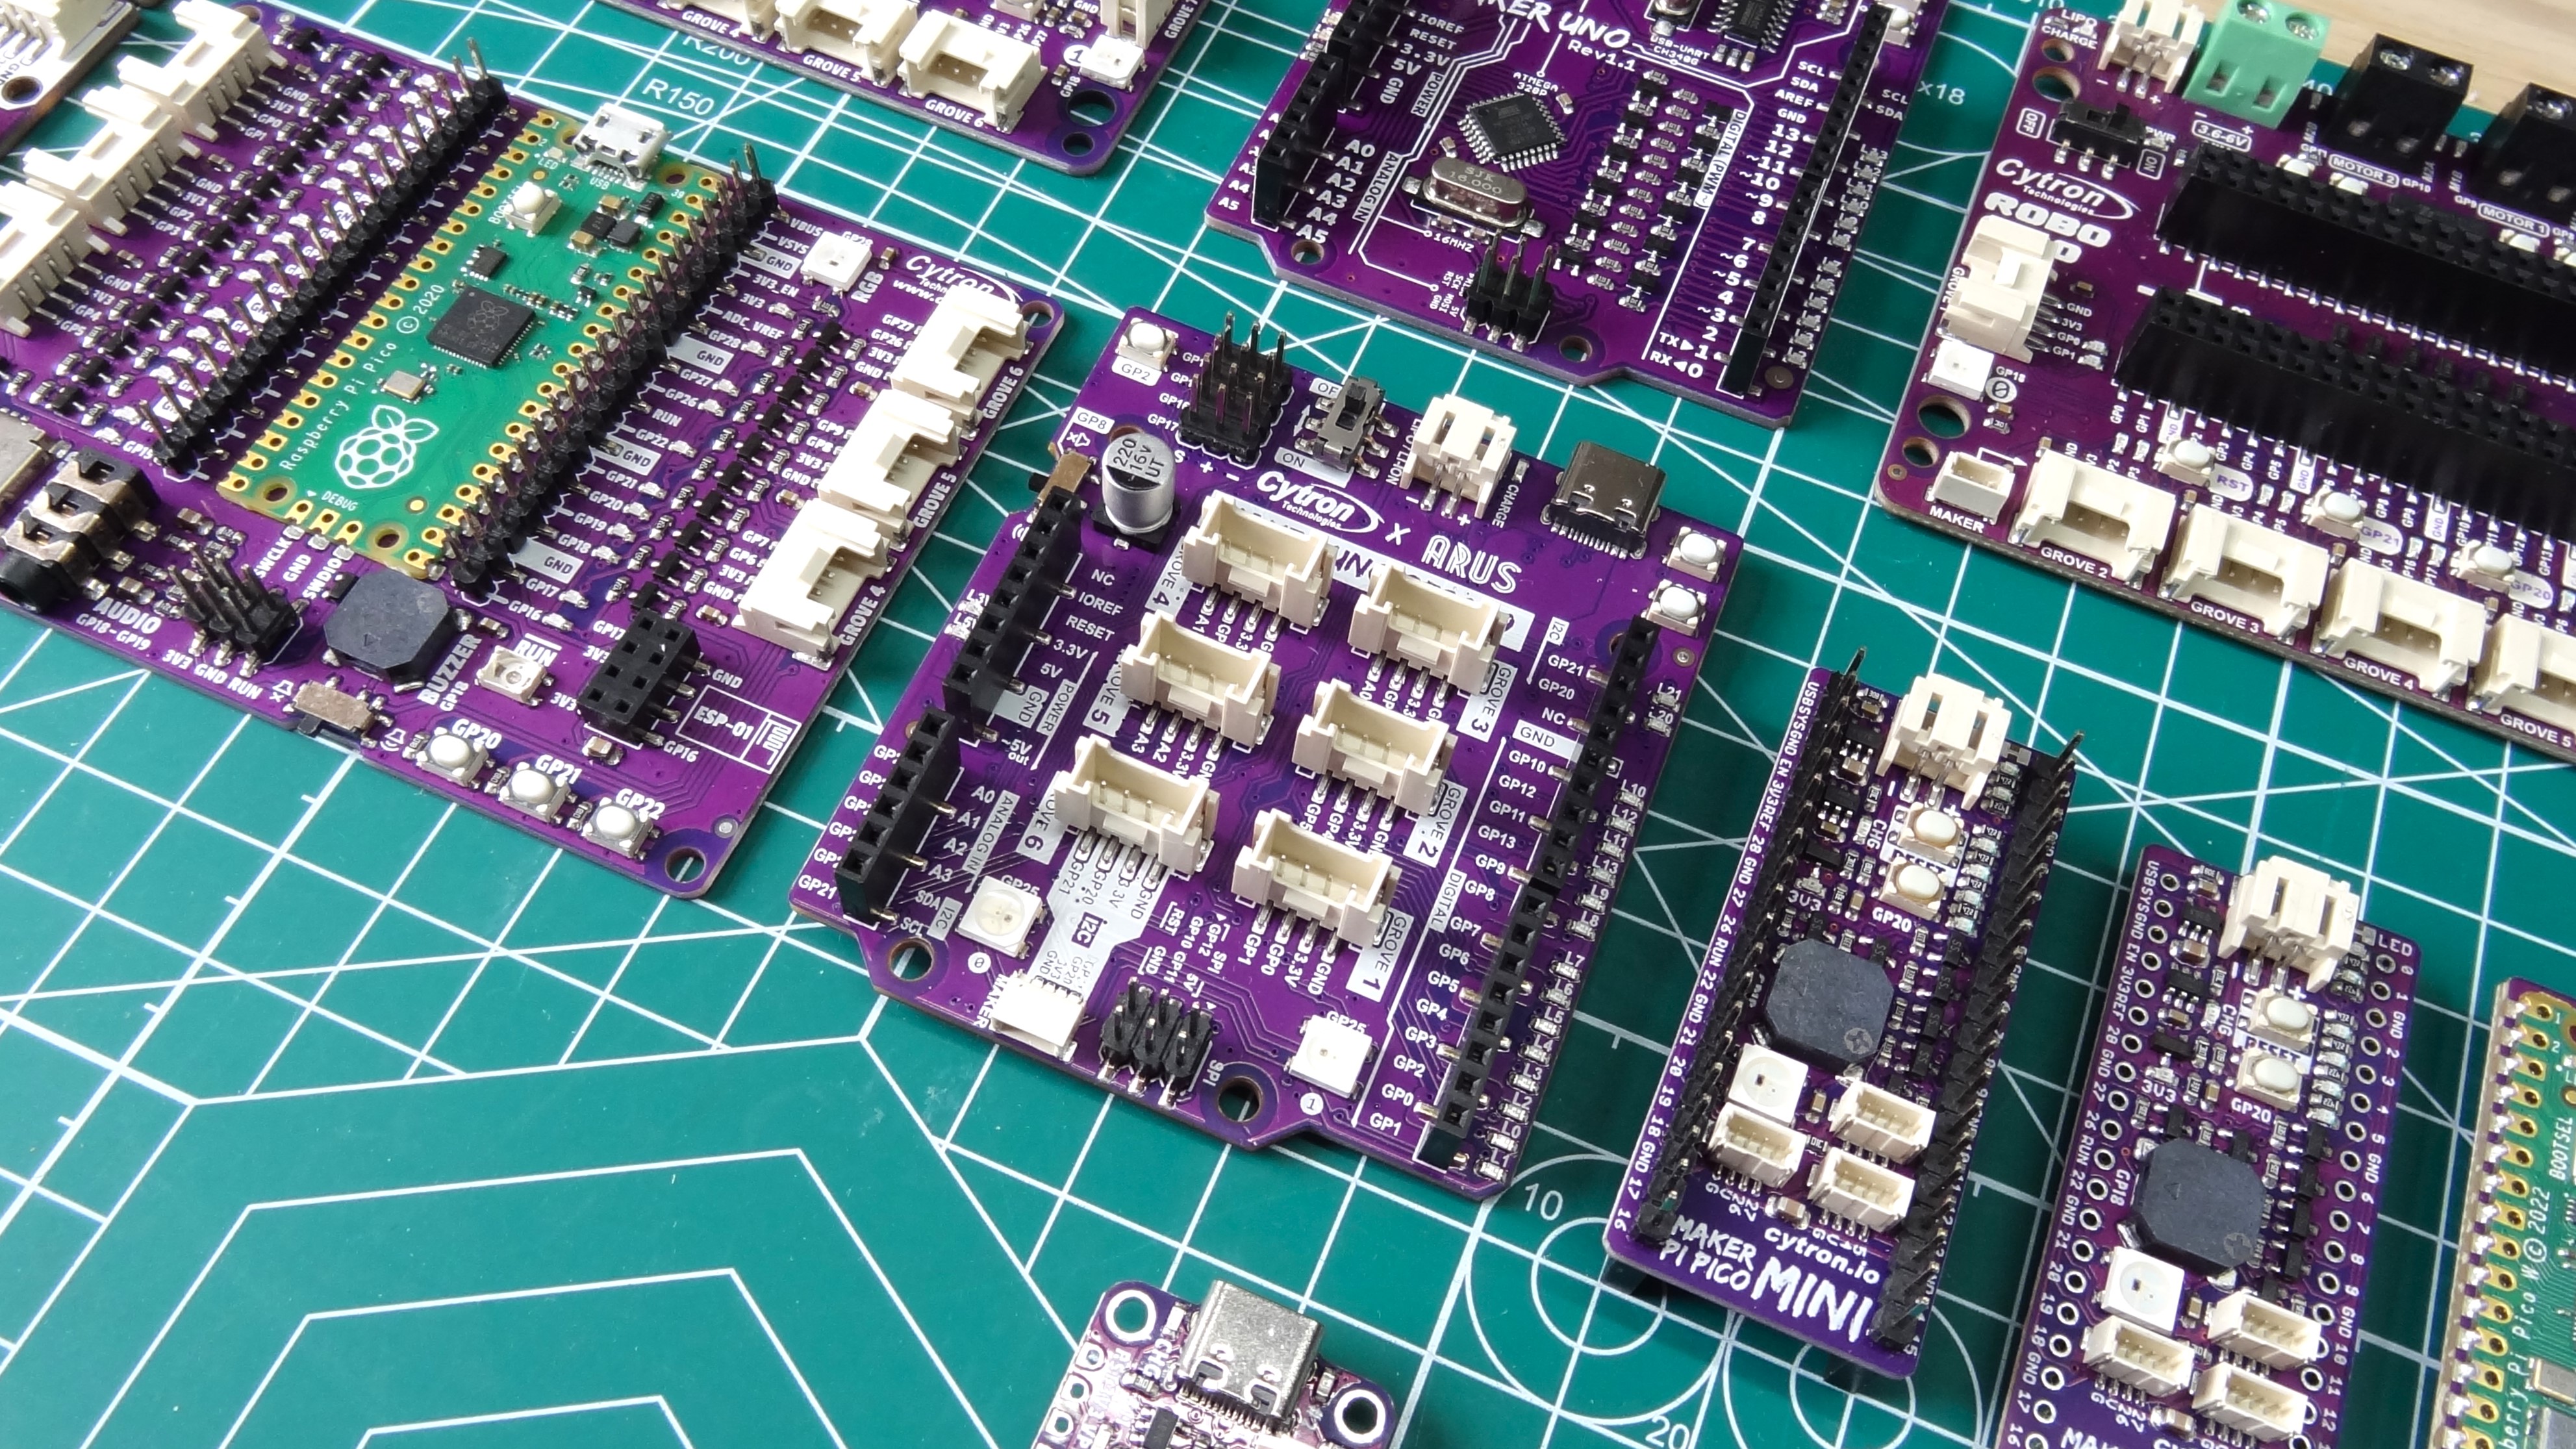
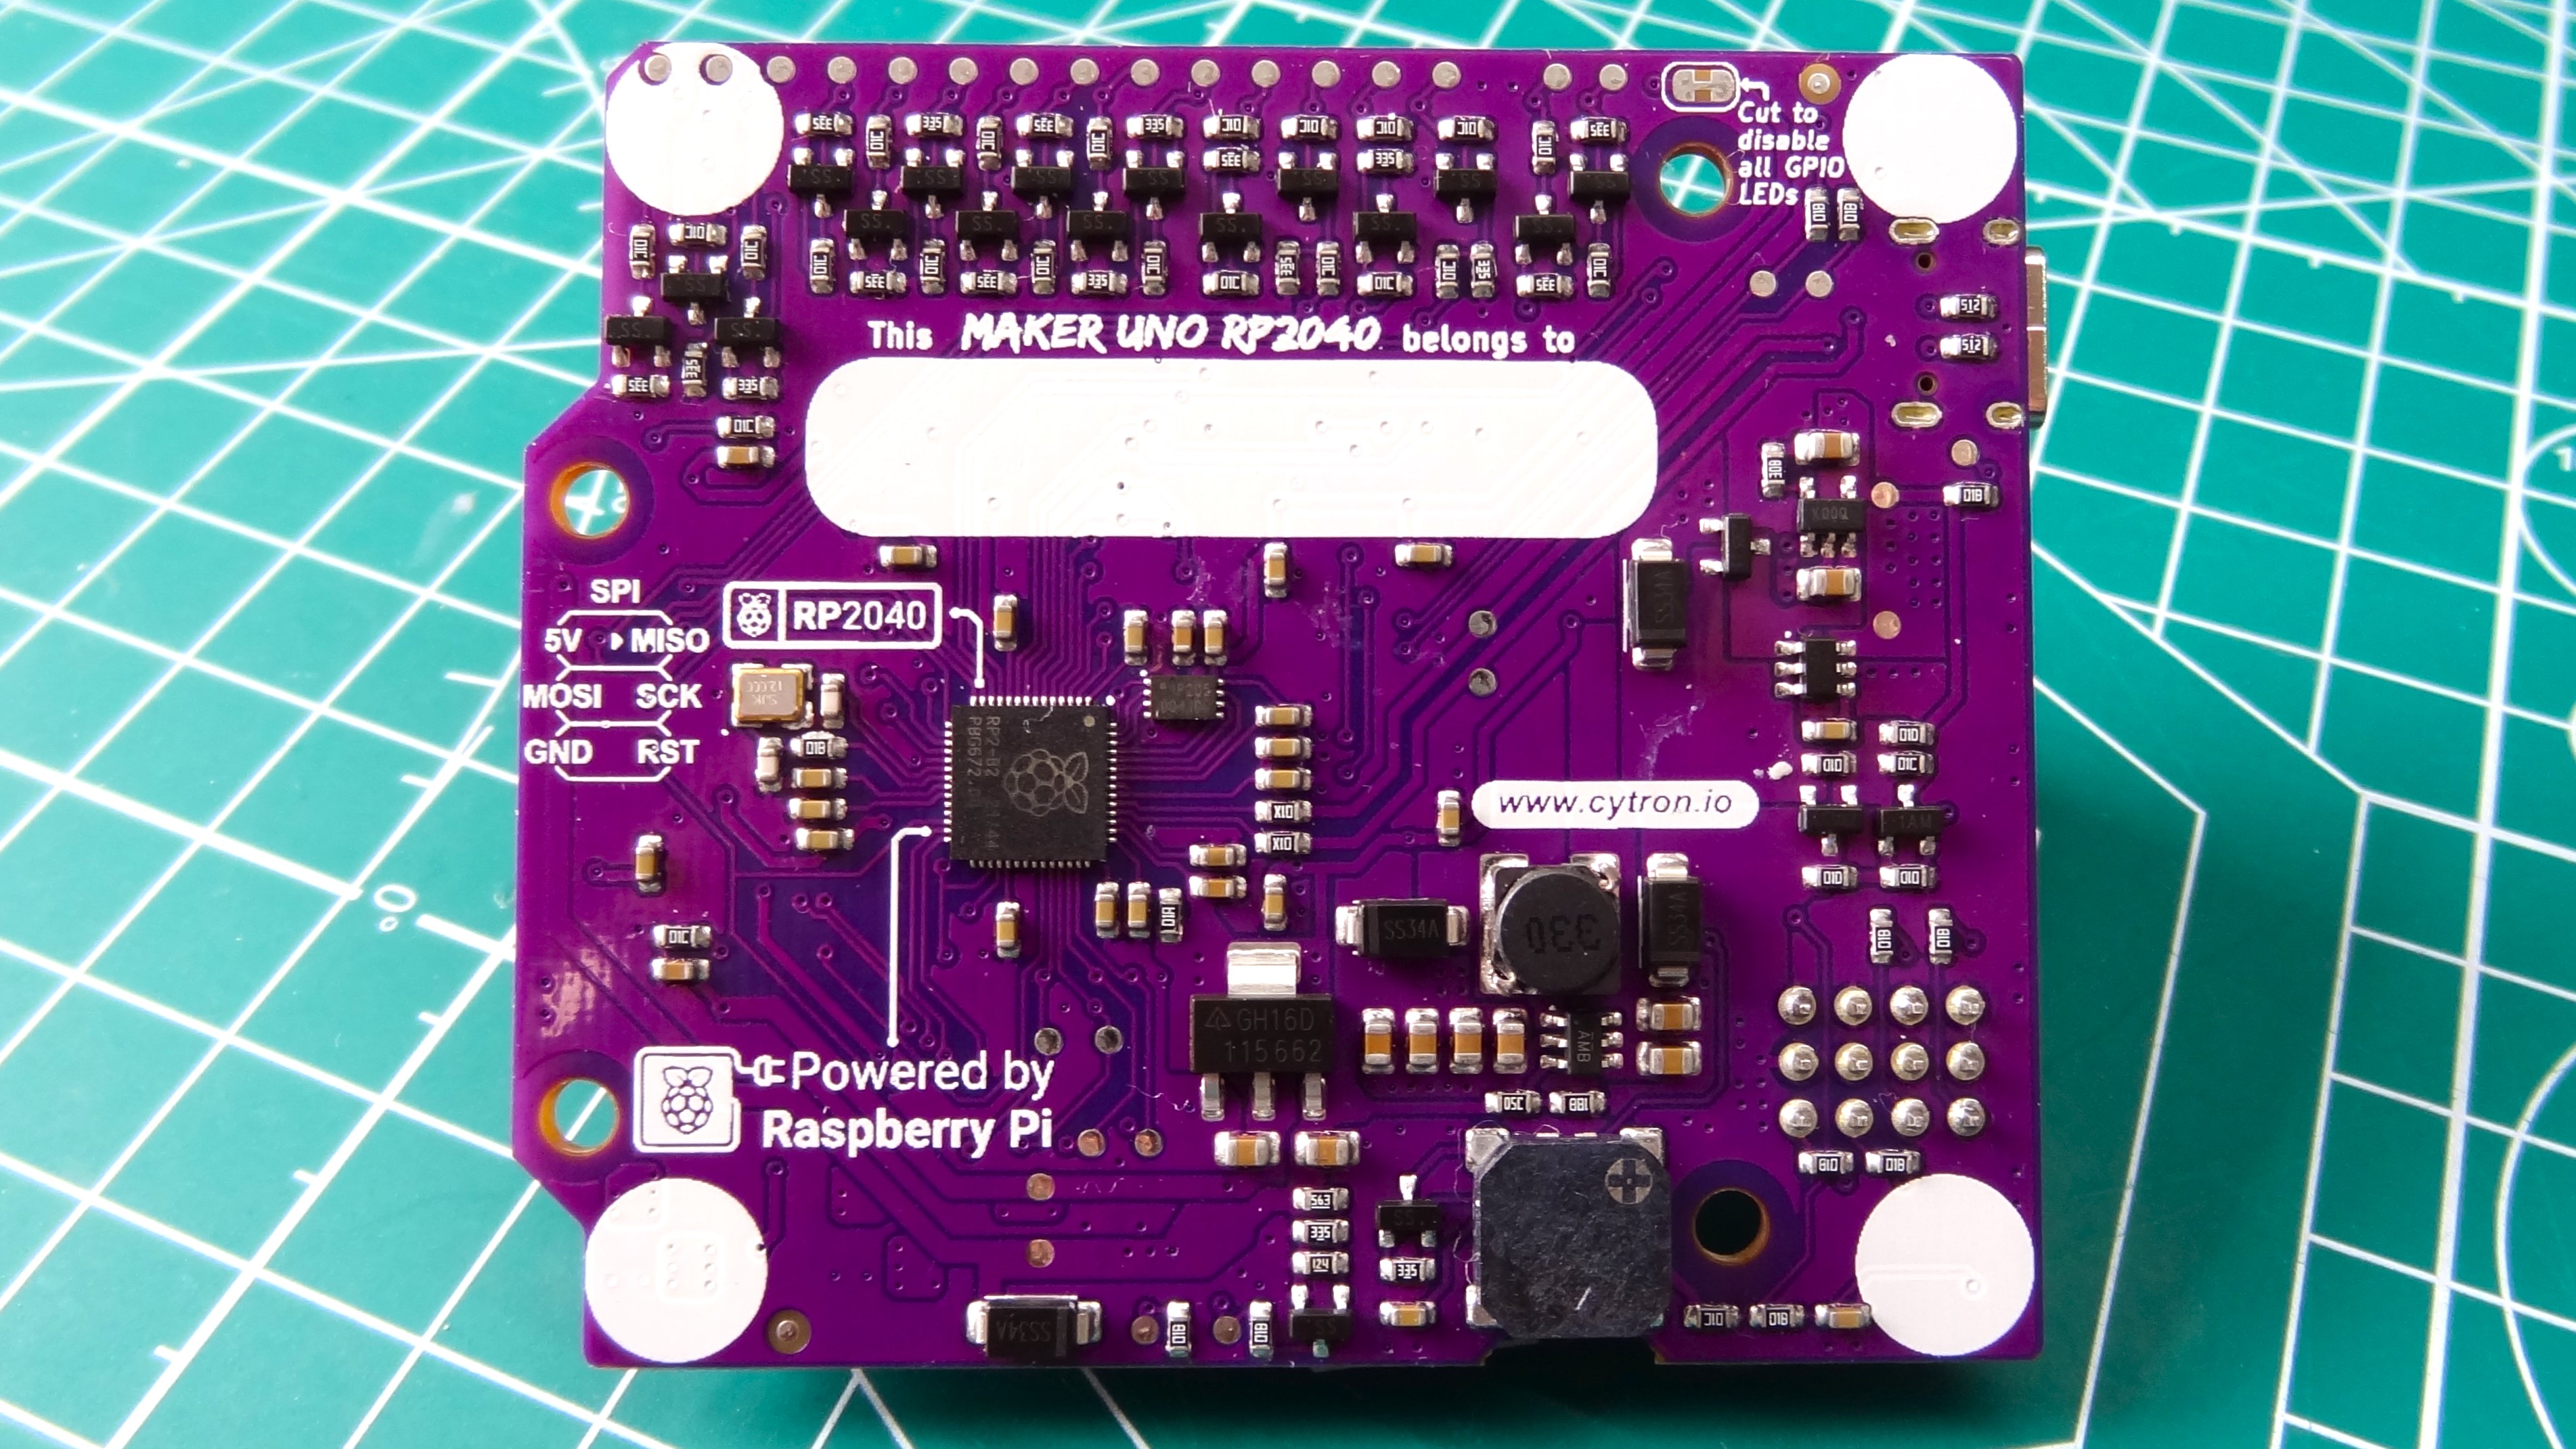
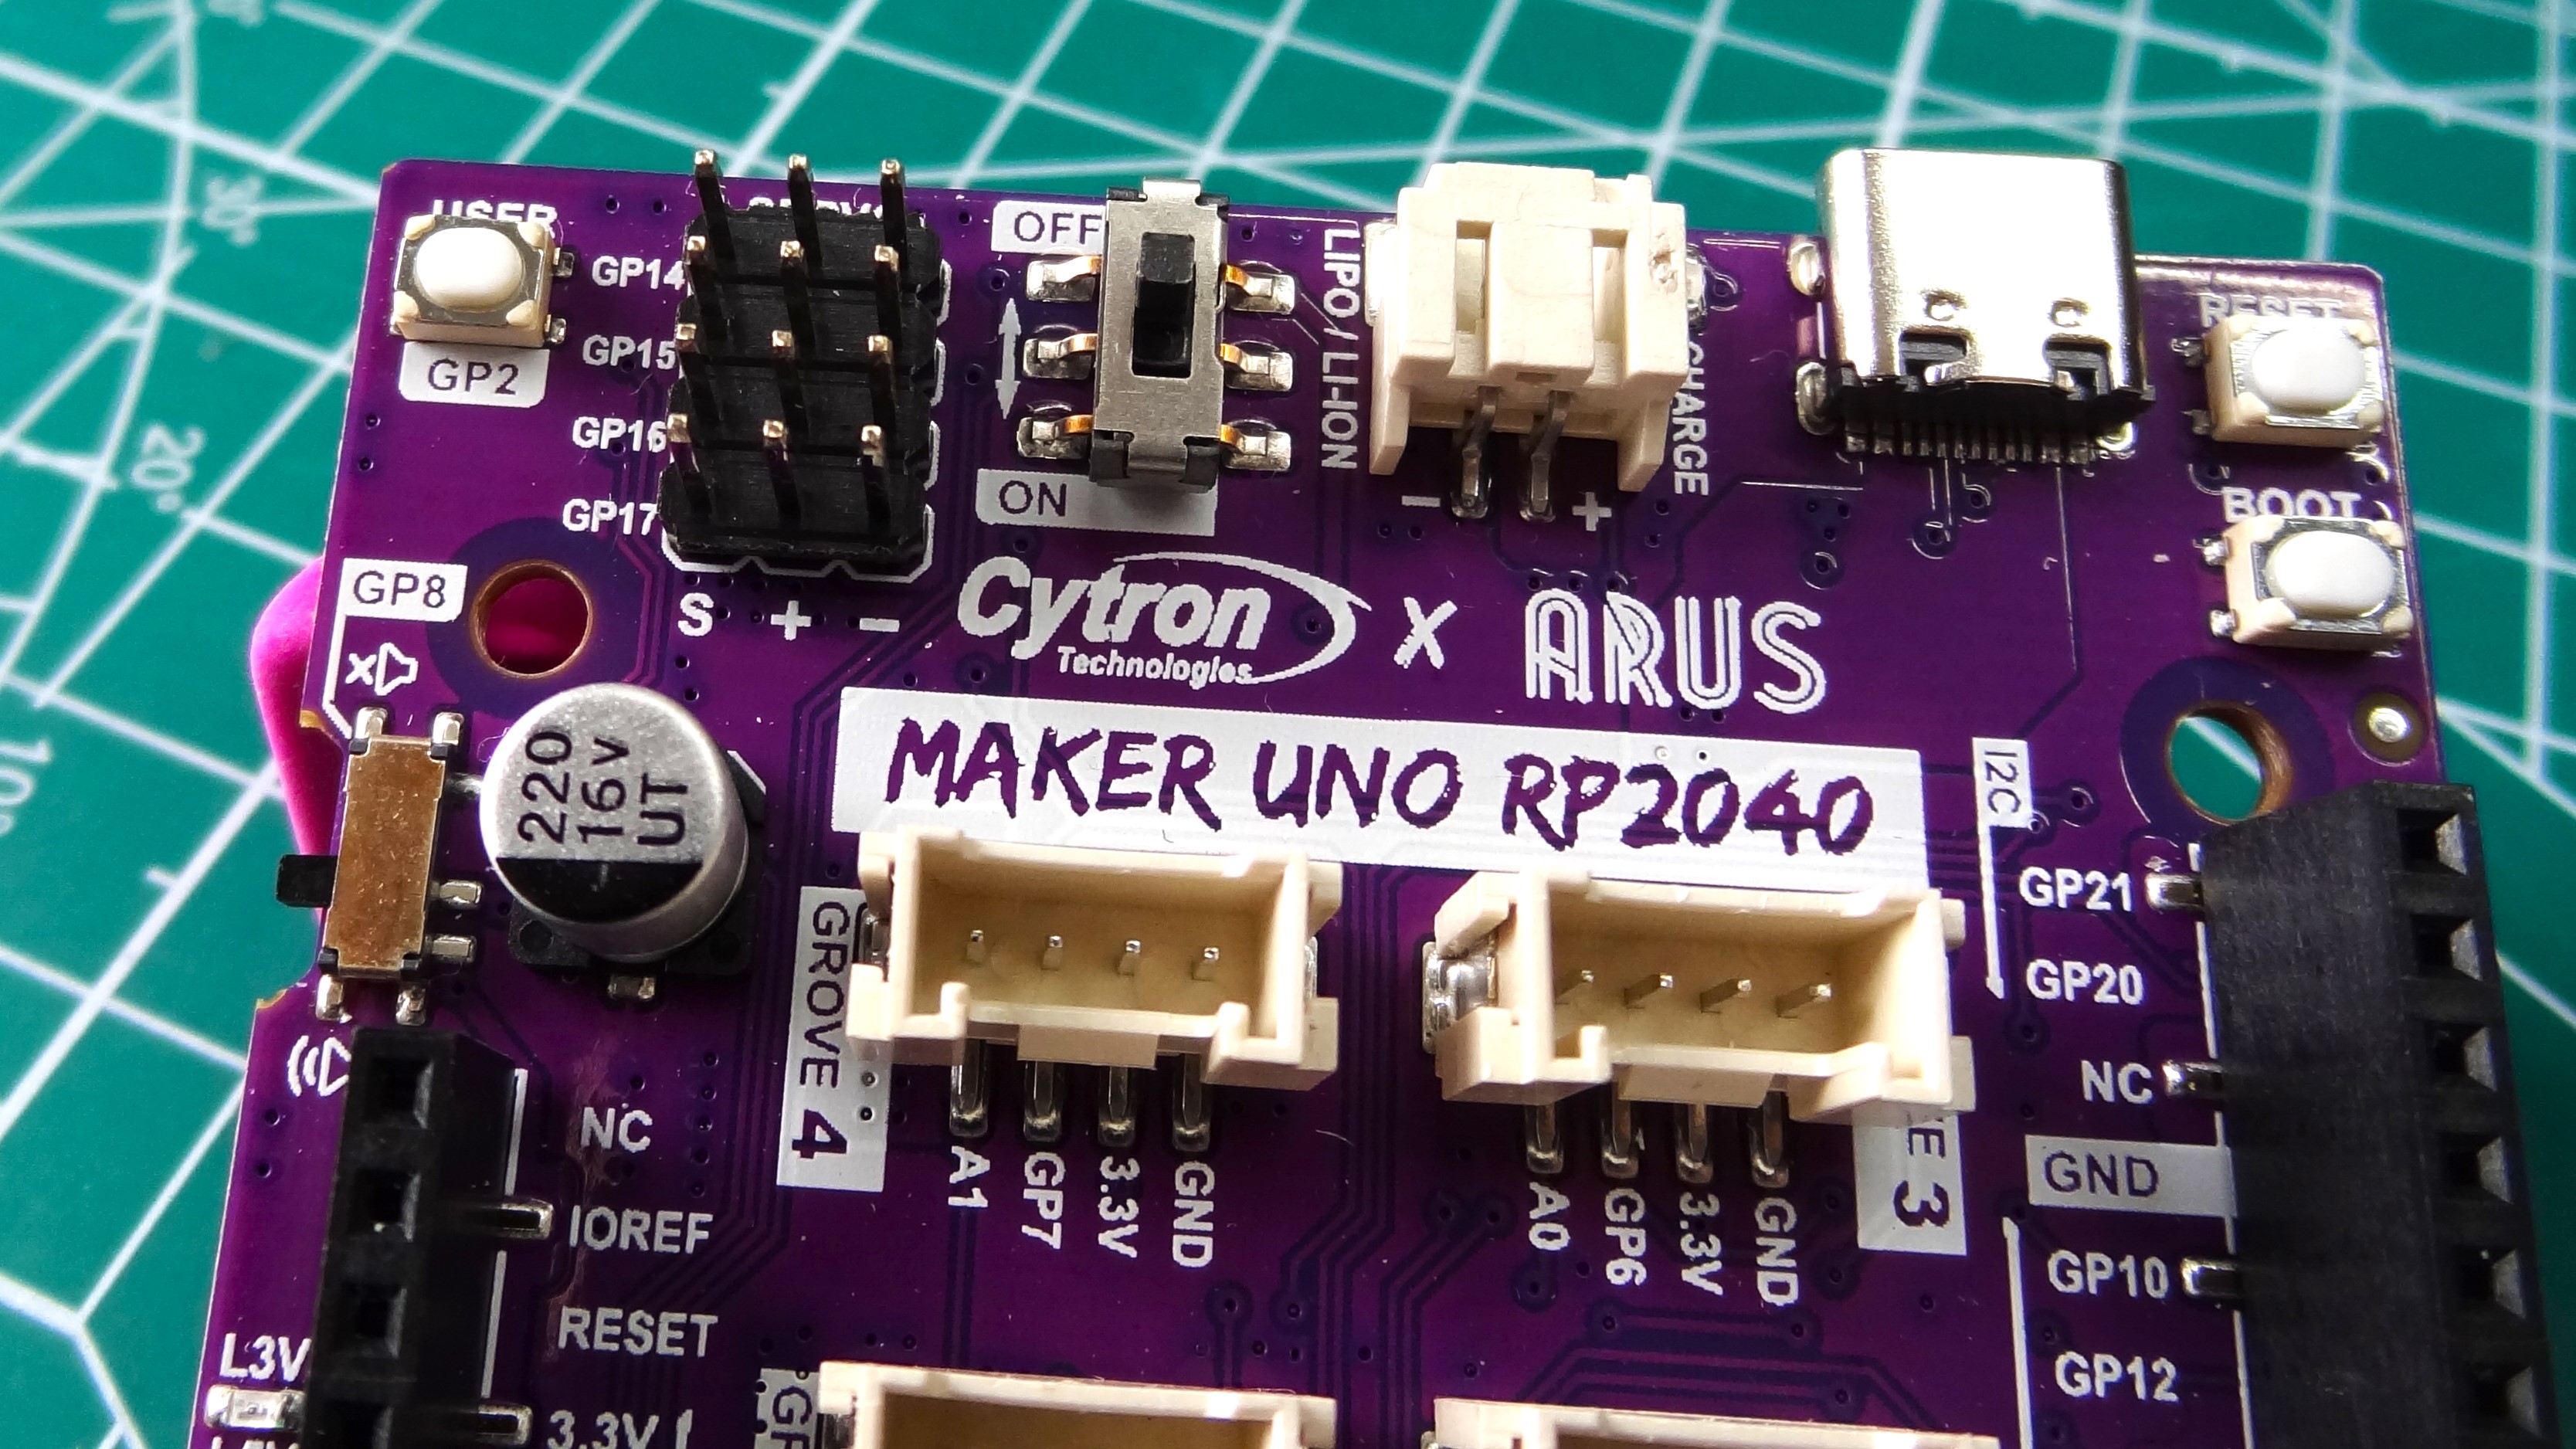
Aping the design of the classic Arduino Uno, the Maker Uno RP2040 is slightly larger than its muse. This is necessary in order to accommodate the extra Grove ports, servo connections, speaker and LiPo / Li-Ion ports. The Maker Uno RP2040 continues Cytron’s legacy of adding LEDs to the GPIO.
From GP1 to GP21, there are 16 GPIO pins with their own blue LEDs. These quickly show that a GPIO pin is active and can be used to debug running code and for learners who want immediate feedback from their code. We’ve used Cytron’s boards with both experienced makers and children, and the LEDs are always helpful.
The purple PCB is a signature of Cytron’s boards and the white silkscreen is clear and legible, making pin identification a breeze. The six Grove ports are located in the center of the board. Surface mount soldered, these ports provide easy access to the GPIO for compatible components.
Grove components use a polarized connector, ideal for fast connections and for learners. Projects can be quickly built without delving too deeply into electronics. We’ve used Grove components to introduce electronics and programming to new learners. They help users “get to grips” with what can be a daunting task. If you need fast connections, Grove and Stemma QT are the way forward. They don’t replace learning the basics of electronics, but they help demystify it.
No Cytron board is complete without the obligatory RGB LEDs and buzzer. The buzzer is loud enough to be annoying but it has clarity to produce all of the basic tones. The RGB LEDs are WS2812B “NeoPixels” and it didn’t take us long to write some basic code to make them flash.
Get Tom's Hardware's best news and in-depth reviews, straight to your inbox.
The onboard LiPo / Li-Ion battery connector provides a means to power your project, and we can also charge the battery via the USB C power input. We connected a 2000mAh LiPo battery to the Maker Uno RP2040 and it charged quite happily, even when the board was in use. LiPo charging rates vary depending on where they are in the charging cycle, but we saw a constant 600mA during the main part of the charge cycle. Dropping to 300mA when it entered the final part of the cycle.
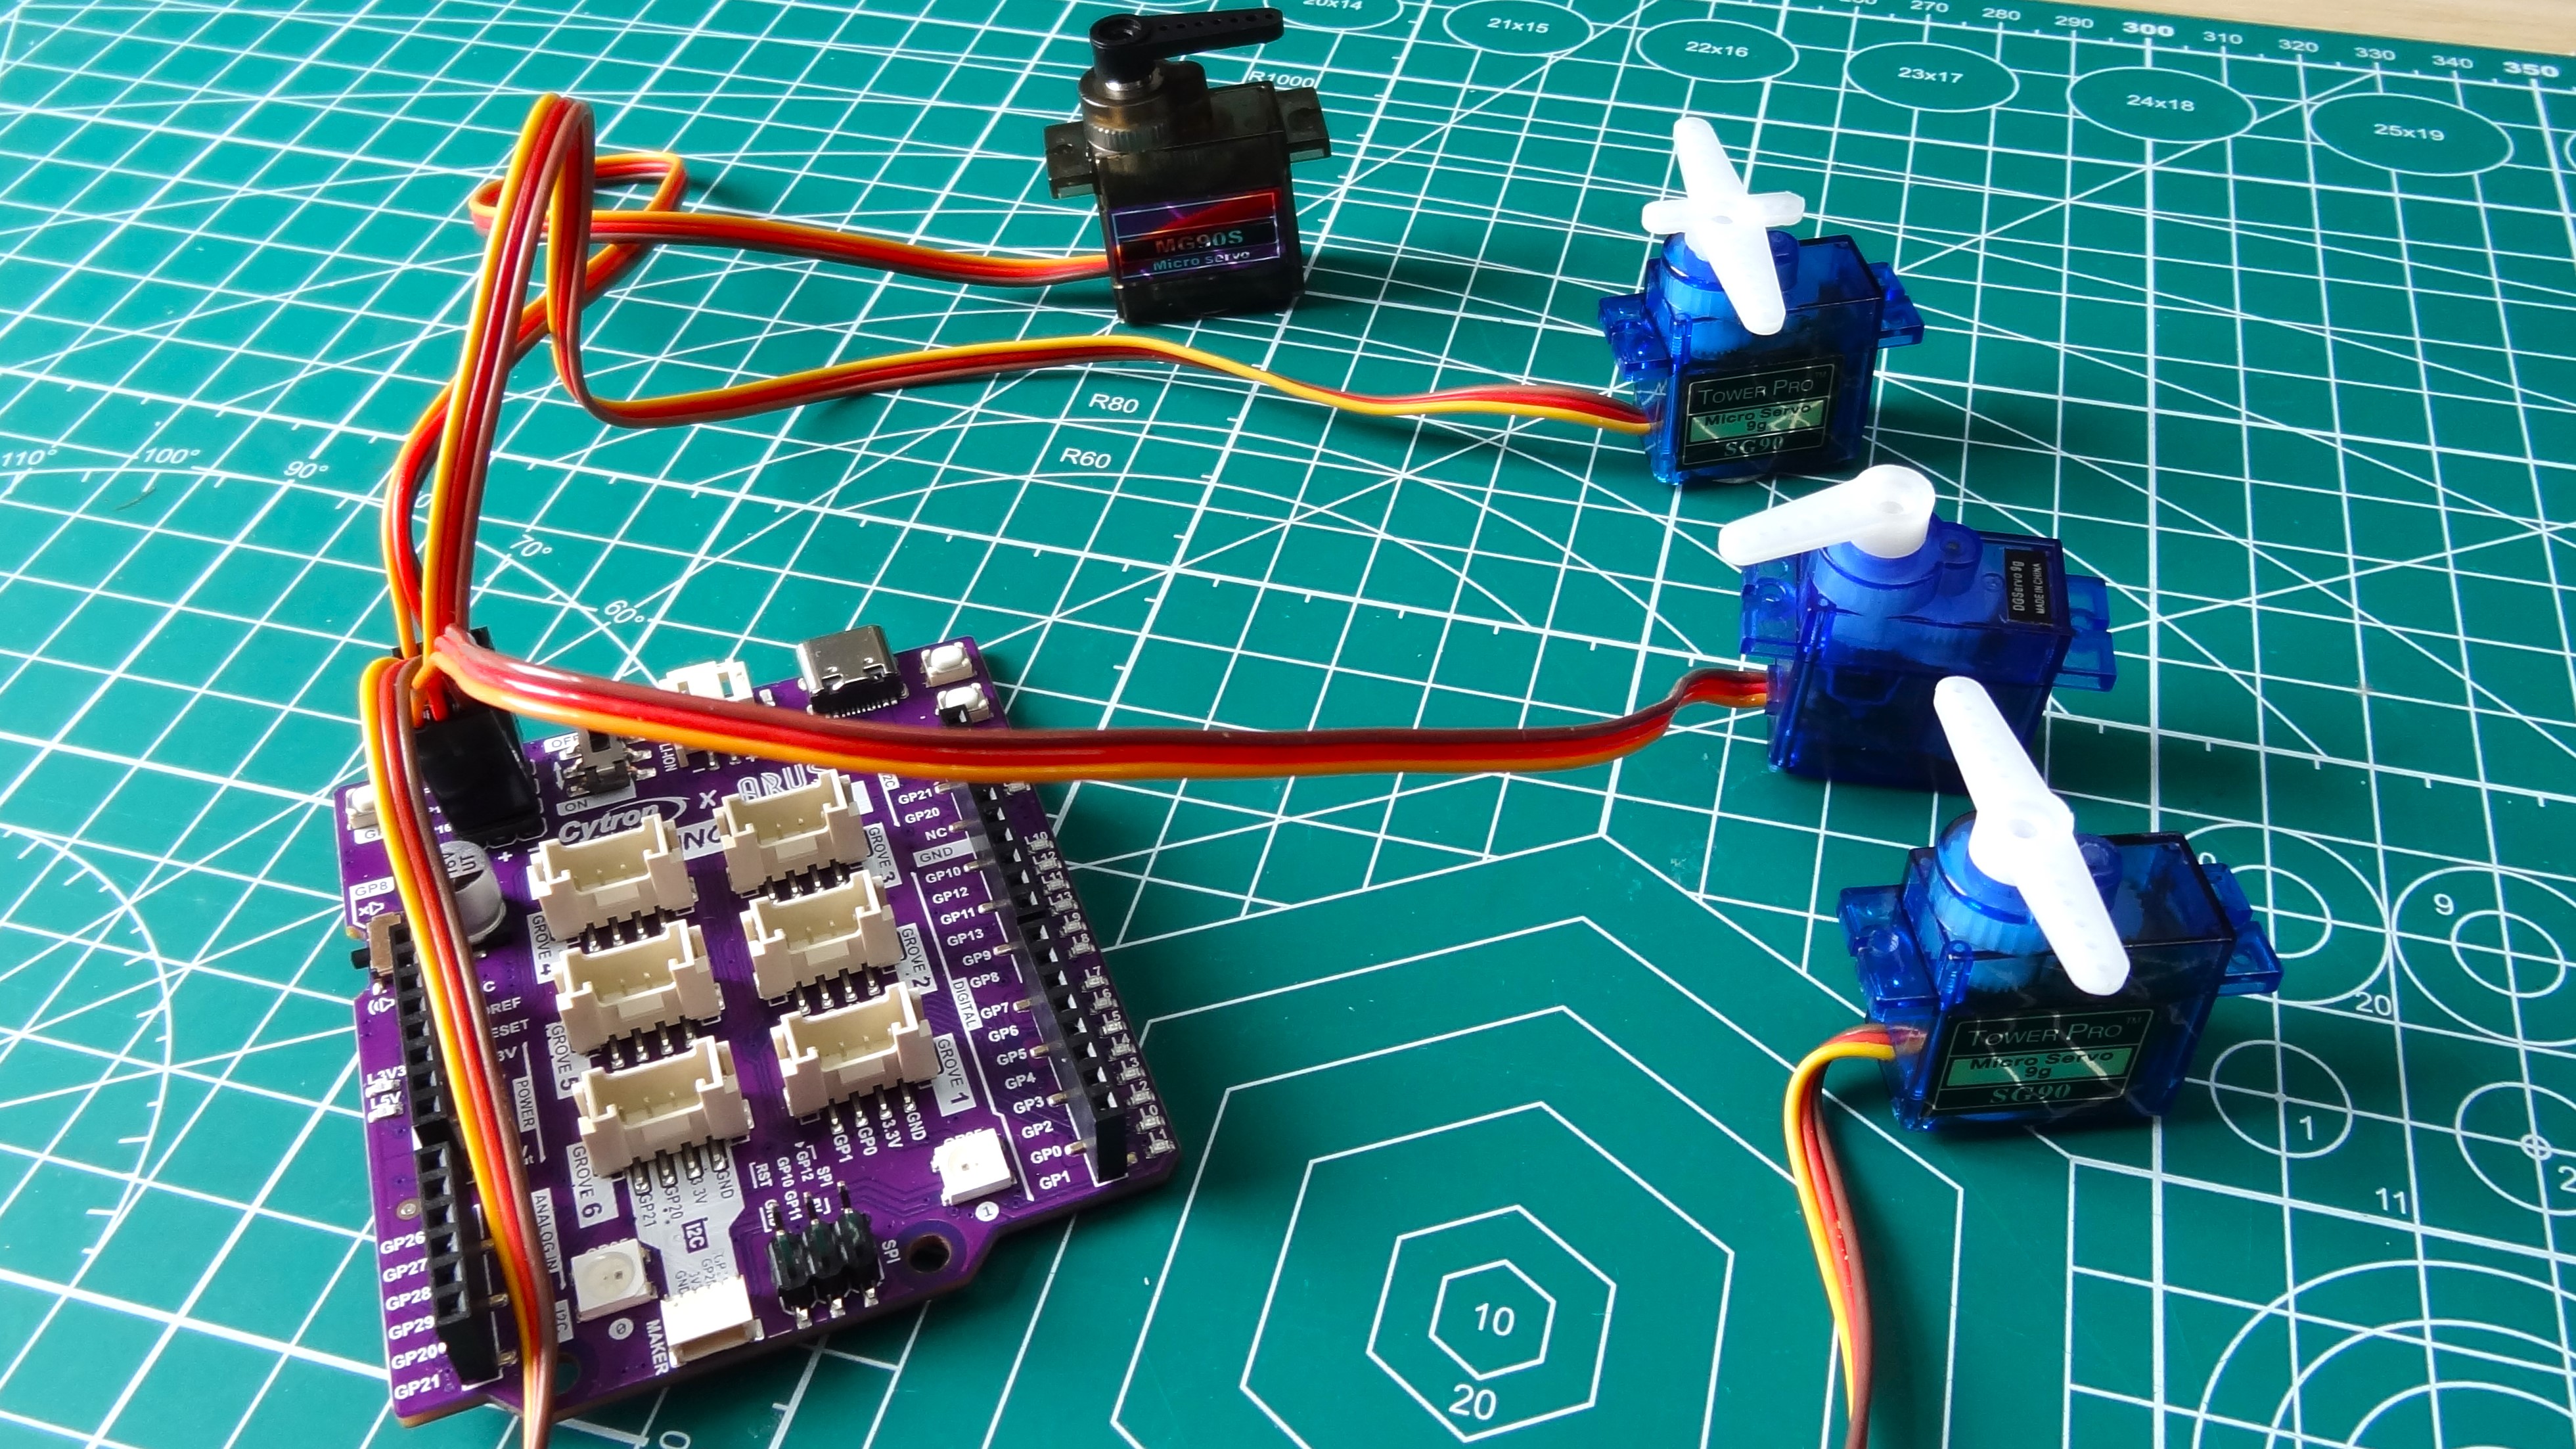
The final part of the board are the four servo pins which follow the SVG (Signal, Voltage, GND) pinout found on most servos. Controlling these servos is a simple matter of using PWM to set the angle.
Using the Maker Uno RP2040
Using the Maker Uno RP2040 is as easy as using a standard Raspberry Pi Pico. In fact it is a little easier as the board comes pre-flashed with CircuitPython and a quick demo script. The demo script shows off every function on the board, at once! It also plays a decent 8-bit rendition linked to our favorite plumber. The RGB WS2812B LEDs, while only small, lit the room up with a rotating pattern of color changes as the music played. The GPIO LEDs danced as we pressed the user button. Servos danced to the tune. Quite the demo!
Because it is an RP2040, we can of course flash any compatible programming language that we wish. MicroPython is the usual go to for RP2040s, but you can also write code using the Arduino IDE.
Cytron has included a quick start guide covering how to do this. The benefit of using Arduino code over Python is speed. Code is compiled and flashed to the RP2040 via the Arduino IDE. Micro / Circuit Python compiles on the fly. Honestly, unless we are making something mission critical, stick with a version of Python.
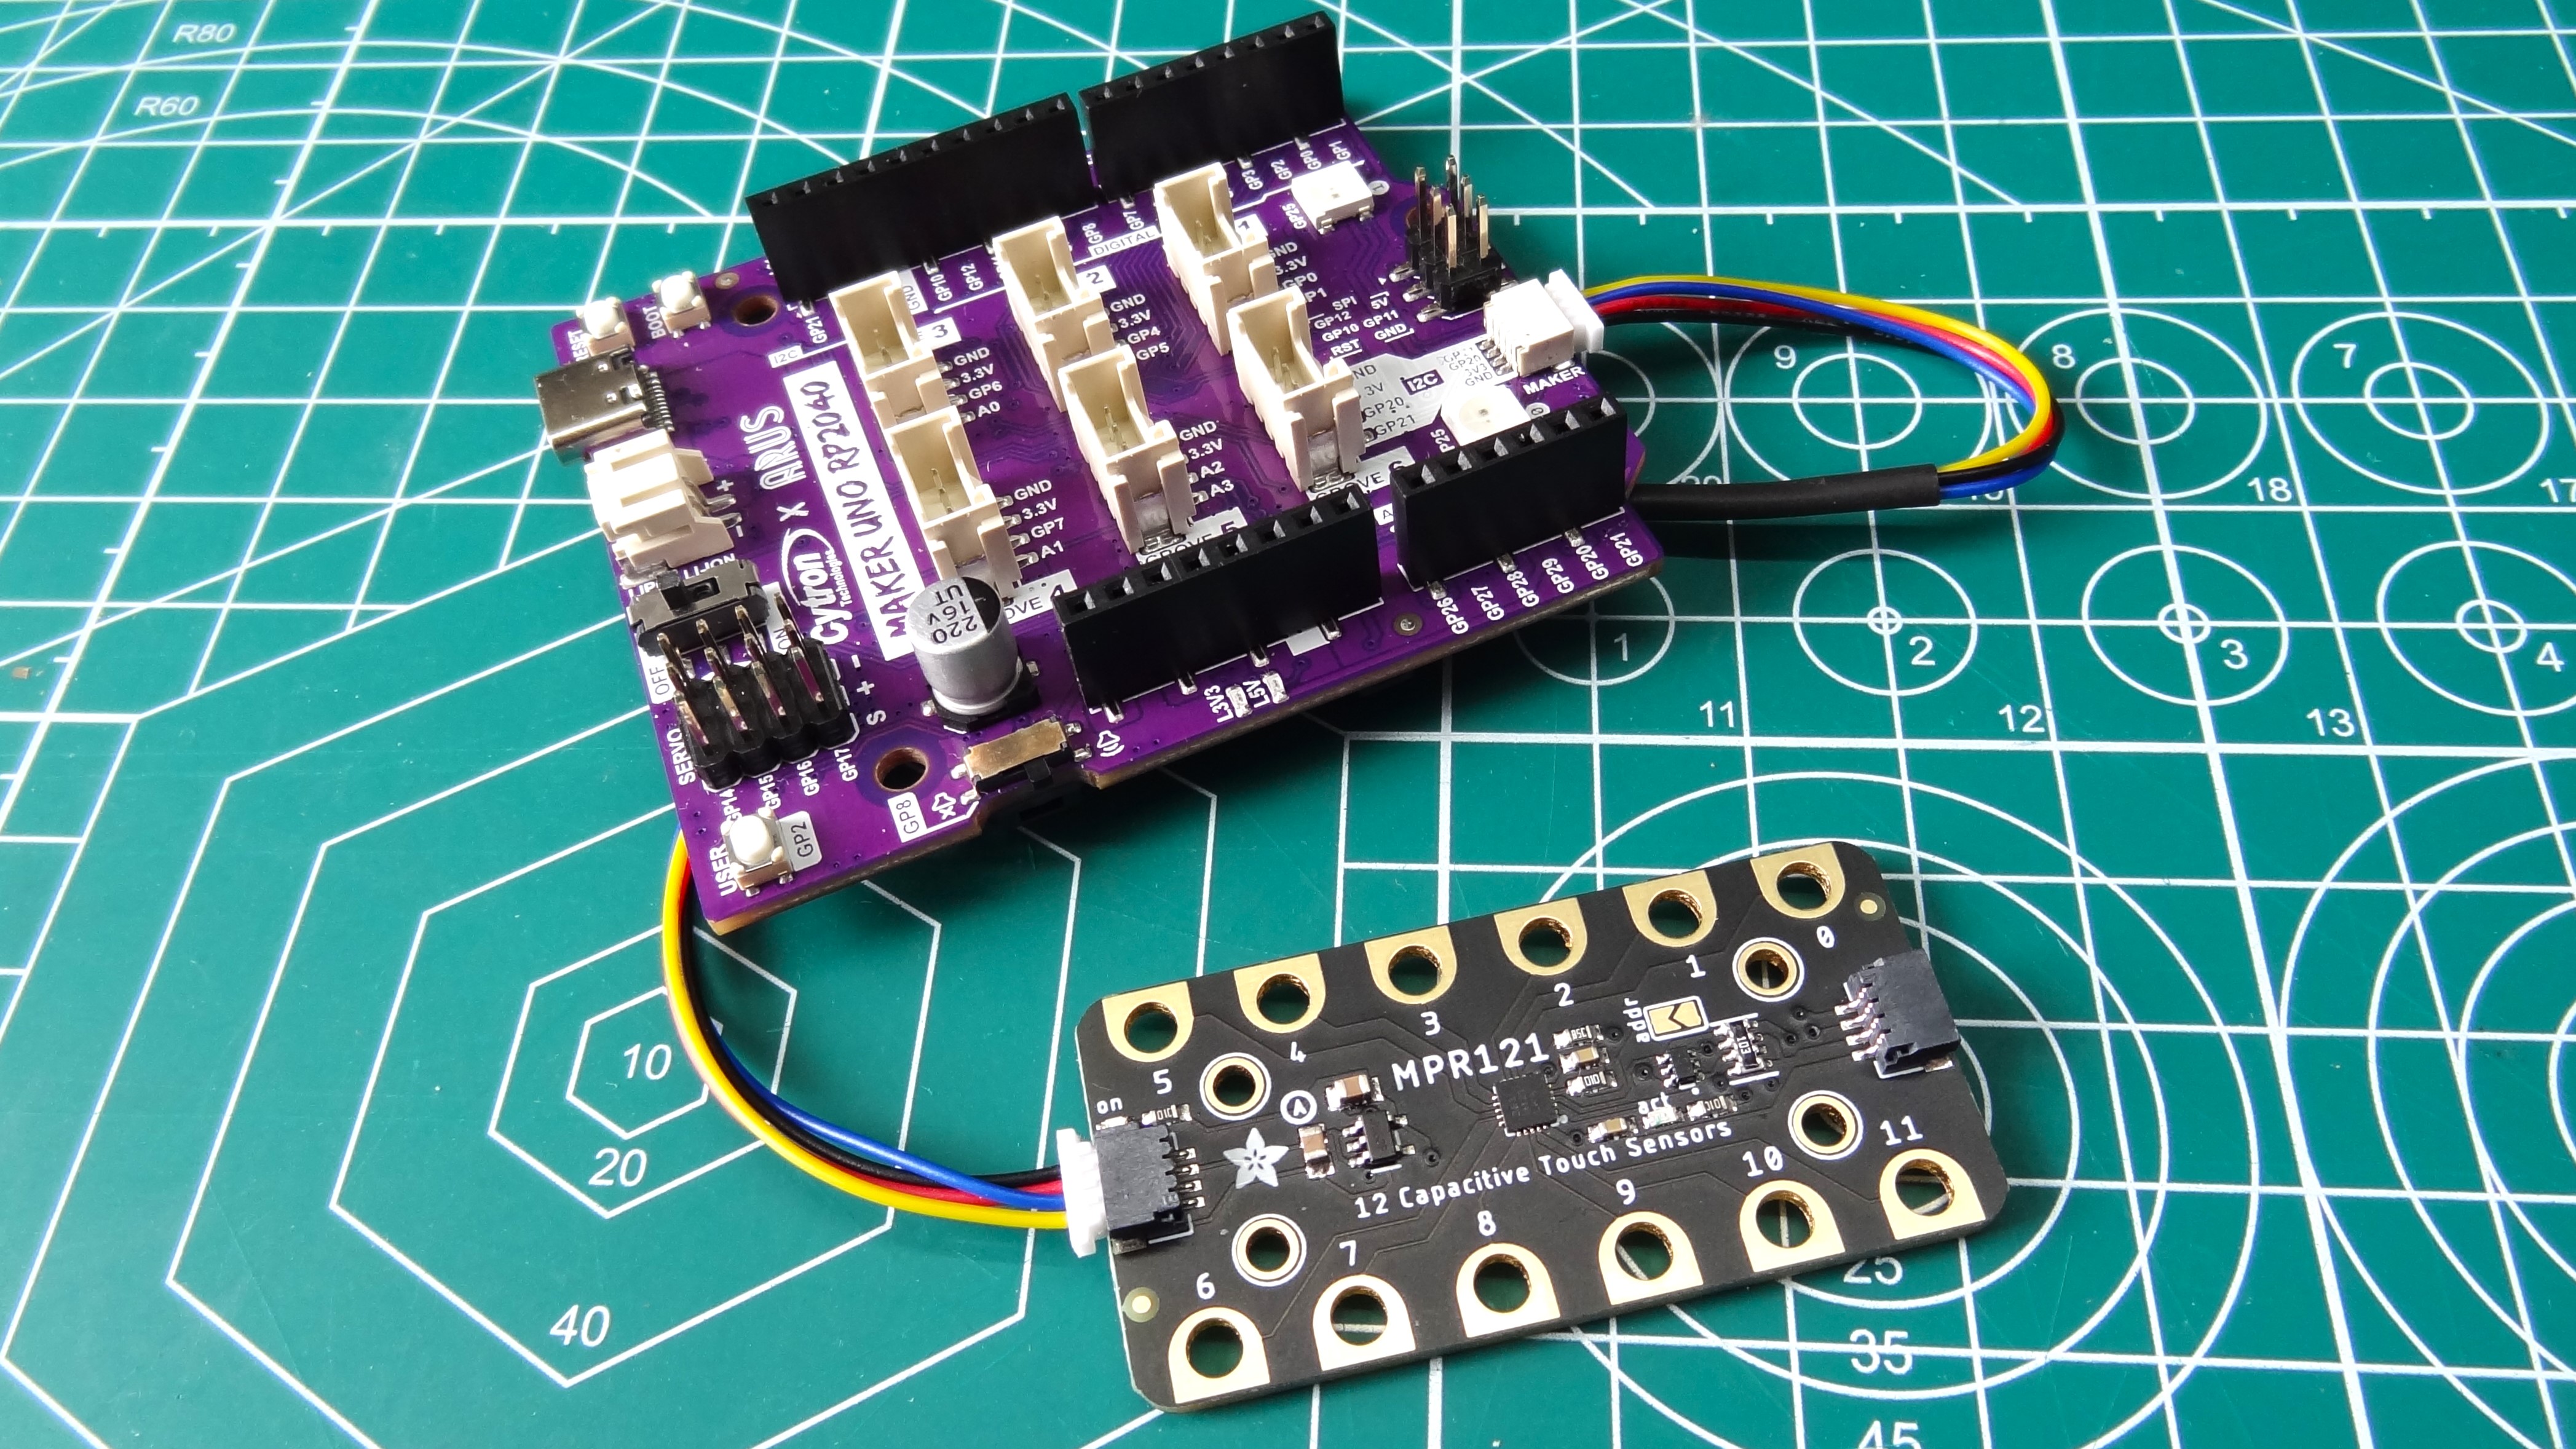
We flashed the latest CircuitPython release to the board. This wasn’t a necessity, but it was available and offered full support. After that, we dug into our box of bits and concocted a quick demo of our own. First, to test the Stemma QT interface, we connected an MPR121 touch input board. Borrowing a few lines from Adafruit’s fabulous code libraries we quickly had a piano. All that was needed was a quick pin reference swap for the onboard speaker. Then we had a new instrument to inflict sonic damage!
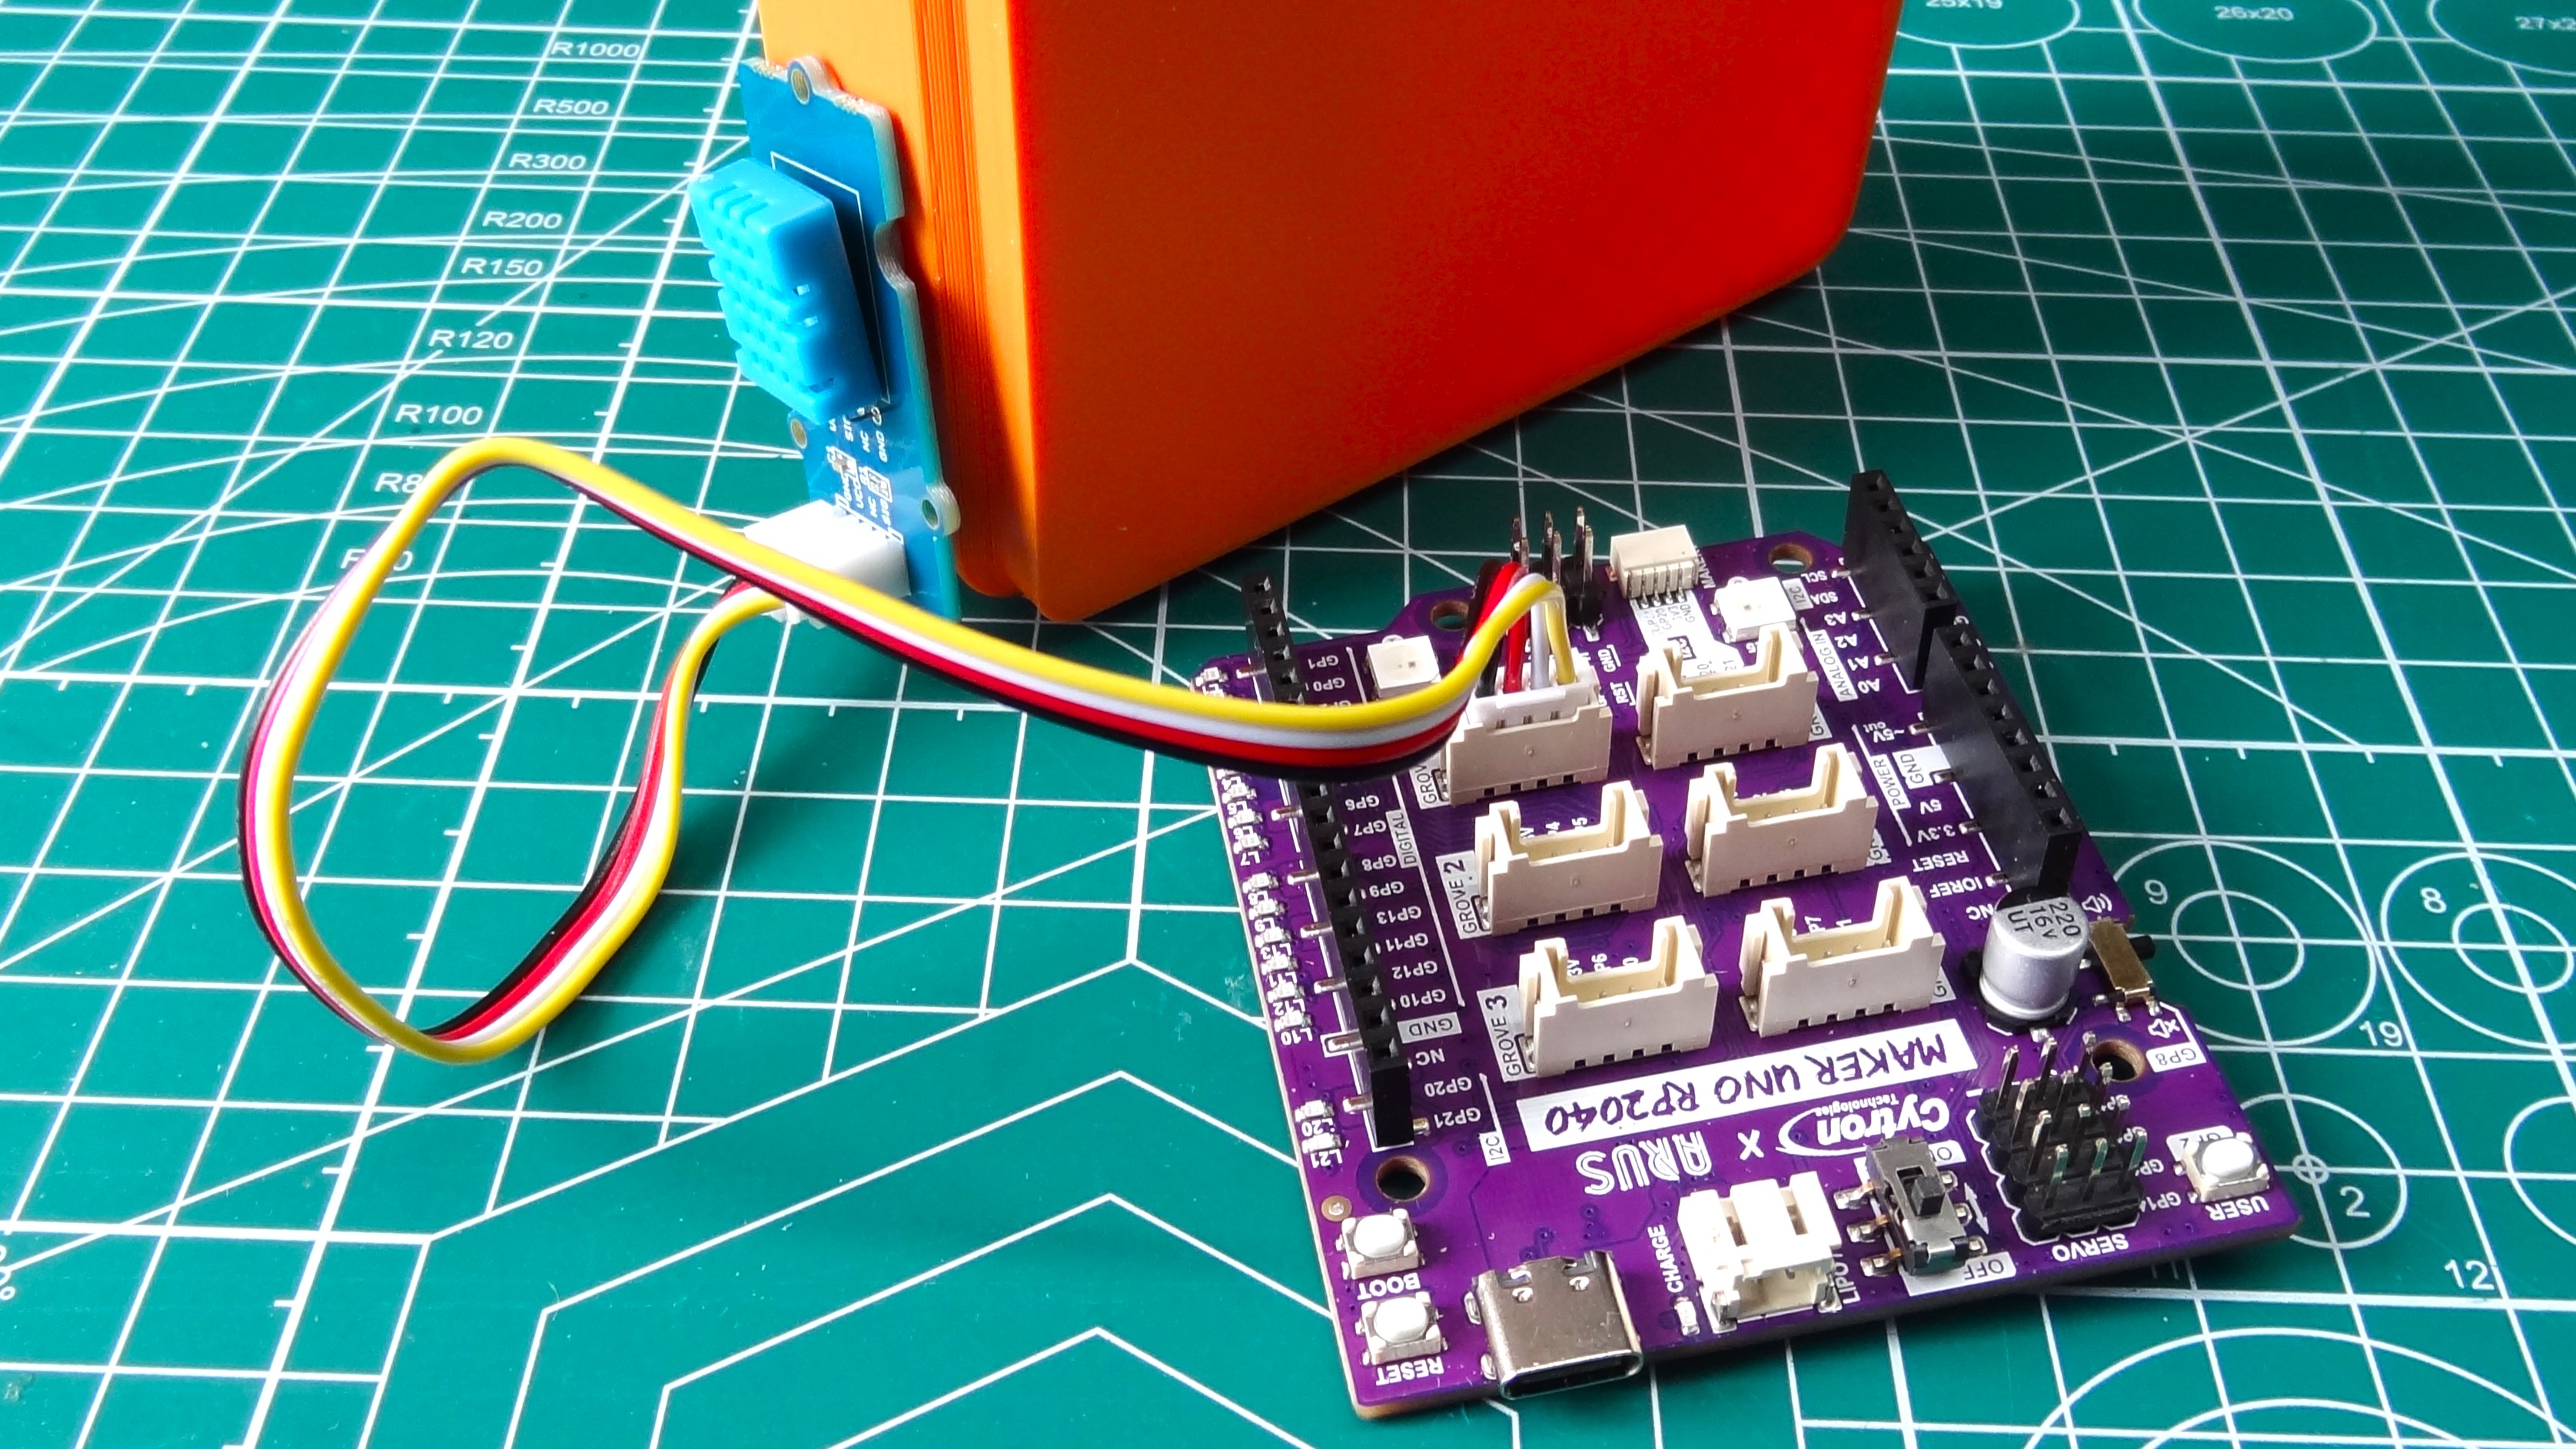
Next we connected up a DHT11 temperature sensor via the Grove connector. A few more lines of borrowed code and we had a reliable temperature sensor for hobby projects.
Making typical GPIO connections is easy using the female headers. These are designed to replicate the Arduino Uno pinout and work really well, but there is one elephant in the room.
Using Arduino Shield with Maker Uno RP2040
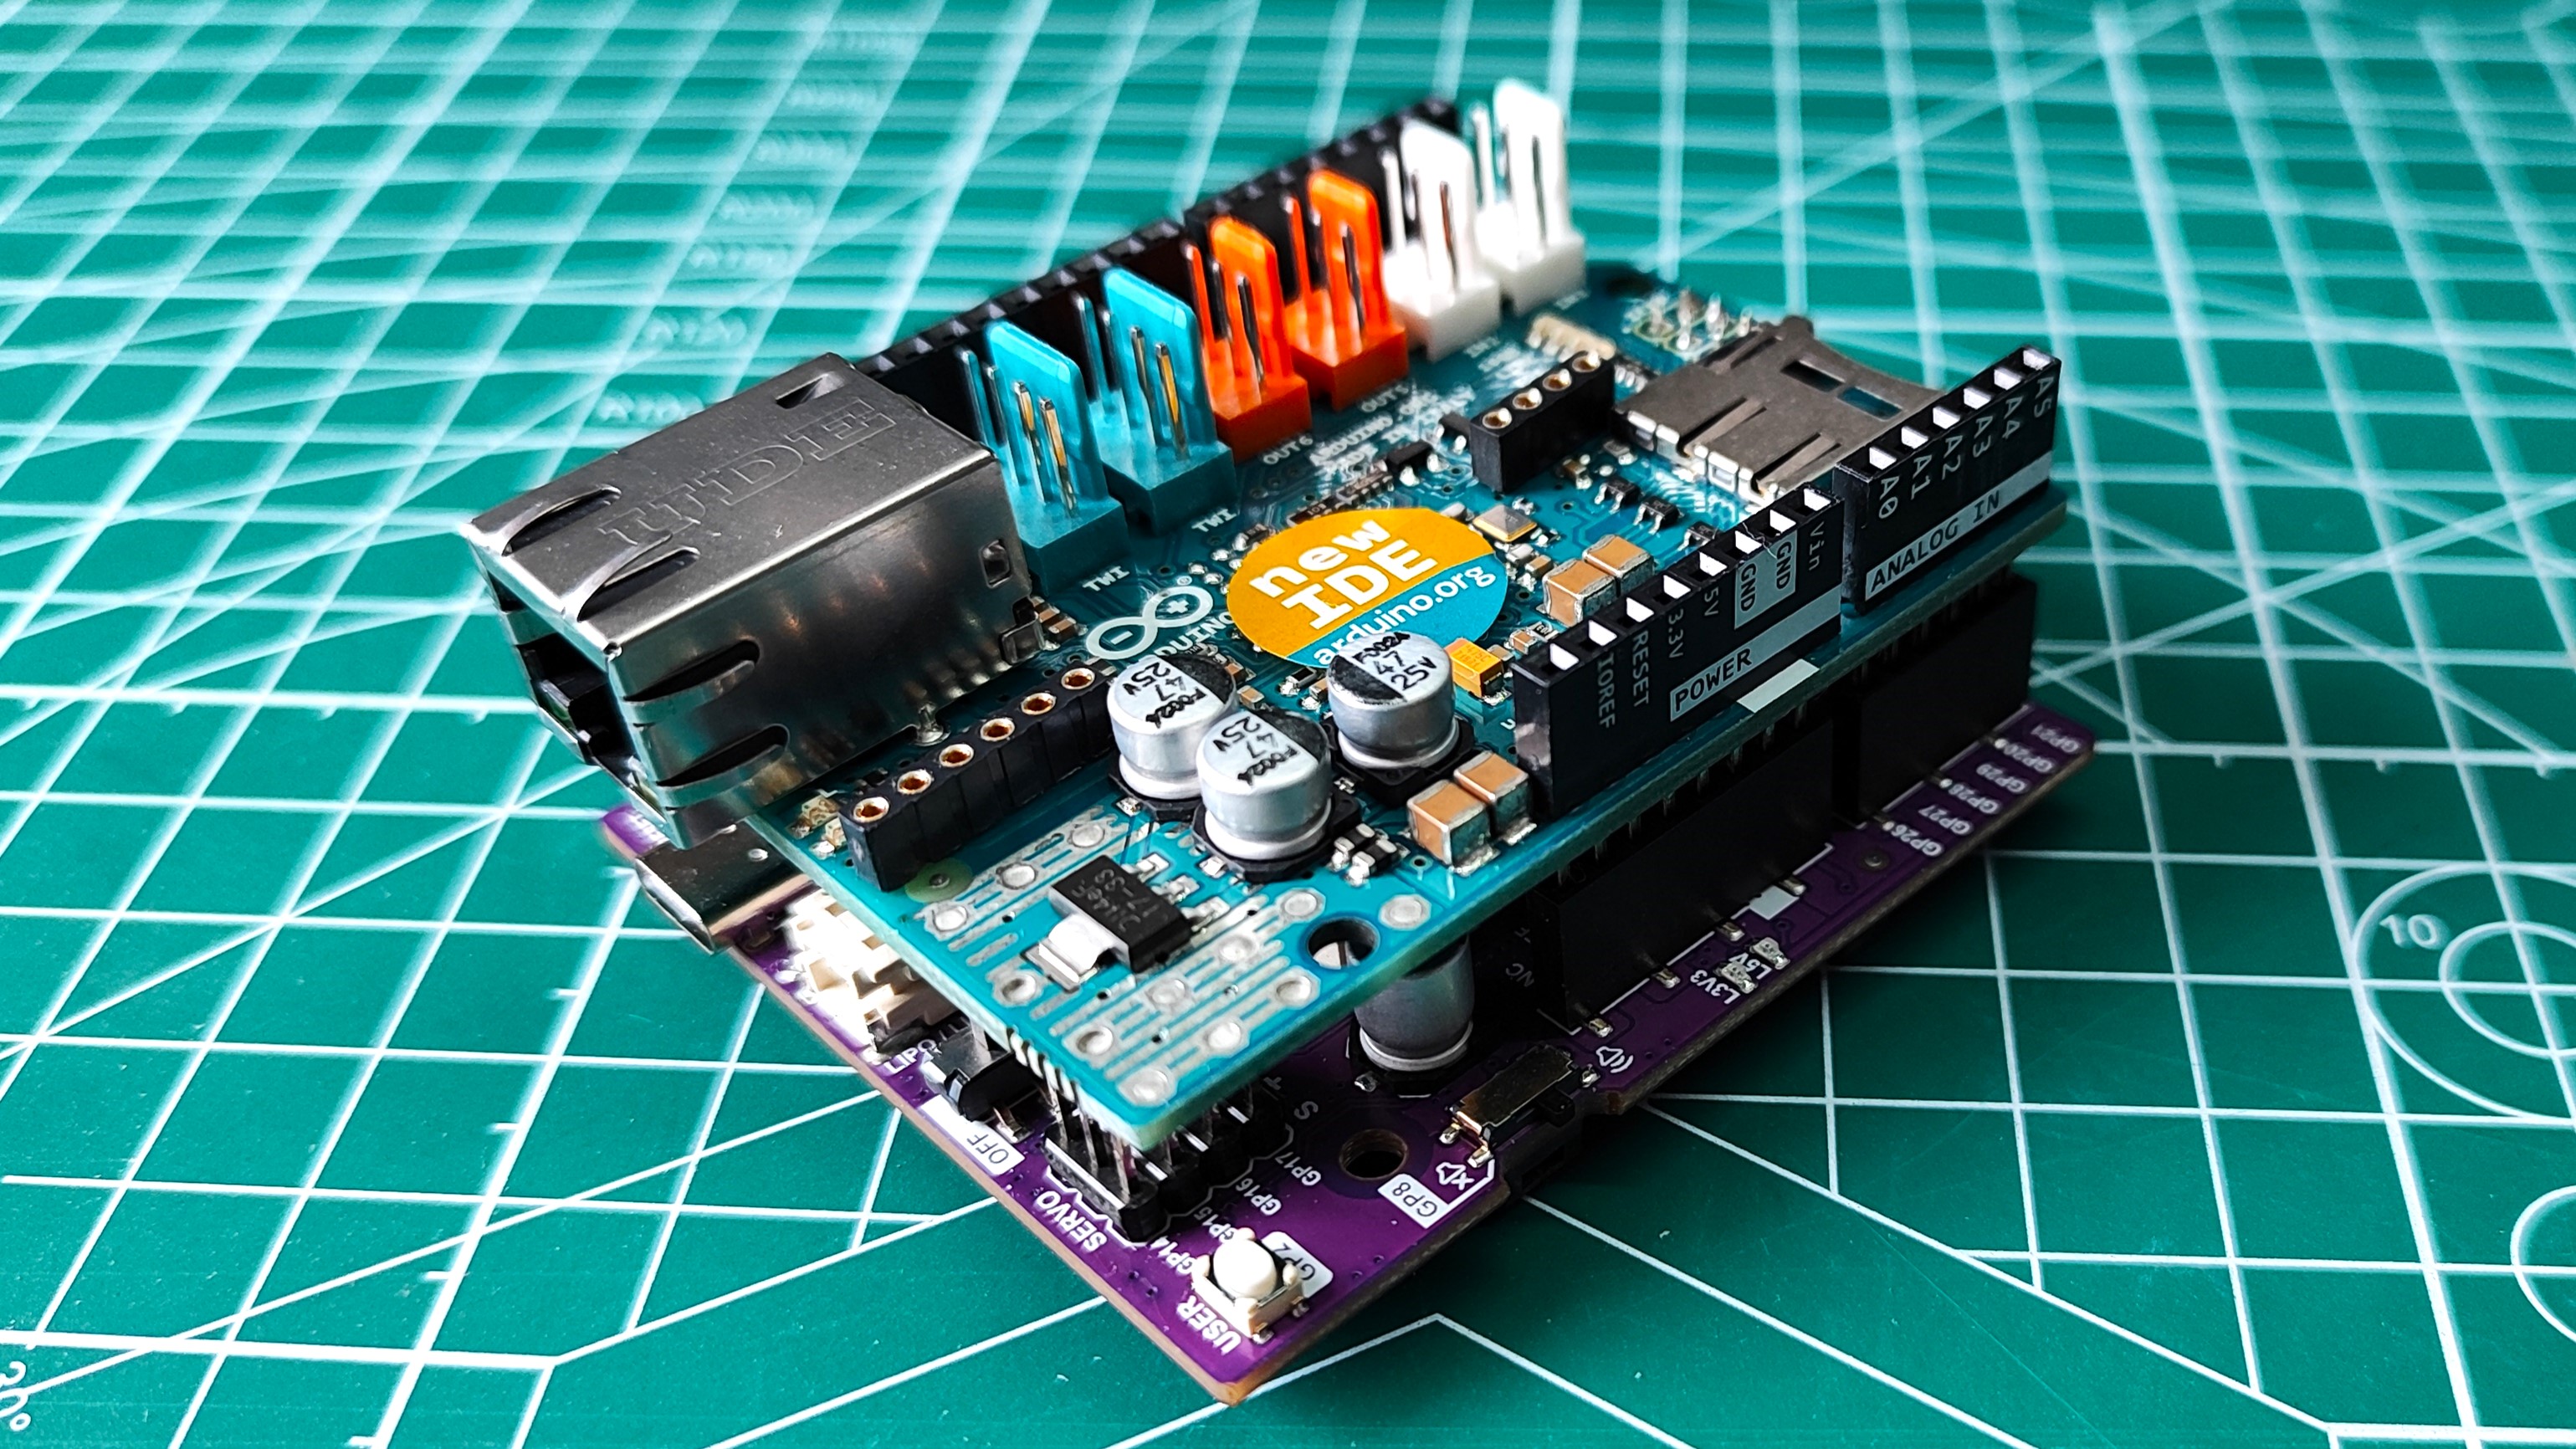
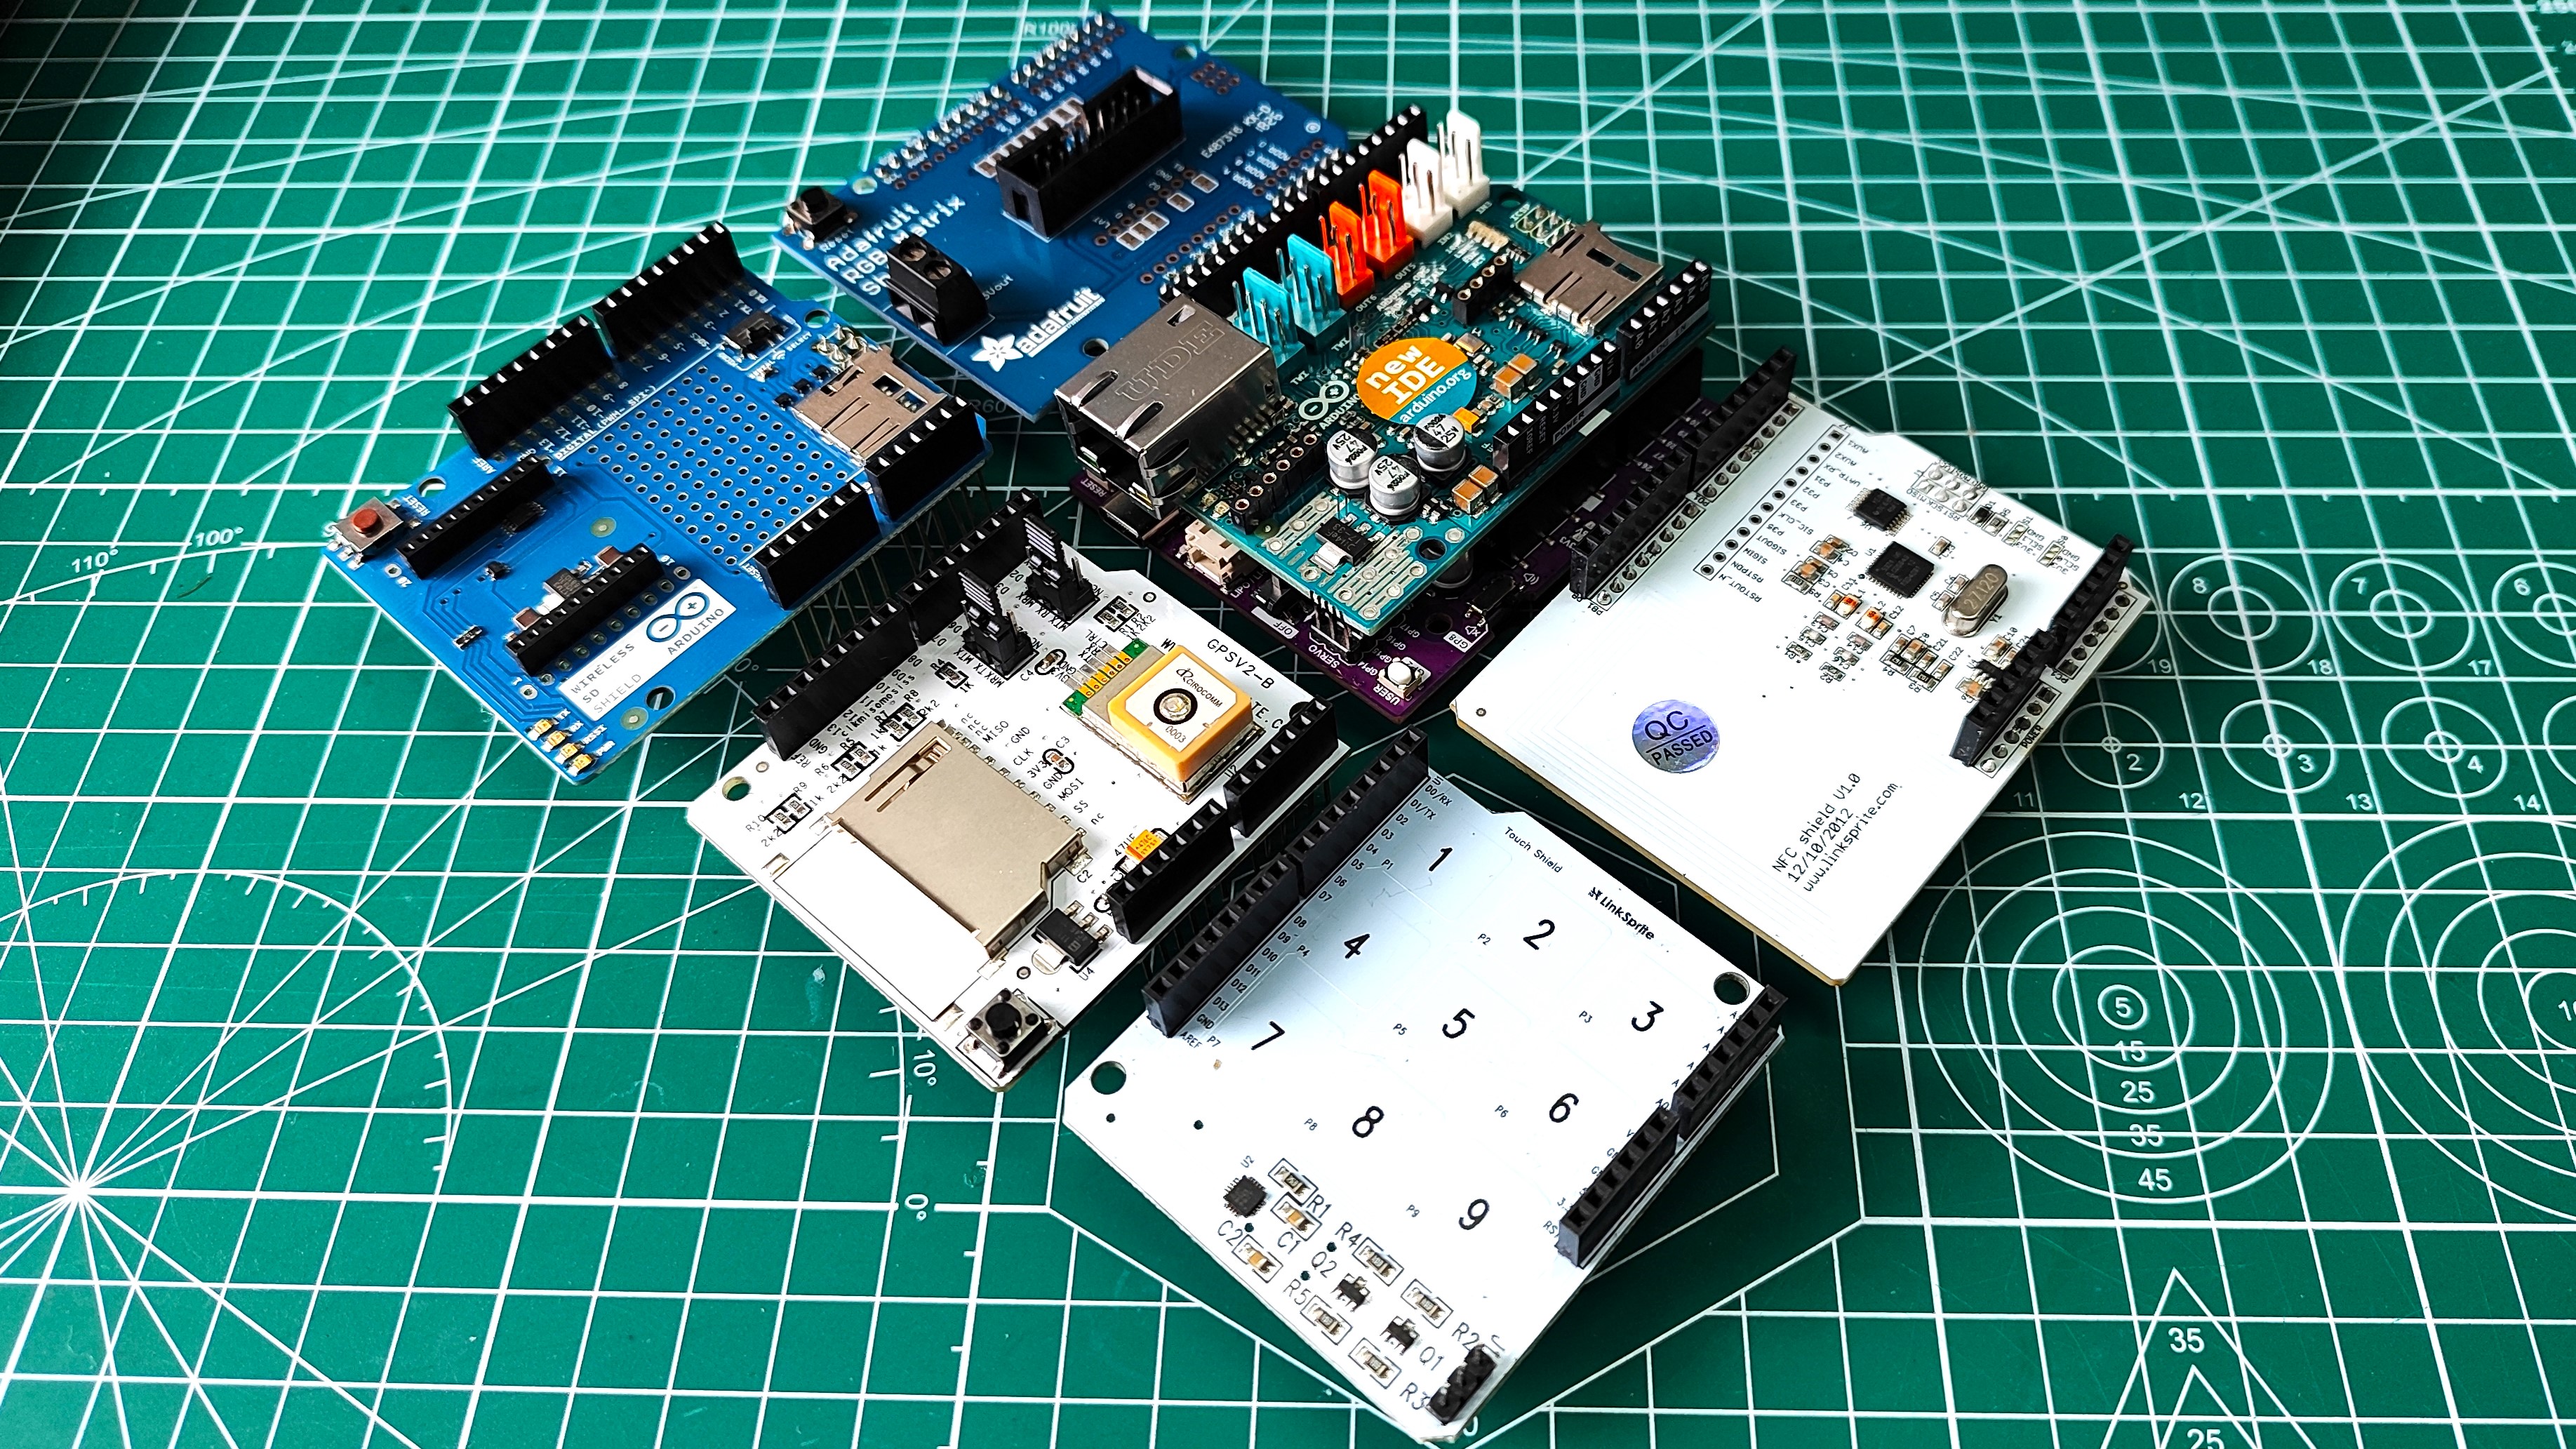
Let's get this out of the way. Yes you can put any Arduino Uno shield on the Cytron Maker Uno RP2040. But getting them to work is another thing entirely. We tried a few different shields. The official Arduino Ethernet shield, Adafruit’s RGB Matrix Shield and a myriad of Linksprite shields from former UK retailer Maplin. We couldn’t get any of these to work with the Maker Uno RP2040, but with enough time and tweaking, they and other shields could be made to work.
Who is the Cytron Maker Uno RP2040 for?
For the education sector, Cytron’s boards are the gold standard. The $15 price tag is about right for educators, and more so for eager enthusiasts. The choice of Grove / Stemma QT and standard GPIO connections means that this board can grow with the learner.
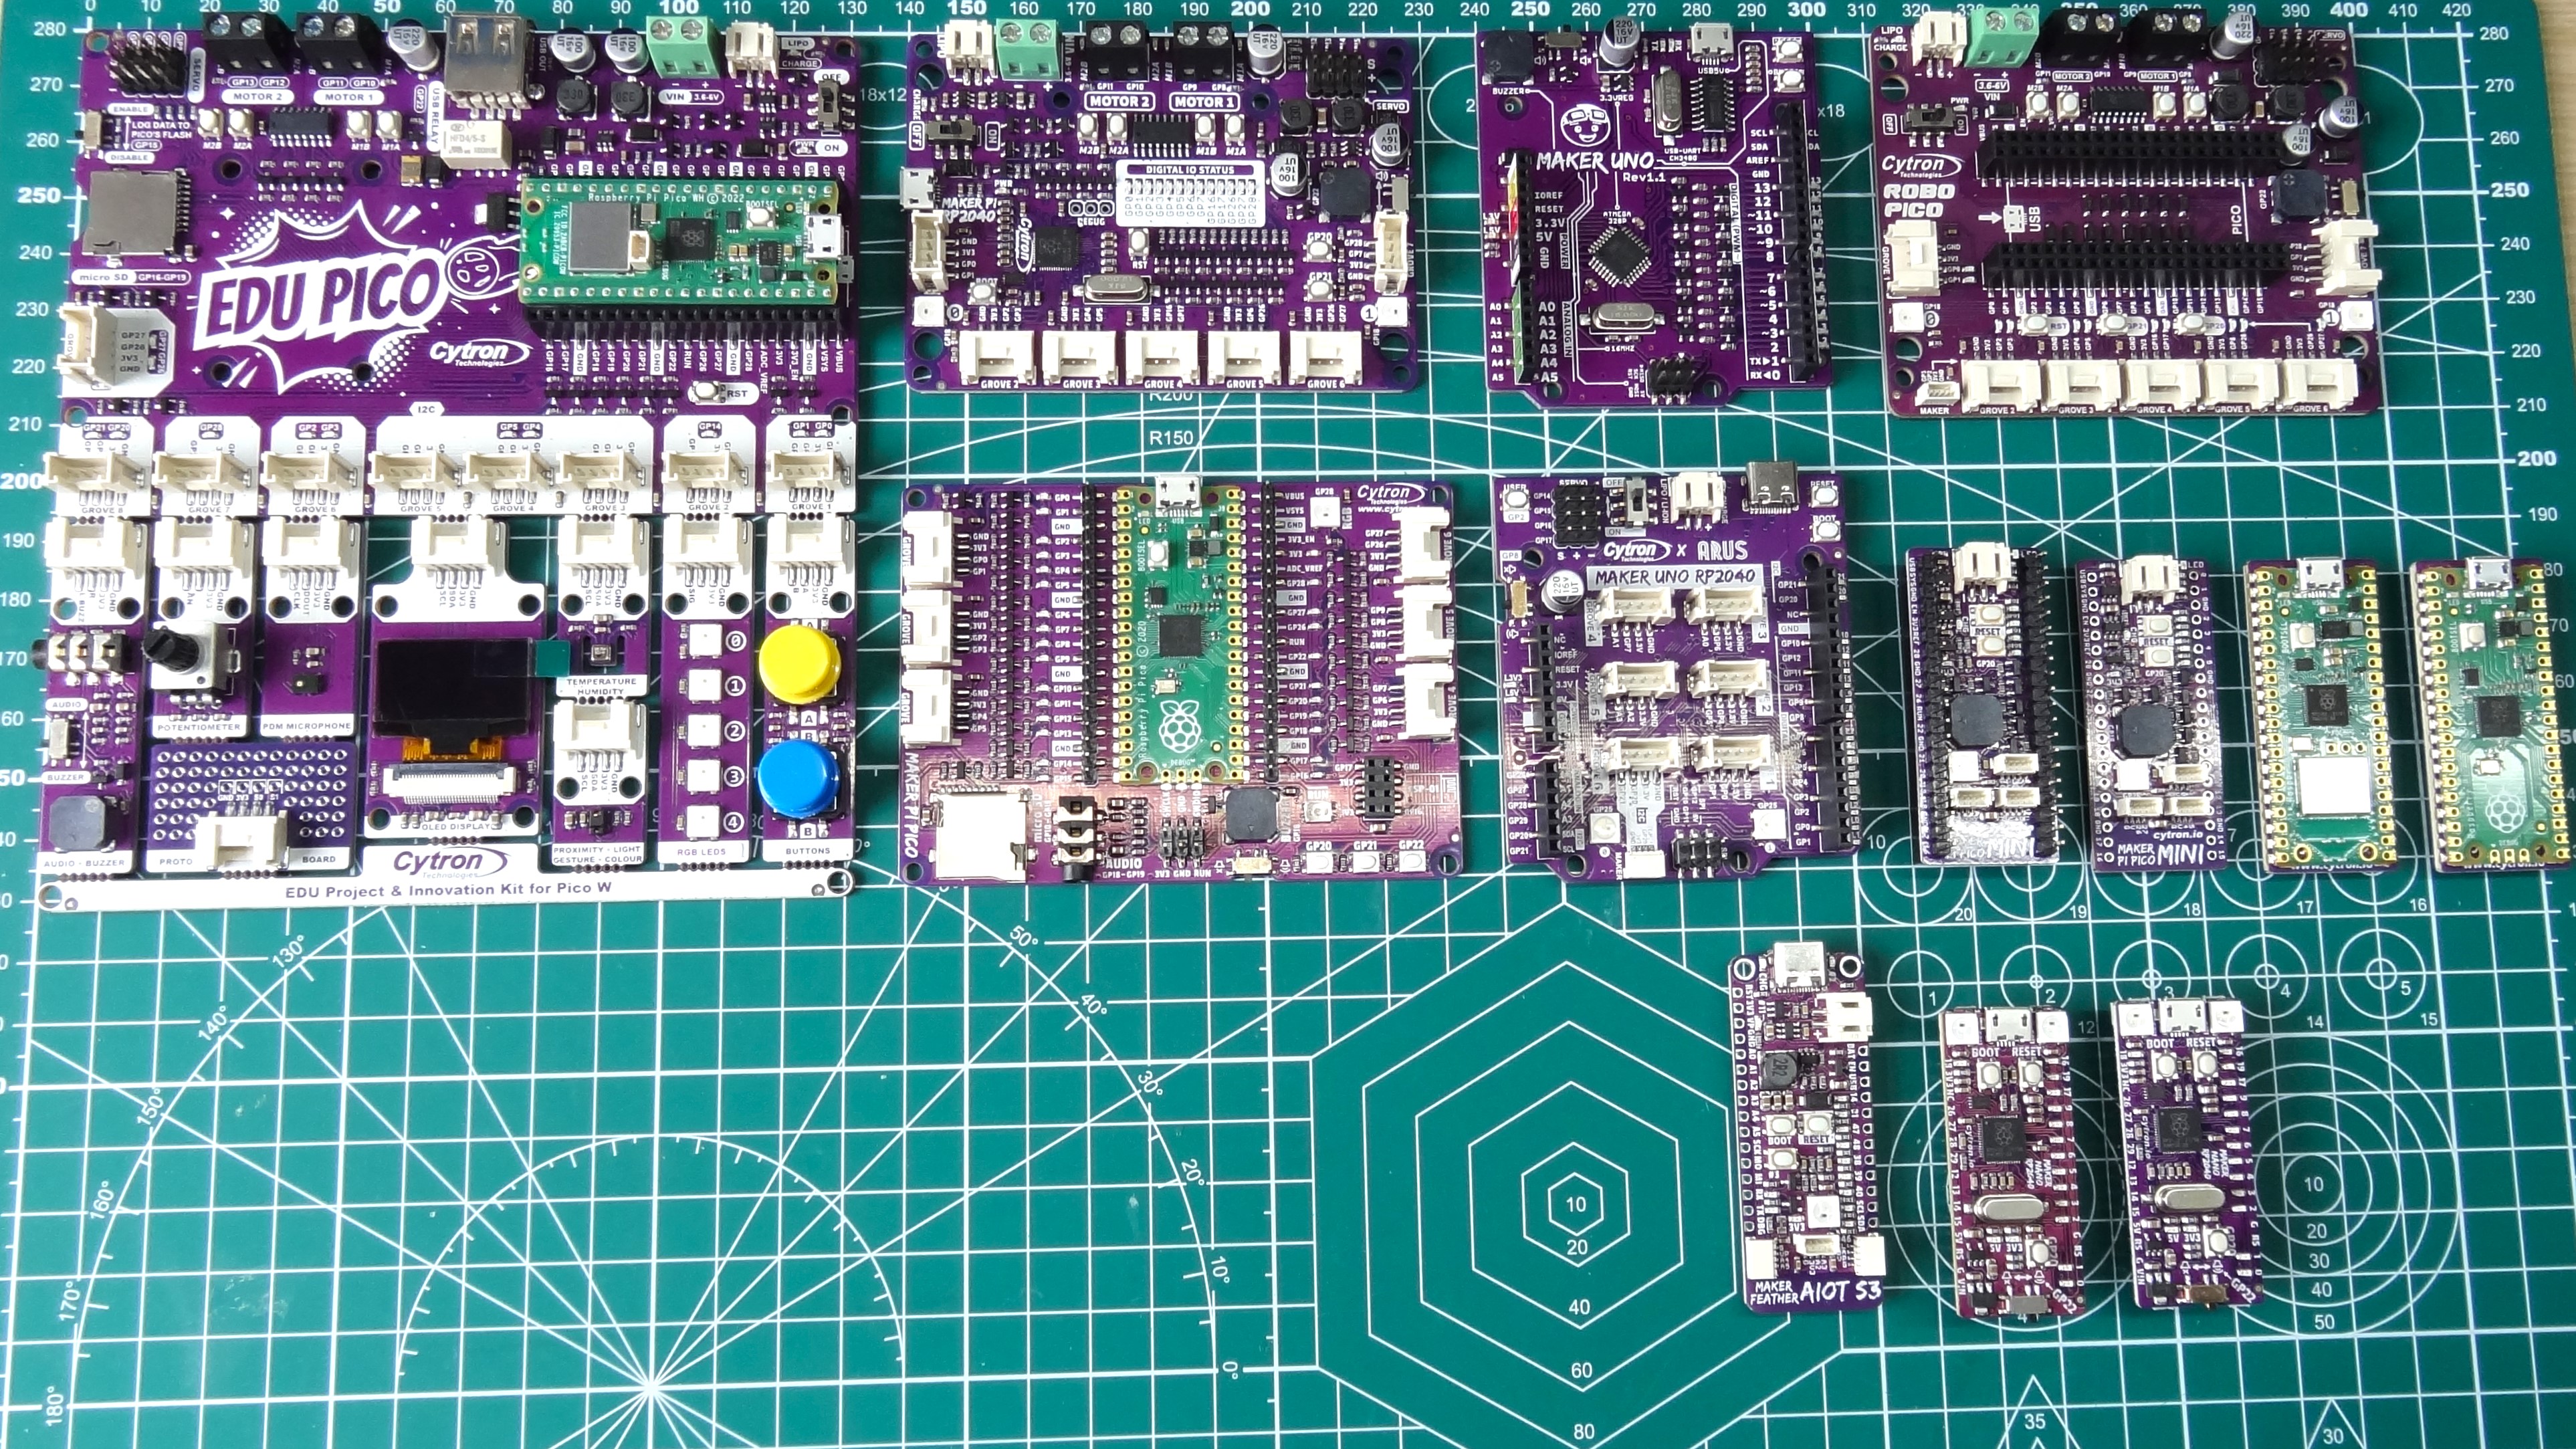
For experienced makers, we’d recommend the $9 Maker Pi Pico Mini, or even better the $15 version with a Raspberry Pi Pico W soldered to it. The Maker Uno RP2040 is more for those of us who covet the Uno form factor, and for educators who want to maximize their investment.
Bottom Line
We like Cytron’s Maker Uno RP2040. It has great features (servo connections, LiPo / Li-Ion battery charging, Grove, Stemma QT and of course, LEDs). But unless you really need the Arduino form factor, it is more for educational purposes than general making. As we said earlier, we would go for the Maker Pi Pico Mini, especially the $15 version with the Pico W.
Educators, if your budget allows, go for the Edu Pico. It is a fantastic platform for learning. Makers, the $12 Maker Pi RP2040 or the $18 Maker Pi Pico Base with Pico W (we reviewed the Pico version, but since then the Pico W model is a much better purchase) is a great introduction to the RP2040.
There’s nothing inherently wrong with the Maker Uno RP2040; it's just that Cytron has already made better boards in the same price bracket.

Les Pounder is an associate editor at Tom's Hardware. He is a creative technologist and for seven years has created projects to educate and inspire minds both young and old. He has worked with the Raspberry Pi Foundation to write and deliver their teacher training program "Picademy".
-
nmathew I just wanted to thank Les for his coverage of micro-controller products aimed at educational use . I have a brother-in-law who teaches science at the elementary school level, and I'm always looking for interesting products to flesh out his after school club's options.Reply
