How to Shoot Time-Lapse Videos with Raspberry Pi
Setup your Raspberry Pi HQ camera to create awesome time-lapse videos.
A time-lapse video is a series of photos taken at regular intervals and then stitched together sequentially to create a video. Time-lapse videos have been used for many years to compress long periods of time into short summary videos. Uses for time-lapse videos range from capturing a flower blossoming, clouds moving, busy traffic movement, putting together a large puzzle, and sunsets. The key to creating an amazing time-lapse video is keeping the camera still (tripods are essential) while the subject(s) move slowly.
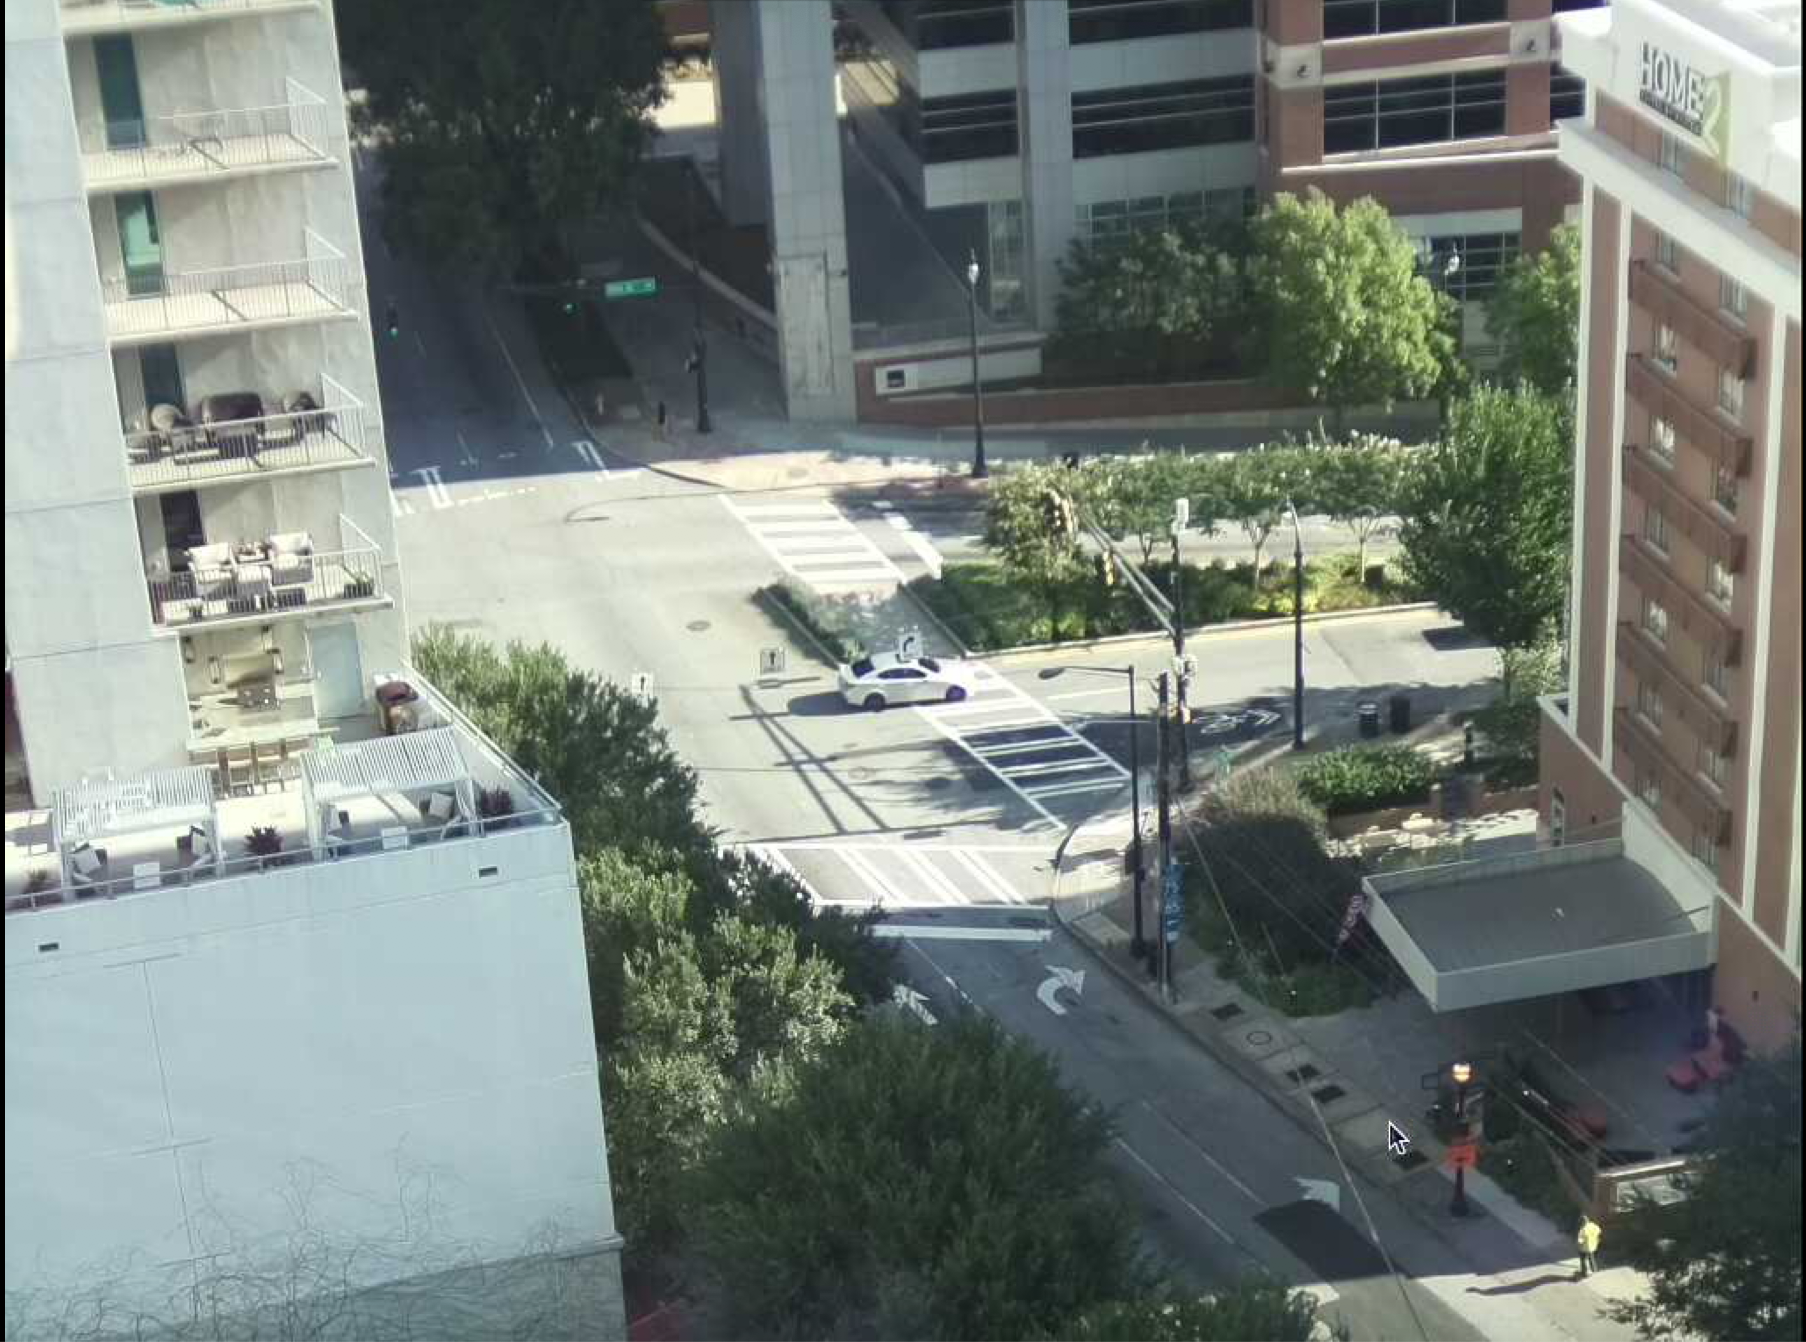
In this tutorial, we’ll show you how to create a sunrise / sunset time-lapse video with a Raspberry Pi HQ camera, but this setup could easily be repurposed for many other types of time-lapse video.
Sunrise Time-lapse Overview
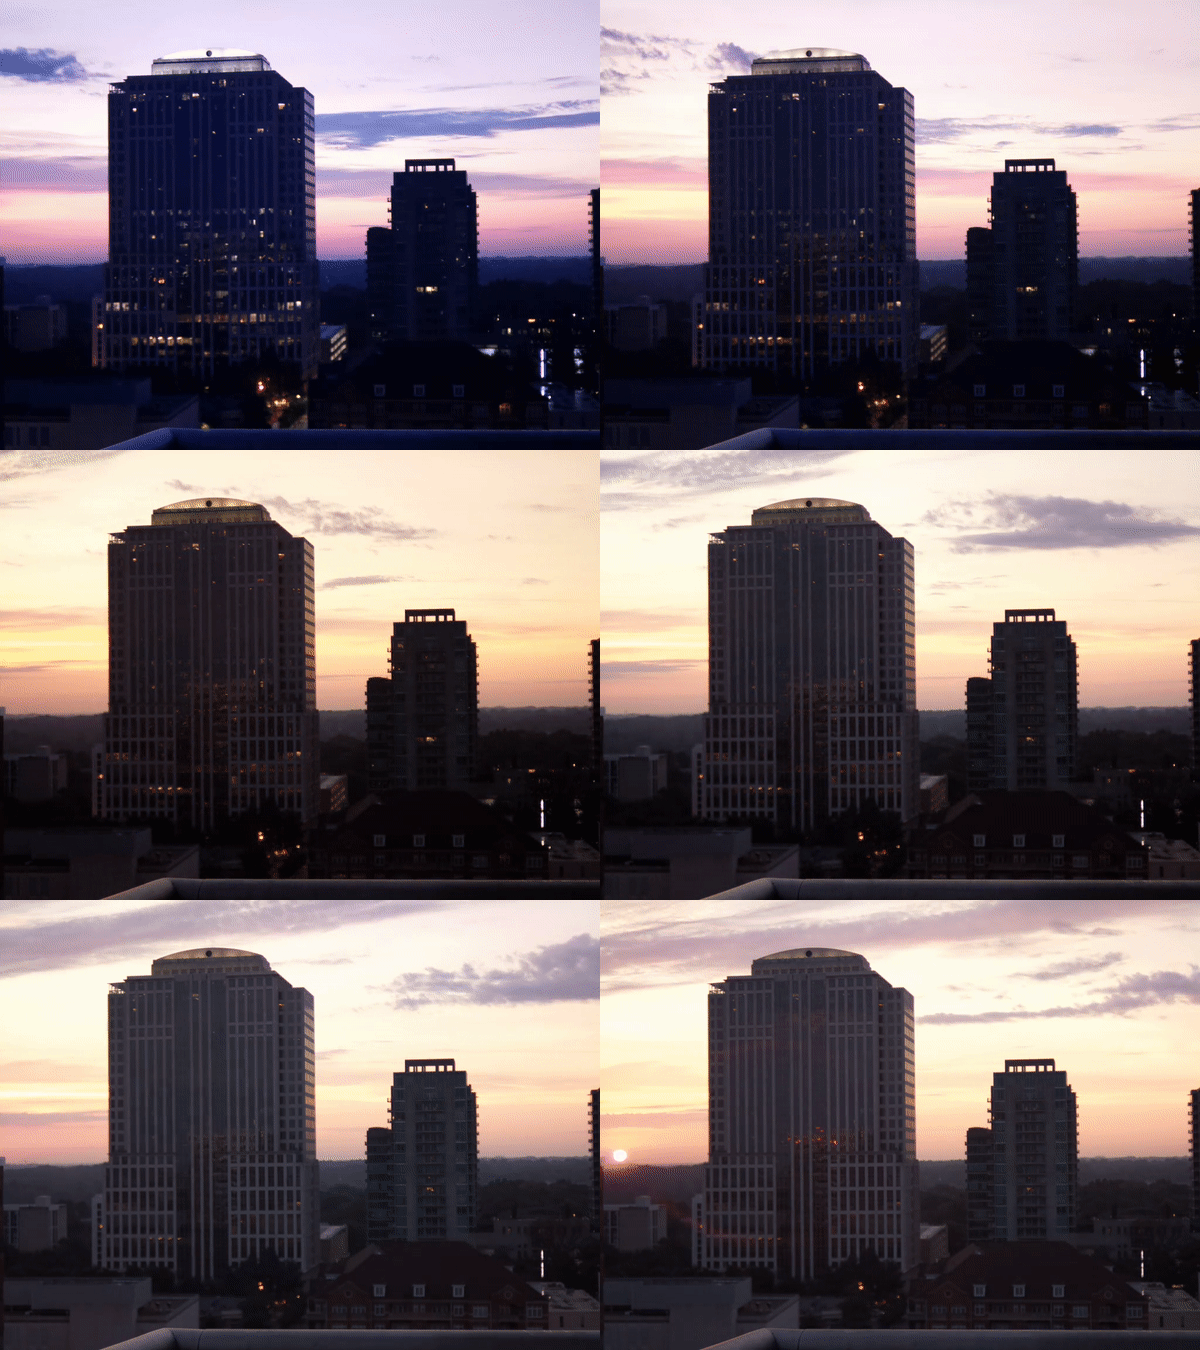
To create a sunrise video, we set up our Raspberry Pi HQ camera 30 minutes before sunrise to take photos every 3 seconds for an hour. After an hour, the Raspberry Pi will stitch the photos together at 30 frames per second to create a 24 second video of the sunrise. The Python code included with this tutorial allows the user to customize how long the time lapse camera will run, the number of seconds between each photo, and the frame rate of the time lapse video itself. As a bonus we’ve included instructions on how to set the HQ camera to start at a specified time of the day.
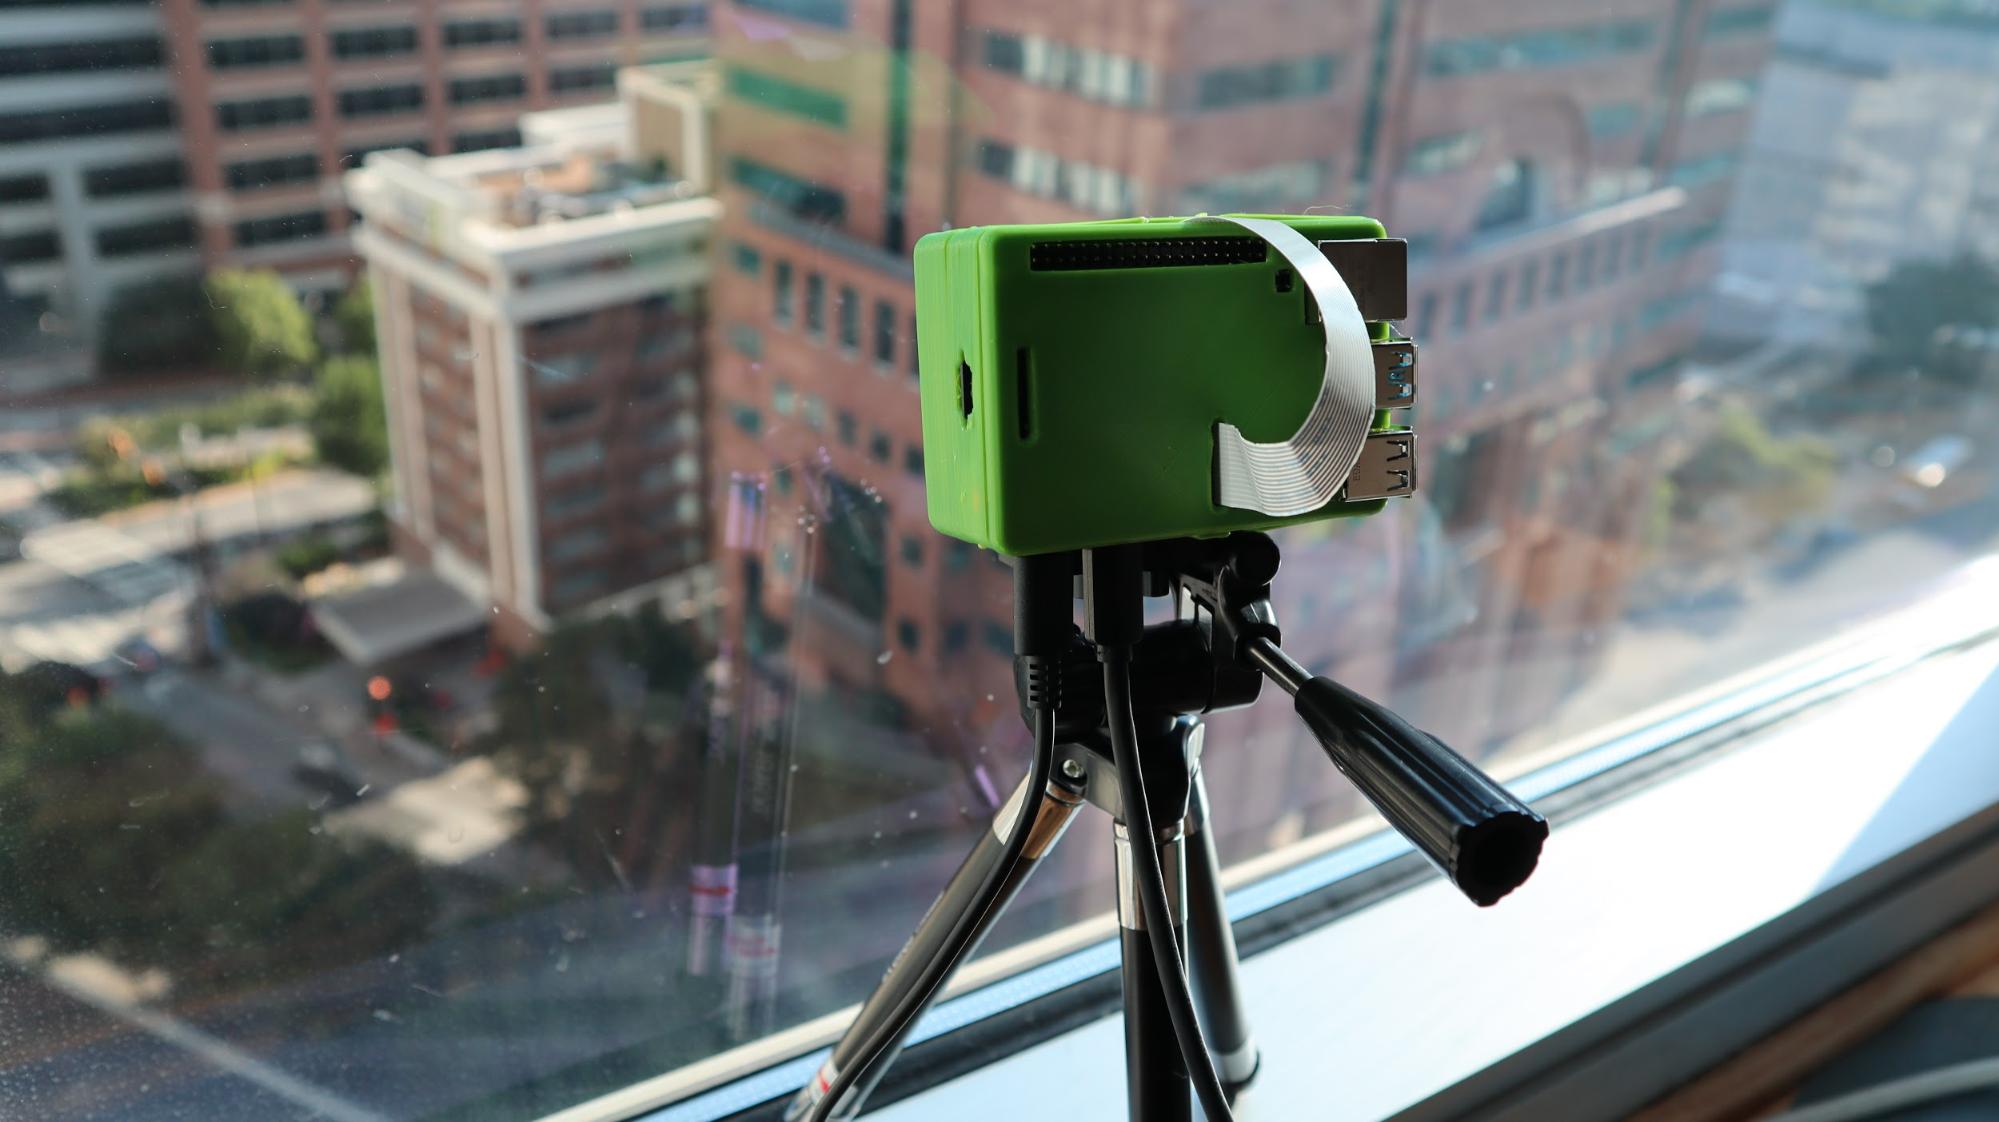
What you’ll need:
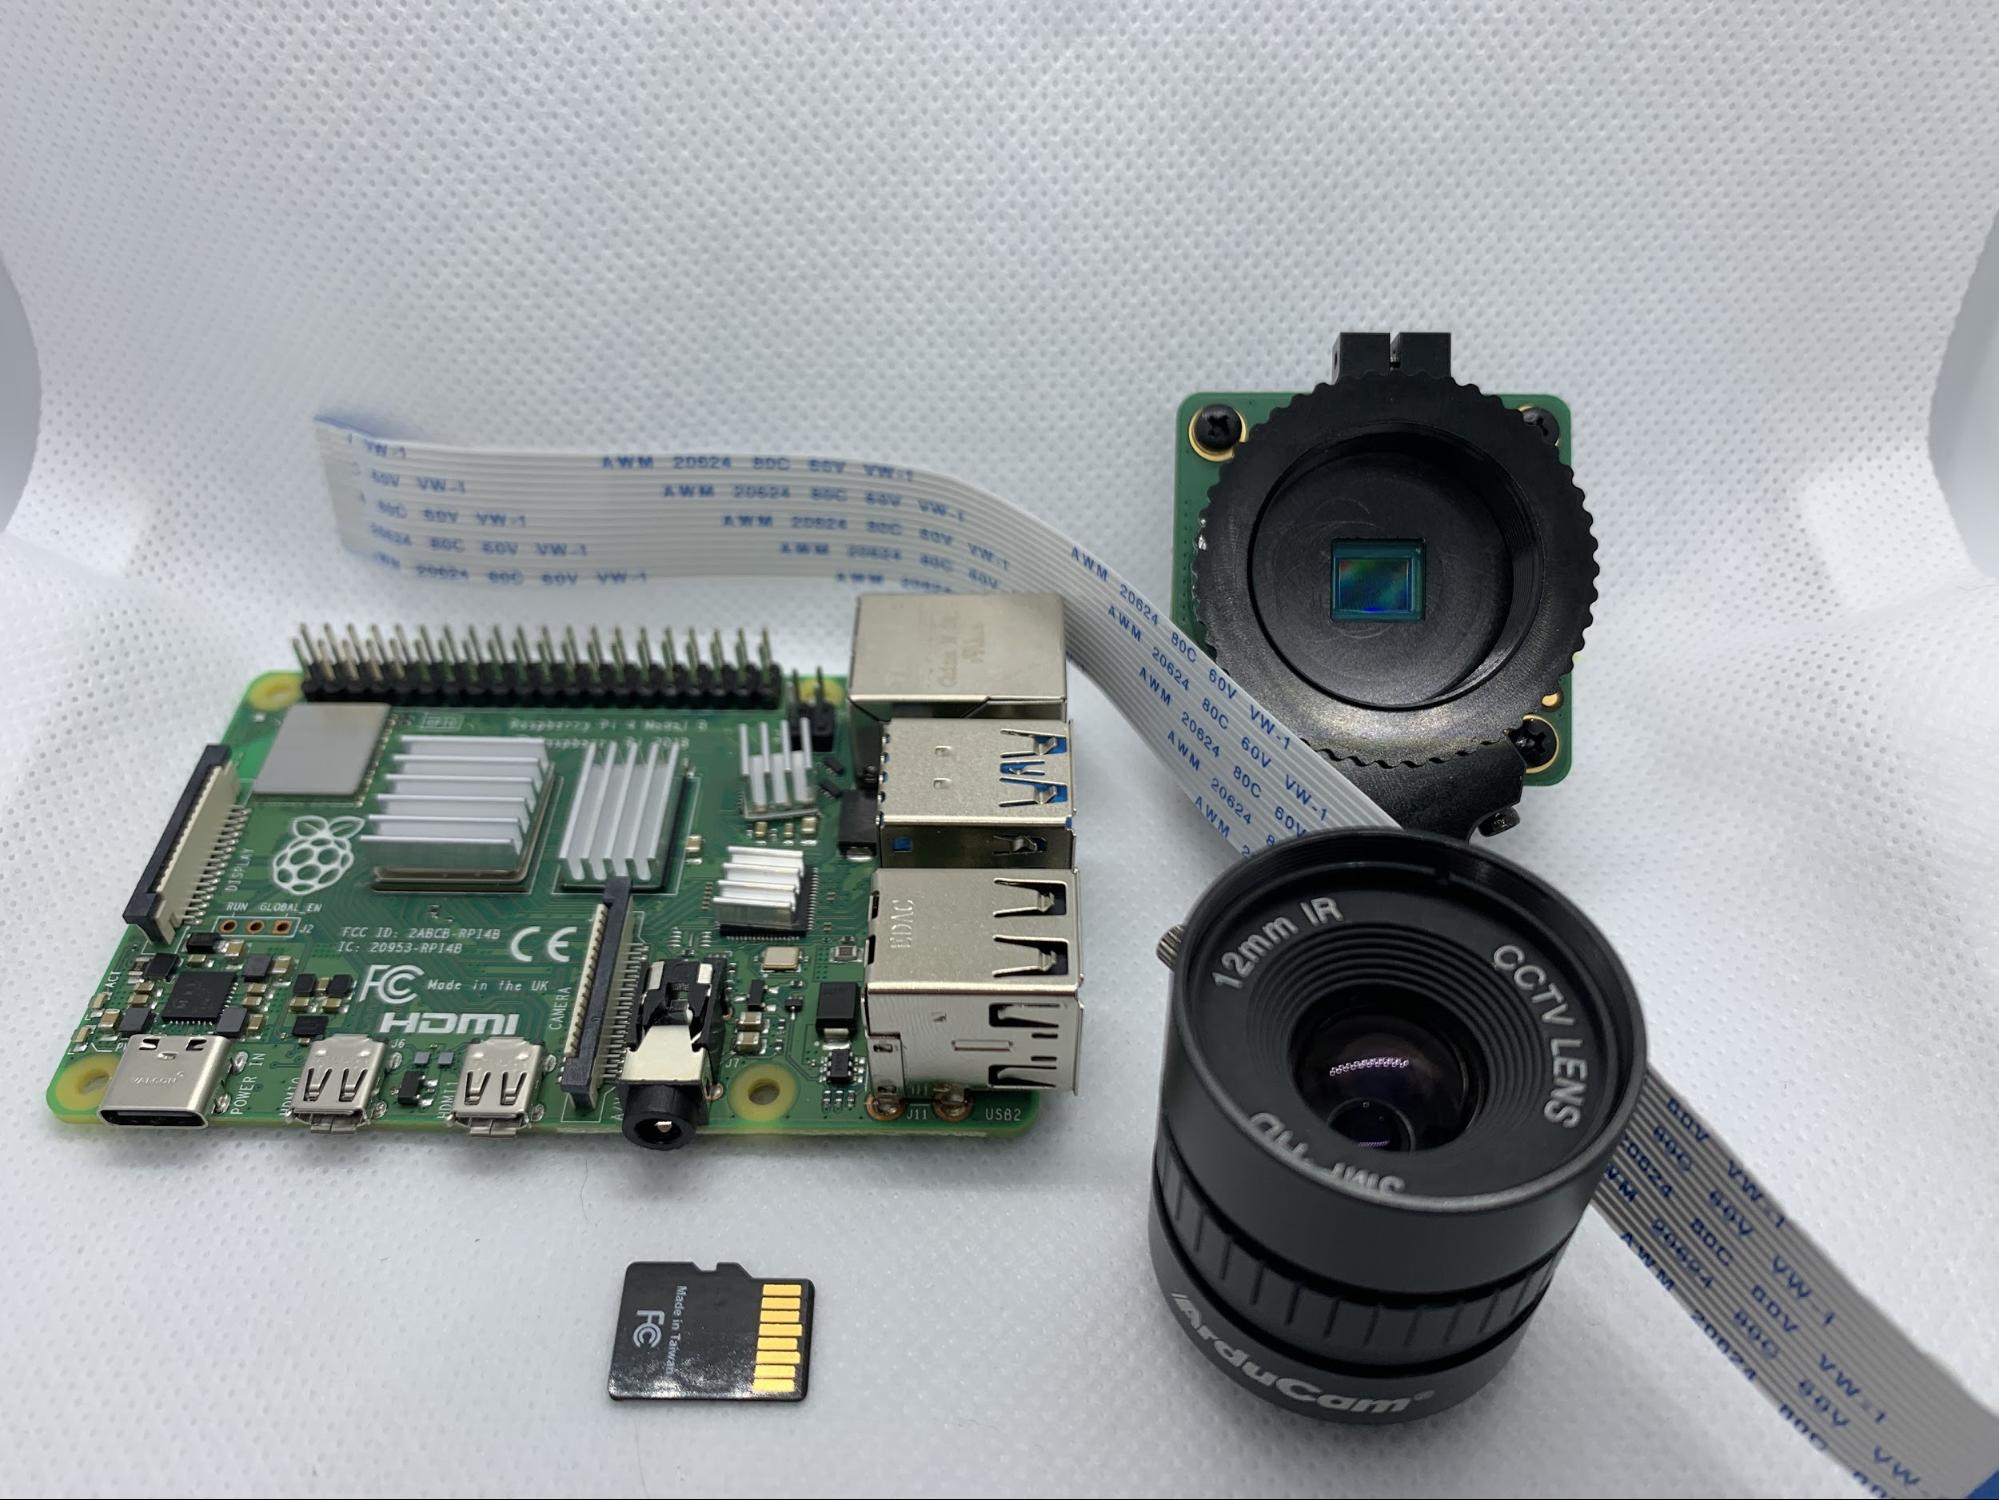
- Raspberry Pi 4
- Power supply/microSD card/Keyboard/Mouse/Monitor/HDMI Cable (for your Raspberry Pi)
- High Quality (HQ) Camera
- CS Mount lens for HQ camera
- Raspberry Pi Camera Ribbon Cable
- Tripod
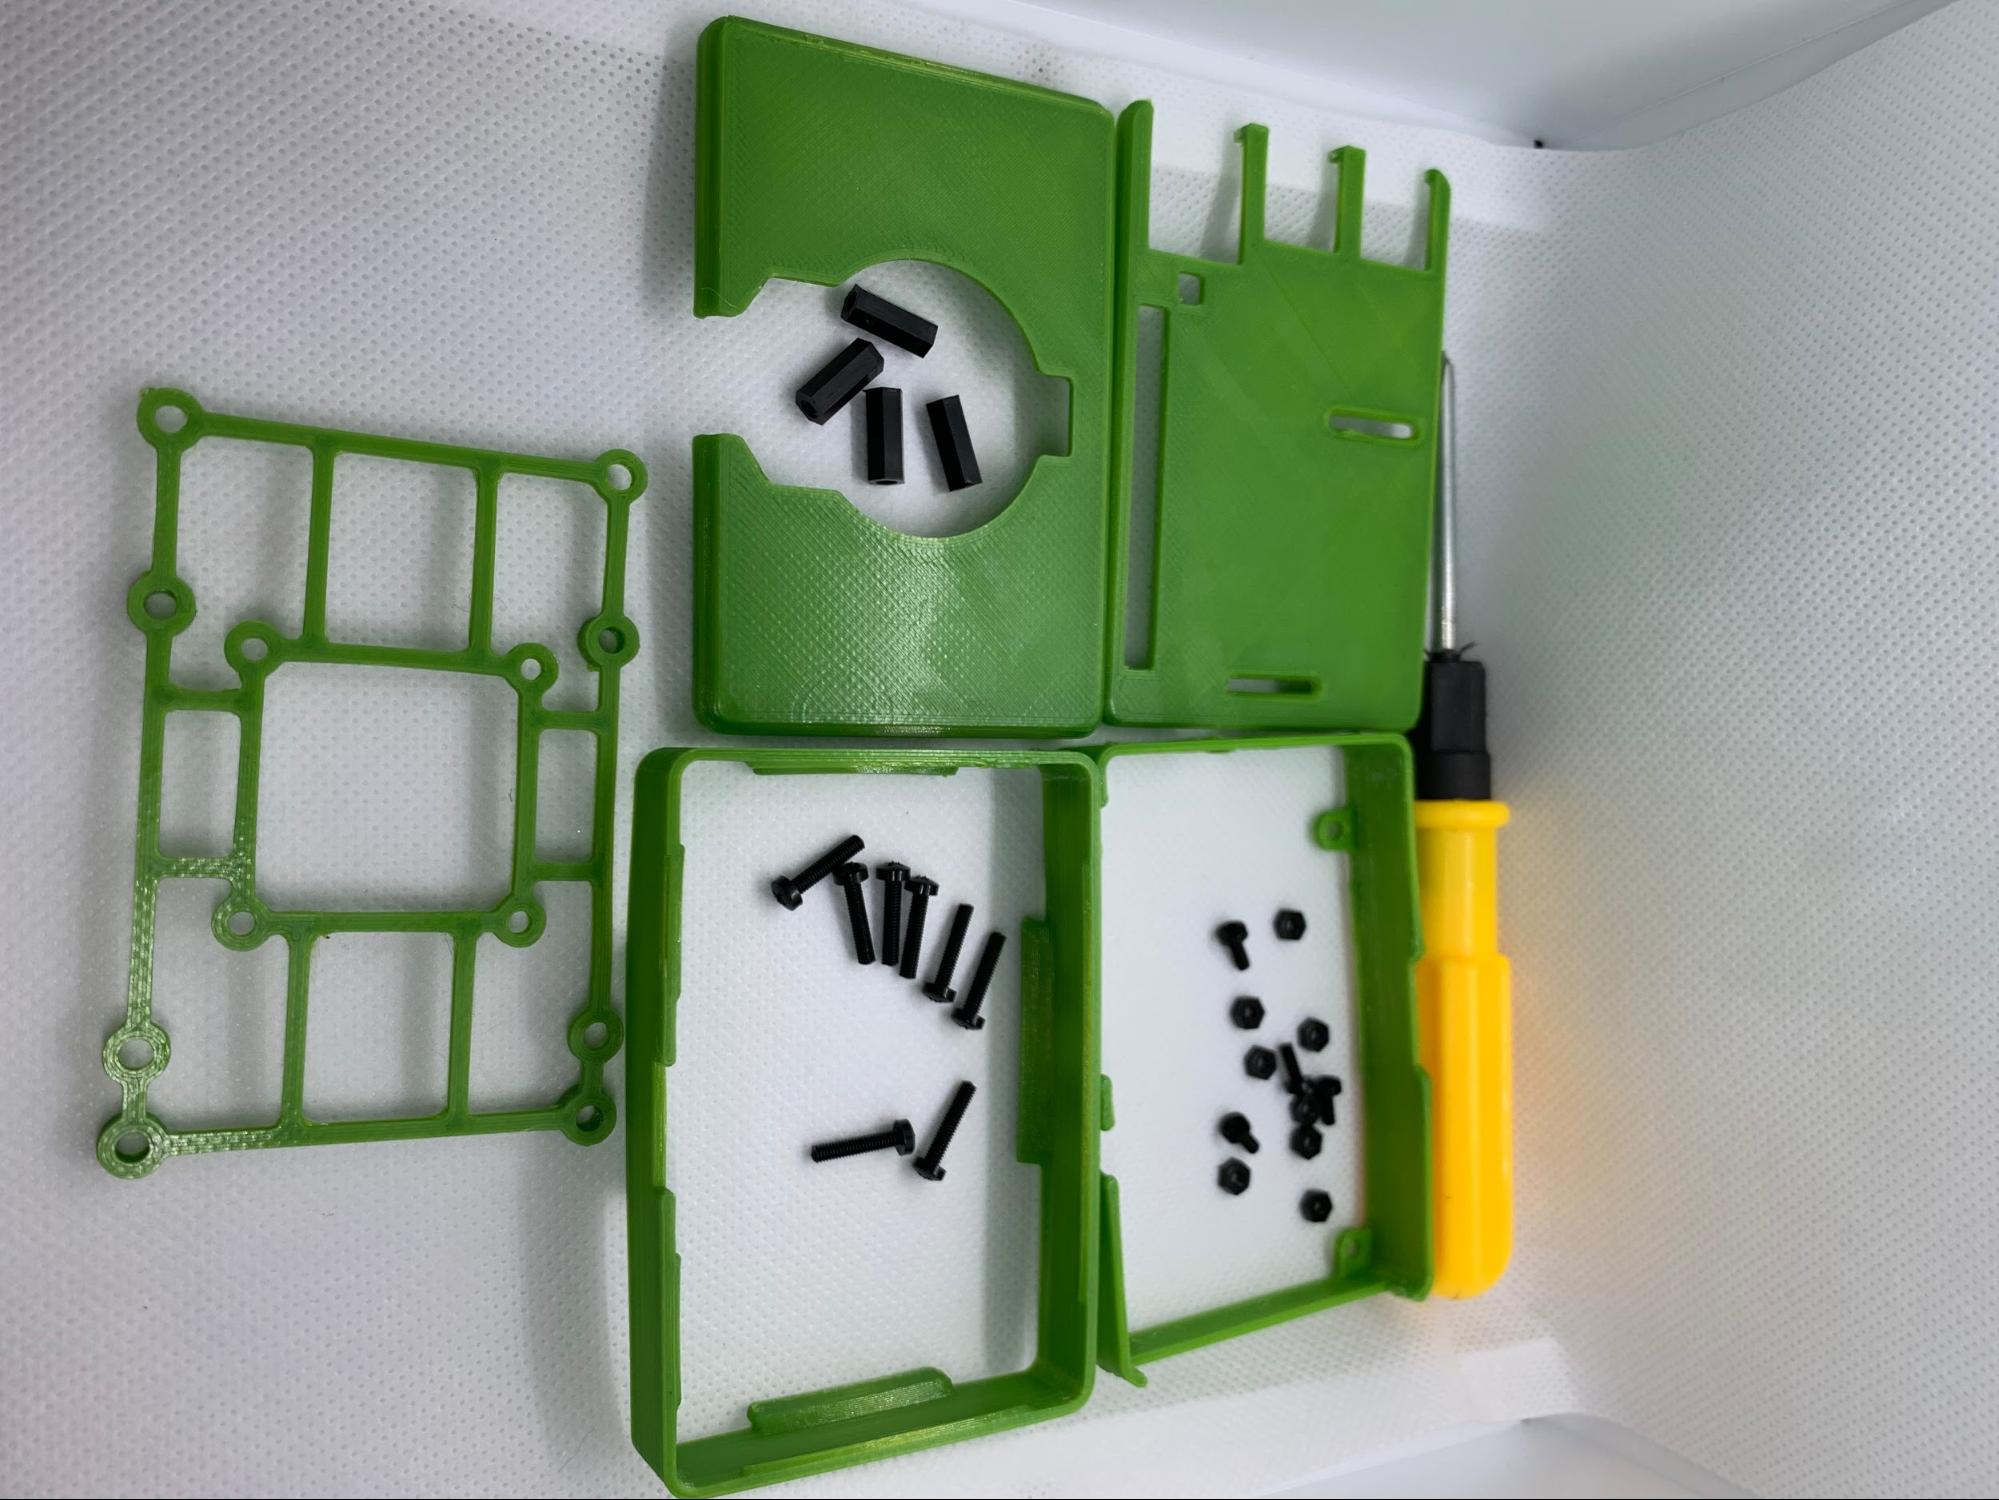
Optional: You can 3D print a case for your Raspberry Pi and HQ camera here.
This Pi and HQ camera case requires 4 M2.5 female stand-offs, 16 M2.5 screws, and 8 M2.5 nuts.
Part 1: Assembly
In this section, we will connect the Raspberry Pi 4 to the camera module. This tutorial utilizes the Raspberry Pi OS Desktop.
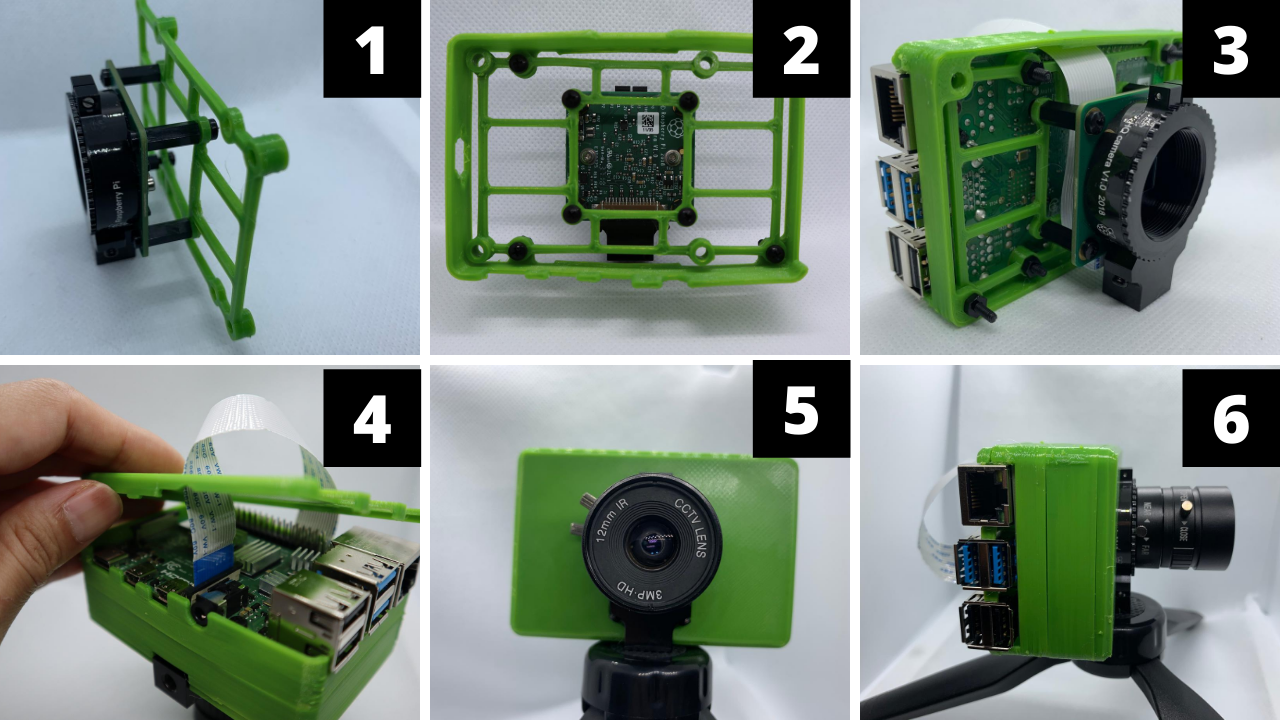
Optional: Assemble the case to attach the HQ camera to the Raspberry Pi.
Get Tom's Hardware's best news and in-depth reviews, straight to your inbox.
1. Attach 4 - 12mm female stand-offs to the HQ camera with M2.5 screws. Attach the stand-offs to the frame with an additional 4 M2.5 screws.
2. Attach the frame to the raspberry pi housing with 4 M.25 screws and nuts. The long end of the screws should face the camera side of the frame, and not the Raspberry Pi side.
3. Attach your Raspberry Pi to the housing with 4 more M2.5 screws and nuts, lining up the power, and usb ports. Attach one end of the ribbon cable to the HQ camera and thread the ribbon through the casing and frame behind the Raspberry Pi. The silver edge of the ribbon cable should face the camera lens.
4. Thread the ribbon cable through the slot of the back cover and attach the free end of the ribbon cable to the Raspberry Pi. The blue side of the end of the ribbon cable should face the USB ports. Snap on the back cover.
5. Snap-on the 2 front pieces of the housing and screw on your lens.
6. Mount your HQ camera assembly to your tripod.
Required Assembly
1. Connect the Raspberry Pi to the HQ camera via ribbon cable.
2. Attach your CS mount lens to the HQ camera.
3. Power up your Pi.
Part 2: Manual Focus
In this section we will set up our HQ camera to take photos.
1. Boot your Raspberry Pi. If you don’t already have a microSD card see our article on how to set up a Raspberry Pi for the first time or how to do a headless Raspberry Pi install.
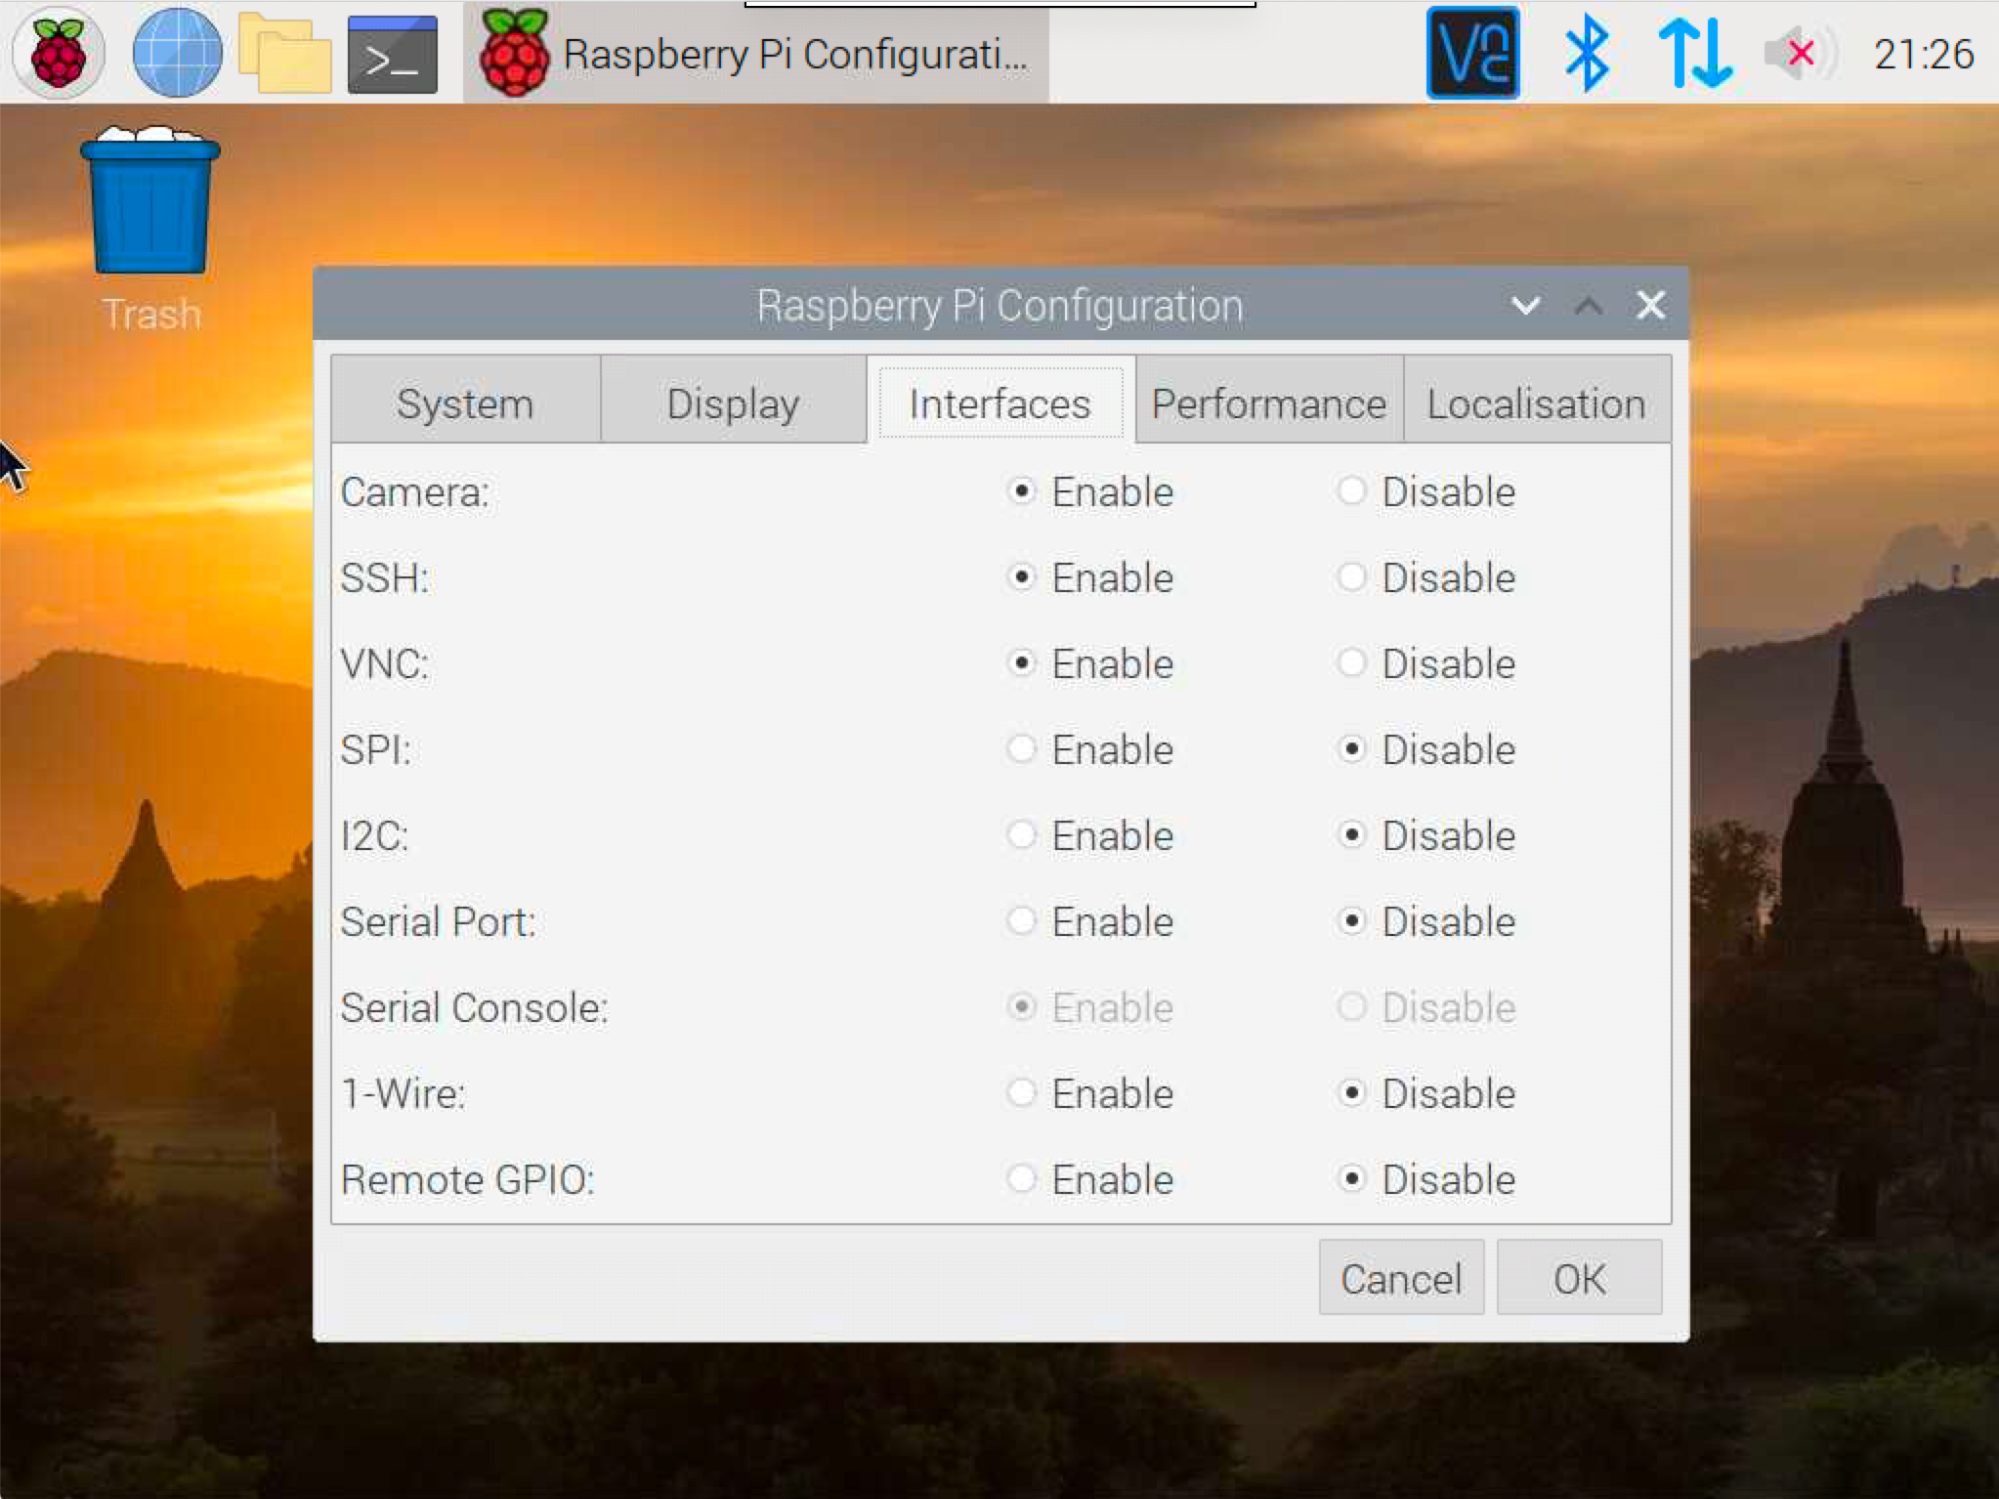
2. Enable camera in your Raspberry Pi configuration. From the desktop, click the Raspberry icon, hover over Preferences, then click Raspberry Pi Configuration. Select the Interfaces tab and Enable Camera.
3. Open a Terminal
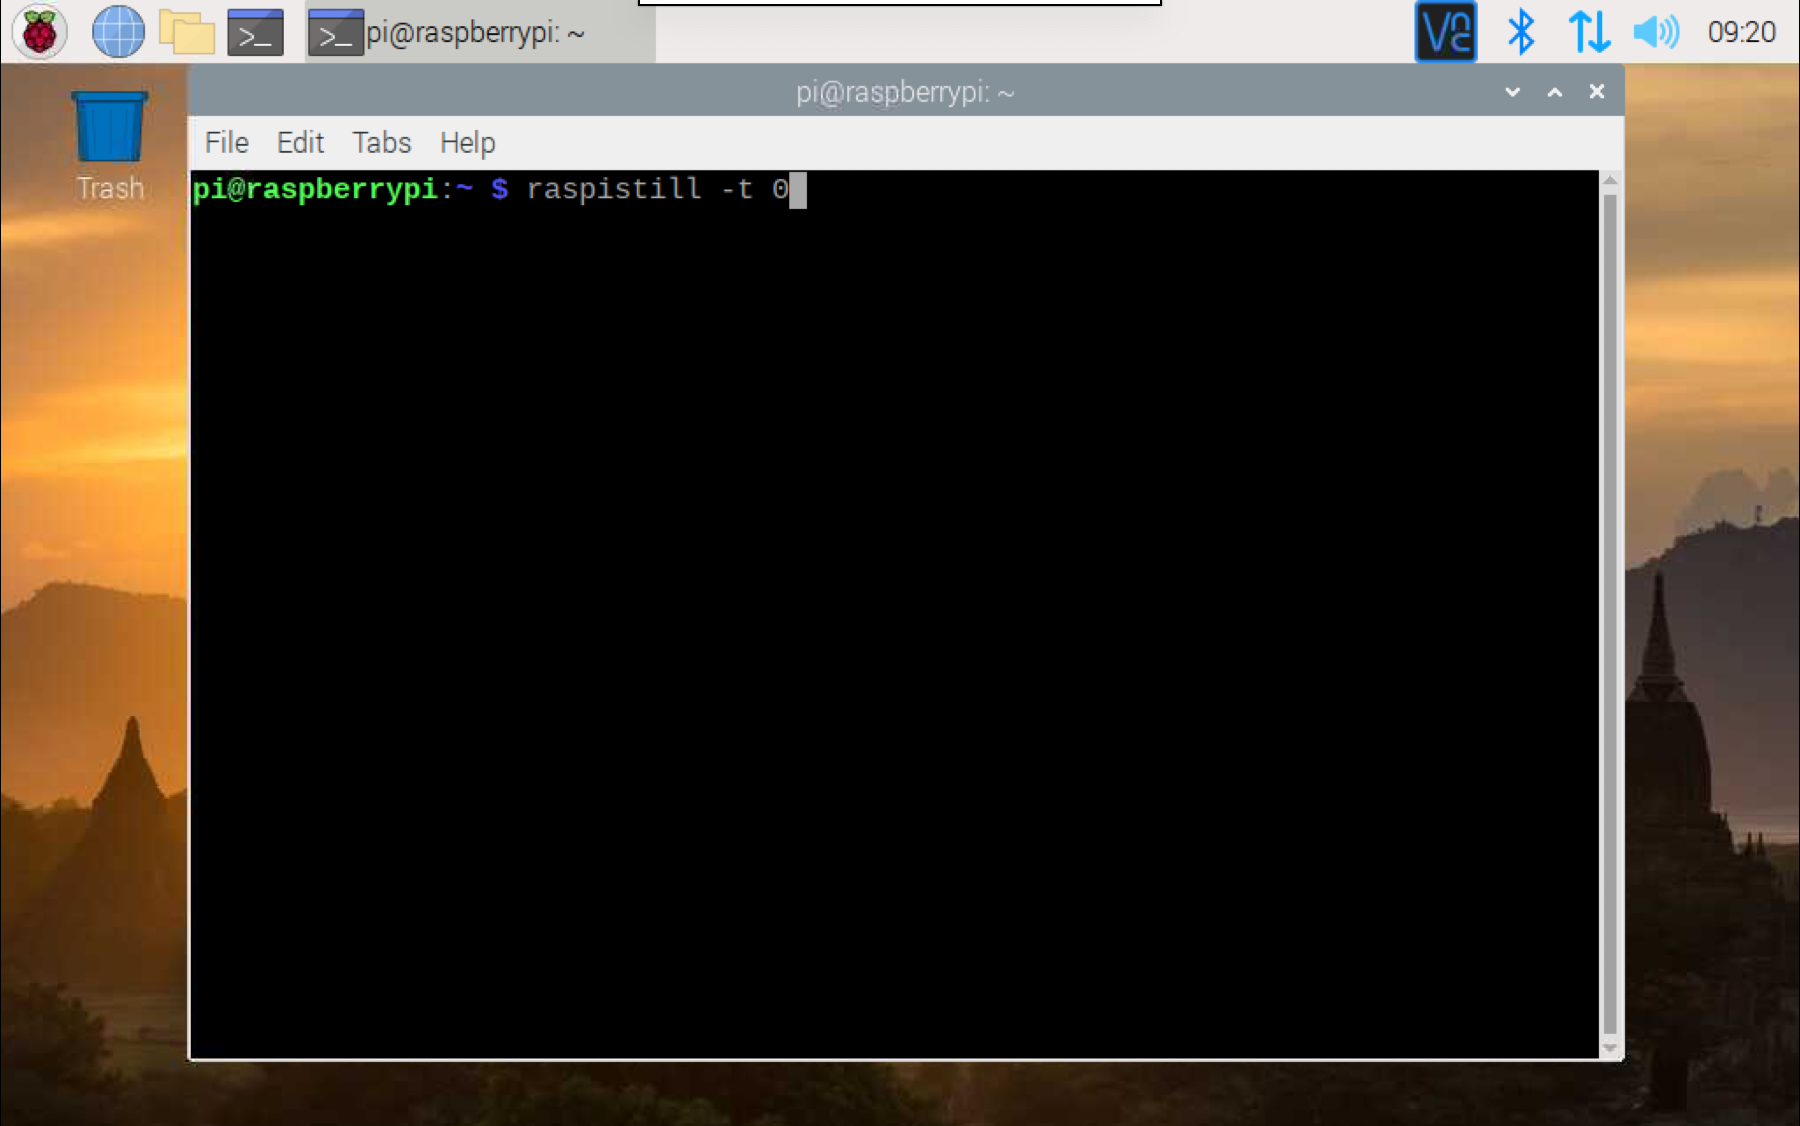
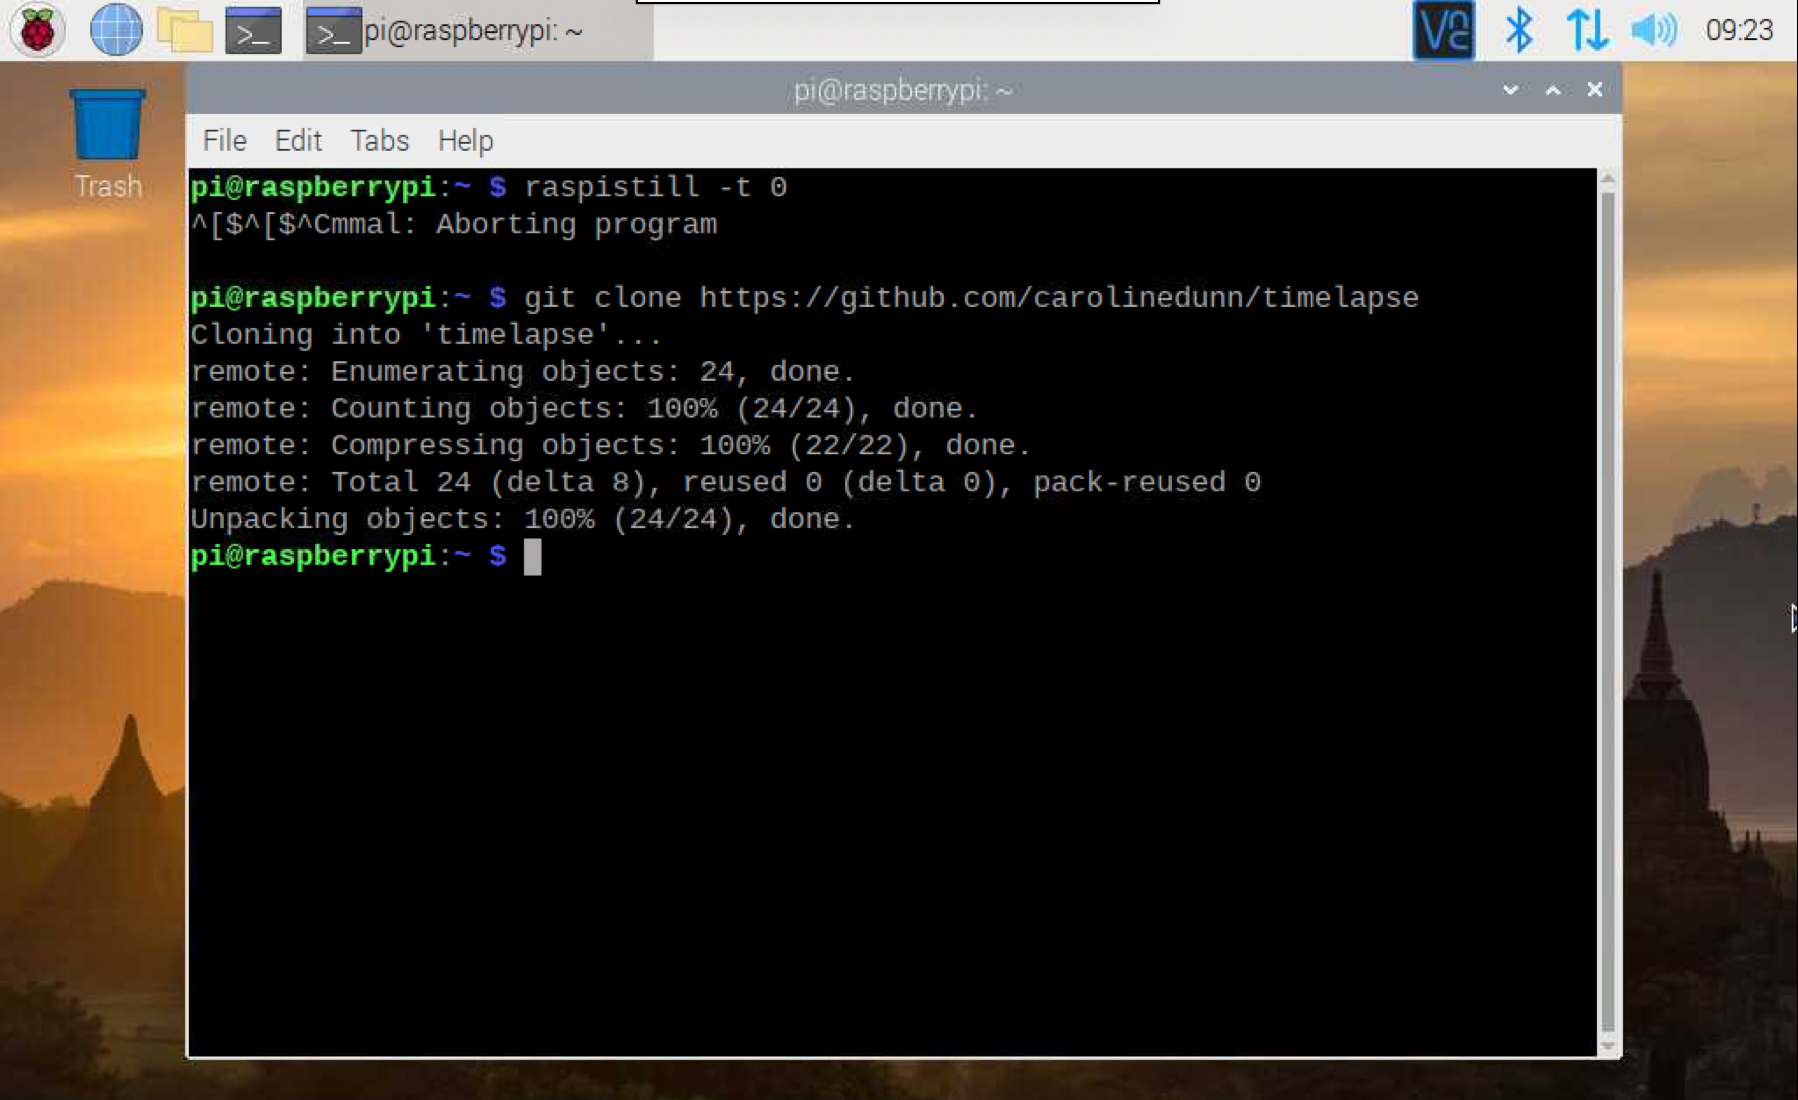
4. Preview the camera by typing:
raspistill -t 05. Adjust the focus manually by turning the lens of the HQ camera.
6. Press Ctrl-C when your image is in focus to close the camera view.
7. In the terminal, copy the repository by entering
git clone https://github.com/carolinedunn/timelapse
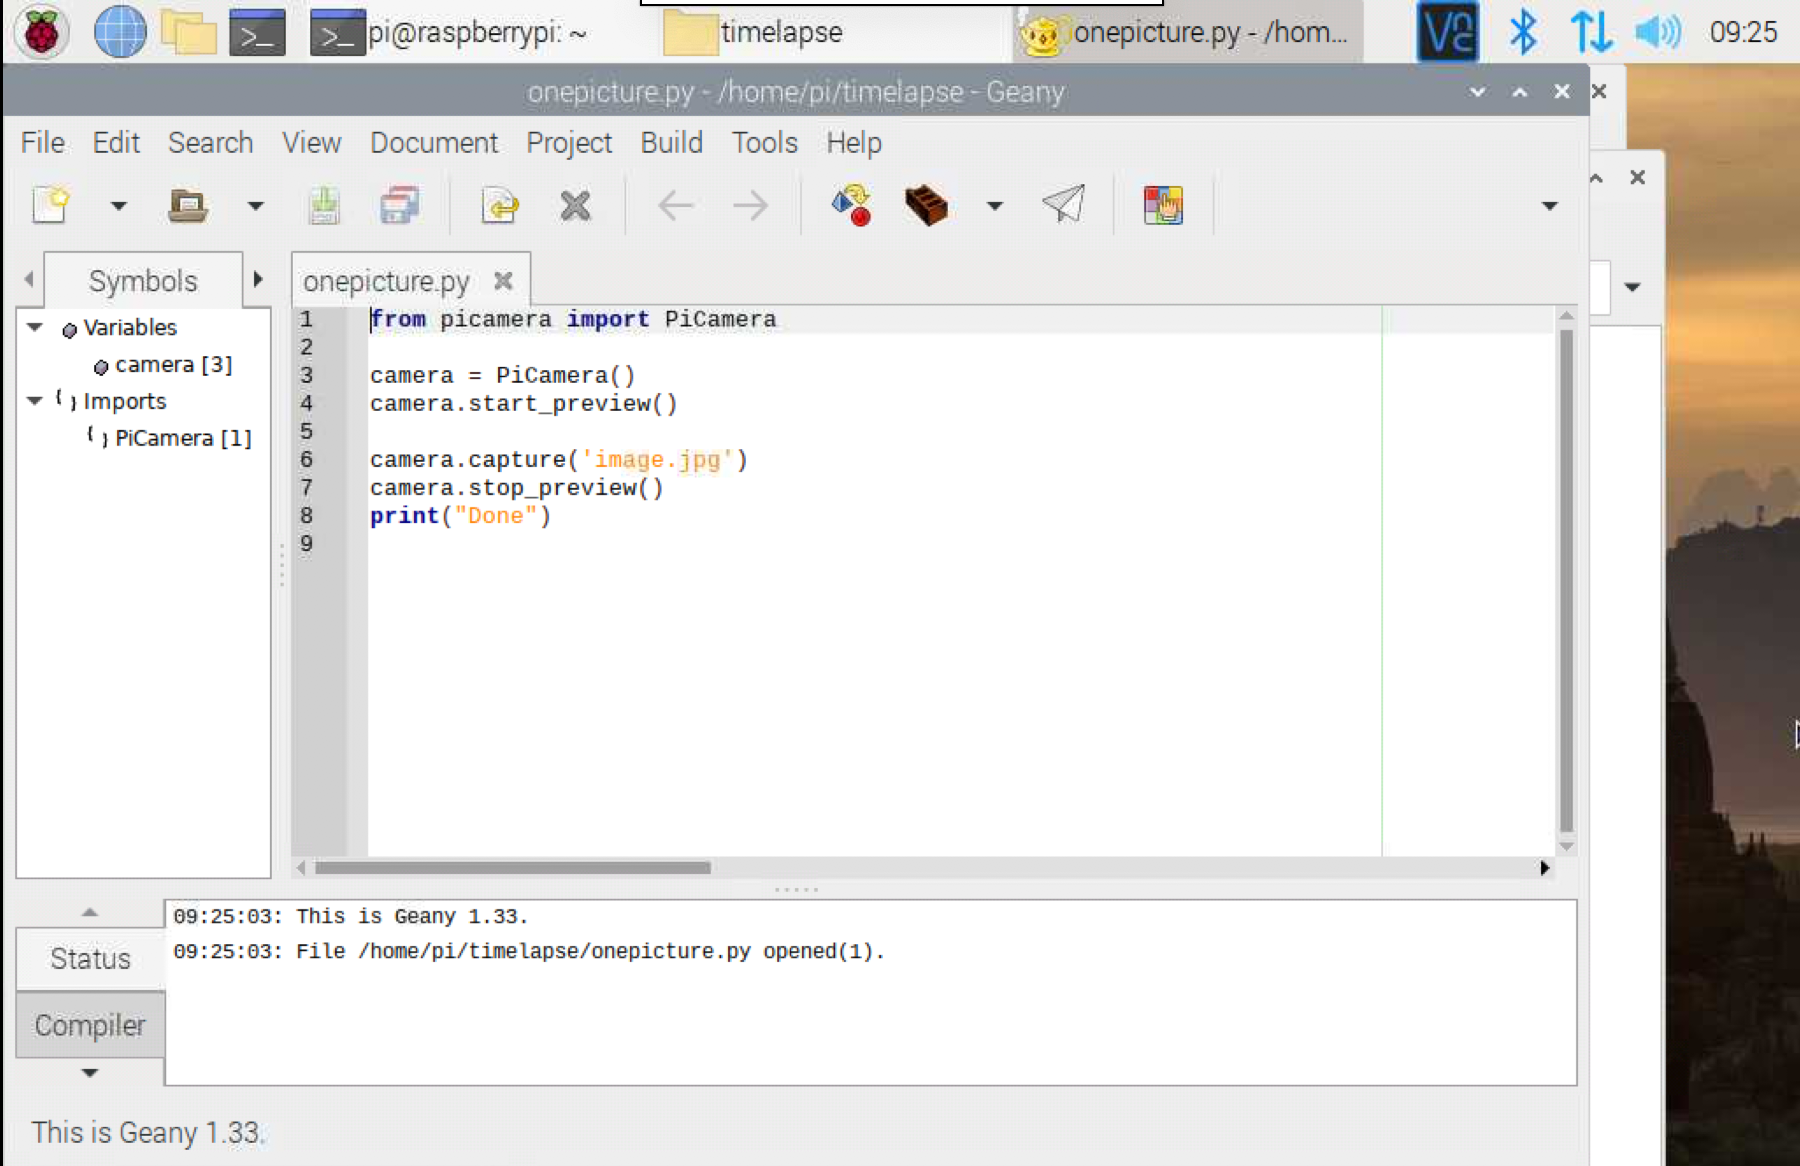
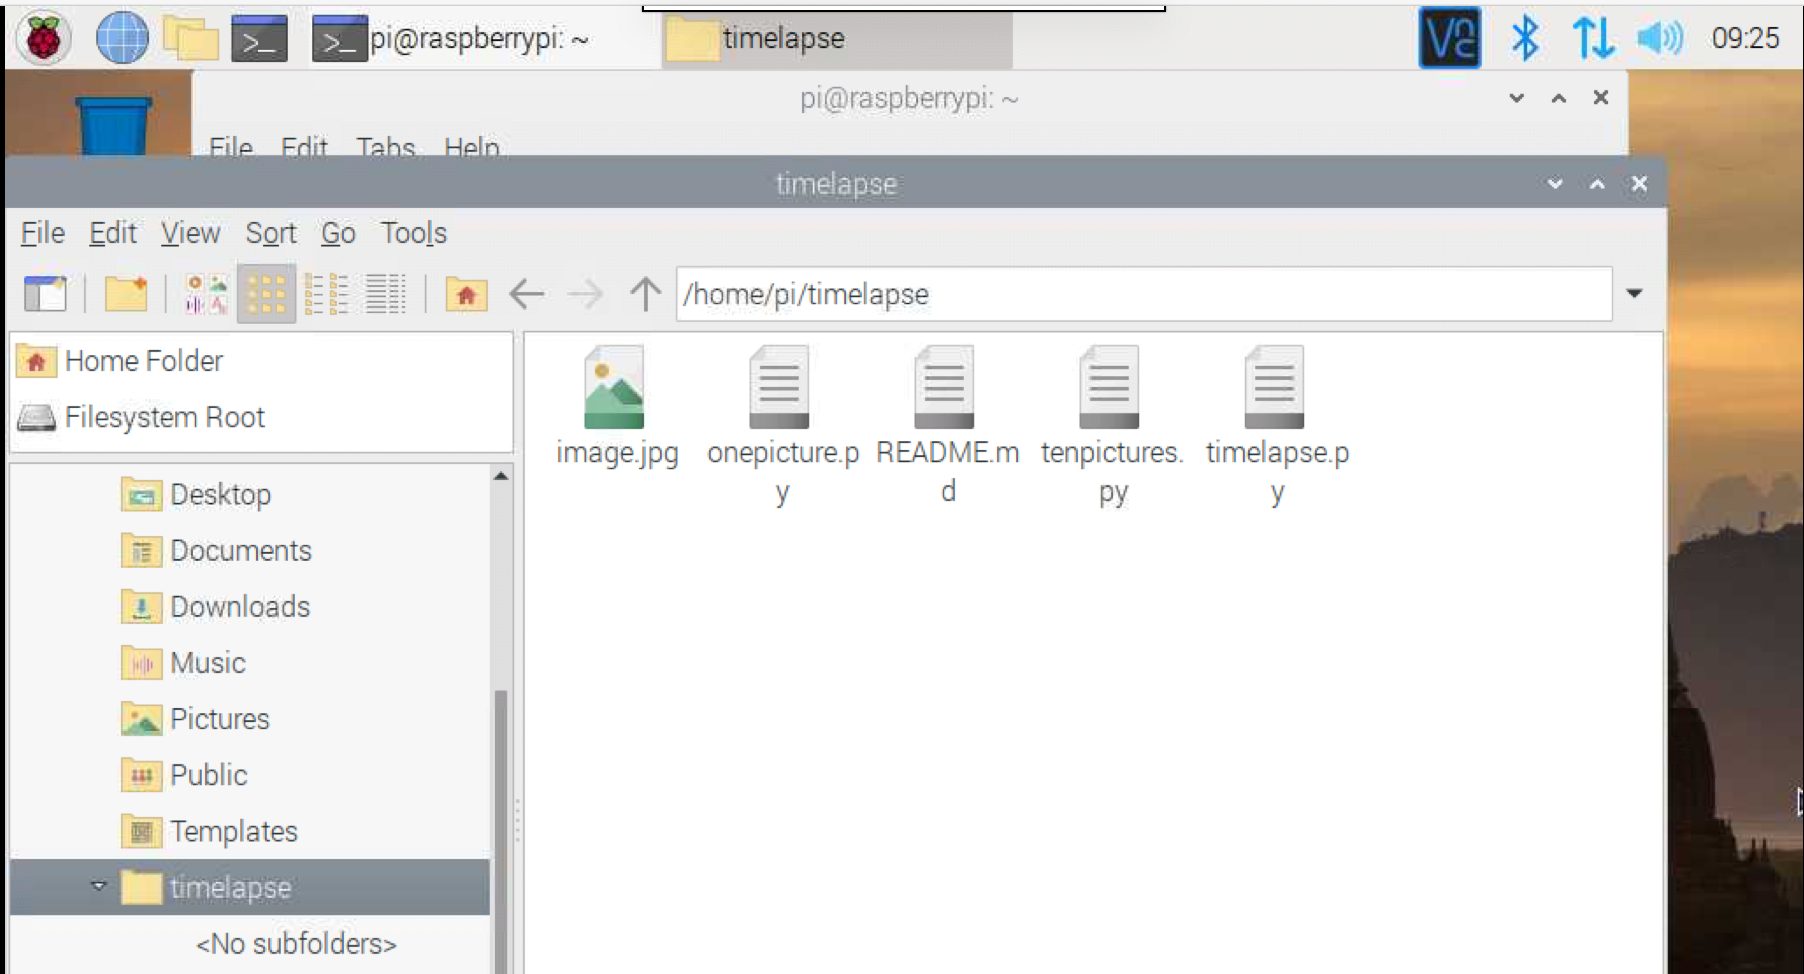
8. Navigate to the timelapse folder in file manager. Open onepicture.py for editing in Geany or Thonny.
9. Run the onepicture.py code by clicking the paper airplane icon in Geany or the Run button in Thonny.
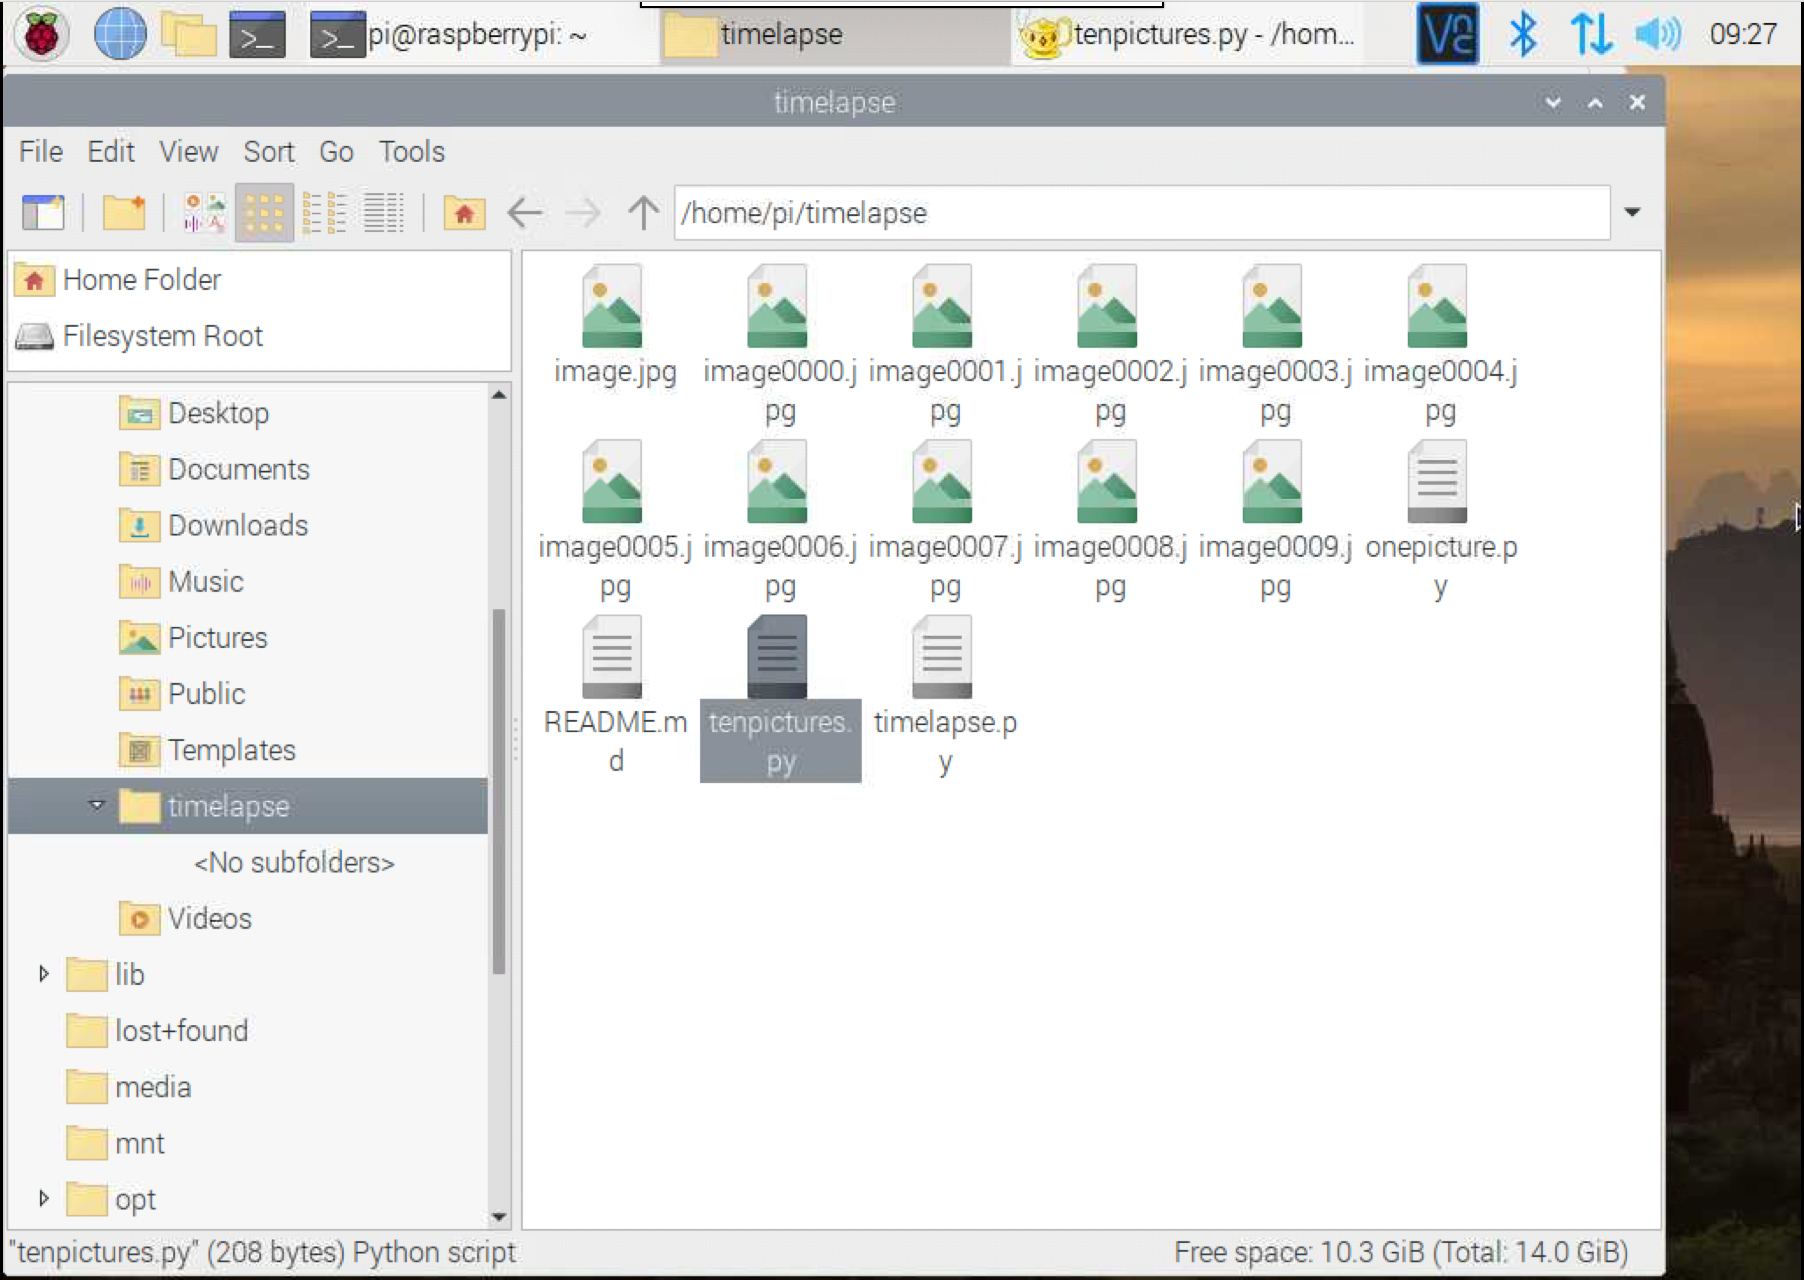
10. Go back to your file manager, and you should see a new file image.jpg in the timelapse folder.
11. Double-click on image.jpg to see your photo.
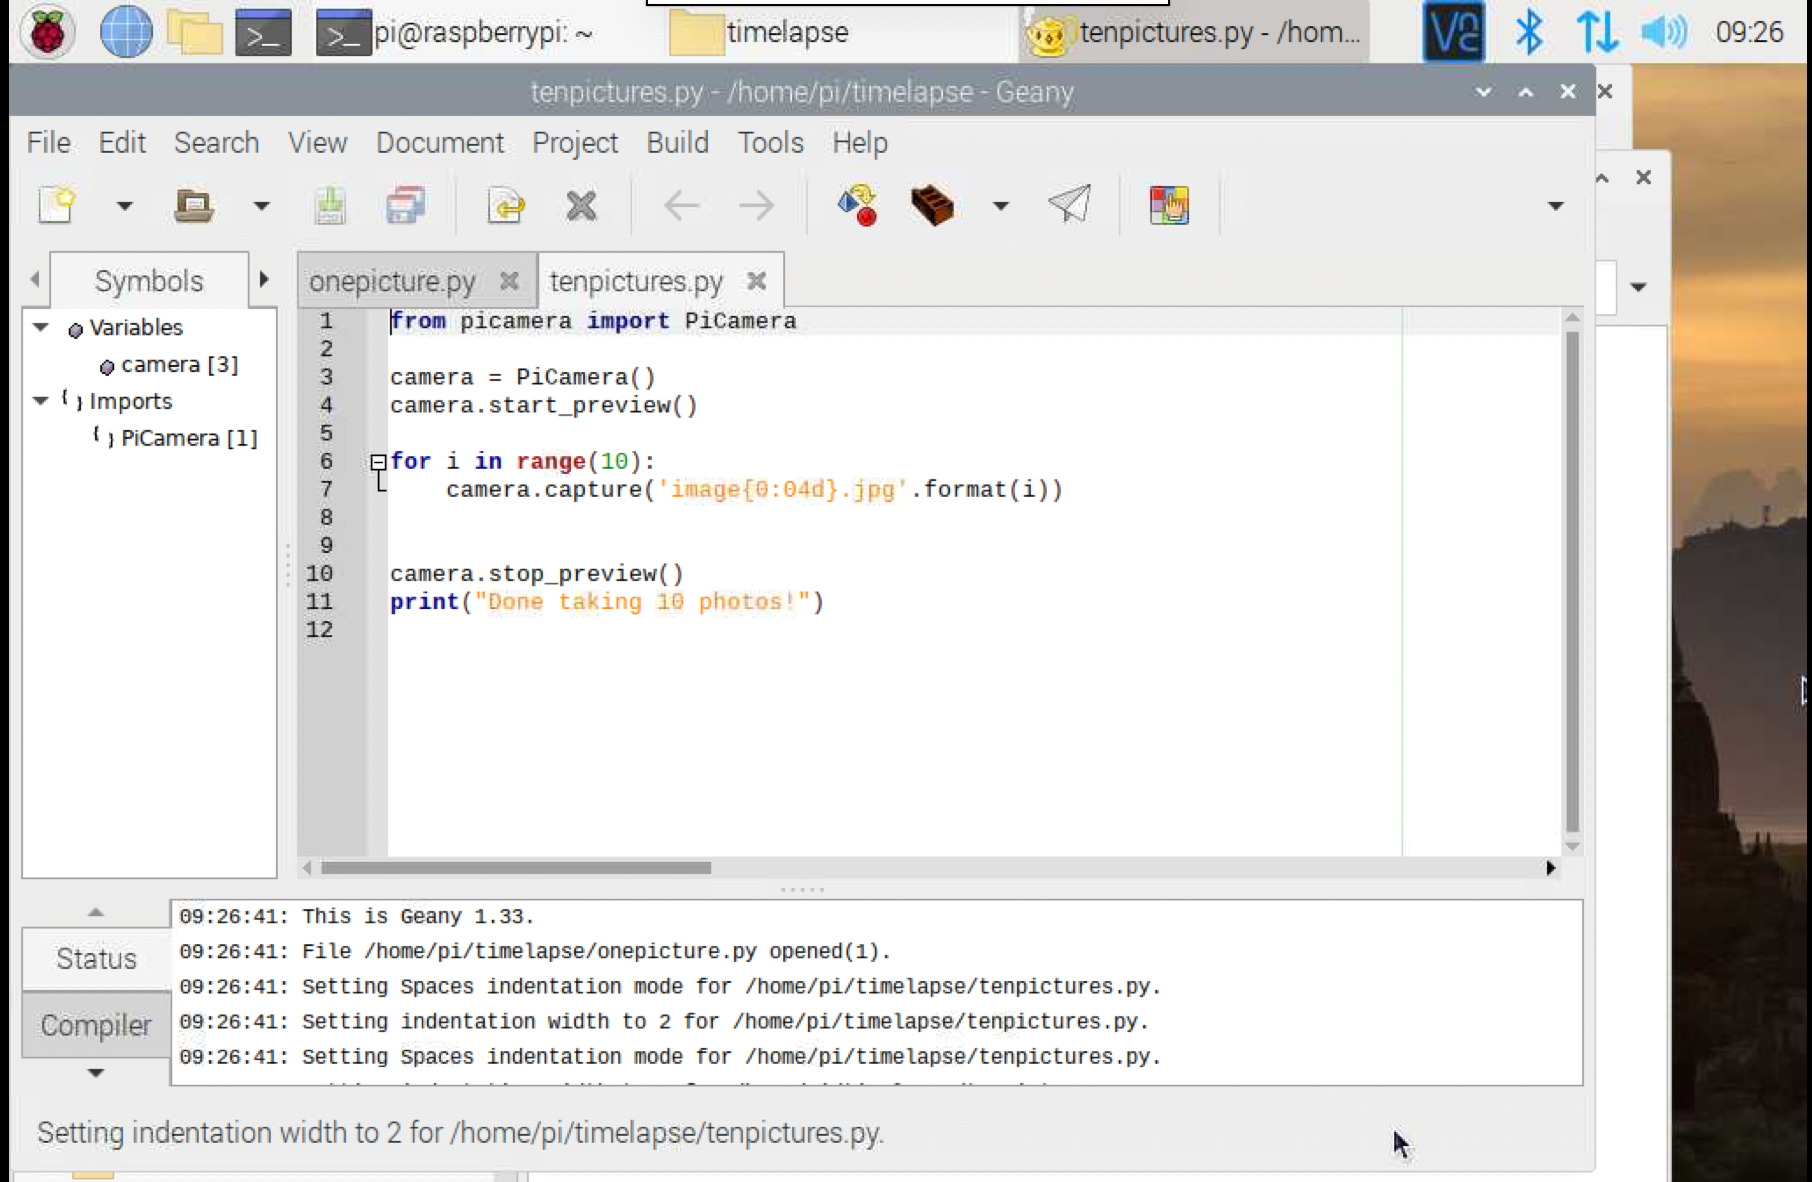
12. Take 10 photos by following the same steps and running tenpictures.py file. This time each picture will be numbered.
Part 3: Setup your time-lapse
In this section, we will set up our HQ camera to create time-lapse videos with a Python script that takes a series of photos and then places the photos sequentially to create a video.
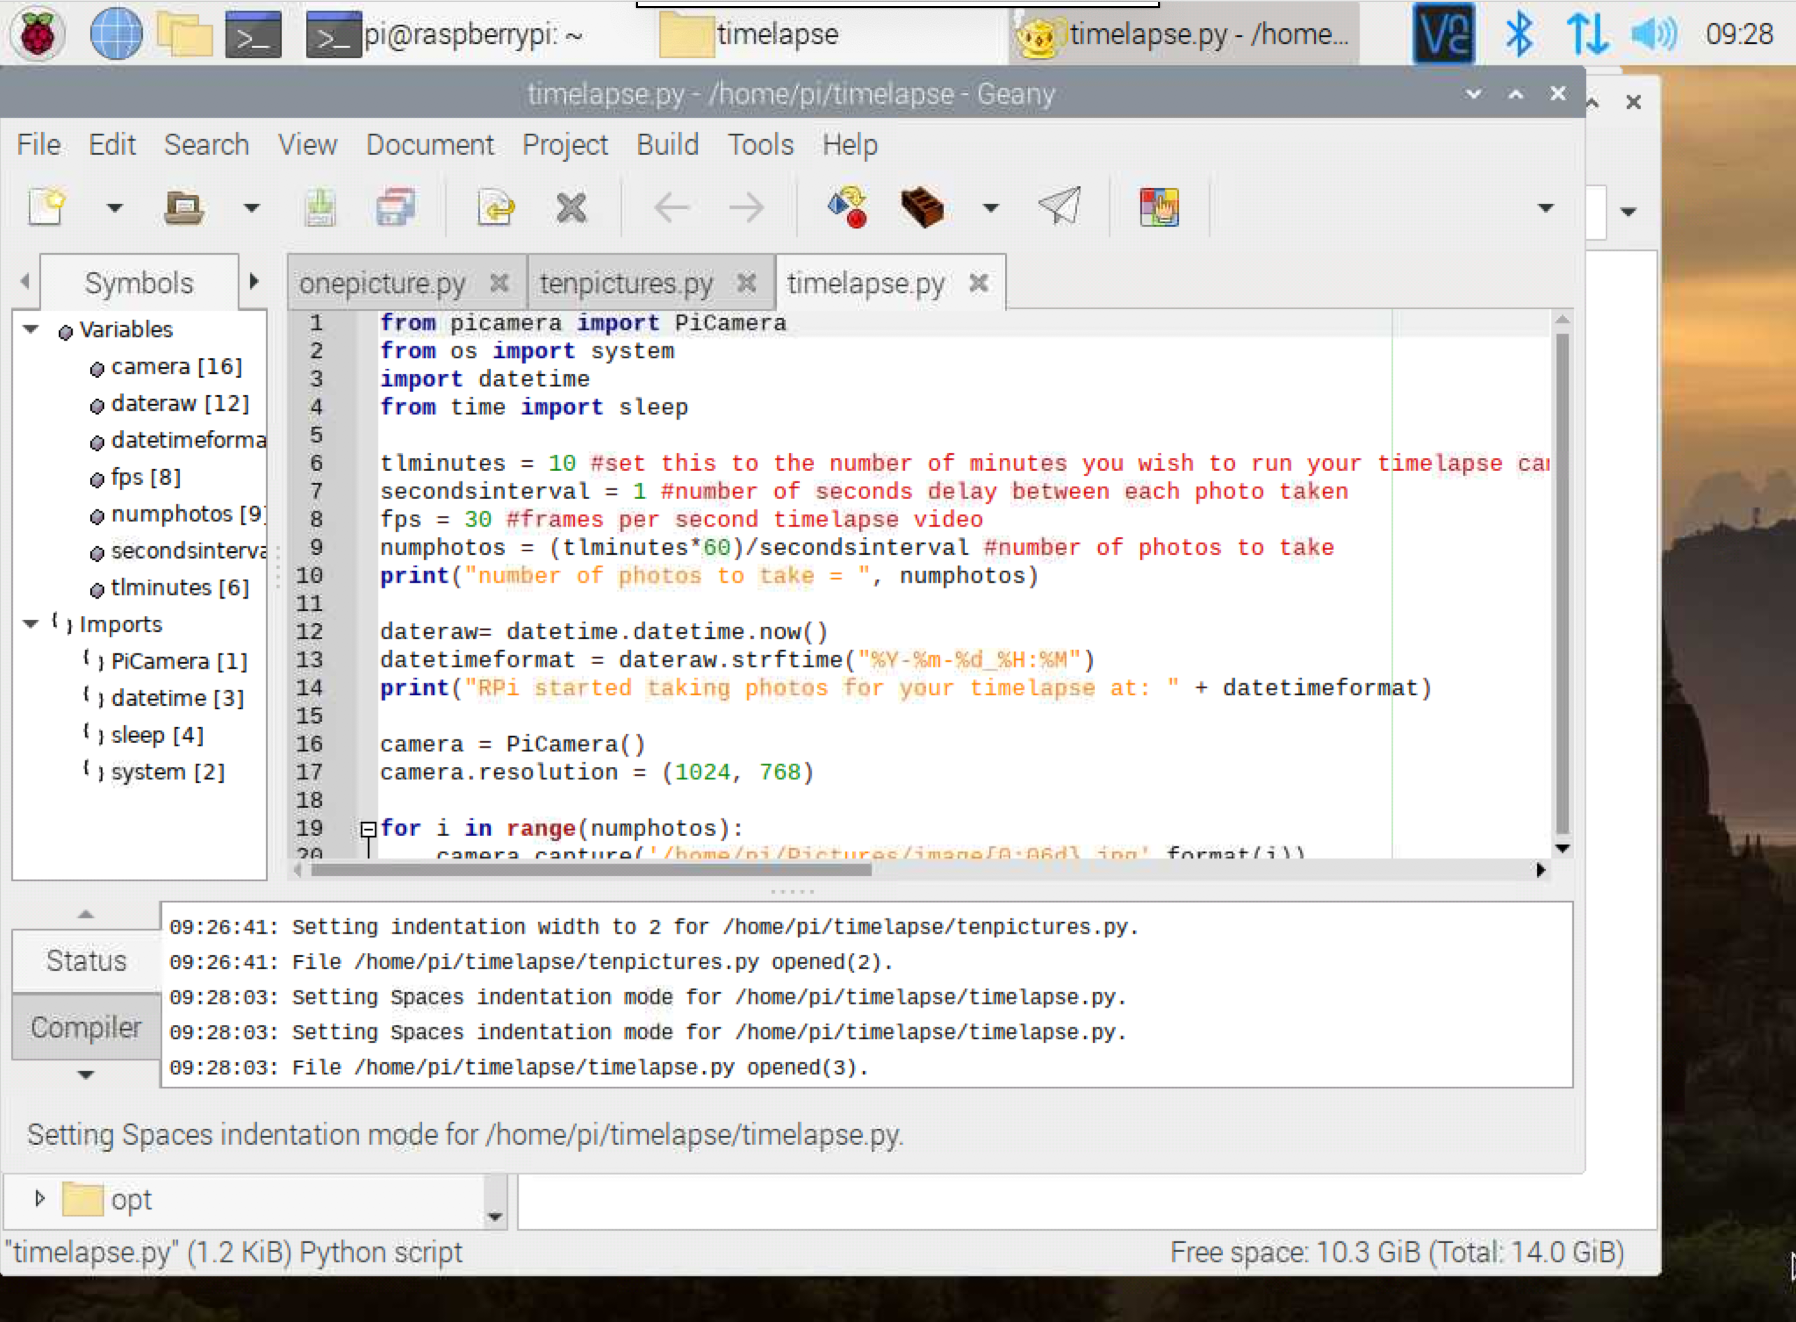
1. Open timelapse.py for editing in Geany or Thonny.
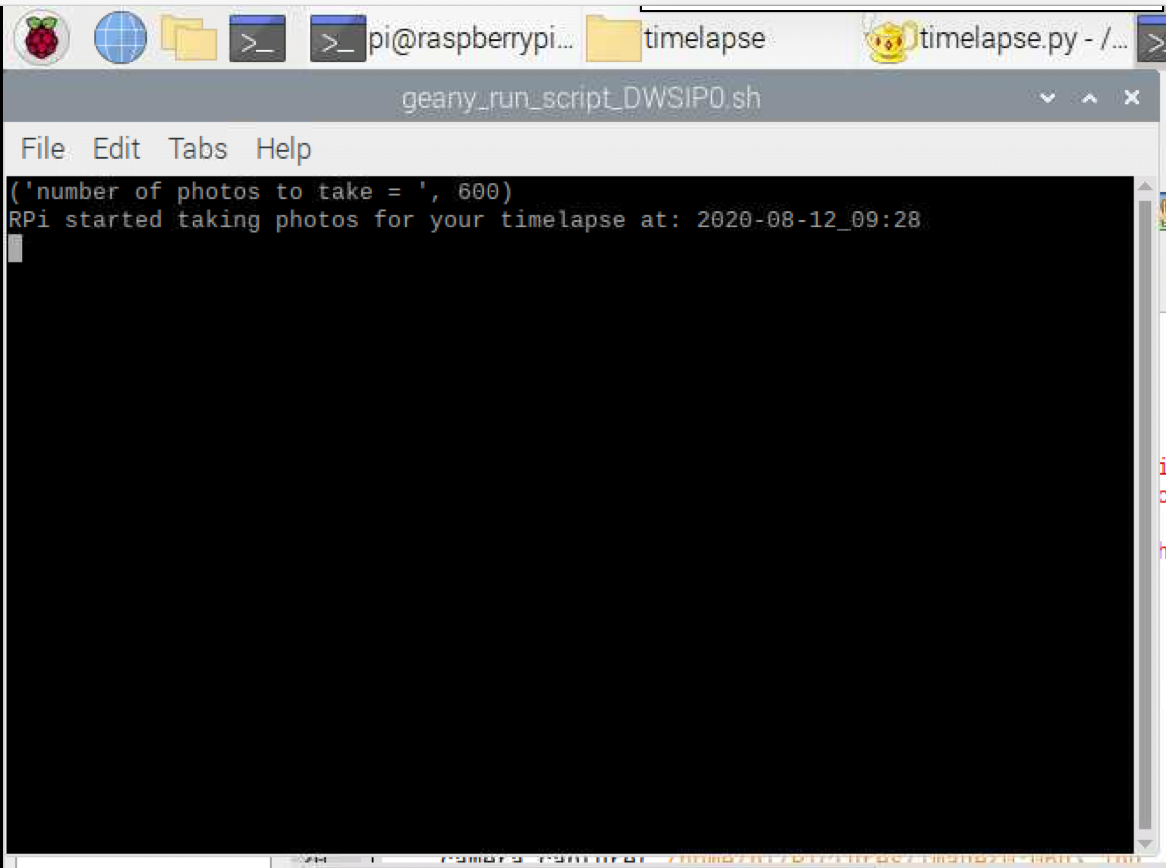
2. Run timelapse.py. Note: This step will take at least 10 minutes.
A terminal window should open indicating that the script is running. The default code is set up to take photos for 10 minutes in 1 second increments and then create a time-lapse video at 30 frames per second.
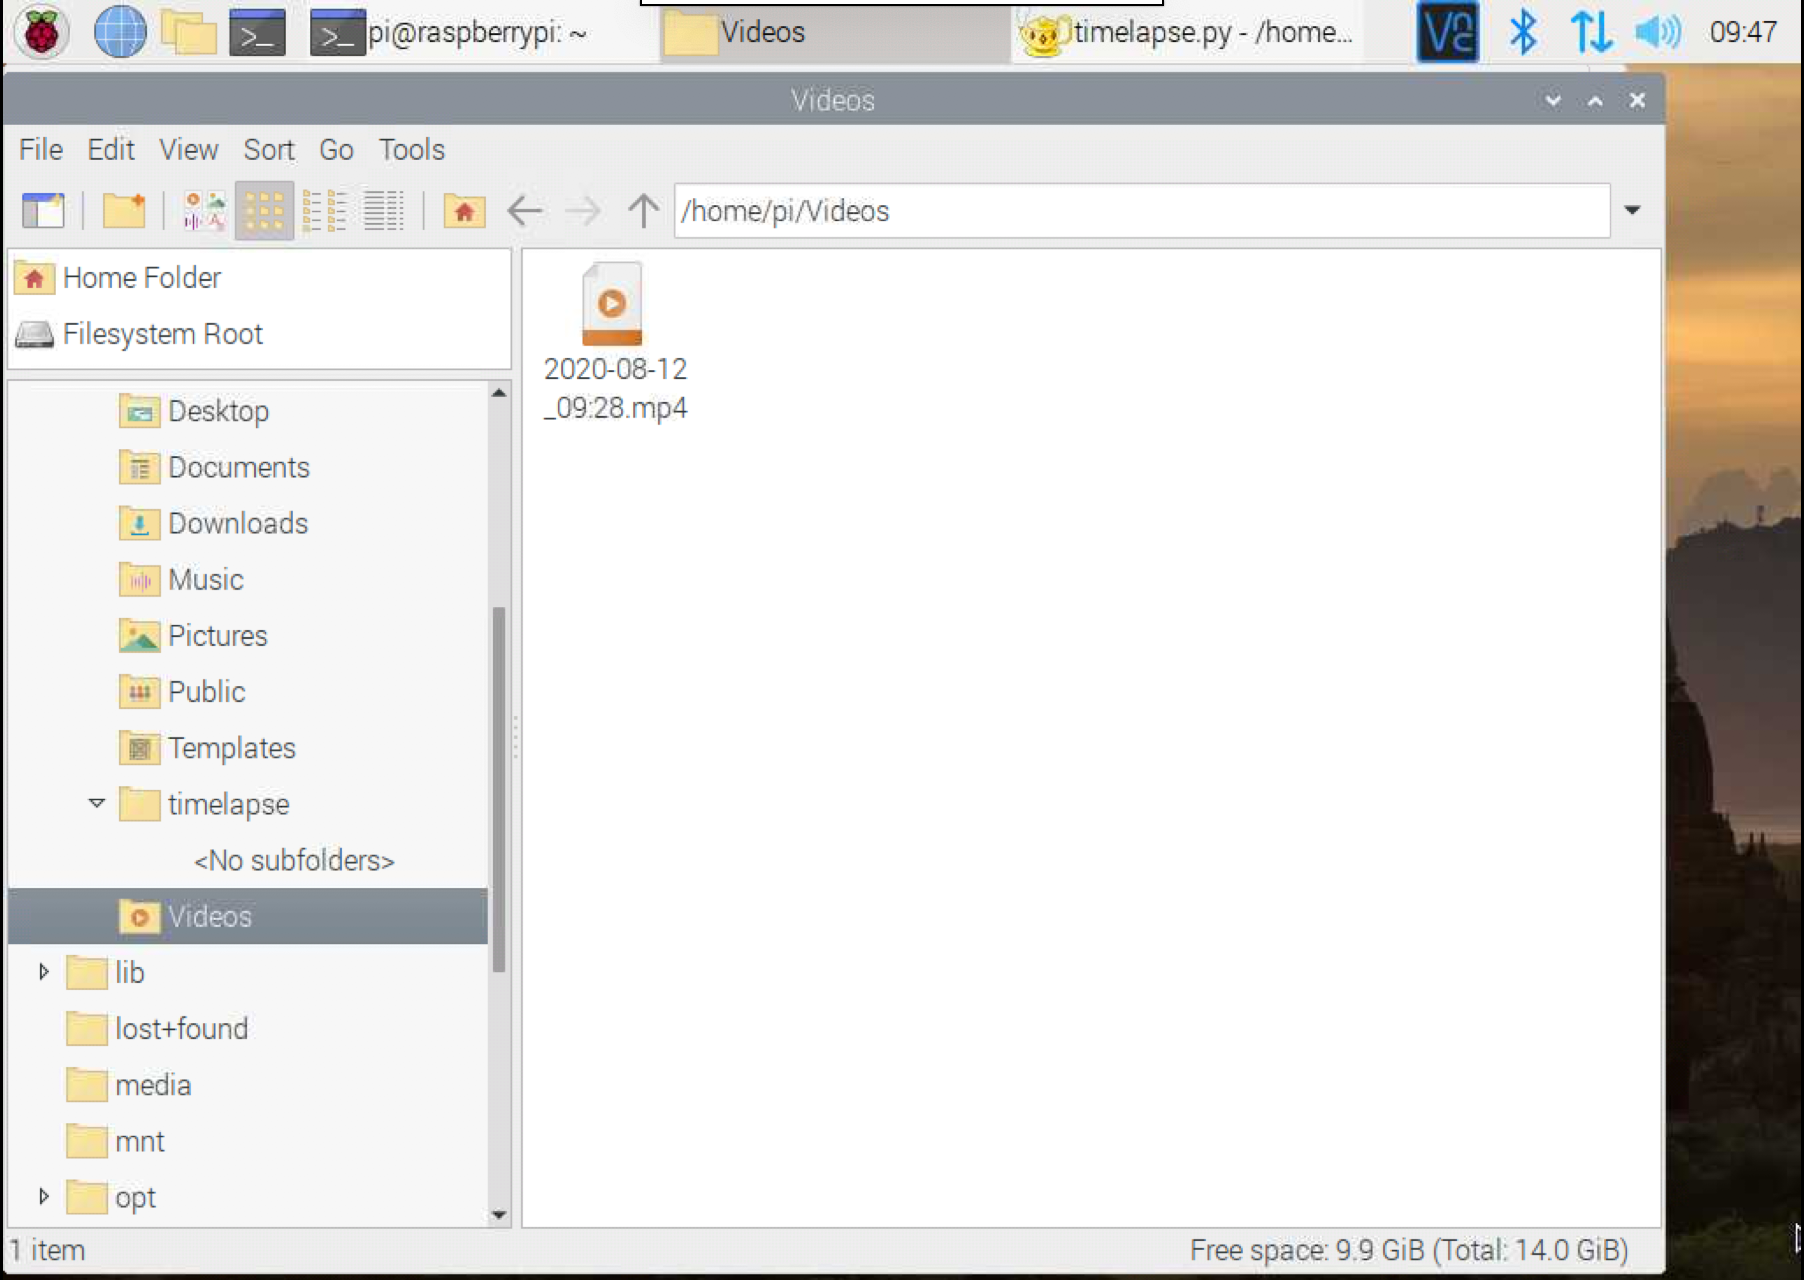
3. Allow the script to run and when the program is complete, go to your Videos folder.
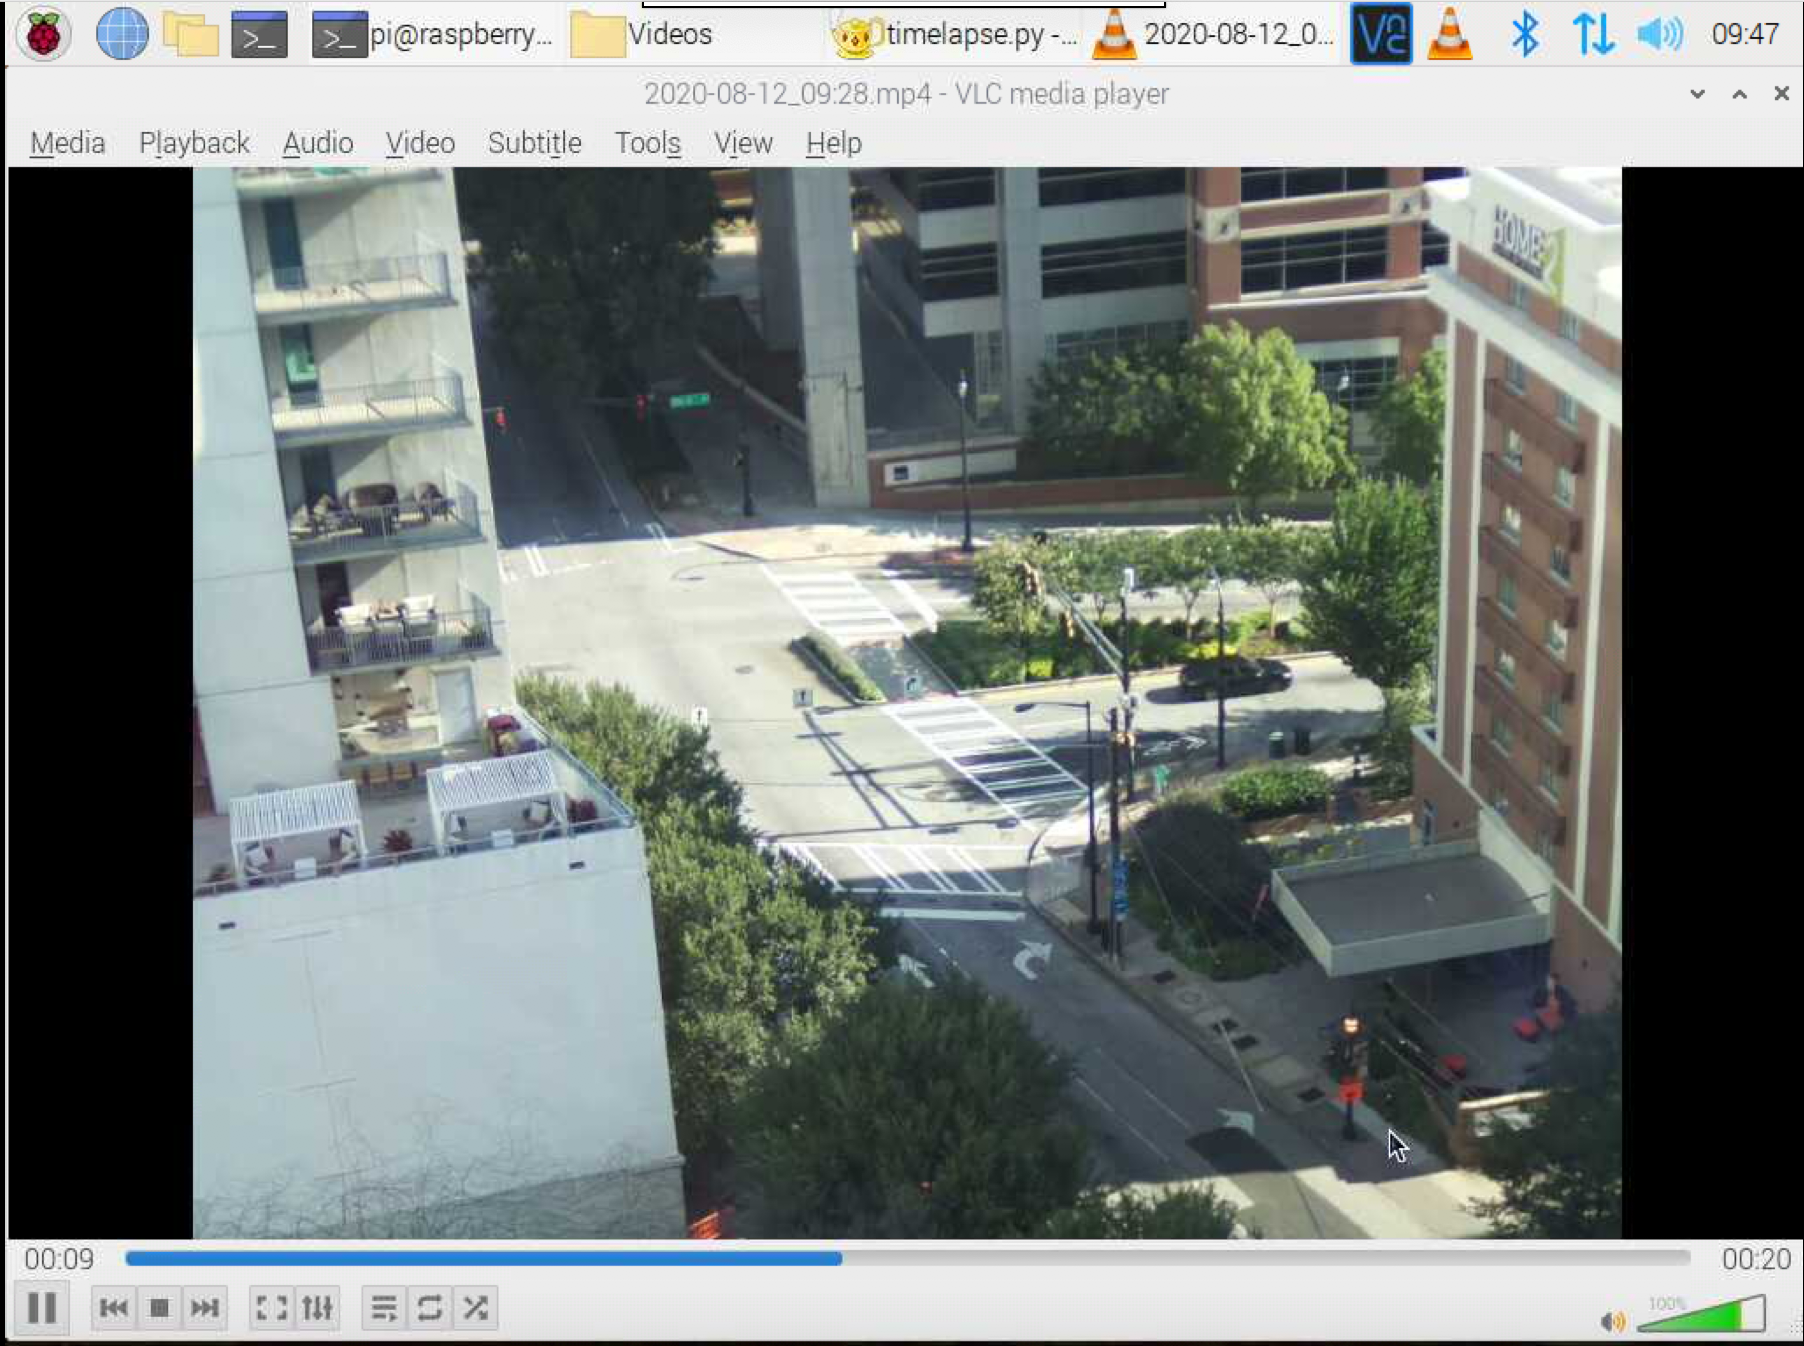
4. Double-click on the video you just created to watch.
5. Optional: If you would like to send the video to yourself (or someone else), you can login your email and send the video in your email, or use wetransfer.com, a free service that allows up to 2GB files to be sent.
6. Review the code for timelapse.py and note that you can change the duration that the time-lapse will capture photos (line 6), the interval (in seconds) between each photo (line 7), and the frame rate of your video (line 8).
Part 4: Auto-run time-lapse capture at sunrise and sunset
In this section, we will set up the Raspberry Pi HQ camera to automatically capture time-lapse videos at sunrise and sunset.
1. In timelapse.py code, change the duration, seconds, and frames per second to your desired preferences. For sunrise / sunset time-lapse videos, I recommend:
- tlminutes = 60 # 1 hour of taking photos
- secondsinterval = 5 # seconds between each photo
- fps = 30 # no change at 30 frames per second
2. Save timelapse.py and close the file. Do not run the script.
3. Look up the sunrise and sunset times in your local area. If you have set your duration (tlminutes = 60 in the previous step) for 1 hour, then I recommend starting the time-lapse capture 30 minutes before sunrise / sunset. For example, if the sunrise time is 7:00 am, then your start time will be 6:30 am.
4. Open a terminal window and enter
crontab -e
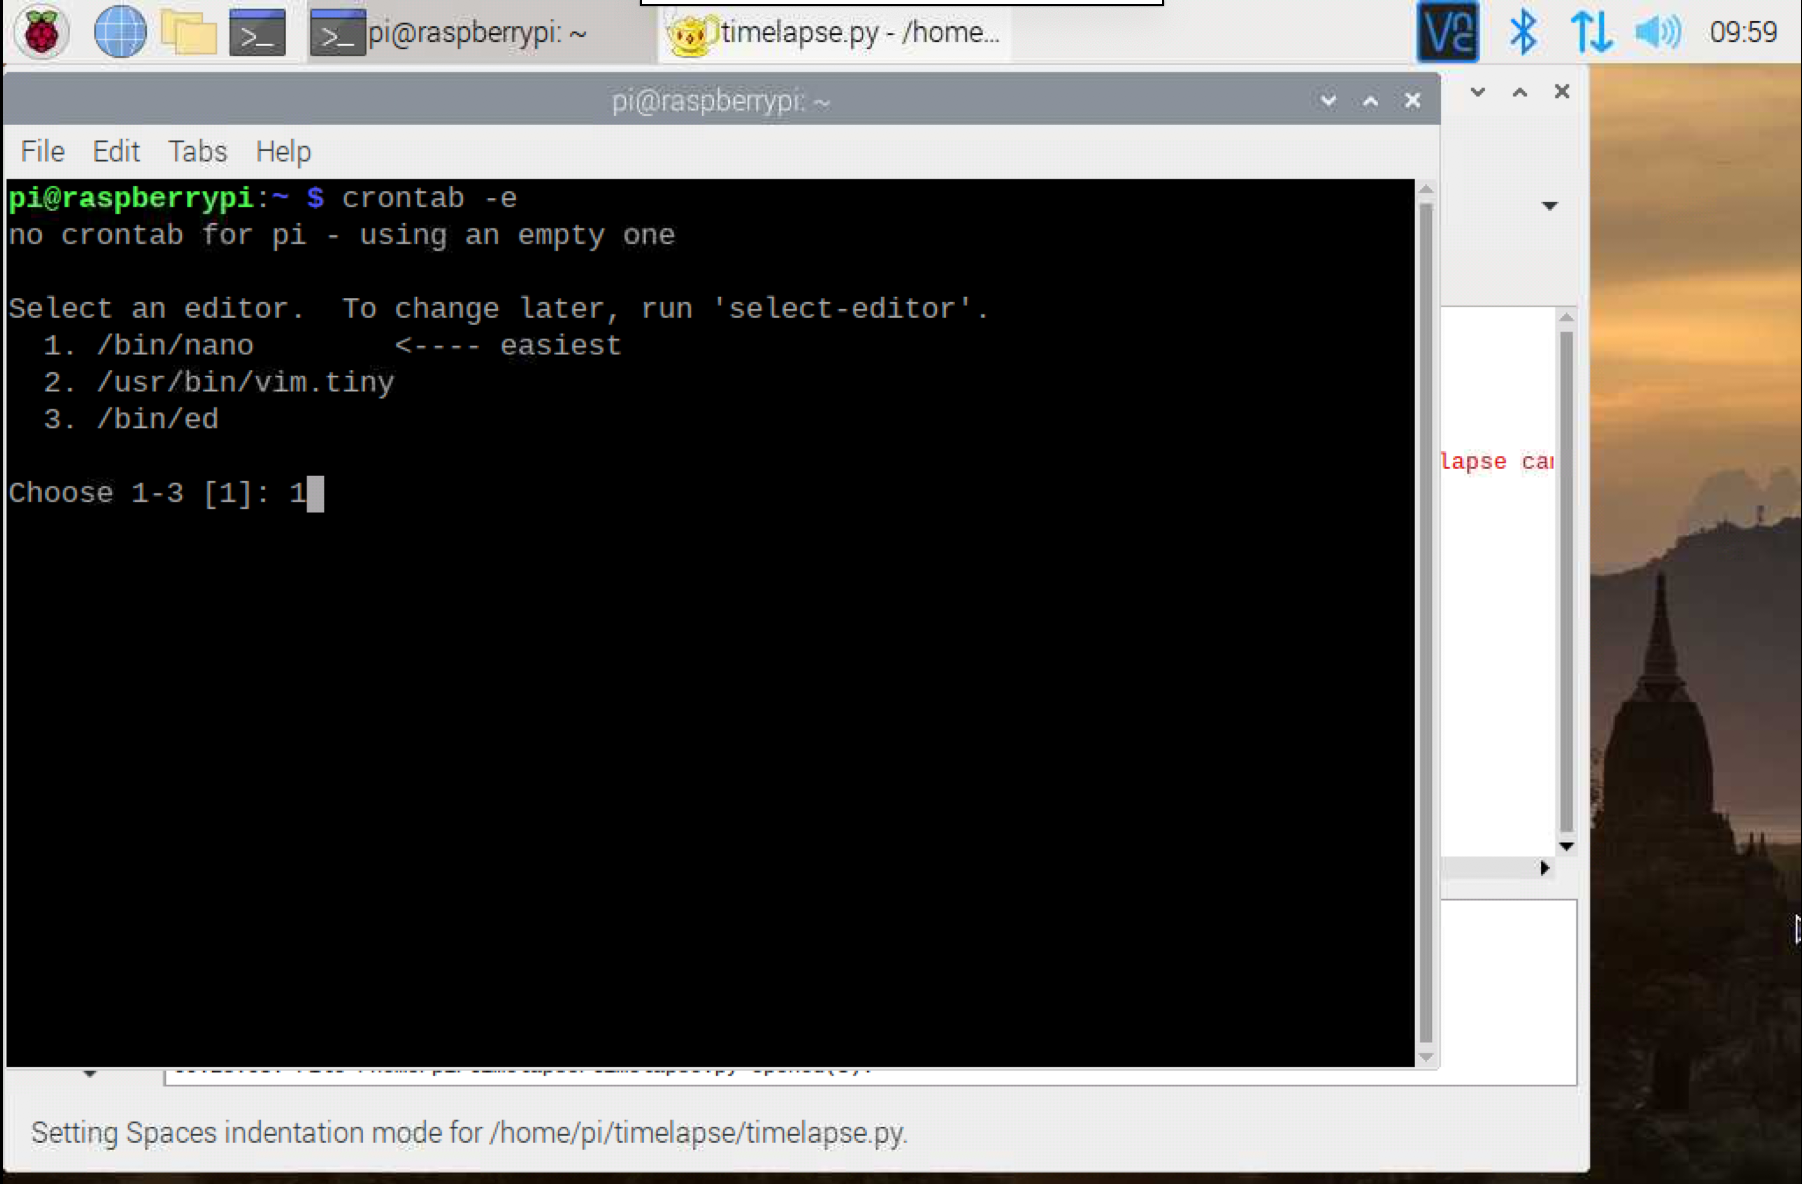
If this is your first time modifying crontab, the Pi will prompt you to select an editor. I selected [1] in this example.
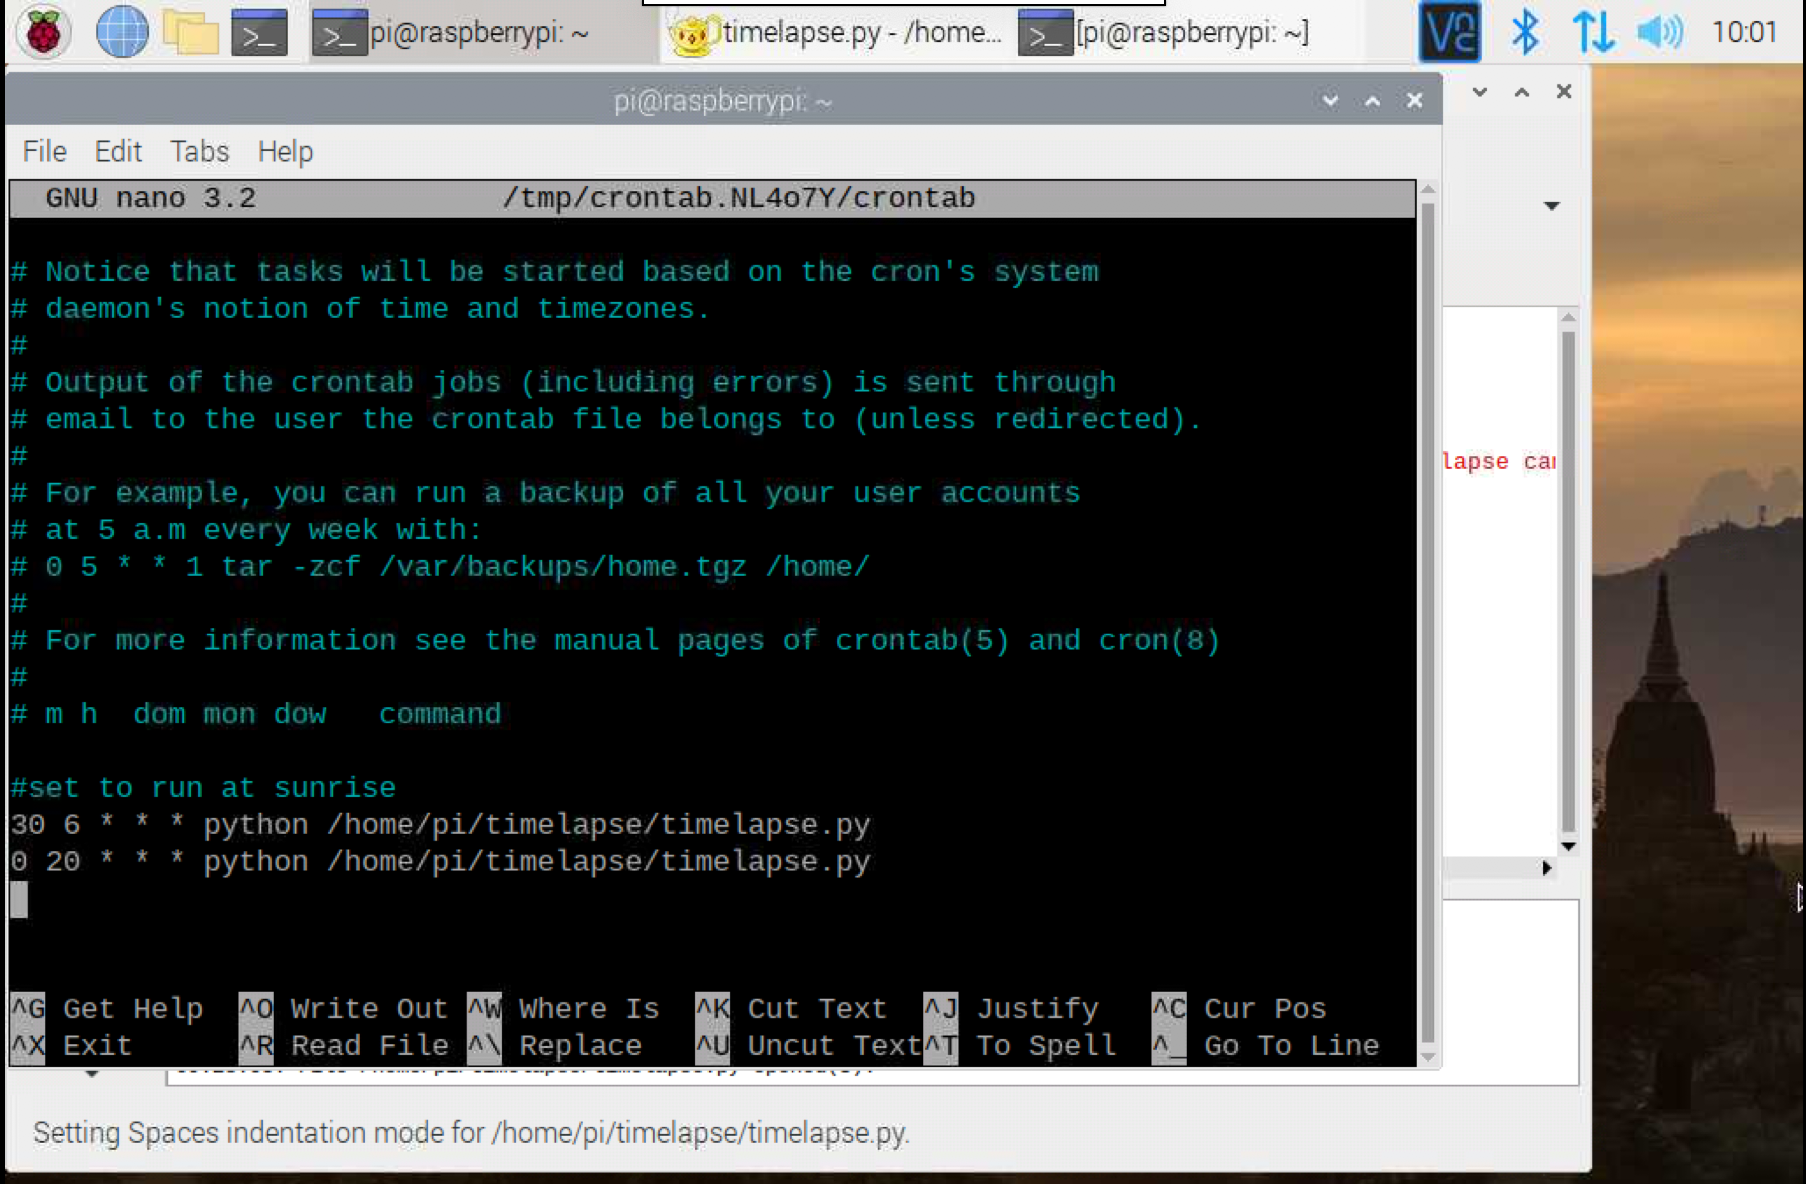
5. Arrow down to the bottom of the file and set your start times for your timelapse.py script to run. In this example, sunrise is at 7:00 am, and we set the script to start at 6:30 am. Sunset is at 8:30 pm and we will set timelapse.py to run at 8:00 pm / 22:00. Enter in the following lines to the bottom of your crontab file (adjusting for your sunrise and sunset times)
30 6 * * * python /home/pi/timelapse/timelapse.py
0 22 * * * python /home/pi/timelapse/timelapse.py
6. Hit Ctrl-X to Exit and y to save your crontab file.
While the Raspberry Pi is powered on, timelapse.py will automatically run at the times you have set.
Caroline Dunn is a freelance writer for Tom's Hardware. Her expertise lies in covering Raspberry Pi projects, creating video tutorials, writing guides, and exploring other entertaining tech DIY initiatives.
-
gilbster What would be the best way to adapt the code to use this with gphoto to control my DSLR camera instead?Reply
