Tom's Hardware Verdict
A great case with excellent cooling. This is more an Arm desktop computer case than a maker case, but it offers excellent performance and elevates the Raspberry Pi 5 from “just an SBC” into a real desktop computer.
Pros
- +
Great design
- +
Excellent cooling performance
- +
Software installation is easy
- +
Easy to build
- +
Better camera and display access
Cons
- -
It's big!
- -
HAT access is awkward
- -
Optional extra bump up the price
Why you can trust Tom's Hardware
Update: 2/12 04:37 PT
Argon 40 has confirmed that the dual version of the M.2 NVMe breakout uses an ASM1182E just like Pimoroni's NVMe Base Duo. This provides one PCIe x1 Gen2 upstream port to 2 PCIe x 1 Gen2 downstream ports. This means that your drive will run slower, but considering that it will likely be used as a NAS, network speeds will be the bottleneck.
Original Article
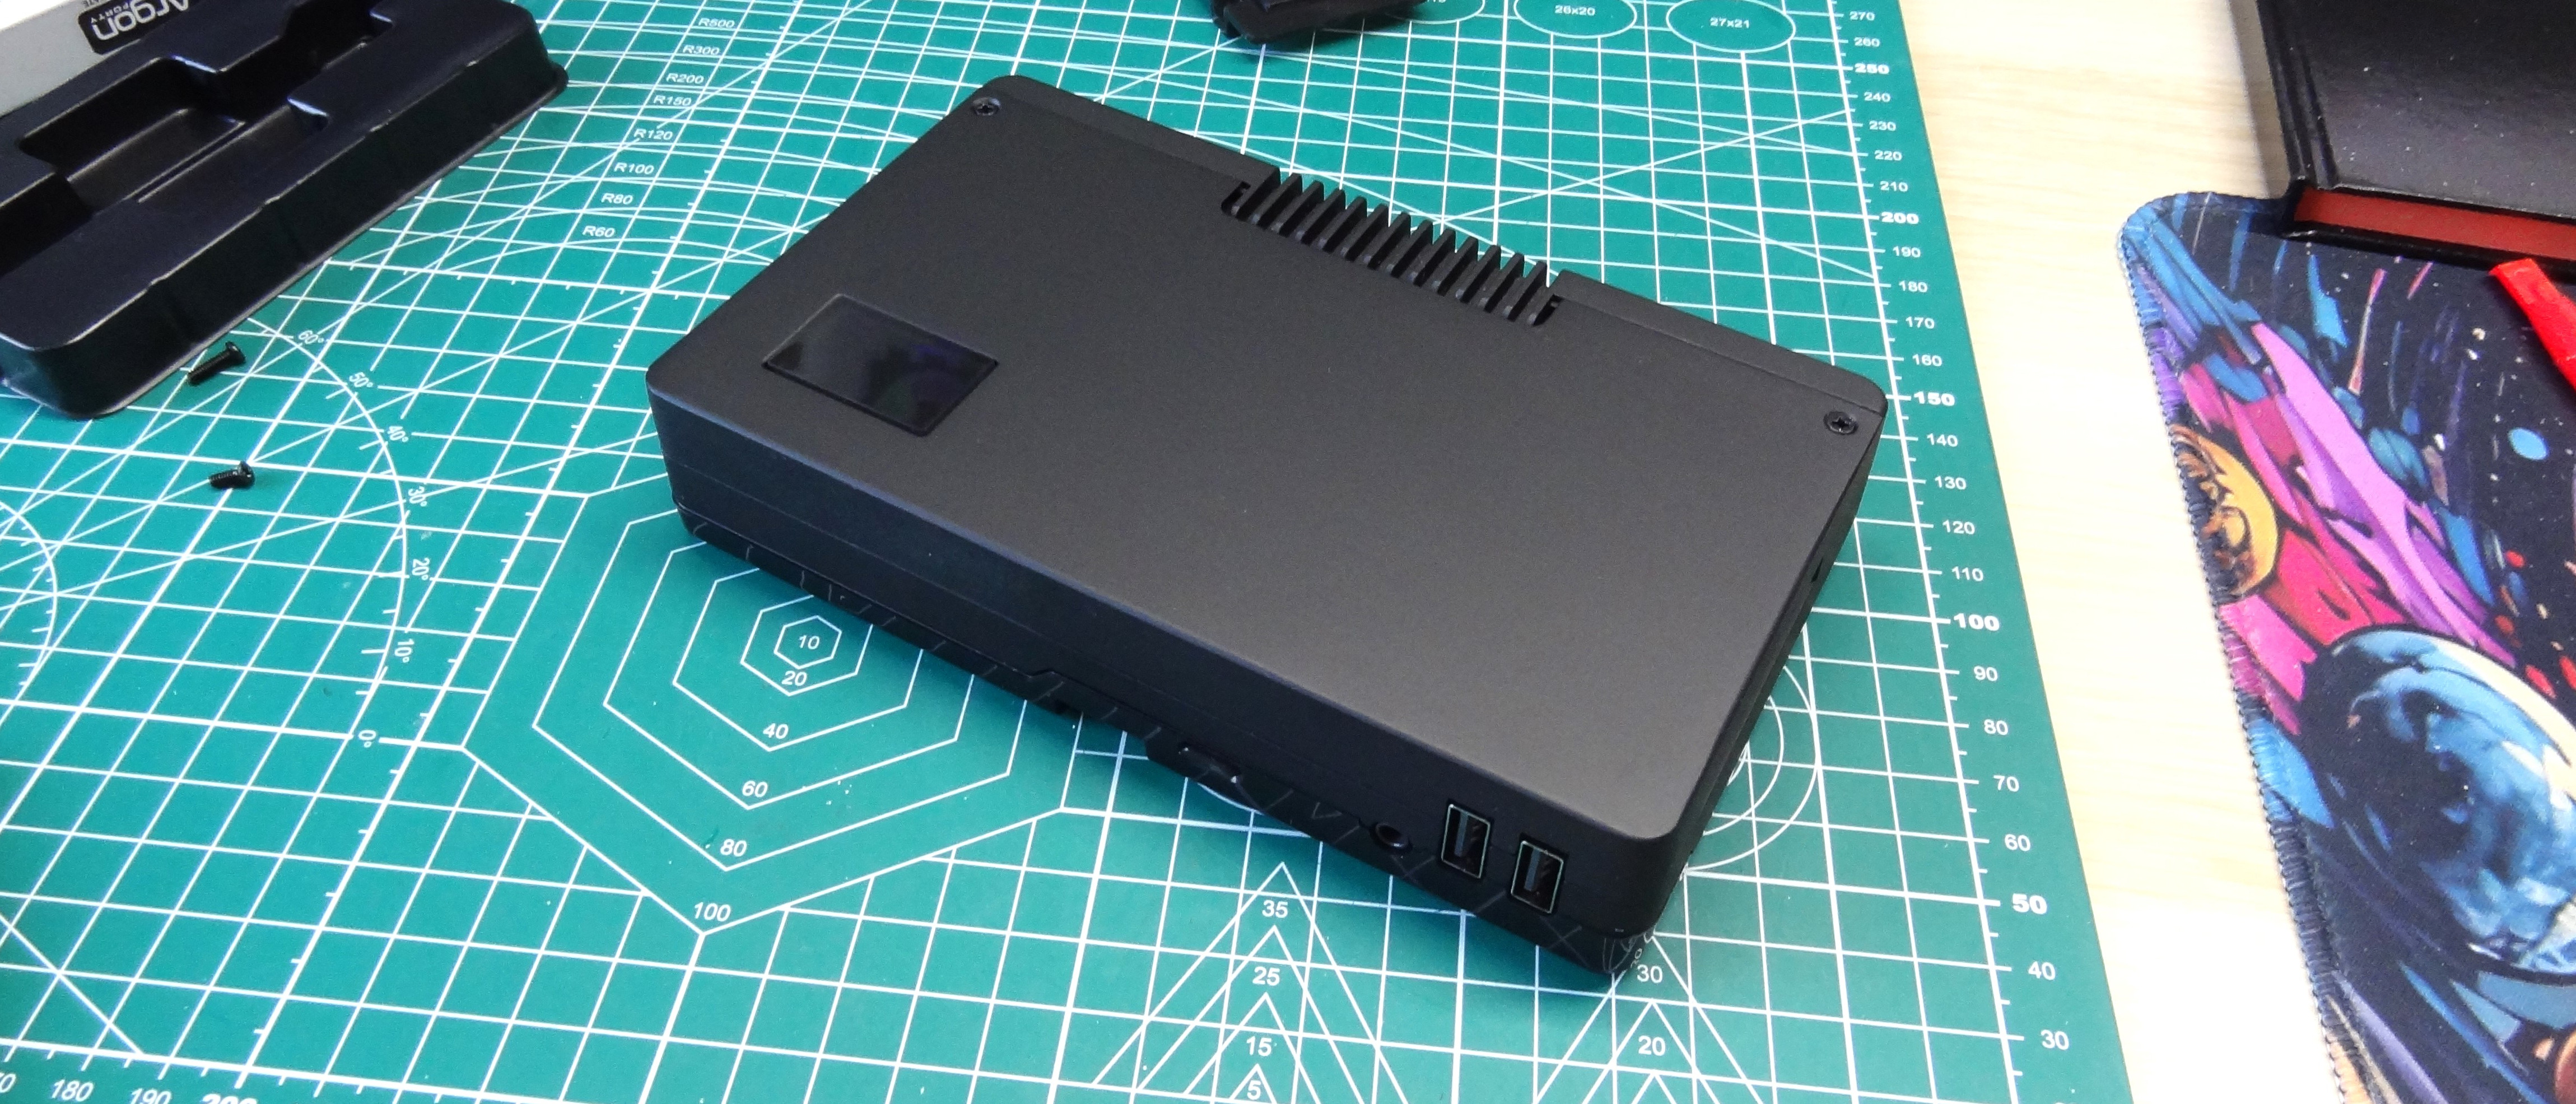
Argon 40 has a history of designing eye-catching cases for the Raspberry Pi. The Argon range has always reminded me of a prop from The Expanse (yes, I mention that show far too often). With cool aluminum and space grey colors merged with sci-fi design. But for its latest case, the Argon One V5, we get a black case, heck it reminded me of a VHS cassette, a futuristic cassette I add.
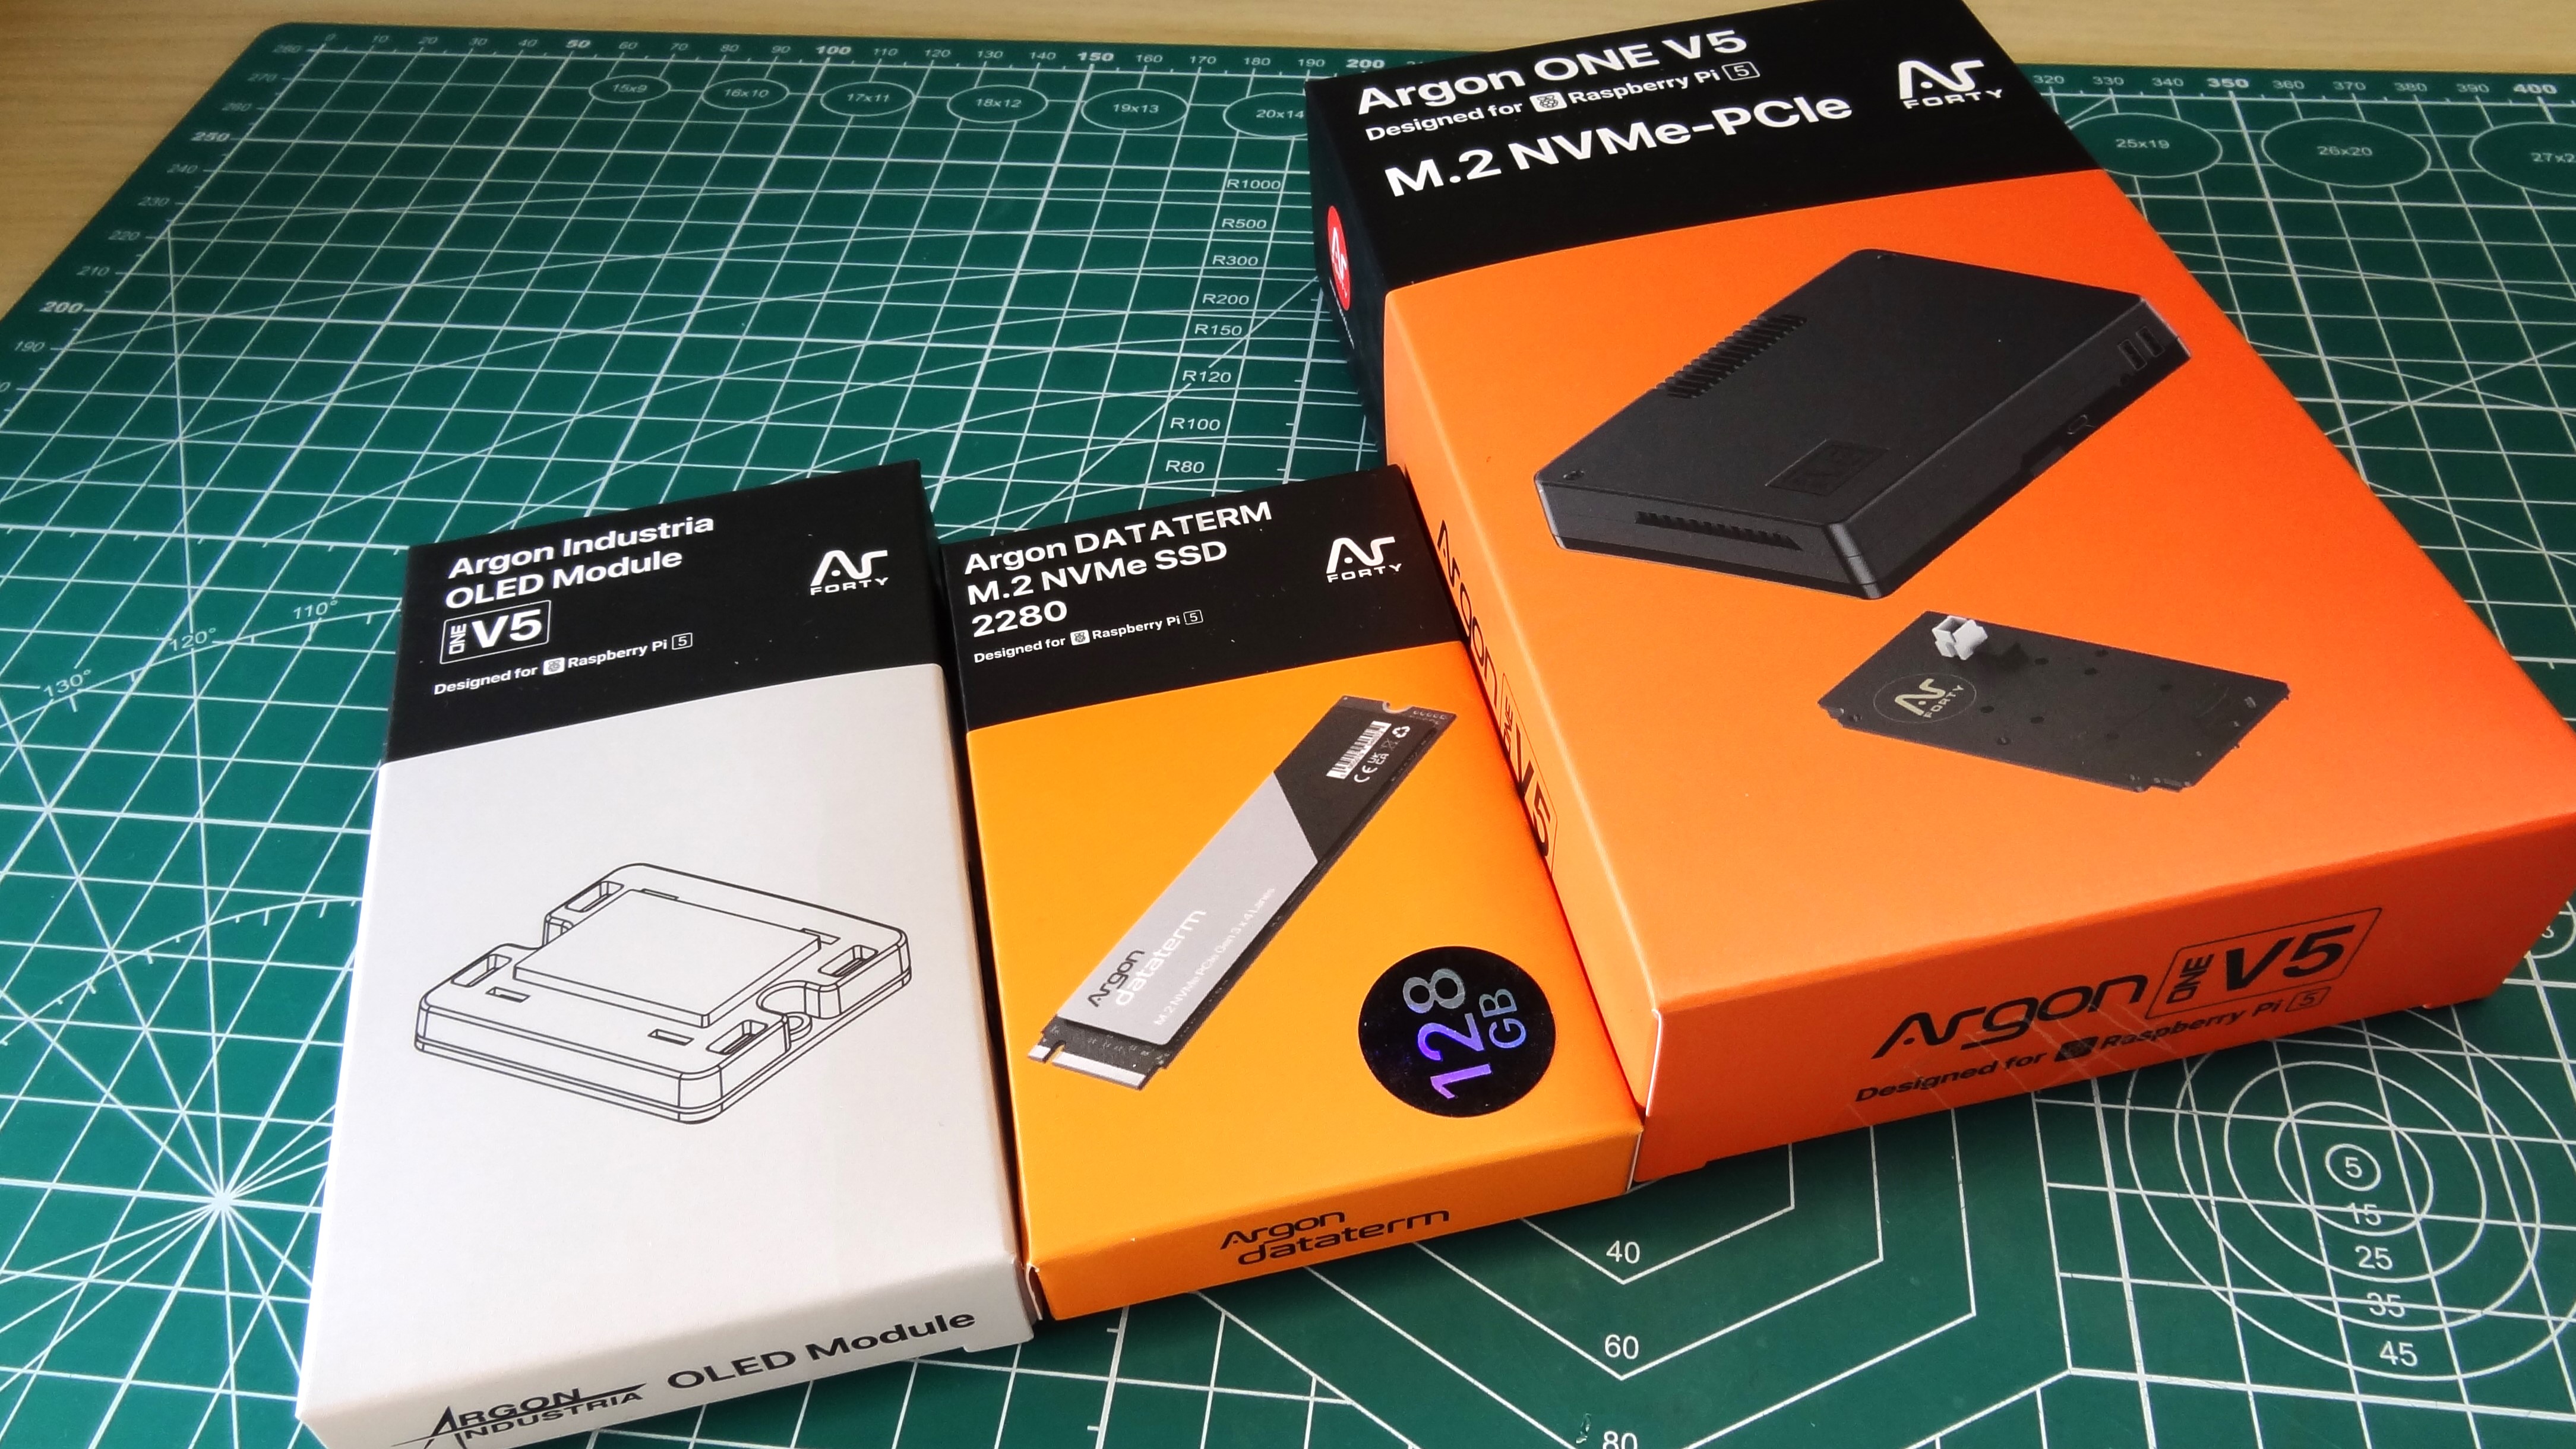
The Argon One V5 comes as case only, for $35. Or you can get the case with a single M.2 NVMe breakout board for $48. Our review unit was based on this configuration, along with a $25 Argon Dataterm M.2 NVMe SSD and a $10 Argon One V5 Industria OLED module. So our review unit stands us at $83 all in.
You will have noticed that I said “single M.2 NVMe breakout” this signifies that there is a dual version. We’ve not got that for review, but I have asked for a unit. Typically we need a PCIe packet switcher like the ASM1182e used in Pimoroni’s NVMe Base Duo. But this uses PCIe Gen 2 speeds, so we lose the benefit of PCIe Gen 3 in favor of more storage. I hope to provide an update on this in due course.
So without further ado, let's put the Argon One V5 on the bench and decide what sci-fi franchise it belongs to, oh and how it performs.
Argon One V5 Technical Specifications
| Case | Cast aluminum |
| Cooling | Cast aluminum heatsink and 30mm PWM fan |
| Ports | Dual HDMI, 2 x Rear USB 2.0 via Pi, 2 x USB 3.0 via Pi, 2 x Front facing USB 2.0 ports, 3.5mm audio jack with DAC |
| GPIO / Connectors | Full access to GPIO, UART and RTC via JST, Camera (CSI) and Display (DSI) ports. Optional OLED display via GPIO Optional ZigBee header Optional M.2 PCIe Gen 3 board for NVMe SSD |
| Dimensions | 160 x 95 x 30mm |
Argon One V5 Design and Assembly
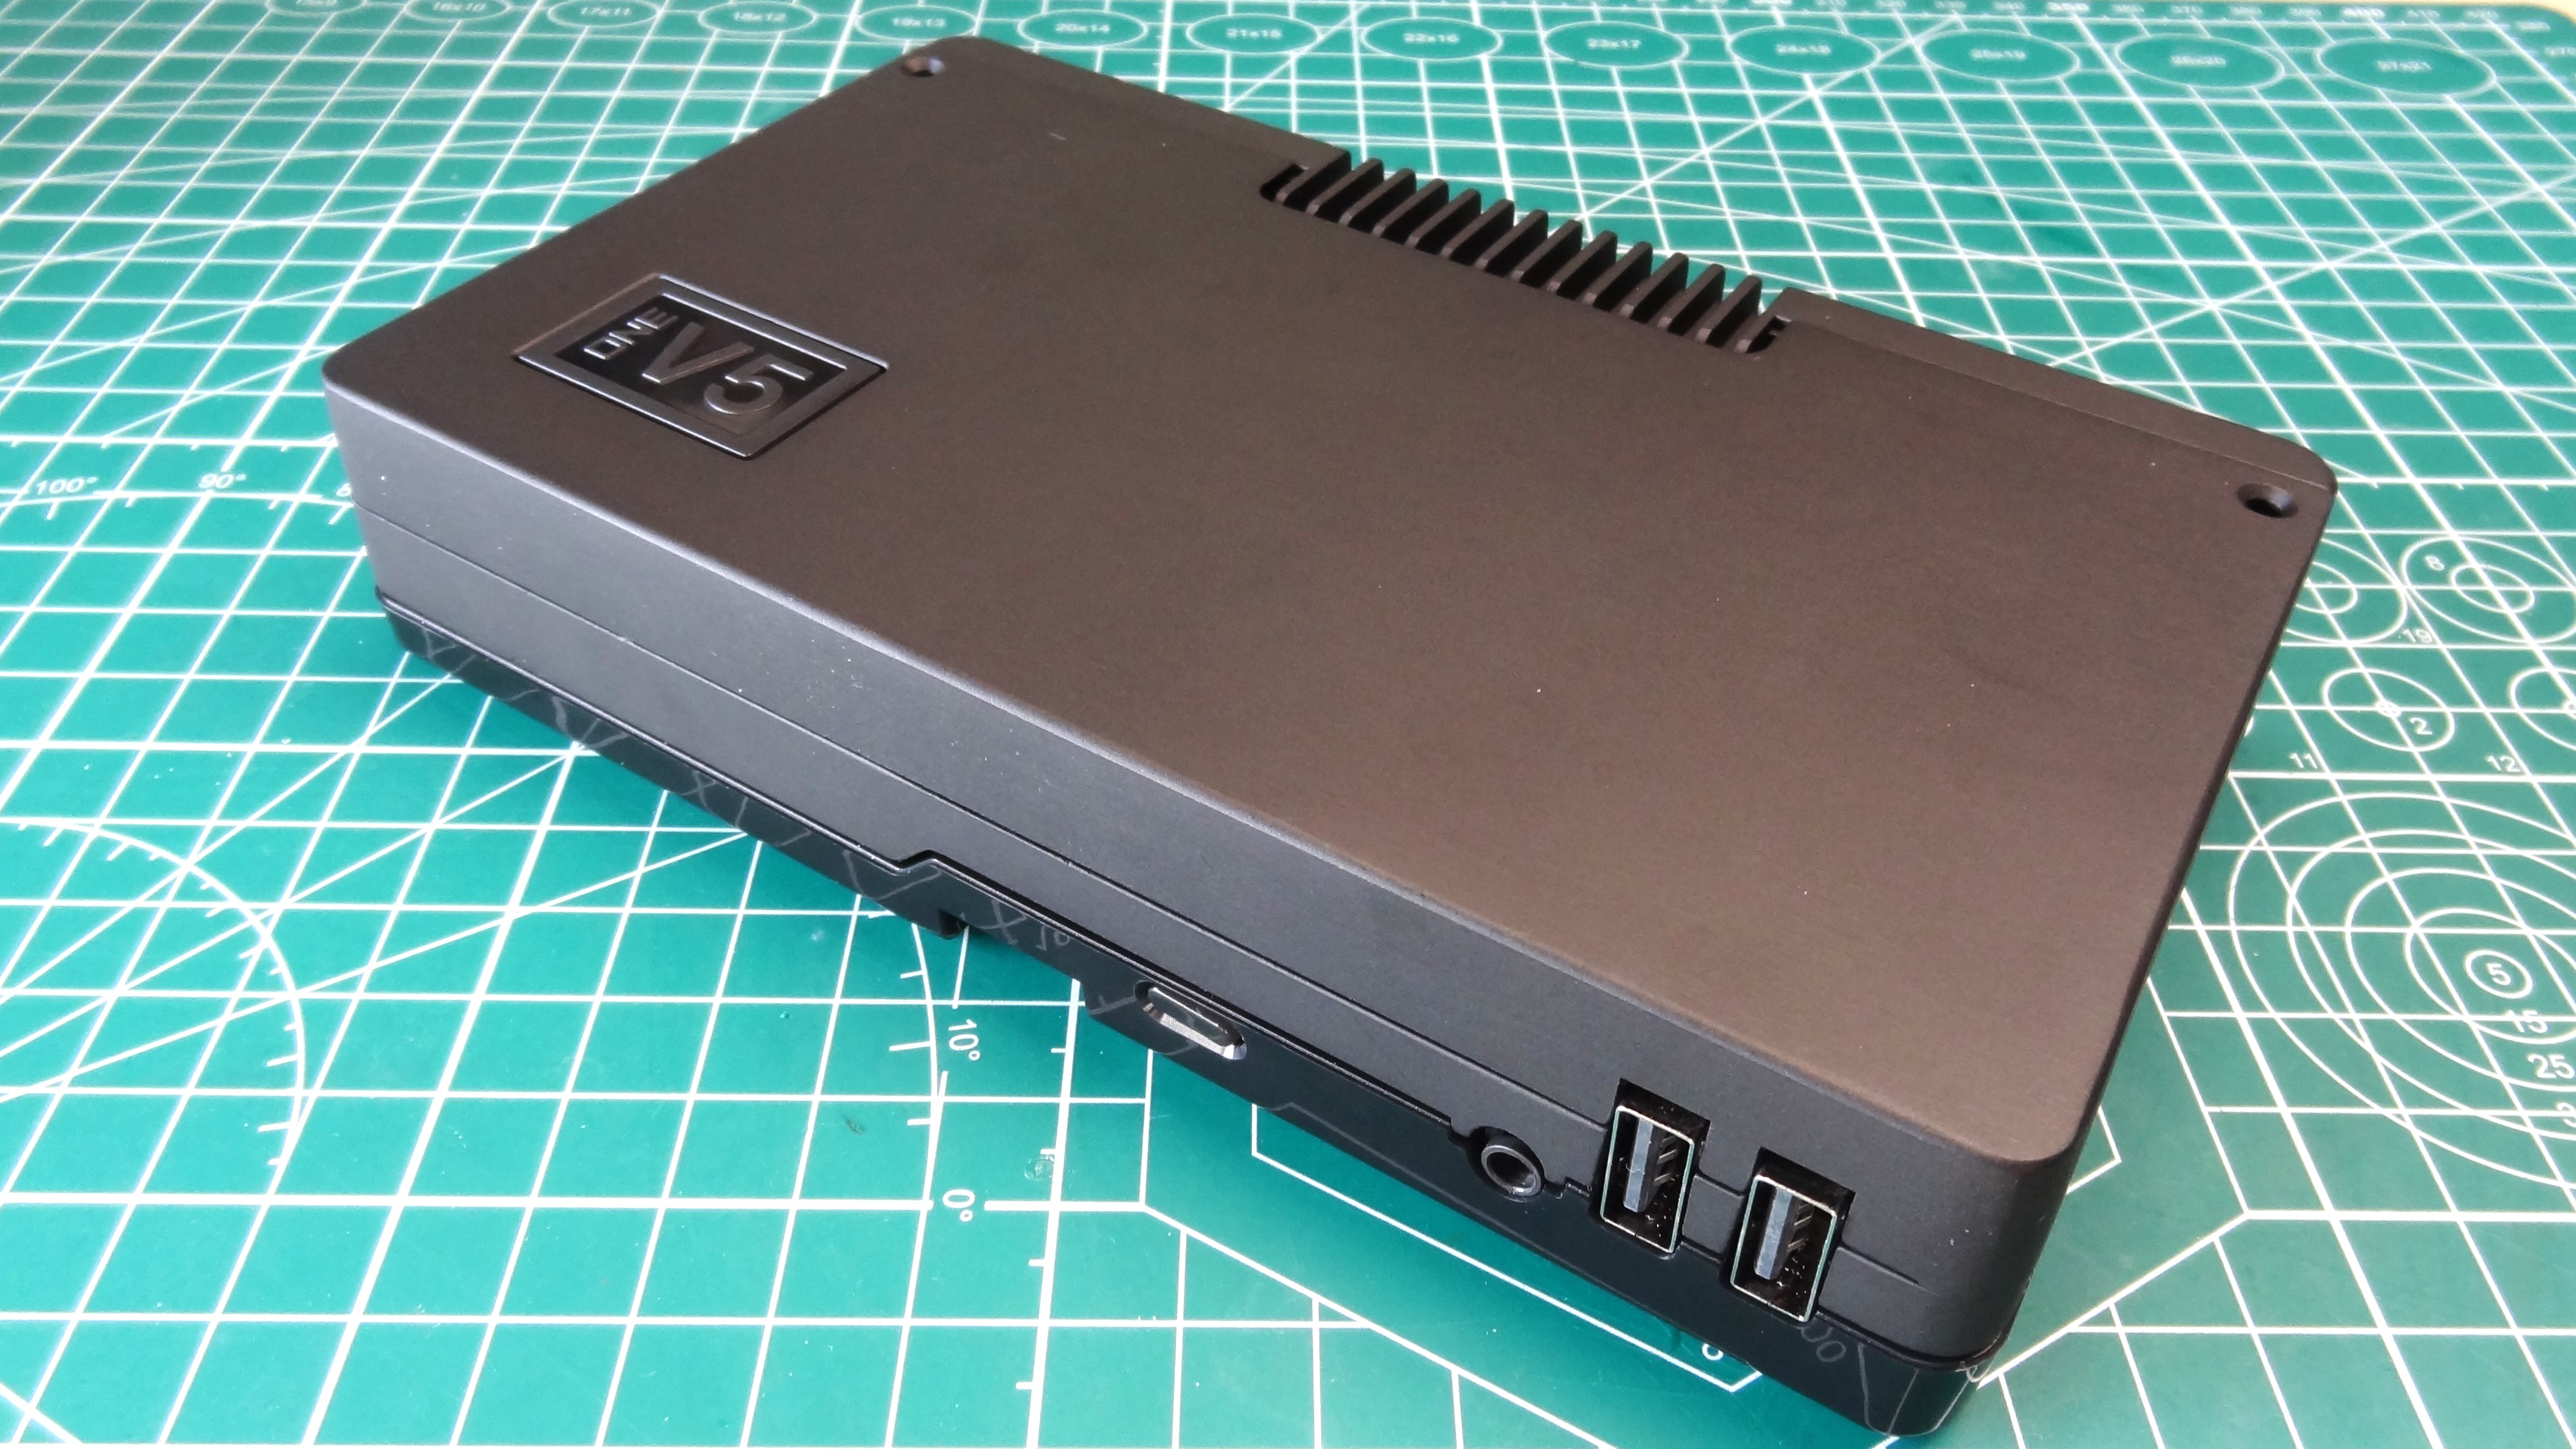
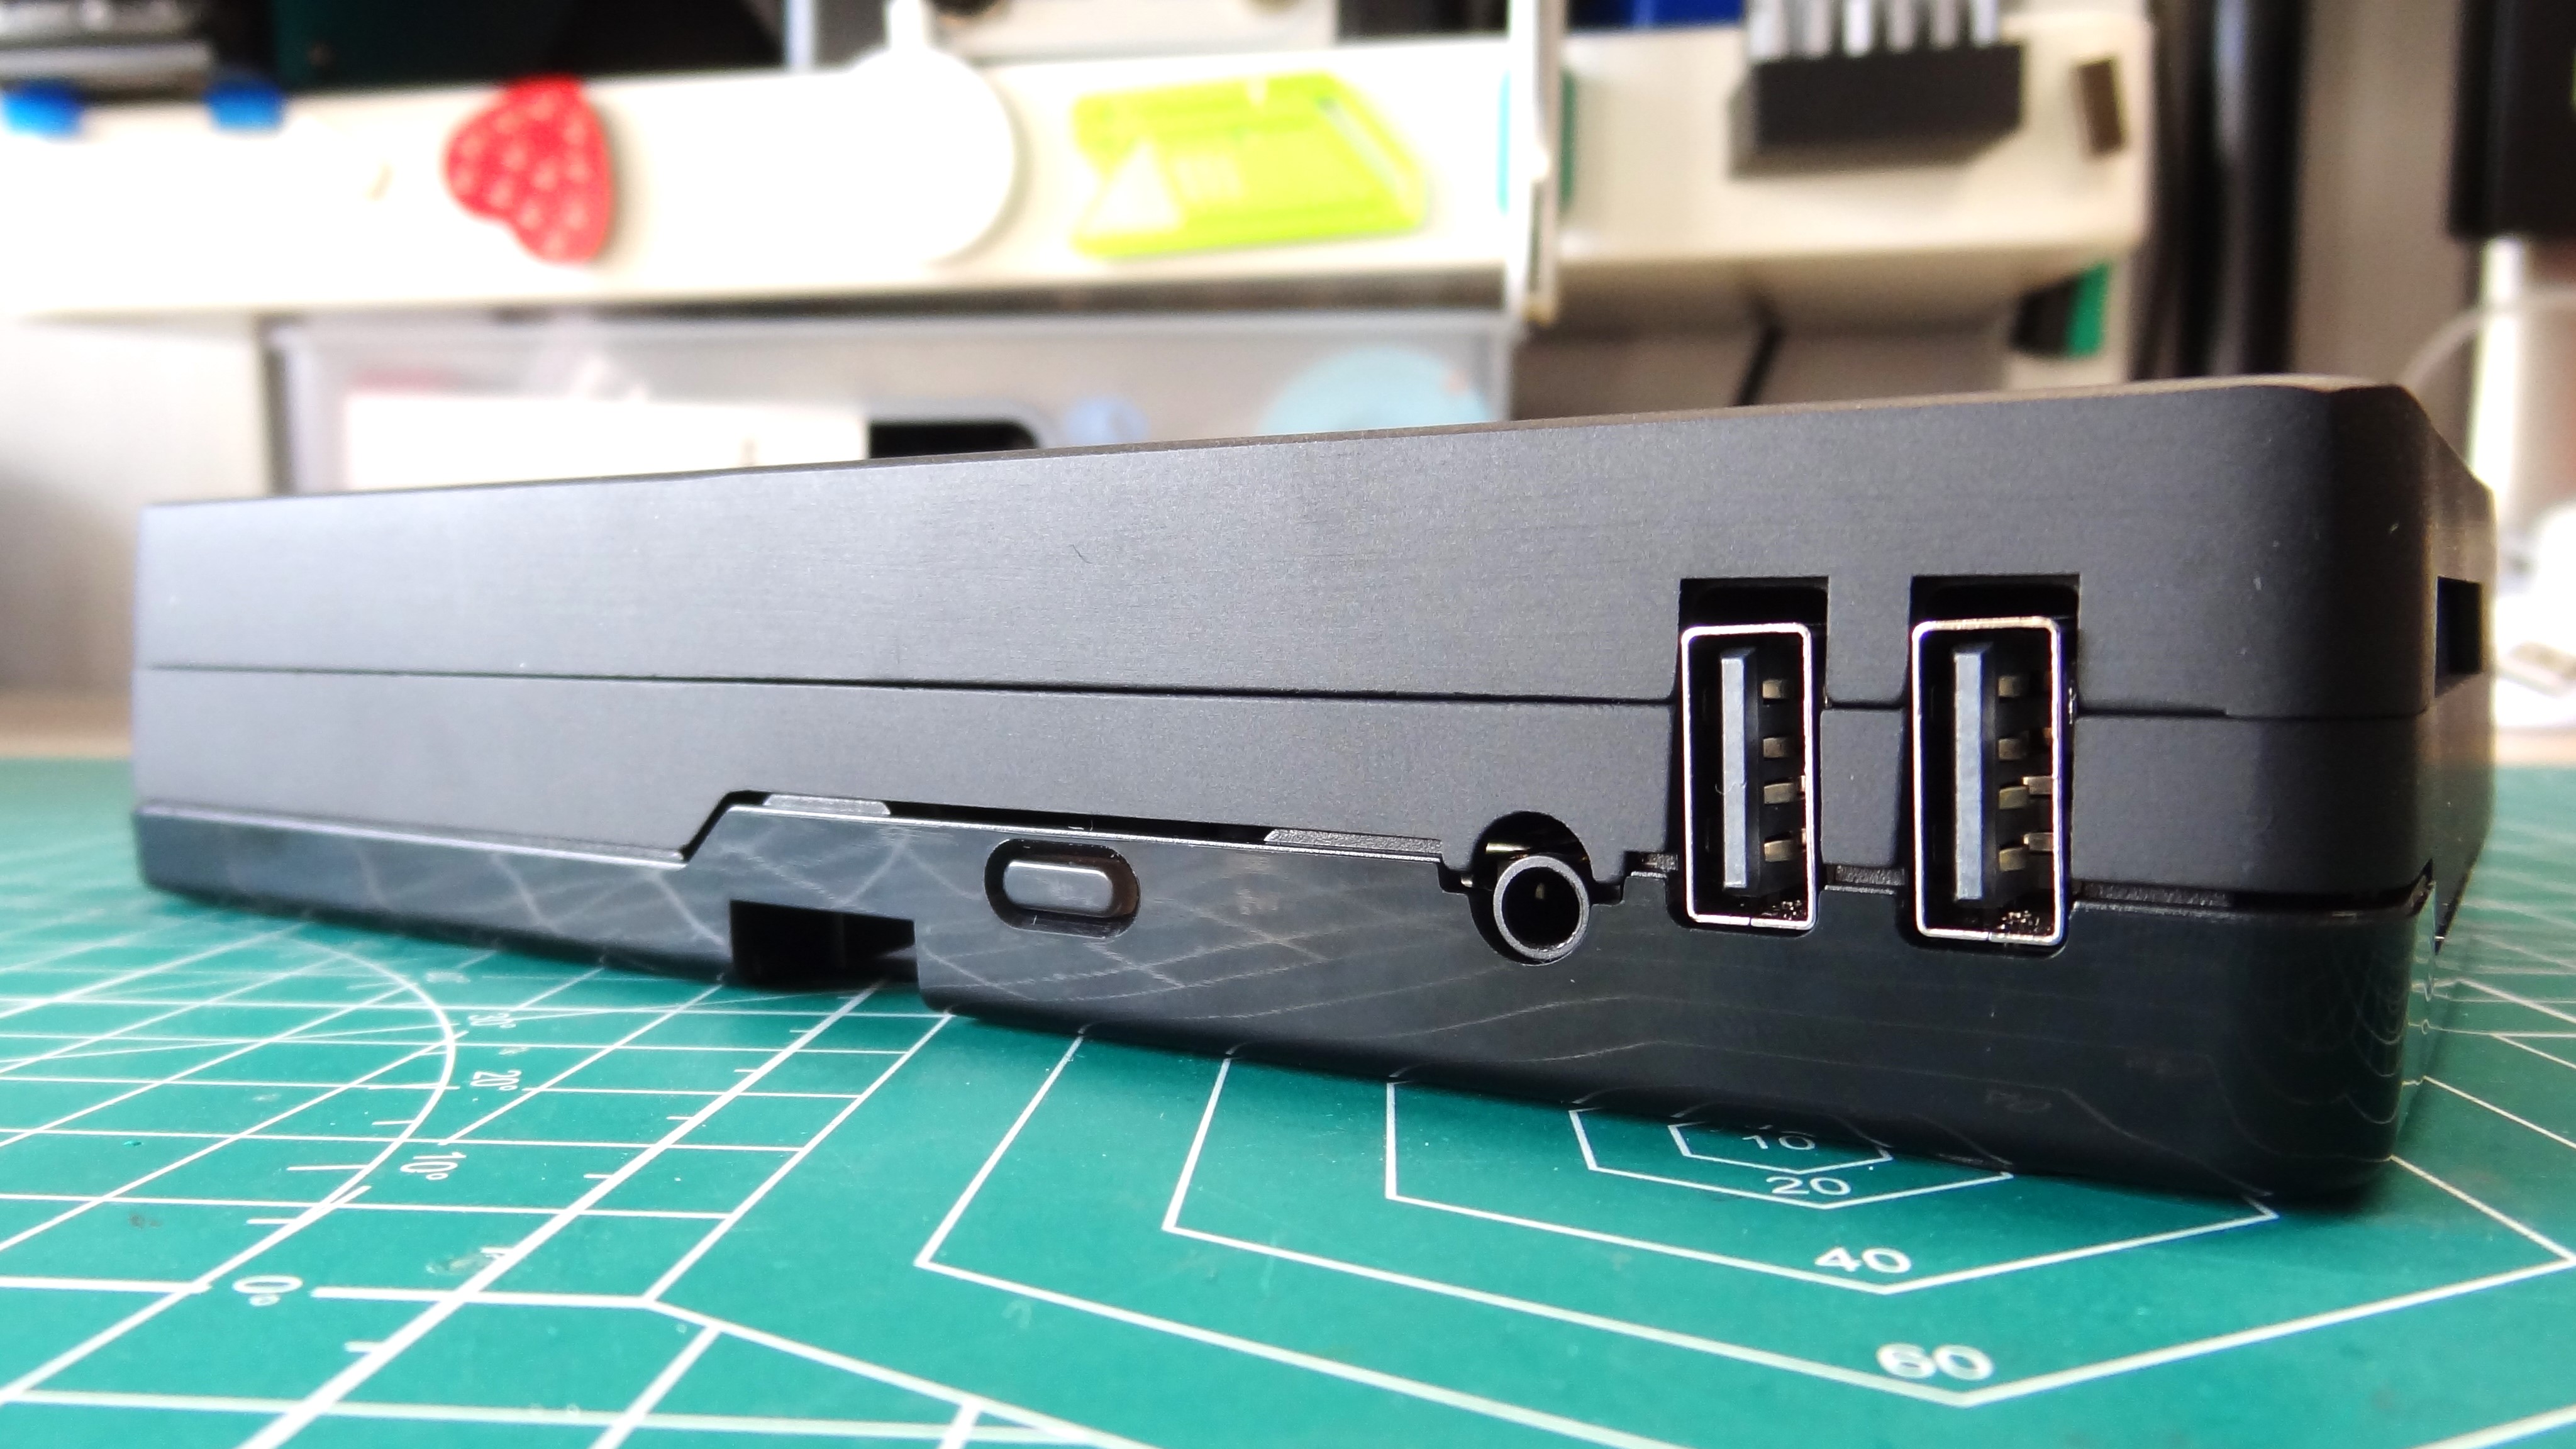
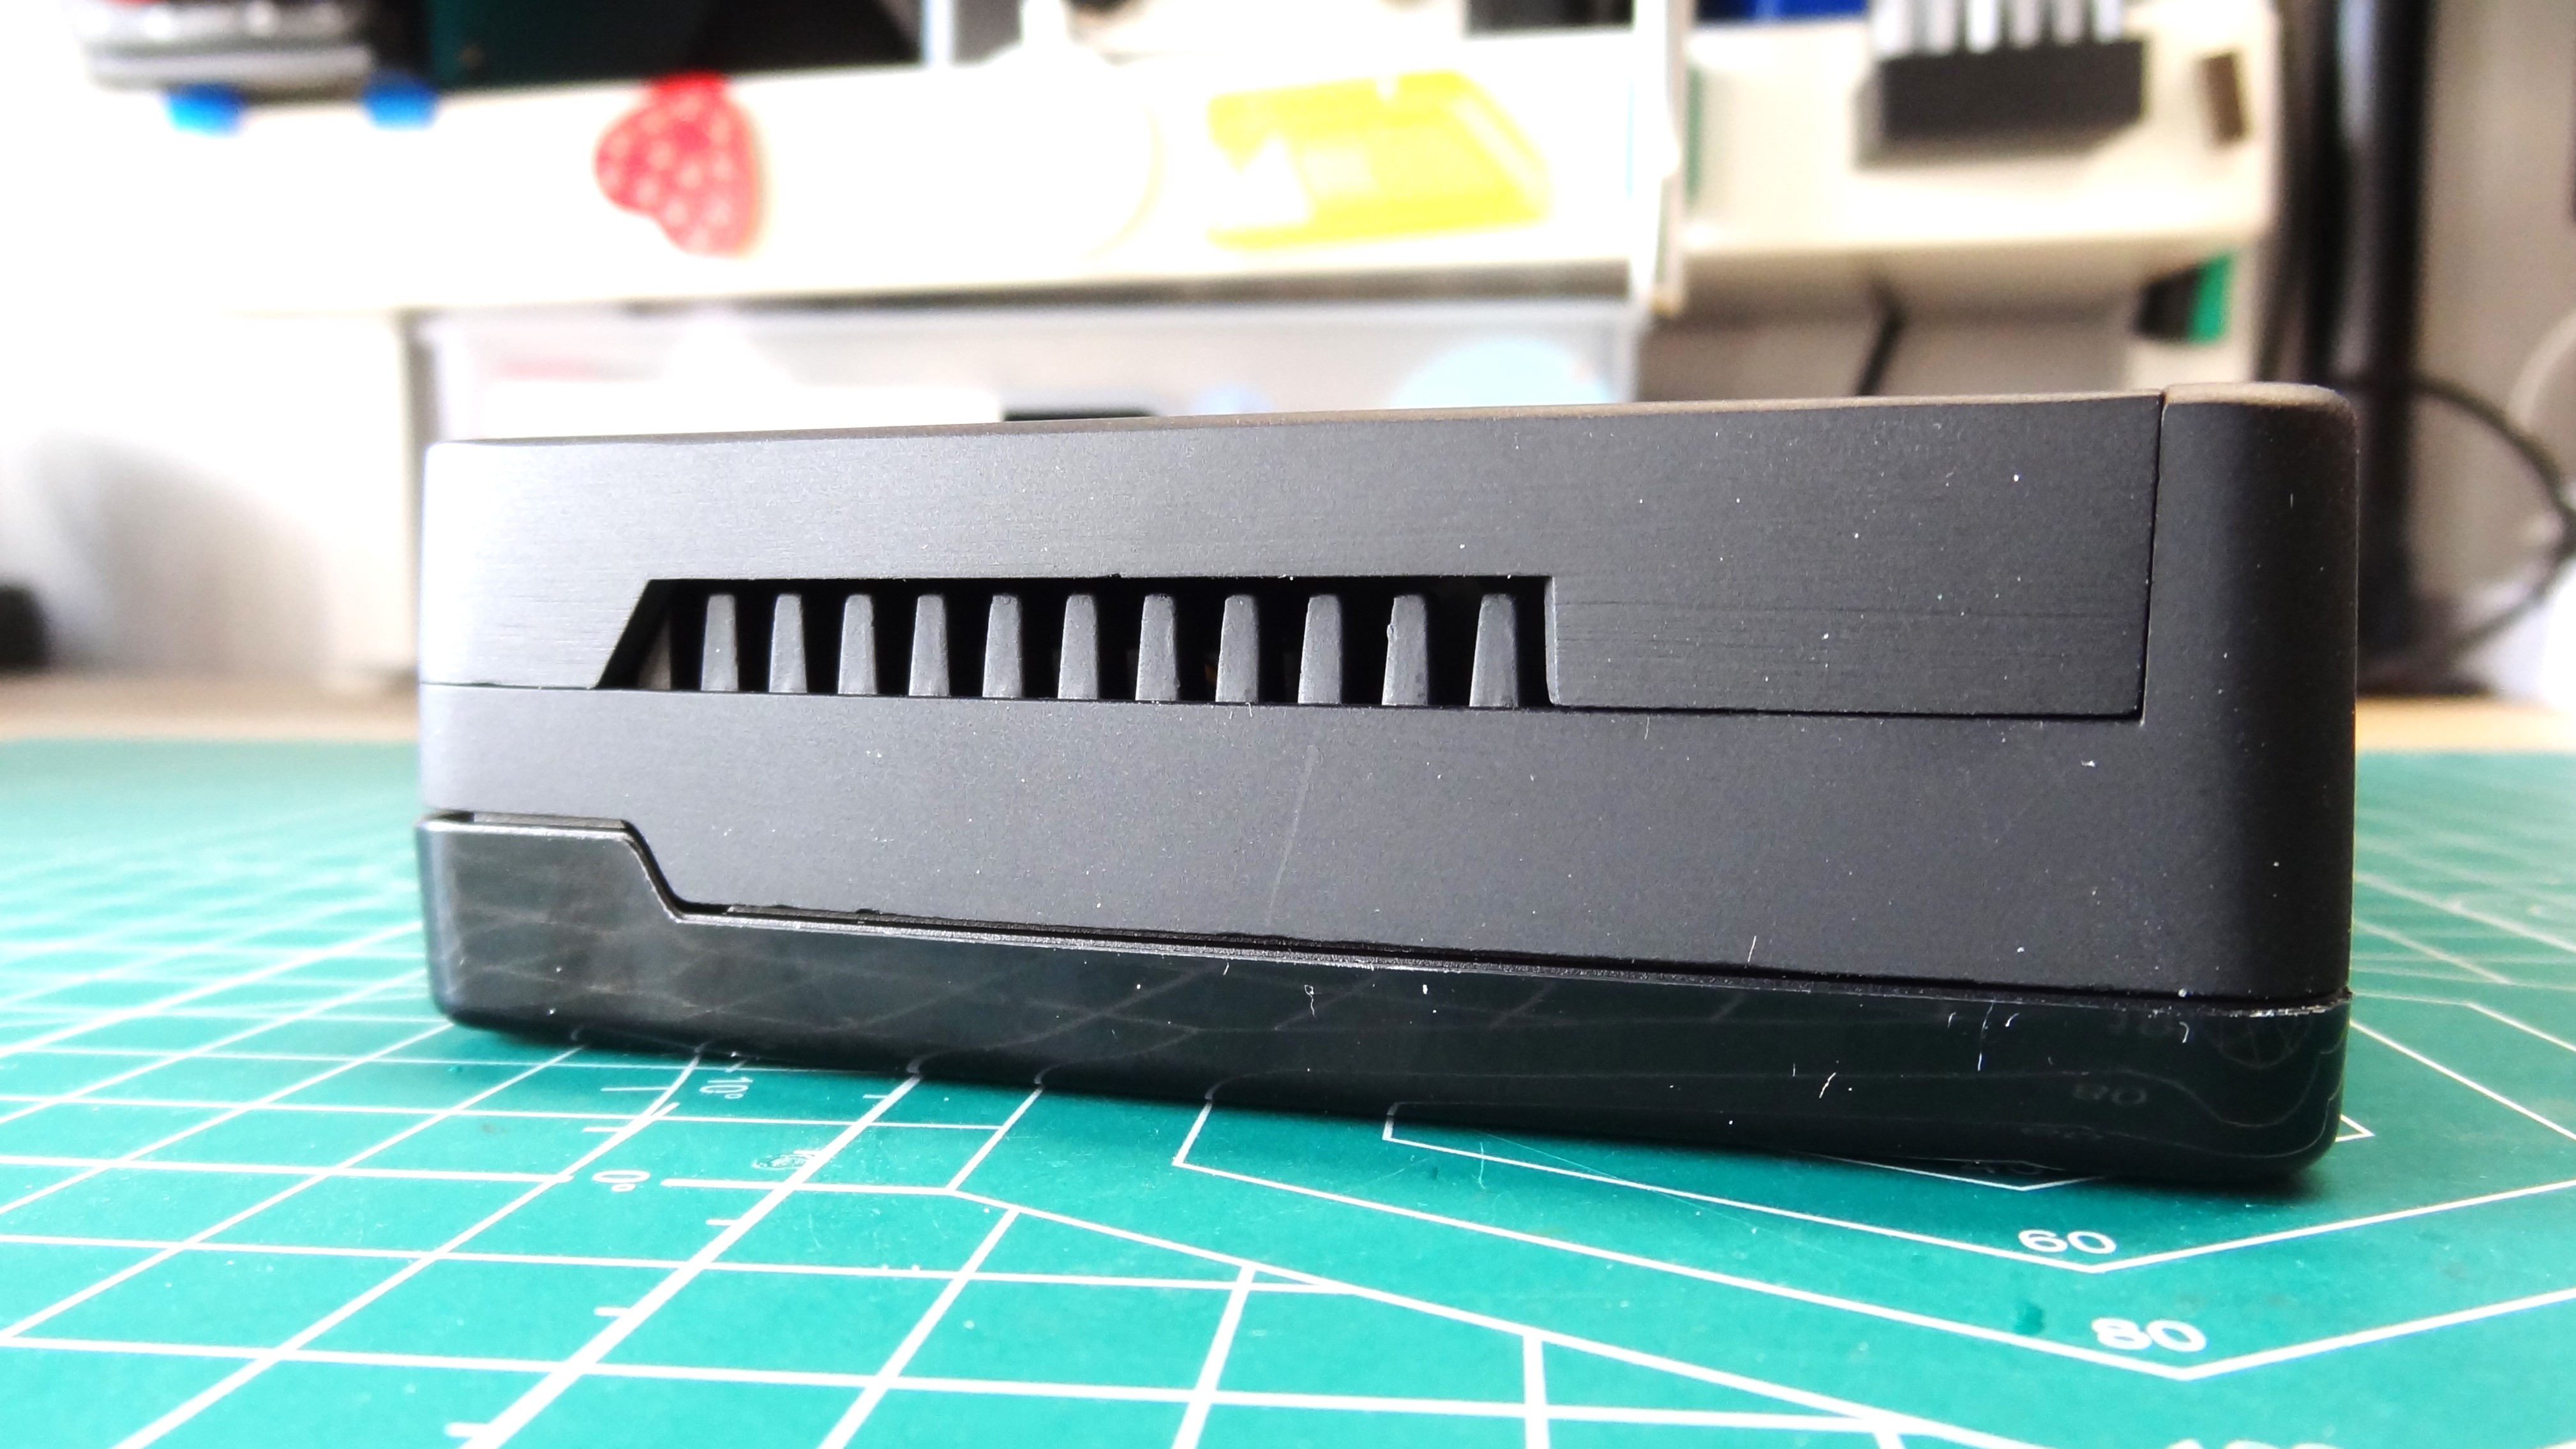
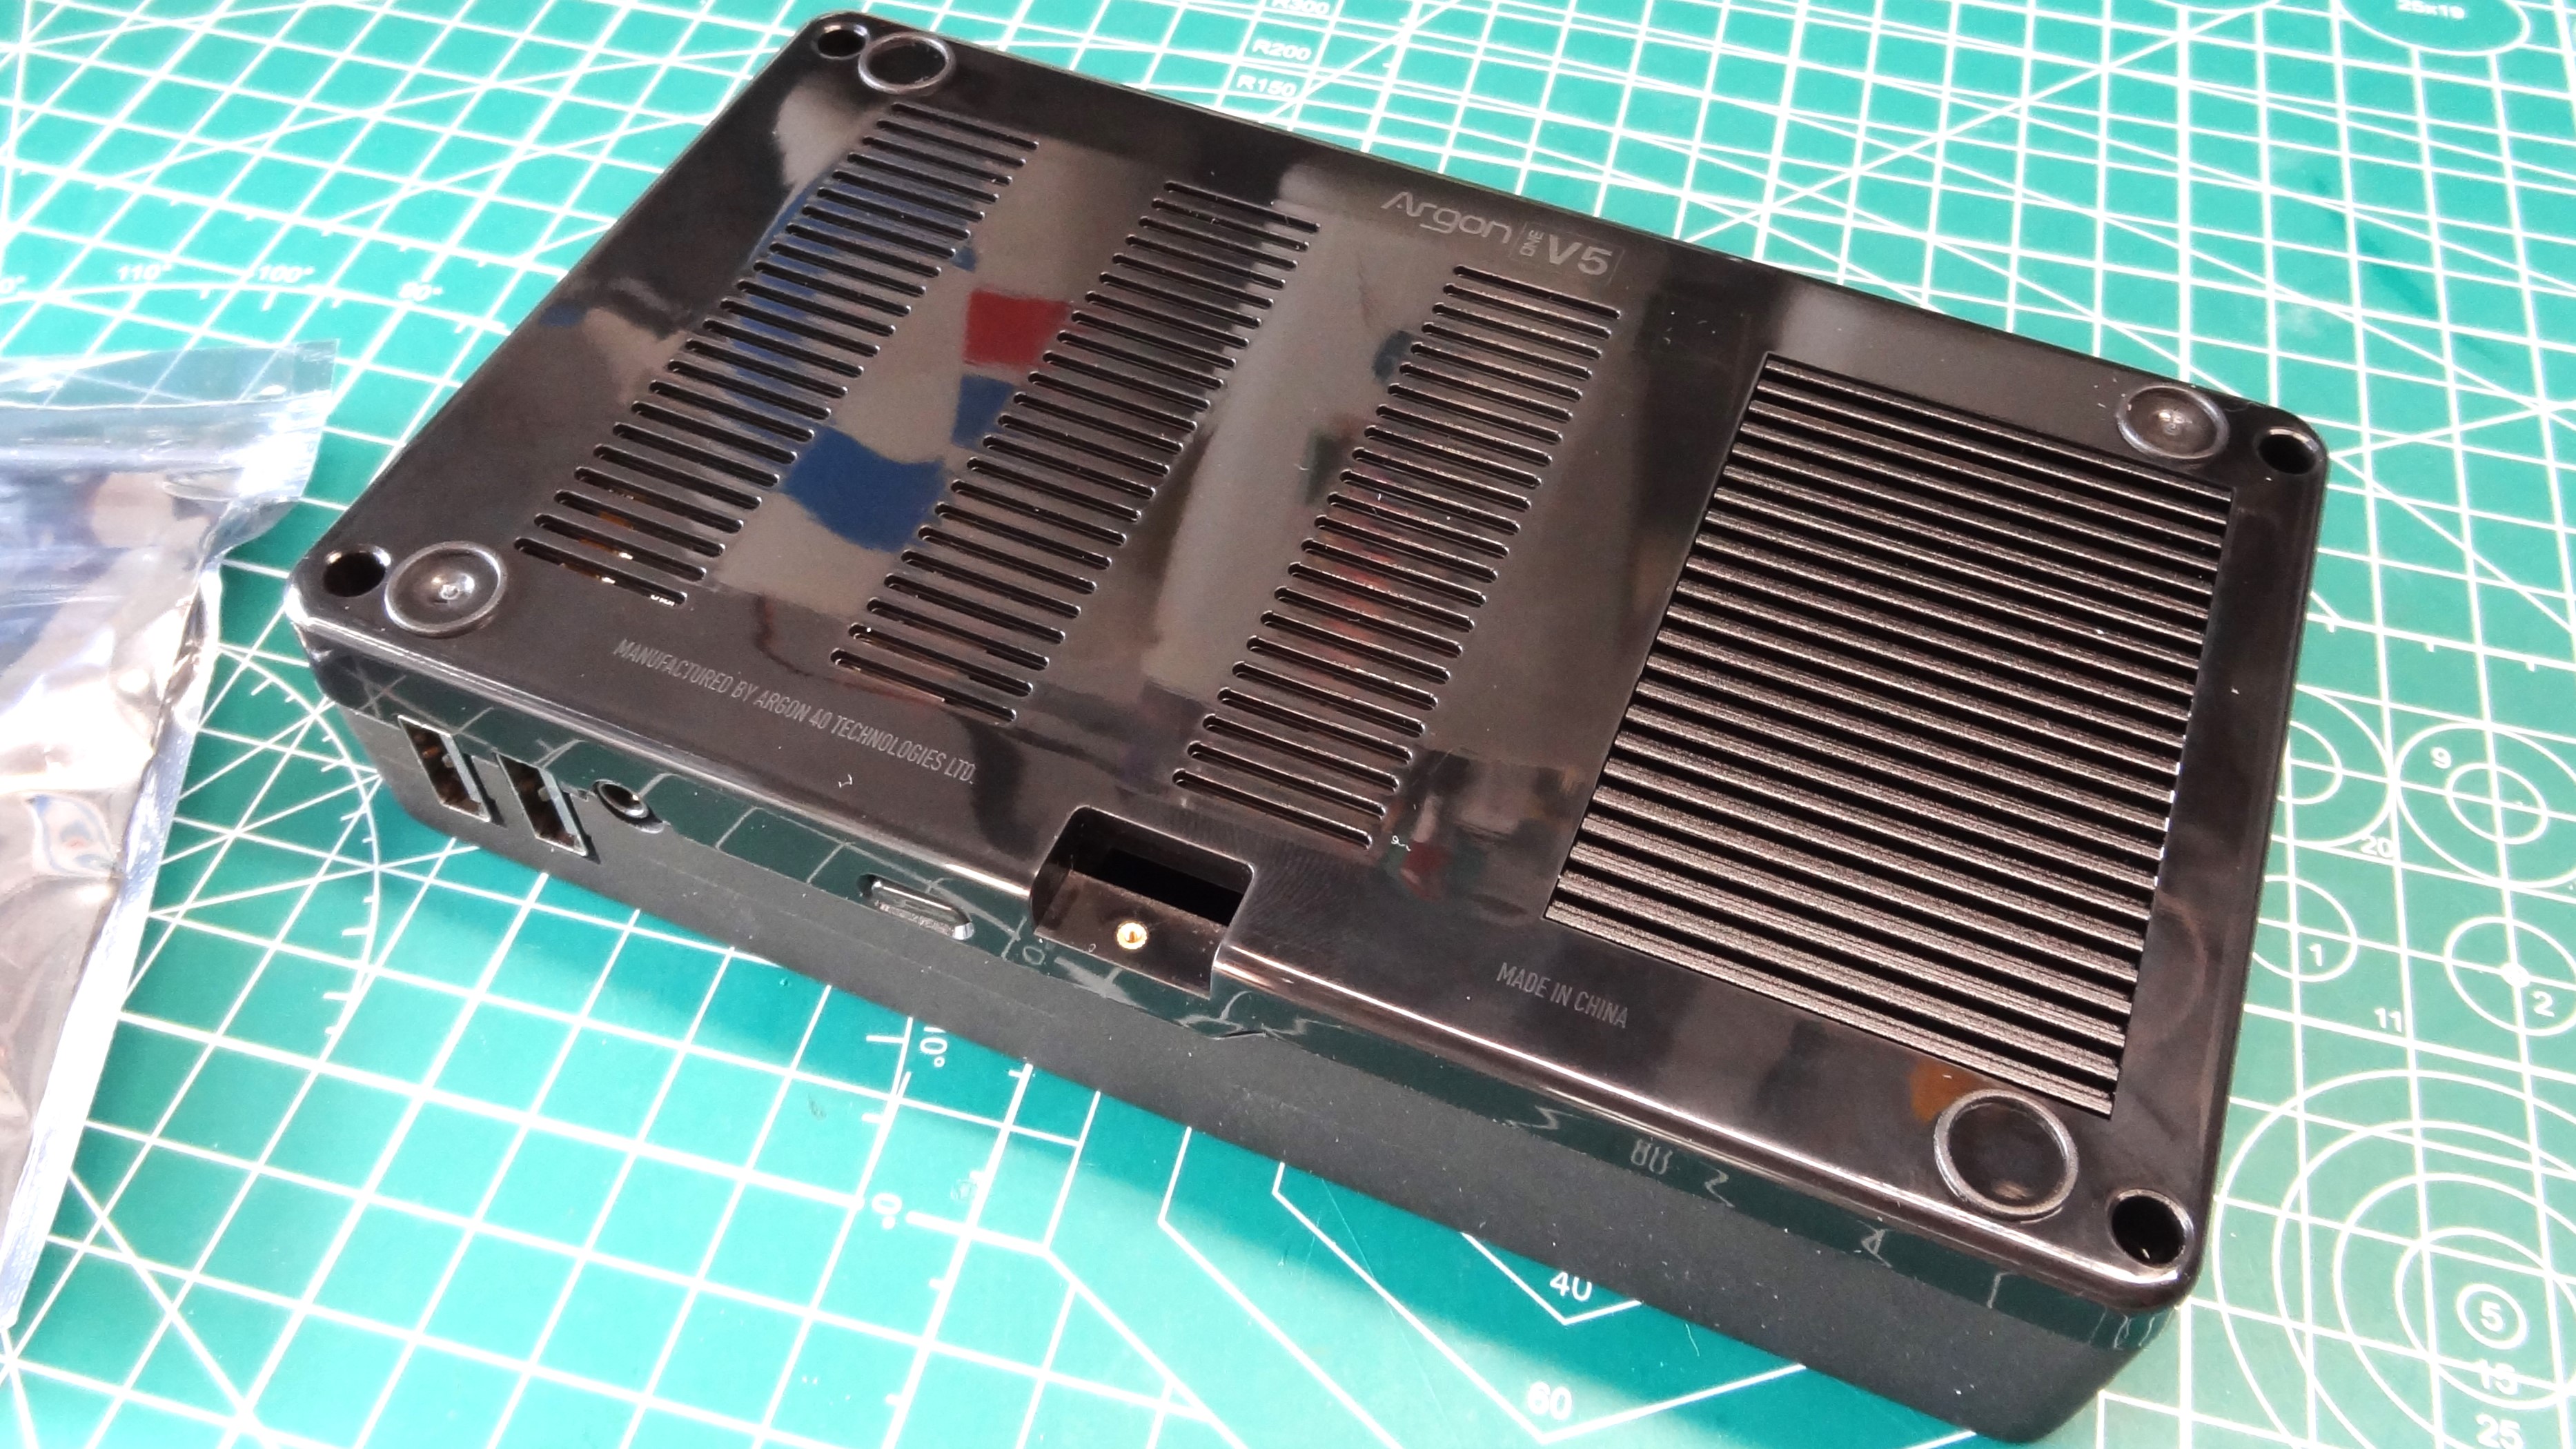
Largely made from cast aluminum, the matte black case is a fingerprint magnet, but it feels solid and the rounded corners give it a “soft” look. At the front, we have two USB 2.0 ports (broken out from the Raspberry Pi 5’s USB Type C port) and an audio port. Next to that is the power button, a plastic nub that presses the Pi 5’s own power button. Lastly we have a cut out for the Pi 5’s micro SD card slot. This can be covered up with the included plastic cover.
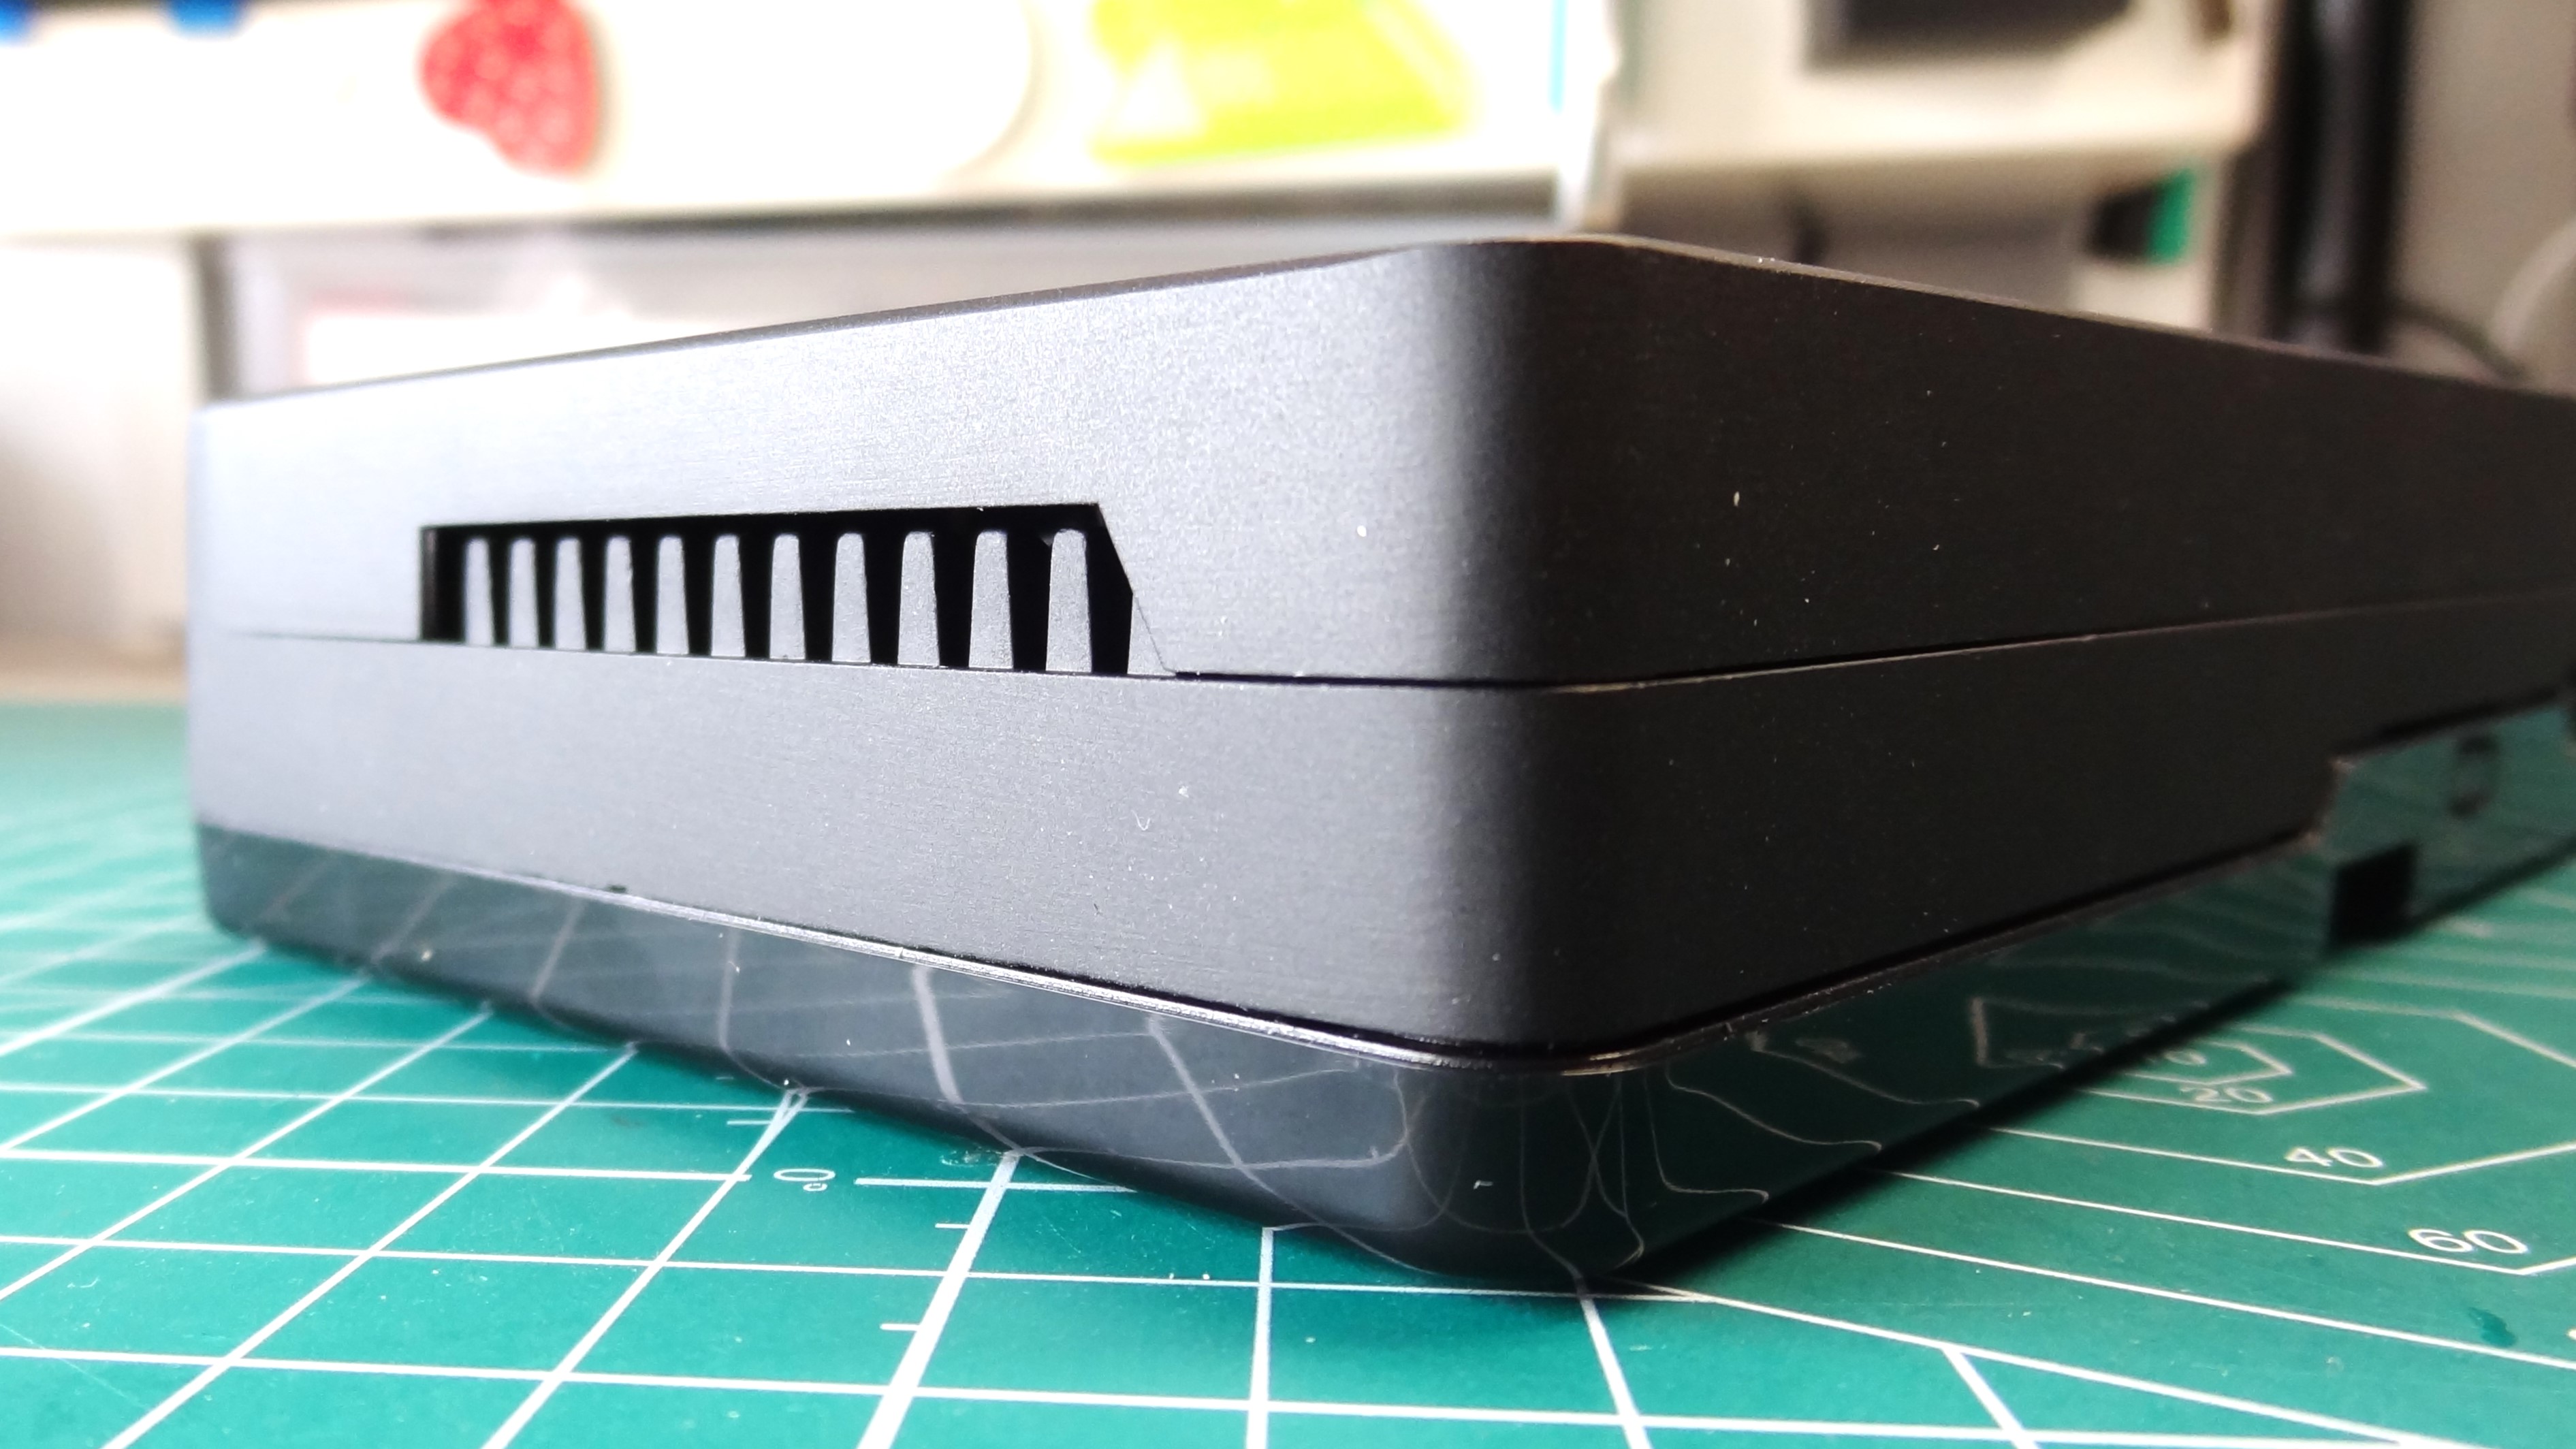
The entire base of the case is made from plastic, and features cutouts for air intake.
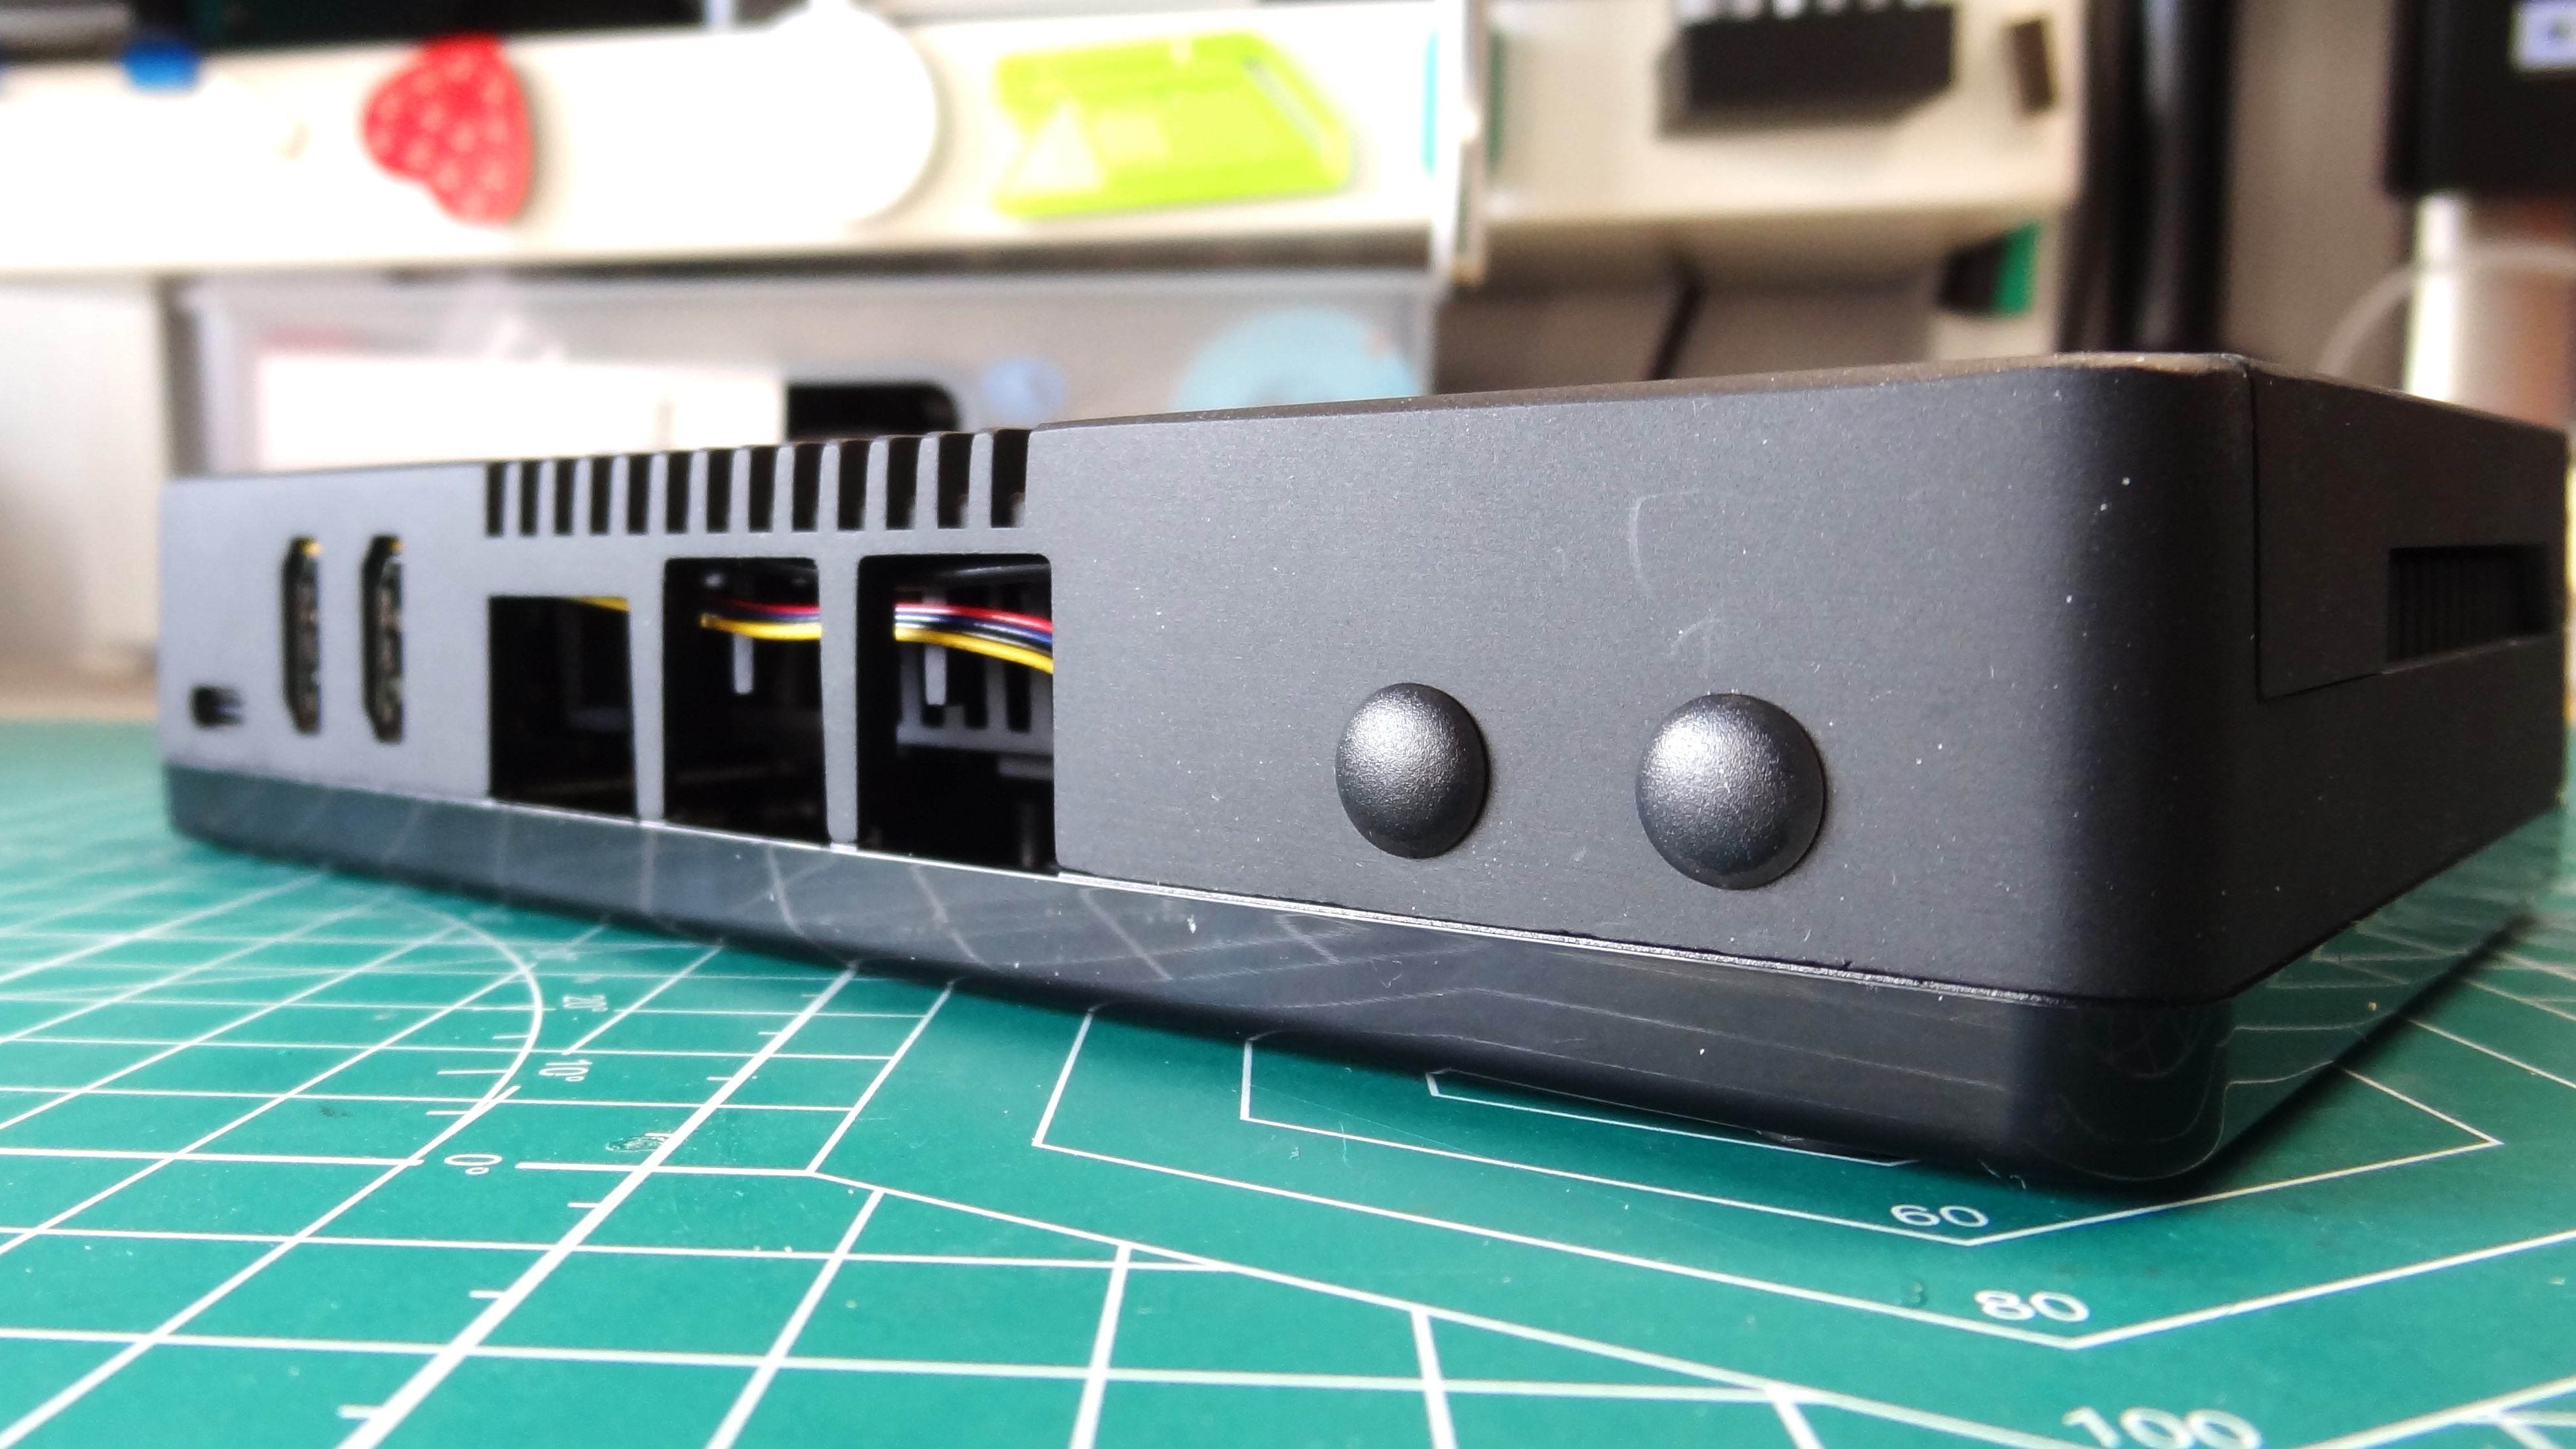
Around the left and right side of the case we have air intakes, feeding air to the 30mm fan housed inside the case. Around the back is where all the ports are located. We have the full complement of Raspberry Pi 5 USB and Ethernet ports, two full size HDMI ports and a single USB Type C port used to power the setup.
The keen eyed will spot two plastic domes on the left rear of the case. These are for external antennas, but not for Wi-Fi. Instead they are for an optional $25 Argon Industria V5 ZigBee module, used for home automation projects. Yeah, I didn’t see that coming!
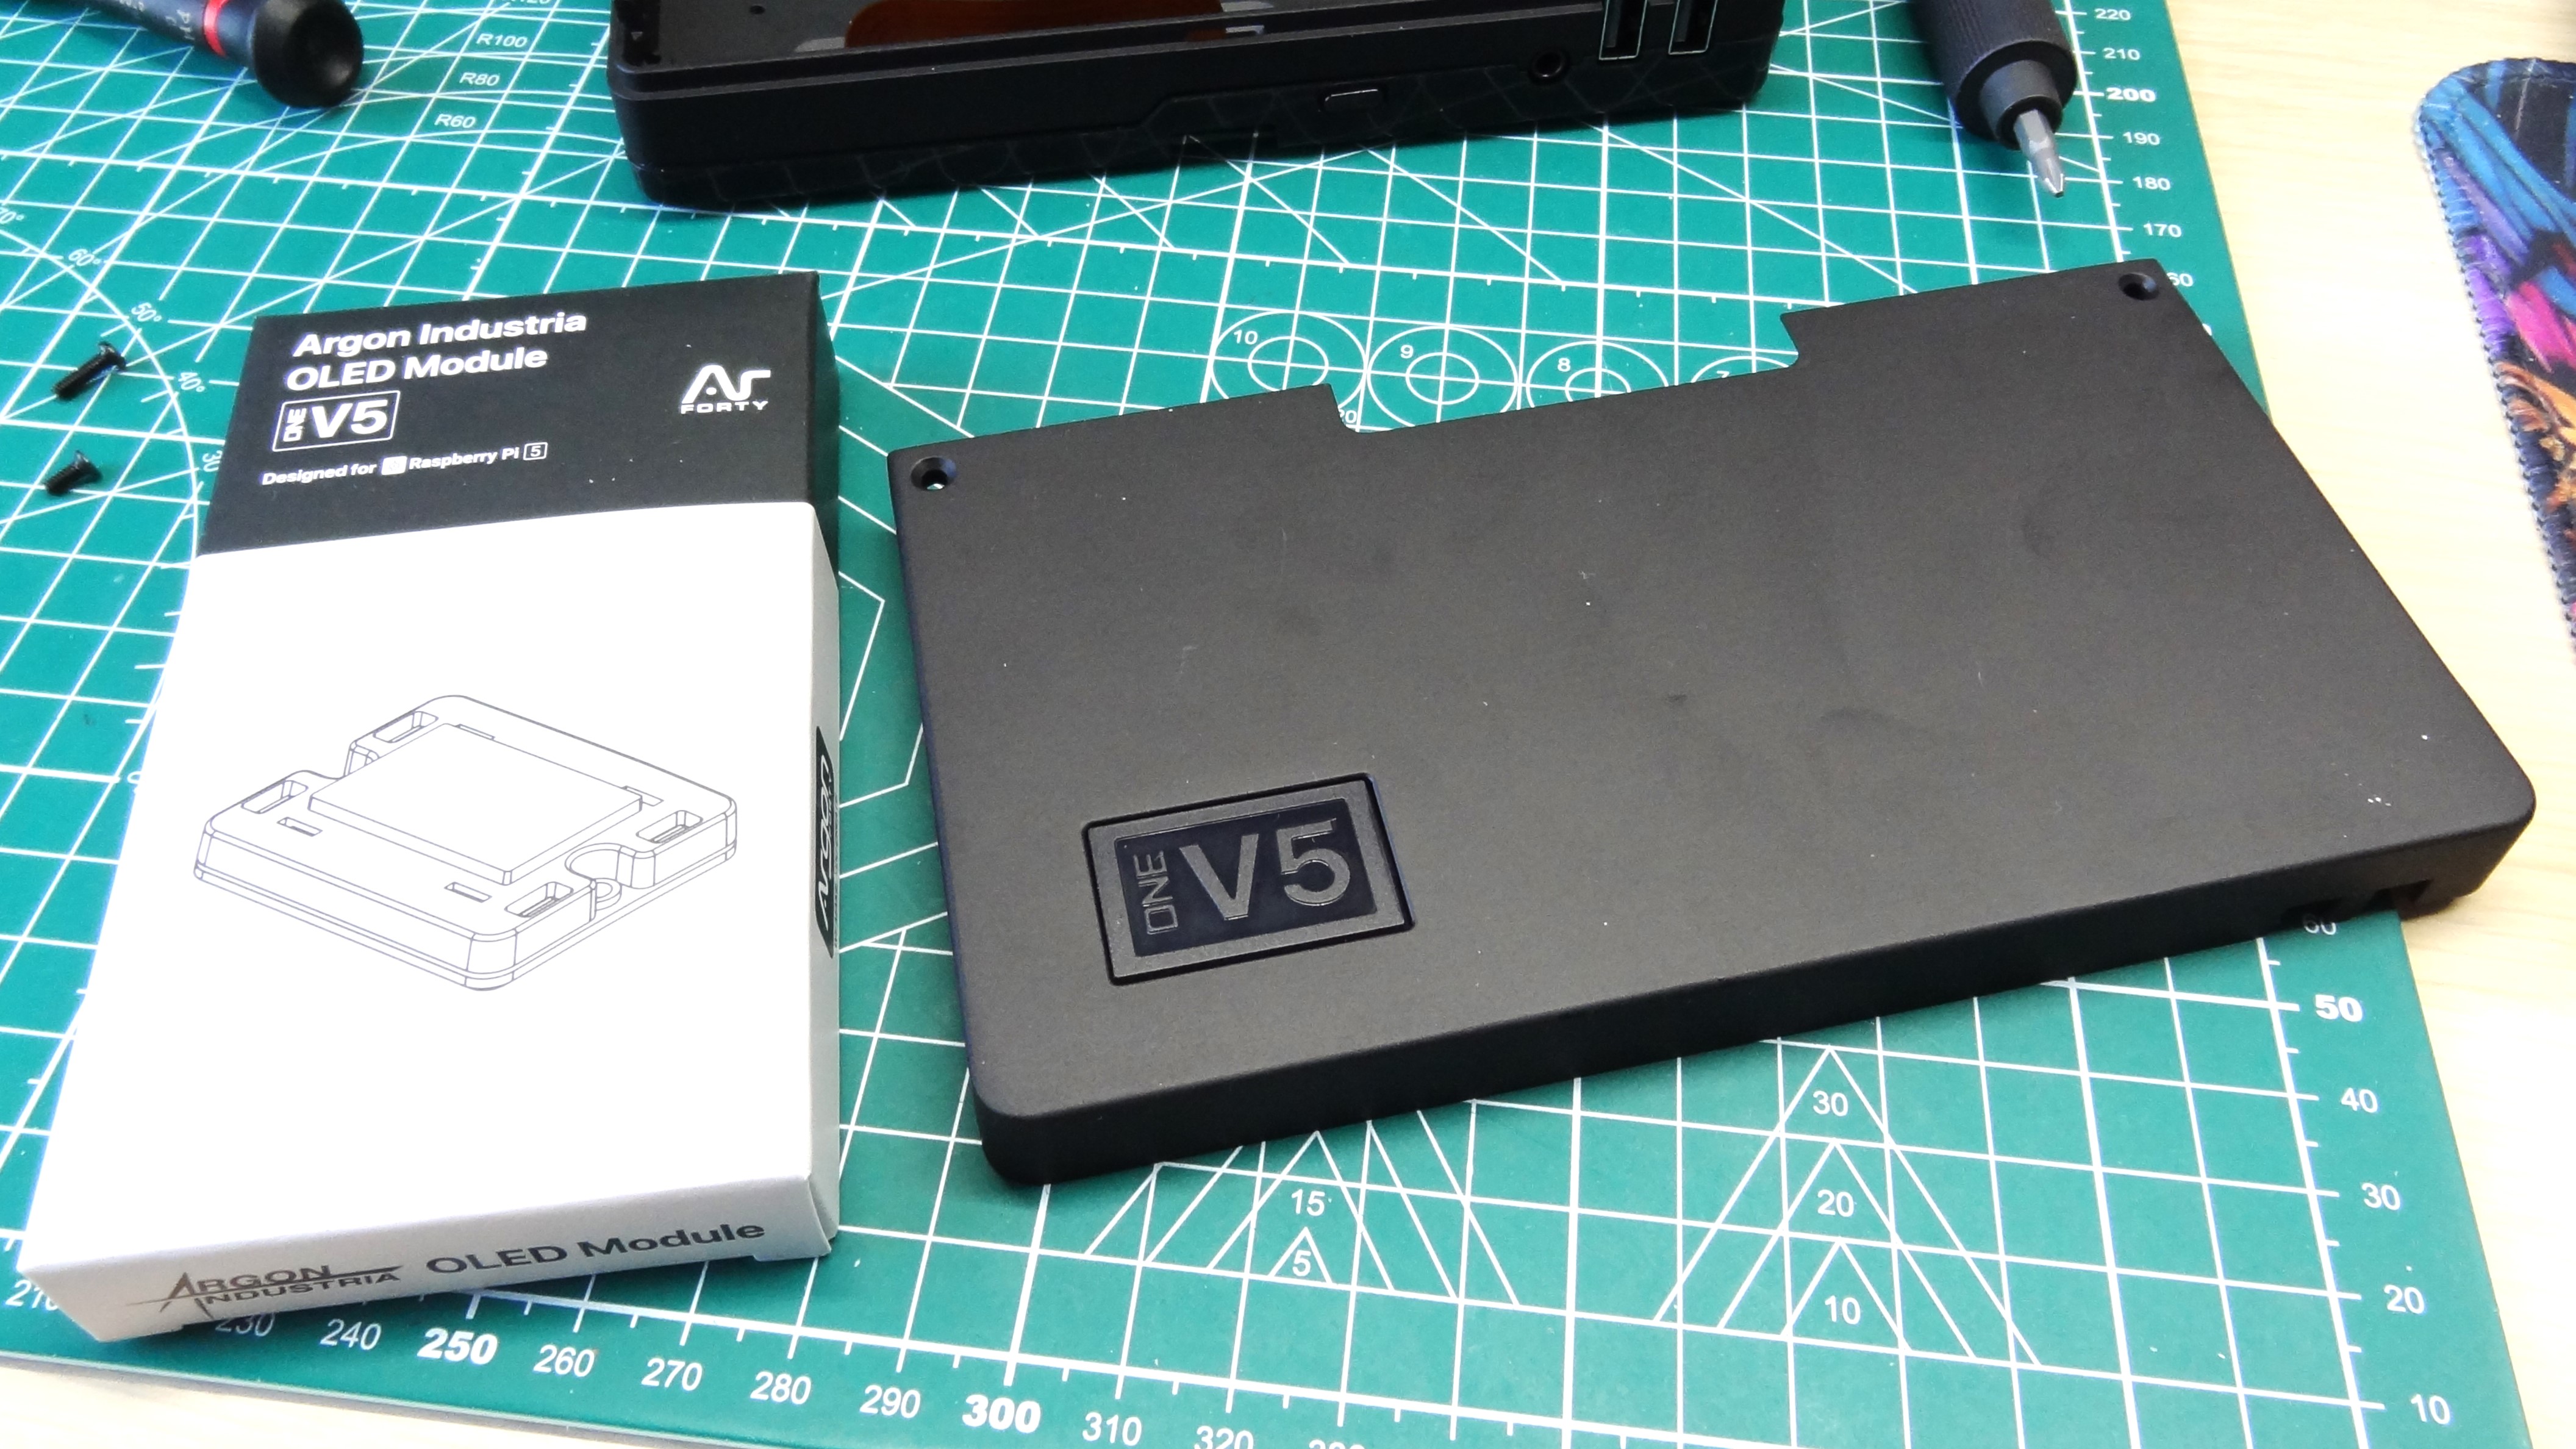
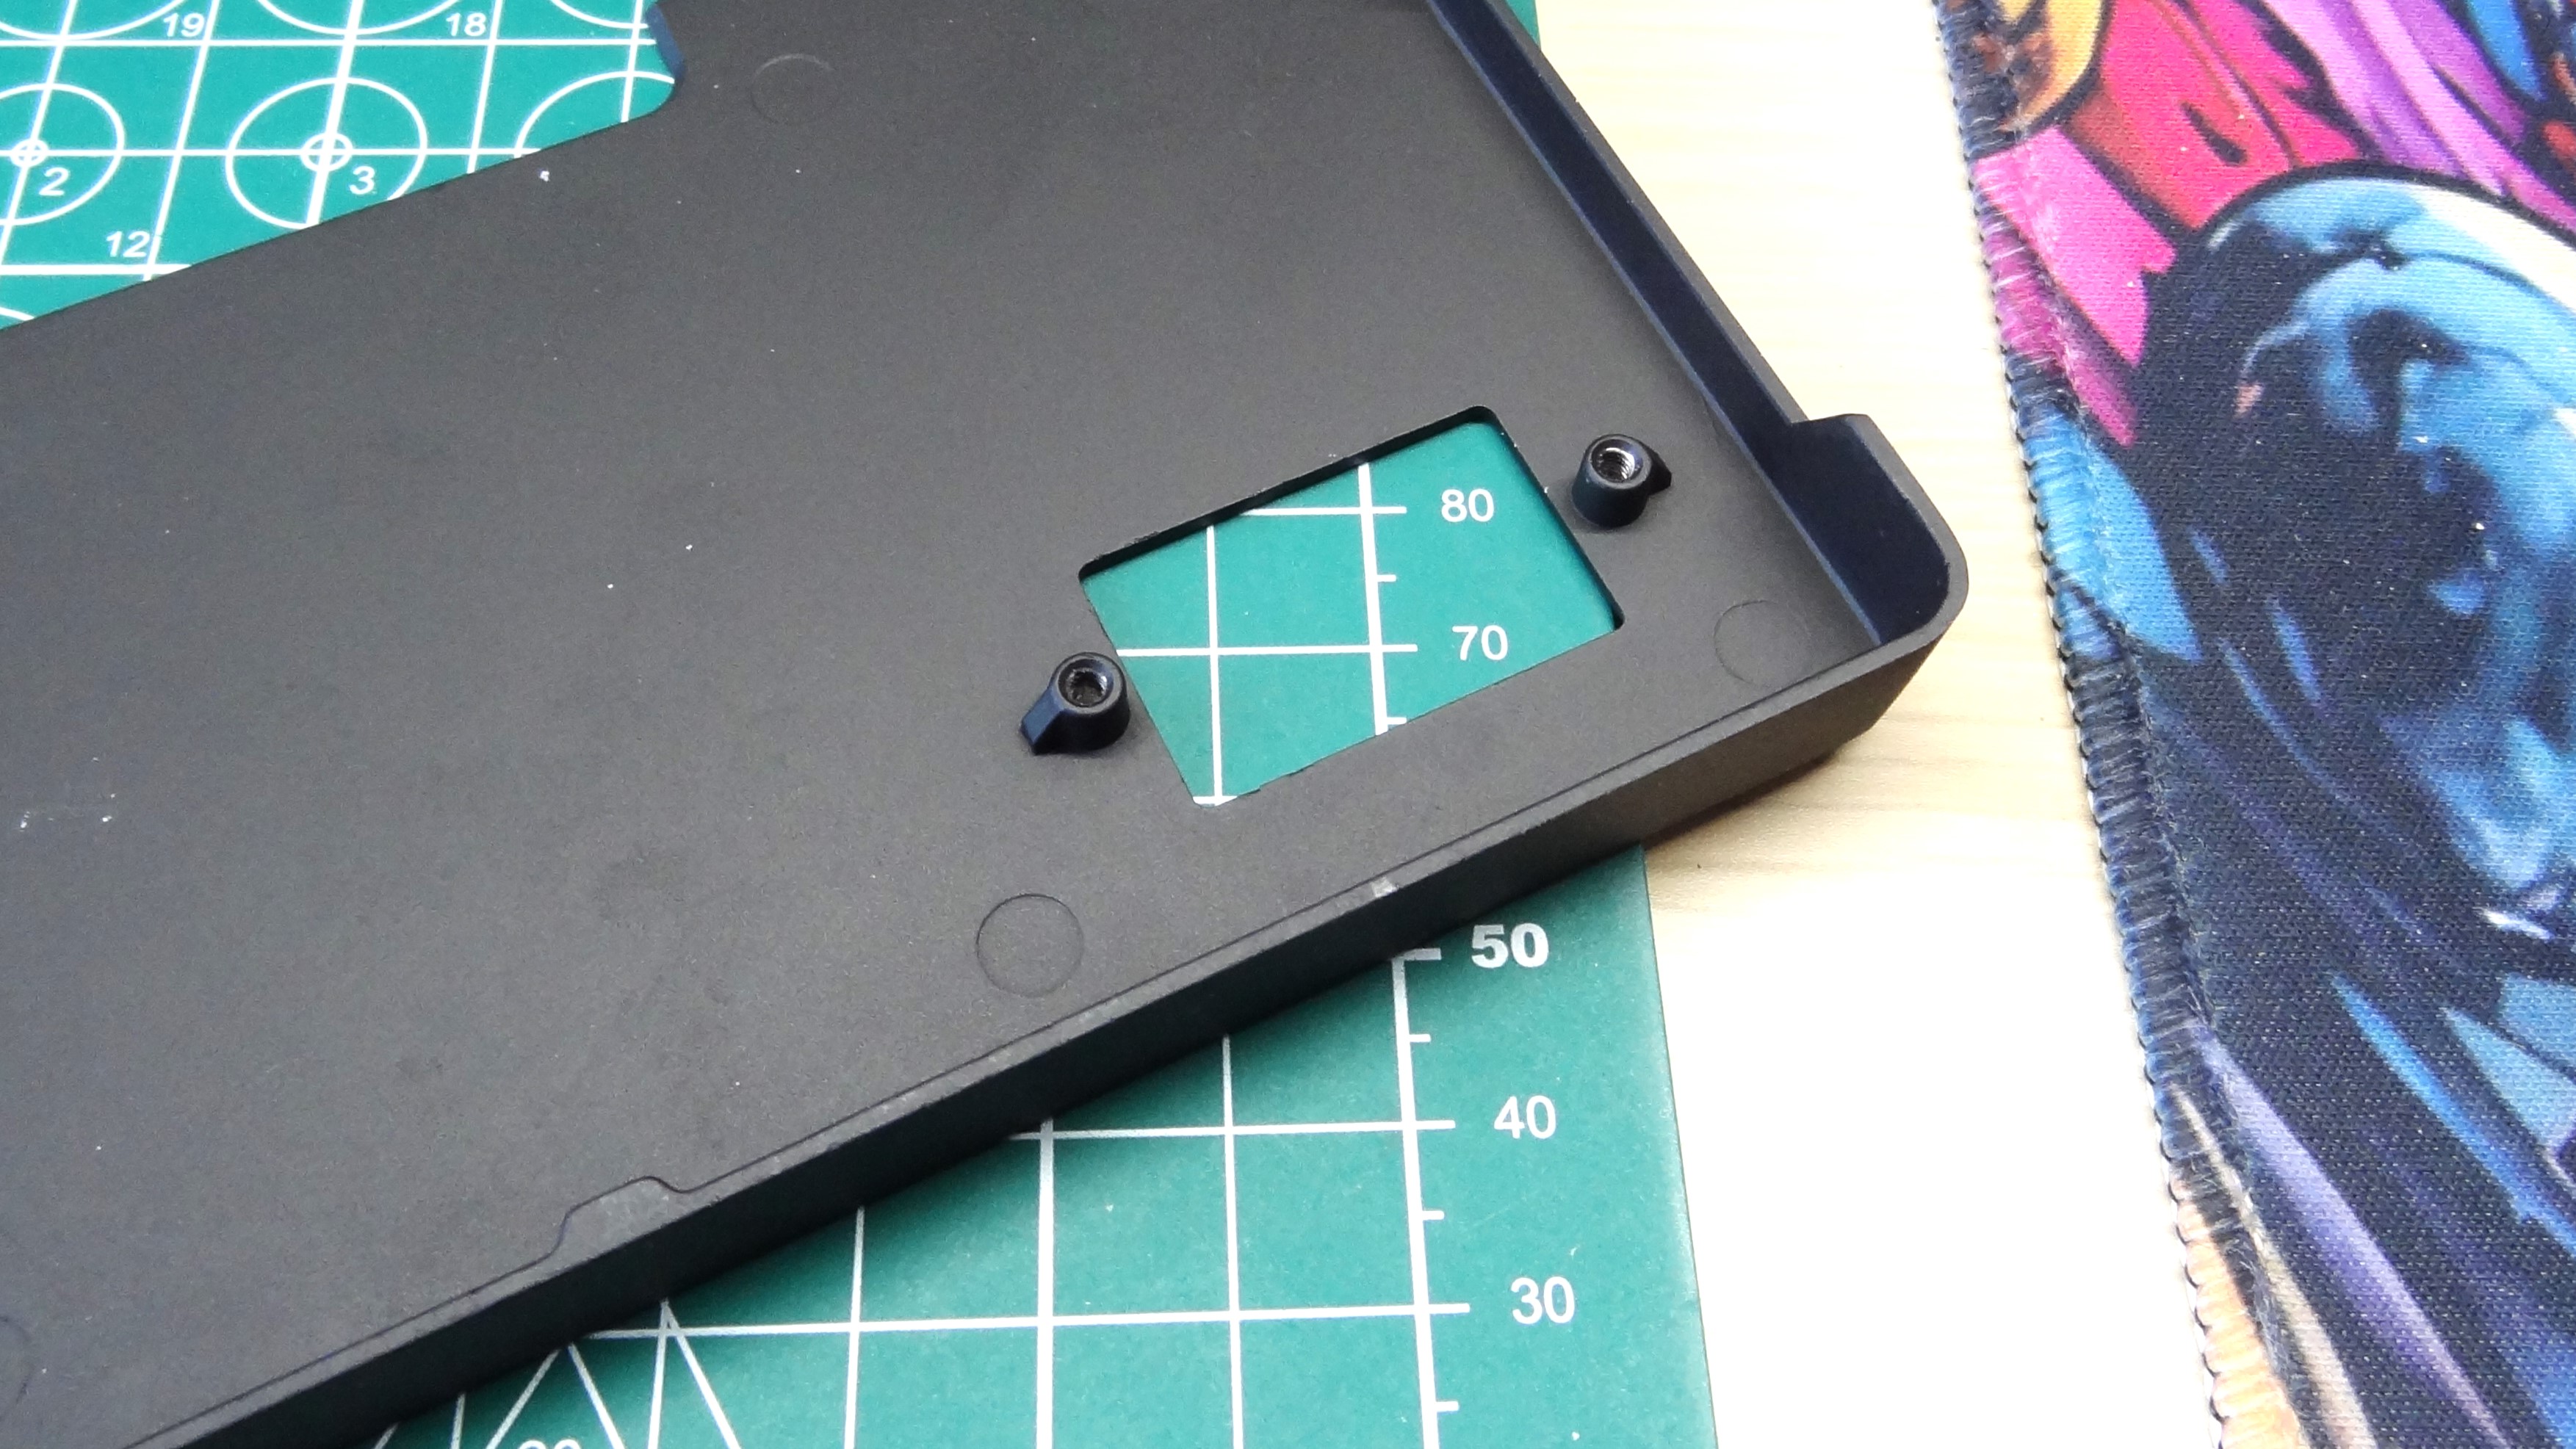
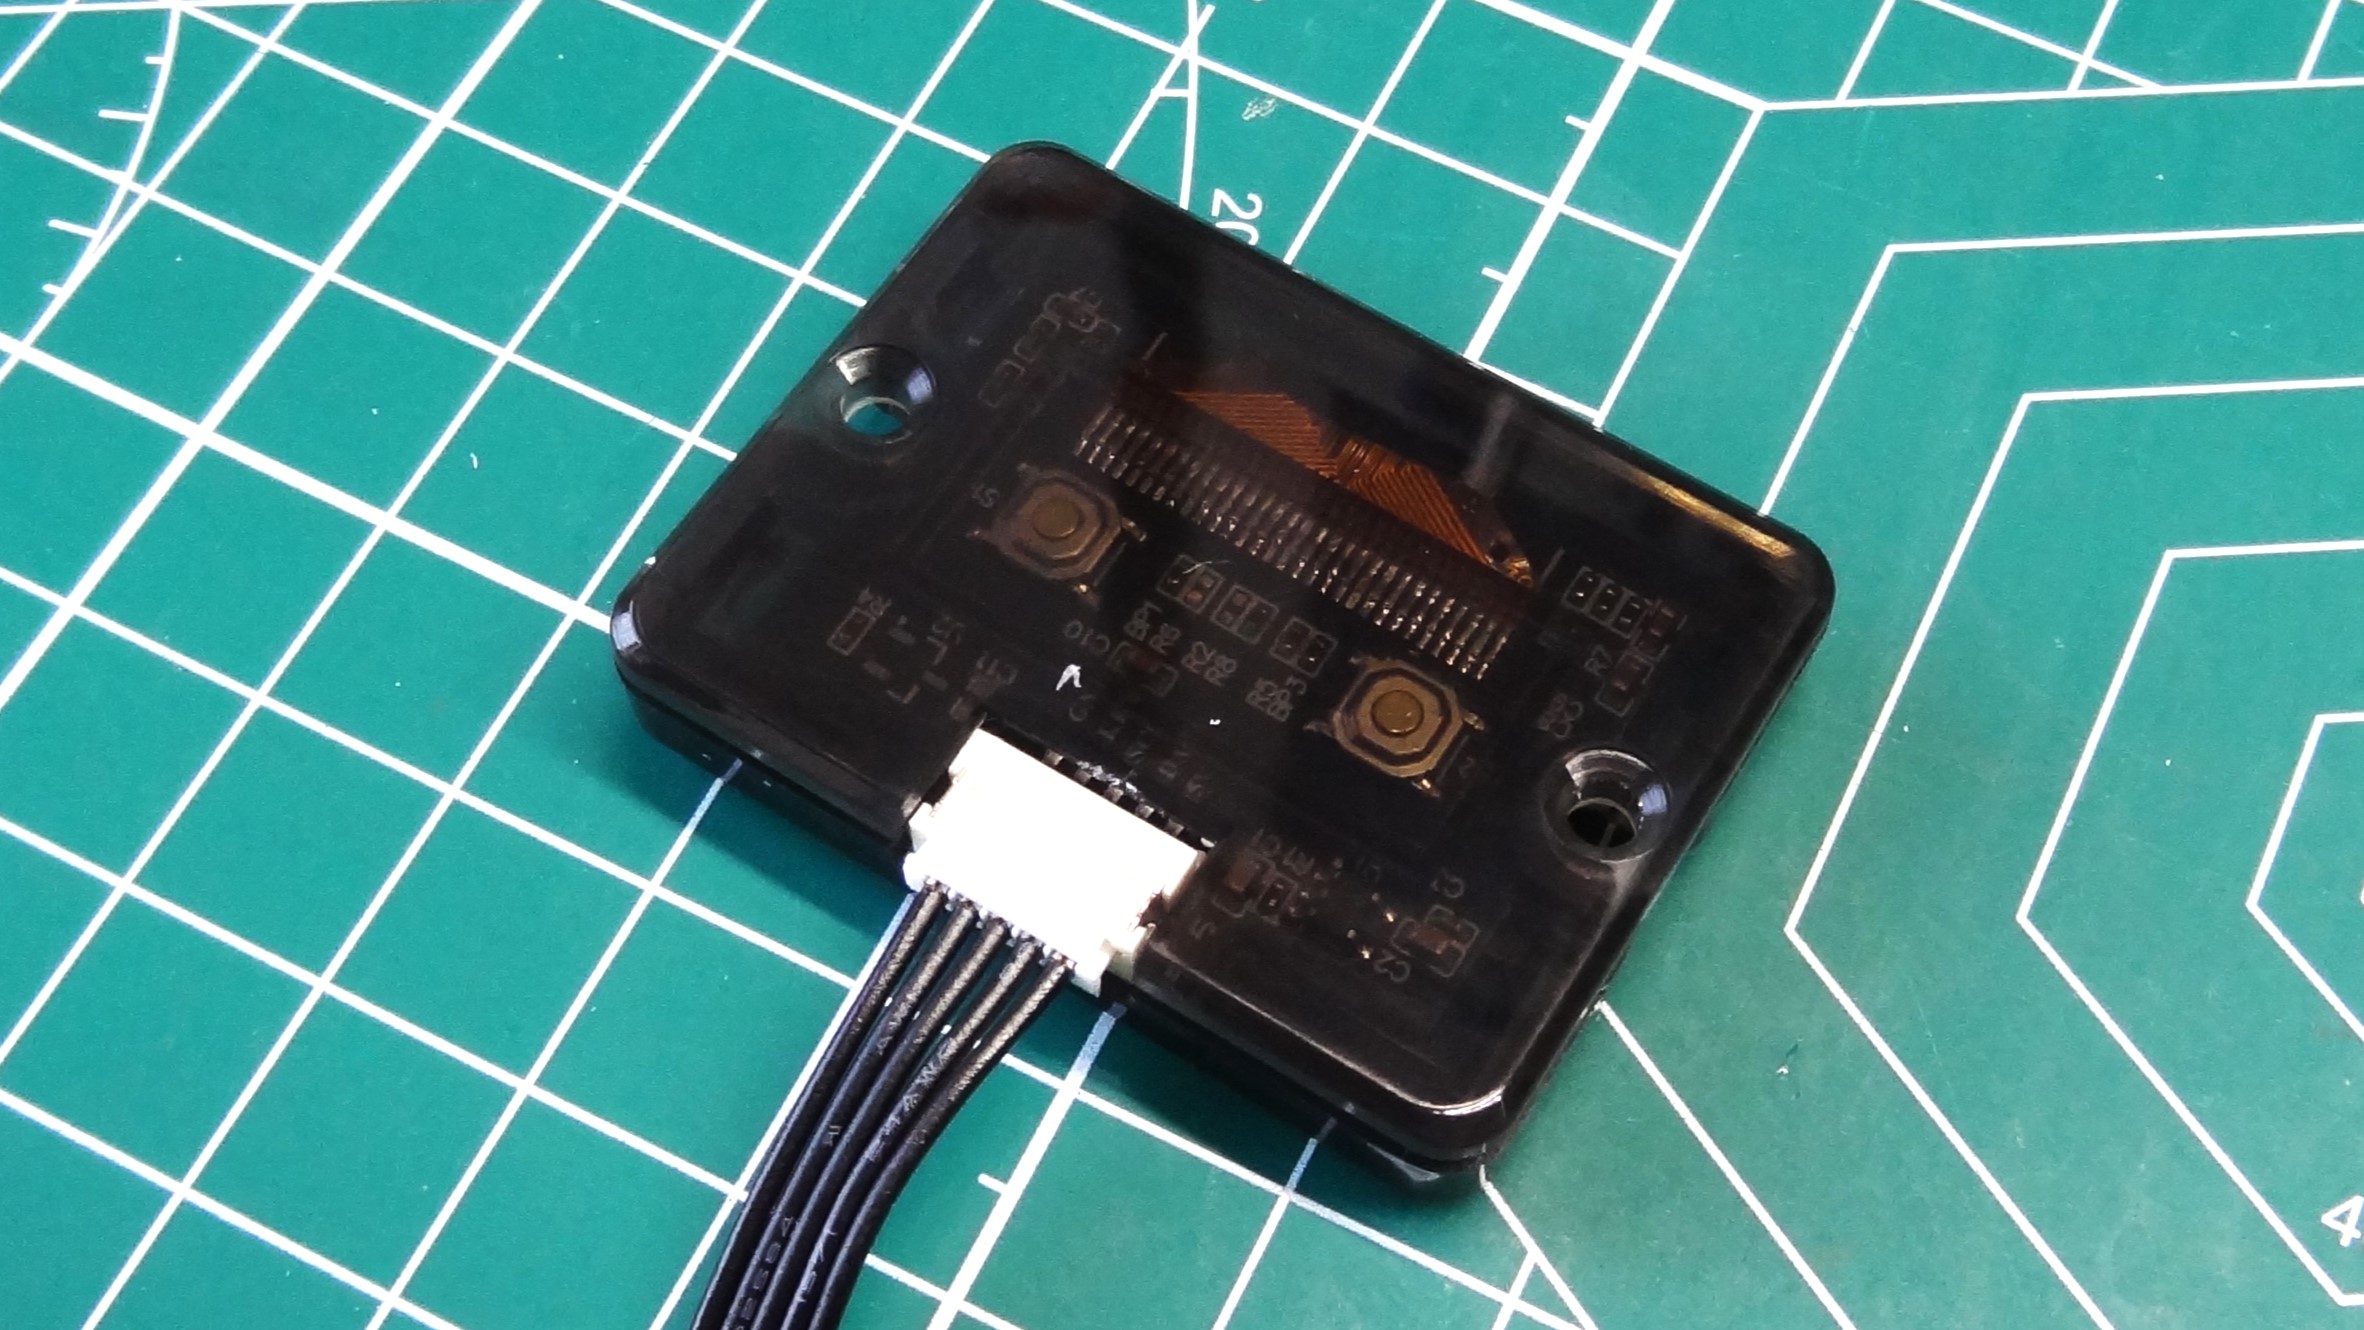
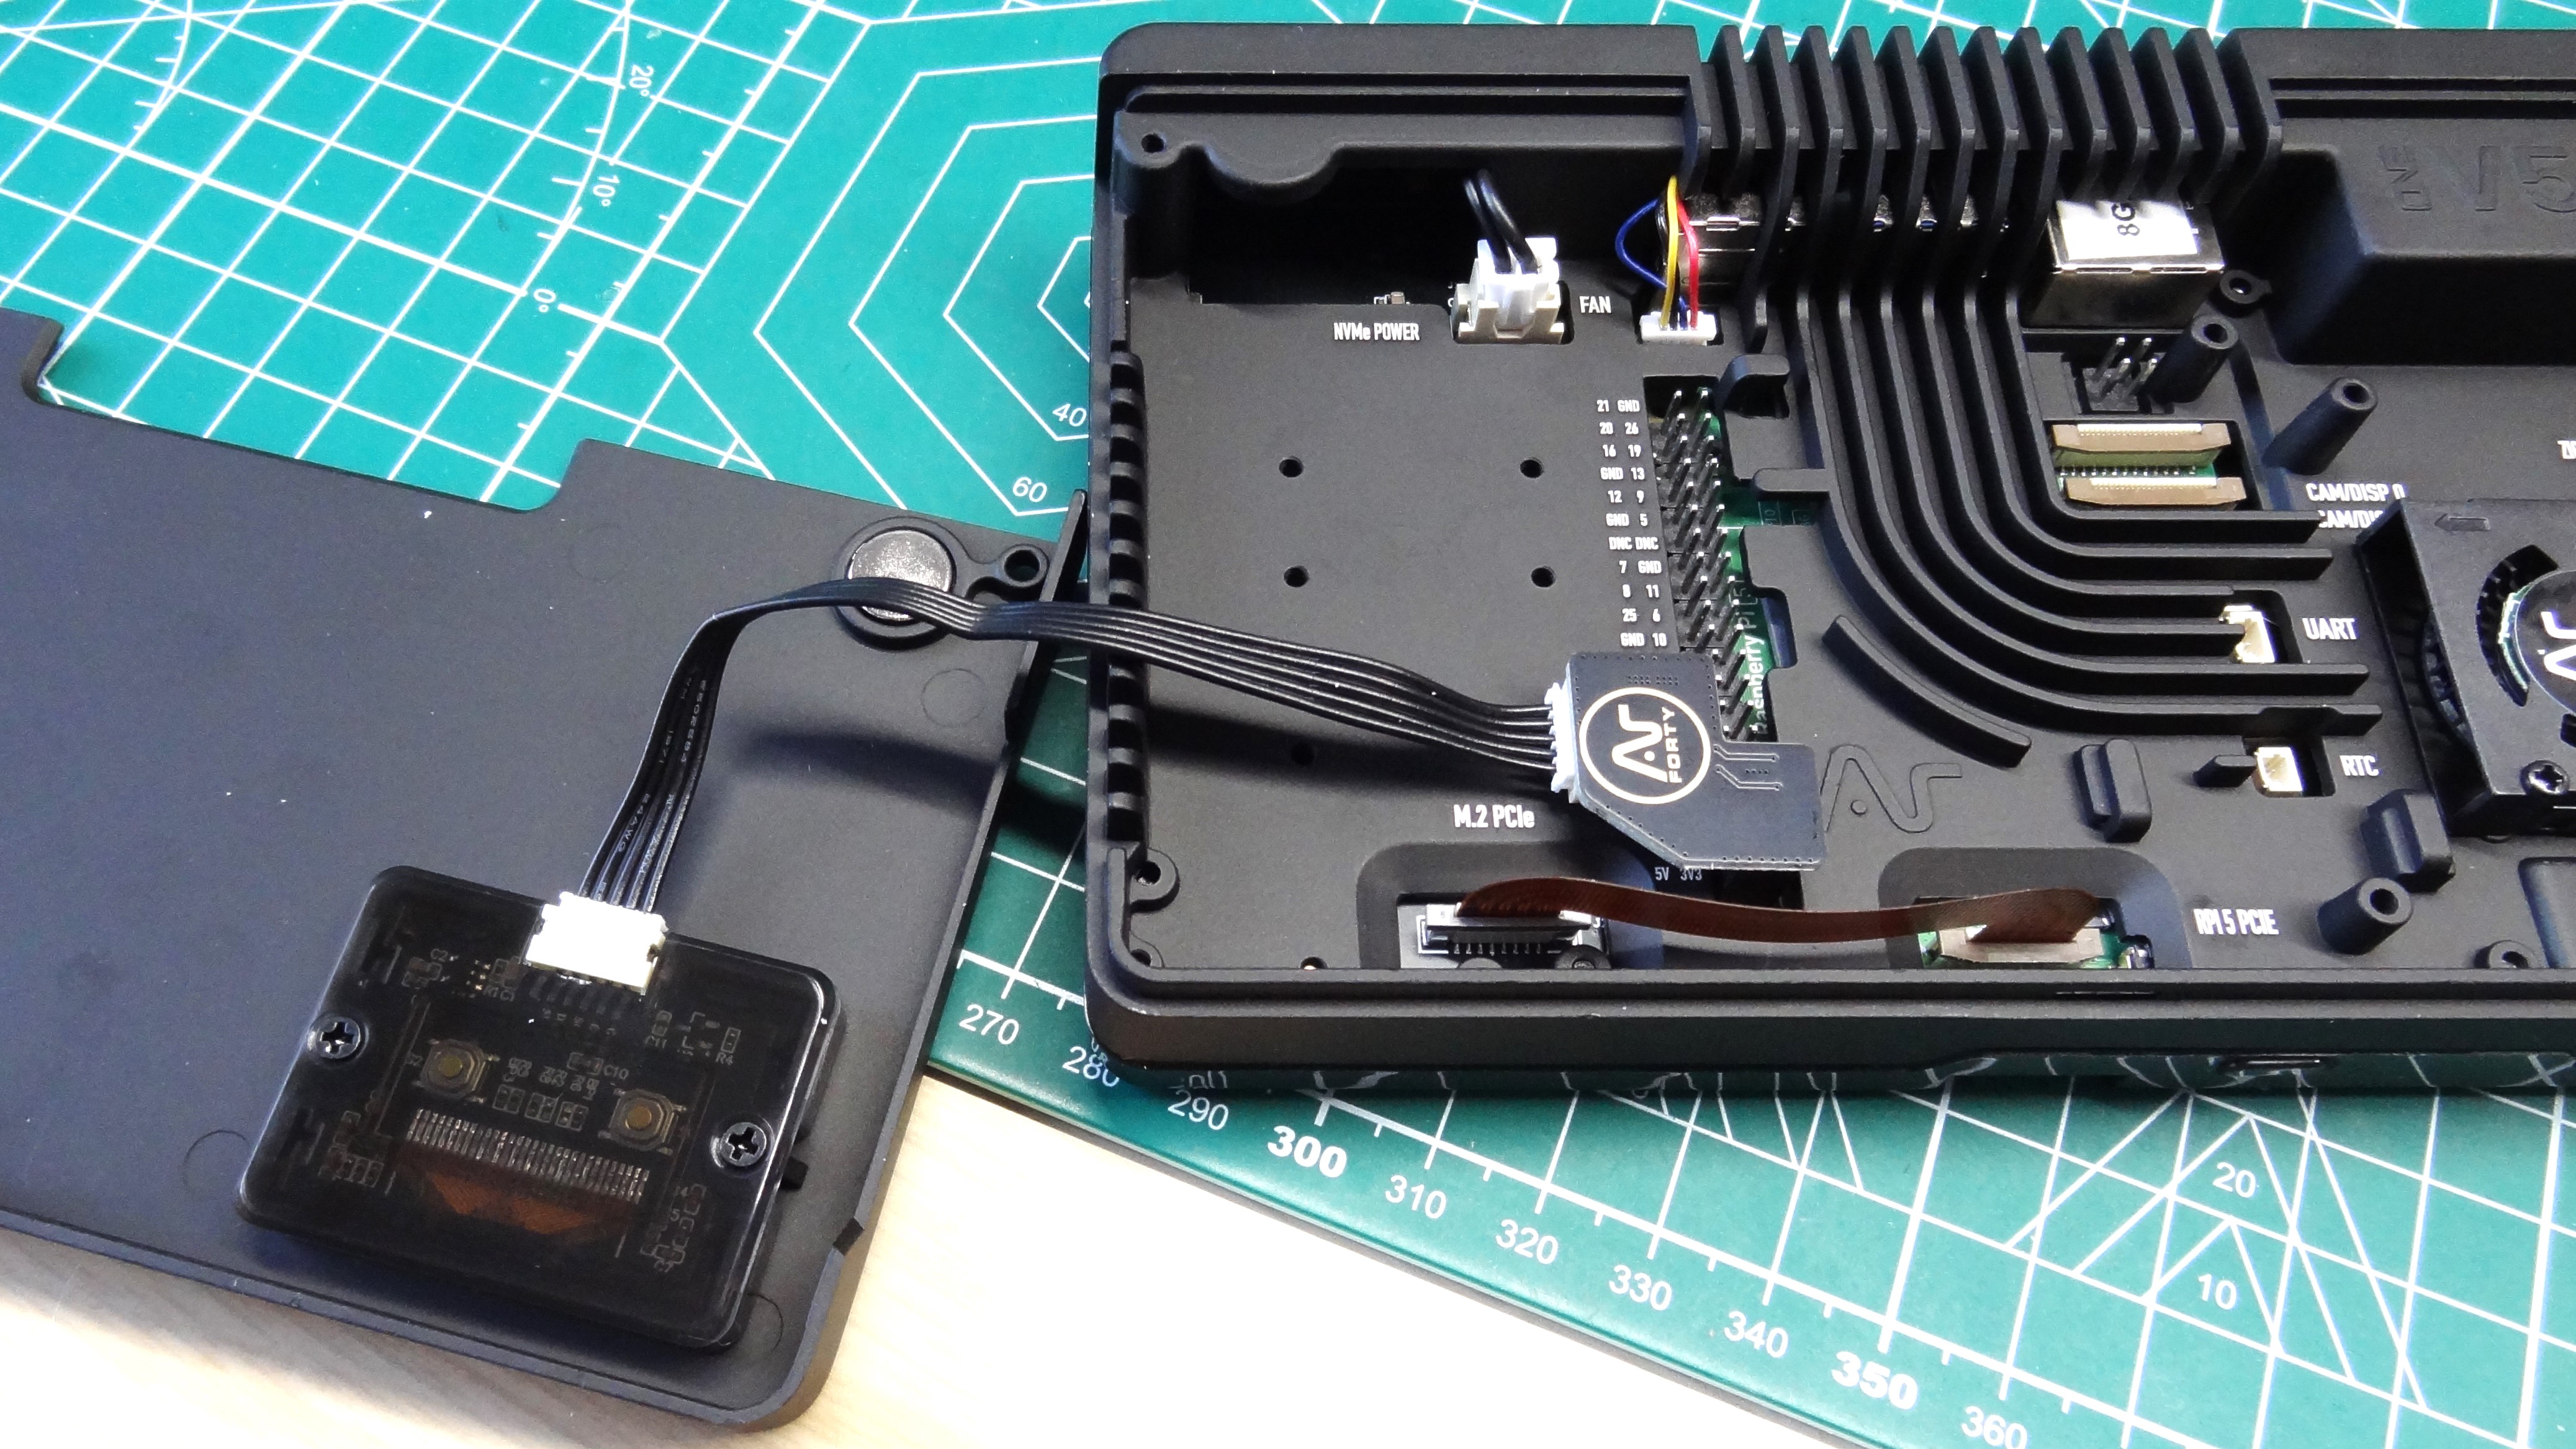
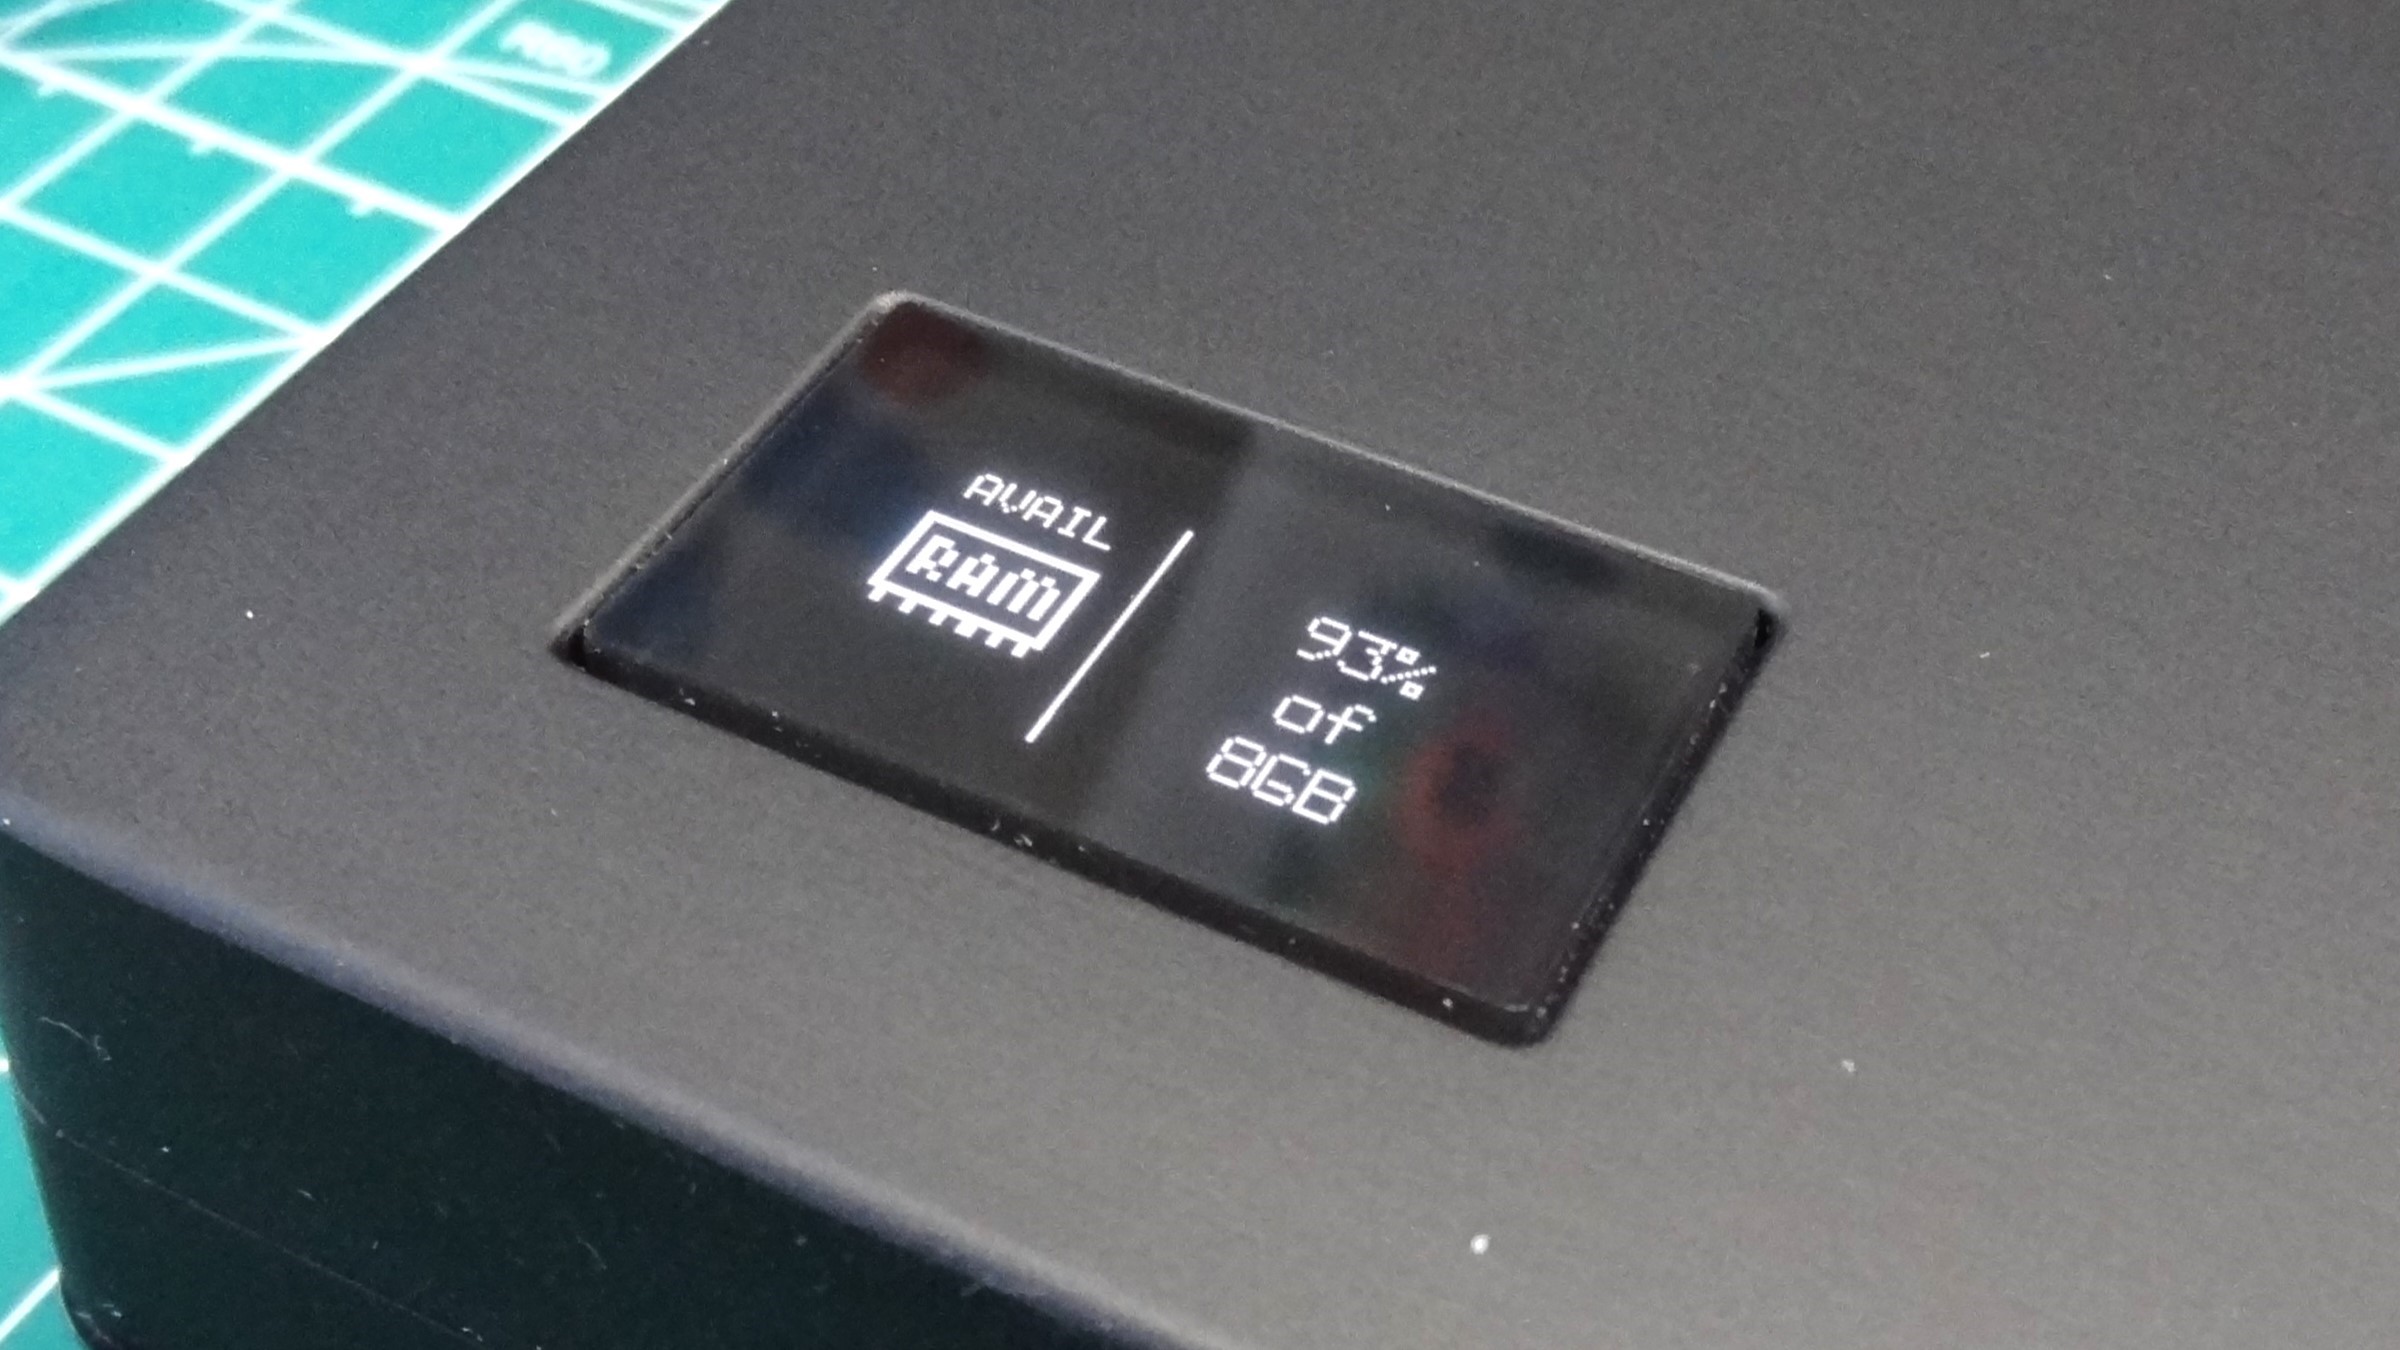
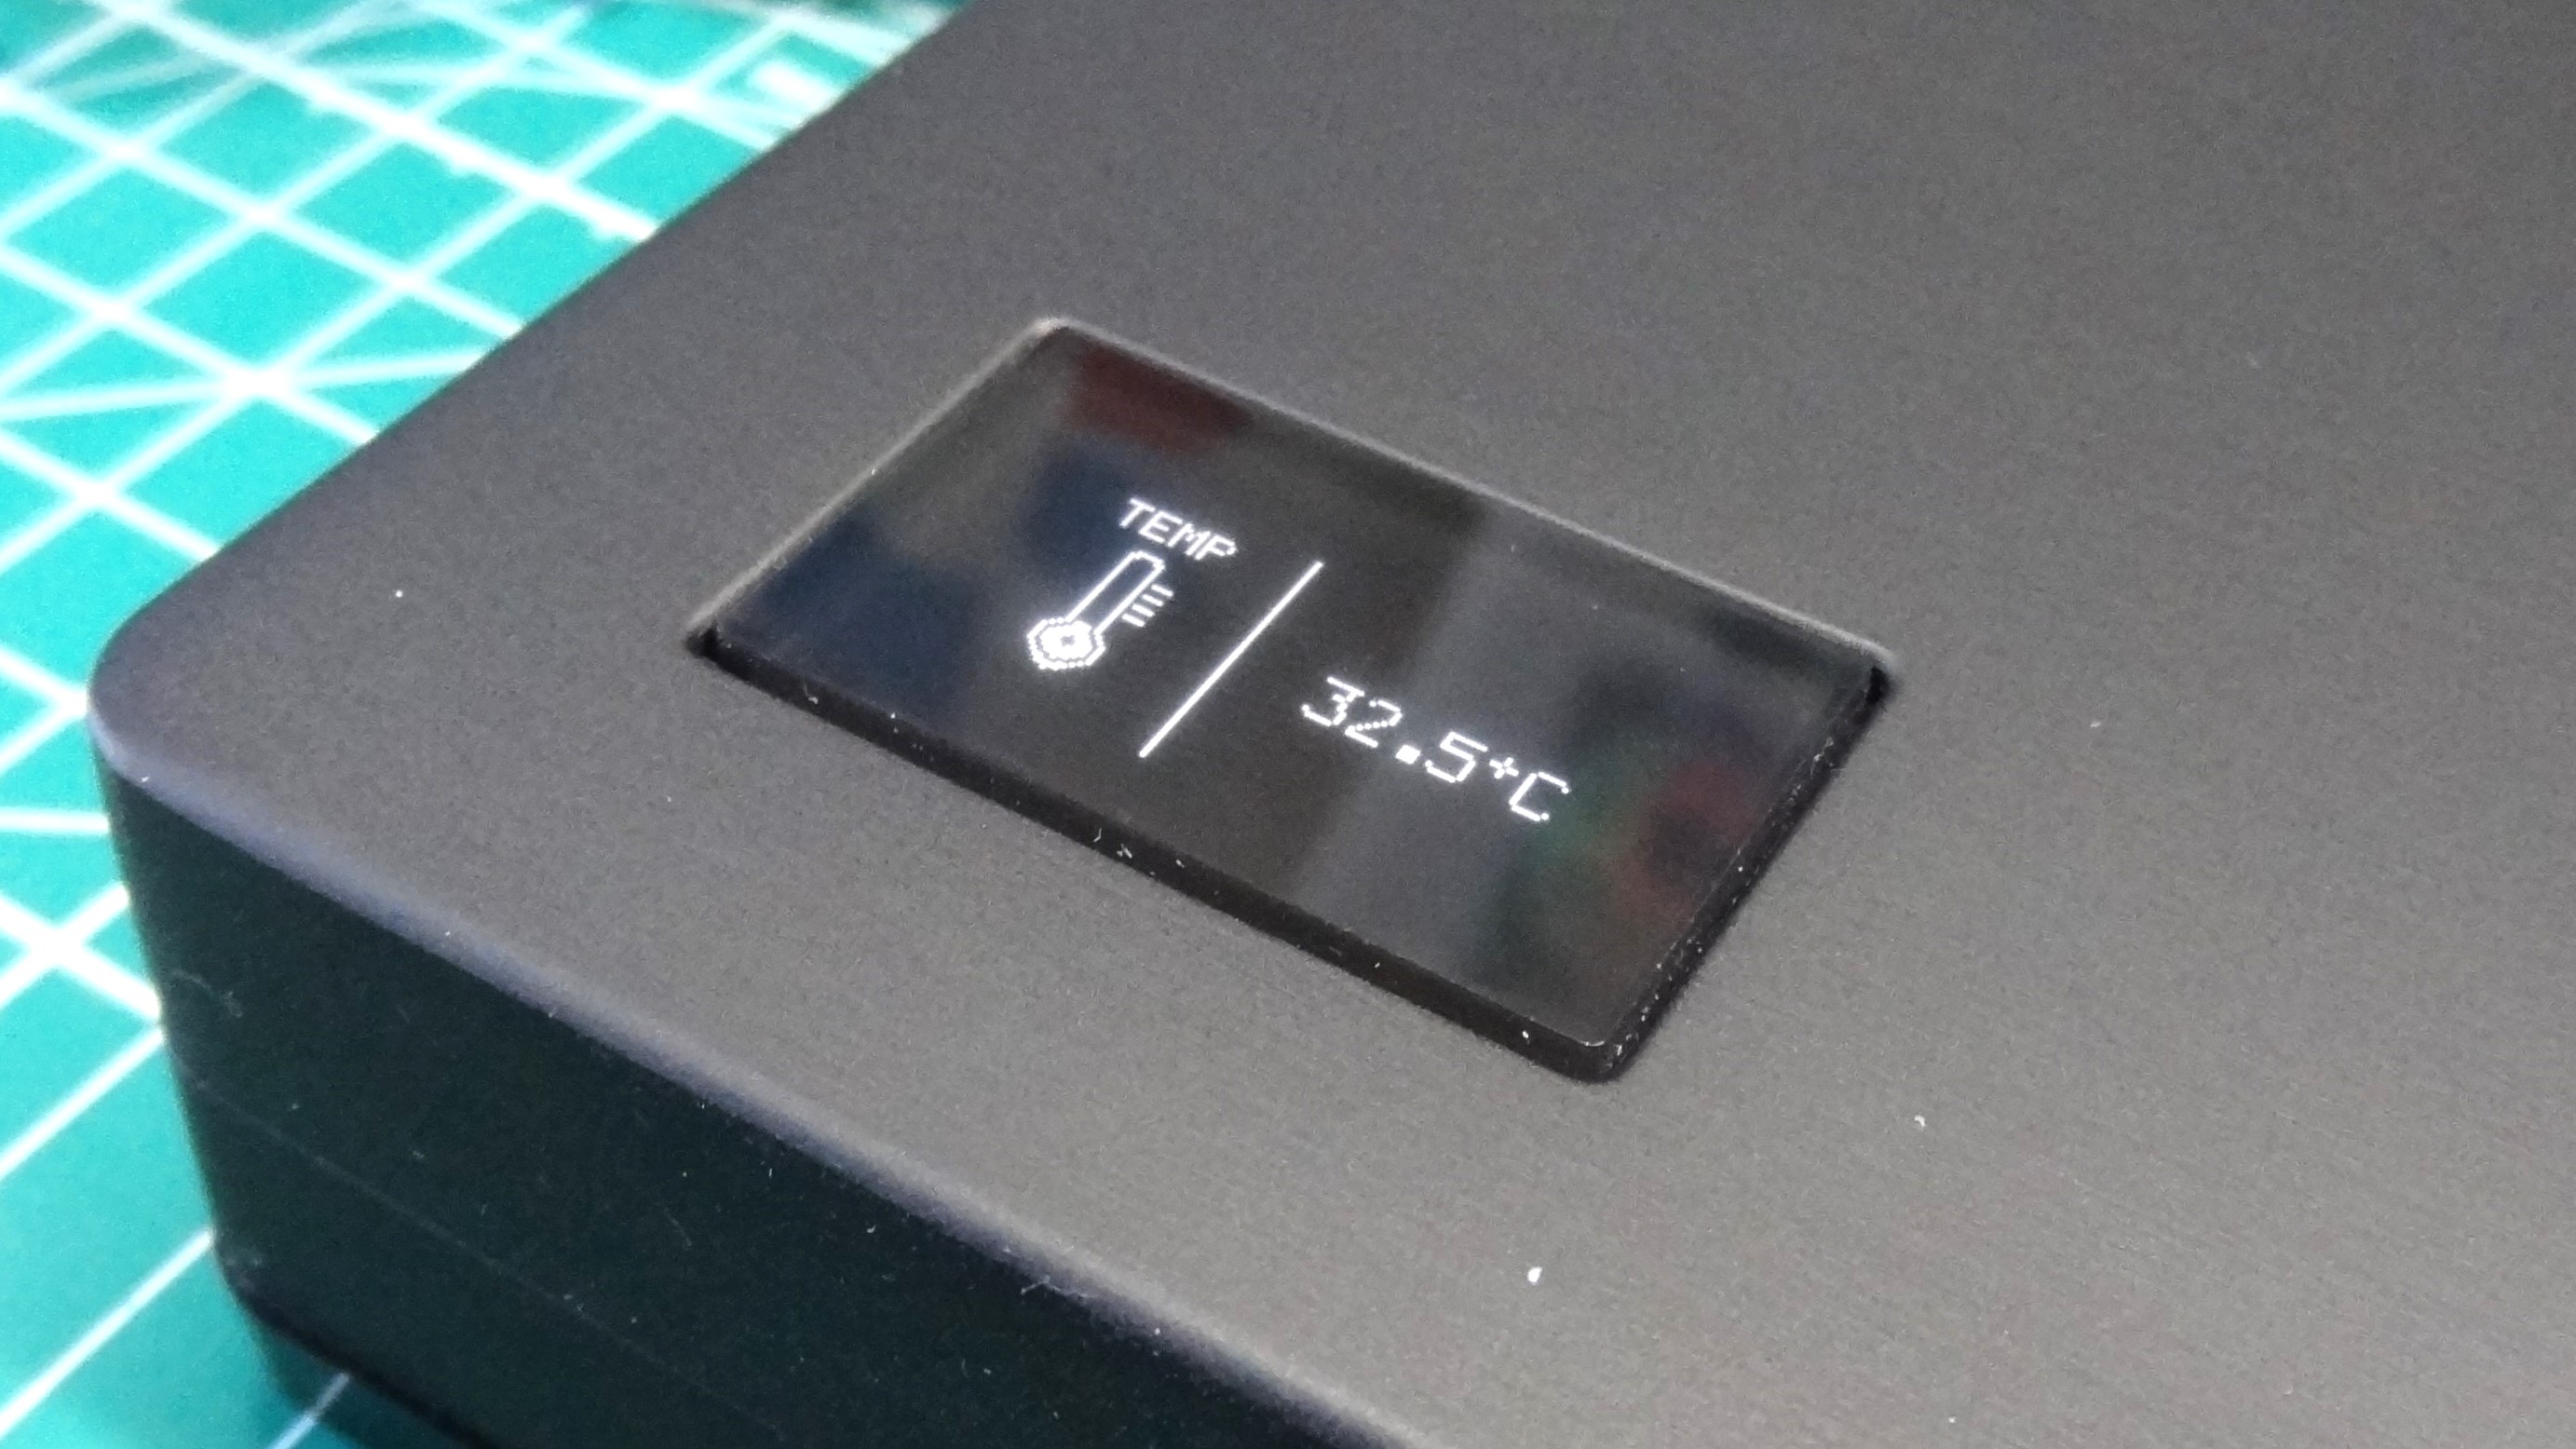
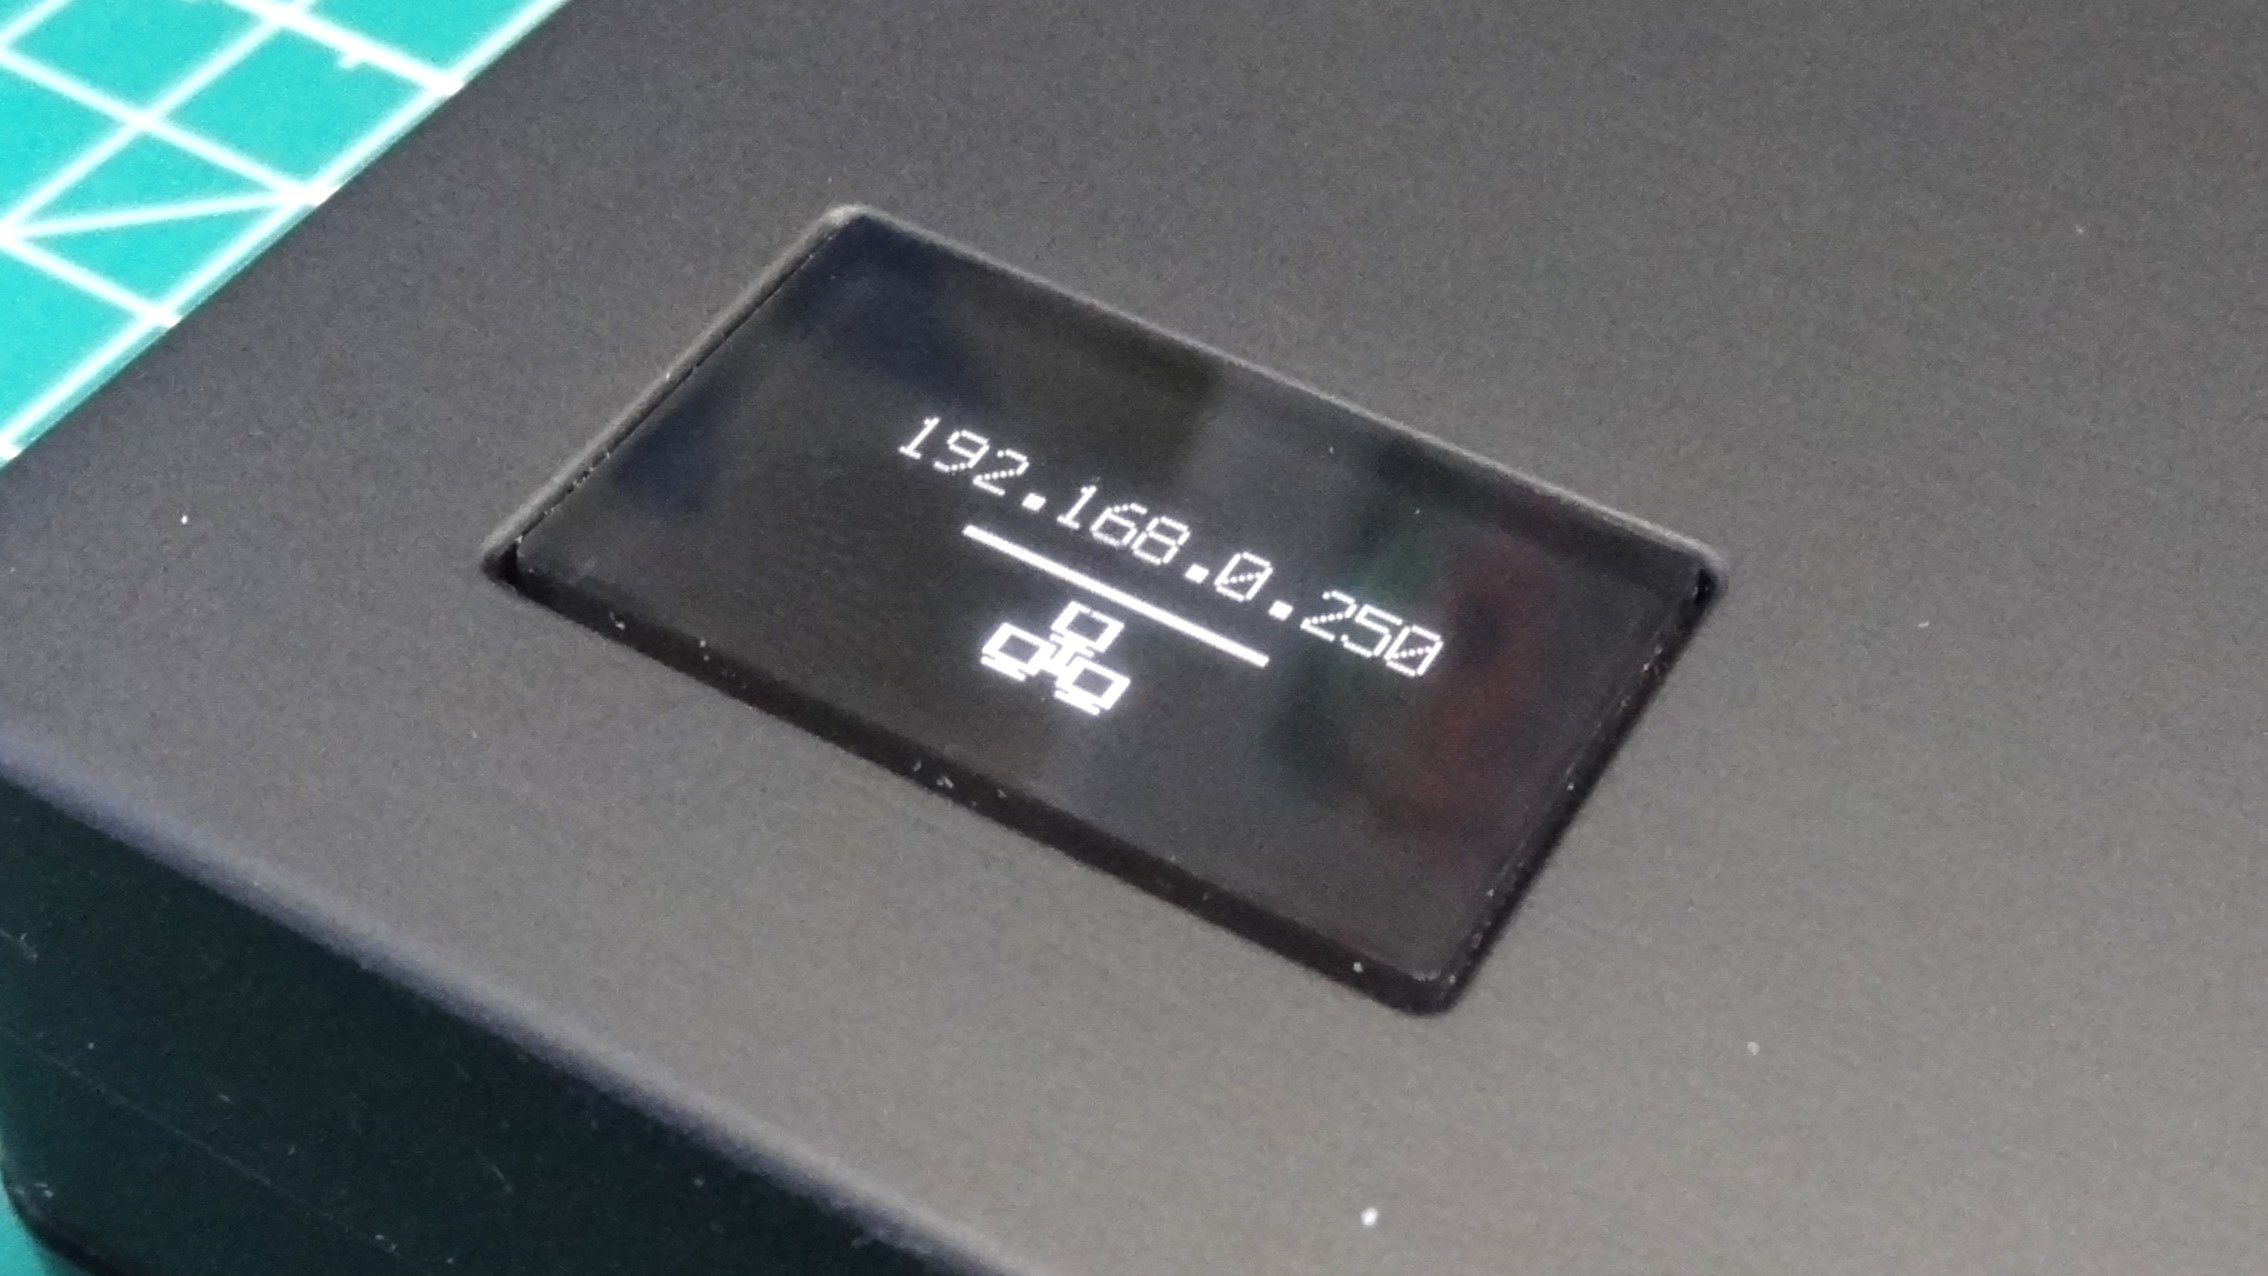
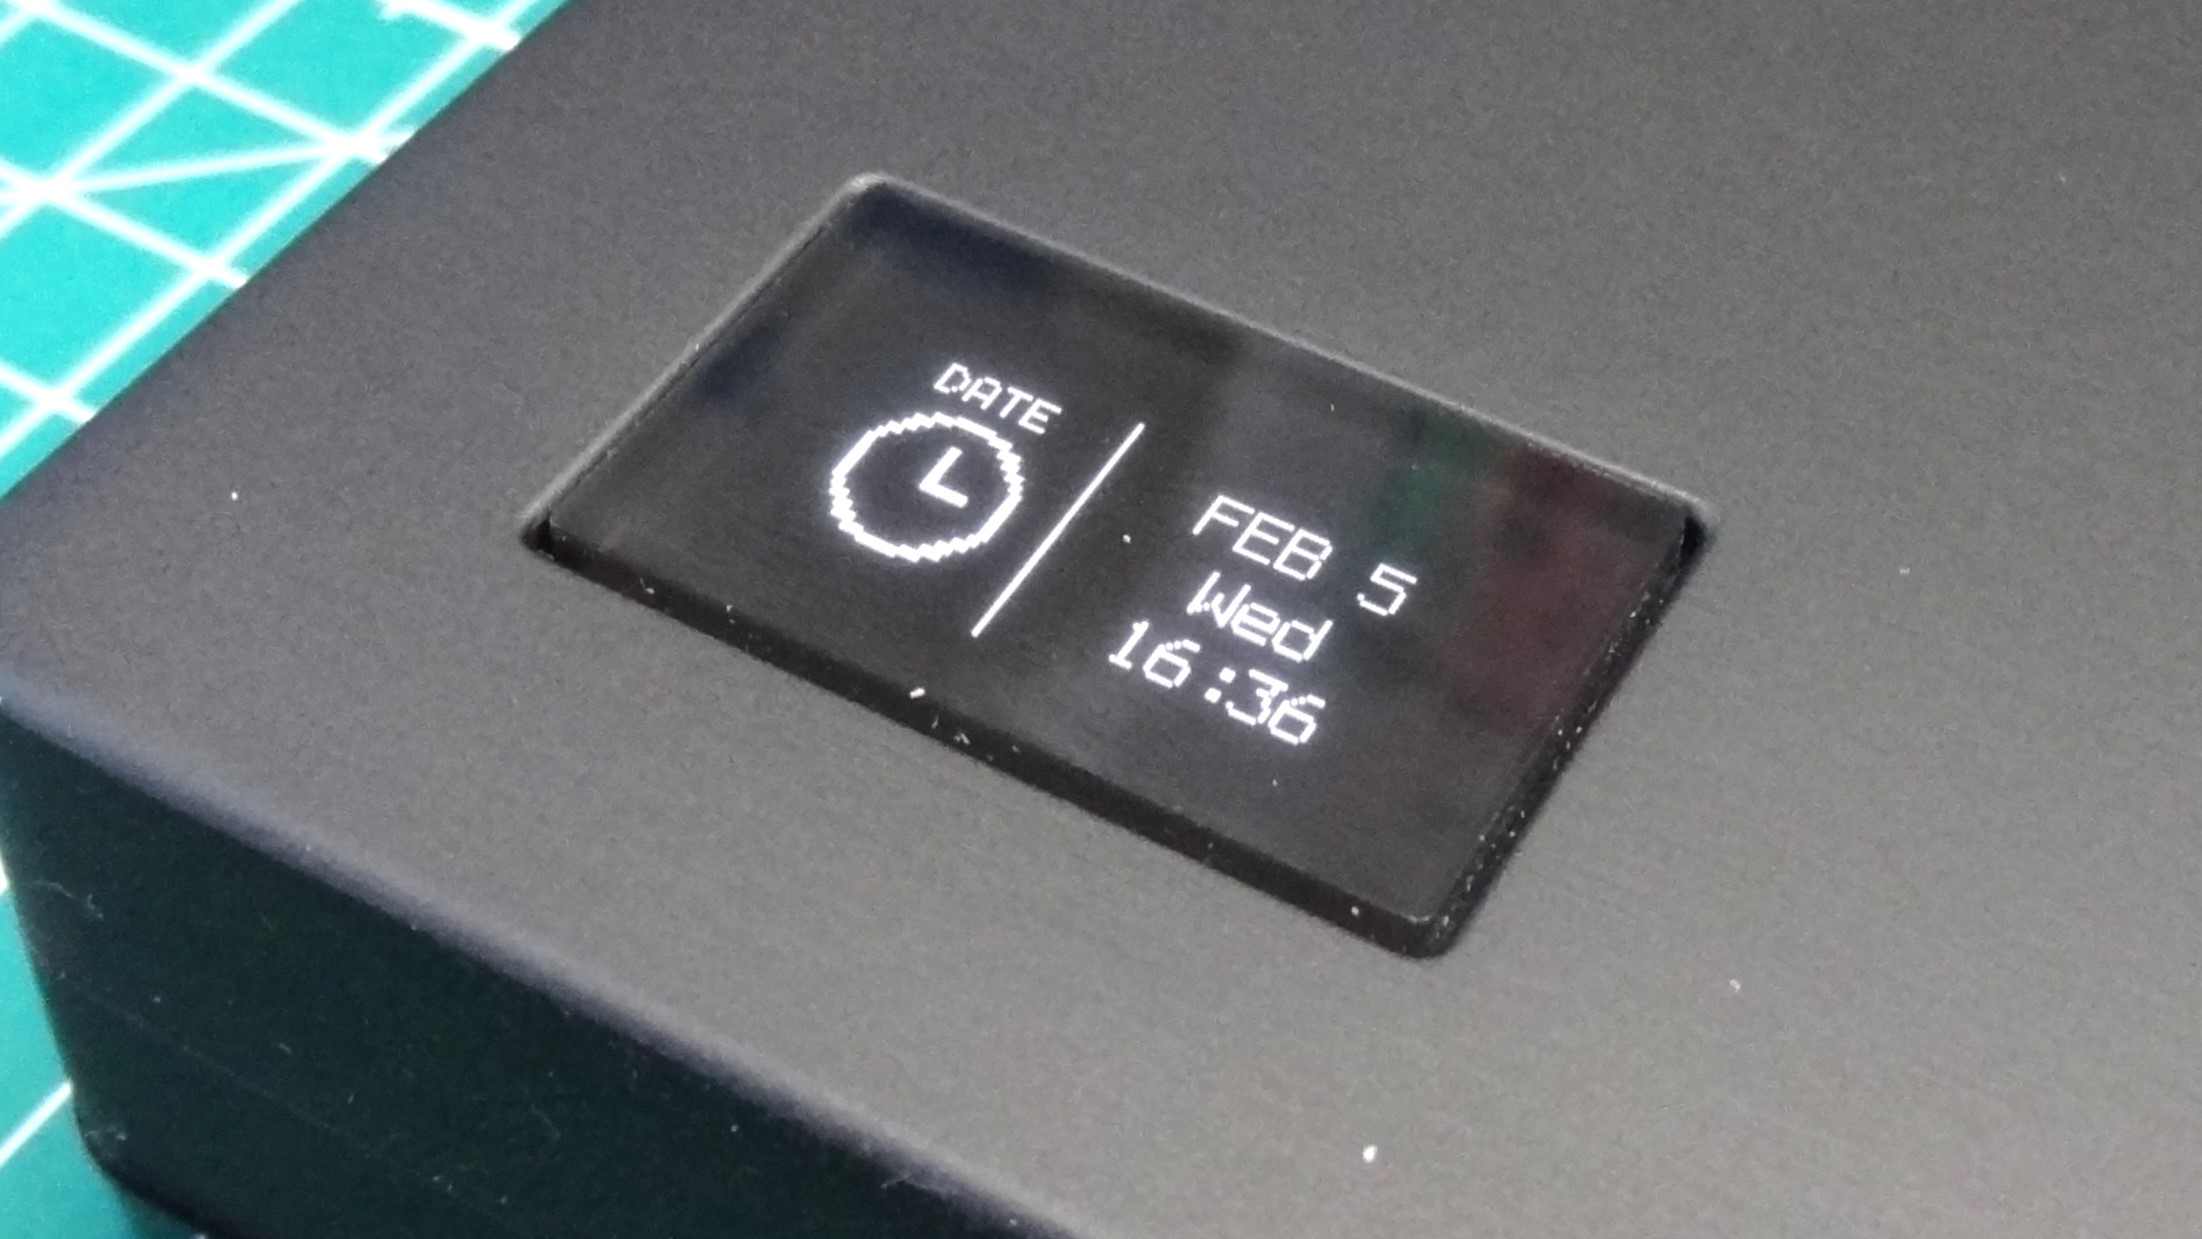
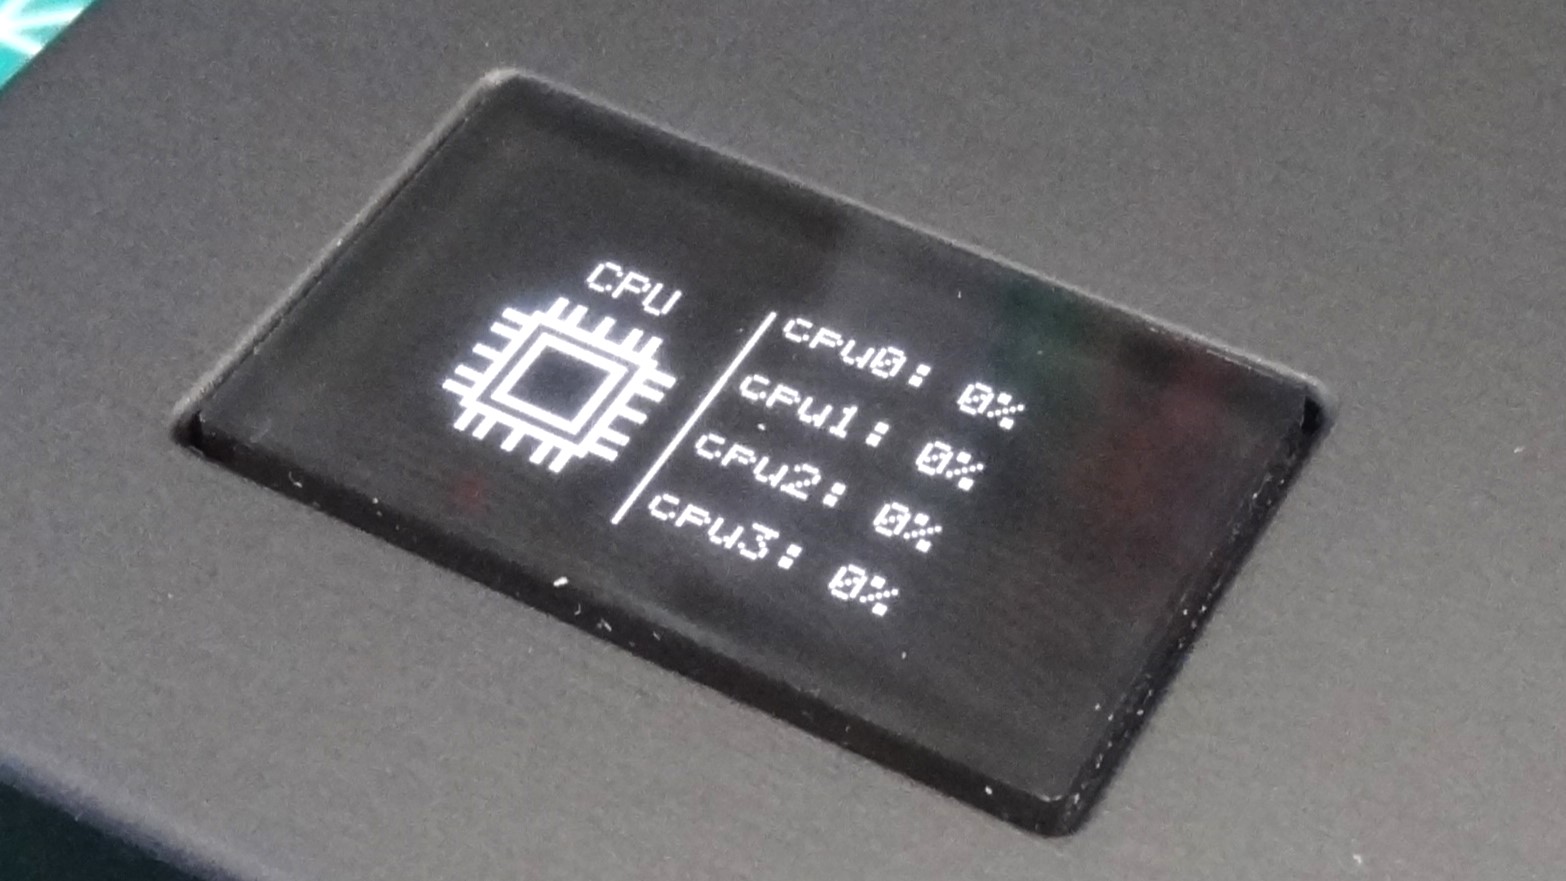
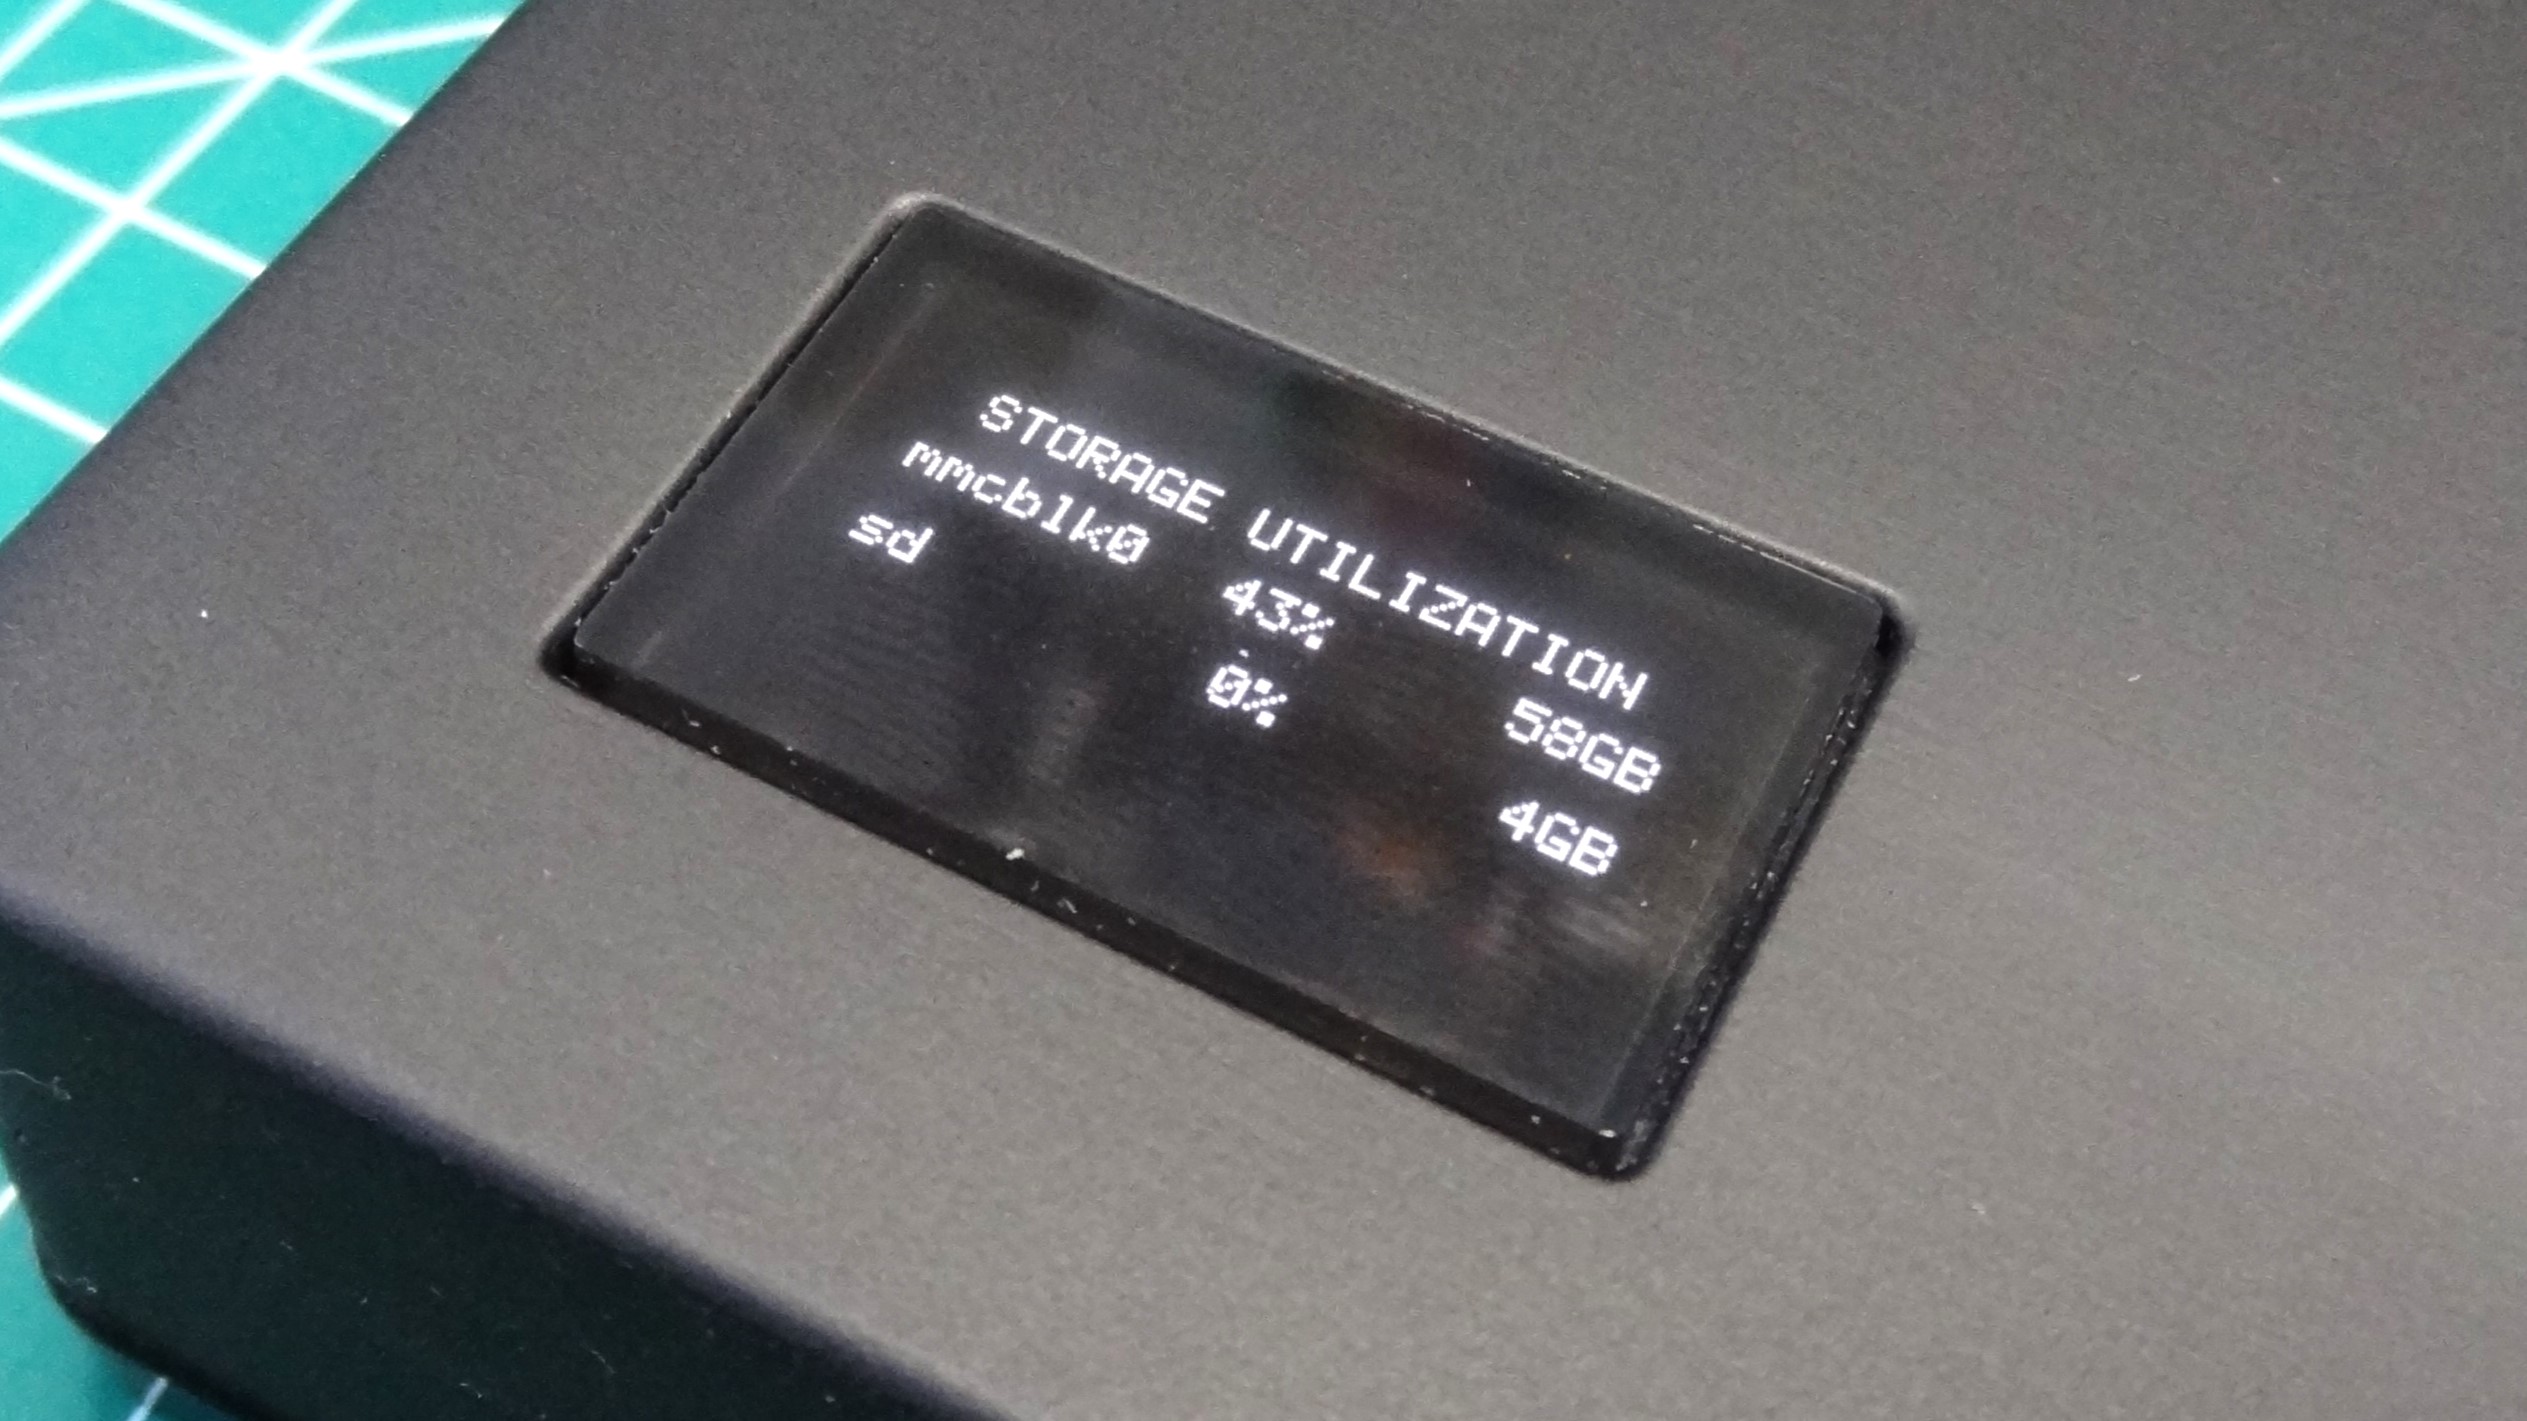
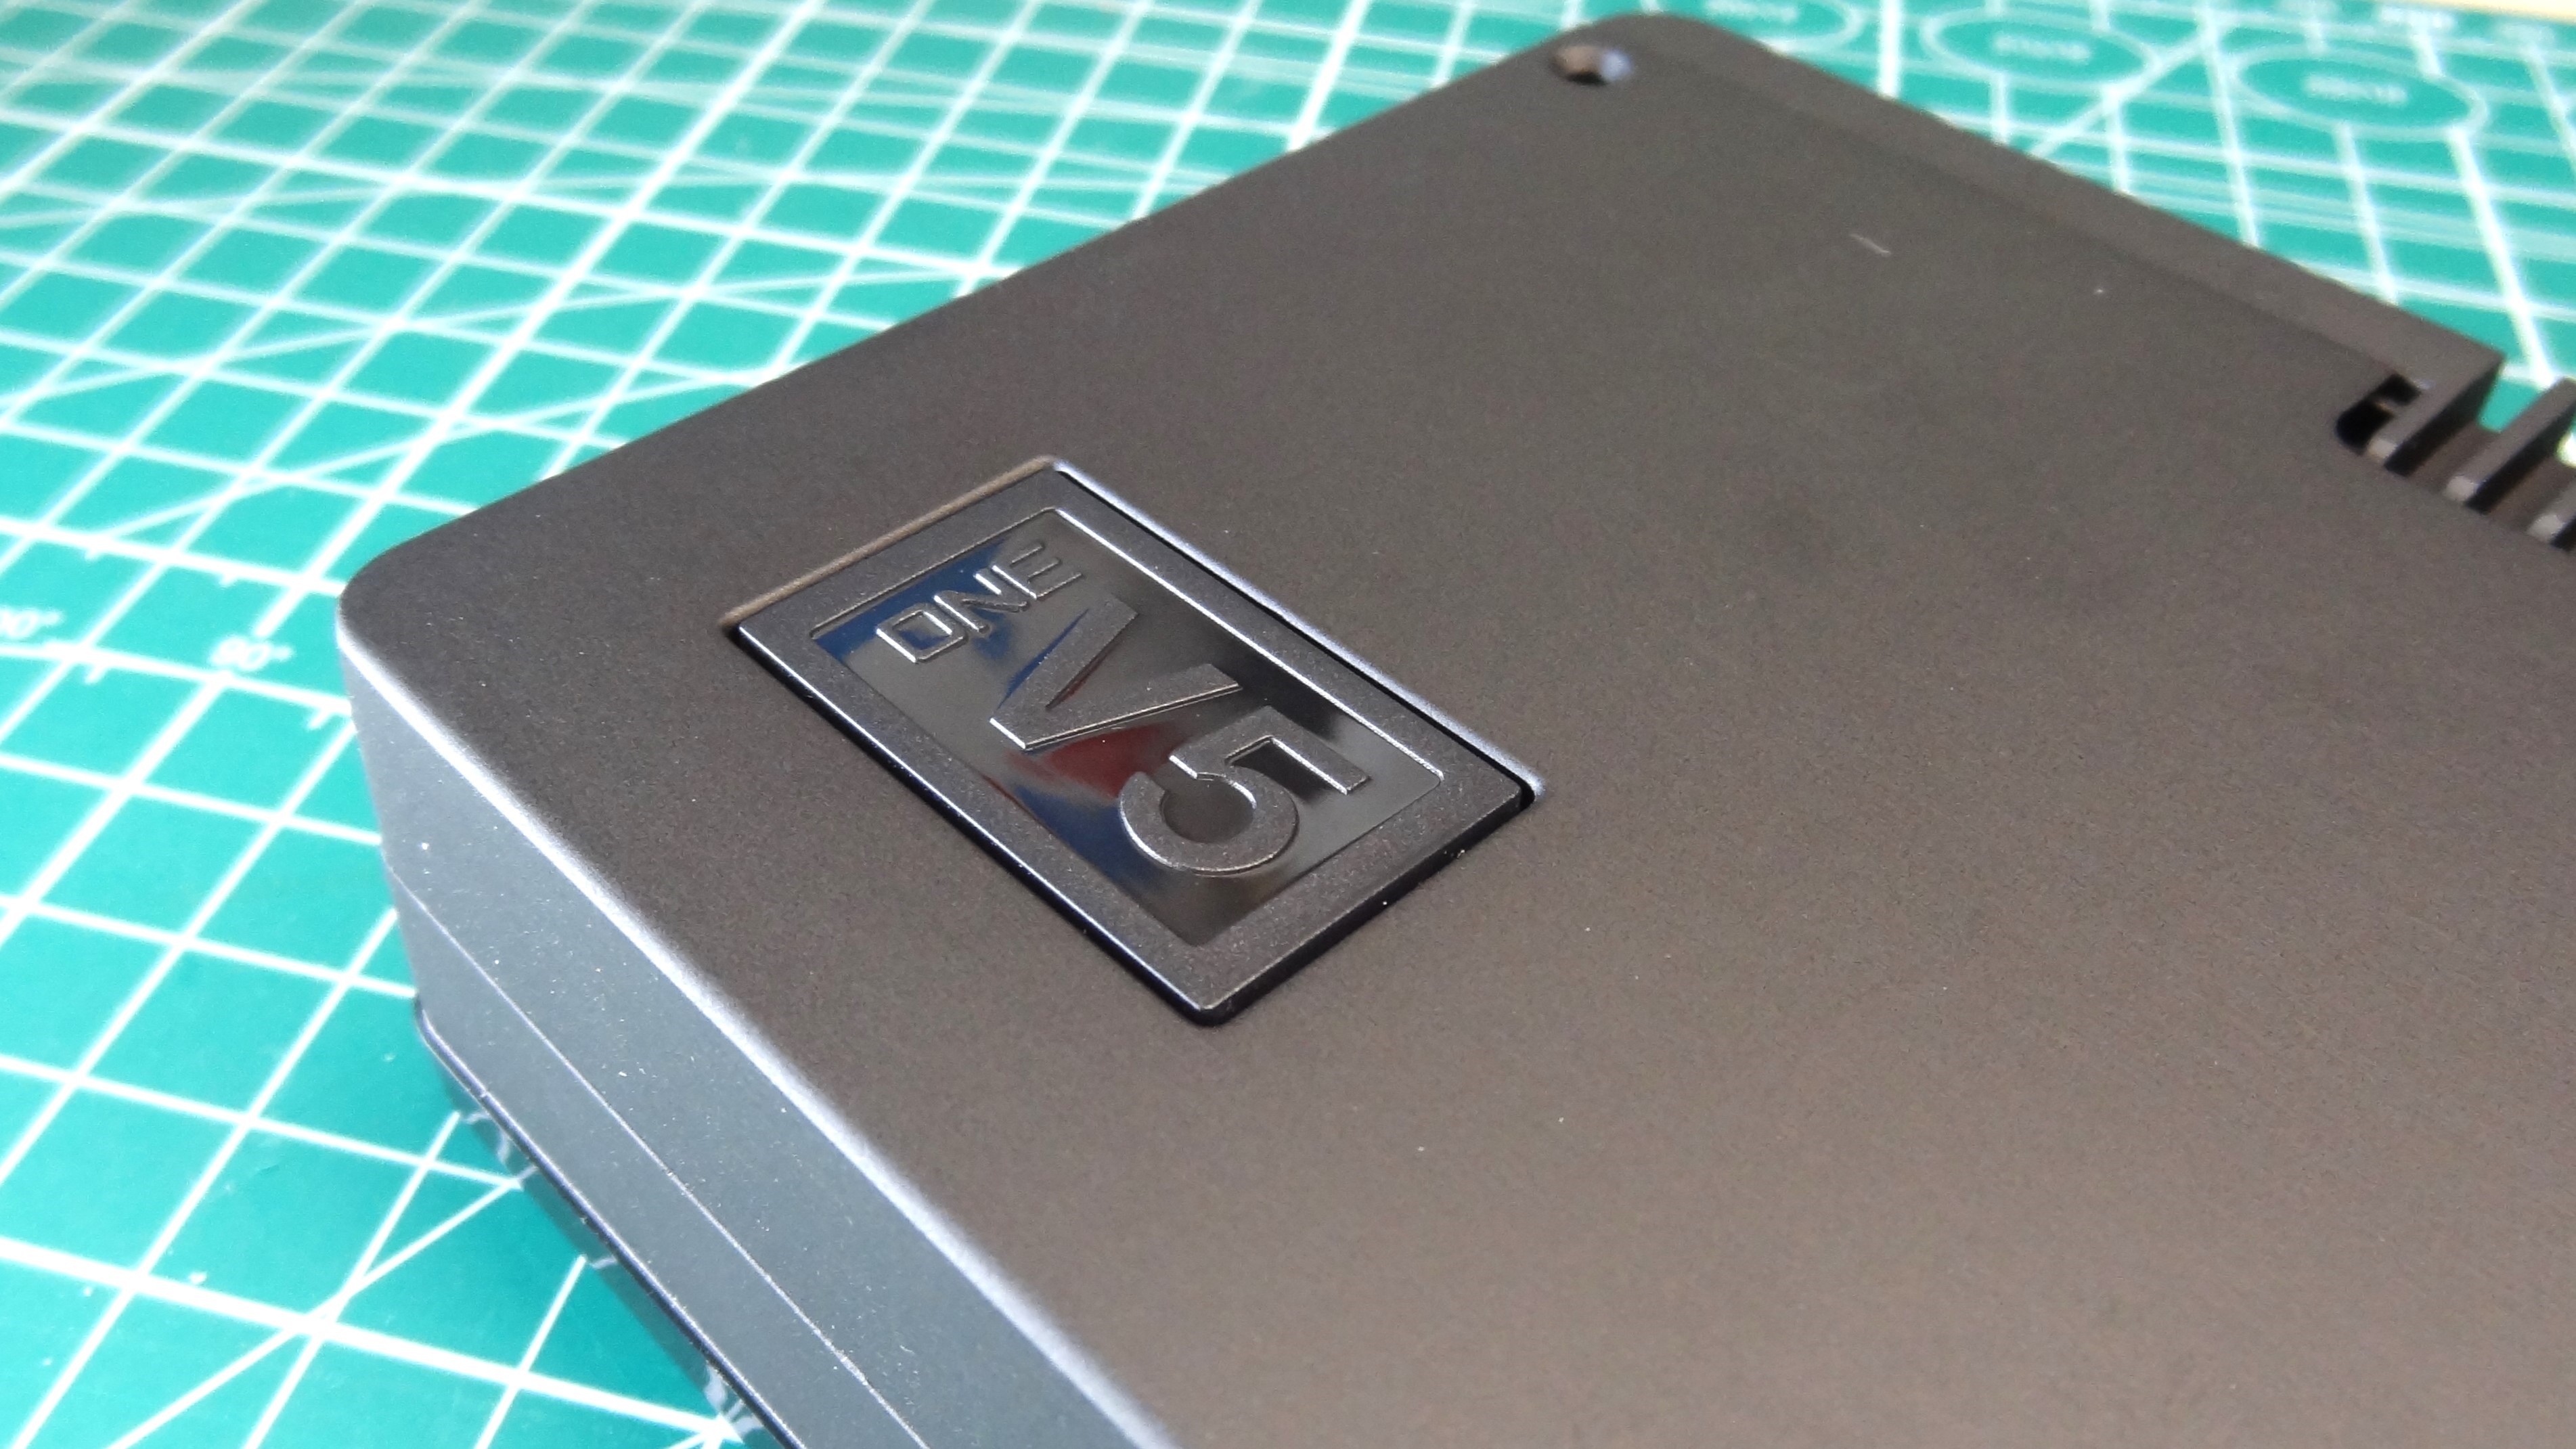
The top of the case is made from aluminum and sees a plastic logo in the bottom left corner. This can be replaced for the optional OLED display, which is what I did for this review. The OLED is a simple I2C breakout screen, used to display CPU, temperature, disk usage, IP address and of course, the date and time. But this screen has two buttons behind it. Pressing the screen will navigate the data displayed on the OLED. The OLED screen connects to the first eight (2x4) GPIO pins on the Raspberry Pi and this means that it certainly used I2C for communication. It also means that full GPIO access, for the best HATs and add-ons, is not available. You’ll need to remove the OLED screen in order to use a HAT.
PersonallyI would use a GPIO header extension to raise the GPIO a little higher than the case. Some M2.5 standoffs would also add stability.
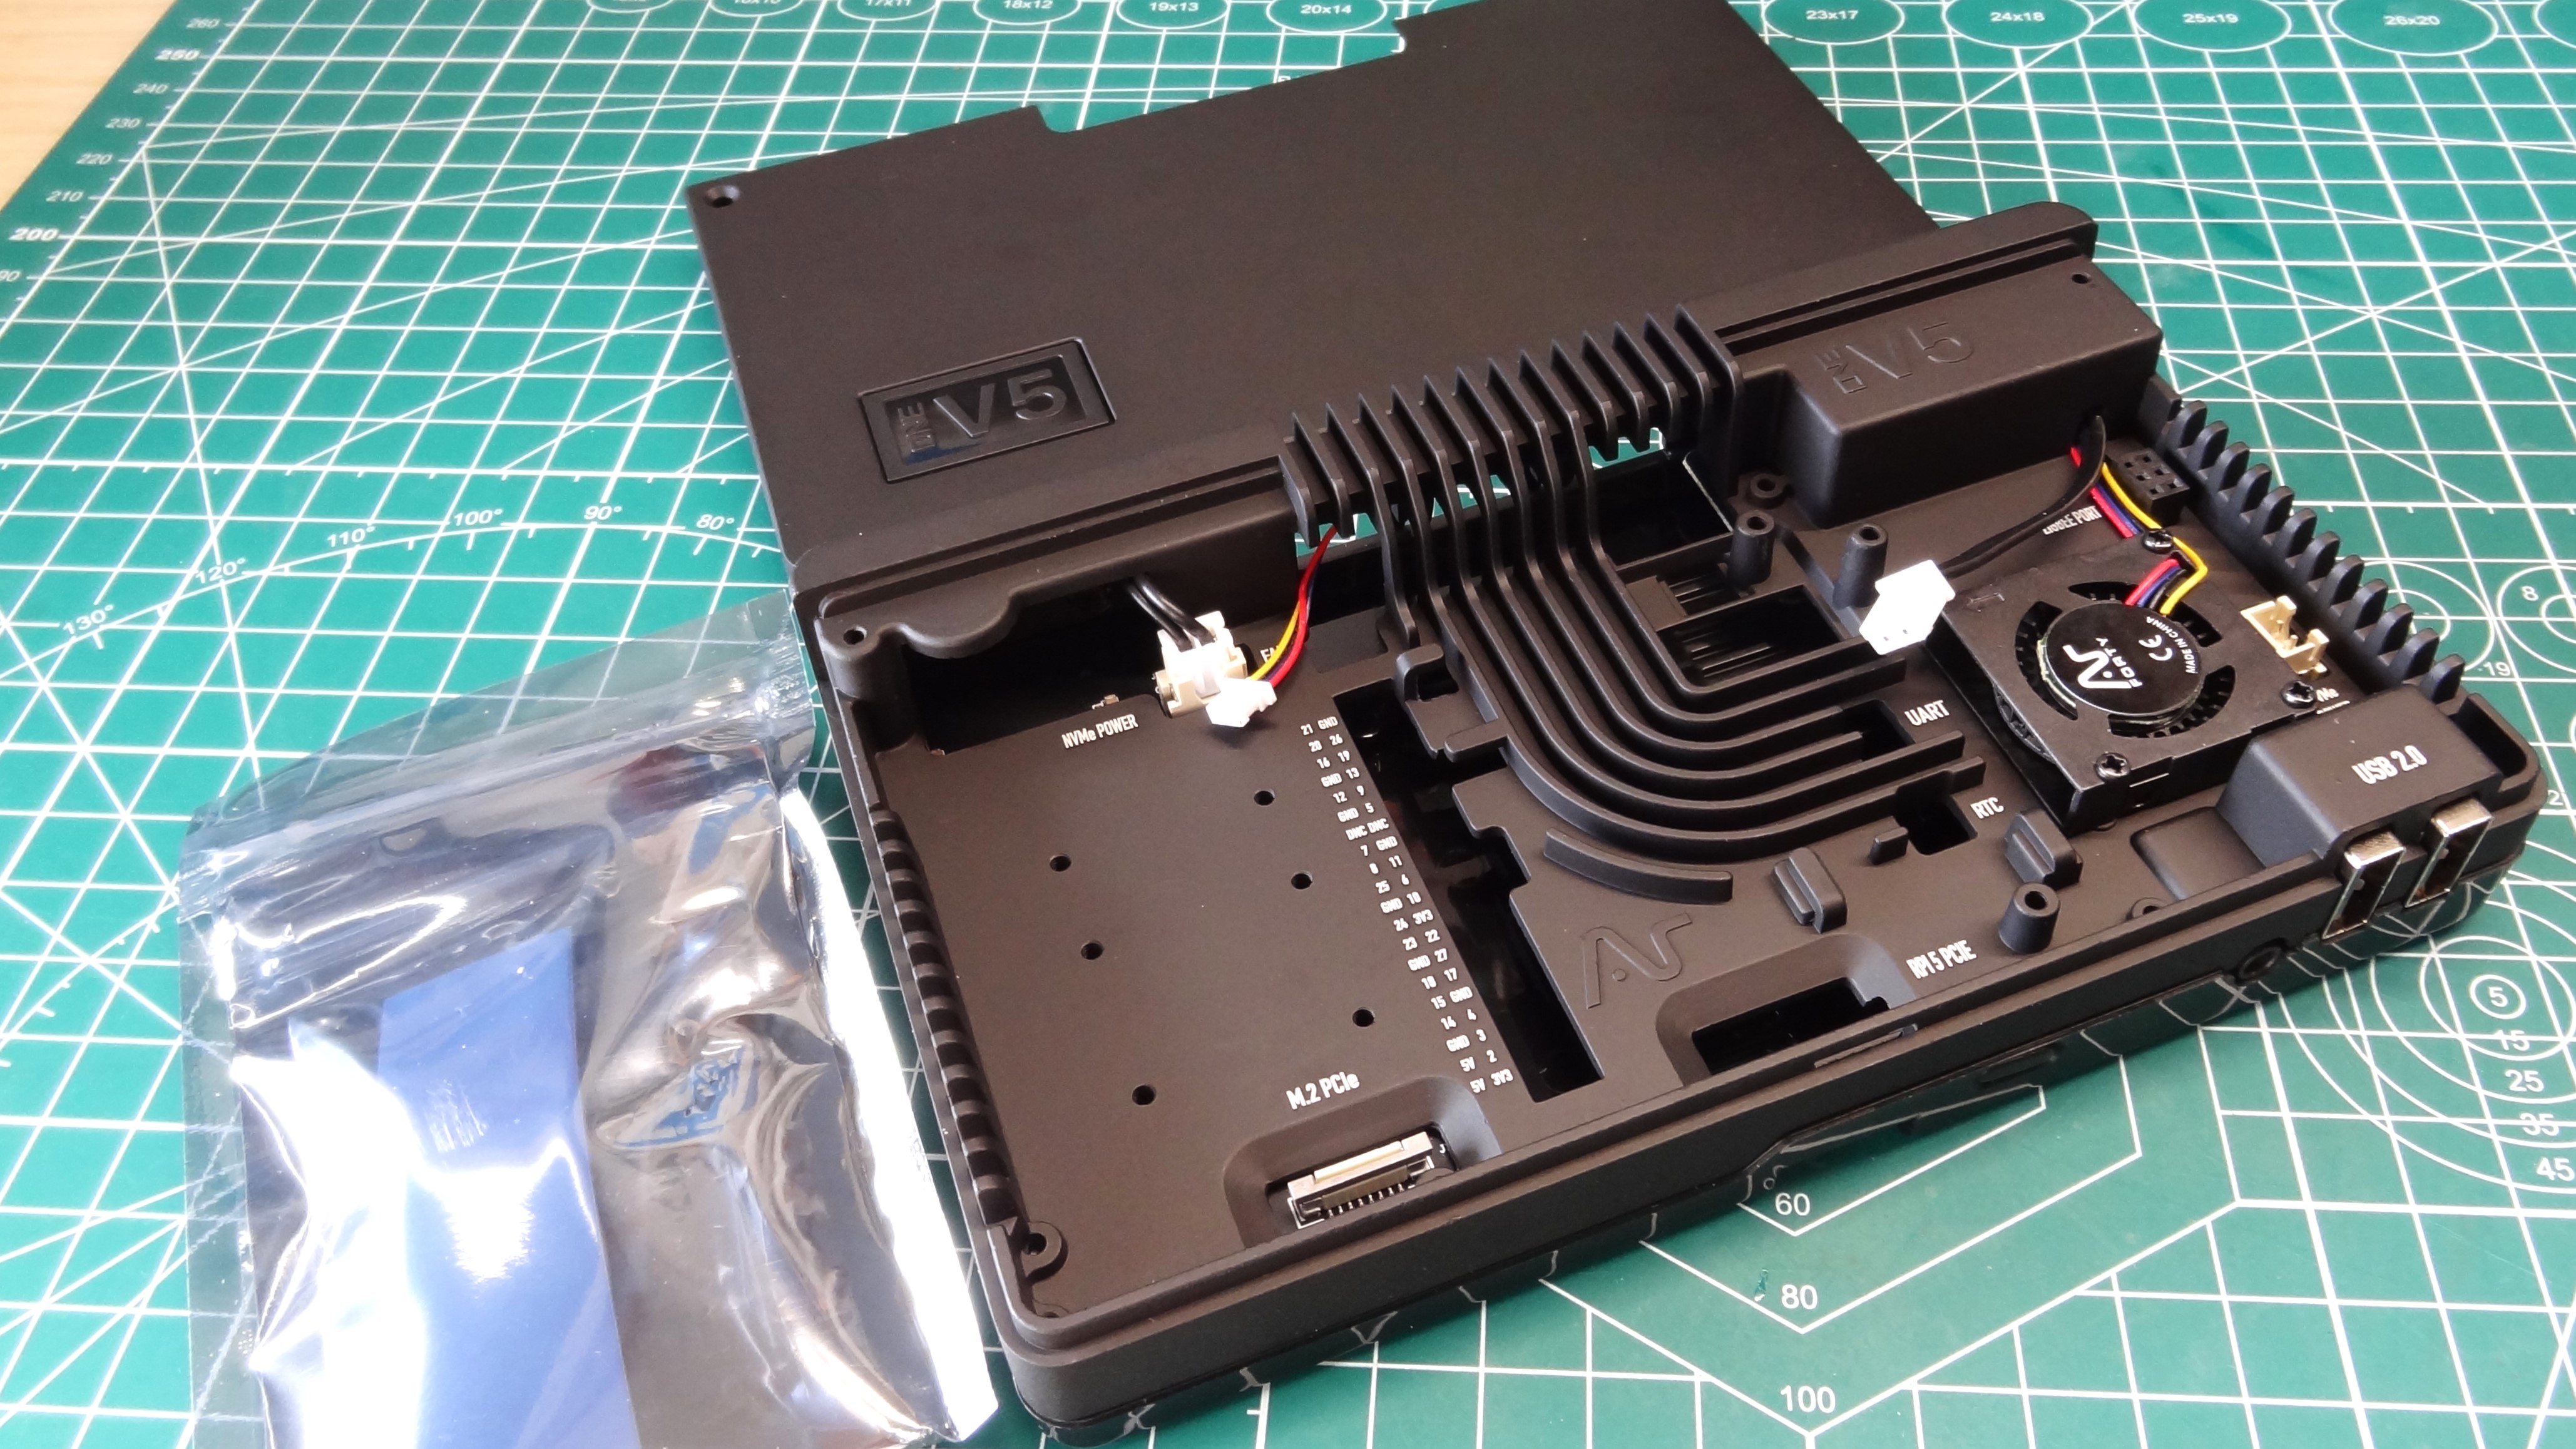
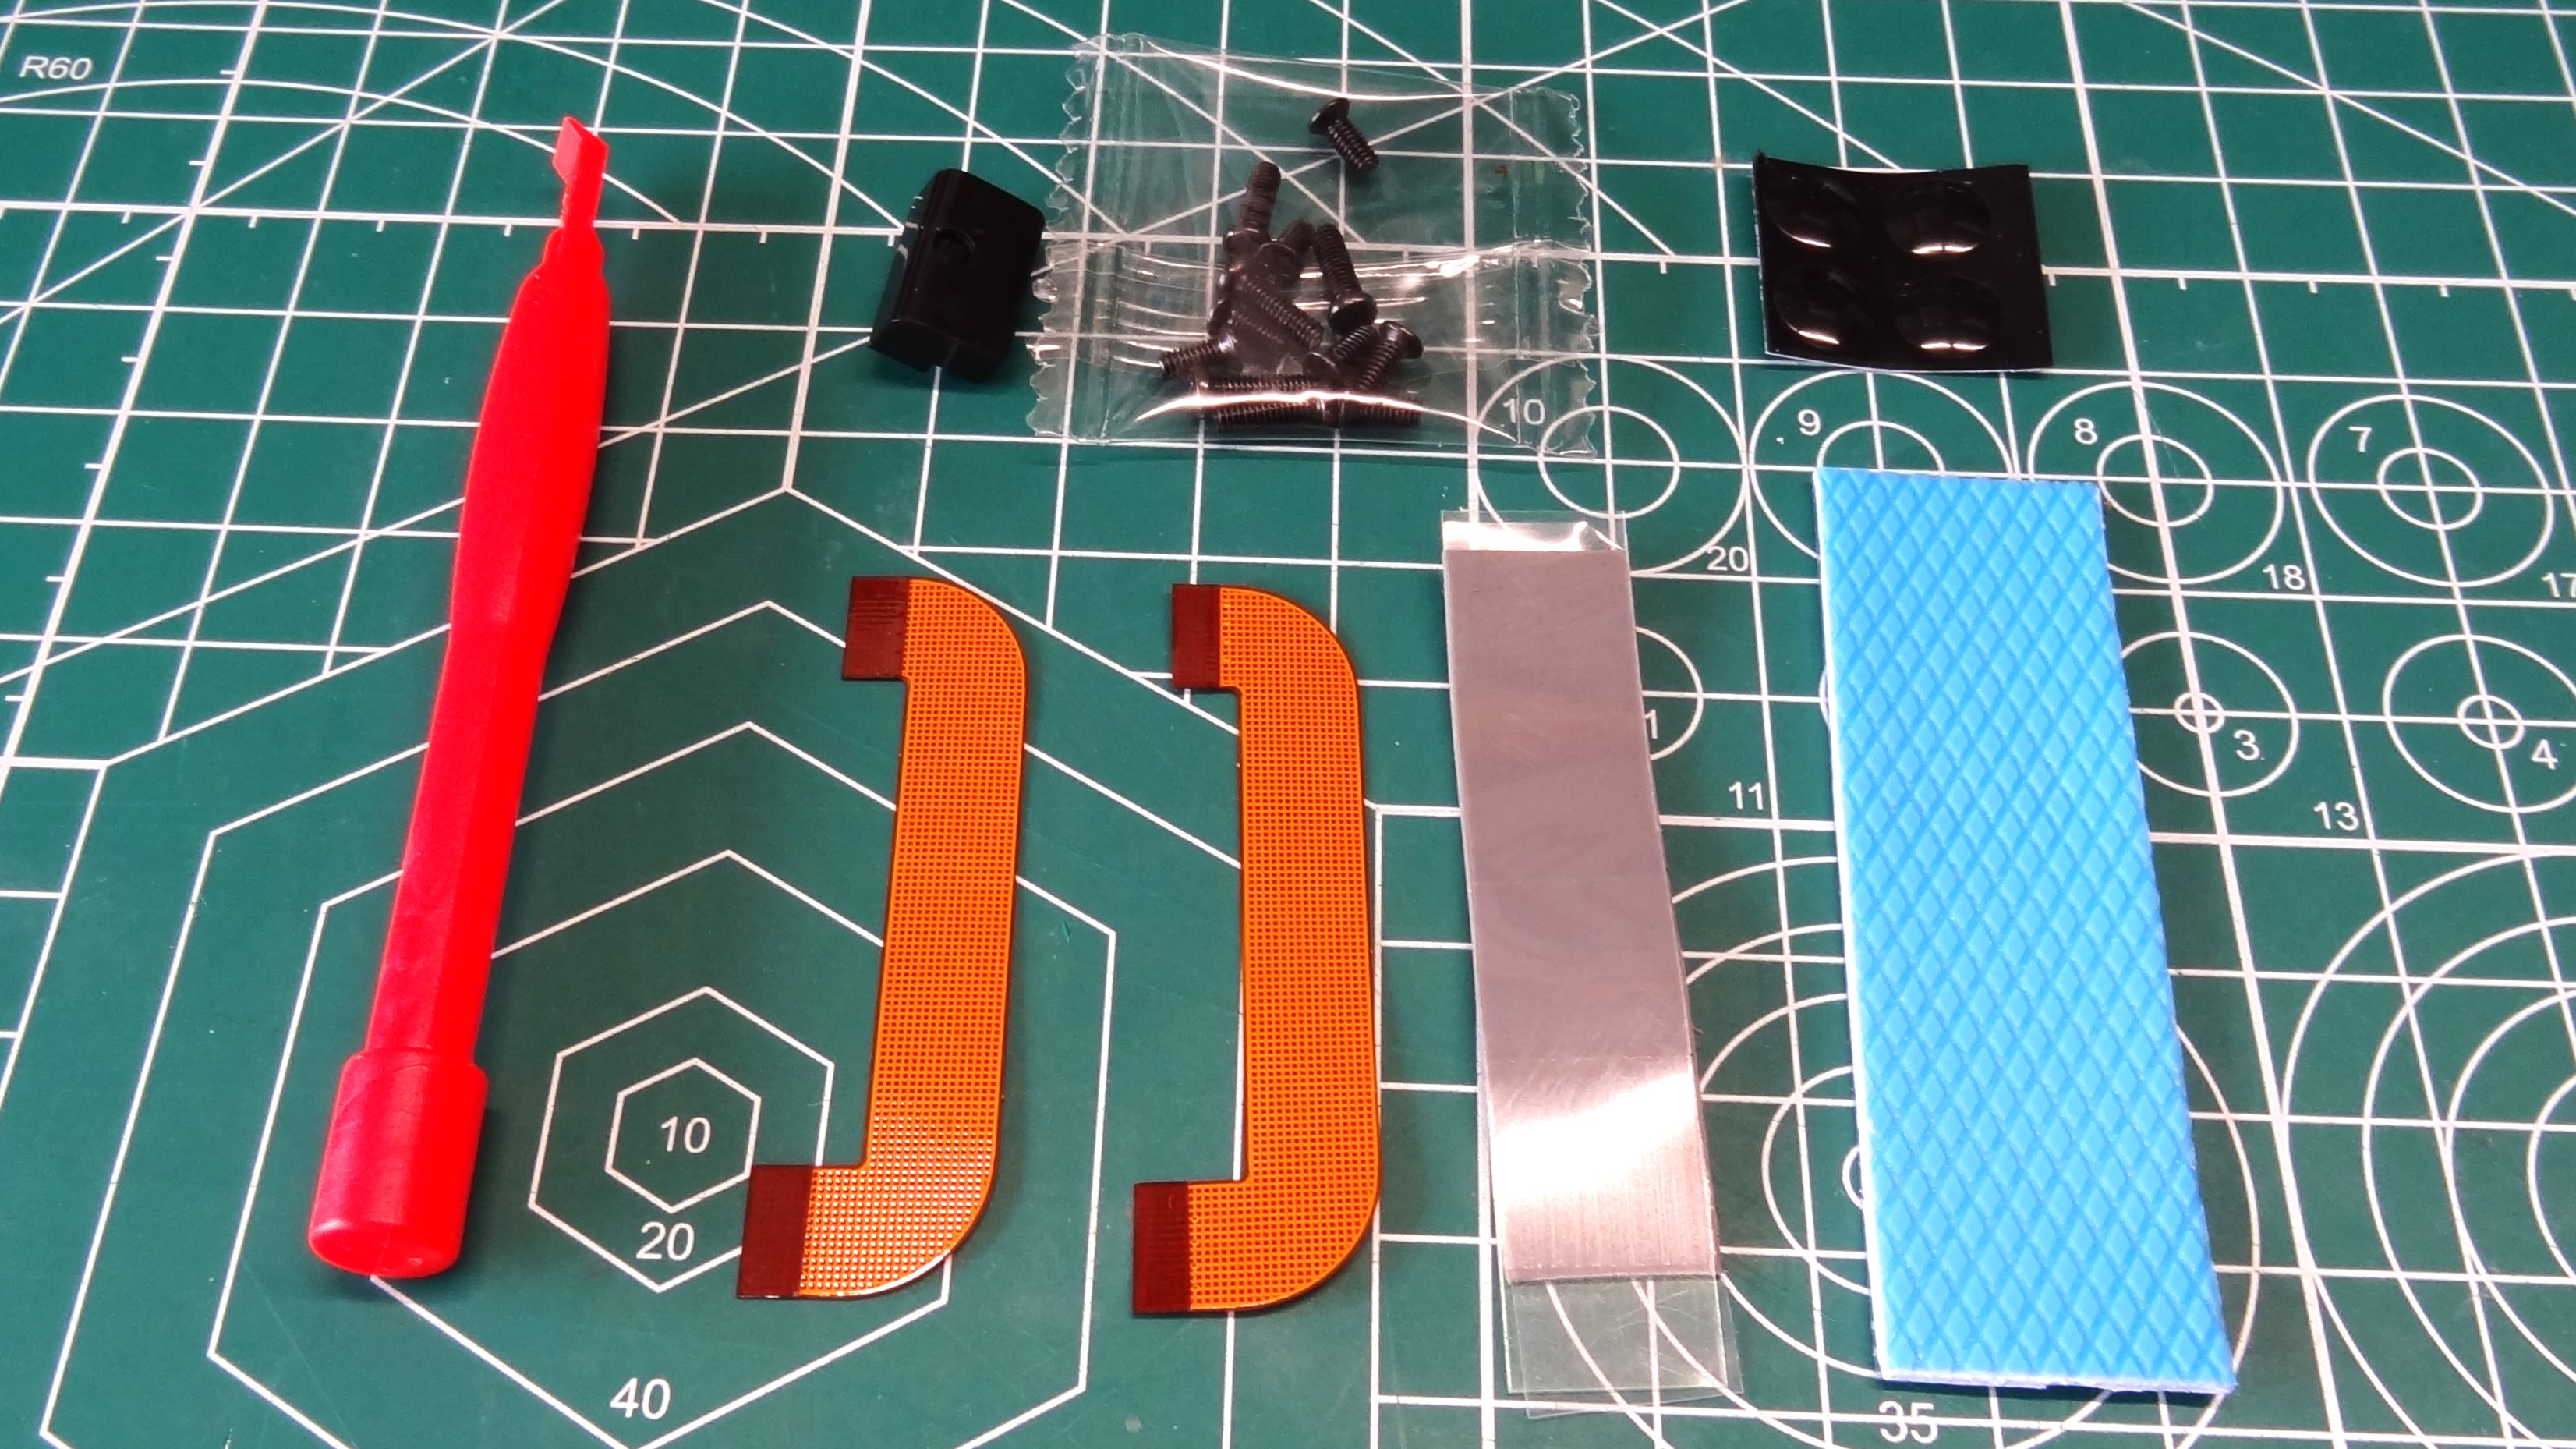
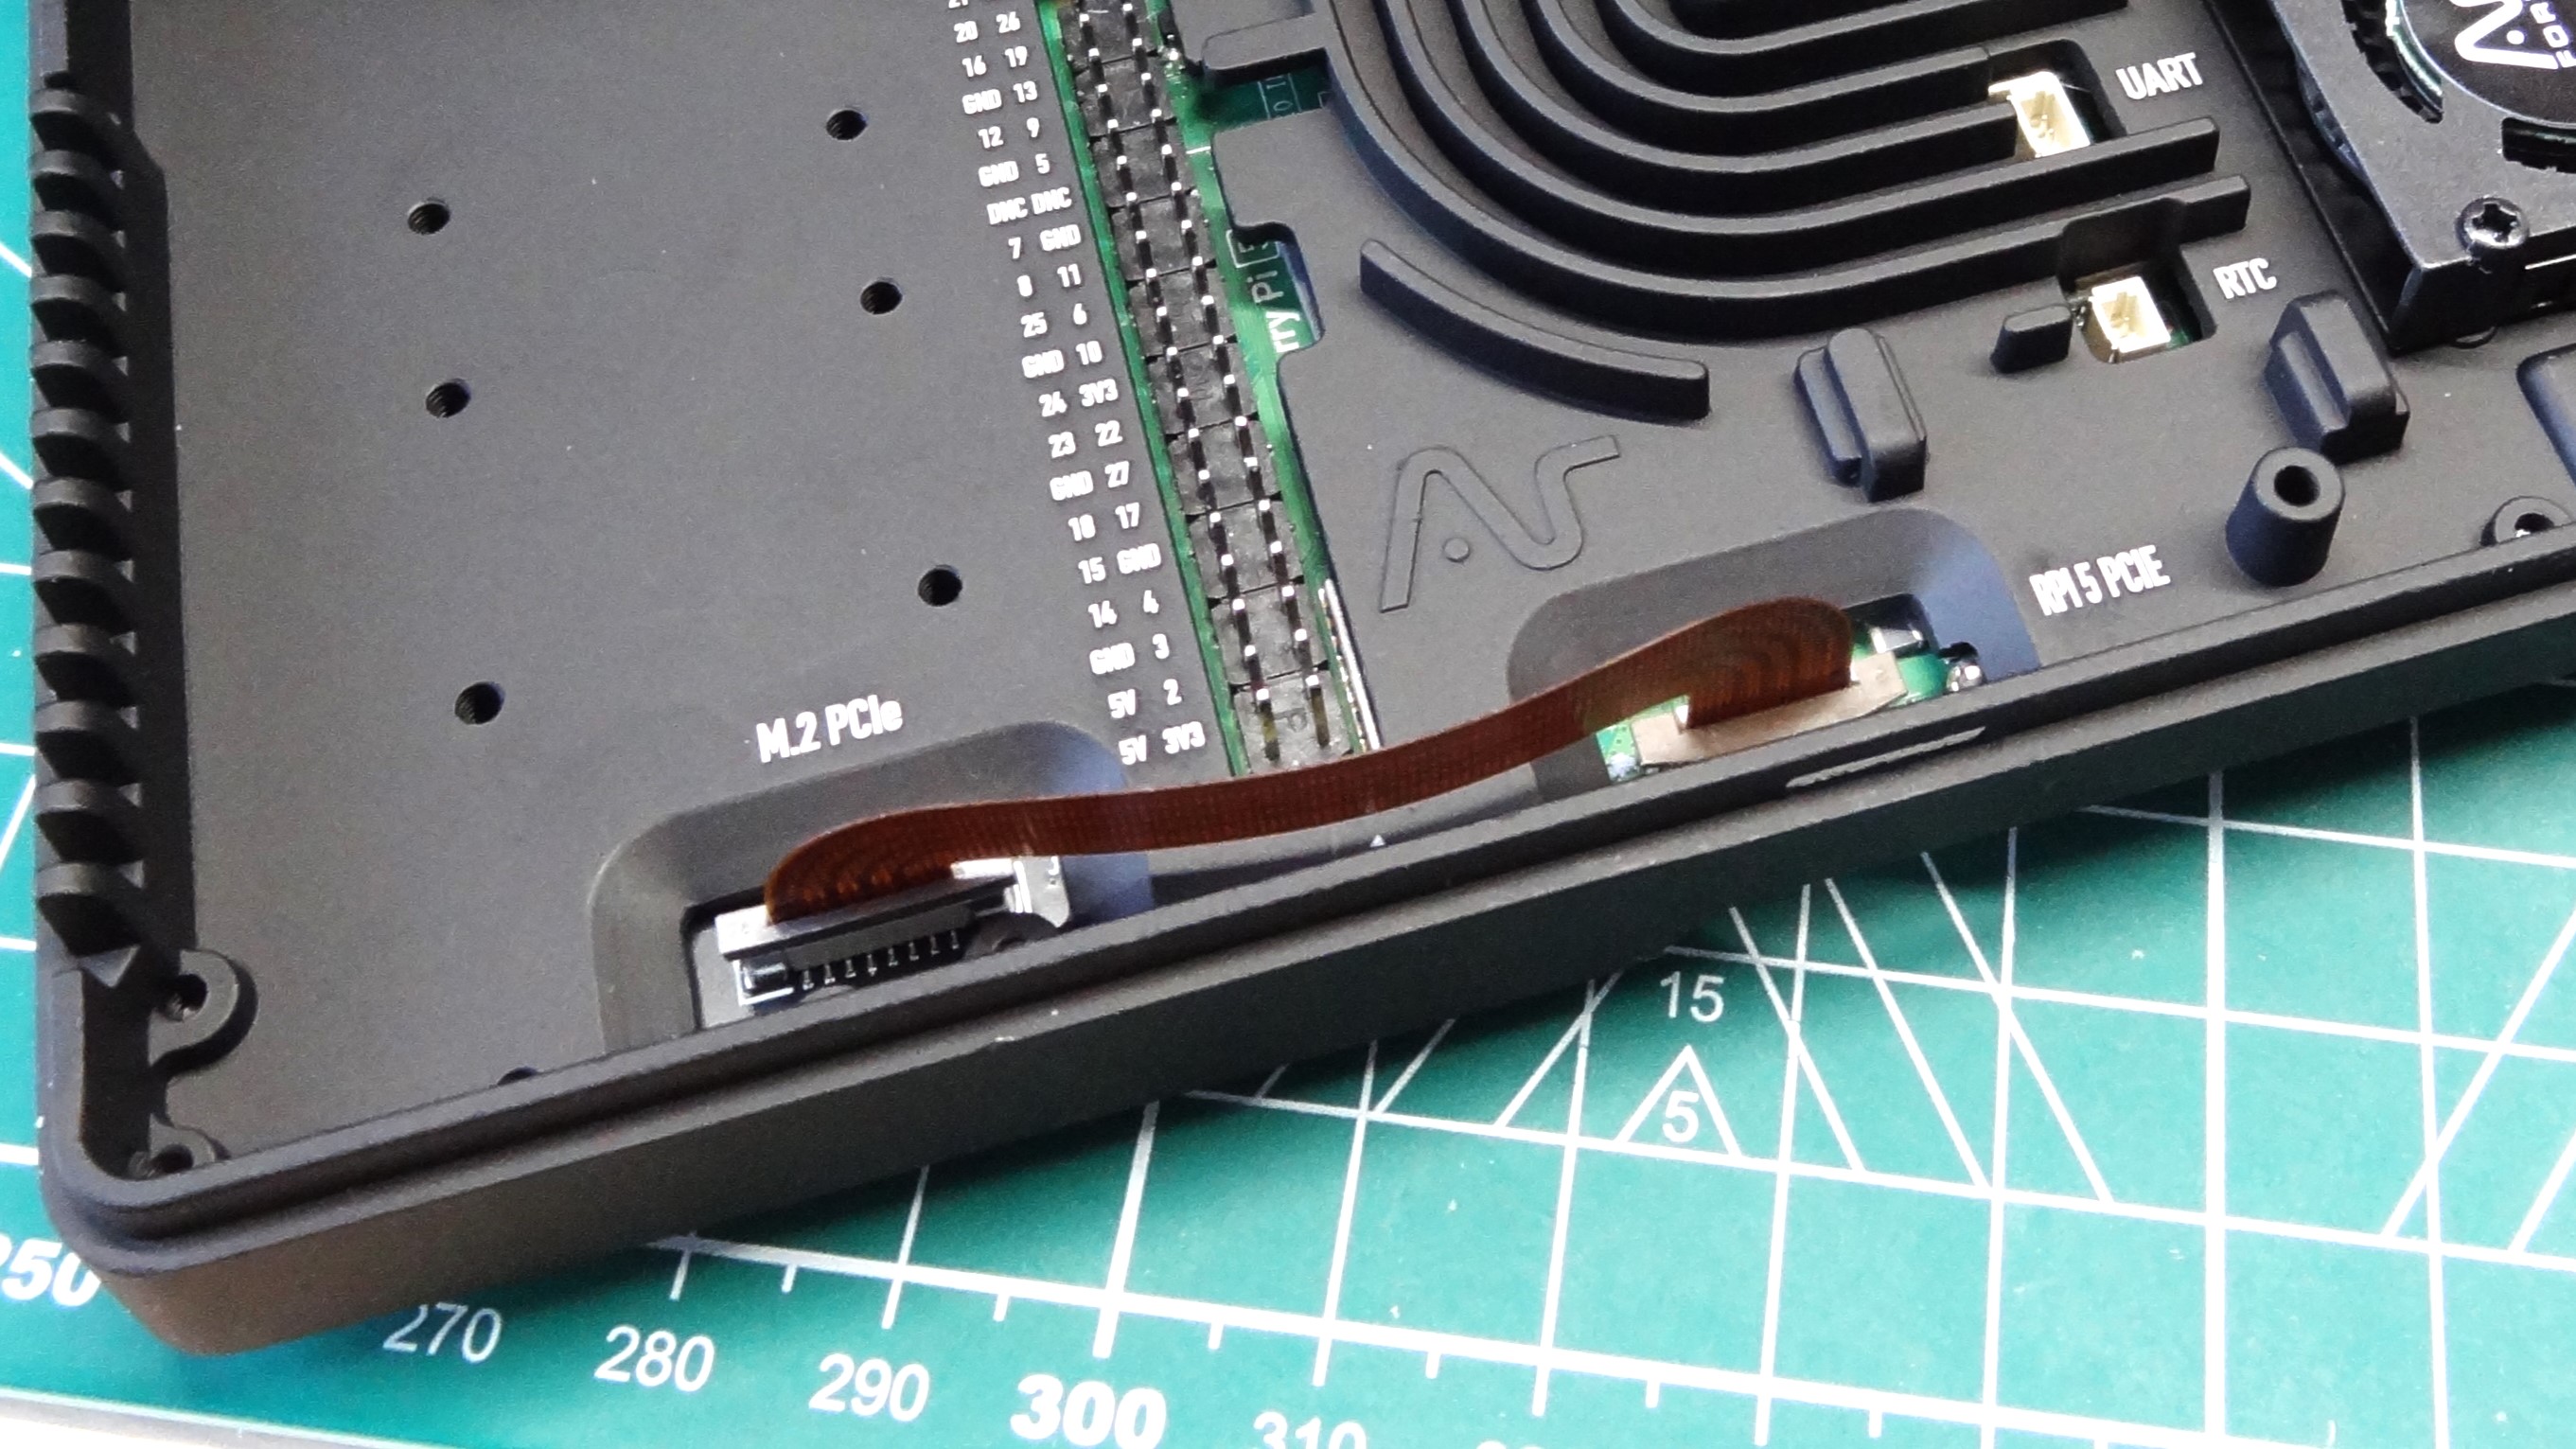
Under the magnetically and screw secured lid, is where we find the heart of the case’s cooling solution. To the right is an Argon Forty branded 30mm PWM fan (controllable via a custom config app) which blows air over a wave styled heatsink. This is similar to the Argon Neo 5 case; in fact I can see the design cues between the two. This section of cast aluminum has cutouts for fan and NVMe power, the full GPIO, UART, RTC, the camera and display ports and PCIe. Access to the camera and display ports is possible, but you will need the included plastic spudger to lift the plastic locks on the connectors.
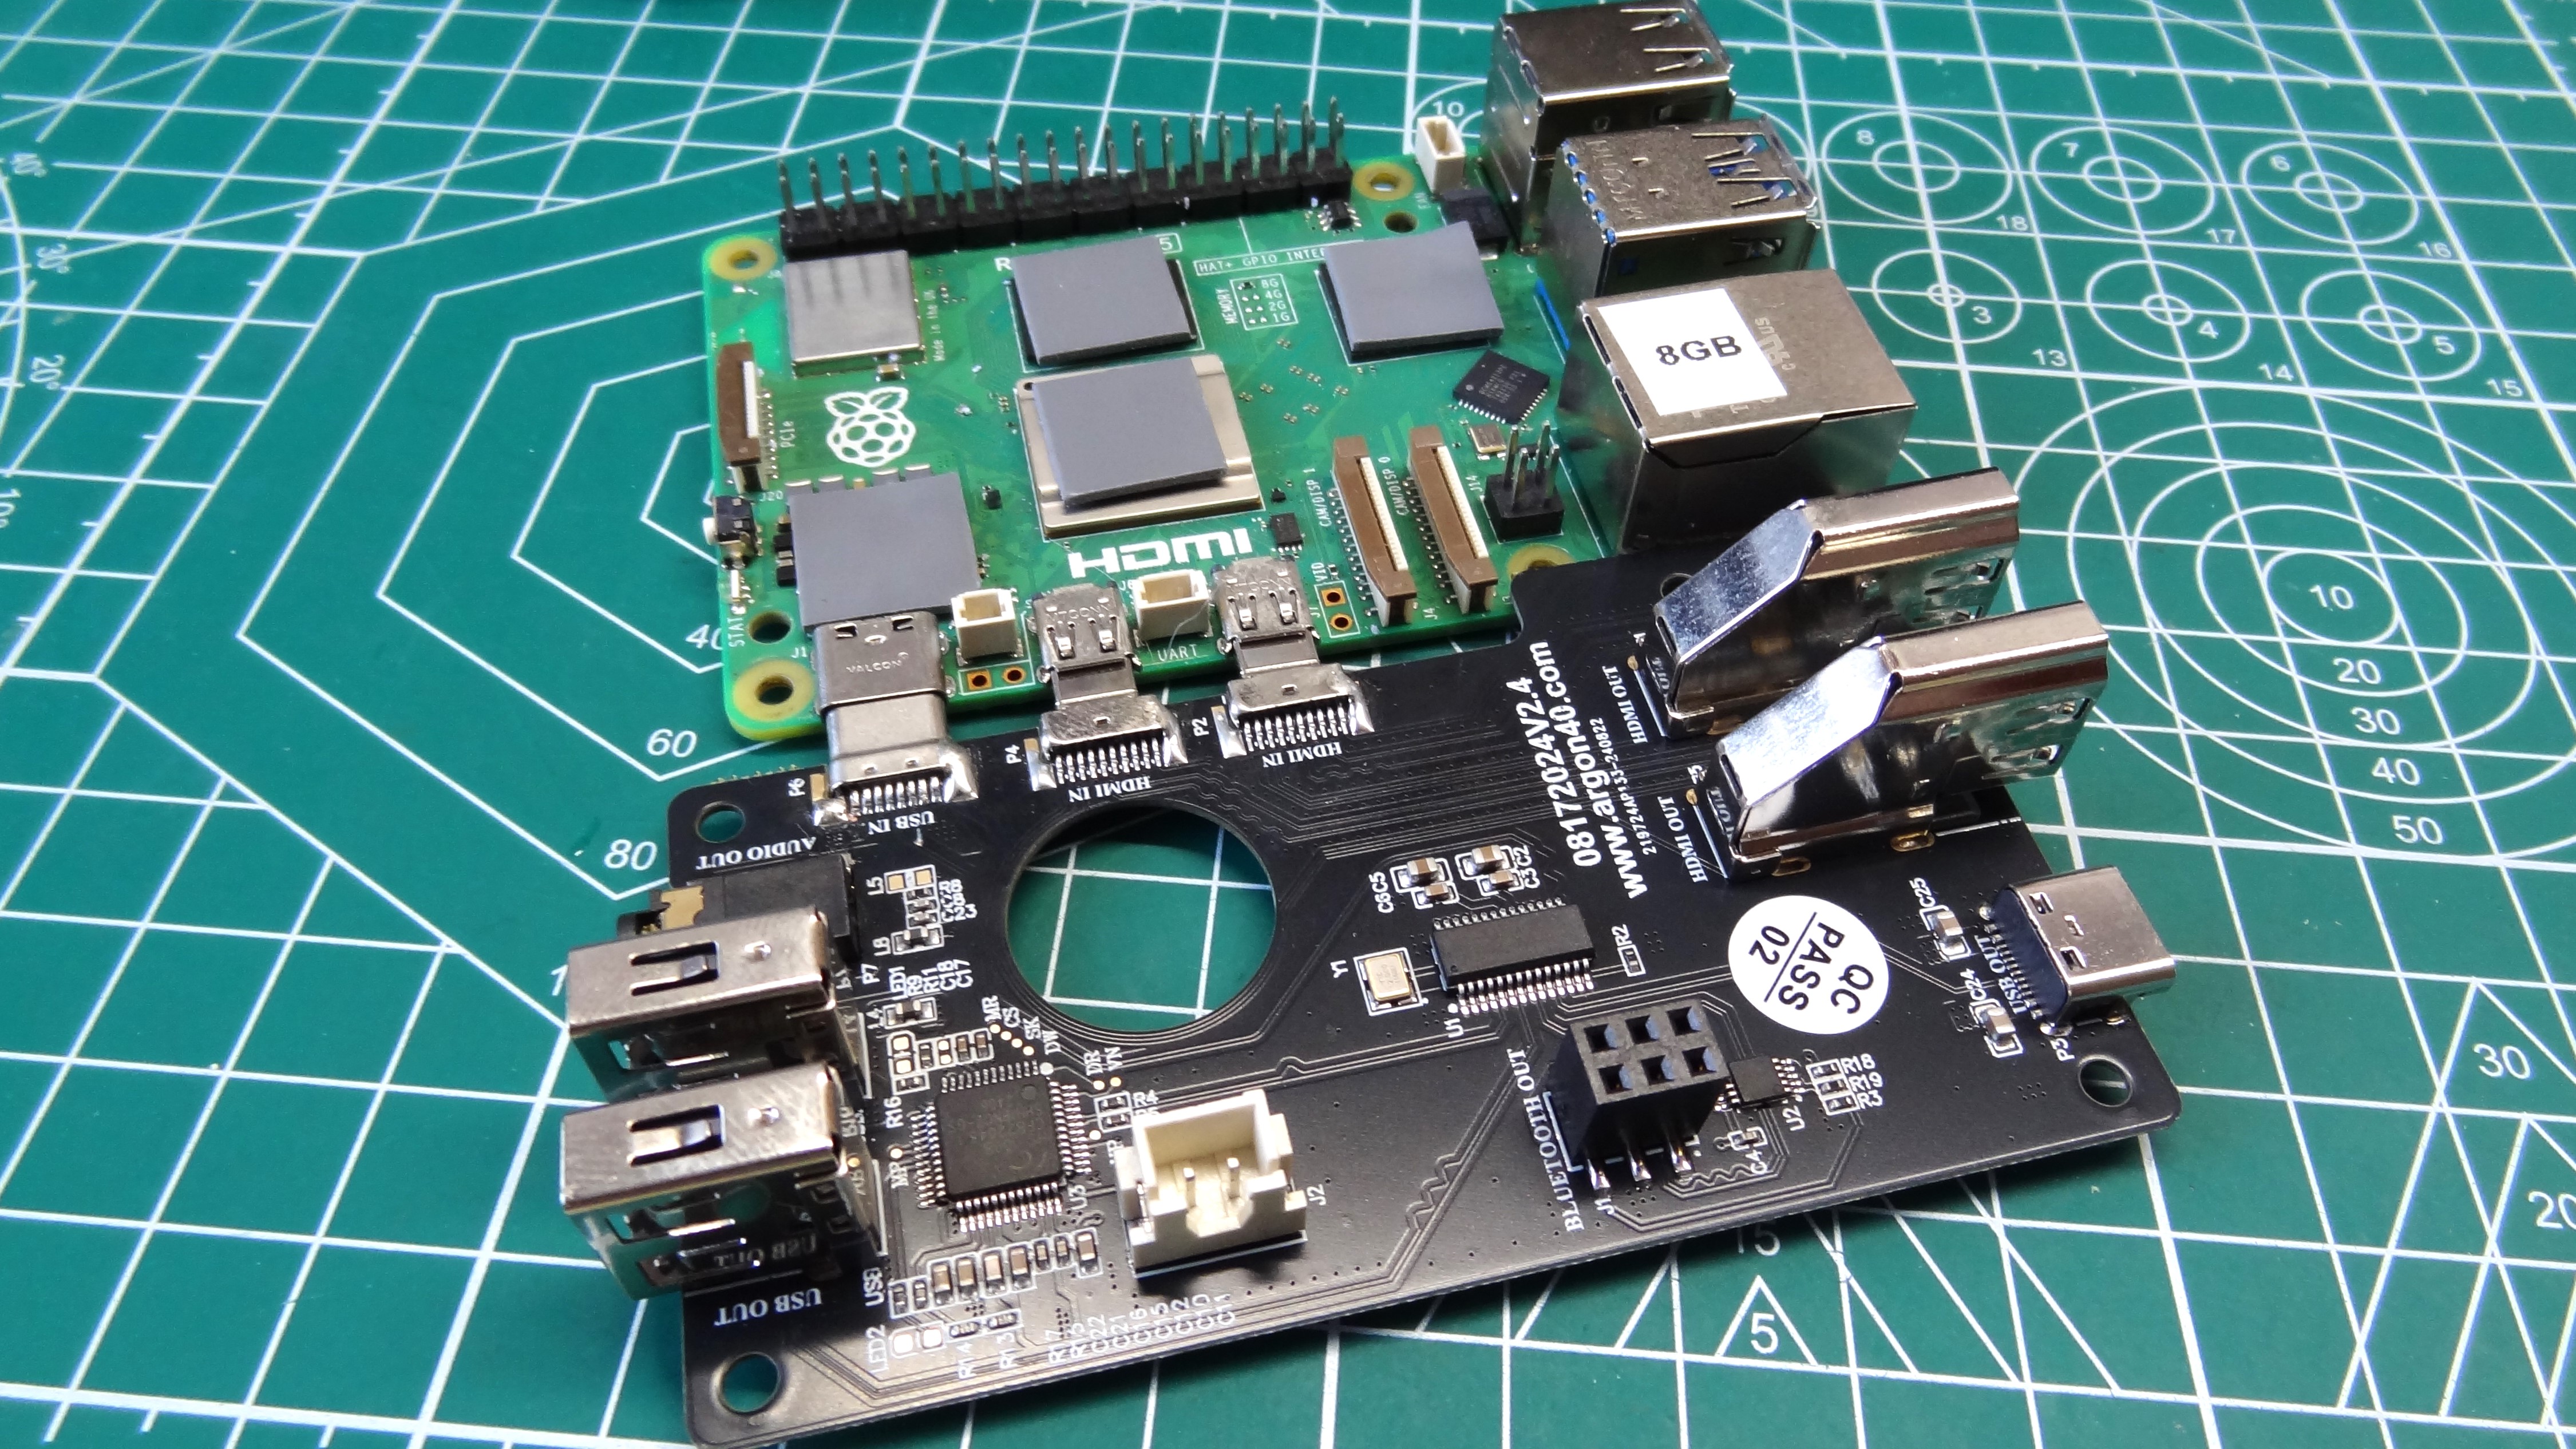
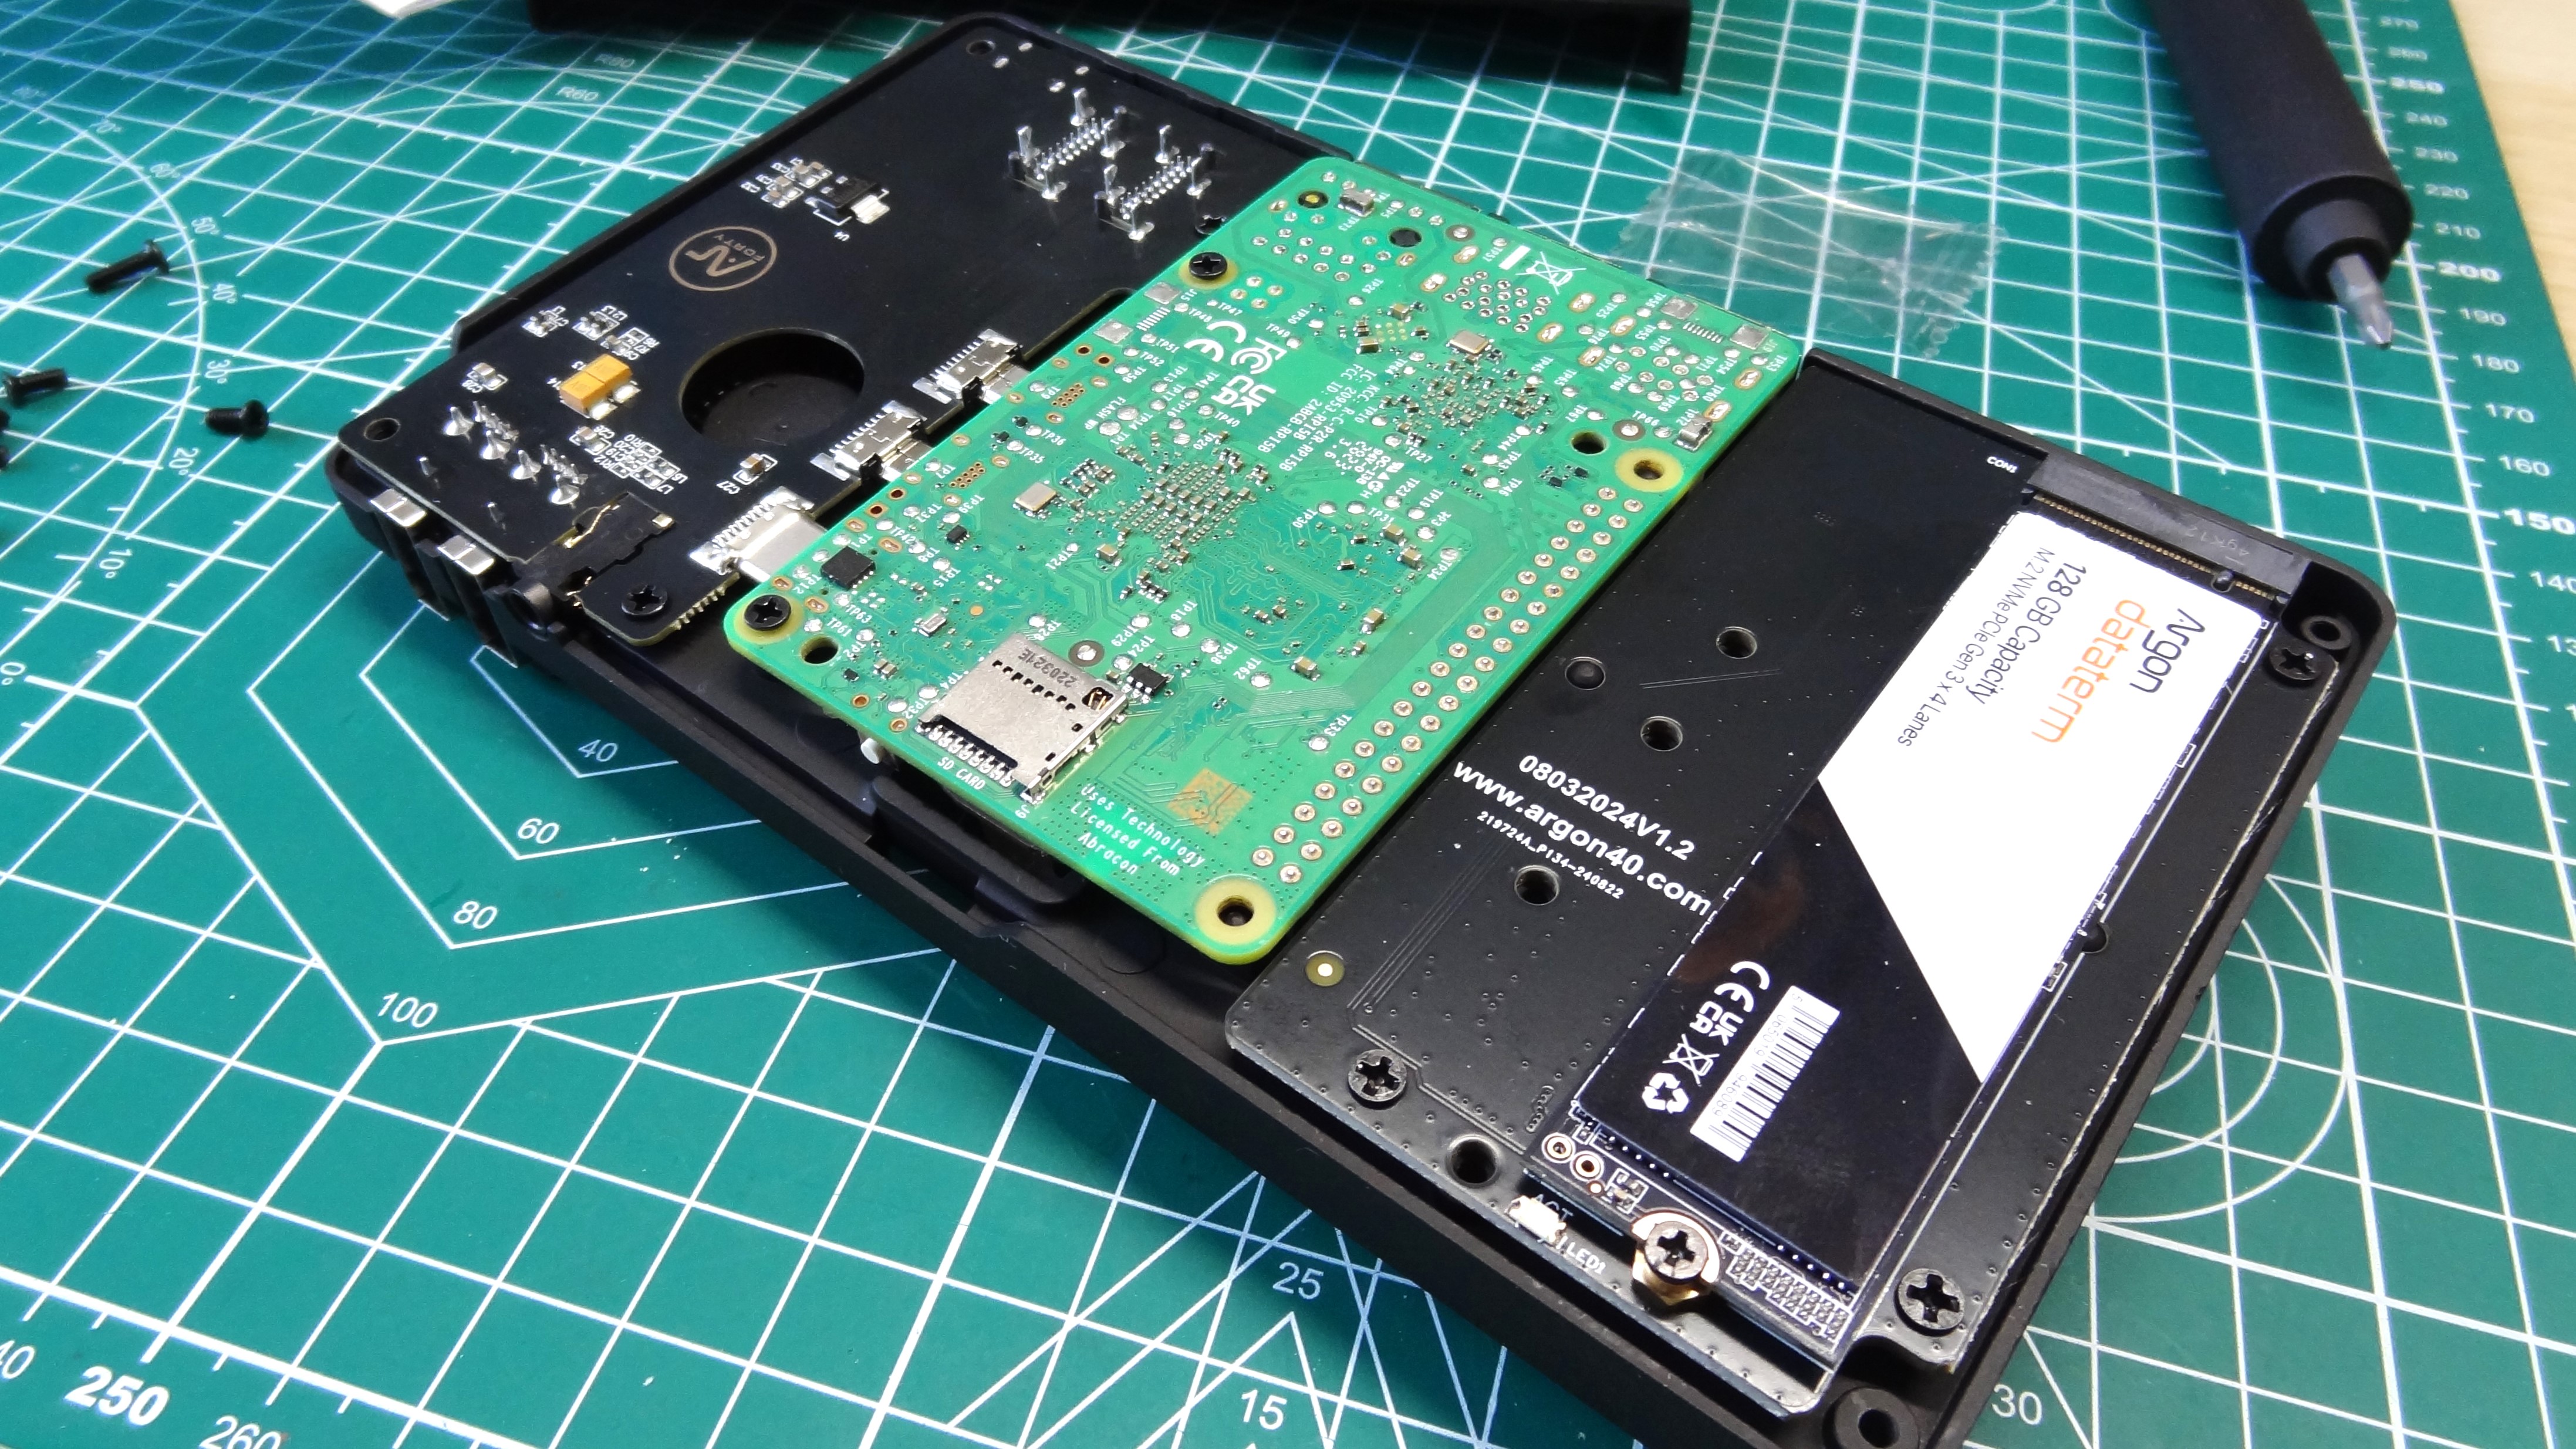
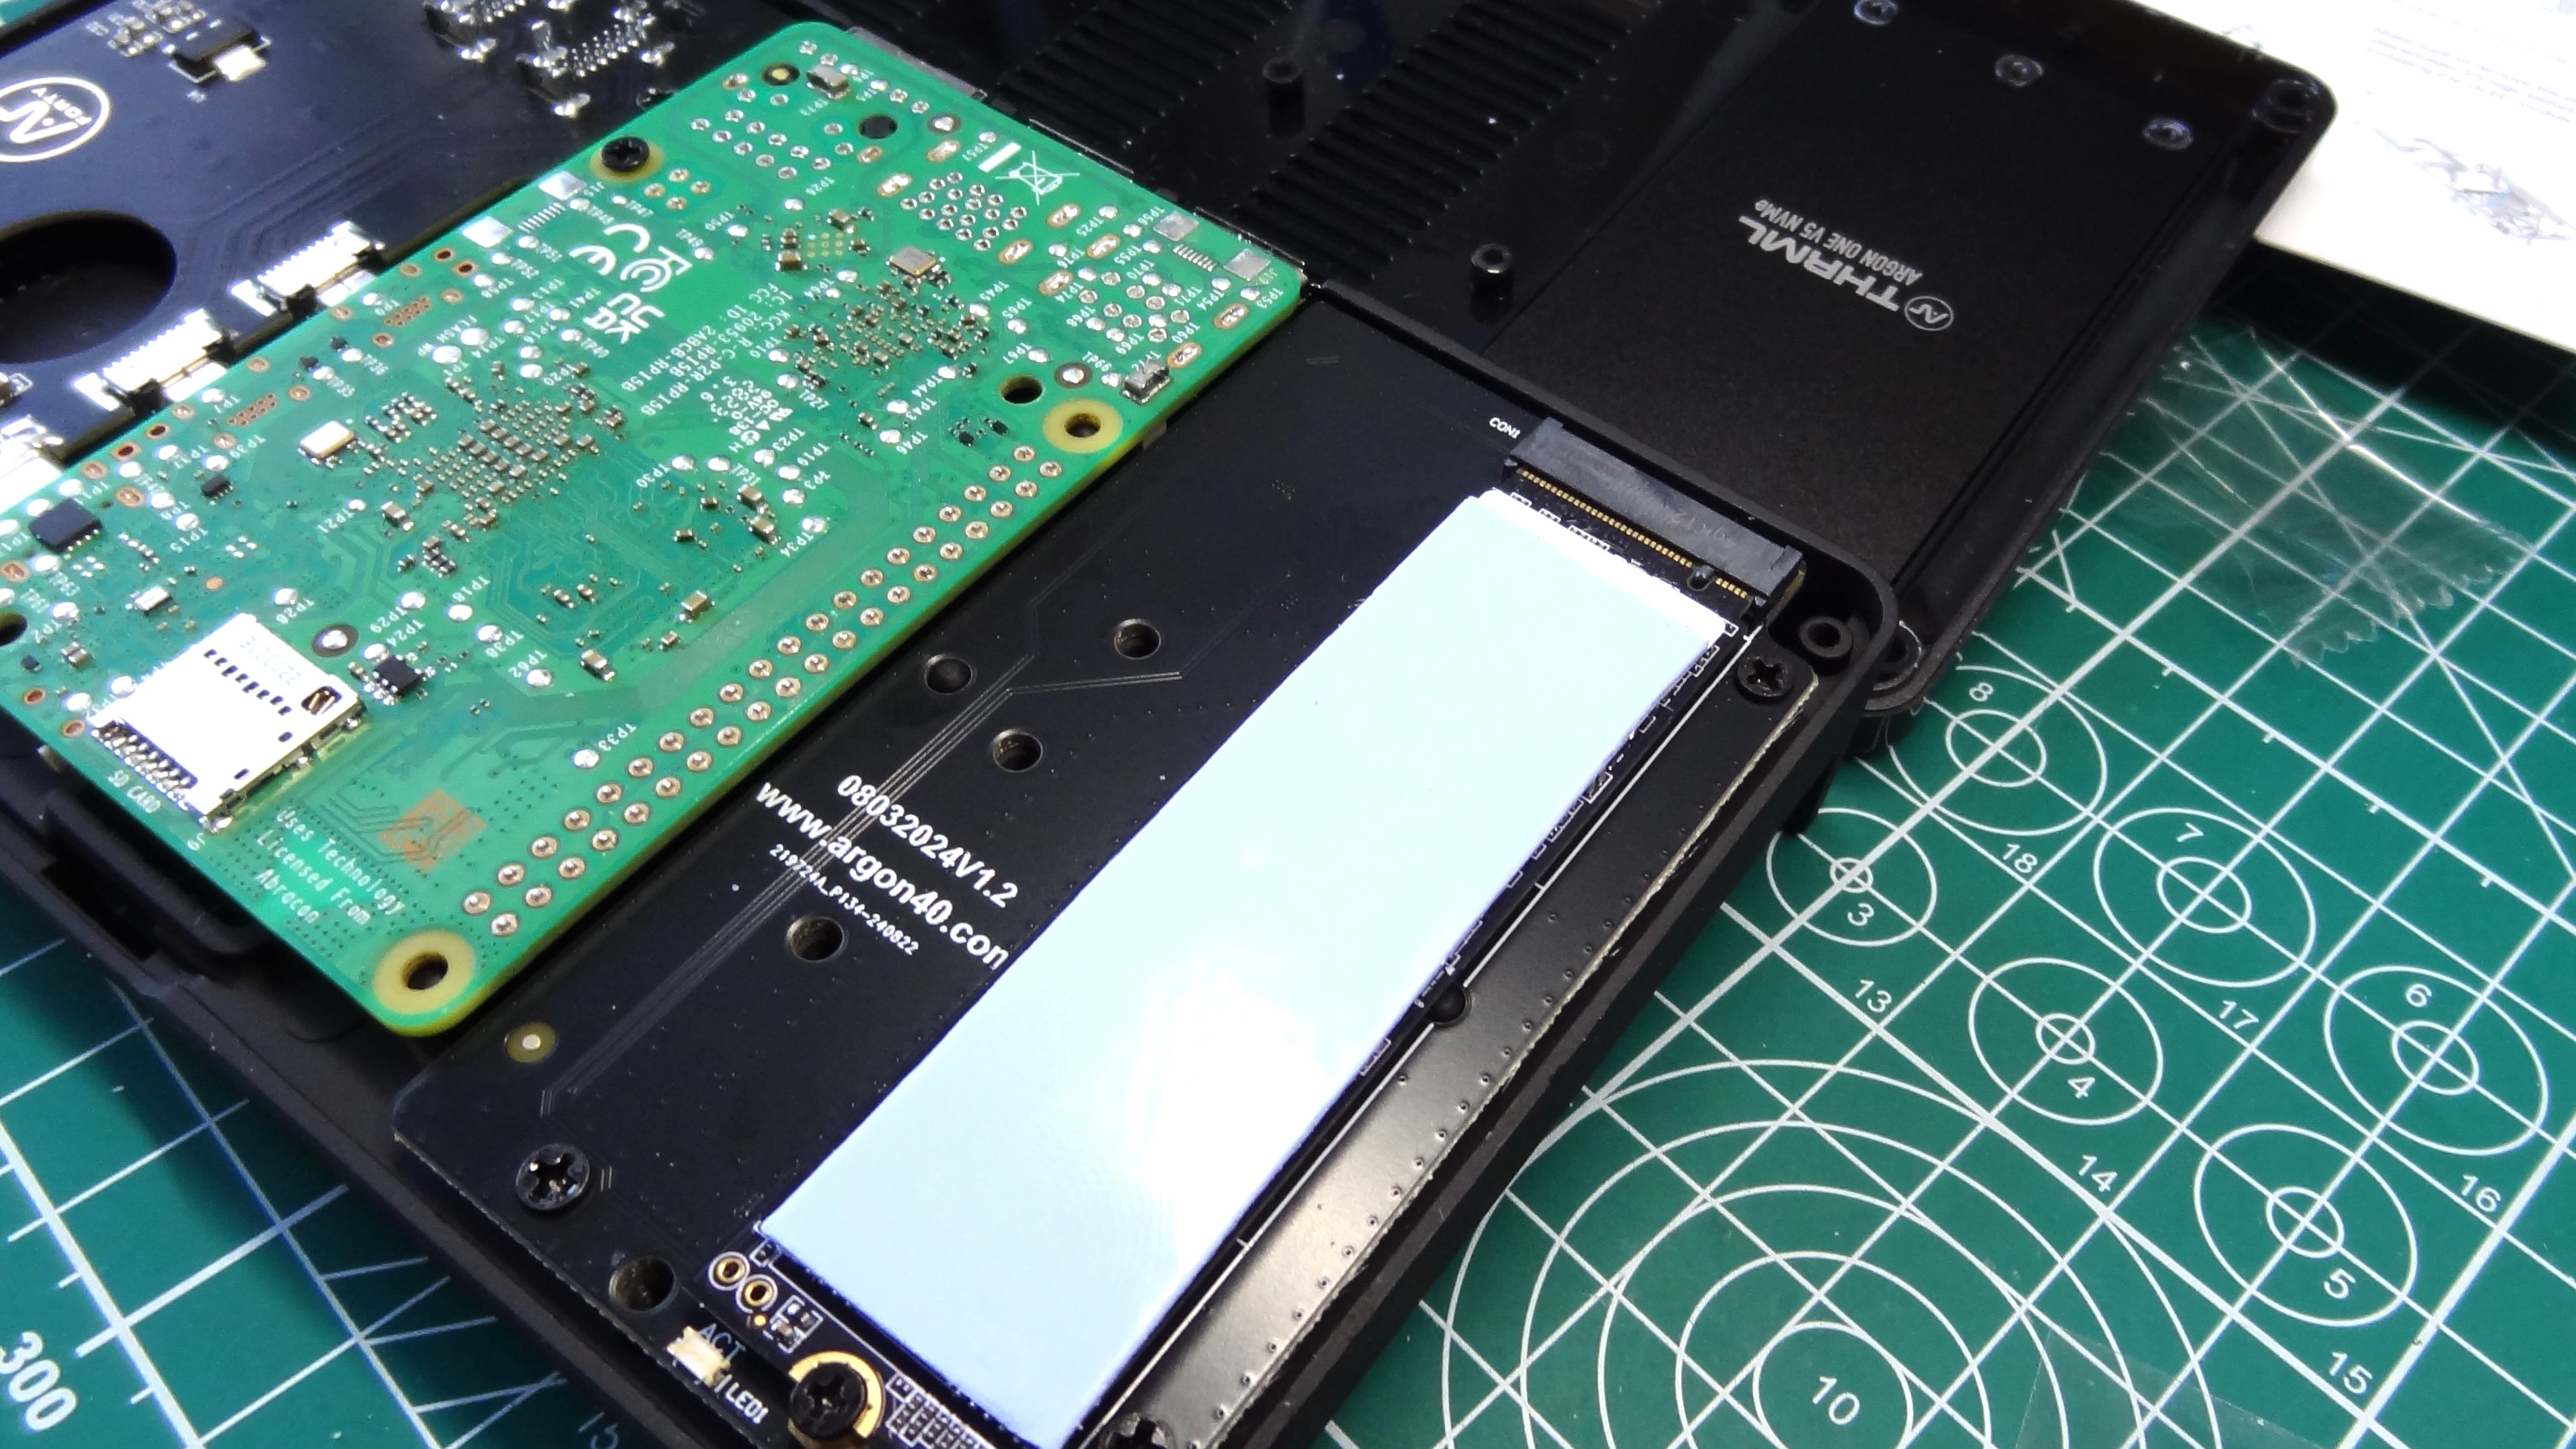
Building everything was a cinch, because I followed the simple and clear instructions (for a change). The first step was to add the included thermal pads to the SoC, PMIC, RP1 and RAM. These make direct contact to the aluminum chassis and then we connect the combined USB 2, HDMI and audio board to the USB C and HDMI ports on the Raspberry Pi 5.
Take care inserting, as the PCB is thin, but you also need to ensure the connections are solid. Mine wasn’t, and it caused a little head scratching as I traced why the front USB ports weren’t working. After securing the Pi 5 and the add-on board using the included screws, I then moved my attention to the Argon Dataterm NVMe SSD. Secured in the M.2 NVMe breakout board, the SSD connects to the bottom of the case using a thermal pad.
A portion of the plastic case has an aluminum section used to keep the SSD cool. Note that you really need to ensure that the drive is securely fitted before closing the case. Even 1mm is enough to break the connections. Ask me how I know!
After securing the case, I booted Raspberry Pi OS from the 128GB NVMe. I flashed the OS image using my Windows 10 PC, and using a bootloader utility firmware image found in Raspberry Pi Imager, I set the firmware to boot from NVMe. Overall, from pressing power to the desktop, the OS booted in 15.64 seconds.
Argon One V5 Software
Being an Argon 40 product, it has supporting software in the form of a terminal based application (made with Bash and Python) to control the fan speed and temperature trigger points, OLED output, system information and a tool to configure an optional Argon Industria UPS which is mentioned in the manual but there are no prices on the Argon 40 website. We have to assume that this is a battery backup for the Argon One V5.
Installing the application requires us to use a Bash one liner. This downloads the install script and then pipes the script into a new Bash session to run. This isn’t ideal for a production environment, and I would urge you to read the contents of the file before running. In this case it is safe. The script handles all of the software installation, enabling the OLED display and showing data such as CPU temperature, disk and RAM usage, IP address and the all important date and time.
One last step before you can consider the install complete is to add a line to /boot/firmware/config.txt to enable the front USB 2.0 ports and audio jack. Reboot and you are good to go!
Cooling Performance of the Argon One V5
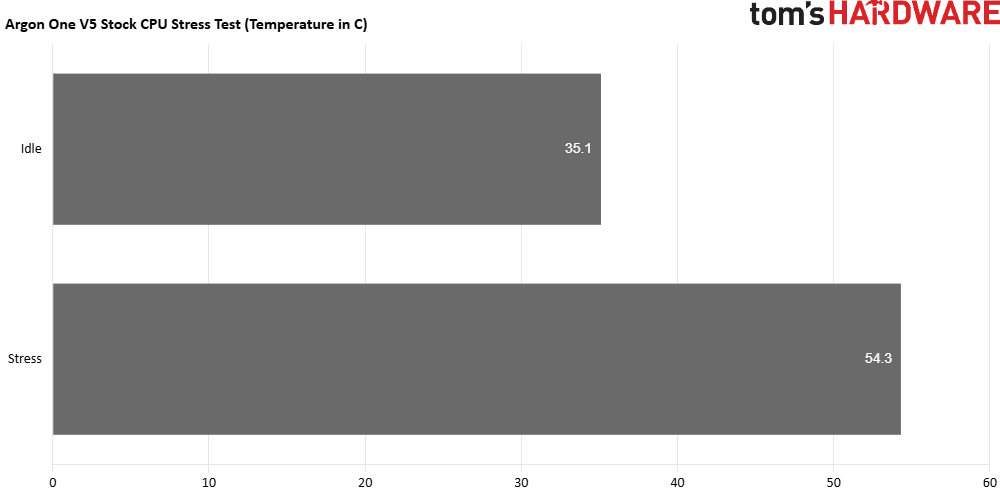
A huge slab of aluminum and a whisper quiet 30mm PWM fan will keep the Raspberry Pi 5 cool even under a heavy load. Idling at around 35.1 degrees Celsius, the aluminum chassis is keeping everything cool. Under stress, the top temperature was 54.3C, just under the 55C trigger point which kicks in the fan at 30%. If we did manage to get to 60C, the fan would ramp up to 55%, 65C would see the fan run at full power. The trigger temperatures can be configured to suit your requirements.
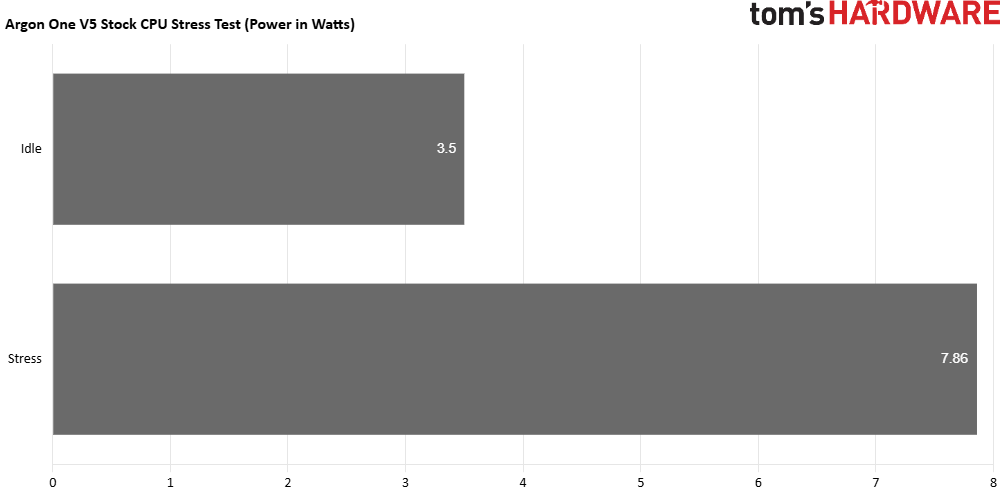
At idle, the power draw was only 3.5 Watts, it did more than double to 7.86W when under stress. That’s understandable when all of the CPU cores are running.
The thermal performance of the Argon One V5 is comparable to that of the 52Pi Ice Tower Plus Cooler but without the “hot rod” looks. I am confident that it will also cool an overclocked Raspberry Pi 5. This is a great cooler for your Raspberry Pi 5, and it keeps your desk clear.
Argon One V5 GPIO and Connector Access
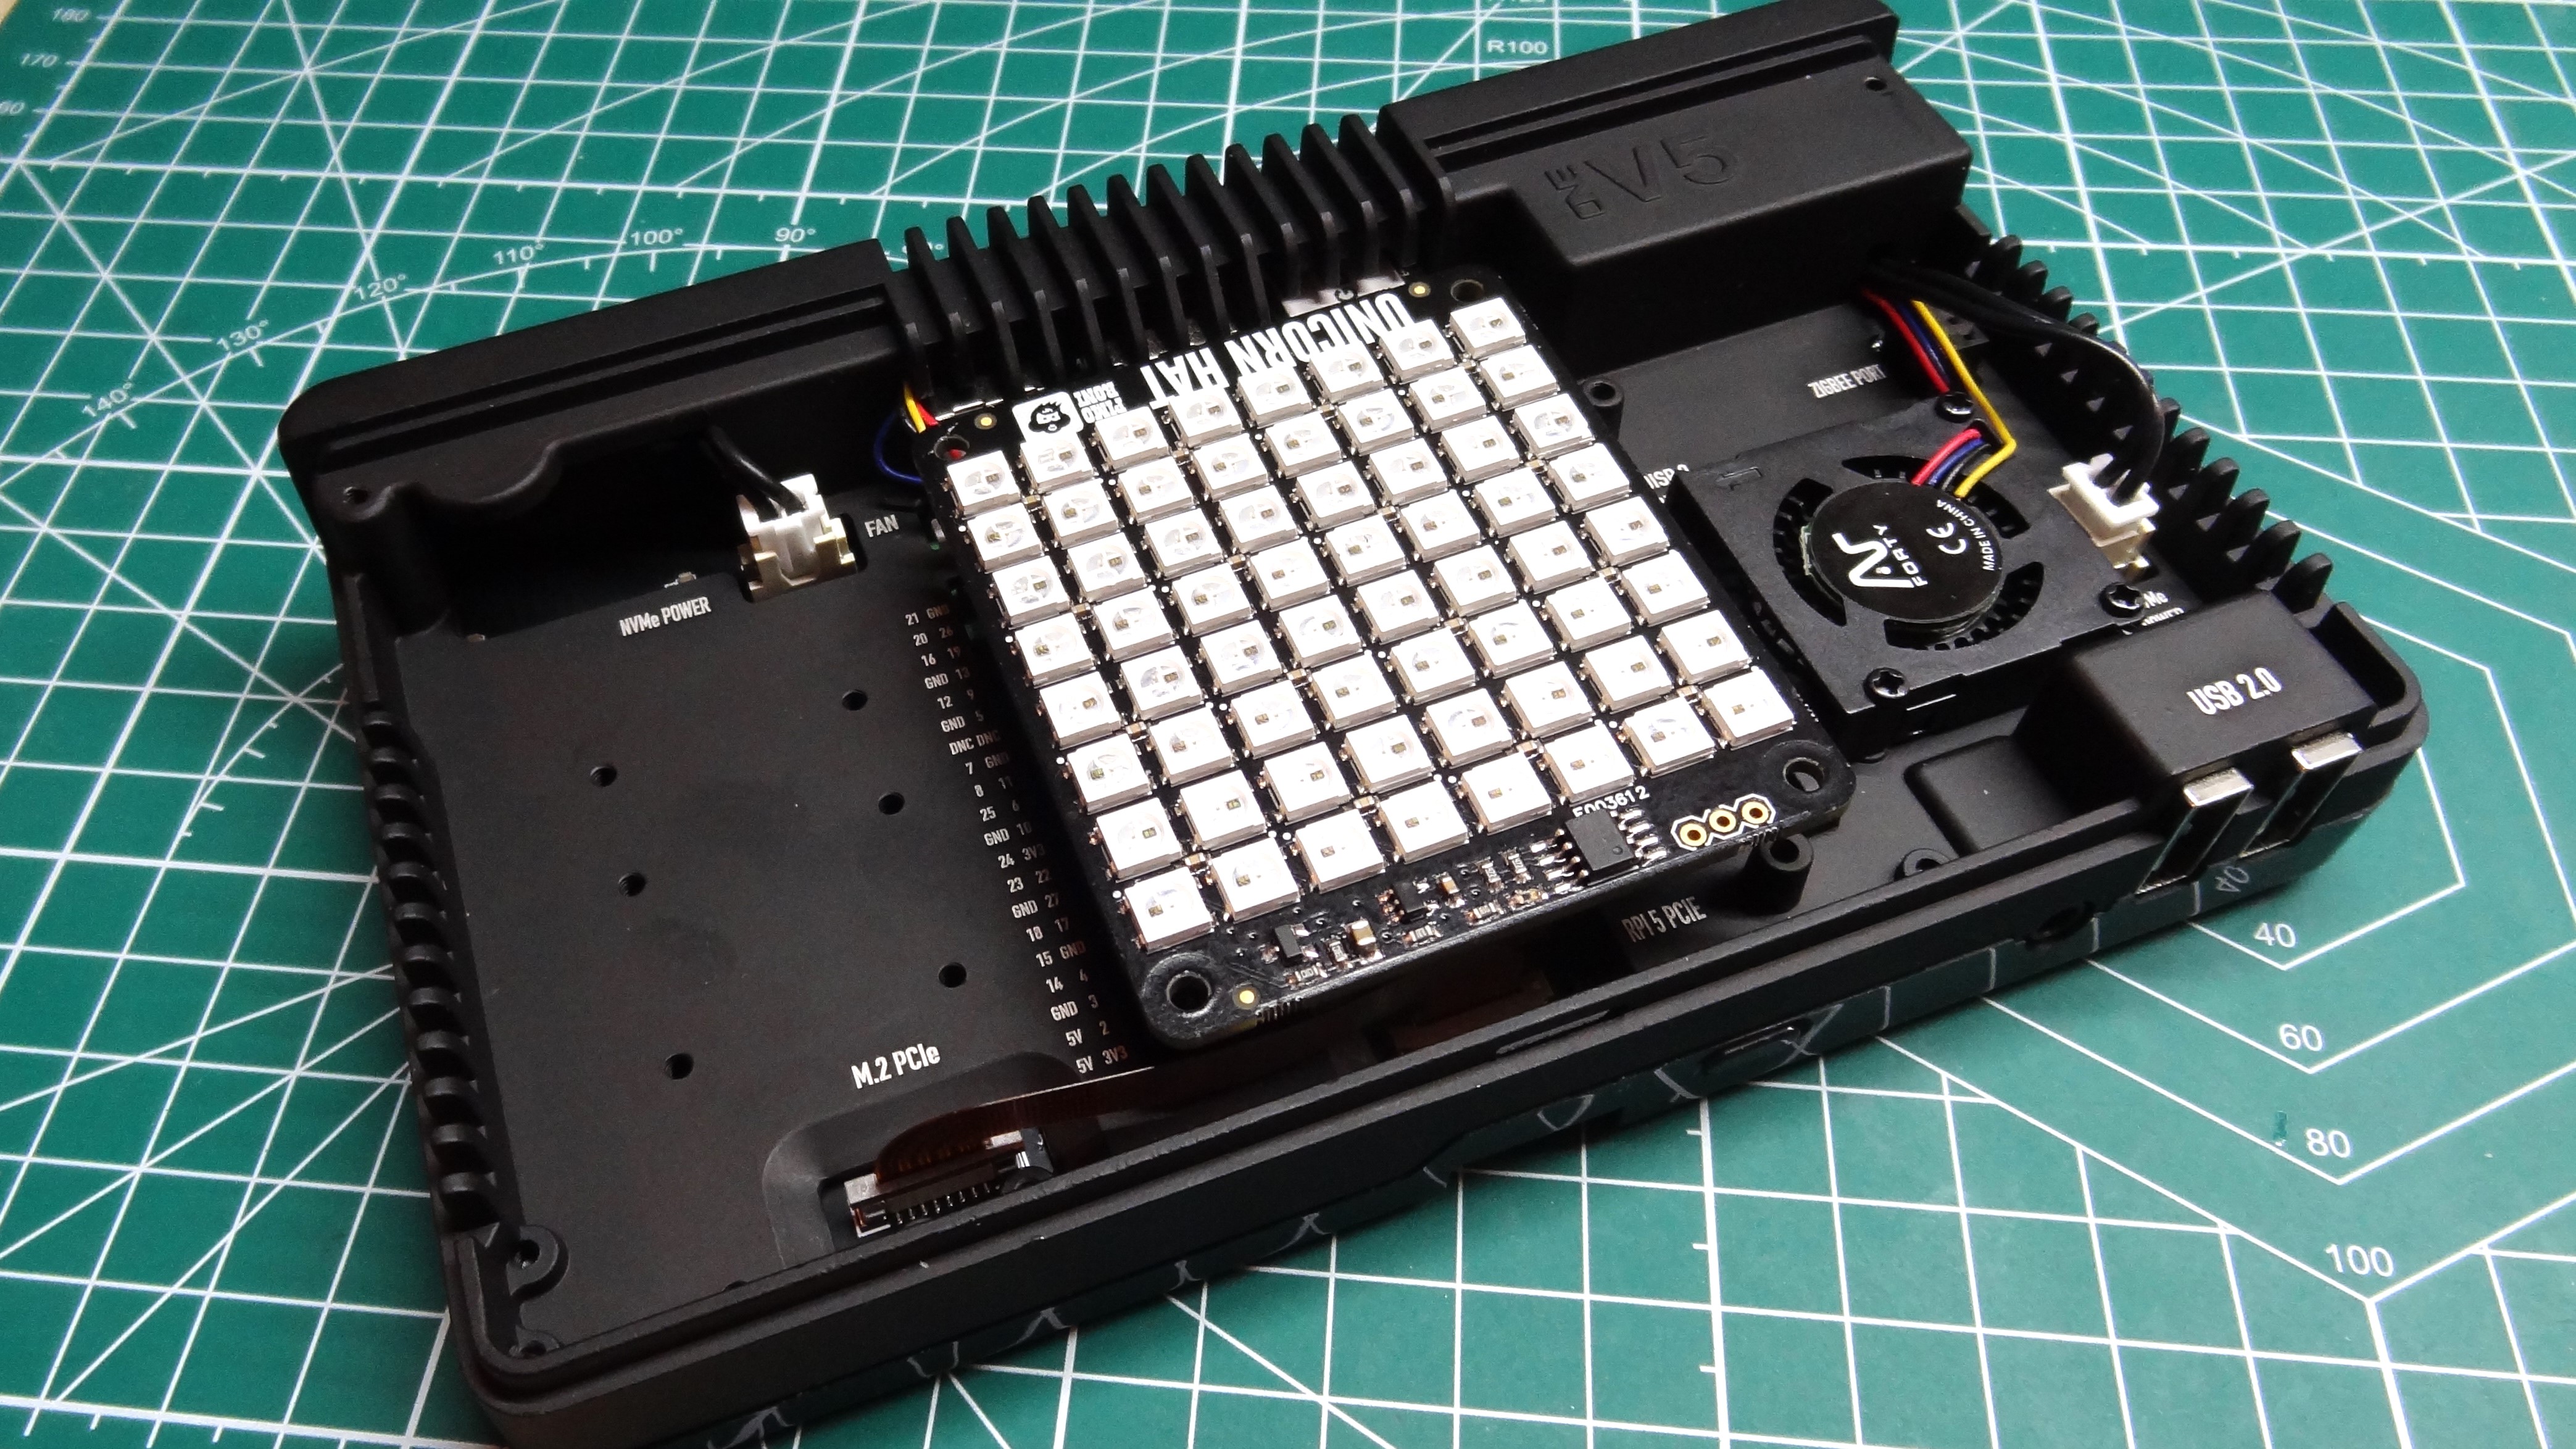
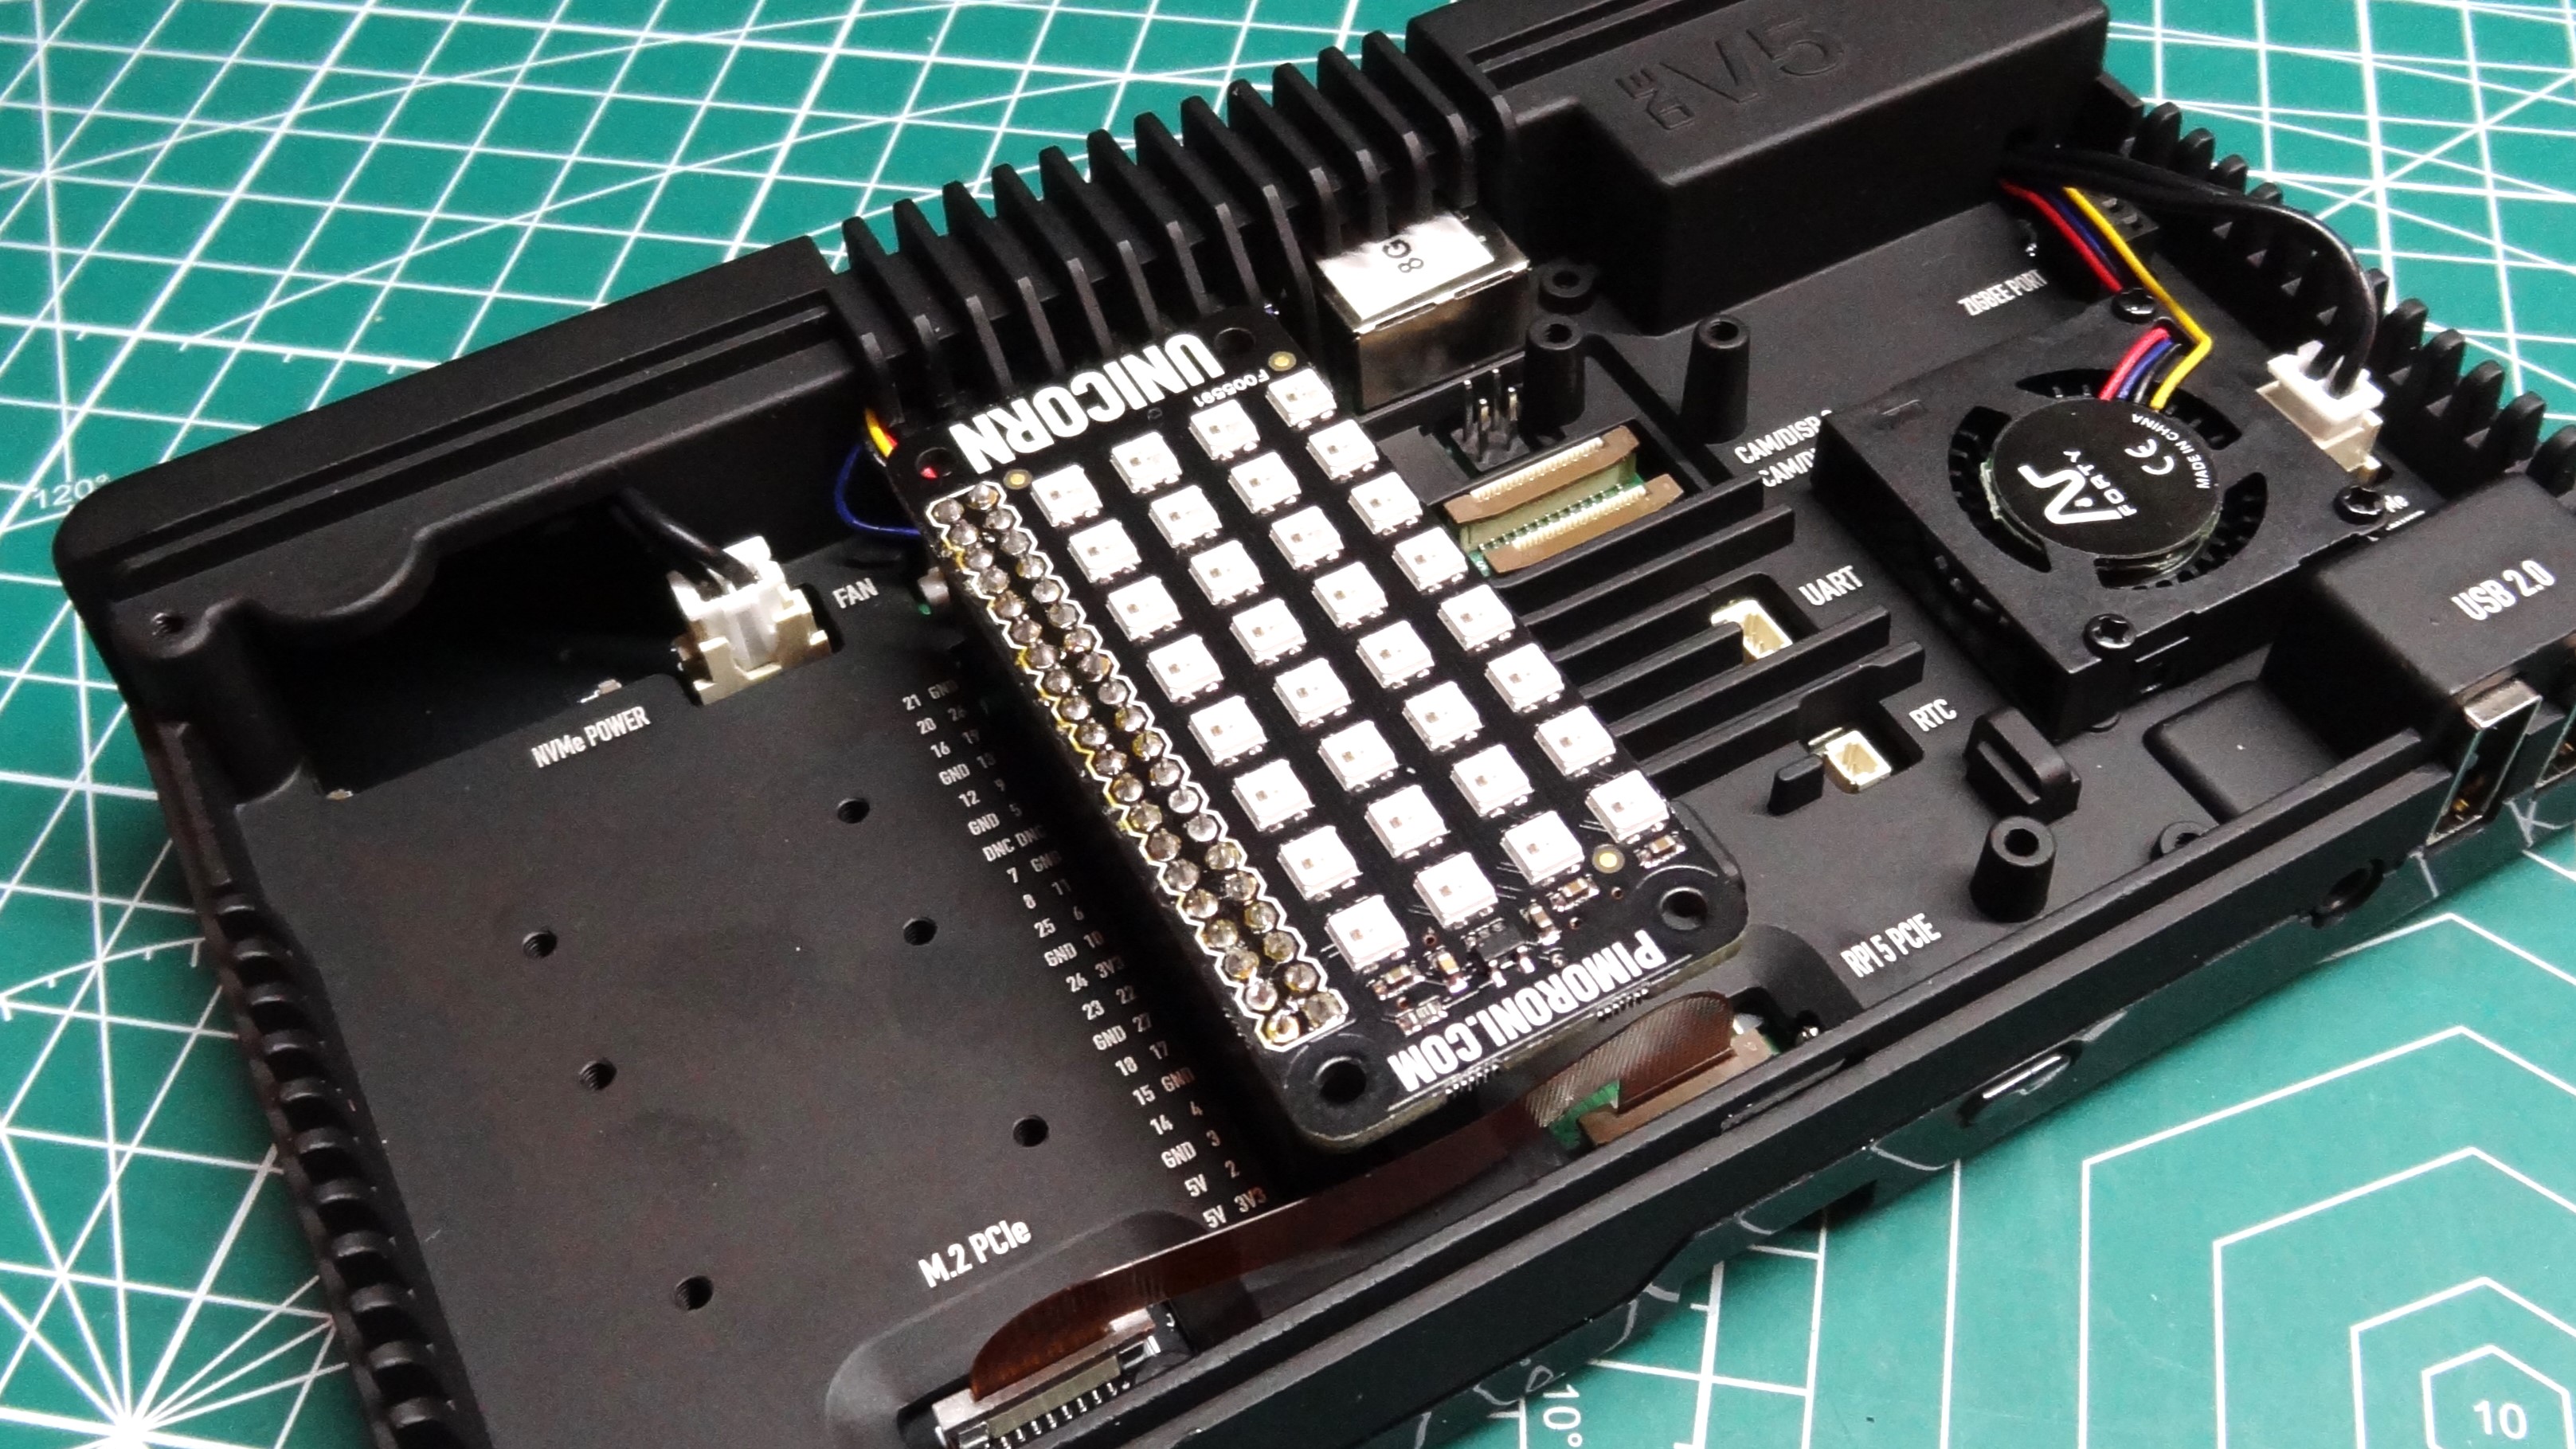
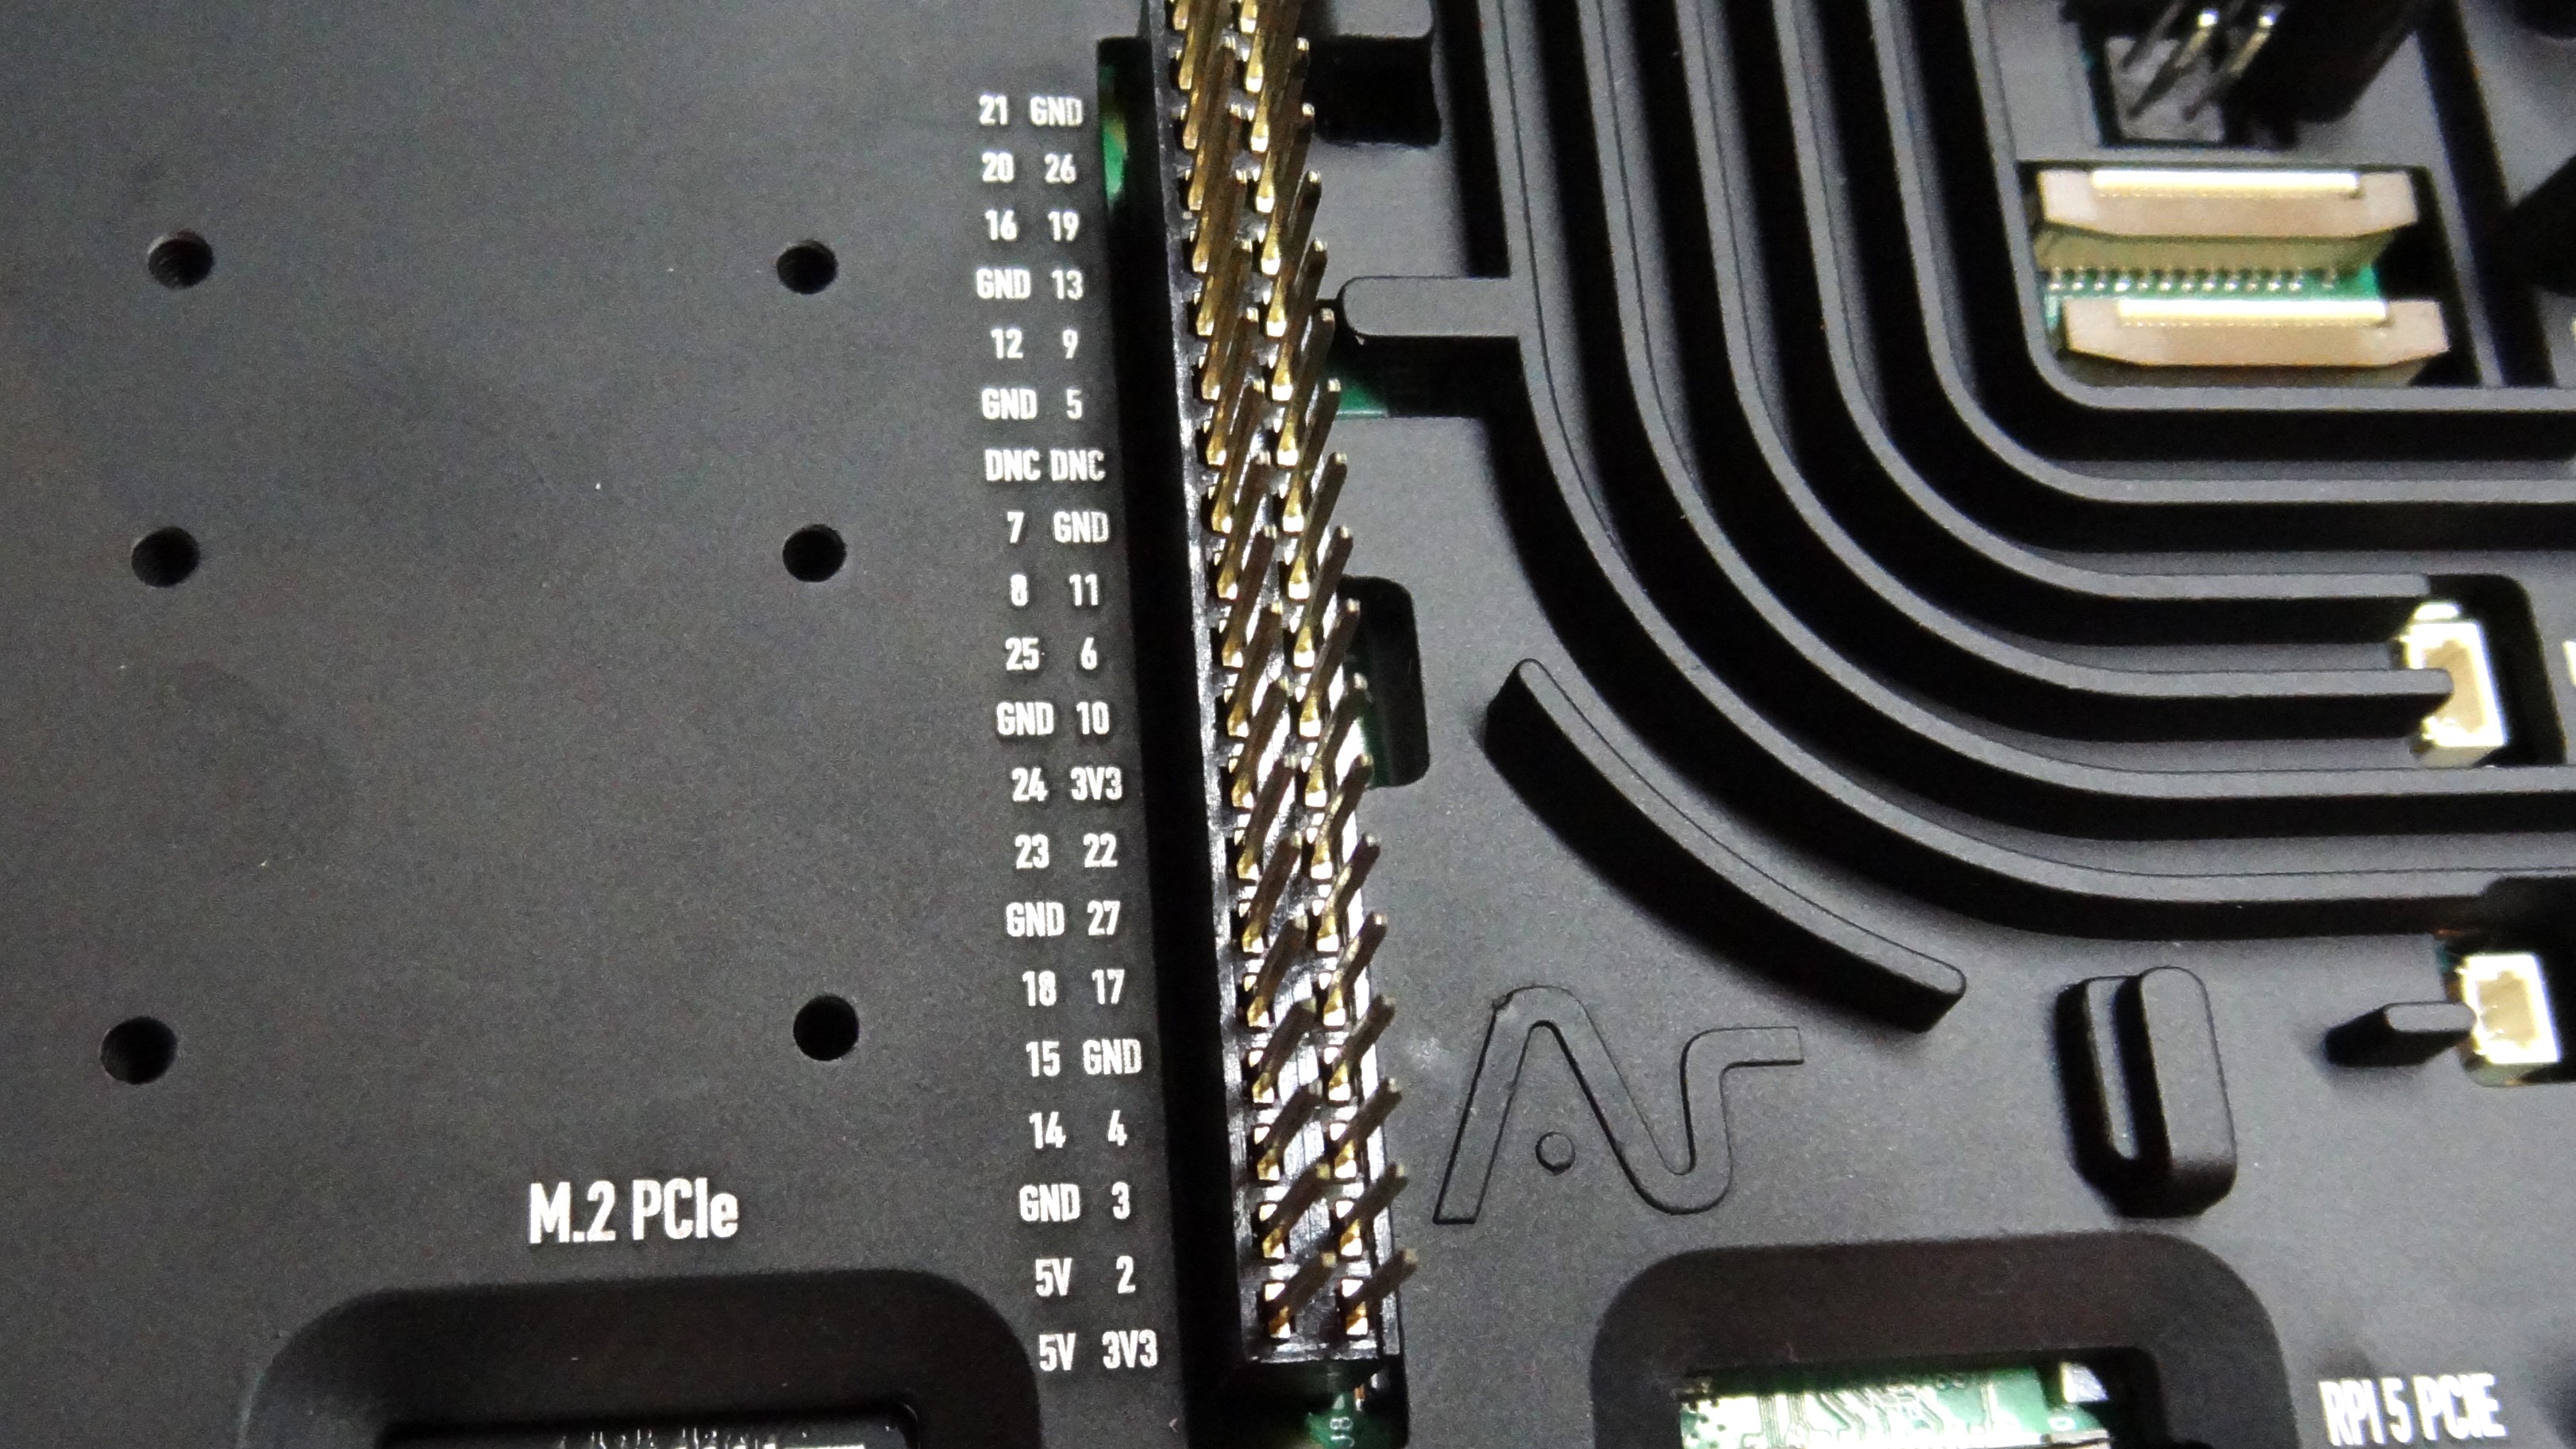
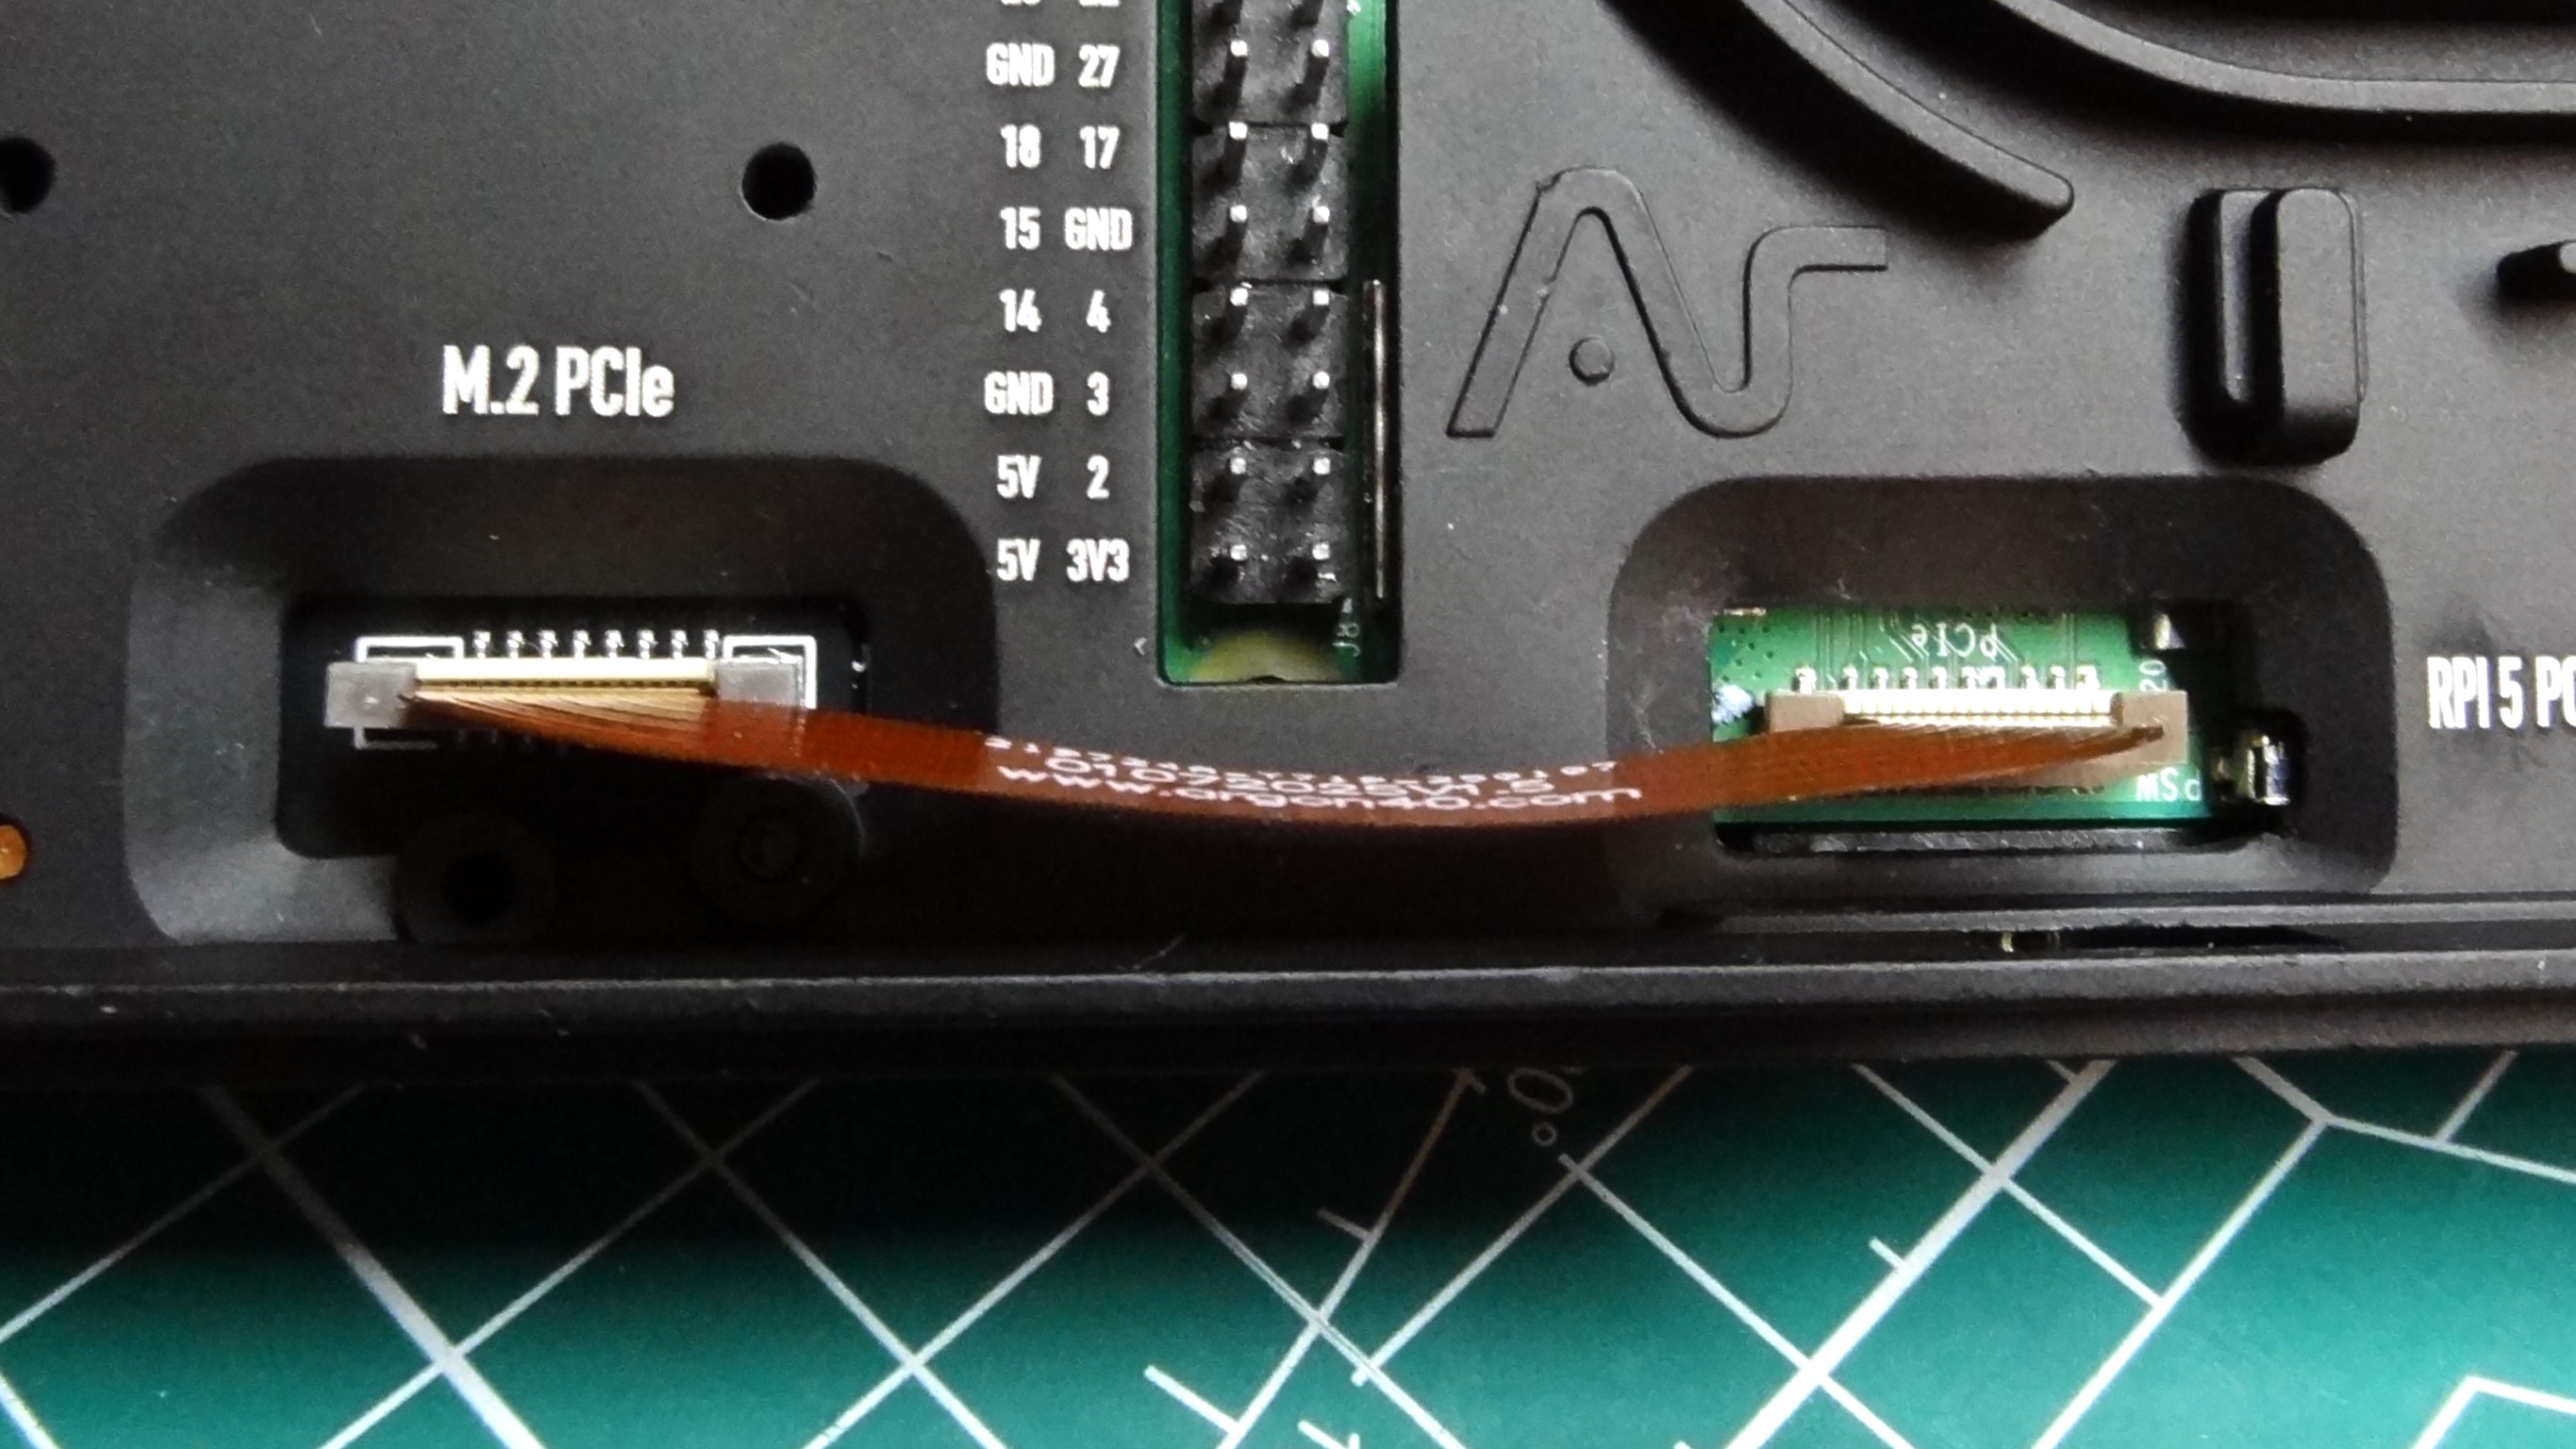
Yes you have access to the GPIO, but unlike the earlier Argon One cases, the one is buried in the case. For use with jumper wires, you are good to go. For your favorite HAT, you will need to eschew from using the OLED screen, but a header extension and some M2.5 standoffs. Why? Well firstly you need extra height for the HAT to sit clear of the heatsink. Yes a board confirming to the HAT standard will just clear the chassis without a header extension, but it will be tight. Smaller pHAT (mini HATs) will work, but you will have to move the PCIe cable and that risks damage, so use the same extension header for the pins.
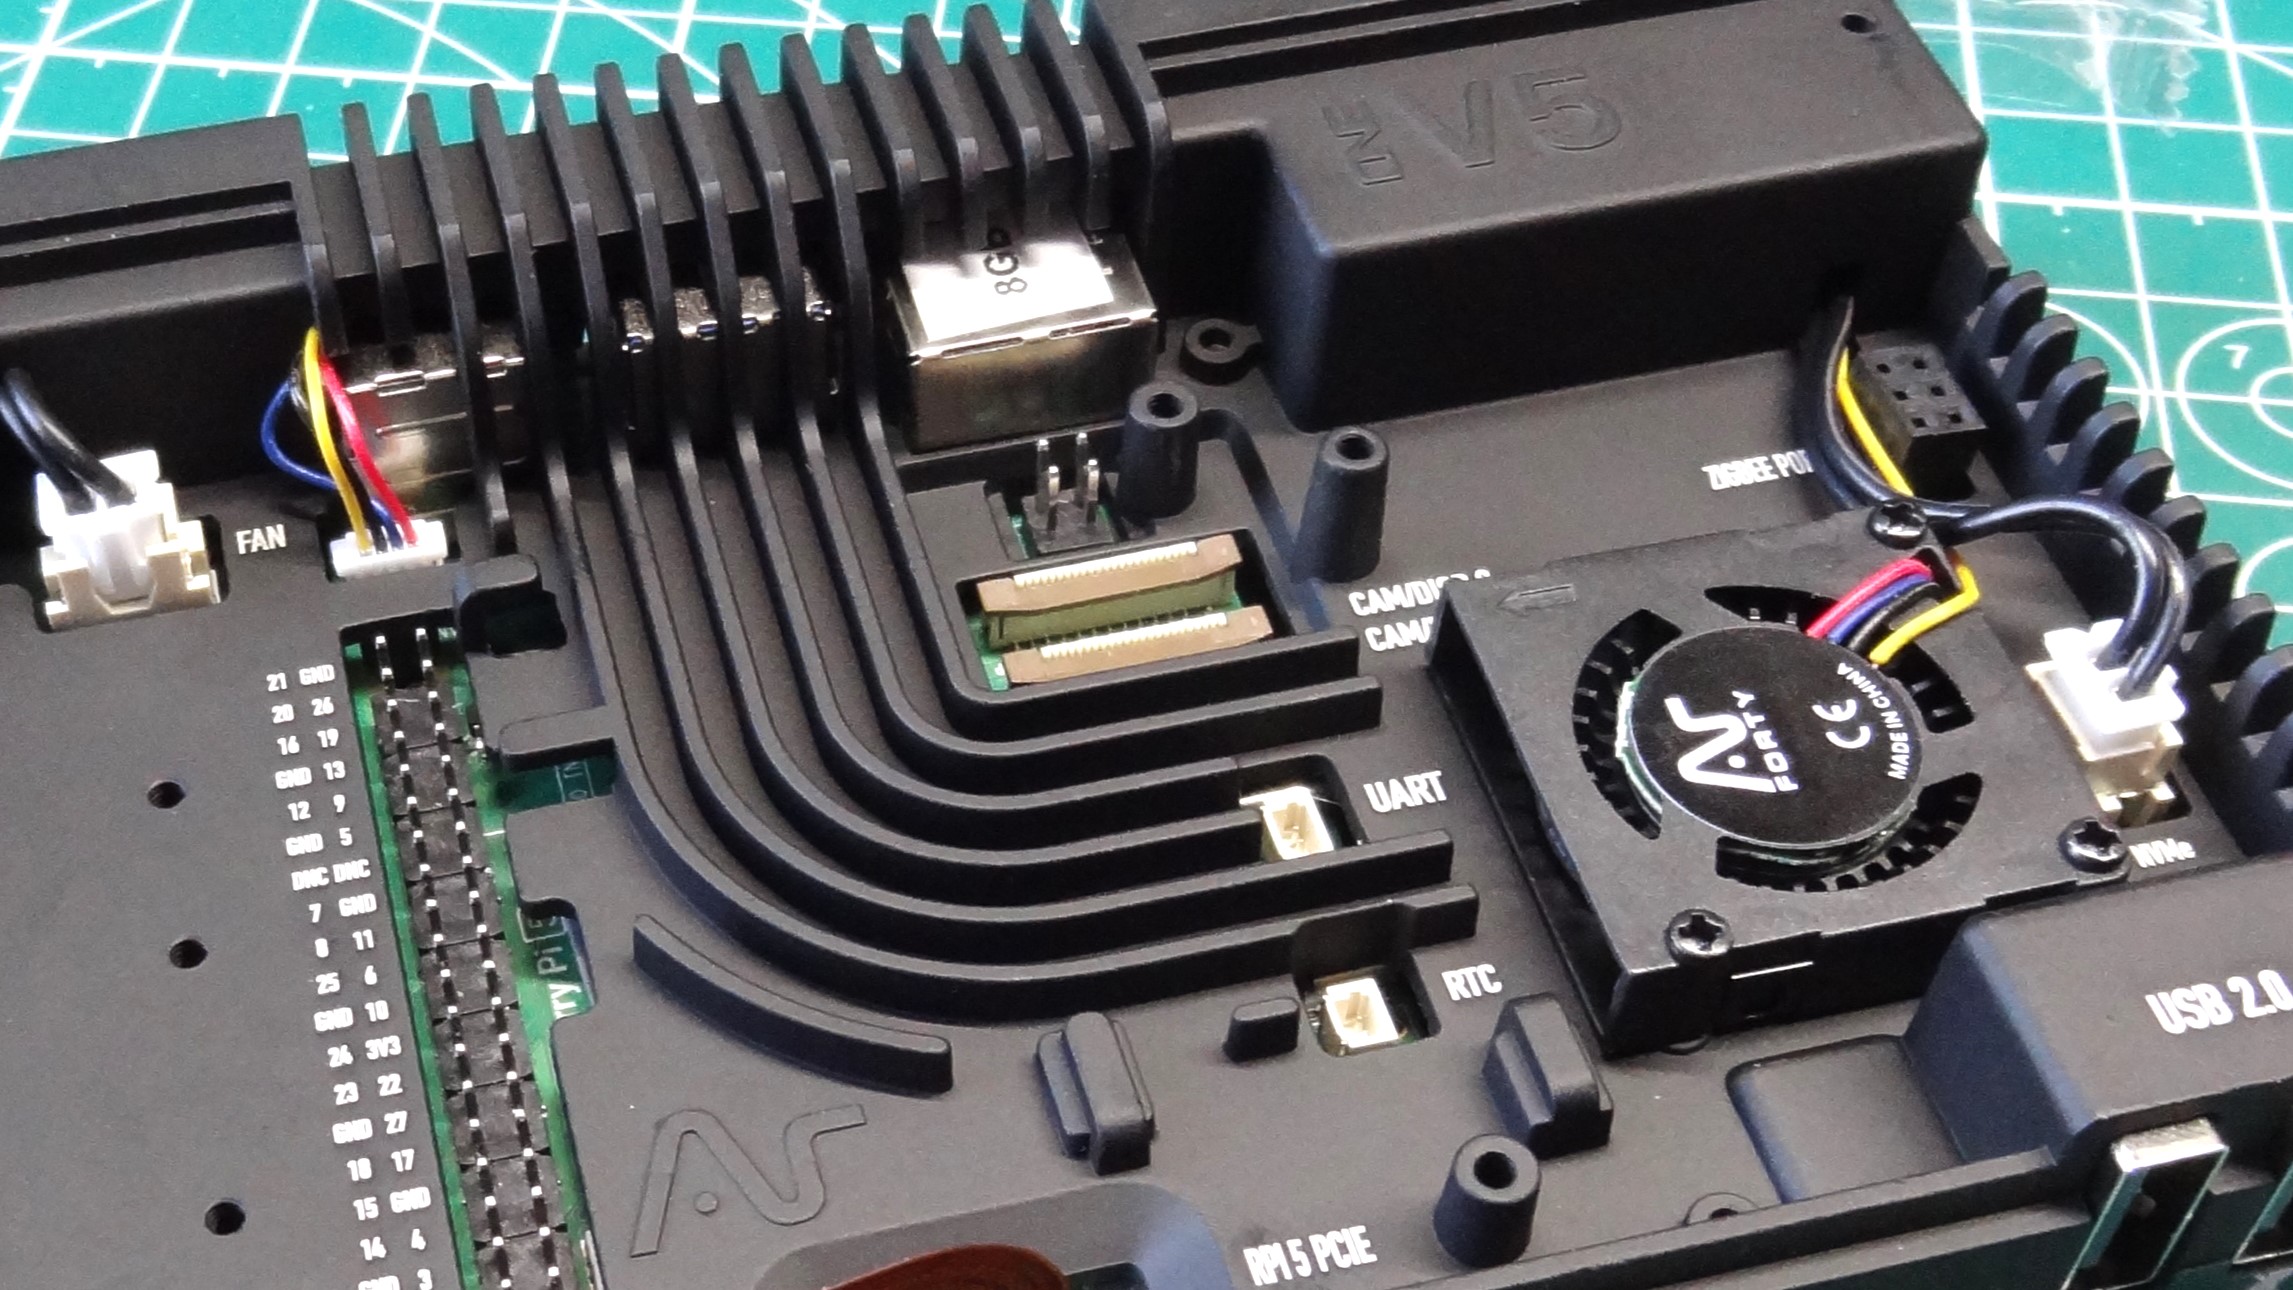
Camera and display port access is way better than the older Argon One cases (did I mention they look like a prop from The Expanse?) and it is clear that Argon 40 has learnt its lesson. That said, you need fingernails or the included spudger to lift and lock your FFC cables into place, just be careful!
Argon One V5 Wi-Fi Performance
When wrapping an SBC with a PCB antenna inside an aluminum chassis, we know that Wi-Fi performance is going to suffer. And yes, it does. My test setup sees me on the upper floor of the house, and the Wi-Fi router being on the ground floor.
| Row 0 - Cell 0 | Wi-Fi Bandwidth (Mbits/sec) | Row 0 - Cell 2 |
| No Case | 52.1 | Row 1 - Cell 2 |
| Argon One V5 Case | 13.2 | Row 2 - Cell 2 |
A Raspberry Pi 5 without a case achieves 52.1 Mbits per second. The Pi 5 inside the Argon One V5 manages just 13.2 Mbits per second. Just under a quarter of the bandwidth that the no case Pi 5 saw. We’re losing 75% of the signal due to the case. With that in mind, you’ll be reaching for Ethernet, or moving your office nearer to the Wi-Fi.
Who is the Argon One V5 for?
Take a good look at the case; this is an Arm desktop PC setup that just happens to use a Raspberry Pi 5. If you want a Raspberry Pi for your lab / workshop / hackspace / garage then this case will do you proud, and keep it cool and safe. For general hacks and projects, it's a bit overkill.
Bottom Line
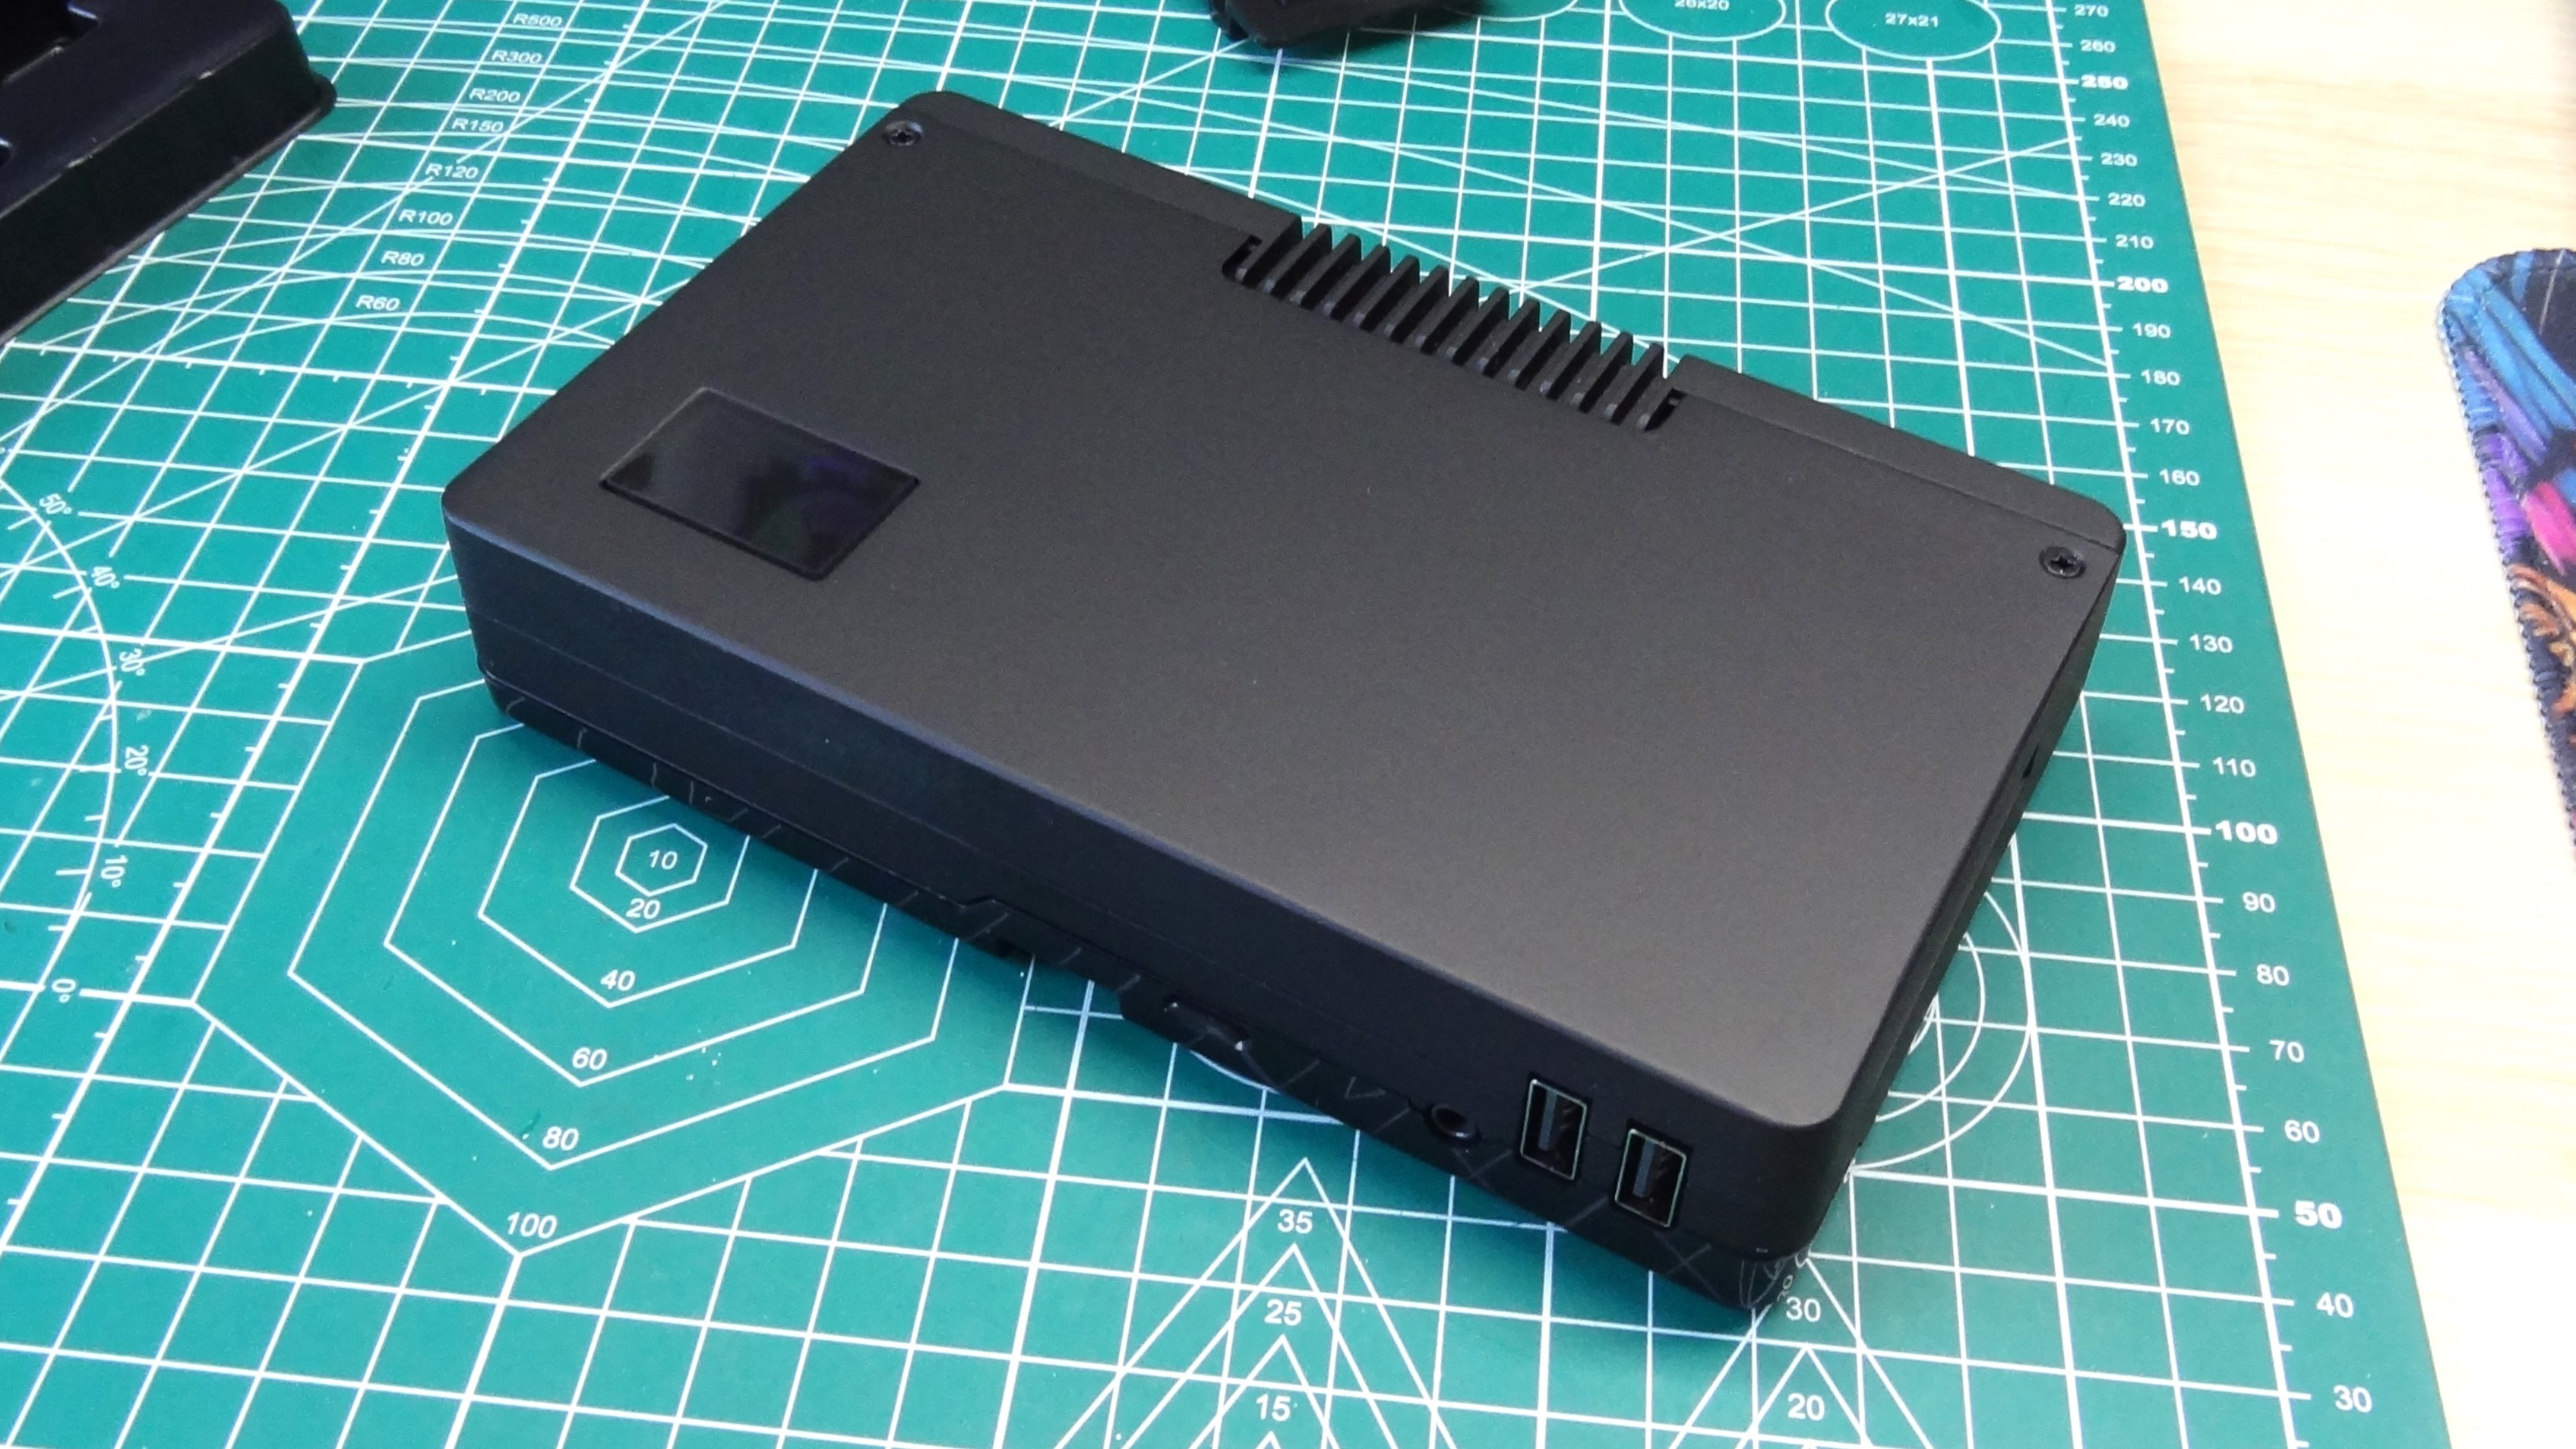
I’ve got a soft spot for Argon 40’s cases. The Expanse jokes aside, Argon 40 makes good cases that will keep your Pi 5 cool and safe. The Argon One V5 is expensive, compounded by the additional OLED screen. But if you want a solid case with NVMe storage, this is a contender. But, the cheaper, and more “maker friendly” $38 Argon Neo 5 M.2 NVMe case gives you NVMe support, and better access to the GPIO. The downside to that case being camera and display port access is tricky.
The price difference between the two is only $10, and the Argon One V5 provides additional USB 2.0 ports and the intriguing option to add ZigBee one day.
The Argon One V5 is the case to buy if you want to build an Arm PC for your space, living room or office. Being a maker, I would gravitate towards the Neo 5 instead. But, I can appreciate that the Argon One V5 is a pleasing design and it cools damn well! The $48 price tag is right. You don’t really need the OLED display, and many of us have a plethora of NVMe drives in our bits box, so that saves a bit of cash.
Les Pounder is an associate editor at Tom's Hardware. He is a creative technologist and for seven years has created projects to educate and inspire minds both young and old. He has worked with the Raspberry Pi Foundation to write and deliver their teacher training program "Picademy".
-
Shiznizzle Nice looking slab of alu. Shame about the loss of signal strength. That is a pity. USB antenna.Reply
I have the raspi 4 with a clear acrylic case and a tiny 1 inch case fan on the inside that pushes the heat out. The fan is covered by the top acrylic case for the most part. Only a few holes are available and they are in the shape of the raspi symbol.
Ive been working on getting the raspi 4 to do some low power work while i game. Like getting the manuals up on second screen. I also fit a external M2 SSD today as well. The model 4 has to make due with USB booting.
Functional units and could replace a normal computer in a lot of cases for far less electricity costs. If you dont game and just like to watch stuff or read this is a really good choice.
The model 4 is a bit slow at times but will play video and can run Netflix if you want. Surf the web with some limitations. Speed of page loading being one of them.
After you buy the unit, the cases and all other stuff like the SSD board and PSU, the cost starts to add up really quick. Compared to a small form factor PC with an x86 intel, these SBC's while useful seem rather expensive.
I bought mine after my daily driver X86 died on me and i was without a computer for almost 3 months. I had to save up. So i bought a raspberry pi 4 as back up. I has served me well. I take it with me when i visit mom in spain. Small....and i can game on it and do everything else.
These units, especially the new raspi 5, can replace your full blown 400 watt desktop PC's. As long as you only want light gaming.
The raspi 5 model is a beast compared to 4. Built in NVMe support baked in. Faster, better chips, cool accessories to play with.
Working with linux in earnest since my A+ certification days was an eye opener. Ive been an exclusive windows user for the last 30+years. -
davidqvist "But if you want a solid case with NVMe storage, this is a contender. But, the cheaper, and more “maker friendly” $38 Argon Neo 5 M.2 NVMe case gives you NVMe support, and better access to the GPIO."Reply
I find this a little confusing. You make it sound as if the two cases - Neo 5 and One V5 (single SSD version) - differ with regard to both NVMe specs and GPIO access.
Could you please clarify?
Thanks.
