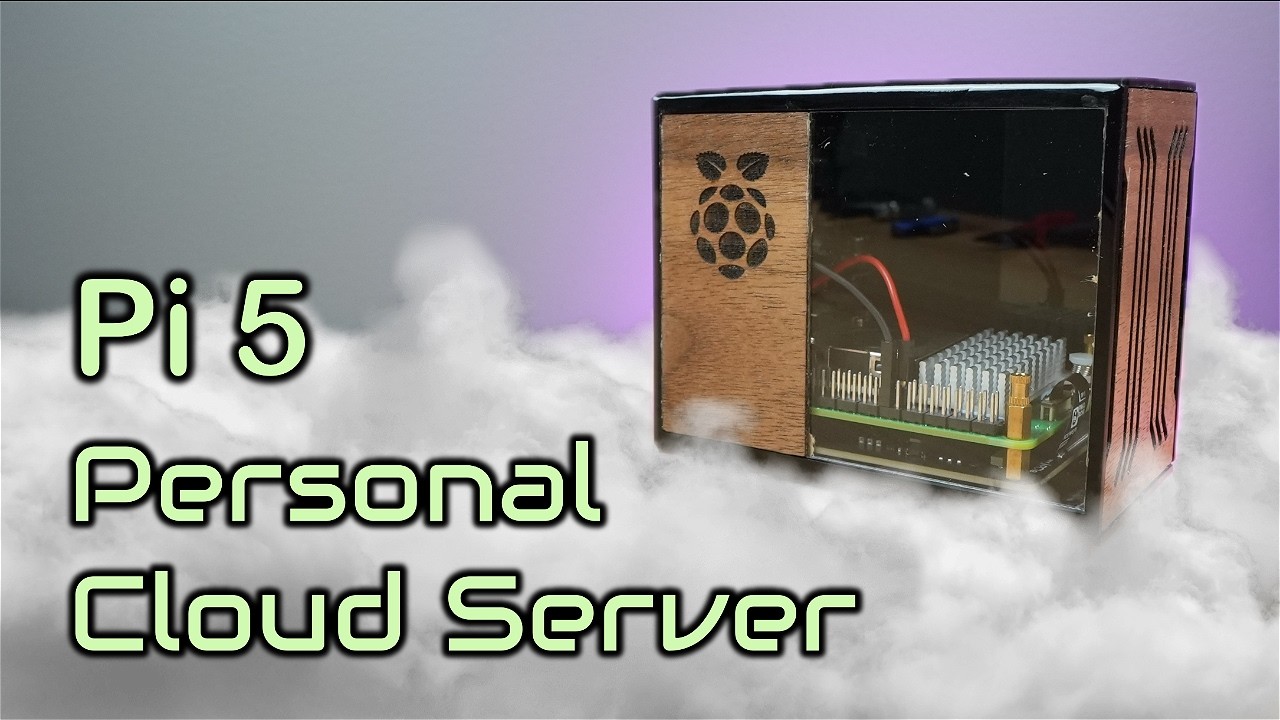
We hear a lot about cloud storage these days but those less tech savvy might not realize that cloud storage still involves a hard physical location. If you want to use a cloud service, you're essentially renting hard drive space on a server somewhere owned by a third party. If you prefer to keep your data a little closer to home, you should look into creating a personal cloud server like this one put together by Michael Klements using a Raspberry Pi 5.
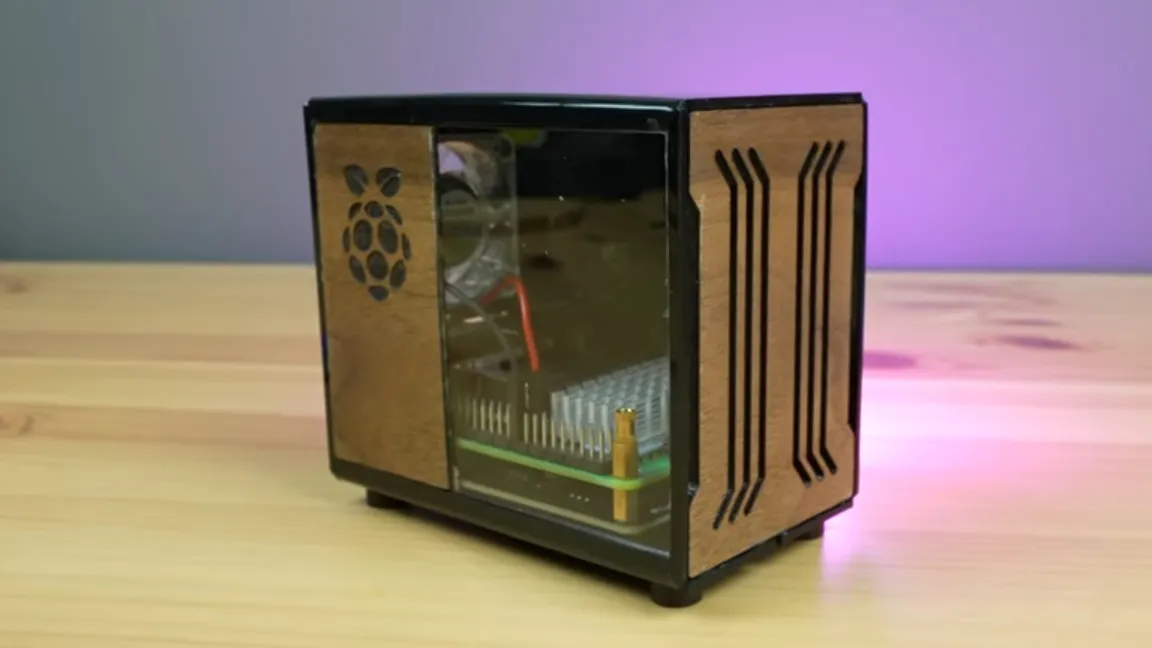
Klements has an affinity for laser cutting cases—here are a few of his Raspberry Pi laser cut wood cases we've covered in the past—and this cloud server is no exception. This case uses walnut plywood and has clear acrylic side panels to show off the hardware inside. These panels were cut using an Omtech Polar laser cutter and engraving machine. If you've not got access to a laser cutter, then you can grab the Sunfounder Pironman 5 for the same functionality.
Article continues below

The main board driving this project is a Raspberry Pi 5. You can reduce the upfront costs by opting for the lower-cost Raspberry Pi 5 2GB or you could get away with using an older model, but you'll find the best performance with the Pi 5 and accompanying Pimoroni NVMe Base. For storage, he's using a Lexar NVMe SSD but you could use any compatible SSD of your choice in its stead.
The software driving this personal cloud server is called Nextcloud. It's very simple to set up, requiring mostly just that you flash the image for Nextcloud onto the microSD card for your Pi. Instructions for both constructing the case and setting up Nextcloud are in the video shared by Klements to YouTube.
If you want to get a closer look at this Raspberry Pi project in action, you can check it out over at YouTube where you can also follow Klements for more cool creations and future projects.
