Tom's Hardware Verdict
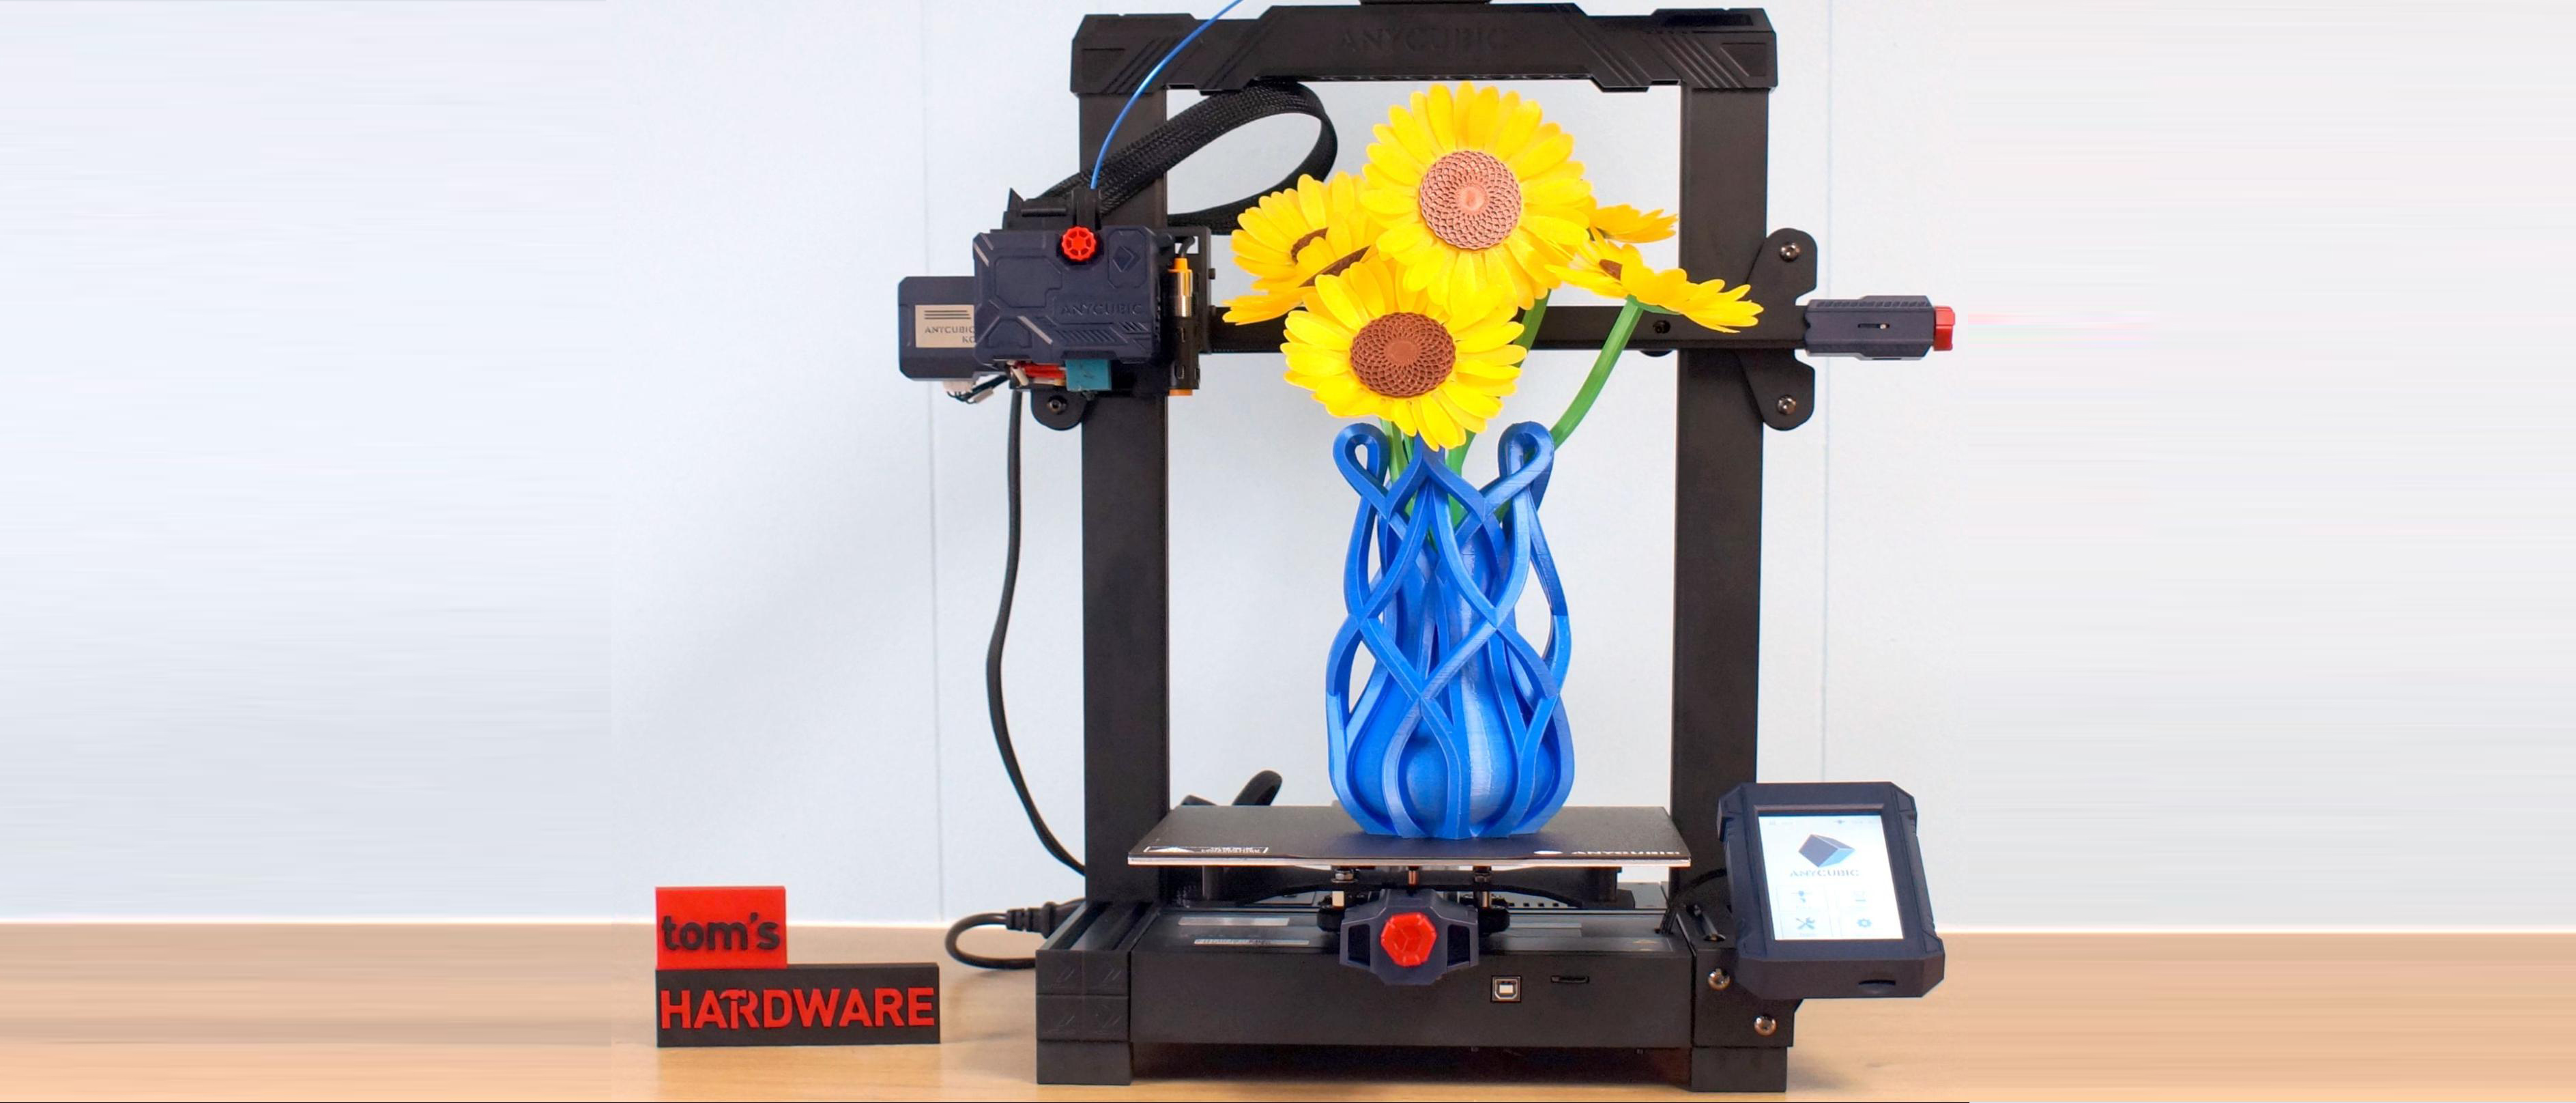
The Anycubic Kobra is a mid-range machine with premium features that make 3D printing easy and accessible.
Pros
- +
+ Quality prints
- +
+ Direct drive
- +
+ Auto bed leveling
- +
+ Easy assembly
Cons
- -
Difficult to upgrade
- -
Toolhead hard to maintain
Why you can trust Tom's Hardware
Anycubic’s Kobra was created to make 3D printing fun and accessible for beginners, while also being useful to experienced makers. It has everything you need to make printing a breeze: direct drive, auto bed leveling, belt tensioners, and a bed surface that holds tight during printing then releases easily when cold.
One of the best 3D printers on the market, the $299 Anycubic Kobra is an affordable machine with a mid-range build volume a little smaller – and less expensive – than last year’s well received Anycubic Vyper. With its competitive price, dead-simple setup and high-quality prints, it offers a better user experience than well-heeled competitors like the Creality Ender 3 Pro.
Specifications - Anycubic Kobra
| Machine Footprint | 48.6 x 48.6 x 43 cm (19.1 x 19.1 x 16.9 in) |
| Build Volume | 220 x 220 x 250 mm (8.7 x 8.7 x 9.8 in) |
| Material | PLA/PETG/ABS/TPU |
| Extruder Type | Direct Drive |
| Nozzle | 0.4mm (Interchangeable) |
| Build Platform | PEI Spring Steel, Heated |
| Filament Runout Sensor | No |
| Bed Leveling | Inductive Auto Leveling |
| Connectivity | MicroSD/USB |
| Interface | Color LCD Touch Screen |
Included in the Anycubic Kobra Box
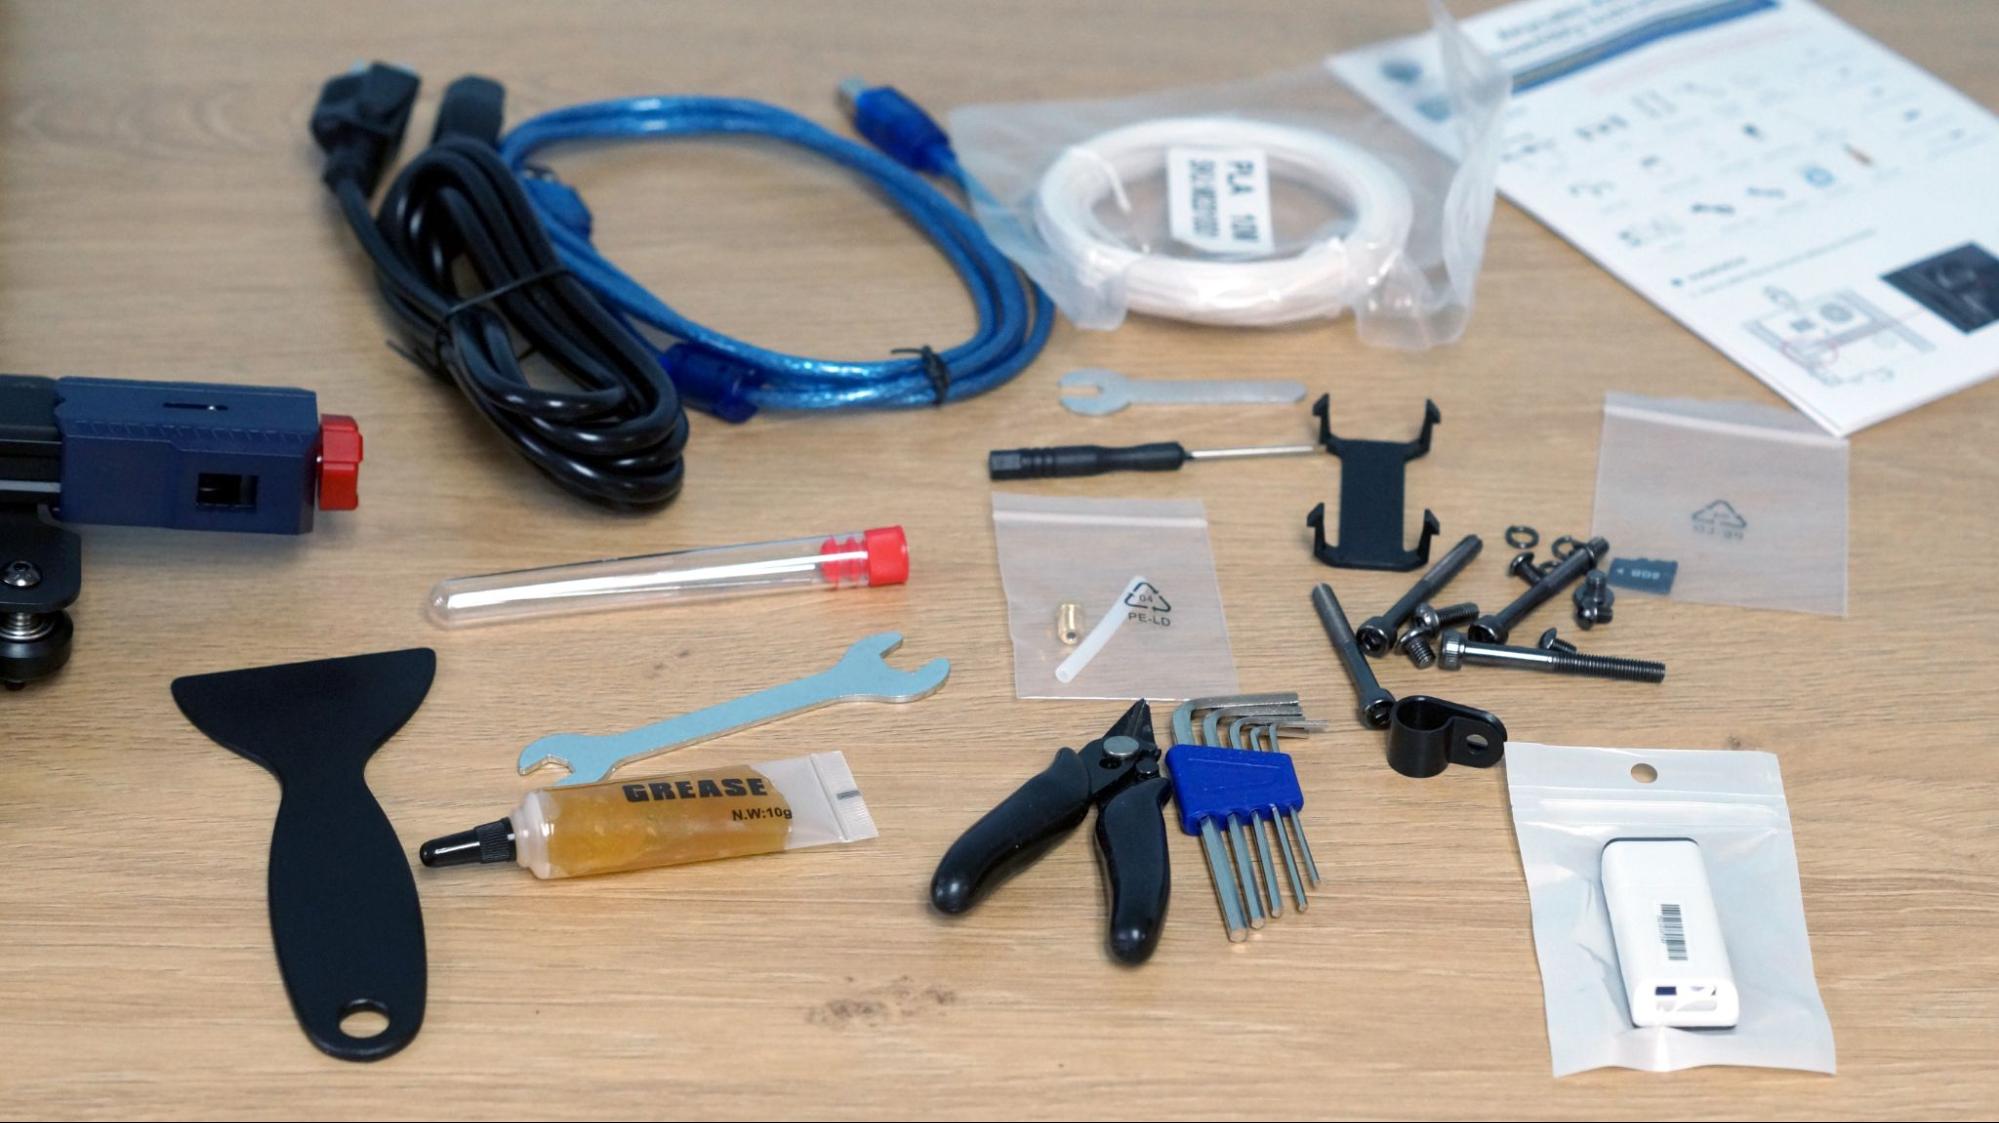
The Anycubic Kobra comes with everything you need to get started: tools to build and maintain the printer, side cutters, a plastic scraper, nozzle cleaner, grease and a microSD card with a USB adapter. You also get a spare nozzle, short piece of PTFE tubing for the extruder and small sample of PLA.
There’s a paper copy of the quick start guide to help you build the printer. The microSD card comes with sample models, a PDF copy of the manual, a copy of Cura 4.2.1 and profiles for PLA, TPU and ABS to get you started.
Assembling the Anycubic Kobra
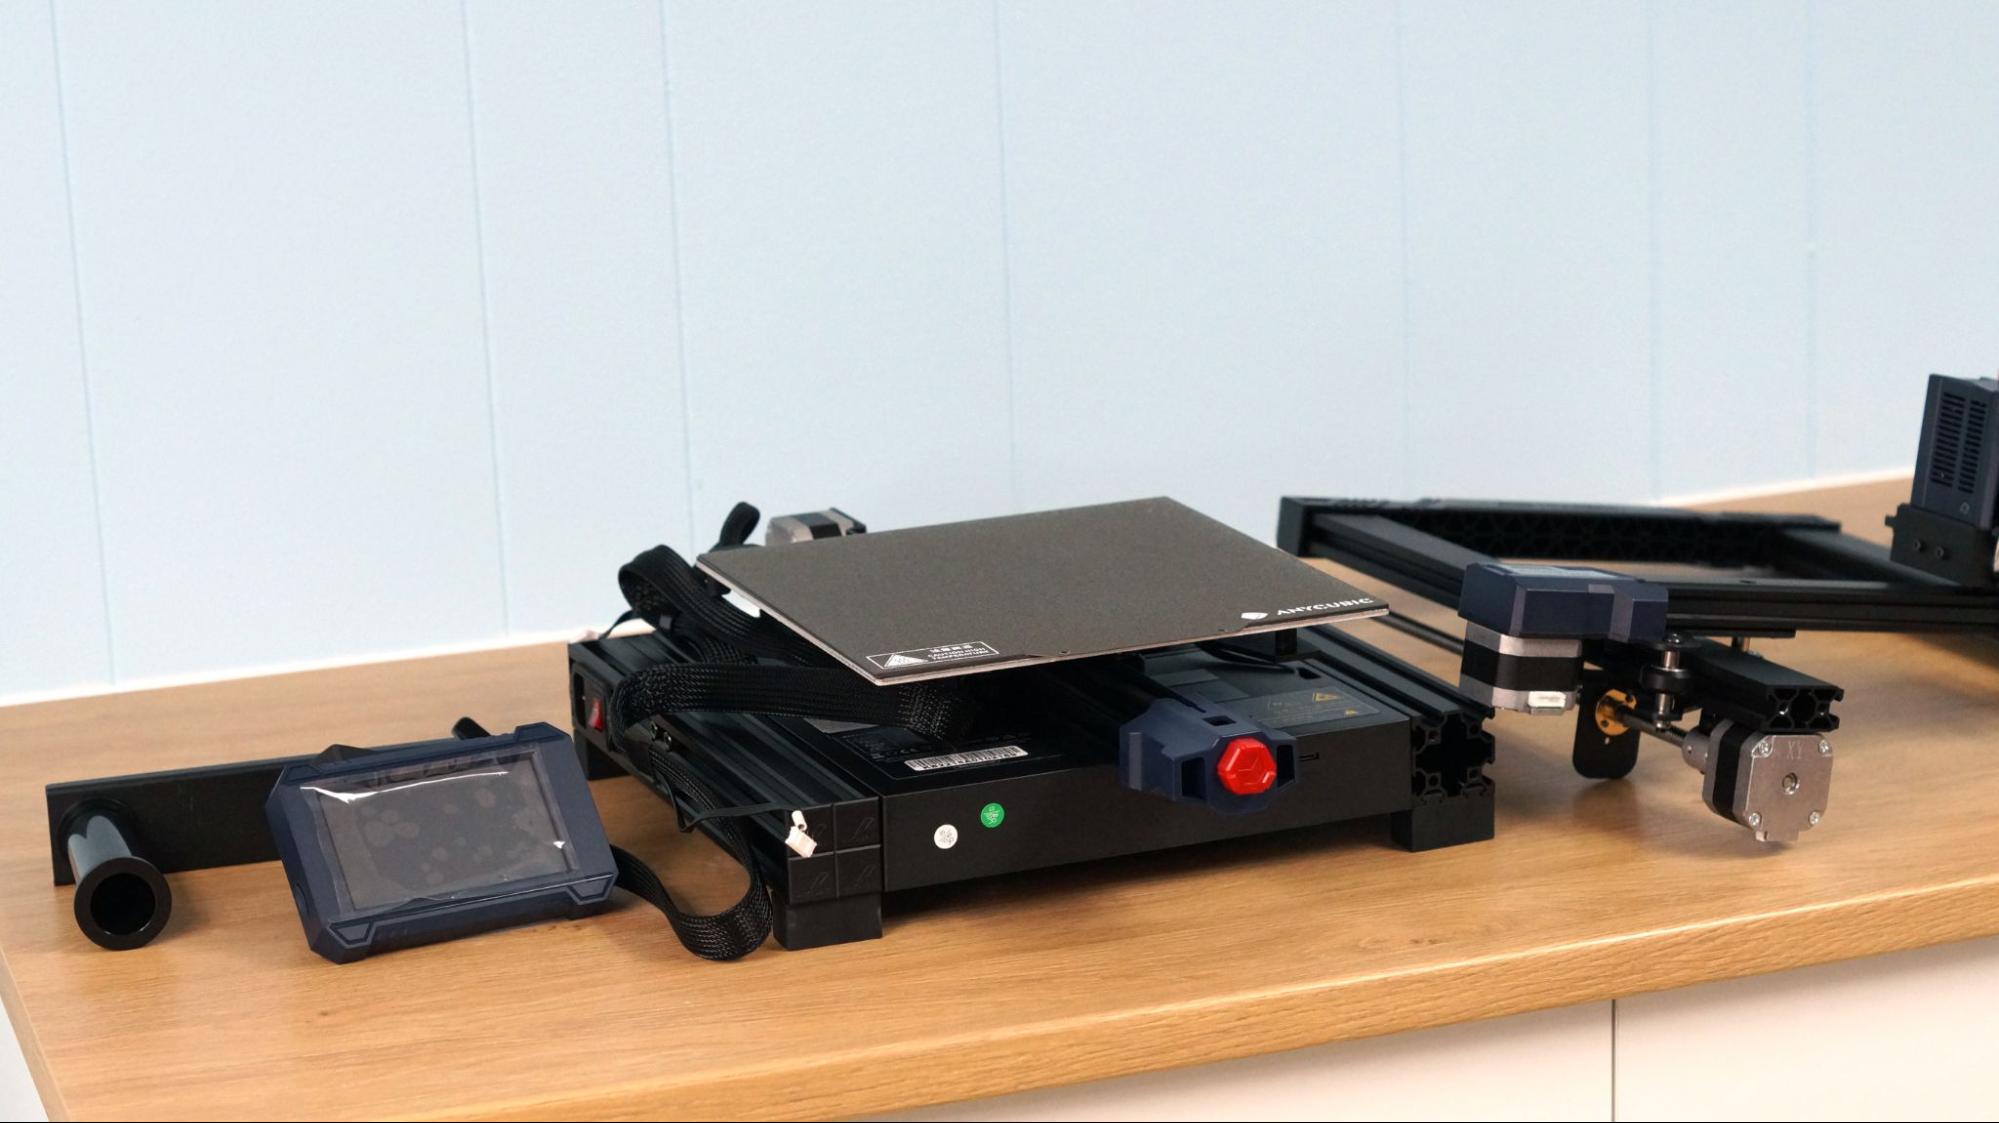
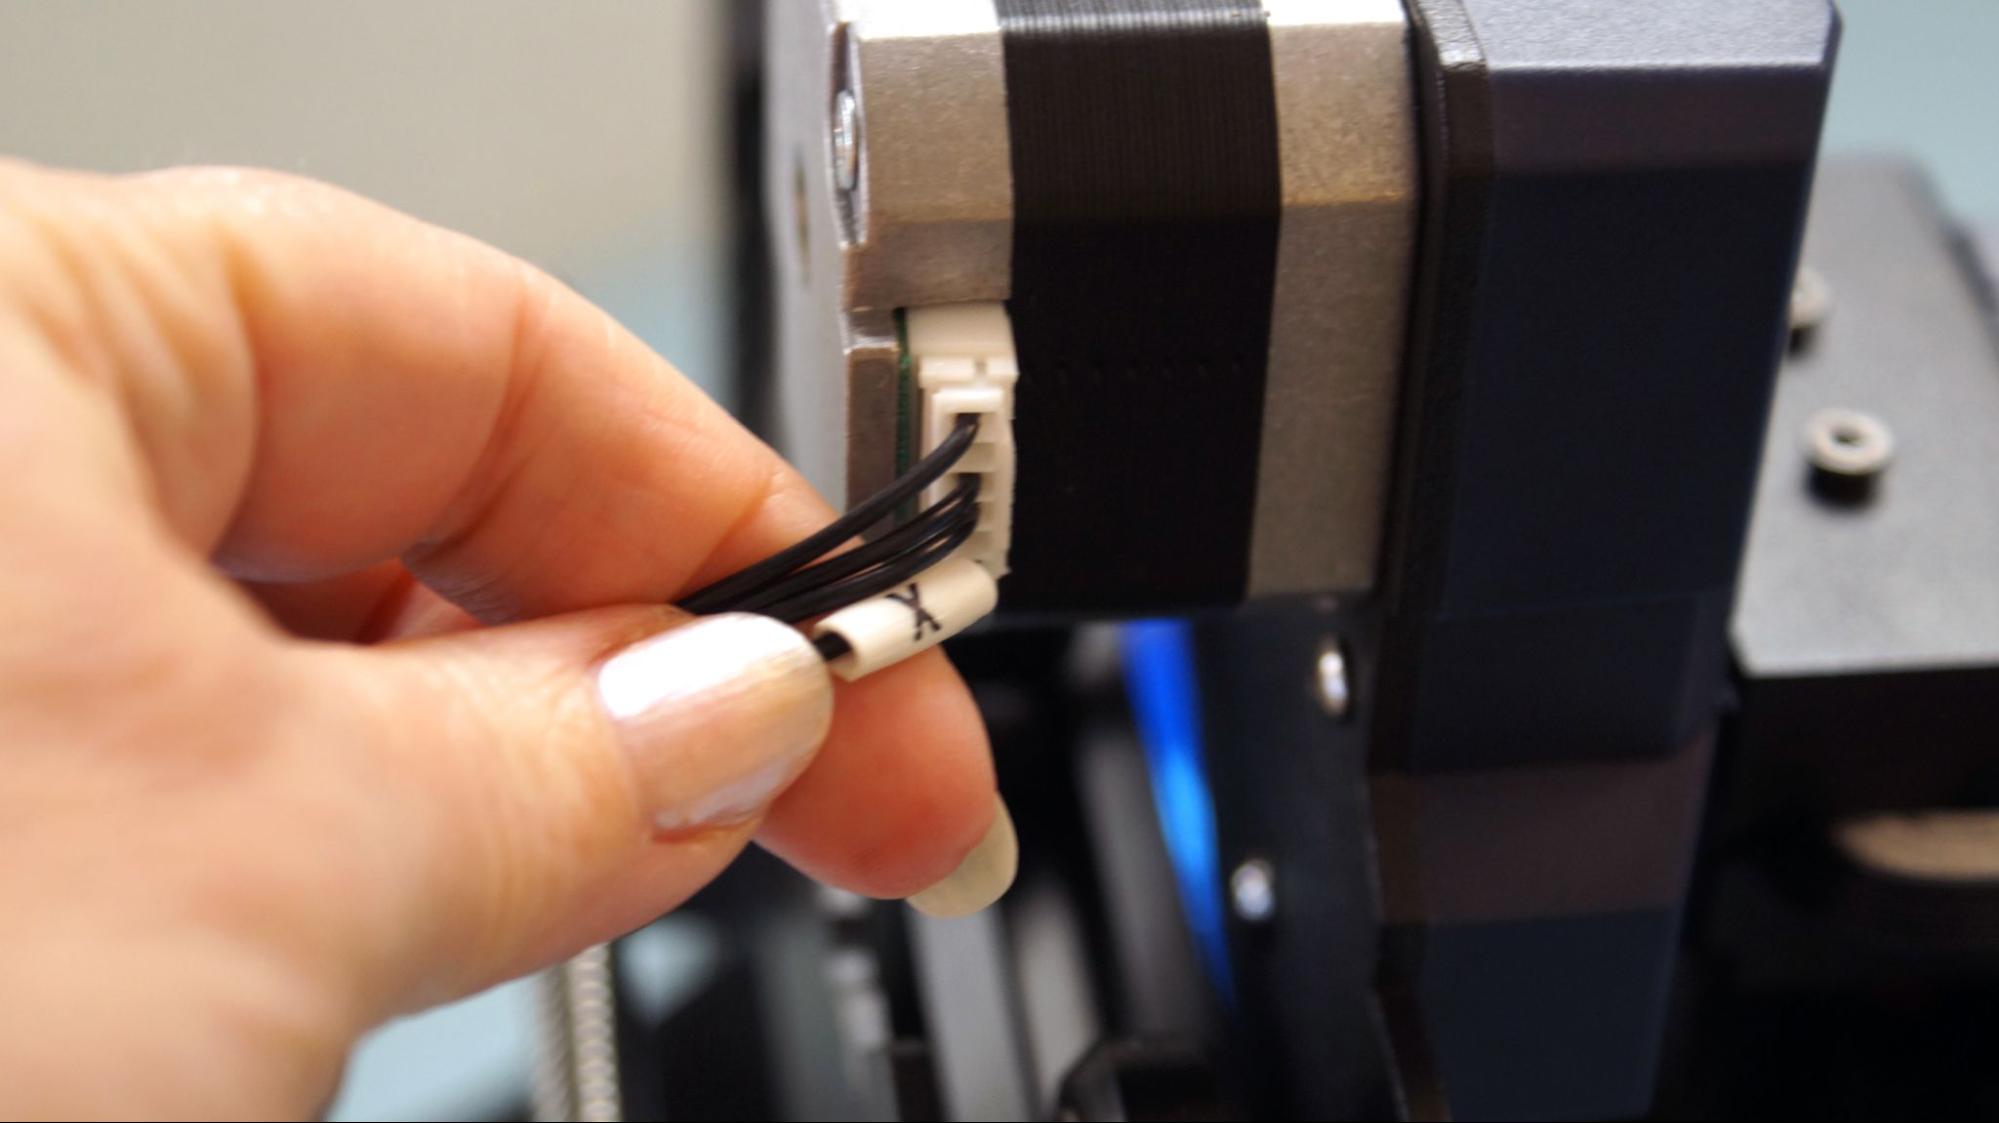
I got the Anycubic Kobra together in about 20 minutes. It ships mostly assembled in two large sections and only needs four bolts and six screws to assemble. The wiring is clearly marked and easy to plug into place.
Leveling the Anycubic Kobra
The Anycubic Kobra comes with an in house designed inductive automatic bed leveling sensor, called the Anycubic LeviQ. Inductive leveling uses a non-contact magnetic probe – it senses the metal surface of the build plate while hovering a few millimeters above it. This means you will not be able to switch the spring steel plate for glass.
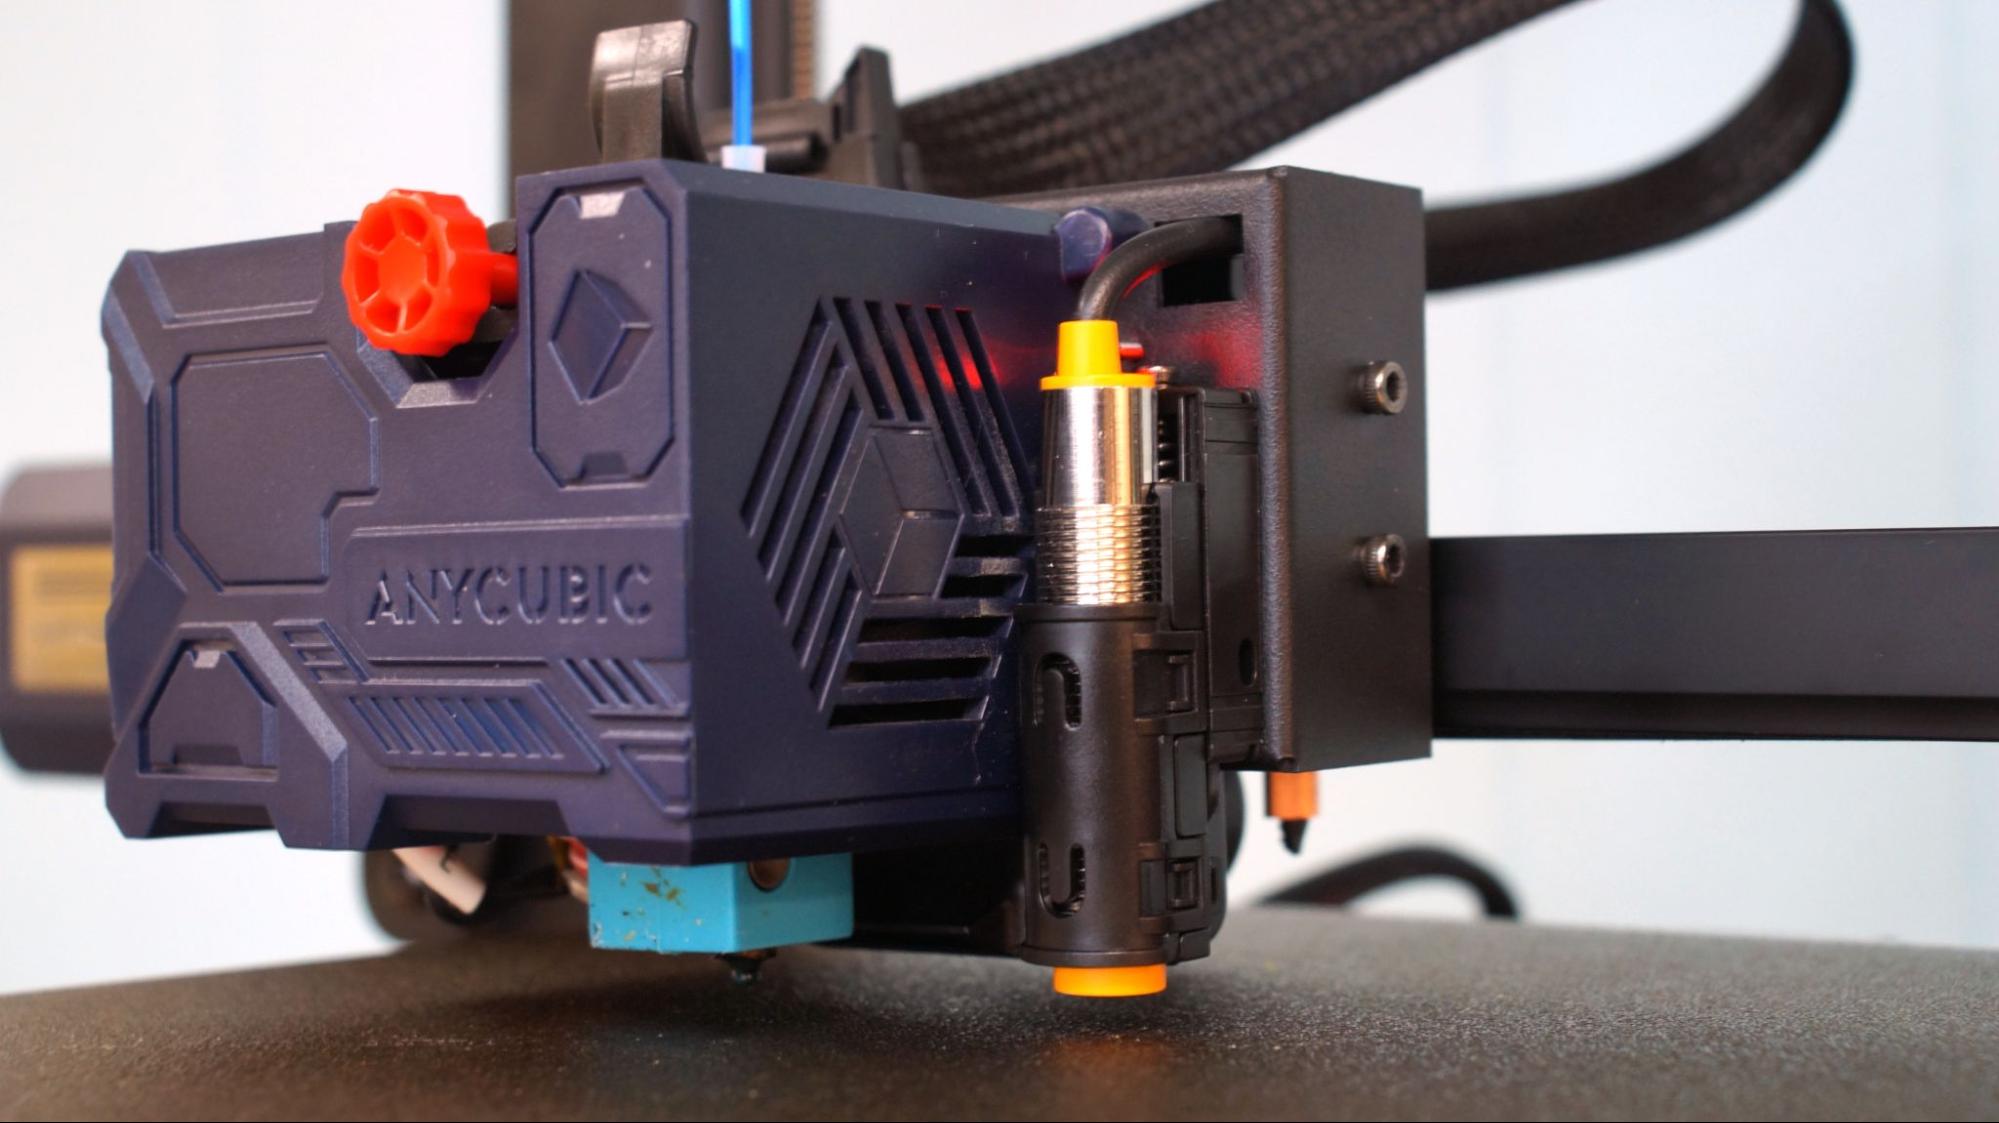
There are no knobs for manual tramming and everything is done through the printer’s touch screen.
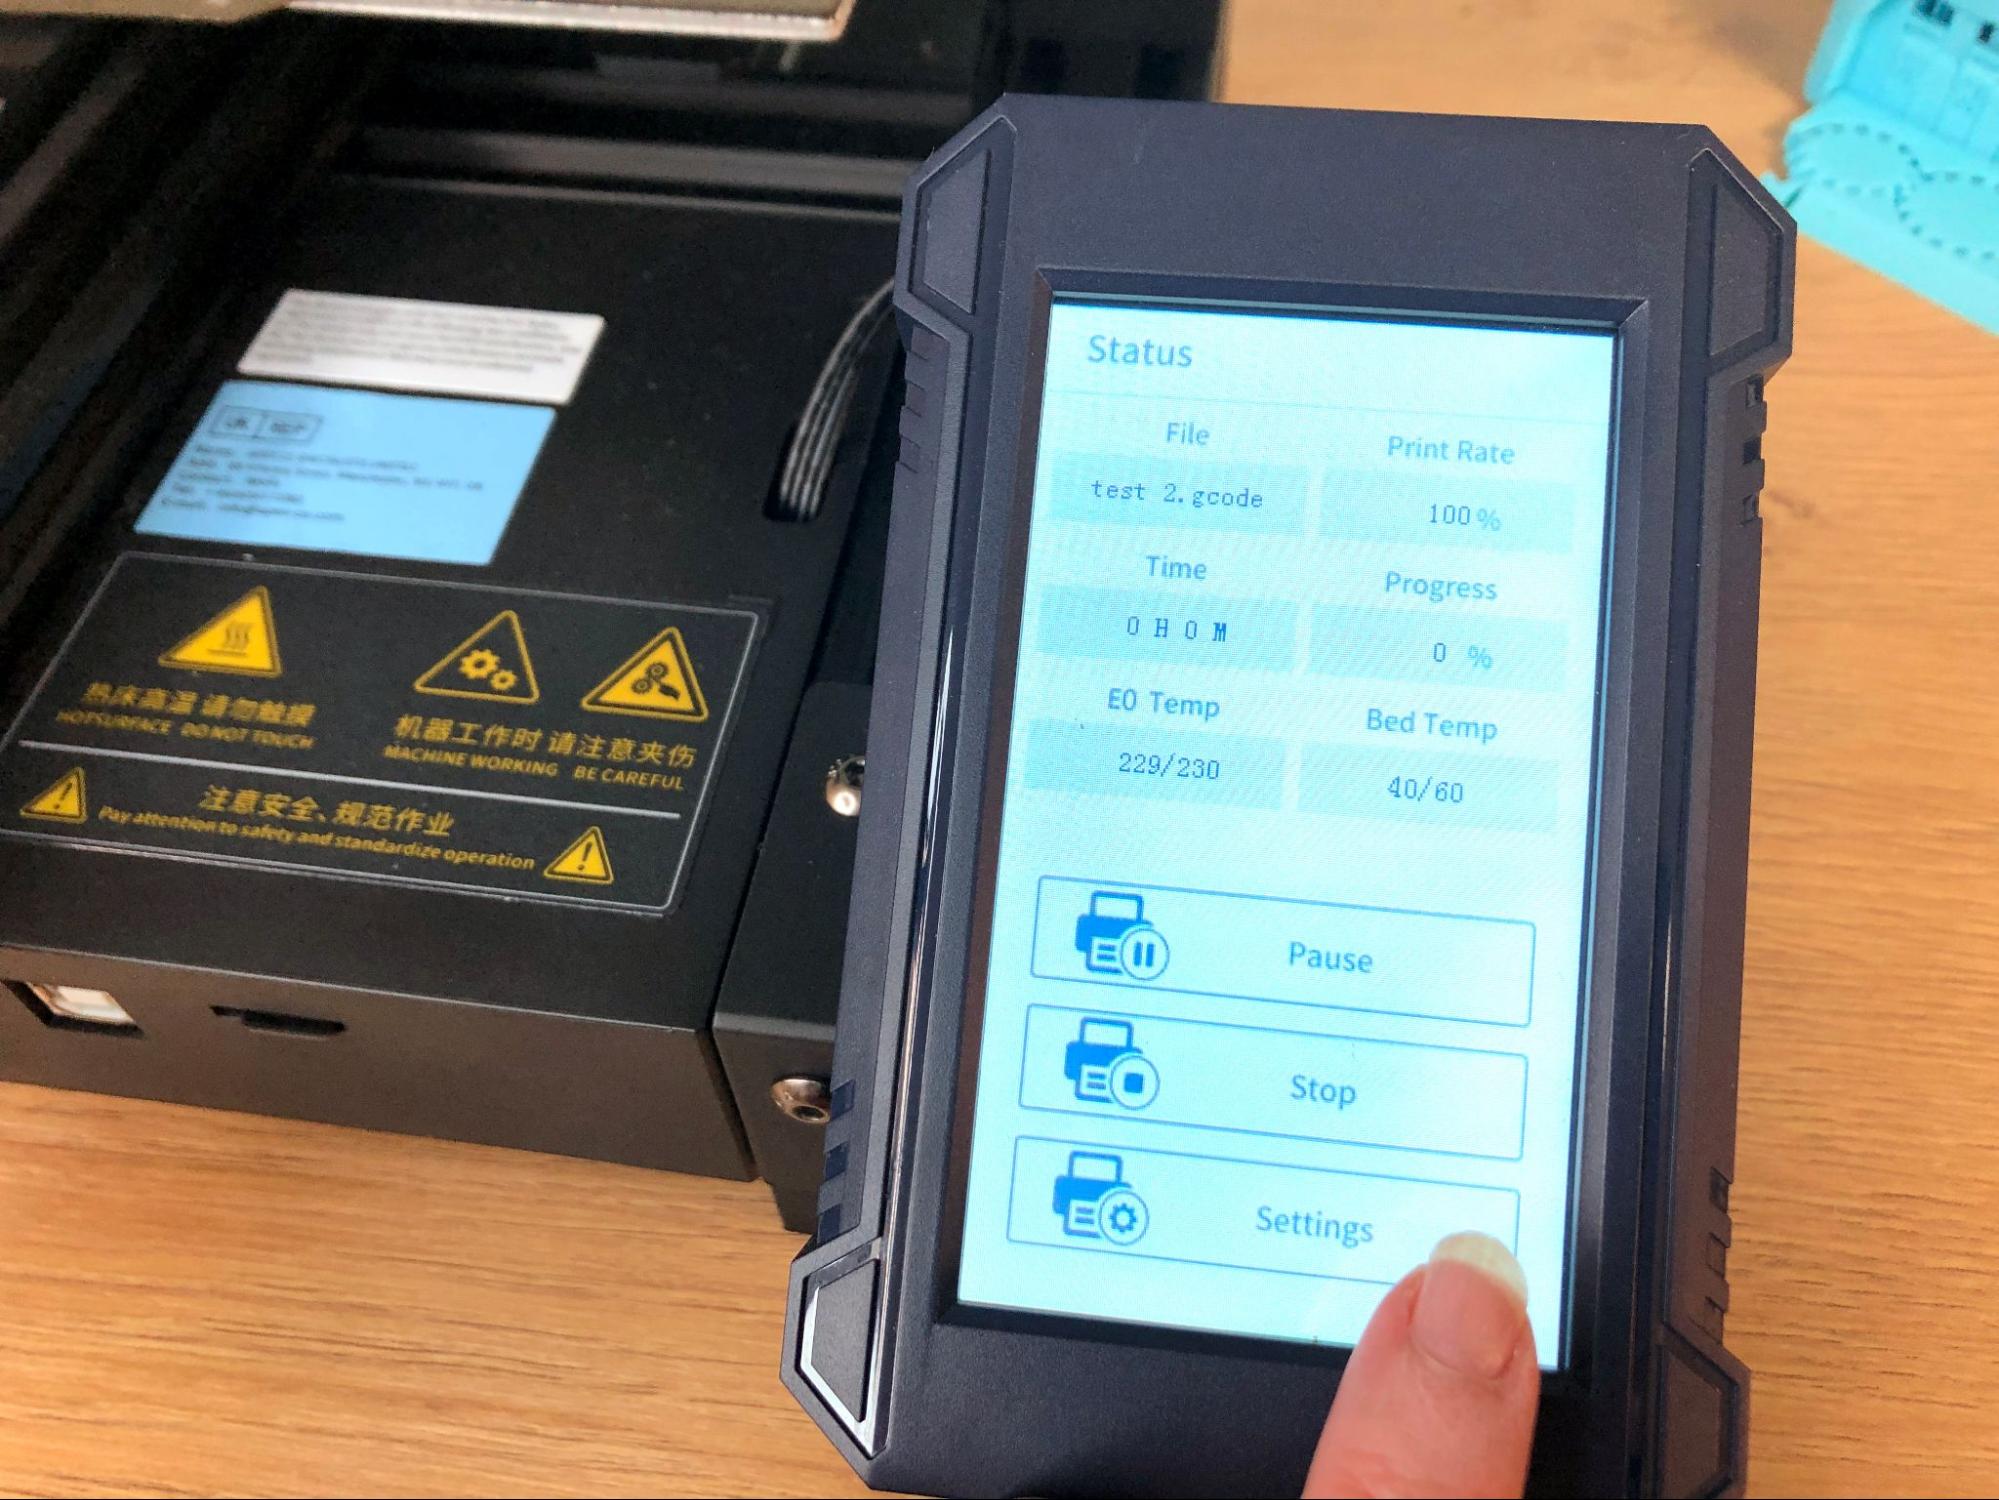
To level the bed, select Prepare → Leveling. Then select Auto-Leveling and the printer takes care of the rest. It will home the bed, then double tap 25 spots in a grid across the bed surface. The sensor stops a few millimeters above the bed, not allowing the nozzle to touch during auto leveling.
It’s important to note the auto leveling can only tell where the sensor is located, not the nozzle itself. The next step is to set the Z height so the nozzle is the perfect distance from the bed. See our handy guide on bed leveling to get an idea how close you should get.
Place a piece of paper under the nozzle and select Z-Offset from the touch screen. Negative numbers bring the nozzle closer, while positive numbers raise it up. You want to just barely scrap the paper. You only need to do this to one point of the bed; the Anycubic Kobra takes care of the rest.
After leveling and adjusting the Z height, I felt the nozzle was still a bit too close to the bed. Adjusting the Z height on the fly is super easy by going into the setting menu while the print is running. The machine will remember this Z height for the next print as well.
Loading Filament in the Anycubic Kobra
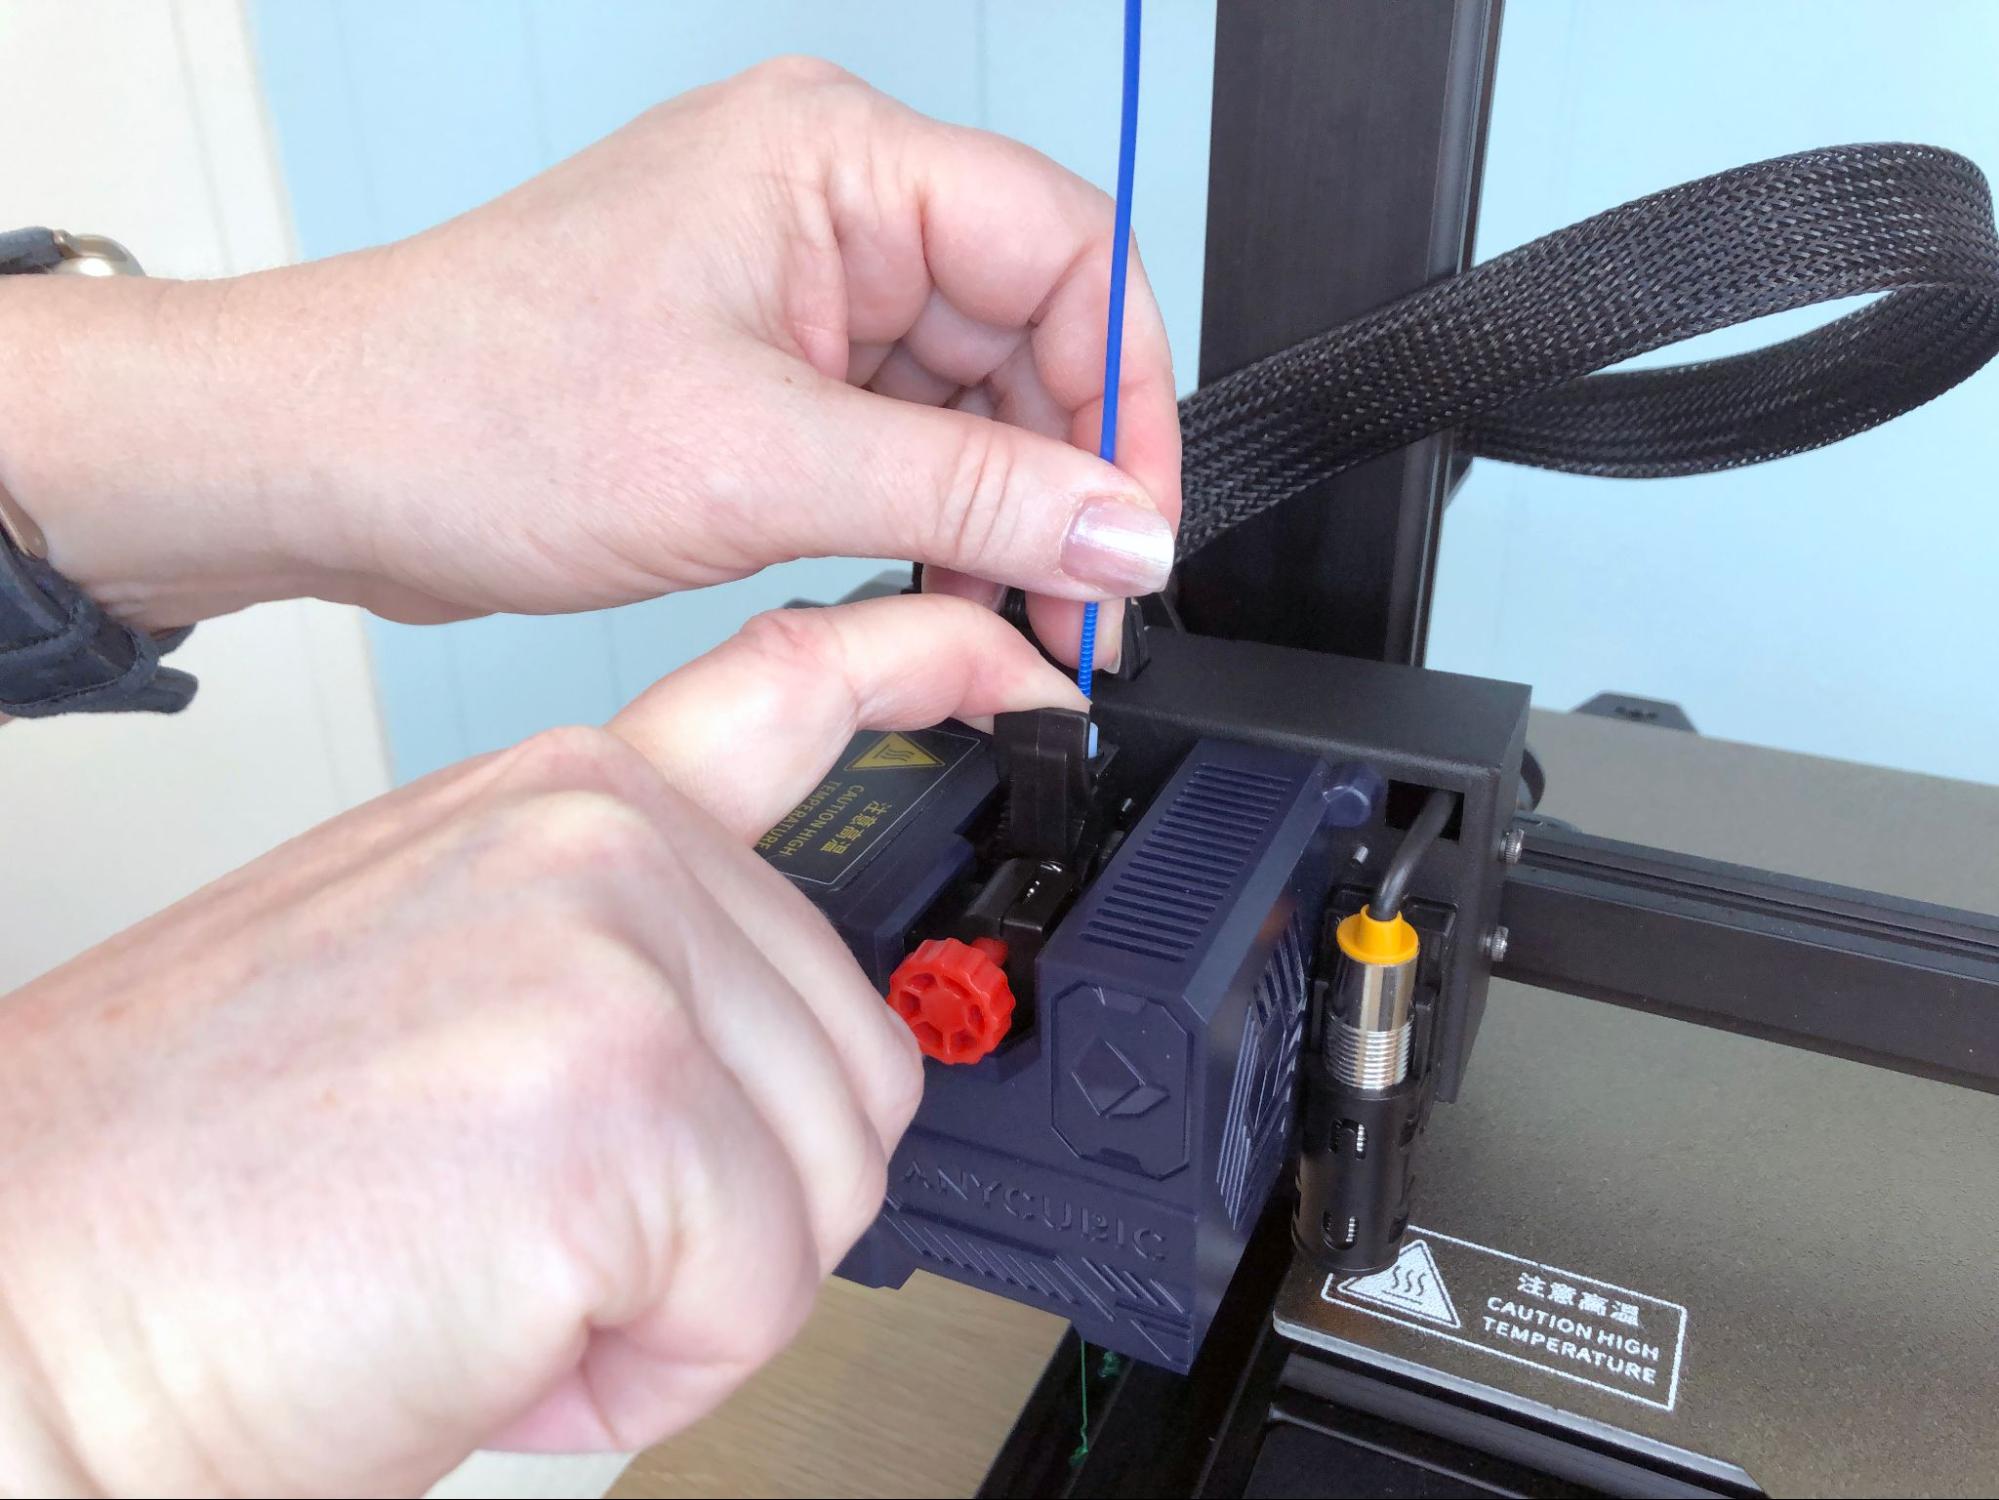
The Anycubic Kobra has a direct drive toolhead – meaning that the extruder gears, fans and hotend are in one front-mounted package. This makes filament loading a lot easier for beginners with everything in plain sight.
To load filament, press Prepare on the main menu. Select Filament. Now select Filament In or Filament Remove. The machine will now heat up to 230 C, taking about 60 seconds. Put your spool on the spool holder, and place the end of the filament into the white tube on top of the toolhead. Press Filament In and pull back on the lever next to the white tube. Push the filament in until the gears grab hold and then let it feed. Press Stop when the filament is coiling below the toolhead.
Removing the filament works the same, just in reverse. Let the toolhead preheat, select Filament Remove and let the gears back the filament out. Remove the filament when there is no more tension on the plastic.
Design of the Anycubic Kobra
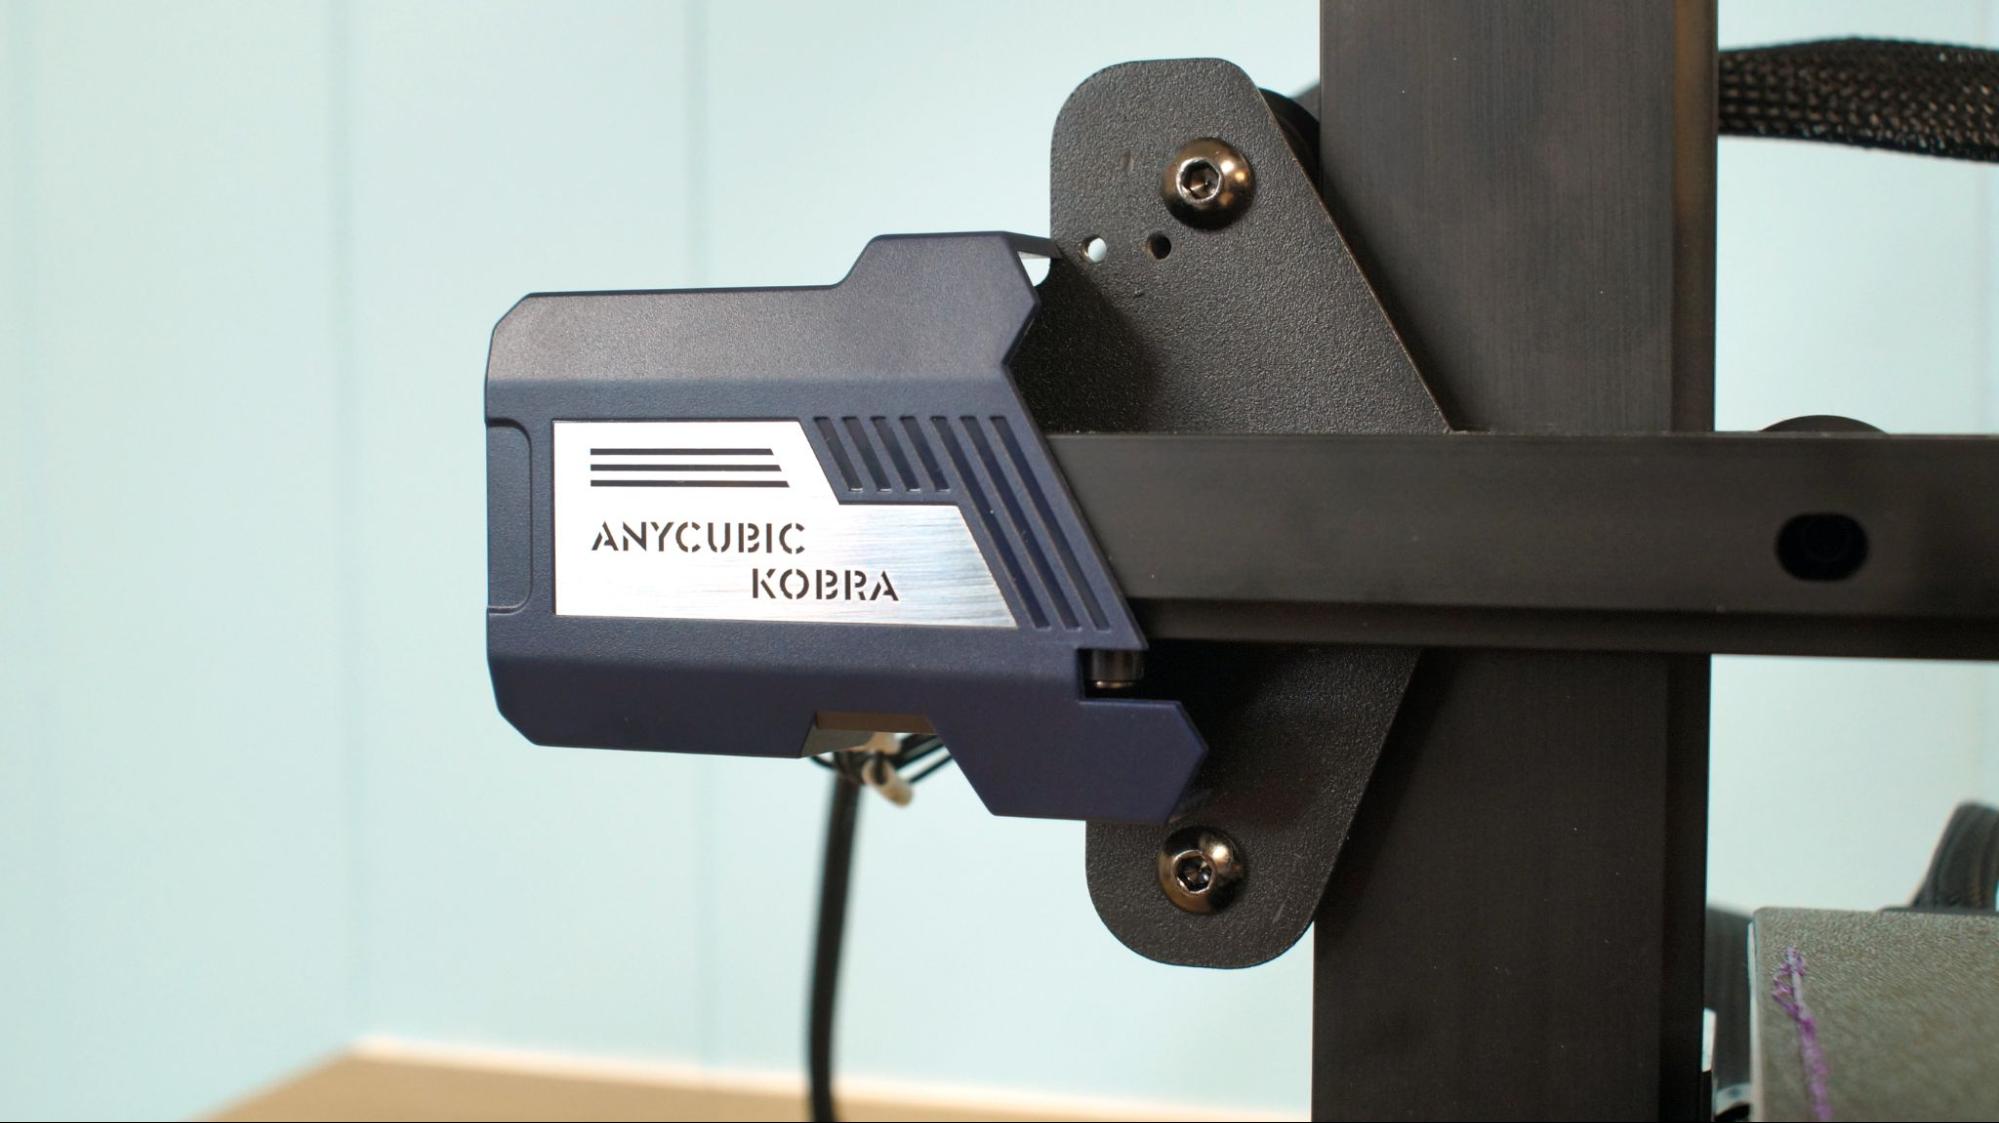
The Anycubic Kobra has a slick design with smooth black aluminum alloy and sturdy plastic parts embossed with futuristic looking patterns. The electronics and a 400w power supply are tucked under the build plate so it has a nice neat footprint. The machine checks in at 15.4 pounds (7KG) making it fairly easy to move.
There’s a 32 bit board, silent TCM2209 stepper motors and fans that are not very loud – but not super quiet either. Anycubic clocks the decibel level at 58dB.
It comes with a textured PEI coated spring steel plate firmly held in place by a magnet sheet. Most prints simply release when the bed cools down, but larger or more sticky PETG prints can be removed easily by flexing the plate. The bed can reach temperatures of 110 C.
This is the first Anycubic printer to have a direct drive. It was developed entirely in house of lightweight materials, with the heatsink built right into the case. The heatbreak has a PTFE liner which limits the hotend to 260 C, still plenty hot for PETG and ABS.
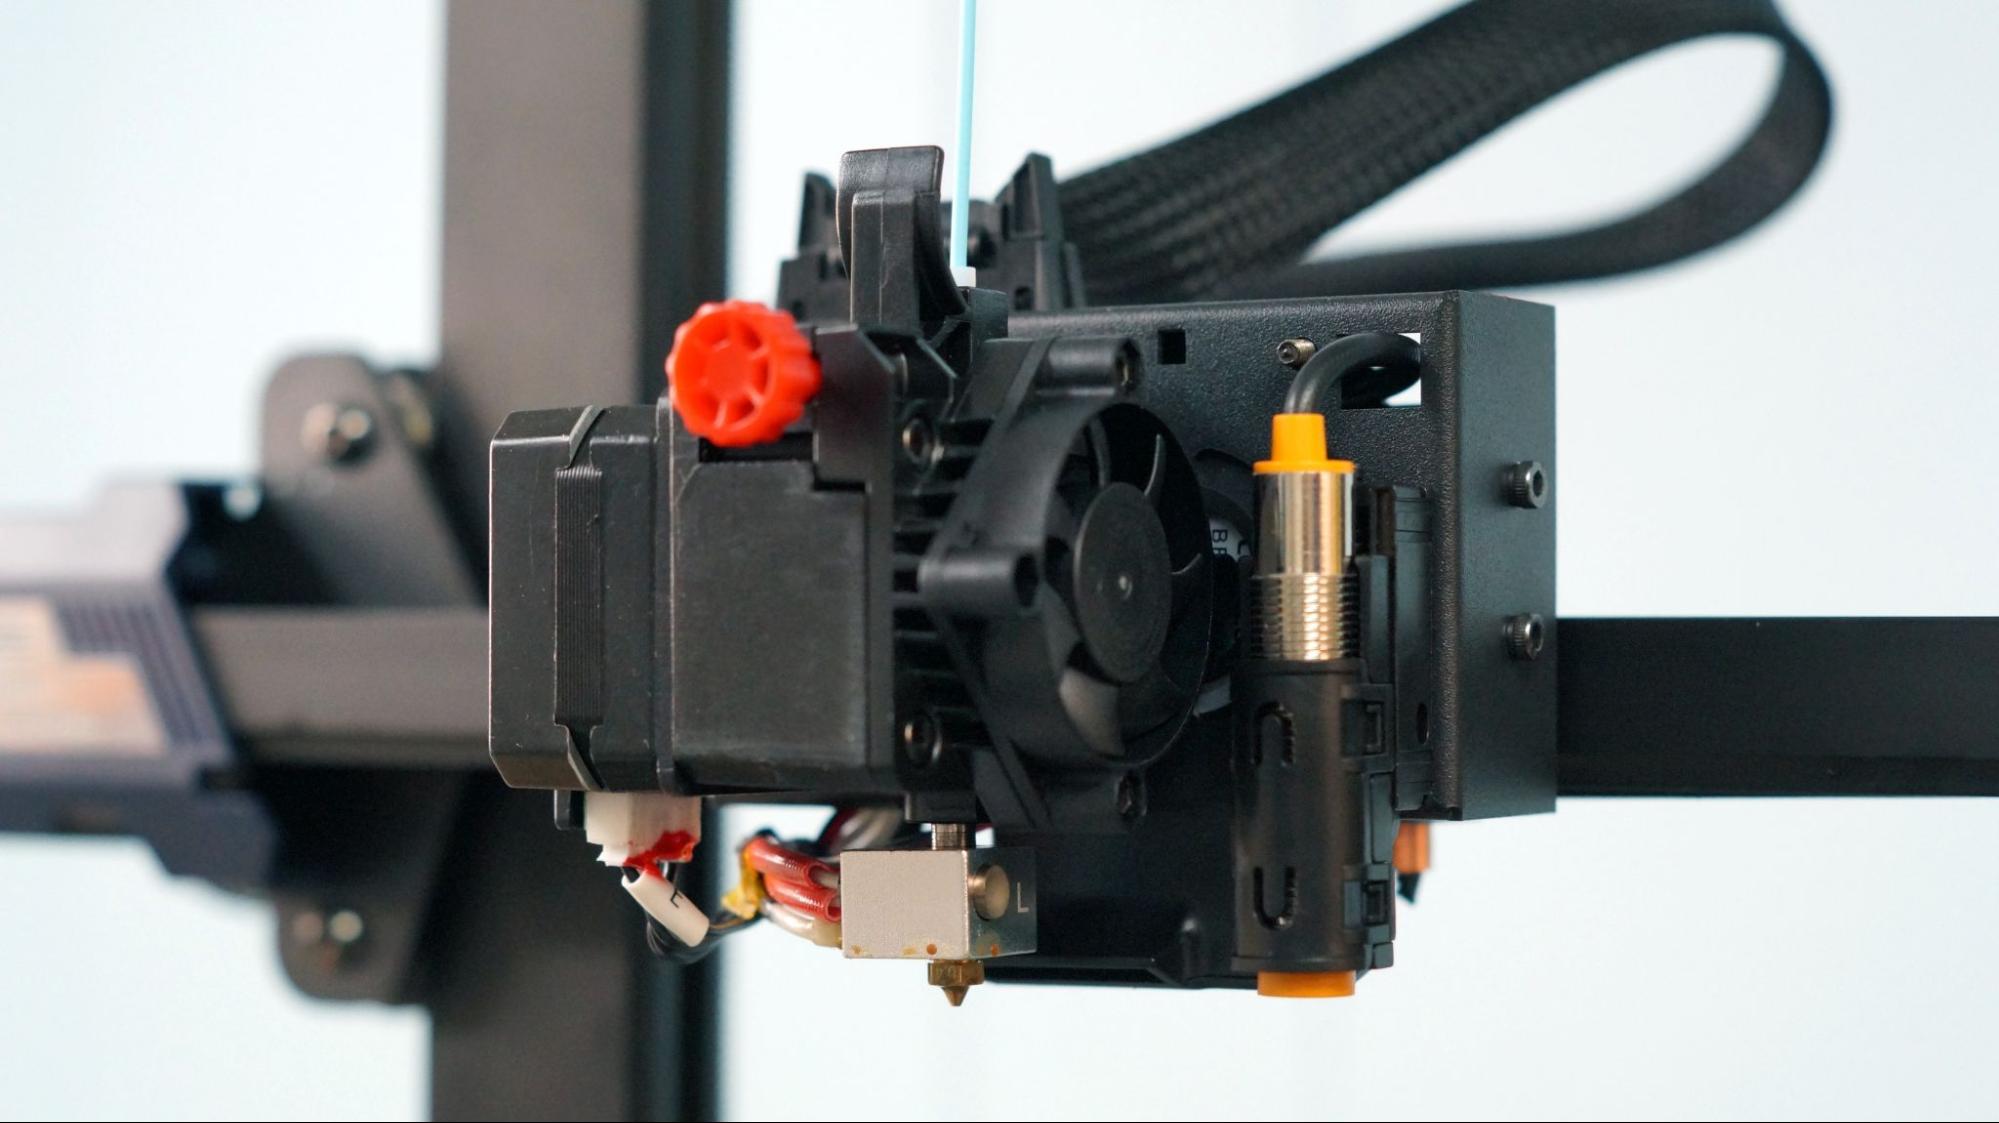
Like most printers with direct drive, extruder maintenance is going to be a bear, and Anycubic did not make it easy for us. You’ll need to remove 2 screws to get the fan shroud off – and one of those is deep inside the case. To get at the hotend and the drive gears you’ll also need to remove one of the fans. You can change nozzles without all this trouble, but I did have to open up the extruder once to dig out a stray piece of filament that got wedged in the drive gears.
The touch screen is the same 4.3 inches display seen on the Anycubic Vyper. The menu is easy to navigate for beginners, with options in logical locations. The home screen has four options: Print, Prepare, Tools and System.
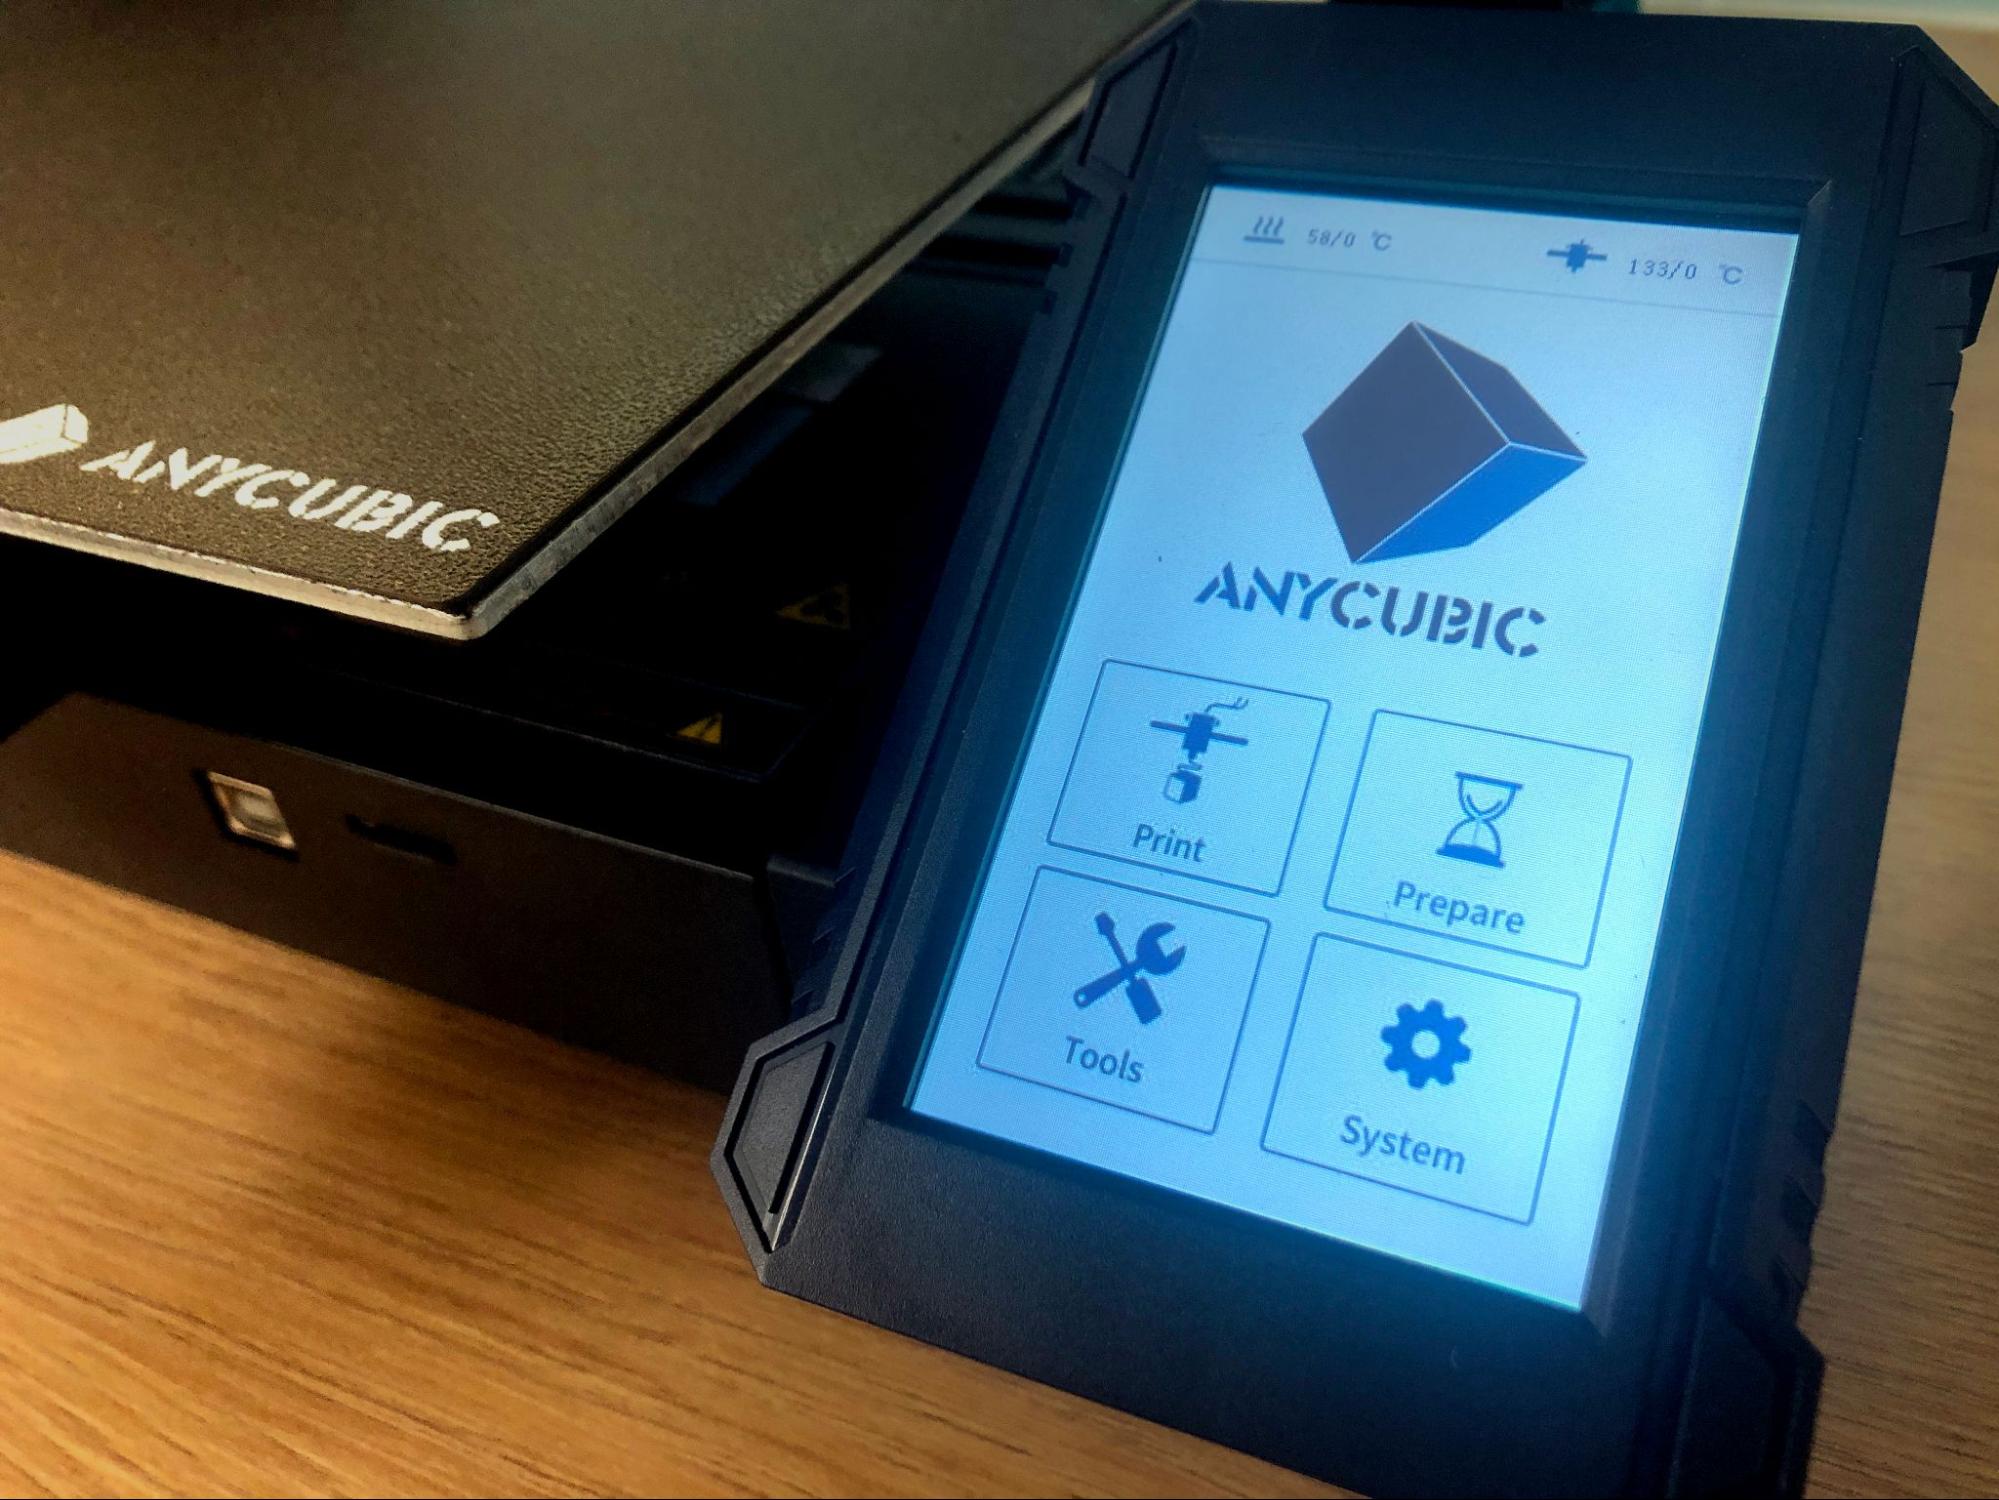
- Print shows you a list of files on the microSD card you can choose.
- Prepare has menus for Leveling, Preheat and Filament loading.
- Tools has Move Axis, Temperature, Speed and Motor. Motor is where you disable the steppers if you need too.
- System lets you pick the language (English or Chinese), Voice (turn off the beeps) and About.
Preparing Files / Software
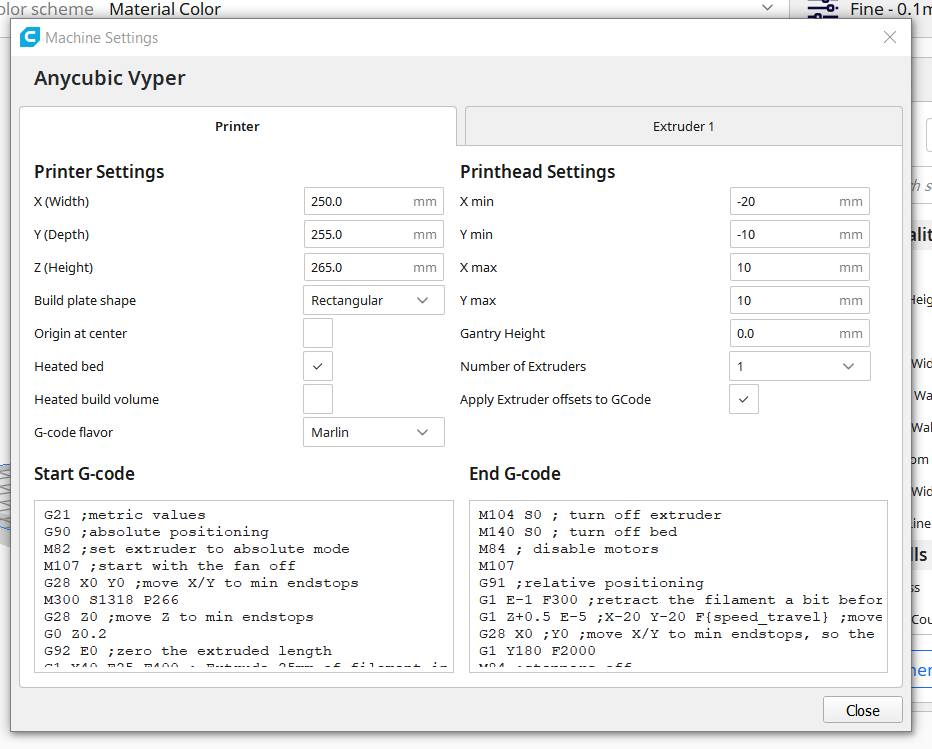
The Anycubic Kobra comes with a copy of Cura 4.2.1. Because the printer is brand new (as of this writing), you’ll need to set up a custom printer profile. The easiest way to do this is to install a new Anycubic Vyper profile and change the bed size to 220 x 220 x 250.
To get a new profile, click Preferences in Cura →Printers →Add. In the Add a Printer menu, scroll down to Anycubic and select Vyper, then Add.
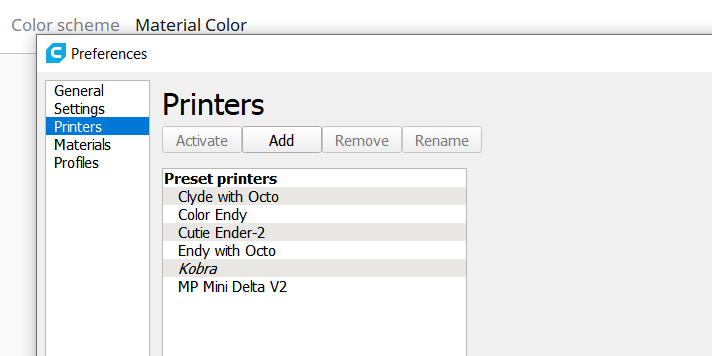
Cura will put you back in the Preferences/Printer menu. Now select the Anycubic Vyper, and click Machine Settings.
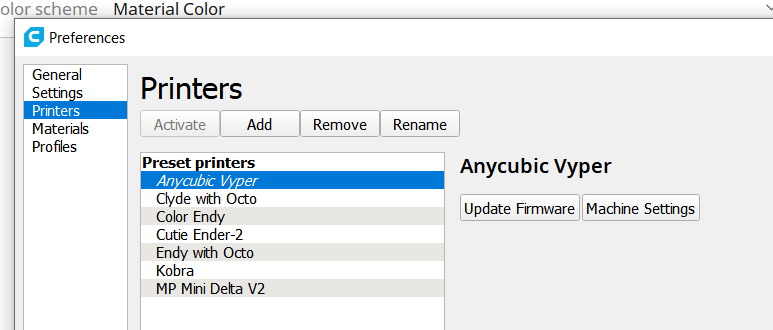
Change the X, Y and Z setting to 222, 222, and 252. Leave everything else alone. Rename your new profile to Anycubic Kobra. We’re going 2 mm over the actual print volume to compensate for Cura’s overly wide margins.
Printing on the Anycubic Kobra
I had the Anykubic Kobra for nearly a month and threw all kinds of filaments and models its way. It handled everything beautifully, from PLA to TPU. Here’s a few of the highlights.
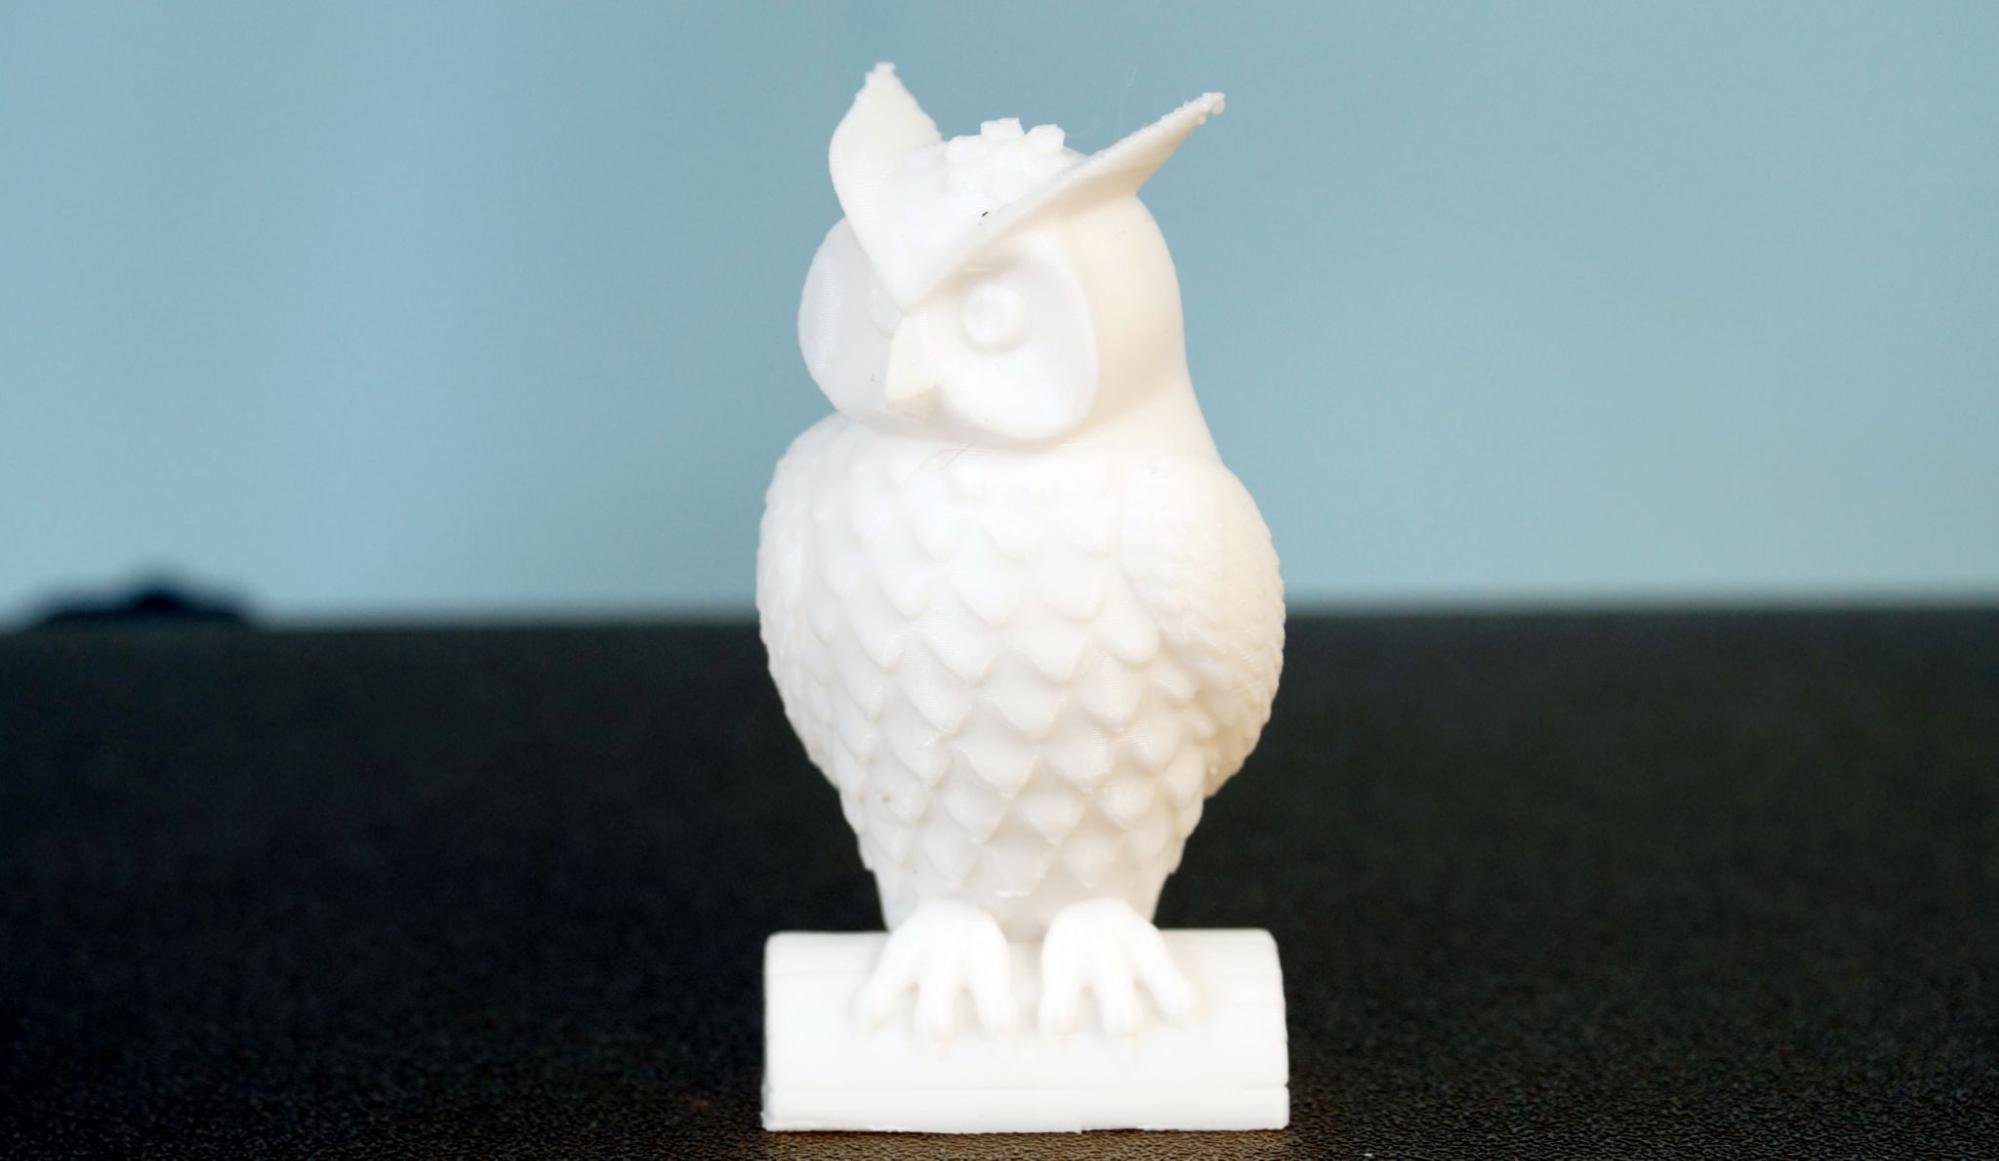
The first print ran on the Anycubic Kobra was a presliced owl that came on the SD card. I used the sample coil of white PLA and it printed without problem.
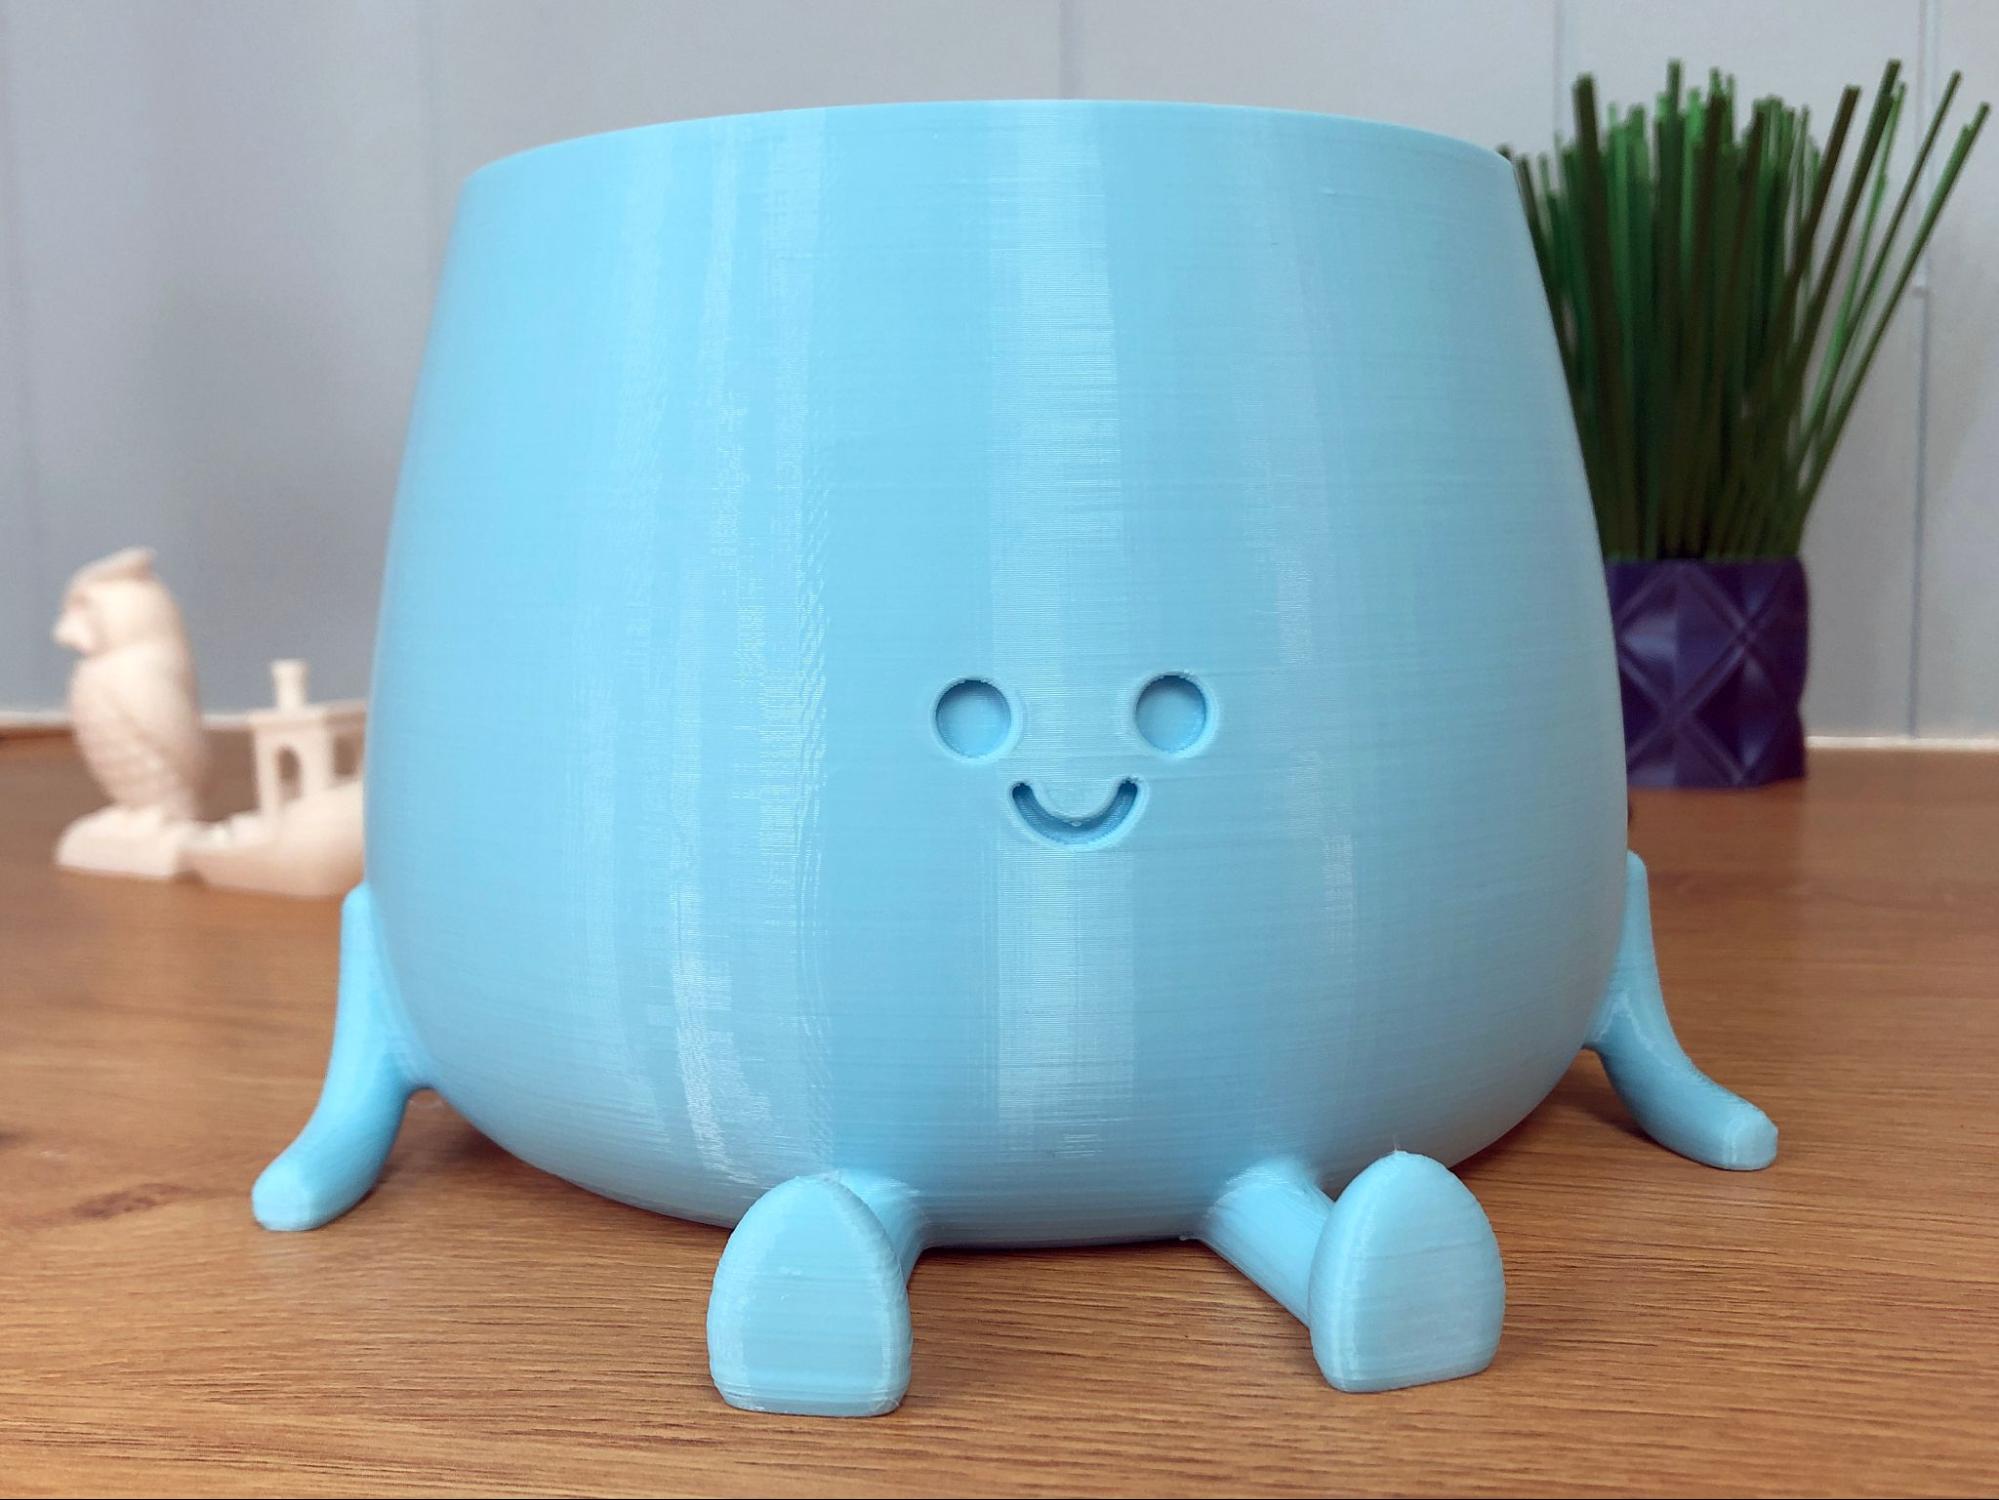
I needed a trash can to collect my scraps of PLA for recycling, so my first “real” print on the Anycubic Kobra was the Happy Pot :) by Fishbowl38. I used a remix found on Printables.com and ran it at a .2mm layer height with Inland Turquoise PLA. This pot is pretty sturdy, so it took 30 hours to run and took up a good chunk of the bed at 173x183mm.
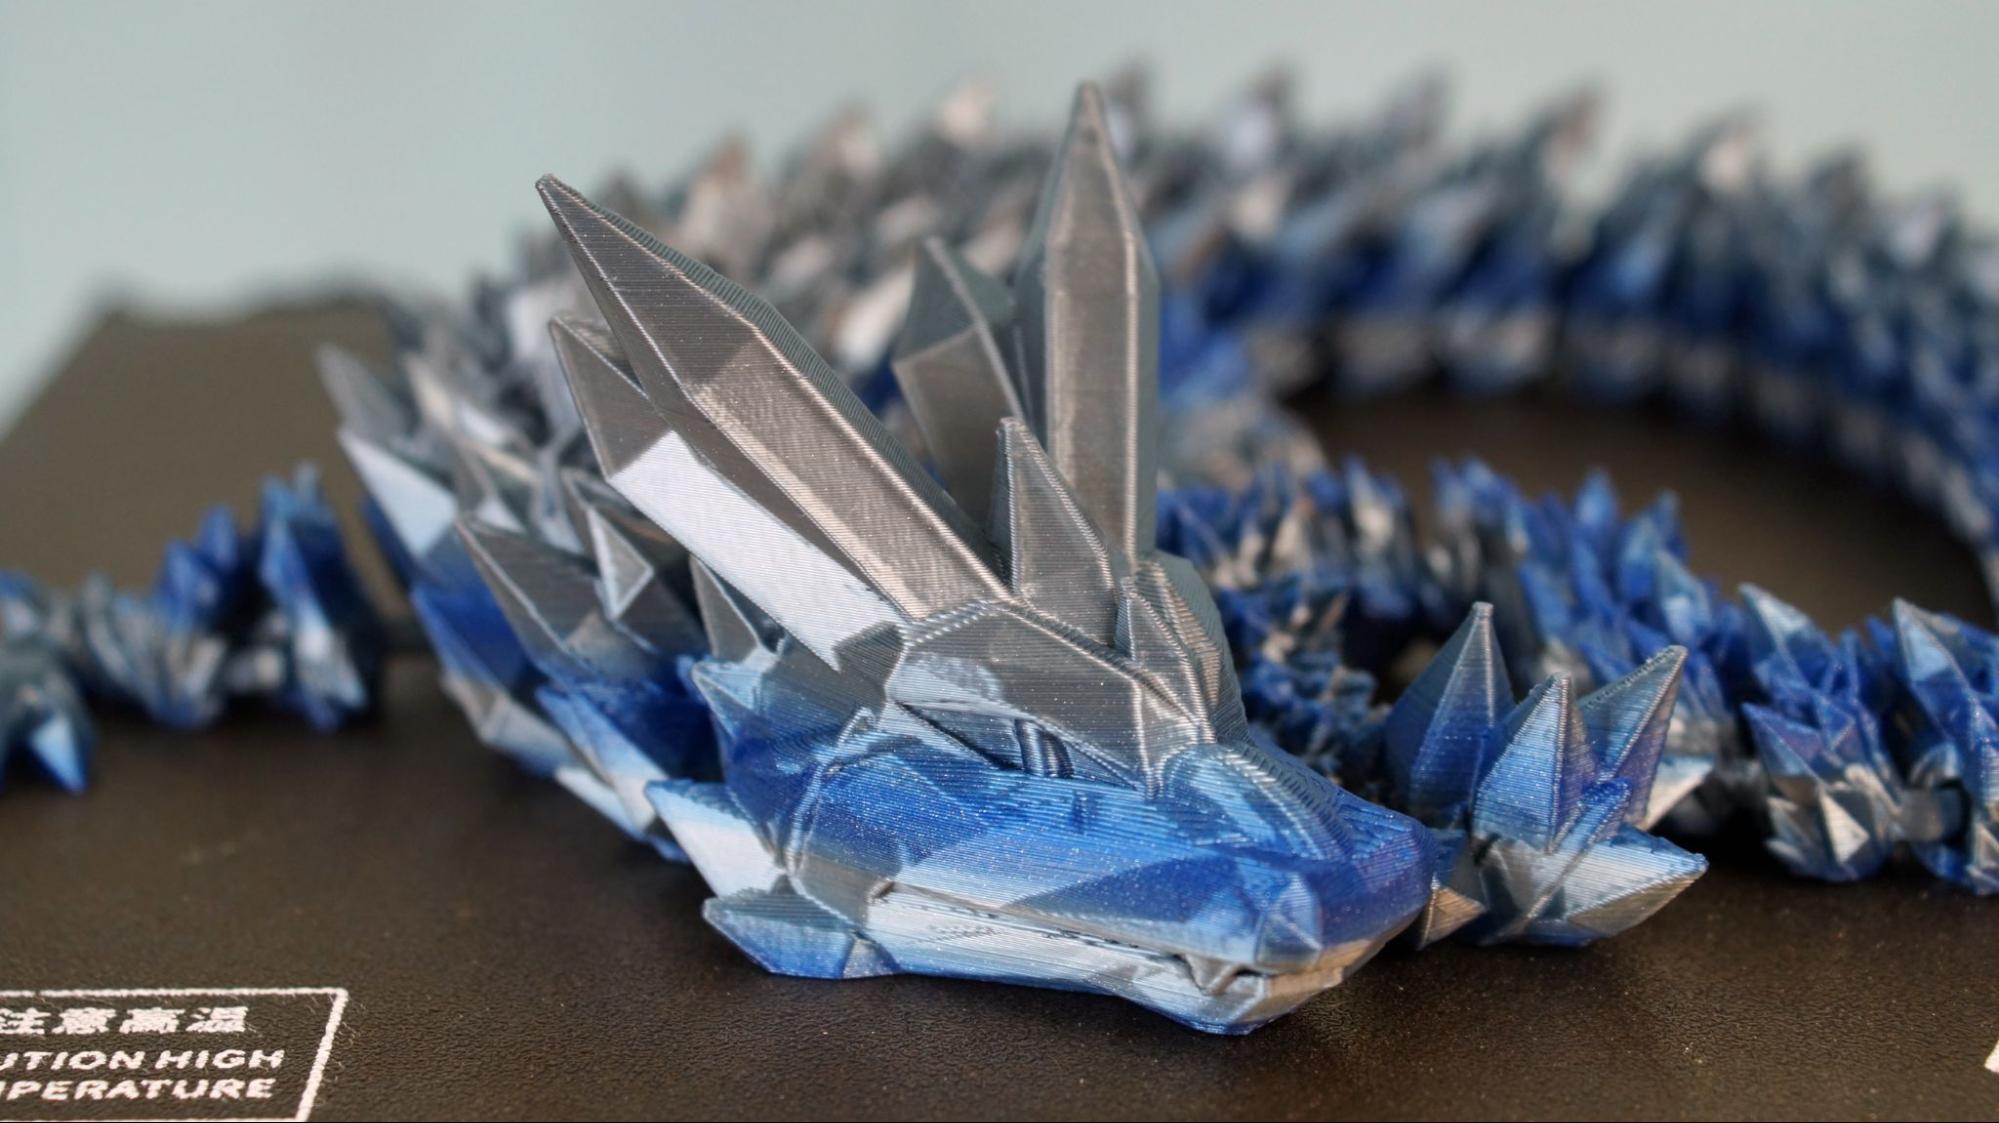
To test bed adhesion, I ran the Crystal Dragon by Cinderwing3D in Amolen Silk Shiny Blue Silver PLA. I sliced it with a standard .2 mm layer height and let it run for 31 hours with no glue or raft. It printed perfectly and slid right off the bed when it was finished.
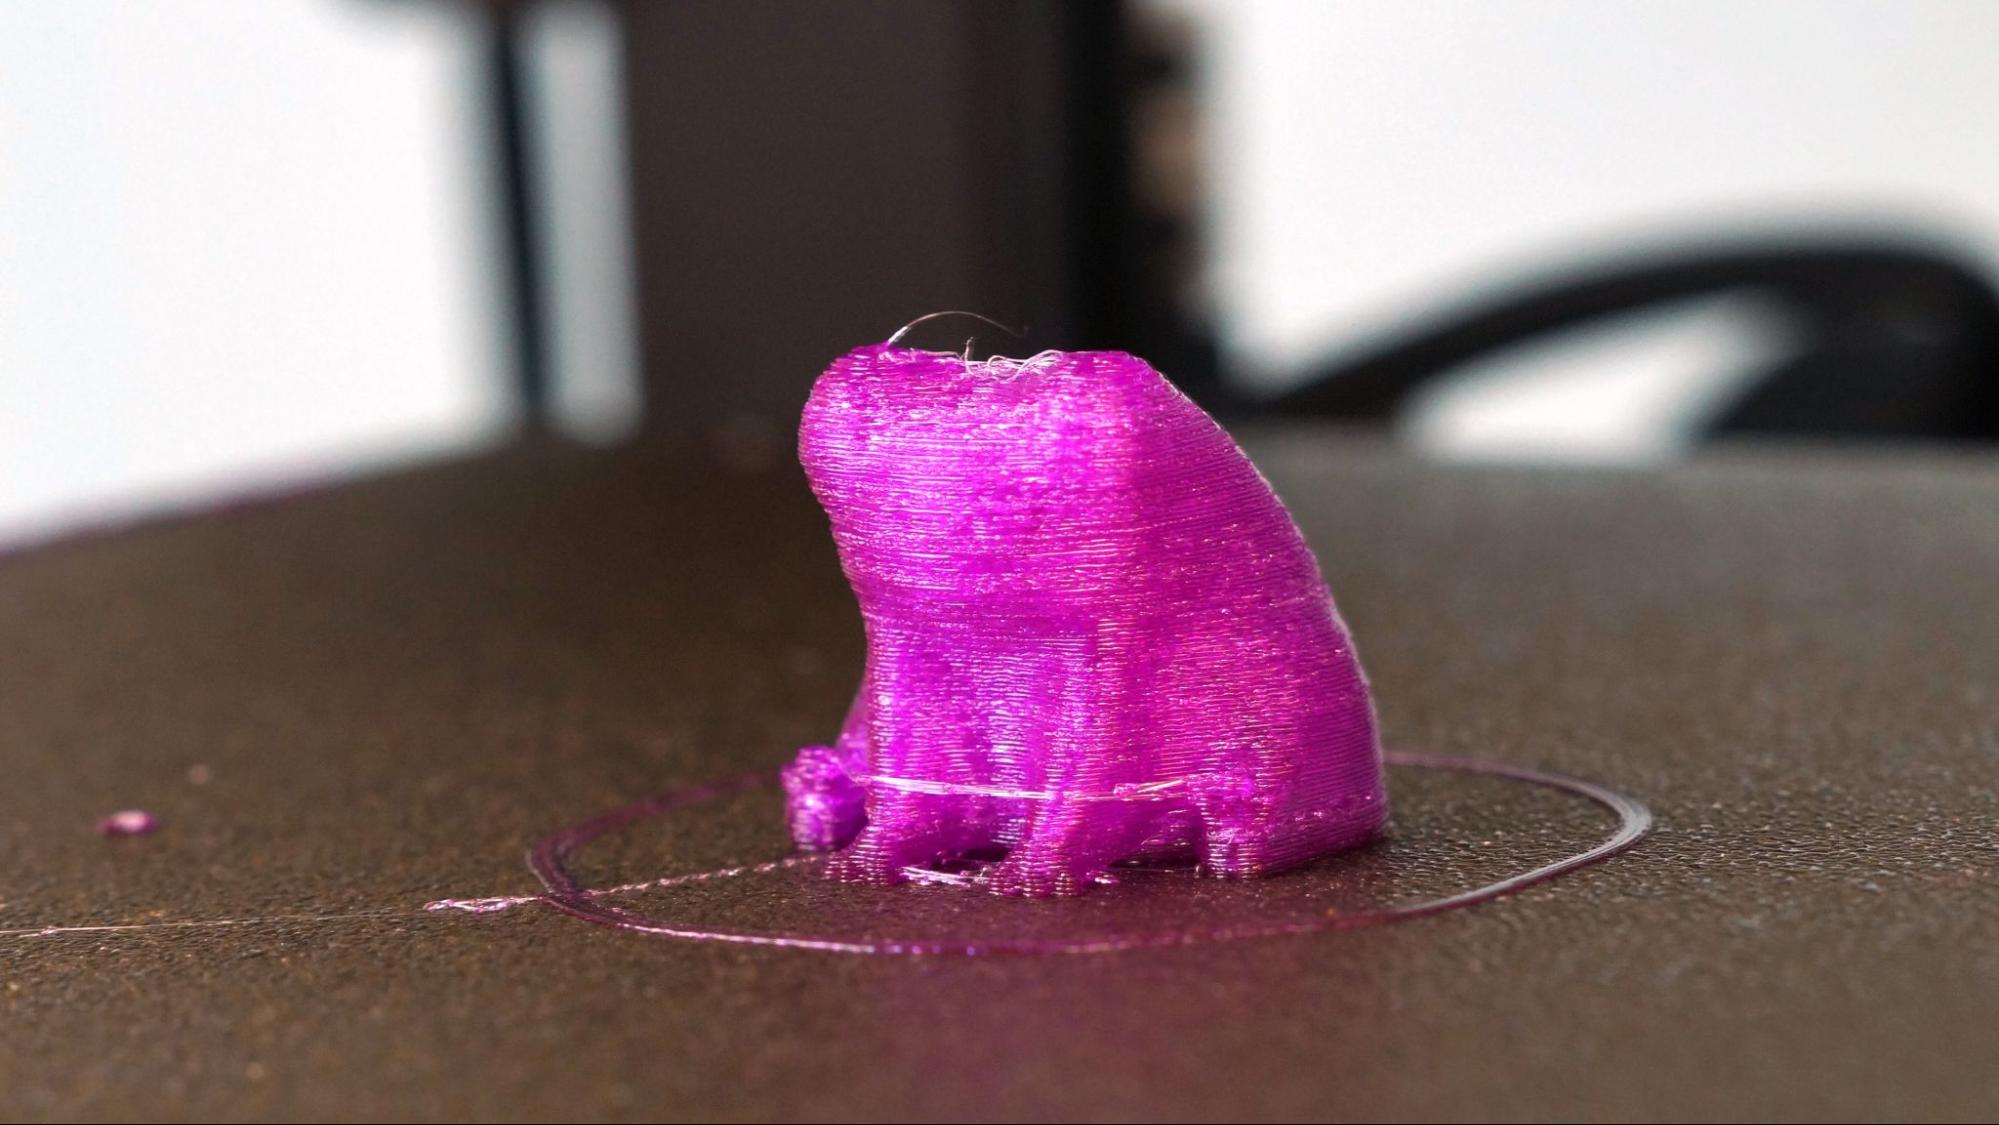
Since the Anykubic Kobra is a direct drive printer, I had to make a TPU Fred the Frog in MatterHacker’s Translucent Purple TPU by Xx_SushiCat_xX. I ran it at a .2mm layer height. It’s not perfect, but not too bad for TPU either.
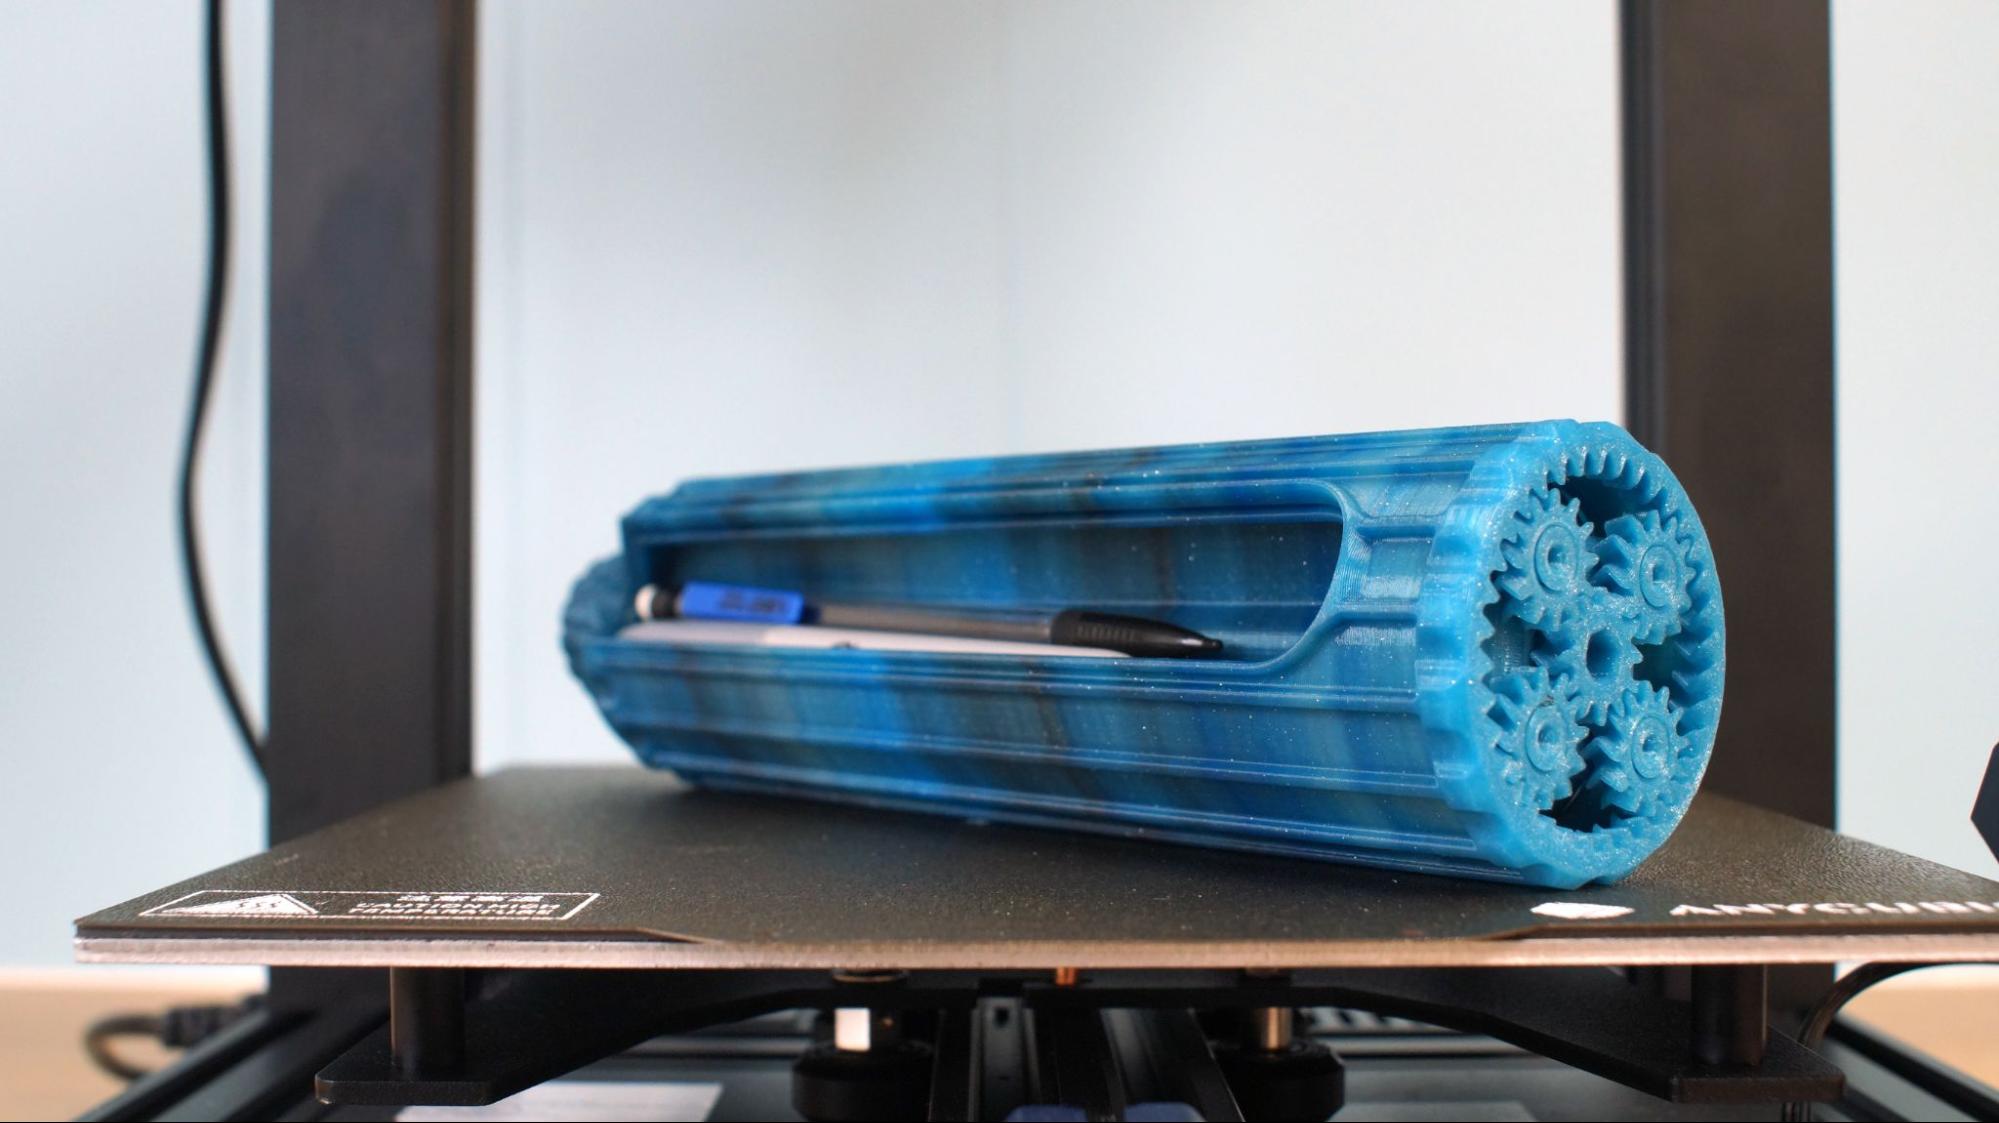
Next, here’s 3D Printing World’s print in place Planetary Pencil Holder with a planetary gear on the bottom. It requires a well tuned printer or it won’t work. It is a tricky 28-hour print that nearly maxed out the build height of the printer at 229mm tall. The container has three compartments that revolve around a center axis. The filament is Protopasta’s Midnight Multicolor HTPLA.
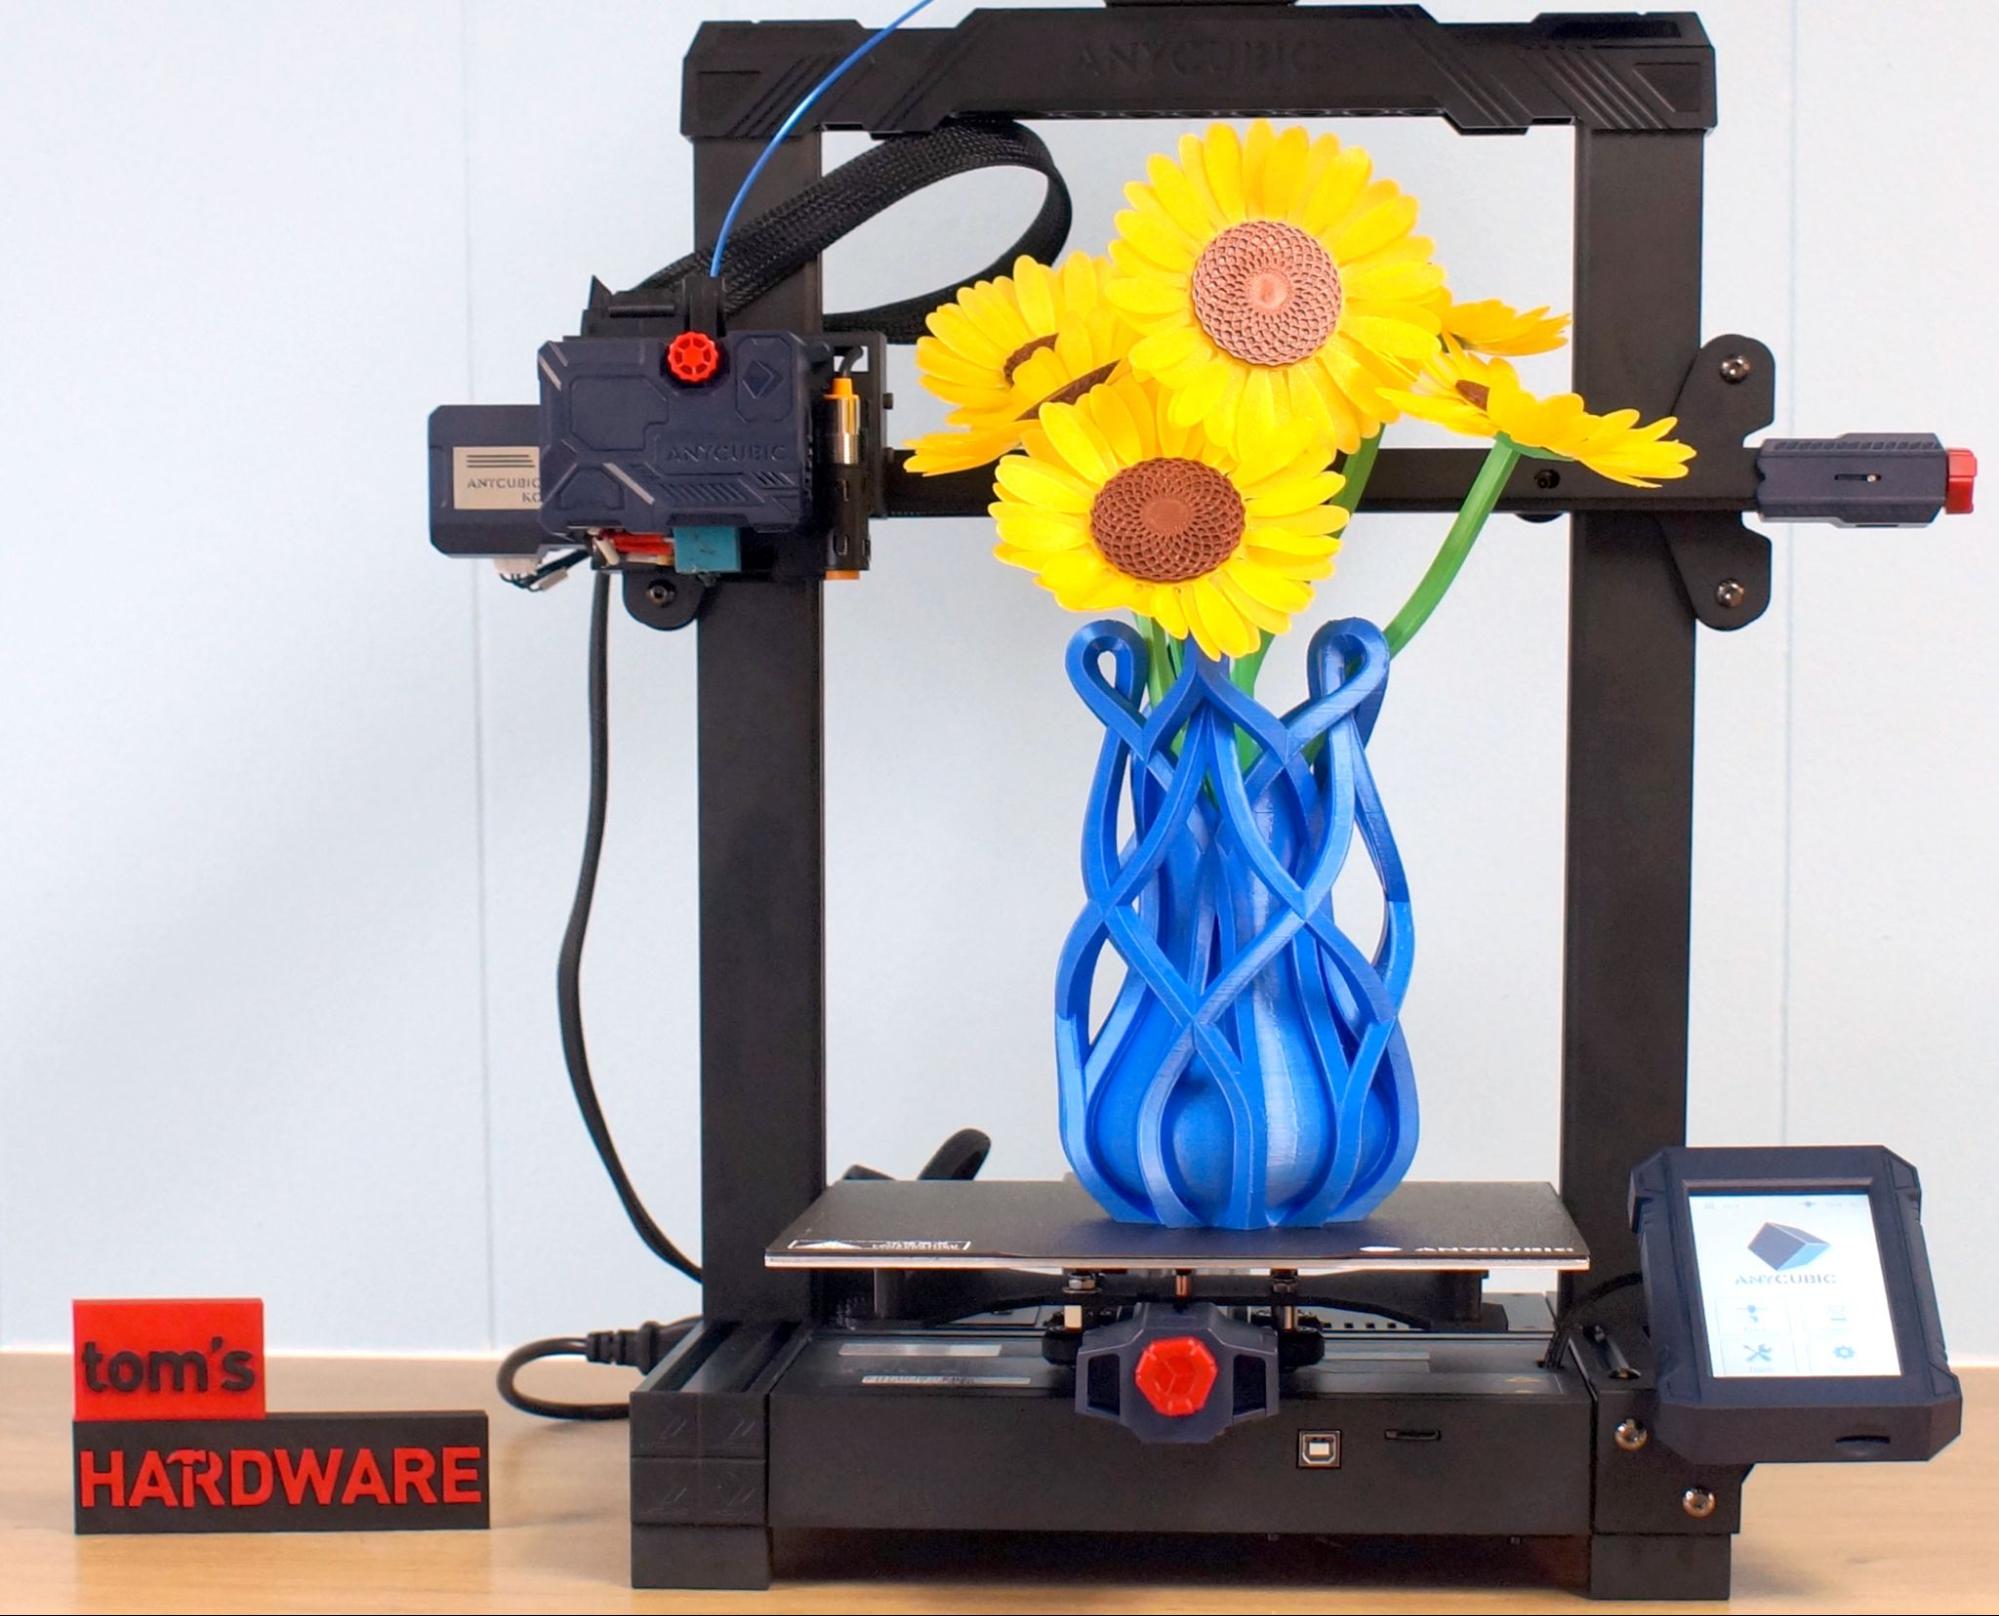
The next print was a bit of a project and took a few days with all the filament switching and dozens of pieces. This is Stephanie’s Knotted Vase, an 18-hour print with a thick .28 mm layer height in Matterhacker’s Build Series Silky PLA Blue. The vase is filled with a half dozen of 3D Printy’s flat print Sunflowers. Each flower consists of a stem (Creality Green PLA), three layers of petals that are only .4mm thick (PolyLite Yellow PLA) and a center disk (Filament One PLA Pro Select Glint Brown). The petals are so thin you’re able to shape them with a heat gun.
Anycubic Kobra Max
The Anycubic Kobra is kicking off a new series of printers for 2022. They are also releasing a larger Anycubic Kobra Max, soon to be reviewed. The Anycubic Kobra Max has a 400 x 400 x 450 mm build volume, bowden drive, auto bed leveling and a carborundum glass plate for $539.
Bottom Line
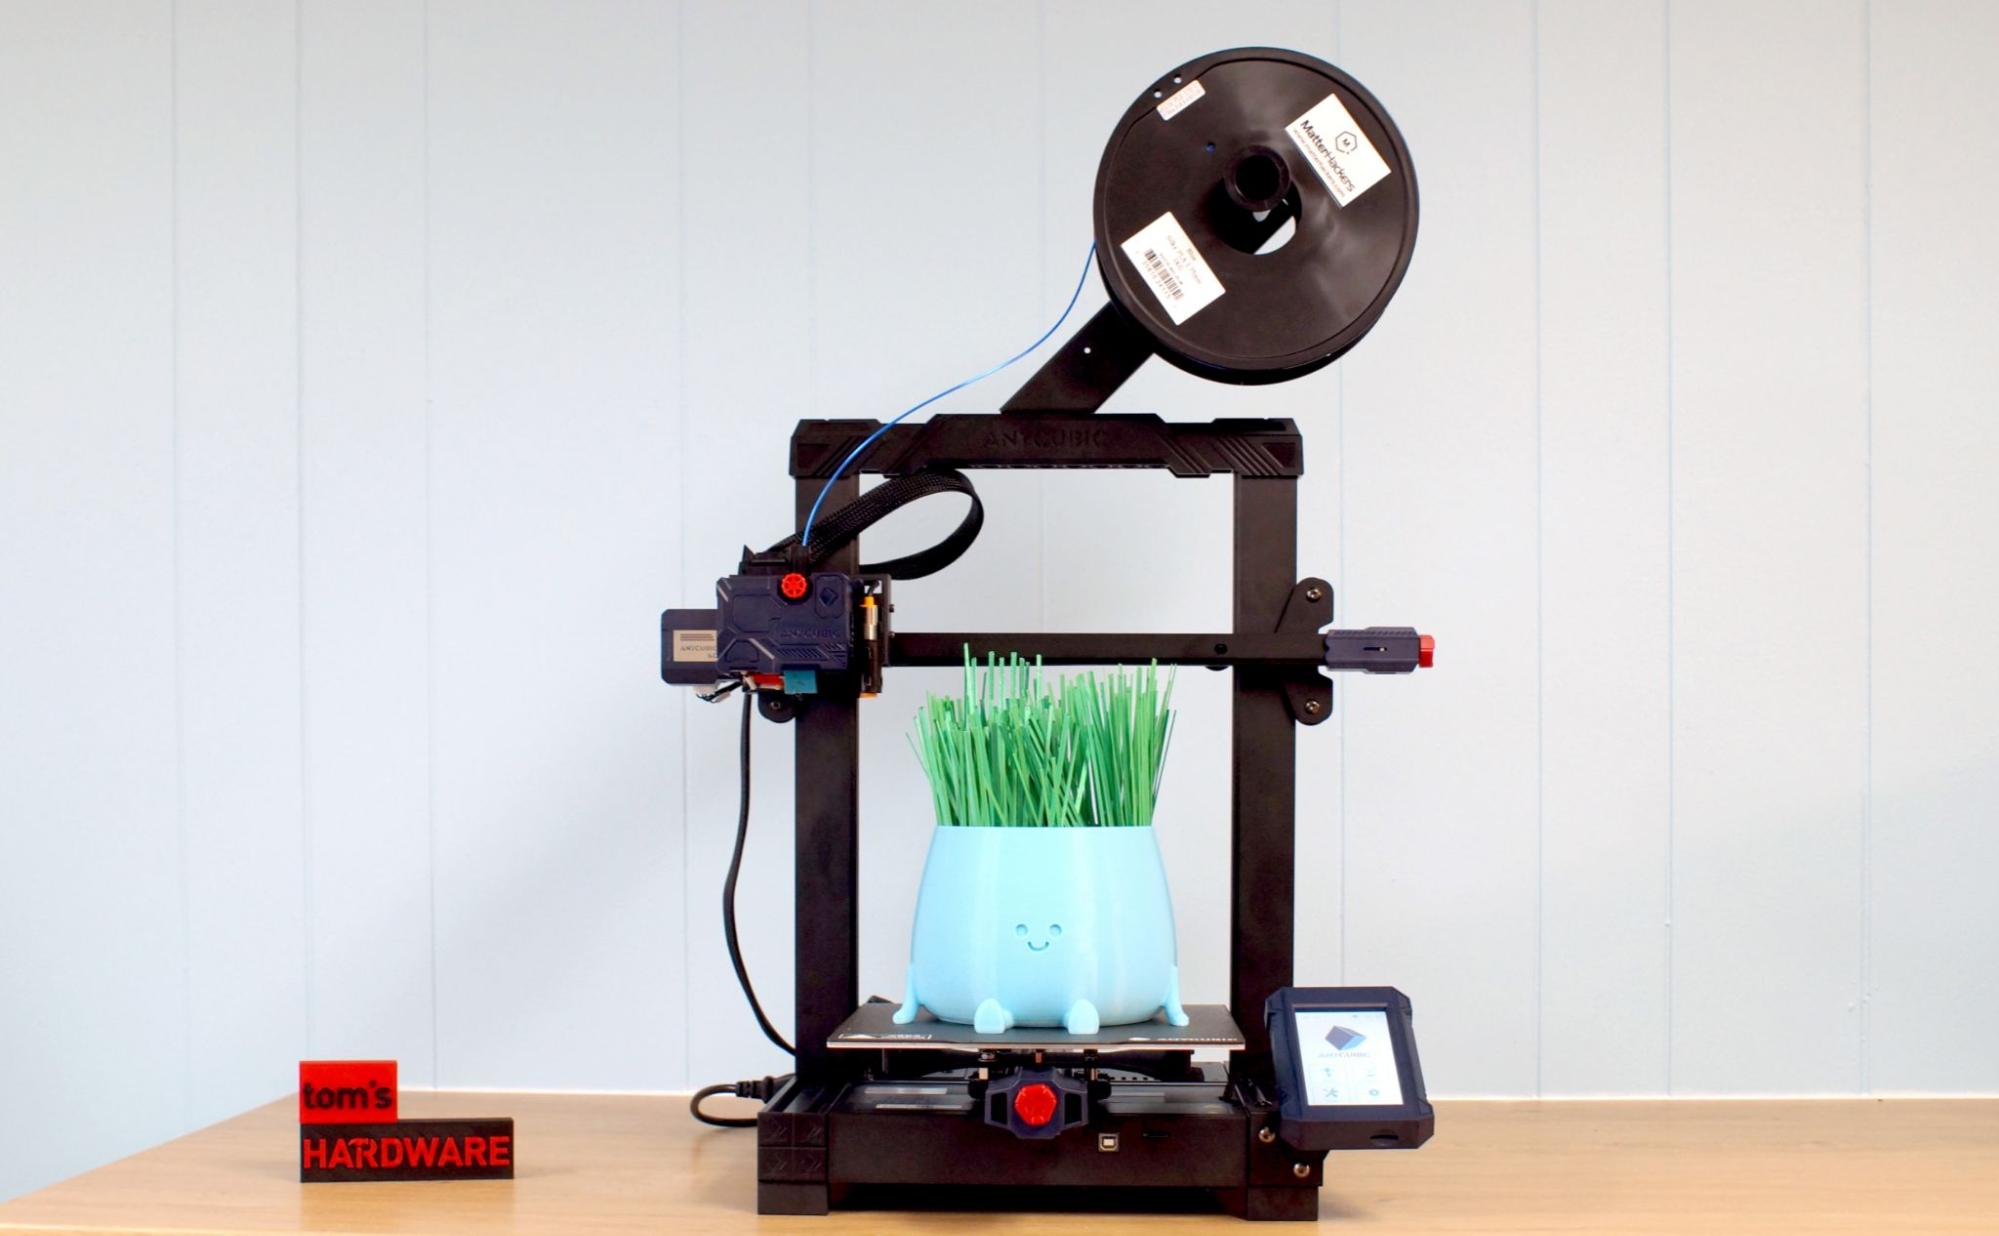
I really like the Anycubic Kobra. It’s simple to put together and simple to use – it just works. This is a great first printer for someone new to the hobby and a good choice to give to a teen looking to expand their STEM and Maker skills.
Seasoned makers should enjoy this printer as well since it’s a no fuss machine. I’m not sure how easy it would be to upgrade since it’s built entirely in house by Anycubic. However, the Anycubic Vyper was a huge success, so I’m sure 3rd party manufacturers will have an all metal (or bi-metal) hotend for it soon enough.
If you’re interested in a less expensive first printer, check out the Ender 2 Pro. It's a smaller machine without auto bed leveling, but has very good quality and comes mostly assembled like the Anycubic Kobra. The Ender 3 Pro is still a solid – and less expensive – choice with a similar build volume. It ships unassembled, making it more of an afternoon project. It also lacks auto bed leveling and the direct drive extruder.
If you’re looking for proven reliably with all the bells and whistles – and don’t mind the premium price tag – check out the Prusa MK3S+.

Denise Bertacchi is a Contributing Writer for Tom’s Hardware US, covering 3D printing. Denise has been crafting with PCs since she discovered Print Shop had clip art on her Apple IIe. She’s been a freelance newspaper reporter, online columnist and craft blogger with an eye for kid’s STEM activities. She got hooked on 3D printing after her son made a tiny Tinkercad Jeep for a school science project. Excited to learn more, she got a Creality CR10s and hasn’t looked back. She loves reviewing 3D printers because she can mix all her passions: printing, photography and writing. When she’s not modding her Ender 3 Pro or stirring glitter into a batch of resin, you’ll find her at the latest superhero movie with her husband and two sons.
