System Builder Marathon, December 2010: $2000 PC
With all of your feedback from last quarter's System Builder Marathon under our belts, this time around, we attempt to fit a no-sacrifice, luxury and performance build into our moderately-high $2000 budget. Will this new build succeed on all fronts?
Hardware Installation
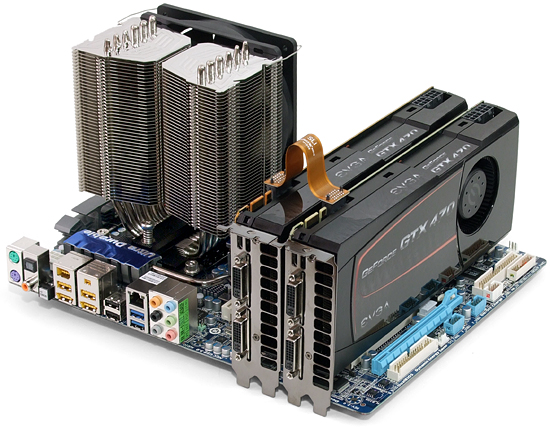
With the exception of our CPU cooler and hard drive trays, today’s build followed the same steps detailed in our how-to-build guide. We’ve already outlined the additional steps required to install our CPU cooler on this page in our June System Builder Marathon, and that link allows us to move on to our hard drive installation.
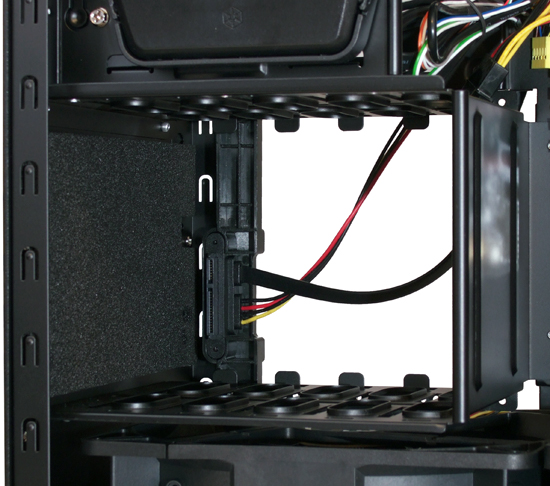
Lifting the tabs on the bottom of our hard drive trays allows each to be removed separately, exposing the fact that the Fortress 2 case has only a single hot-plug connector. We used it for our high-capacity storage drive.
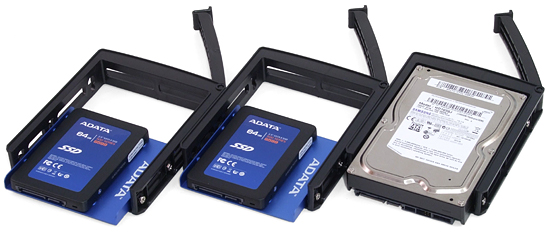
SilverStone’s drive cages use rubber bushings at each screw hole and shoulder bolts to prevent crushing of those bushings. Unfortunately, the shoulder bolts have the same UTS 6-32 threads used by 3.5” hard drives, while A-Data’s 3.5” adapter trays have the same ISO M3-0.50 holes used by optical drives.
The only way to mate these parts “correctly” would be to resize the holes in the aluminum adapter tray to the larger UTS thread. The aluminum is soft enough to force thread the UTS screw into the ISO hole using nothing more than a screwdriver, but those who prefer to do things the right way can also buy a 6-32 tap at their local hardware store. Even though we have that very tap size on-hand, we resized and rethreaded the holes of our adapter trays the “wrong” way to make sure it could be done “nicely” by anyone experienced with tools.
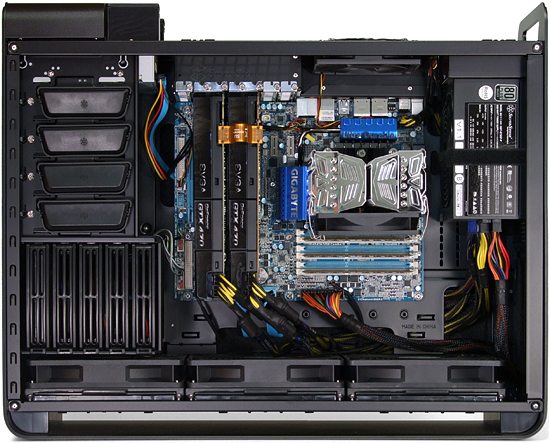
Both side panels must be removed for cable installation. After doing that, connecting the parts is as easy as following the motherboard, case, and power supply manuals. Please note that memory fills the white slots first on this motherboard, as Intel’s “Core I” series CPU-integrated memory controllers require the last slot of each channel to be filled first.
Get Tom's Hardware's best news and in-depth reviews, straight to your inbox.
-
micr0be i think im gona get a revo 2 drive ssd to upgrade my current build.... all thanks to santa !!Reply -
Tamz_msc Its good to know that choosing the wrong memory can affect performance in such a way.Reply -
fstrthnu I'm pretty surprised we didn't see Geforce GTX 570s in this build, I guess they got released too late to make it here.Reply -
kkiddu Most perfect build ever ? Just read the configs yet, and I think that's a possibility.Reply
Now don't skin me if the config proves to be a flop in the coming pages. Just read the first page and couldn't resist a comment. -
hemburger Why not replace the two ssd's with a single intel 120gb... same price and now on 35nmReply -
kkiddu I think this one can be trimmed to a very good $1500 build as well. Change the CPU to i5 760, remove one of the cards, one of the SSDs, and you'll need lower capacity PSU for that, let's slash $30-$50 there, you get a very good PC for $1500.Reply -
kkiddu And oh, cheapen the case as well. There's no free lunch. You gotta sacrifice some silence to gains some frame rates.Reply


