Tom's Hardware Verdict
For $10 you don’t have to think about it, buy one and have some fun hacking your HATs.
Pros
- +
+ Low cost
- +
+ GPIO pin labels
- +
+ HAT access
- +
+ Breadboard space
- +
+ LEDs
- +
+ Grove connectors
Cons
- -
Stiff ribbon cable
- -
HAT clearance to the breadboard is close!
Why you can trust Tom's Hardware
One of the coolest things about Raspberry Pi is its huge ecosystem of HATs, expansion boards that plug directly into the Pi’s 40 GPIO pins. Some of the best Raspberry Pi HATs provide extra lights, motors, sensors and other capabilities that you can’t get with the Pi alone. But what if you want to use the HAT without actually putting it directly on top of your Pi or you want to combine the HAT with other electronics?
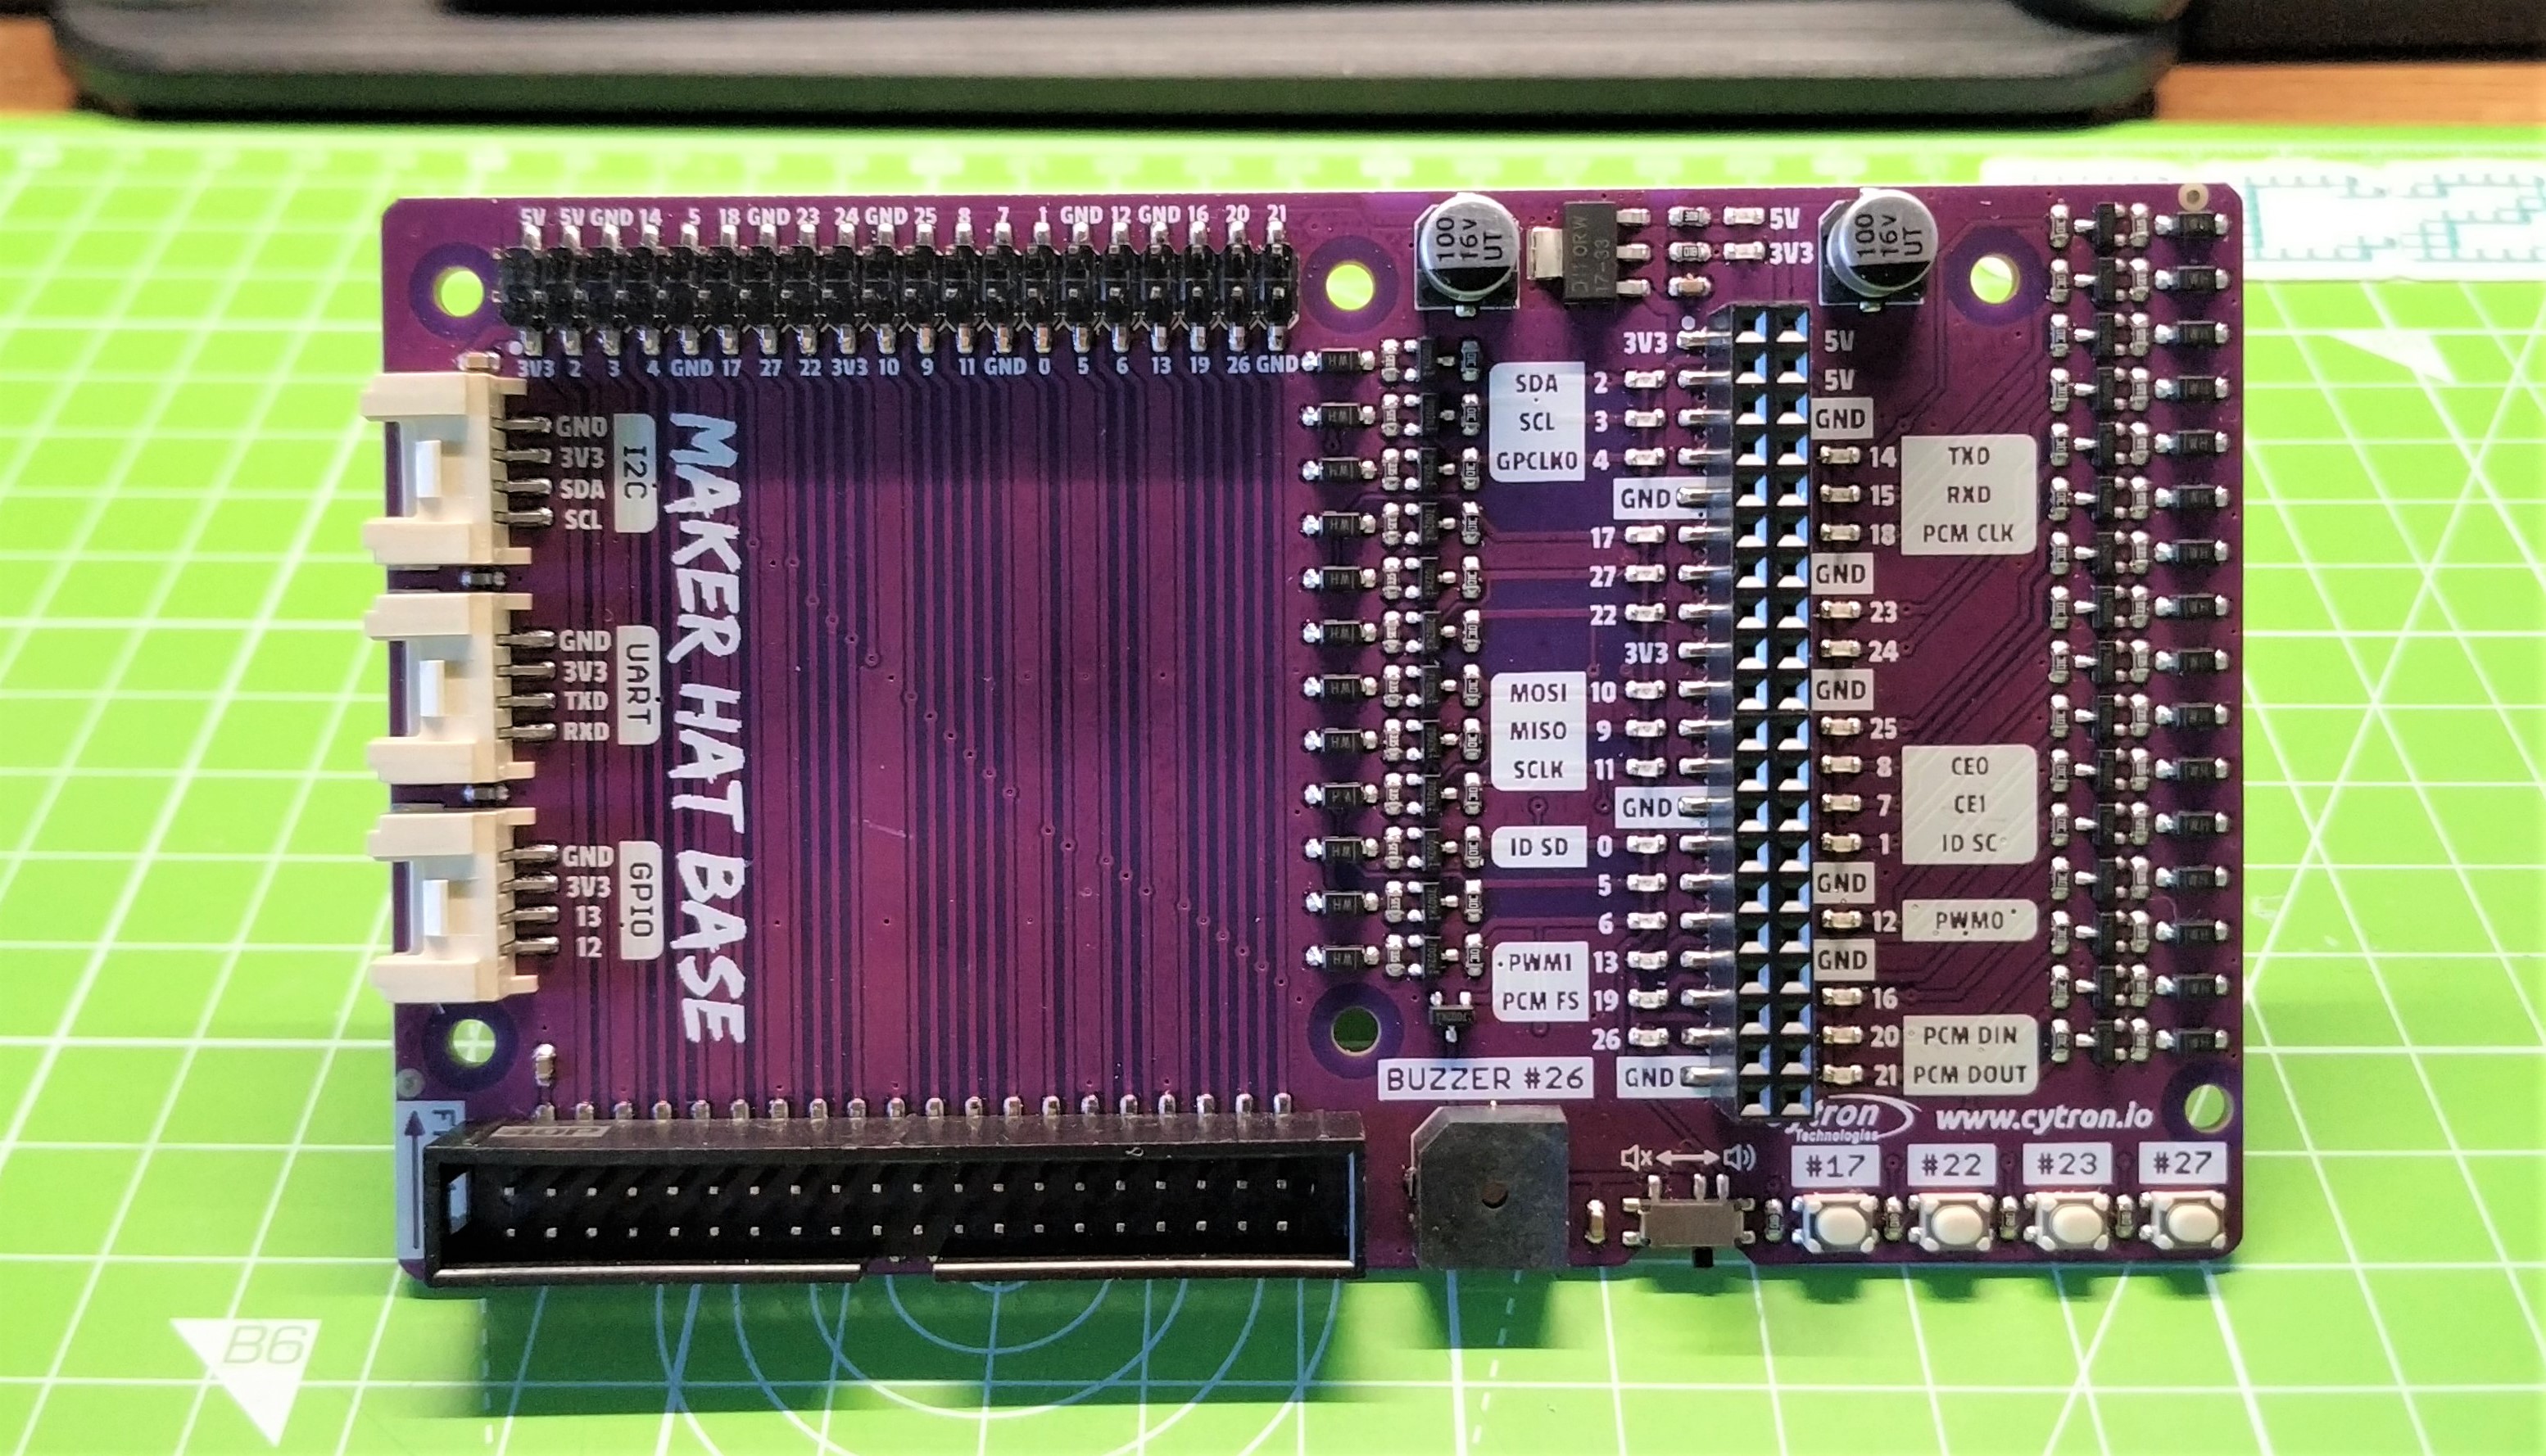
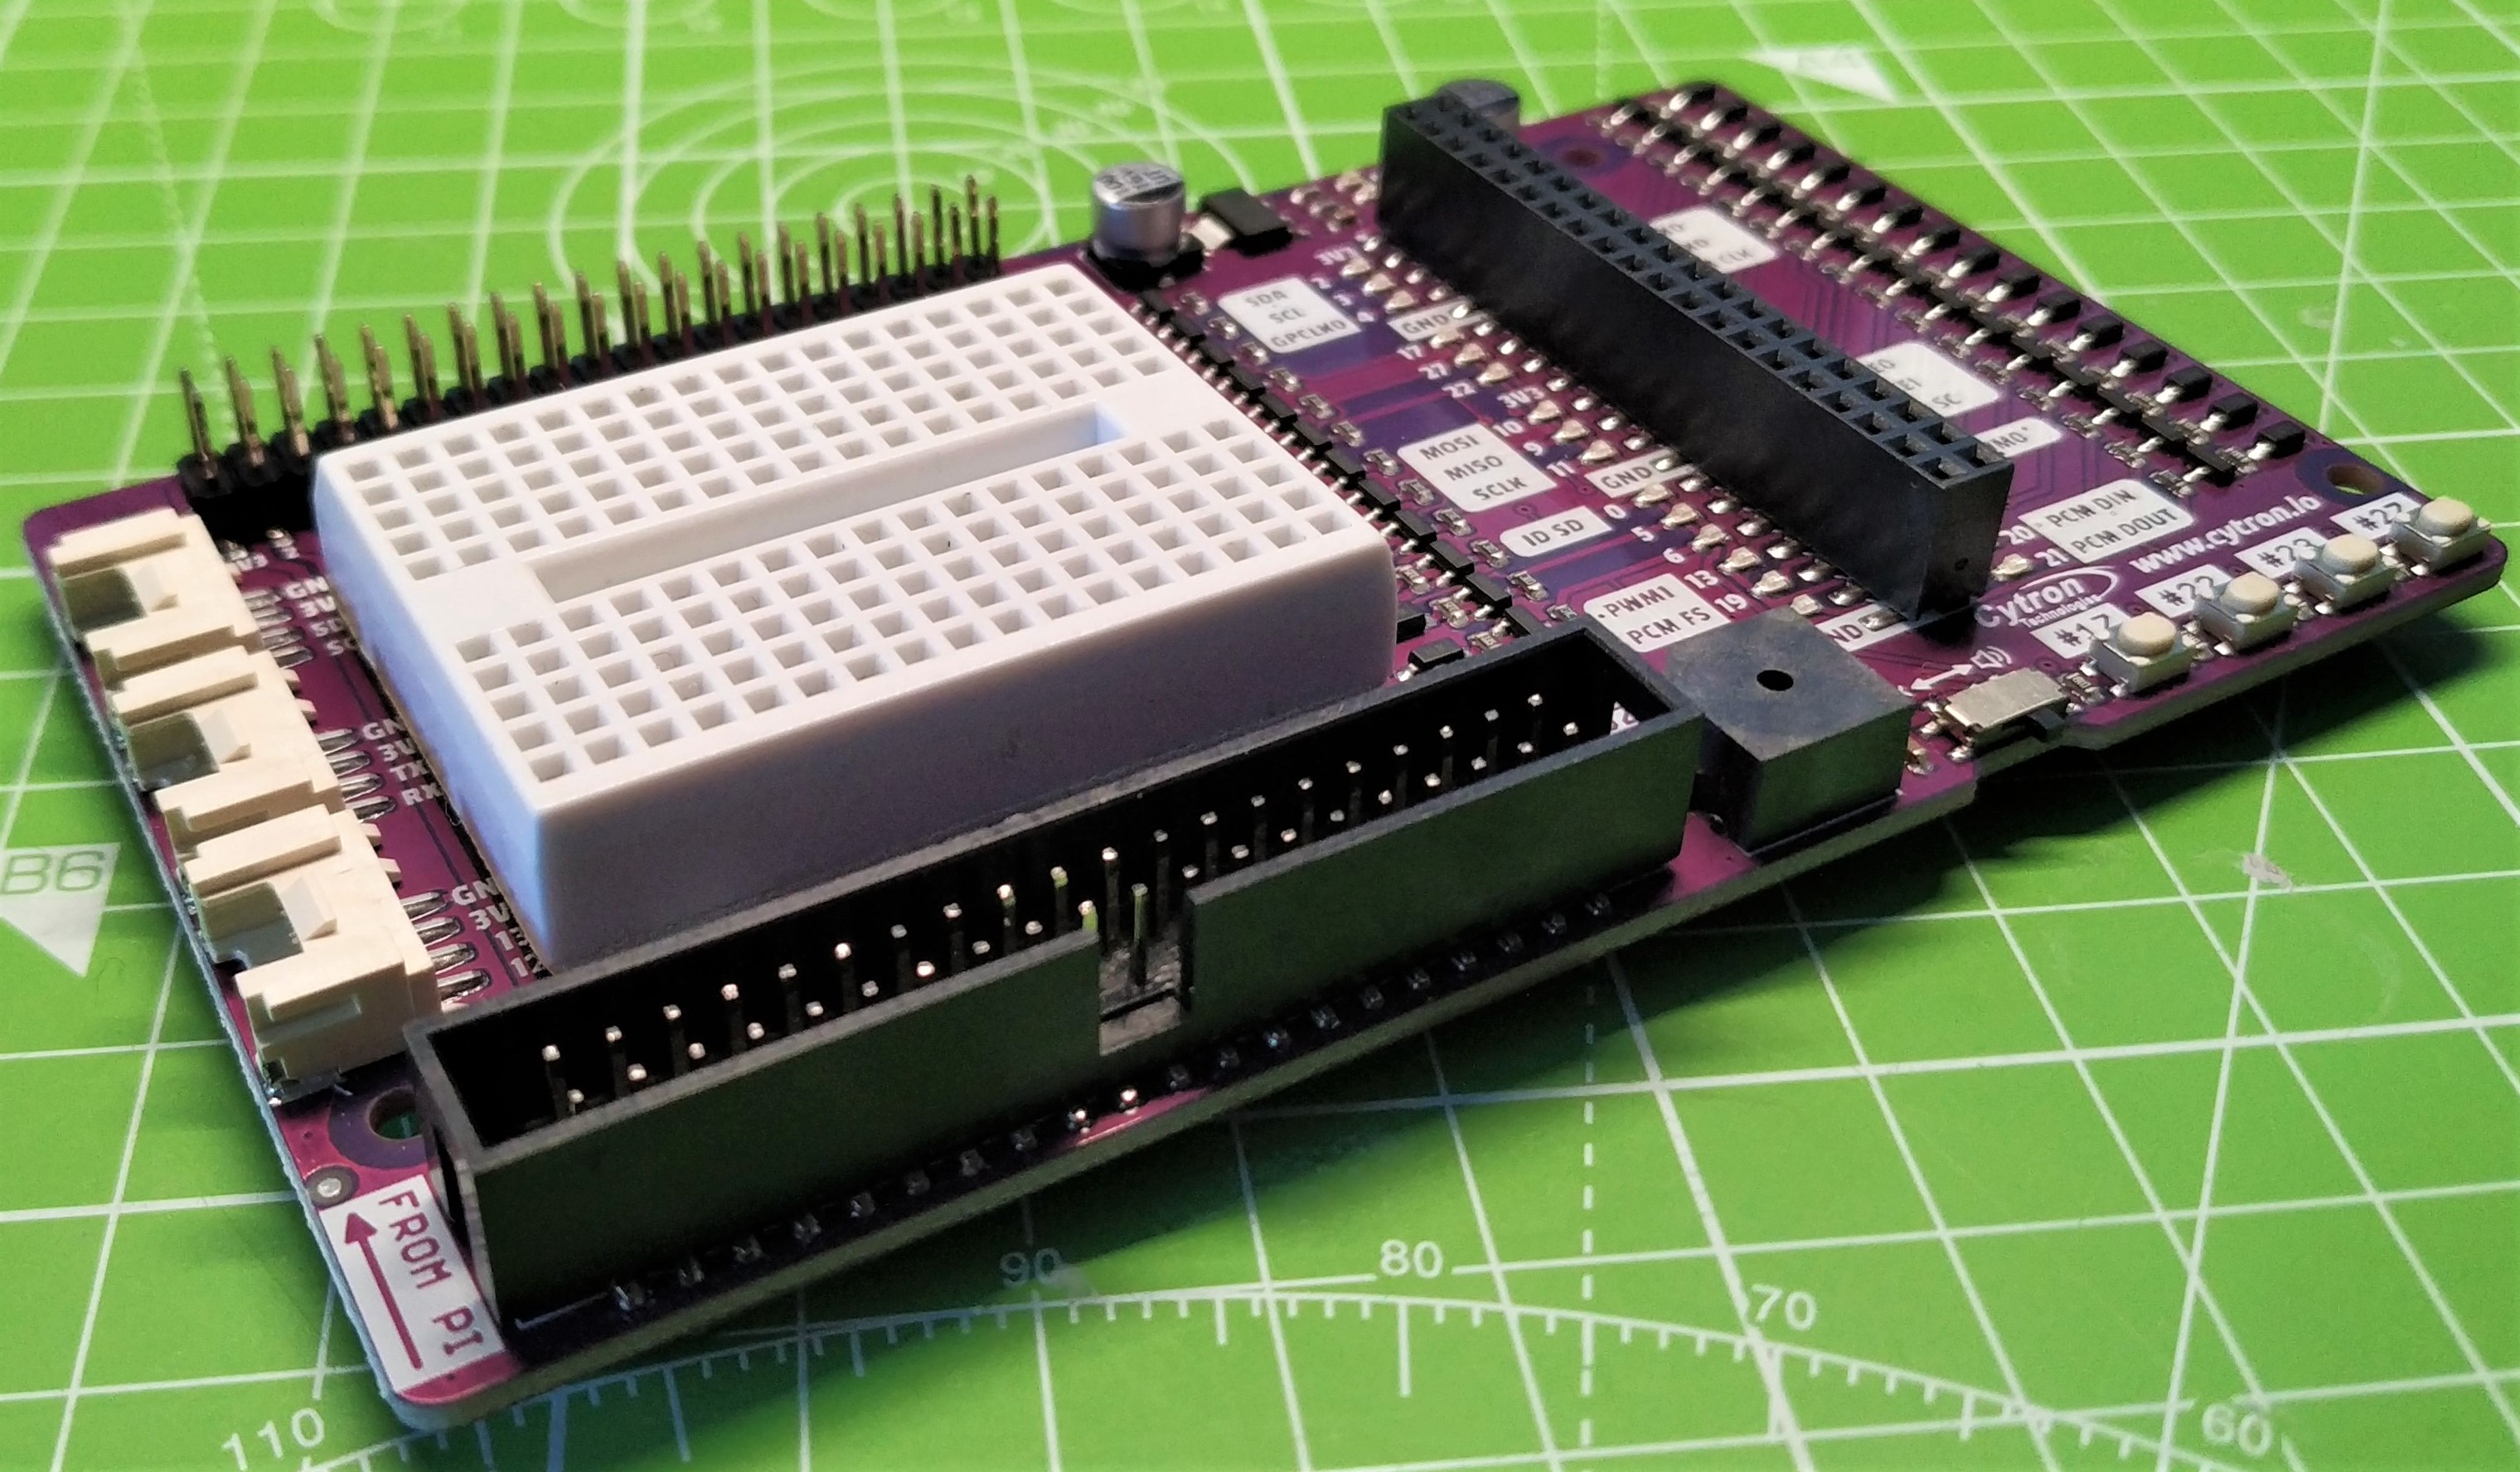
Cytron’s $10 Maker HAT Base is a GPIO breakout board for all models of Raspberry Pi with 40 GPIO pins and it is a small electronics lab for use with HATs / pHAT. We can place a HAT/pHAT on the GPIO and still have access to the remaining GPIO pins thanks to a second breakout header. But that’s not all as this little board also has connections for Grove components and a series of LEDs and buttons that we can use in our projects.
We plugged in the Cytron Maker HAT Base into our Raspberry Pi 400 and took it for a test drive. Who is it for? What can it do? What are the alternatives?
Cytron Maker HAT Base Specifications
| Compatibility | All 40 pin models of Raspberry Pi |
| Connections | 1 x Male GPIO header |
| 1 x Female GPIO header | |
| 3 x Grove Connectors (I2C, UART and GPIO) | |
| Features | Piezo Buzzer |
| 4 x Pushbuttons | |
| GPIO pin LEDs | |
| Dimensions | 4.8 x 2.8 inches (121.92 x 71.12mm) |
Using Cytron’s Maker HAT Base
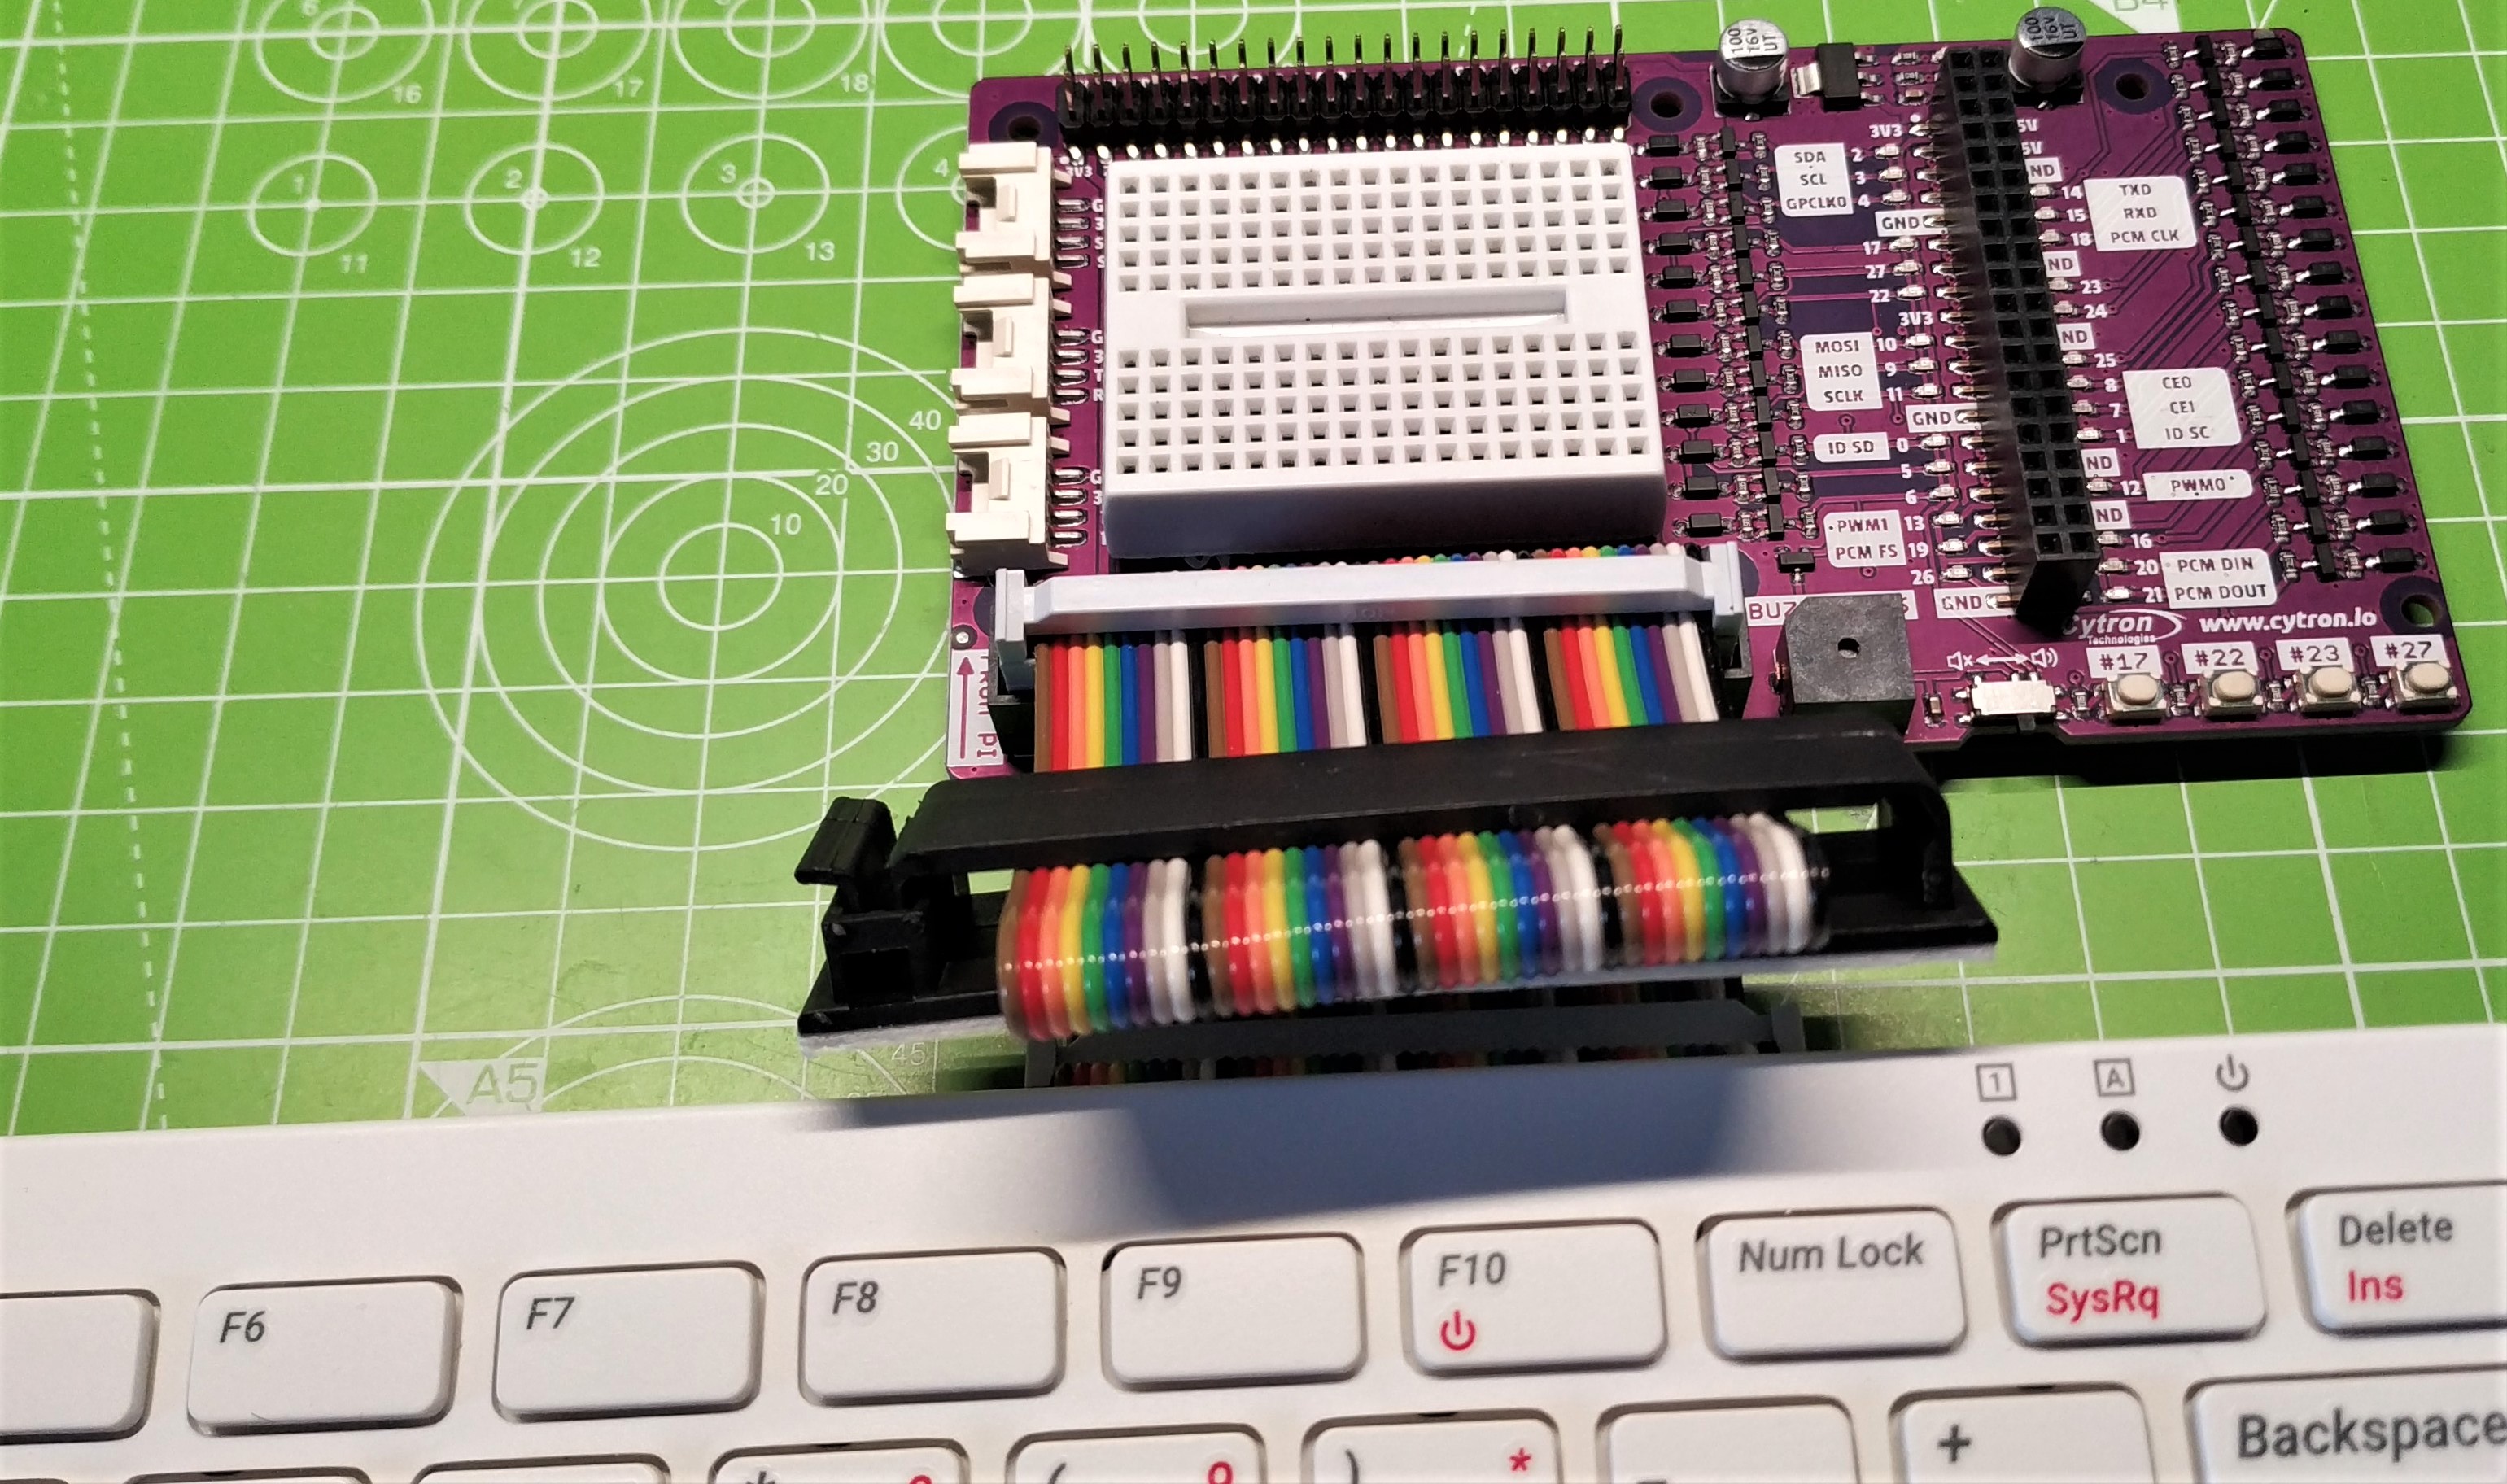
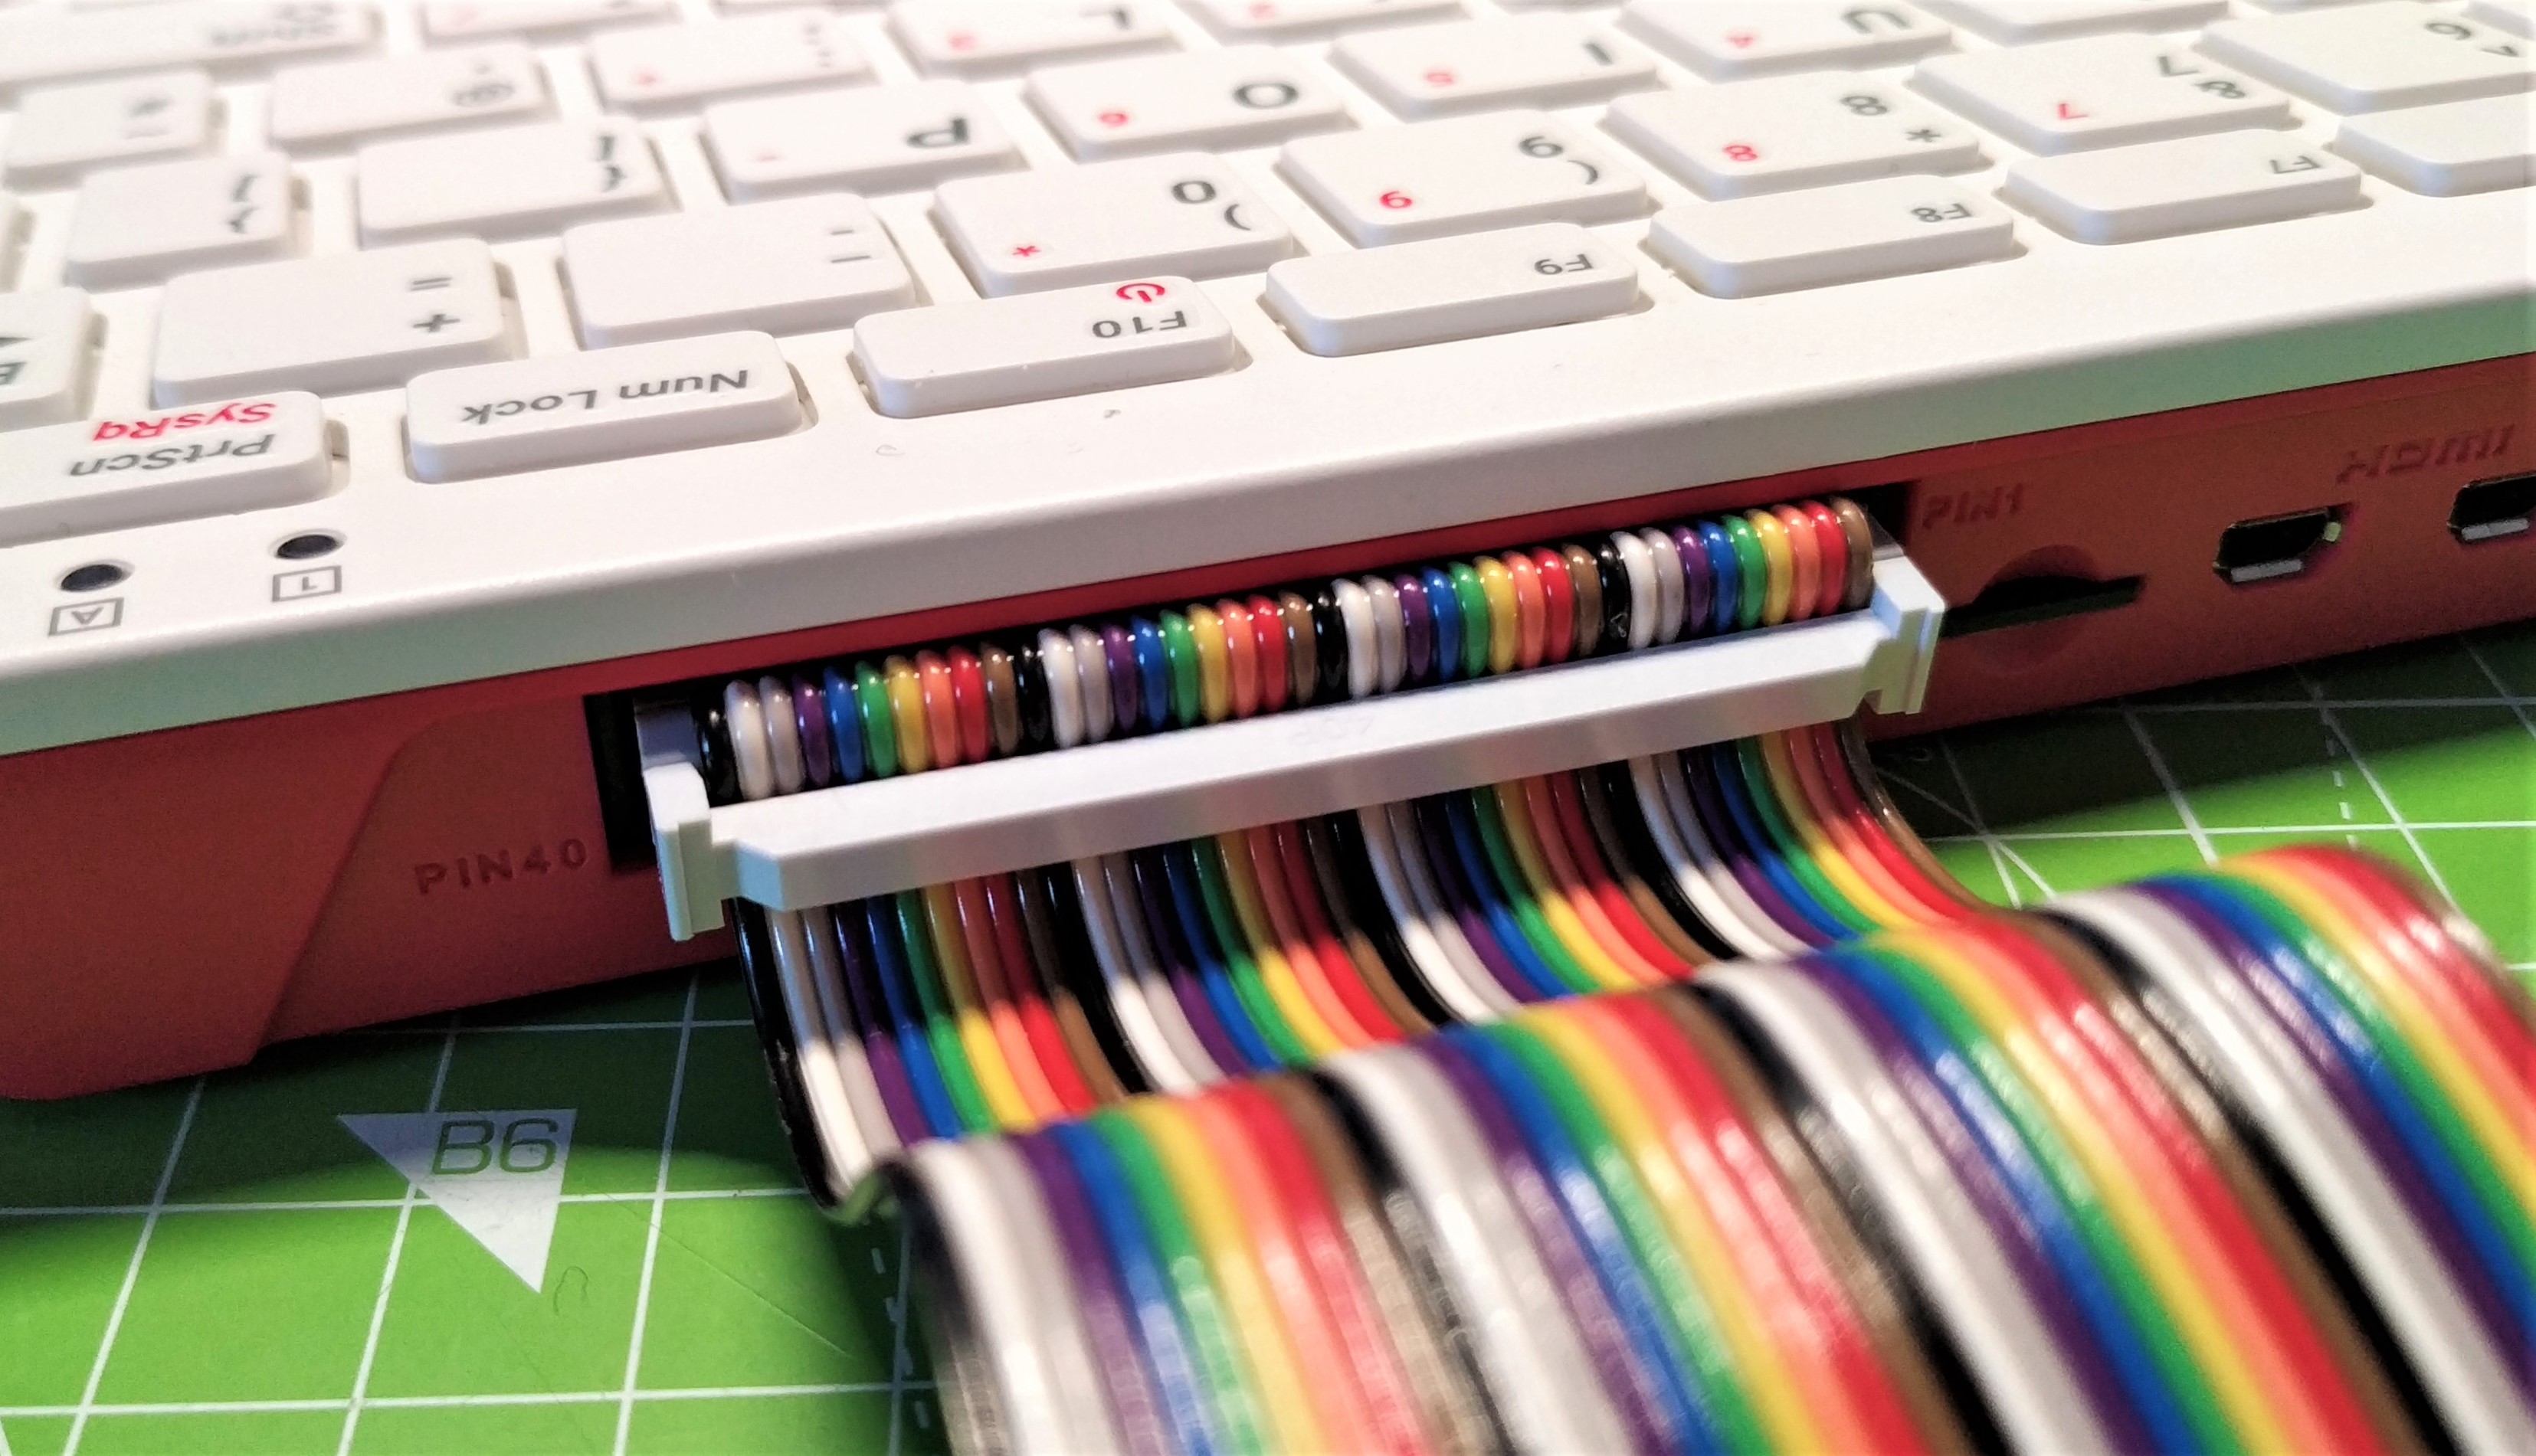
It really couldn’t be simpler. Connect the board to any model of Raspberry Pi using the included ribbon cable then power on as normal. The ribbon cable is rather stiff, and the included clip to fold and hold its shape is a bit fiddly, so we didn’t use it. At the most basic level, Maker HAT Base is ready to be used in your electronics projects.
Using the male or female headers we can connect electronic components and build them into a circuit via the included breadboard. If HATs are more your thing, make sure that you connect them before powering up but other than that they will install and work as if they were directly connected to the GPIO. HATs and pHATs (mini HATs) can be secured using the M2.5 screw points located on the left side of the board. If using the included breadboard, ensure that there is clearance between the underside of your HAT, and the breadboard.
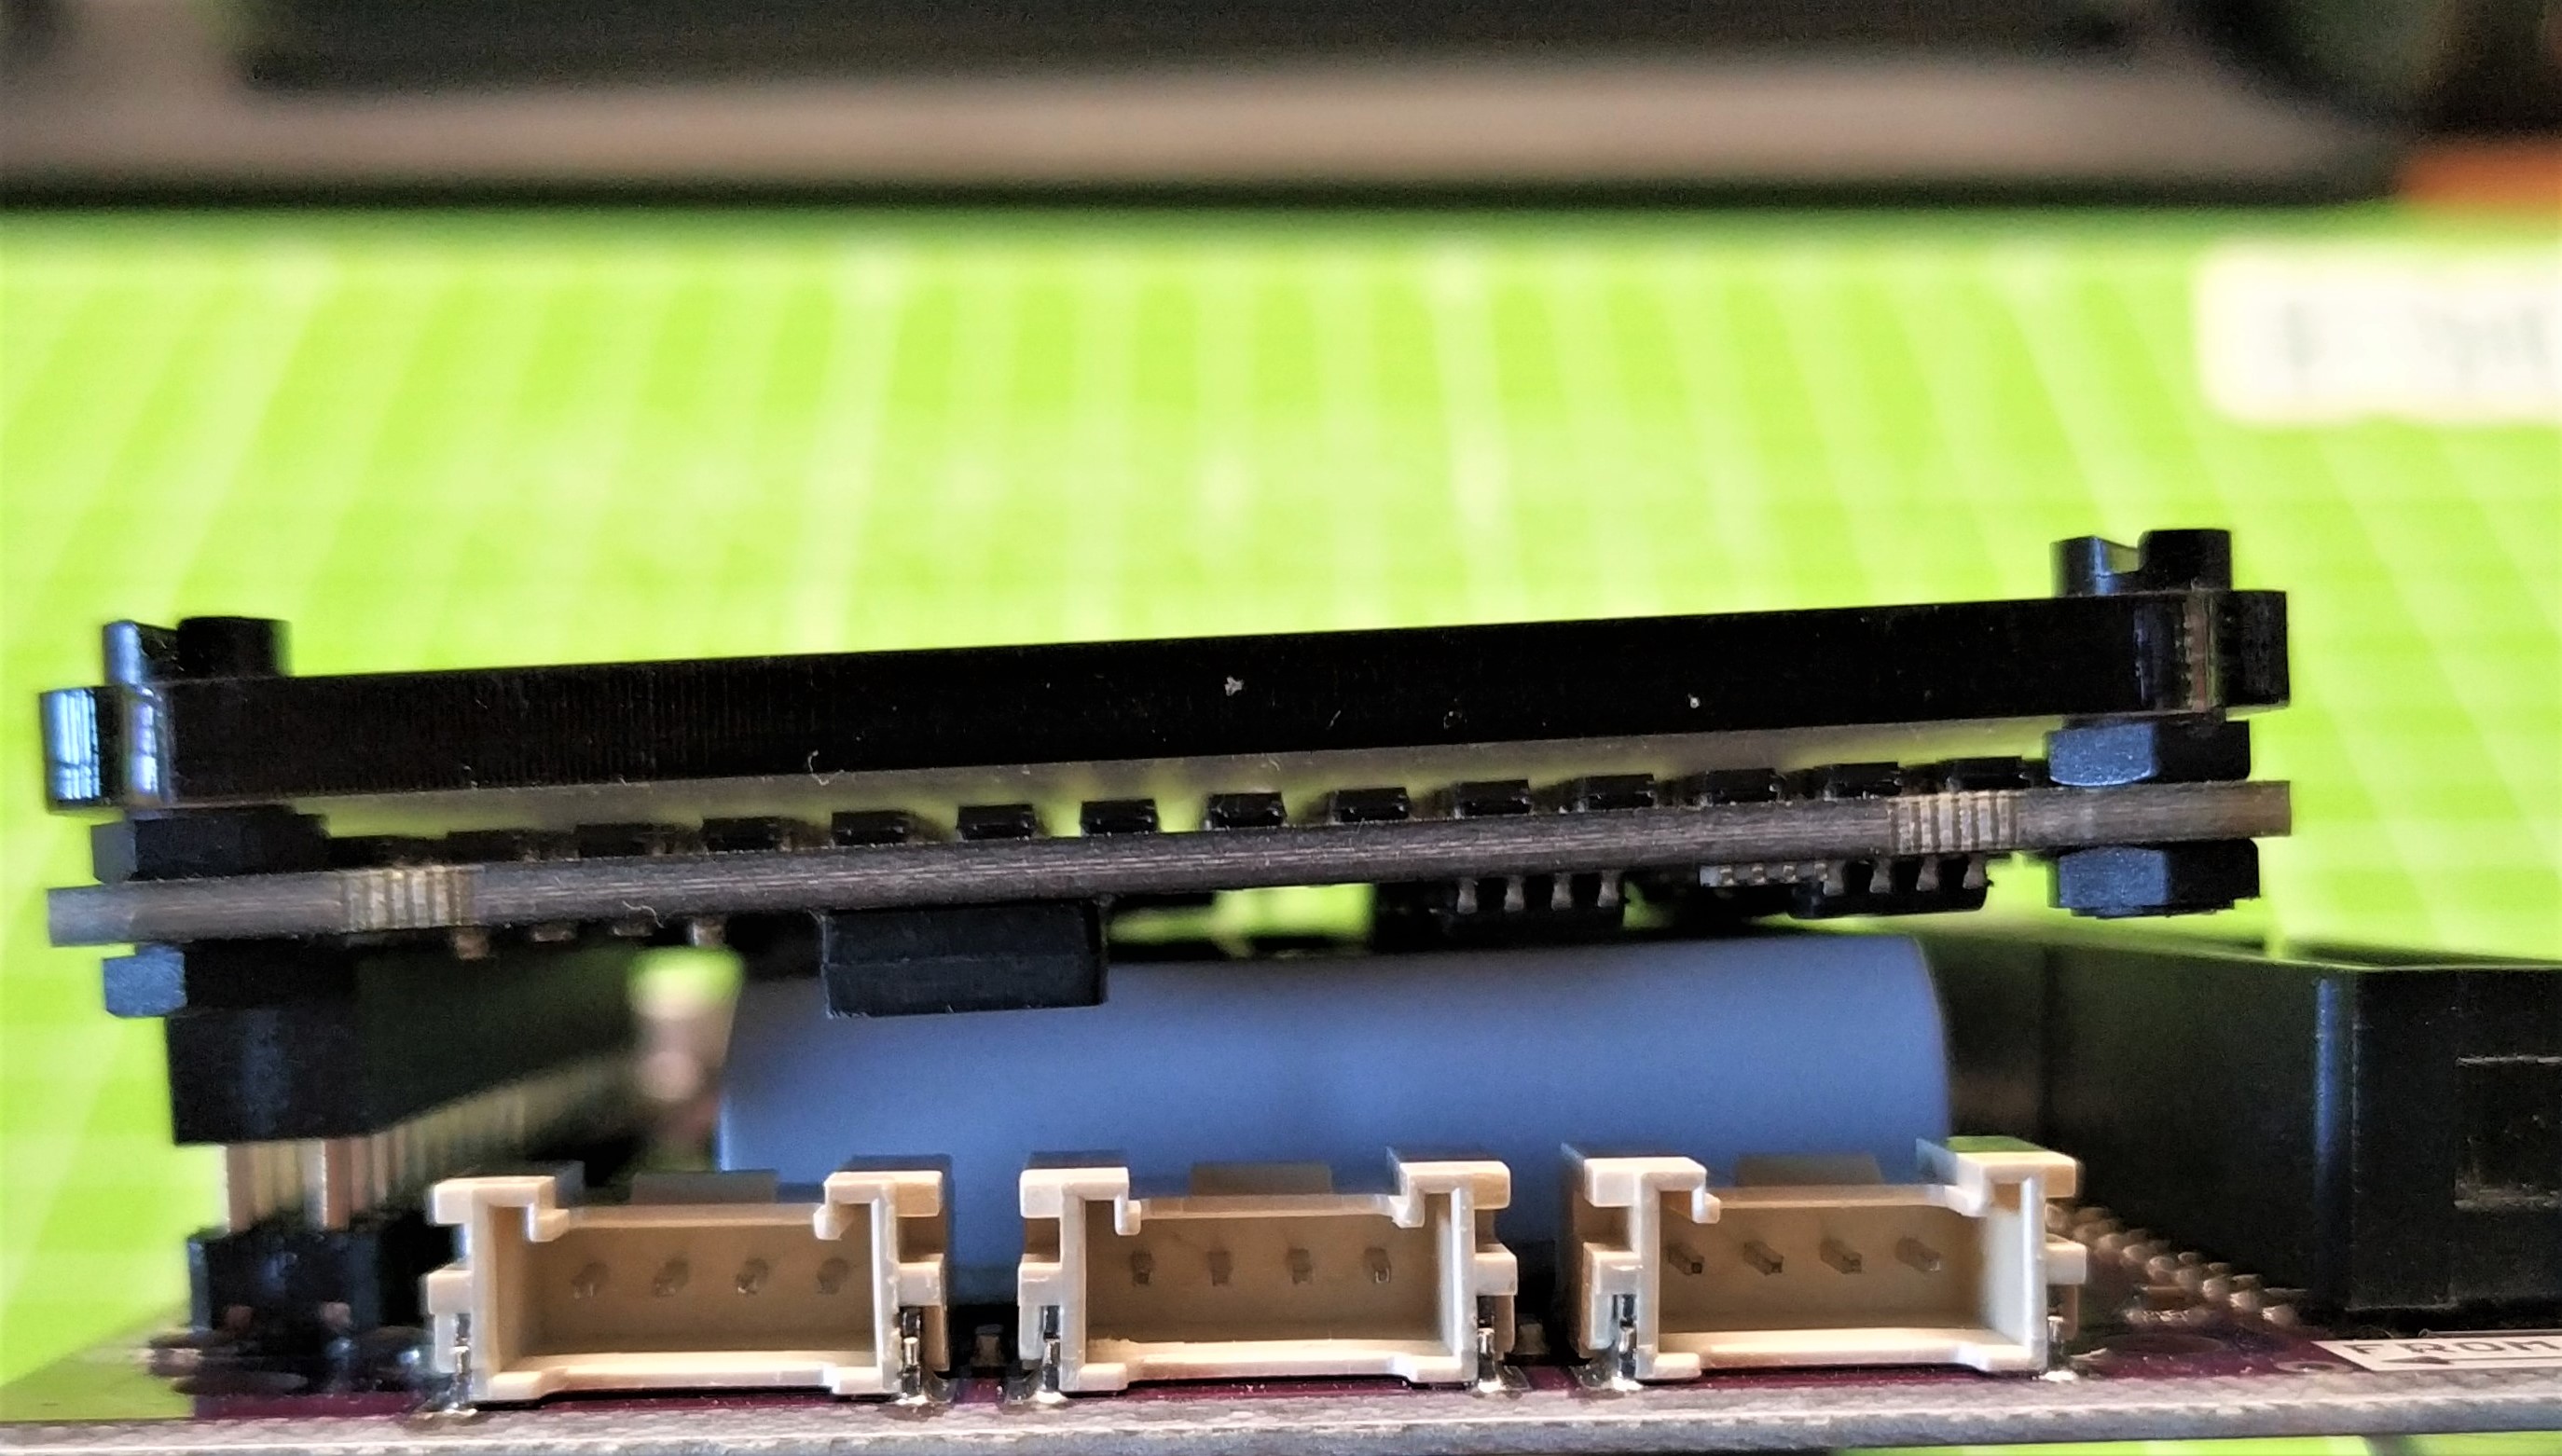
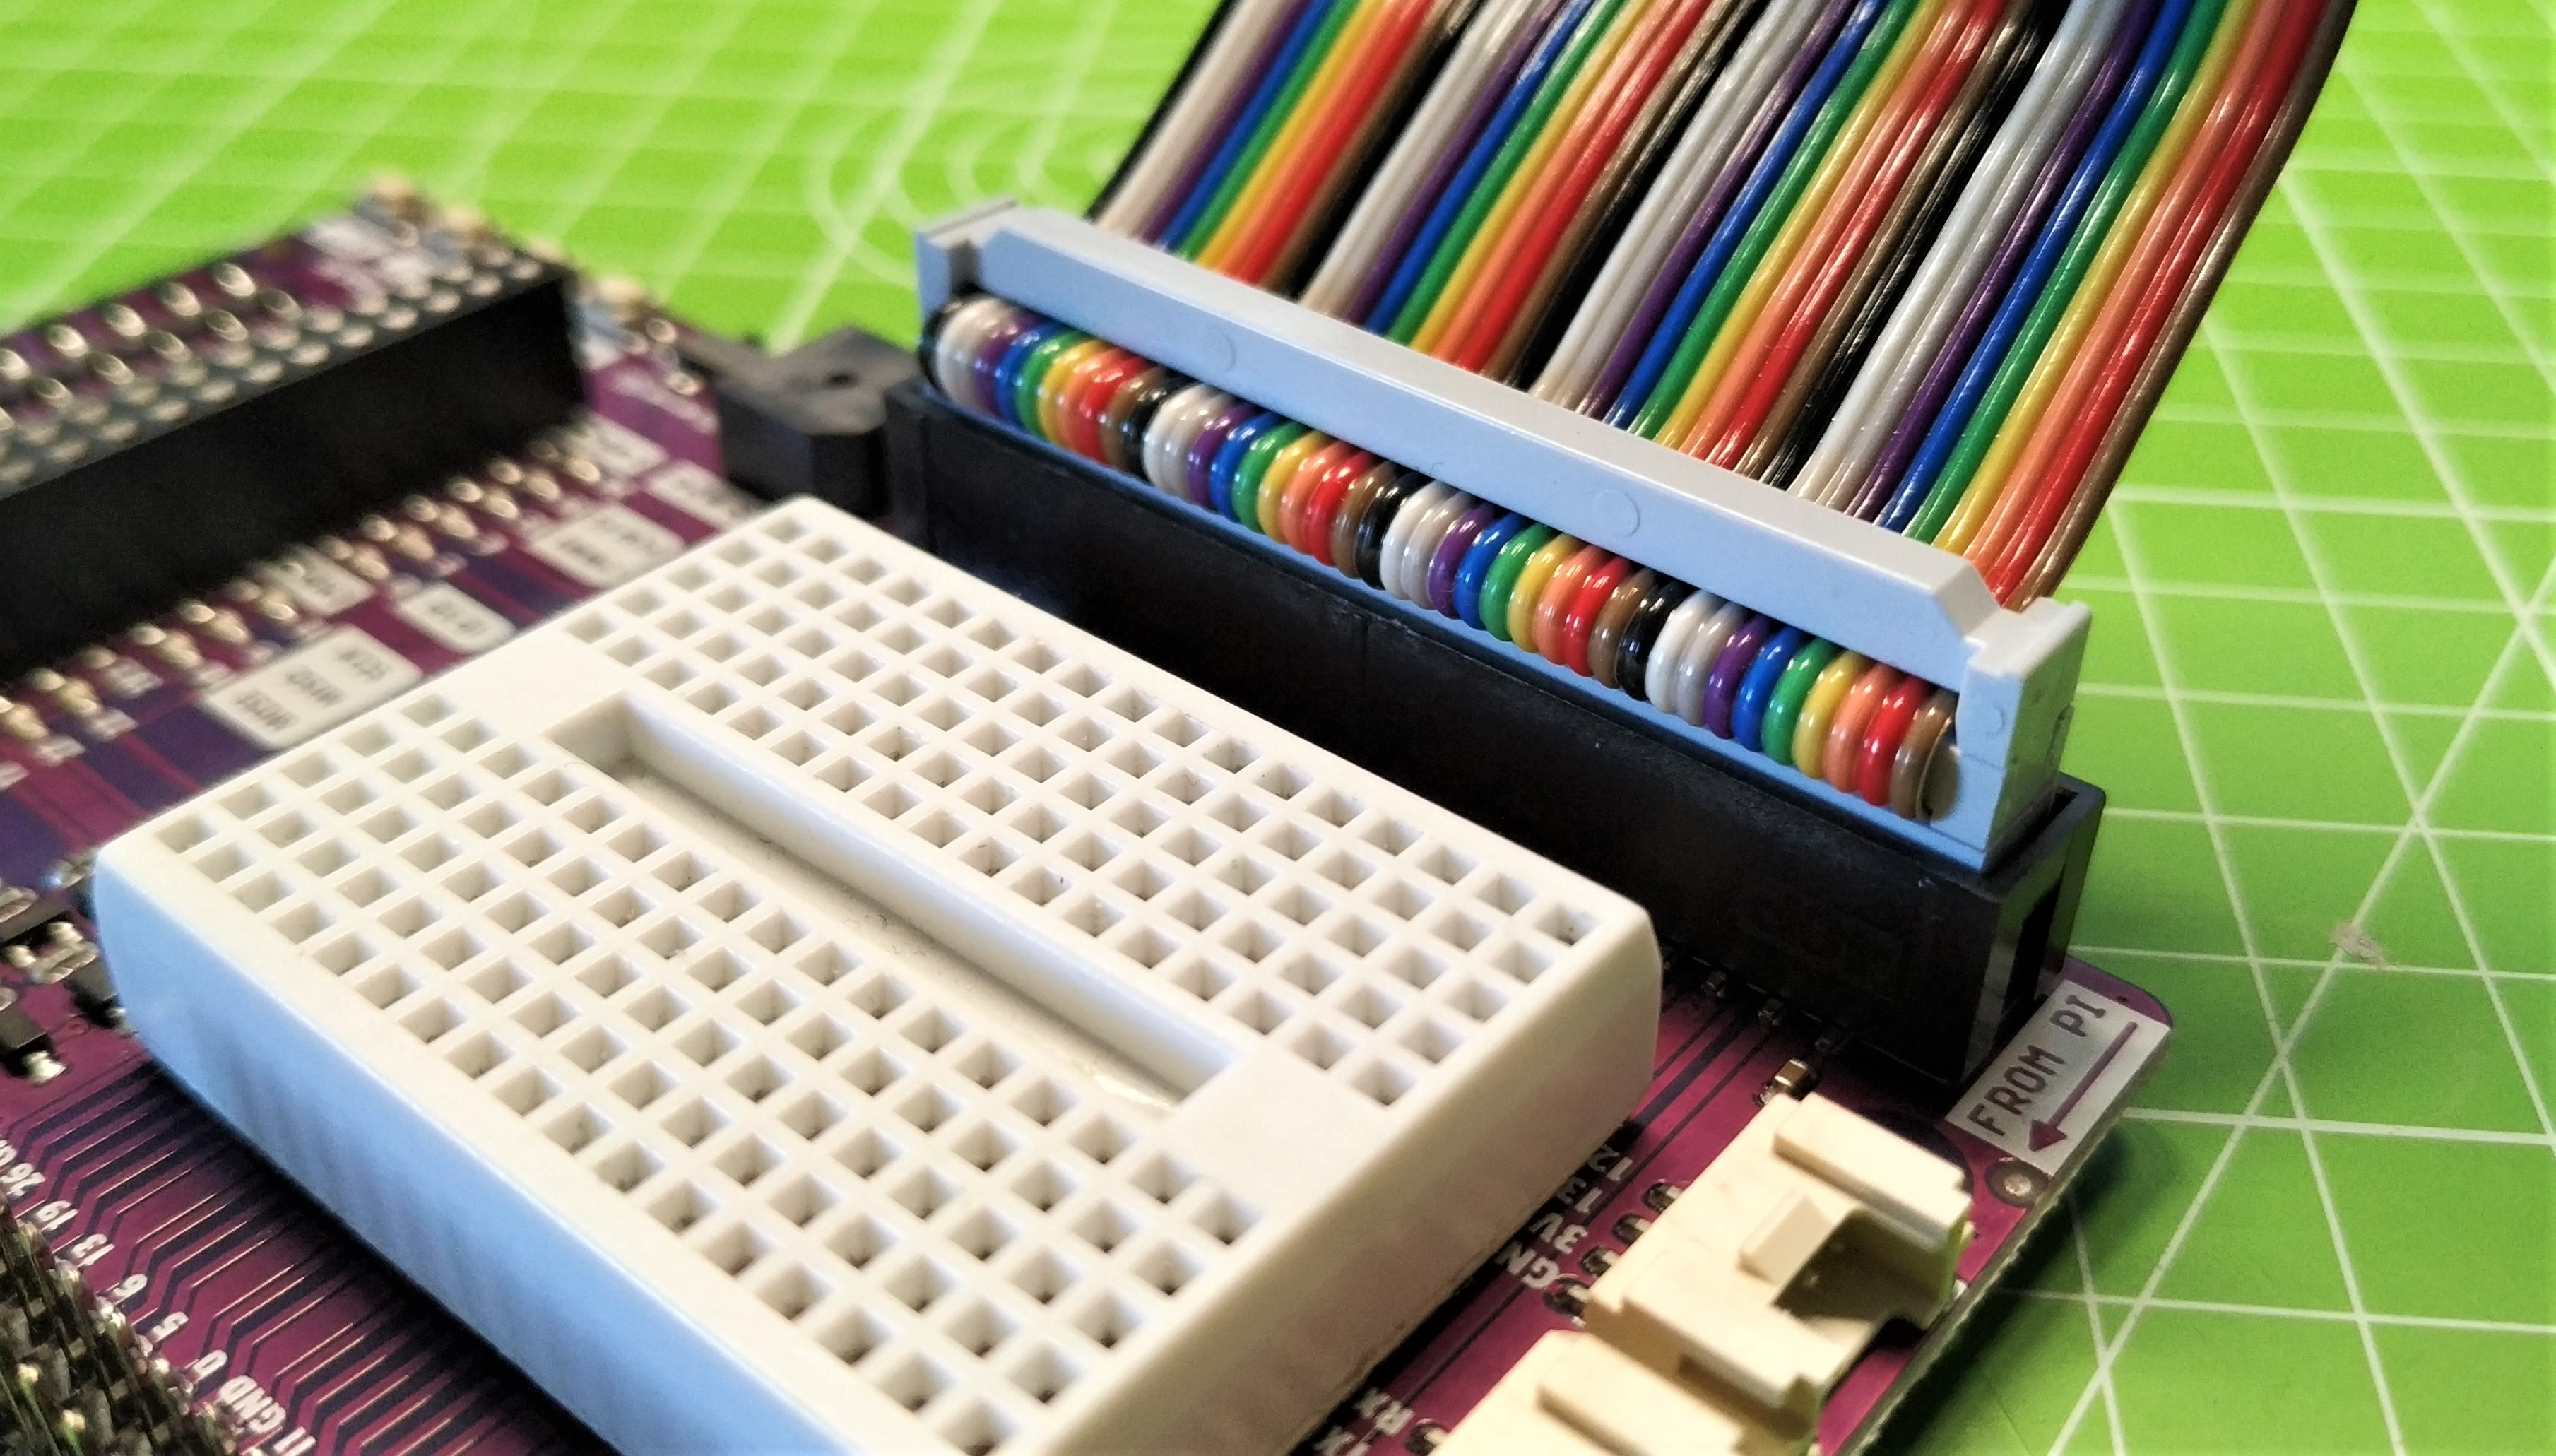
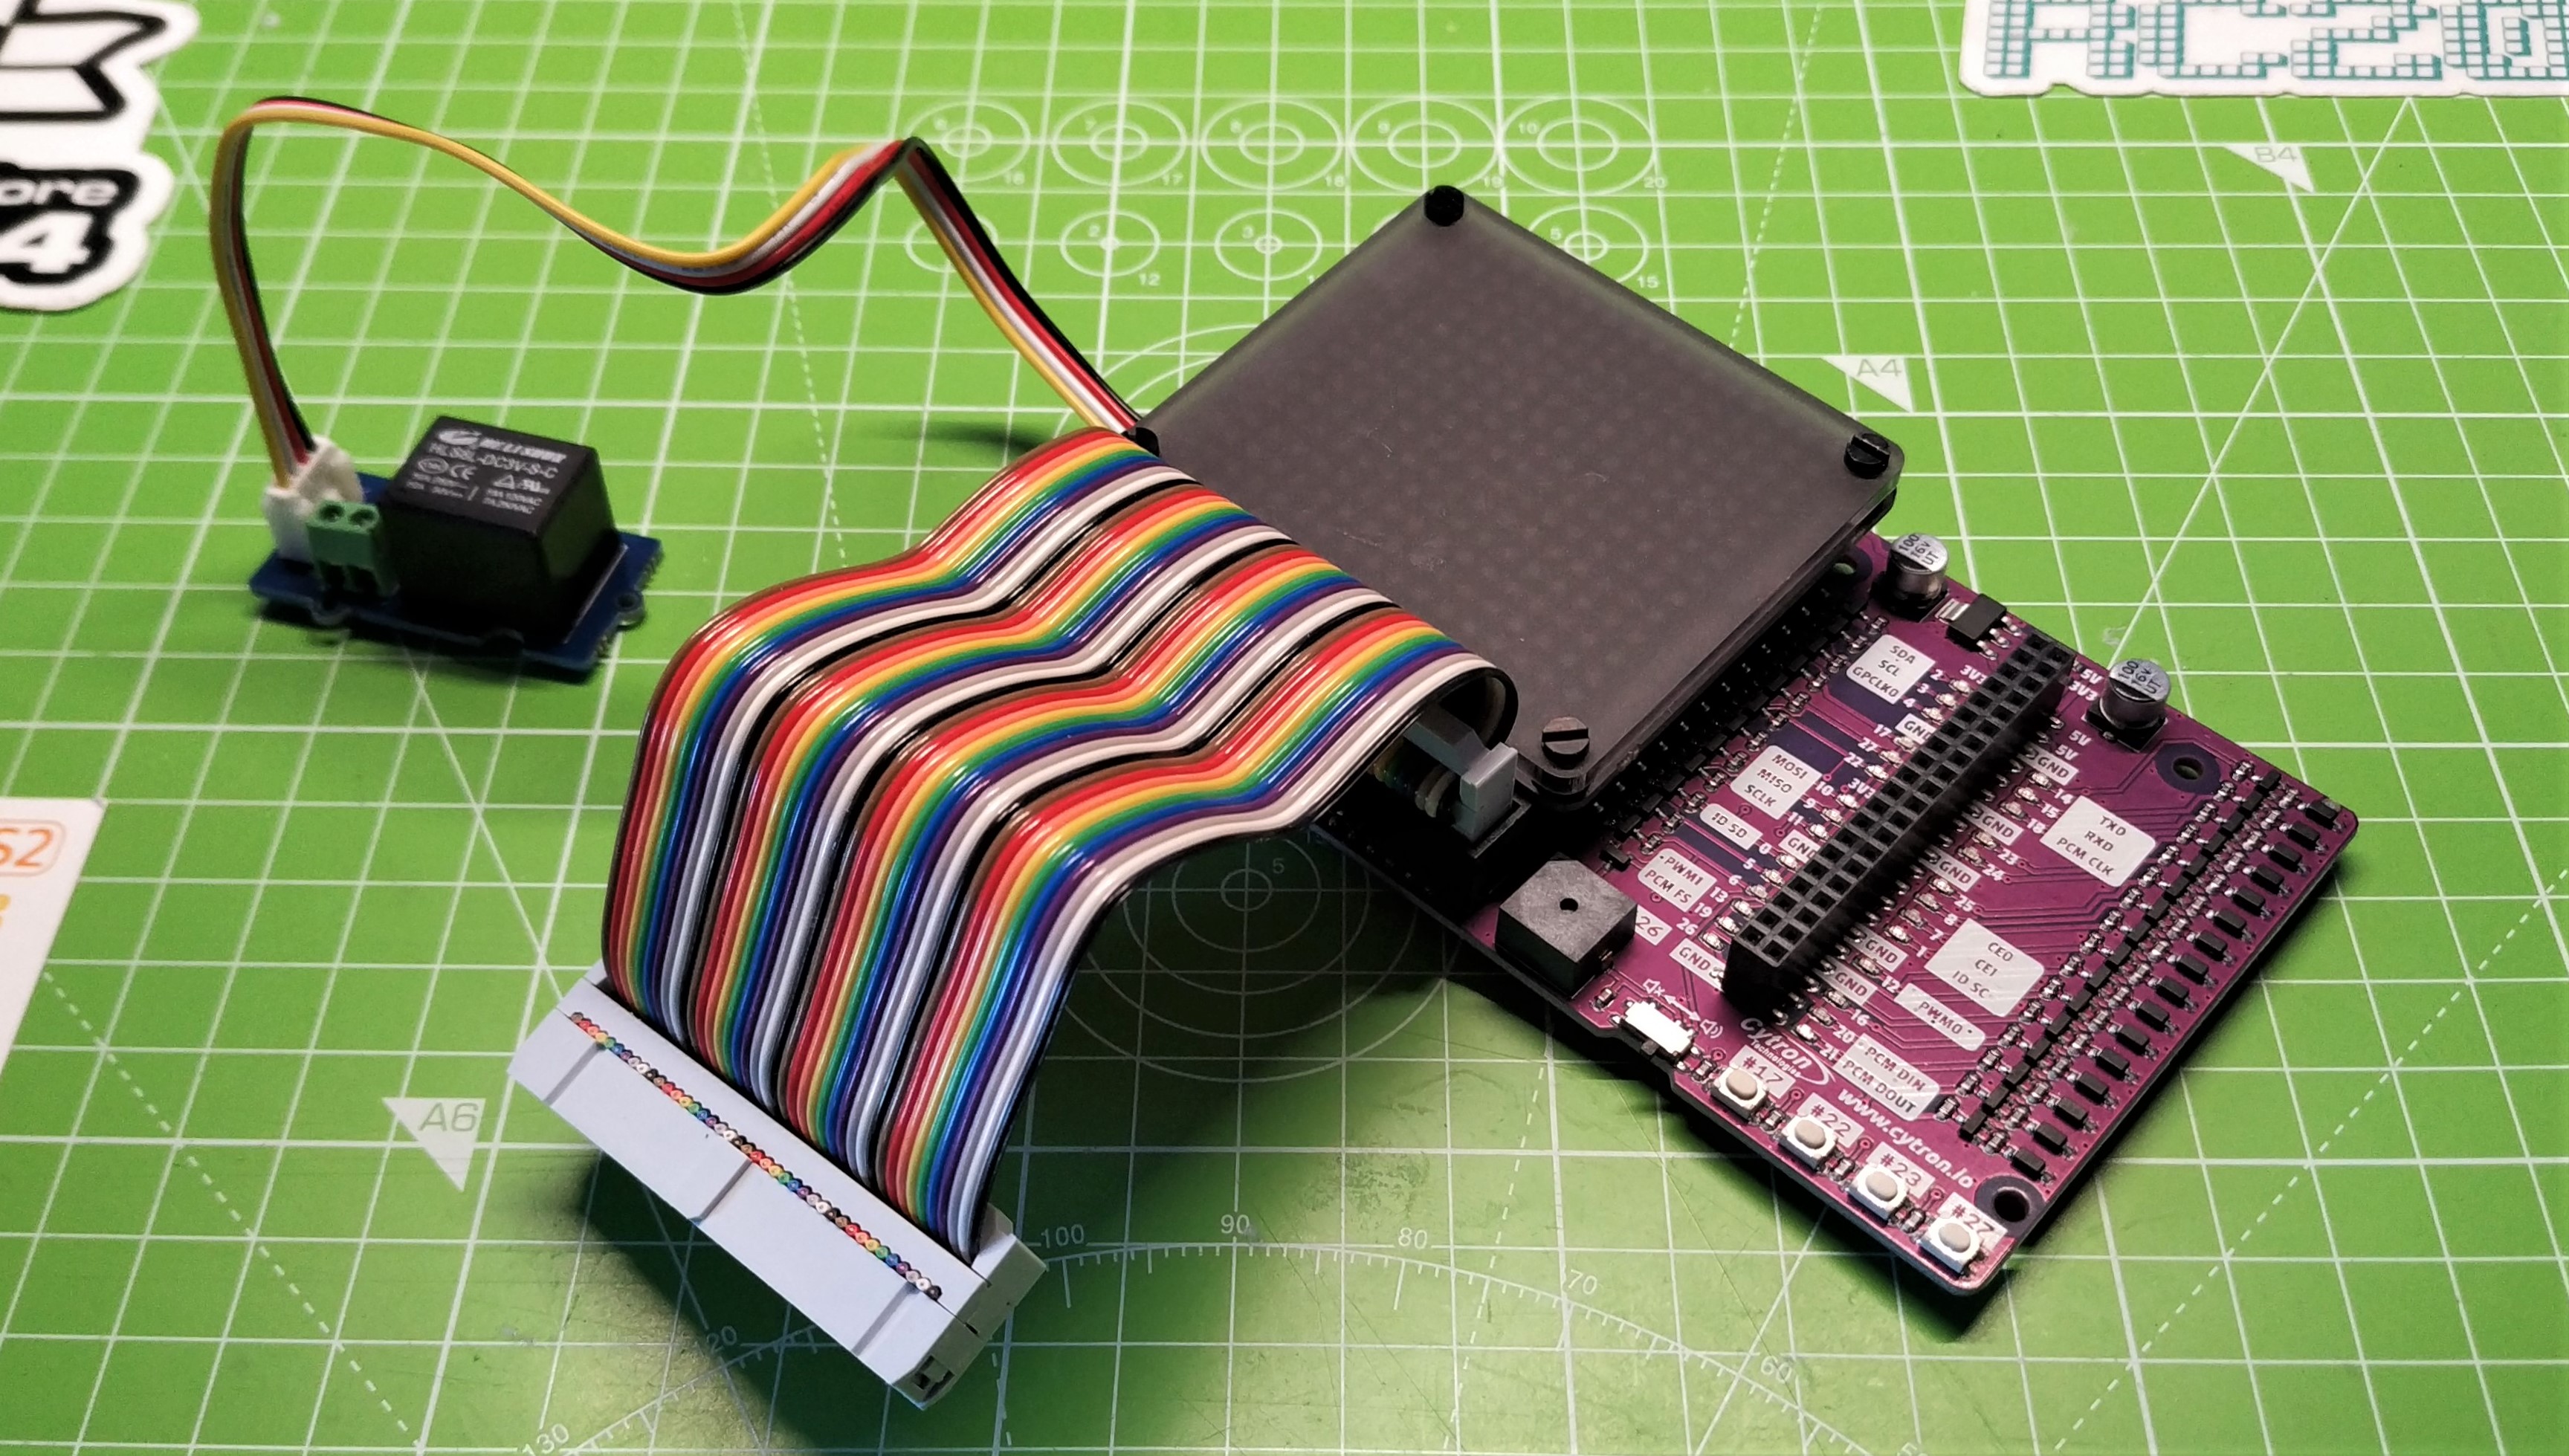
With a HAT connected, we still have access to the female GPIO header, located center right of the board. Using this header we can connect other electronics for use in conjunction with the Maker HAT Base. For example an HC-SR04P ultrasonic sensor with a motor controller would create a motion triggered kinetic sculpture, or be used as the “eyes” of a simple robot.
Another use case for the extra GPIO header is a little GPIO hacking. We can tap into the pins to understand how a HAT is using them or we can hack the pins to perform other duties. This use case requires a little more knowledge and equipment than a typical home hobbyist has, but it is there if we need it.
Get Tom's Hardware's best news and in-depth reviews, straight to your inbox.
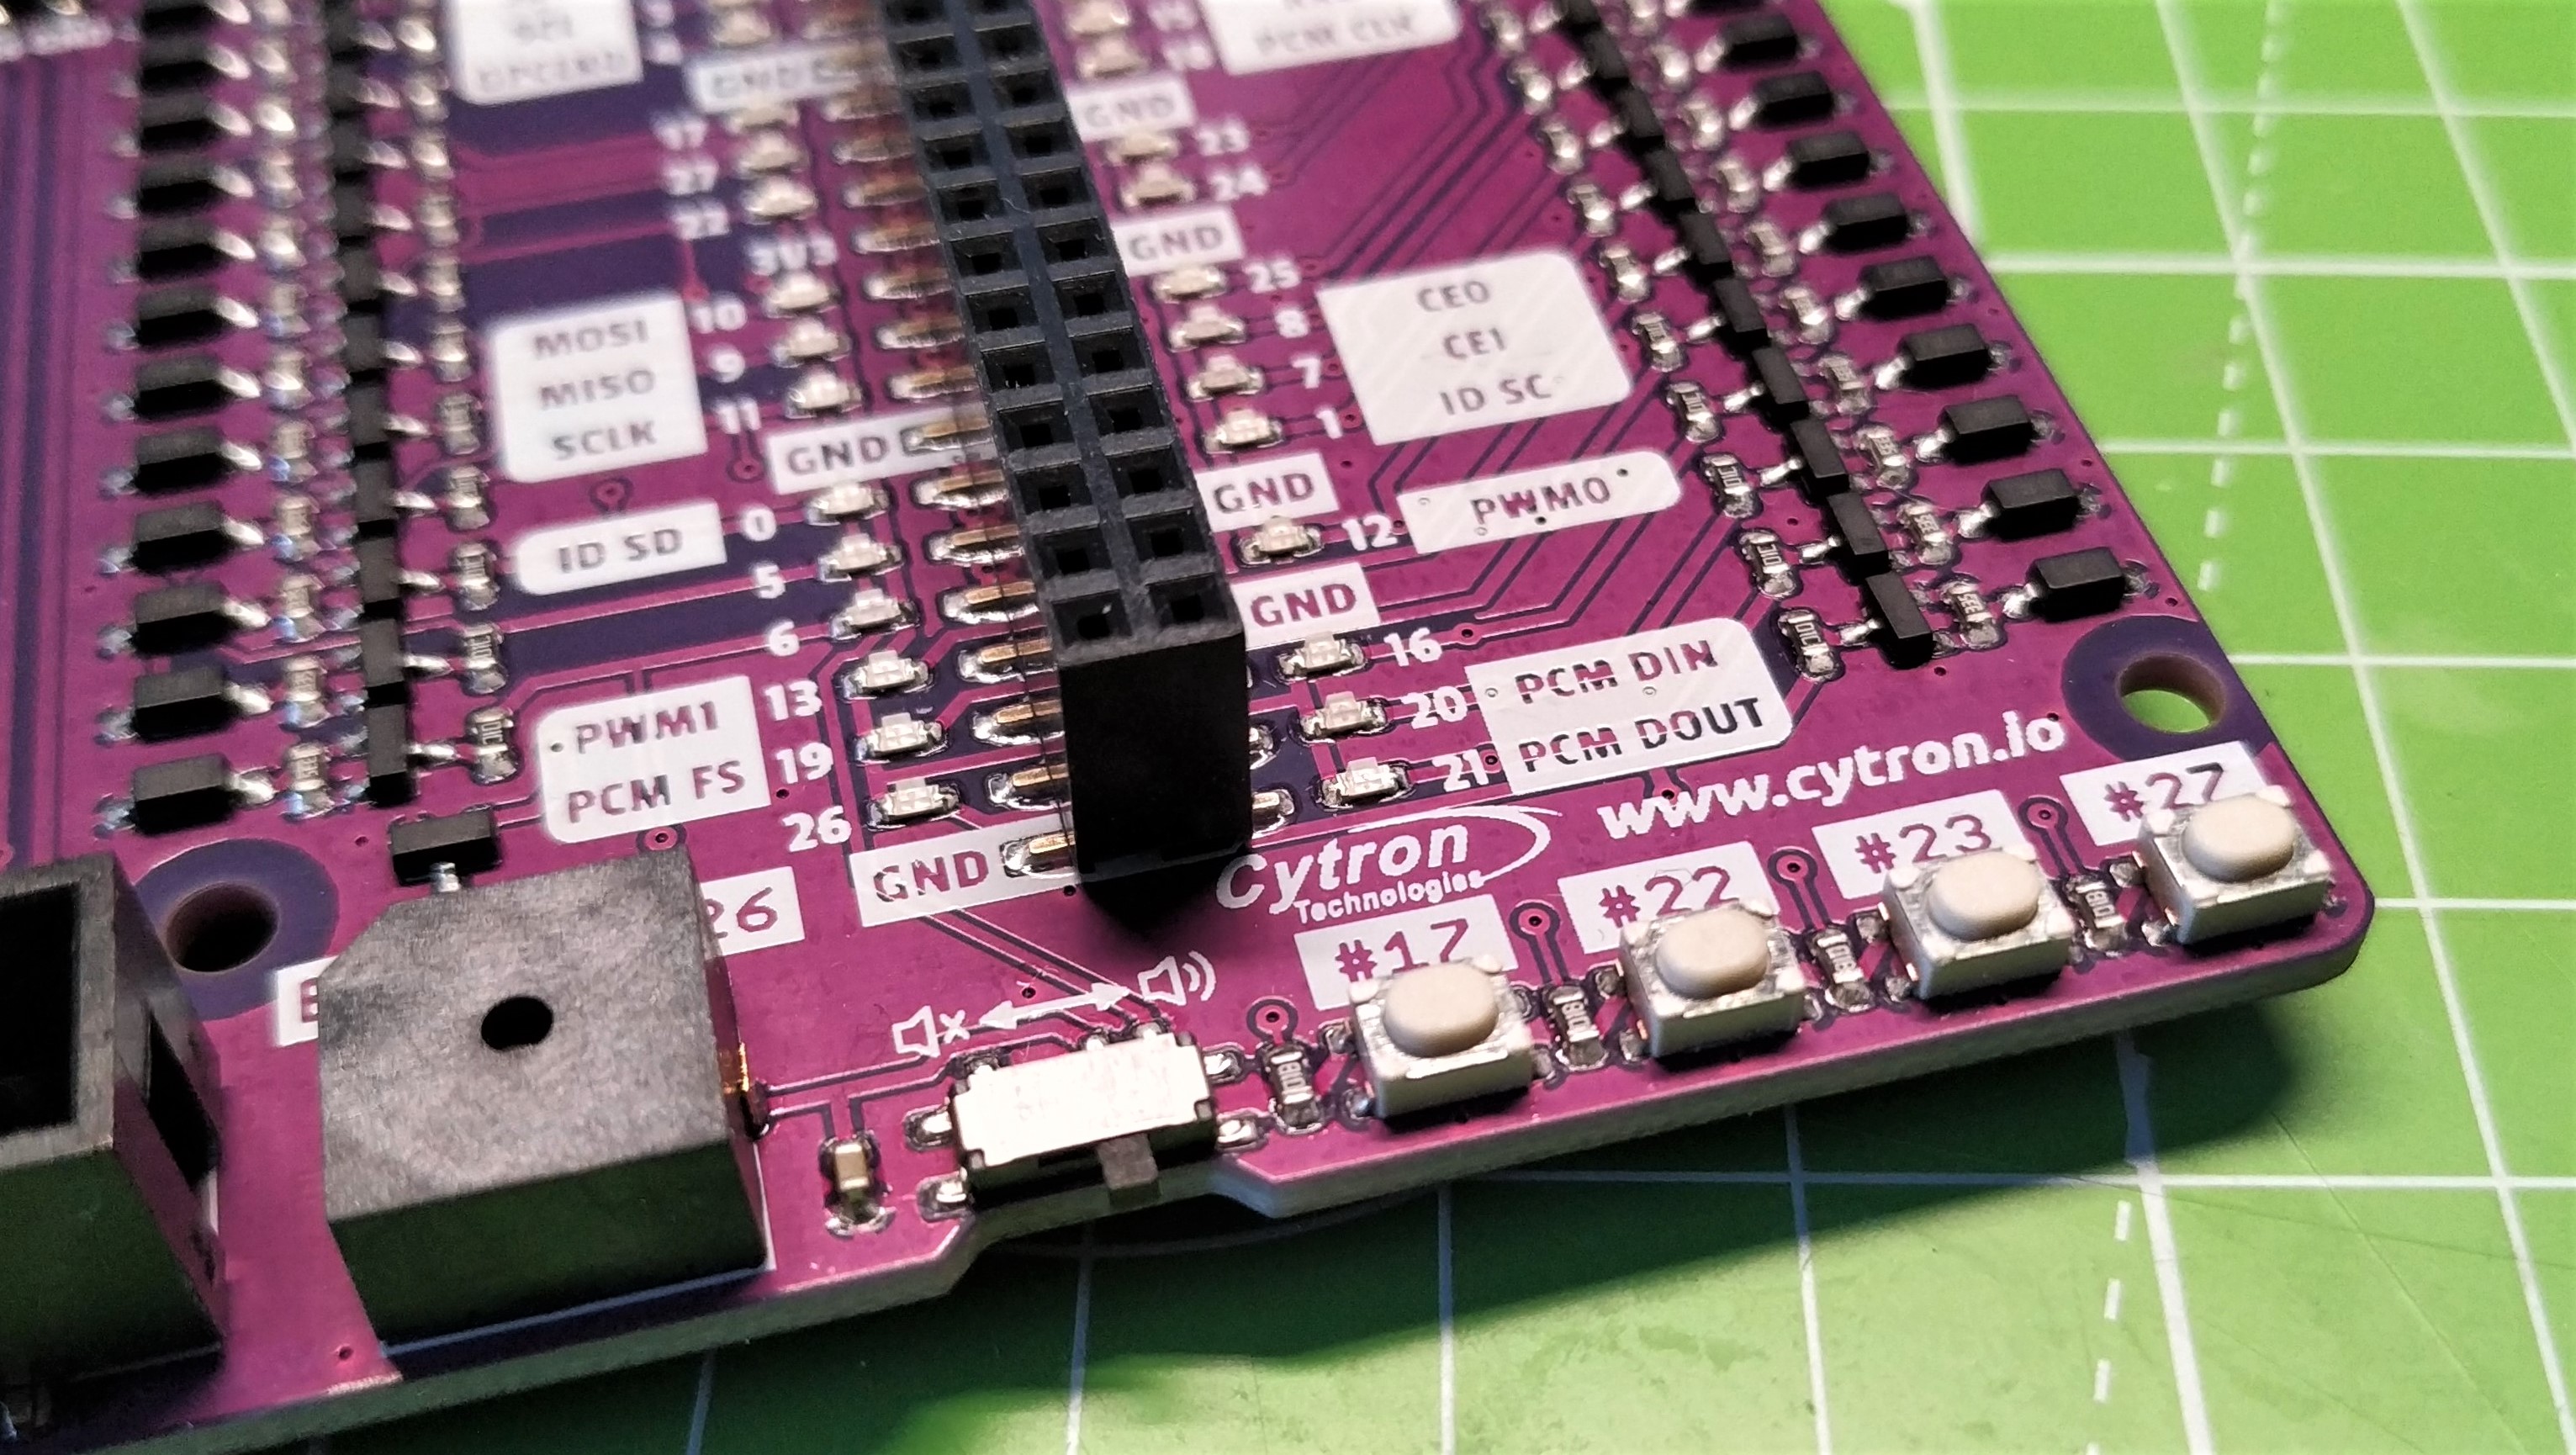
The female GPIO header also has a series of LEDs connected to all of the user-controllable GPIO pins which are clearly marked with their BCM pin numbers. These LEDs show the status of their respective GPIO pins and experienced makers may write these off as a gimmick, but hear us out. Knowing the status of the LED via the board means we can be certain of the state (high or low) of the GPIO pin and this can help to debug a connection which uses that pin. A single core wire, a bad solder joint or a worn out breadboard could be the cause of an issue, but without knowing the state of the GPIO we have to debug the pin and our code before checking the circuit. We know this because we have been there, in class and in our workshop.
On the bottom right of Maker HAT Base we find a piezo buzzer and four push buttons, all of which have their BCM pin numbers printed. The buttons are simple on / off inputs but their inclusion is most welcome as we have four buttons ready to use in our code. We tested them with GPIO Zero, a Python 3 electronics module and they worked with very little code. The same is true for the piezo buzzer, which we can turn on / off using digital IO or create tones using PWM (Pulse Width Modulation) for simple 8-bit style music. If you don’t want the buzzer to sound, a switch located to the right of the buzzer will disconnect it from the GPIO.
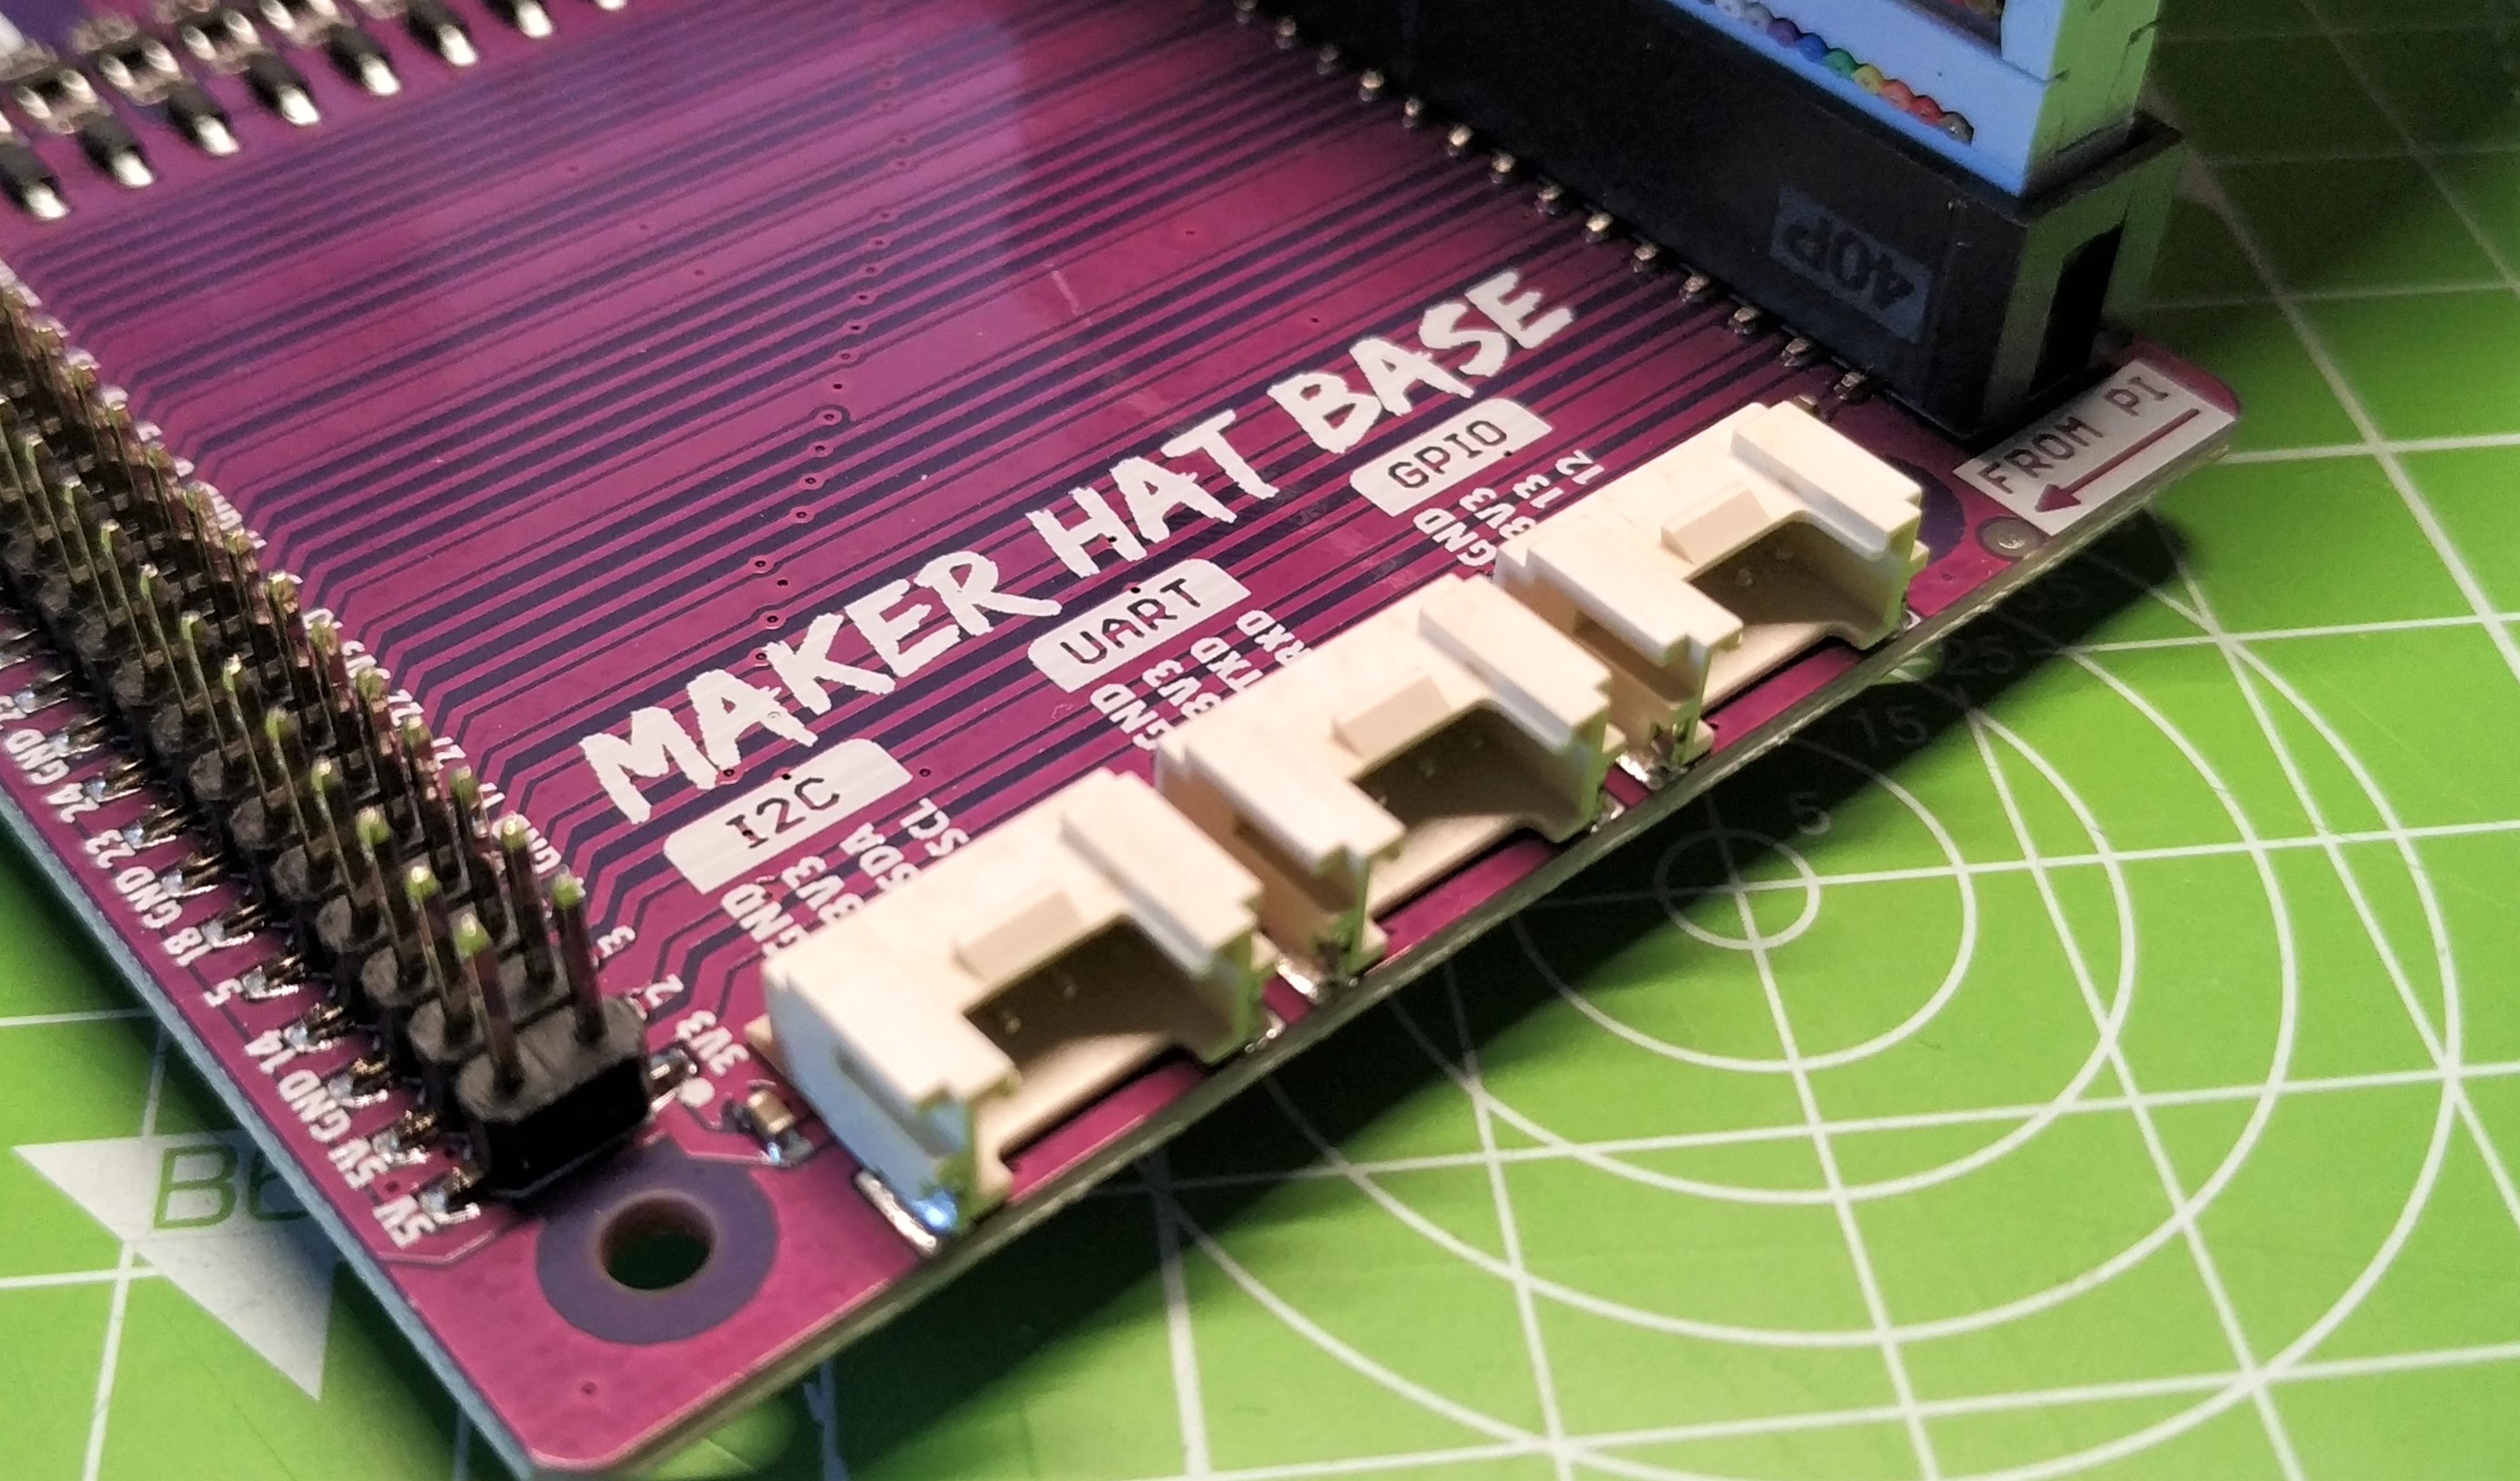
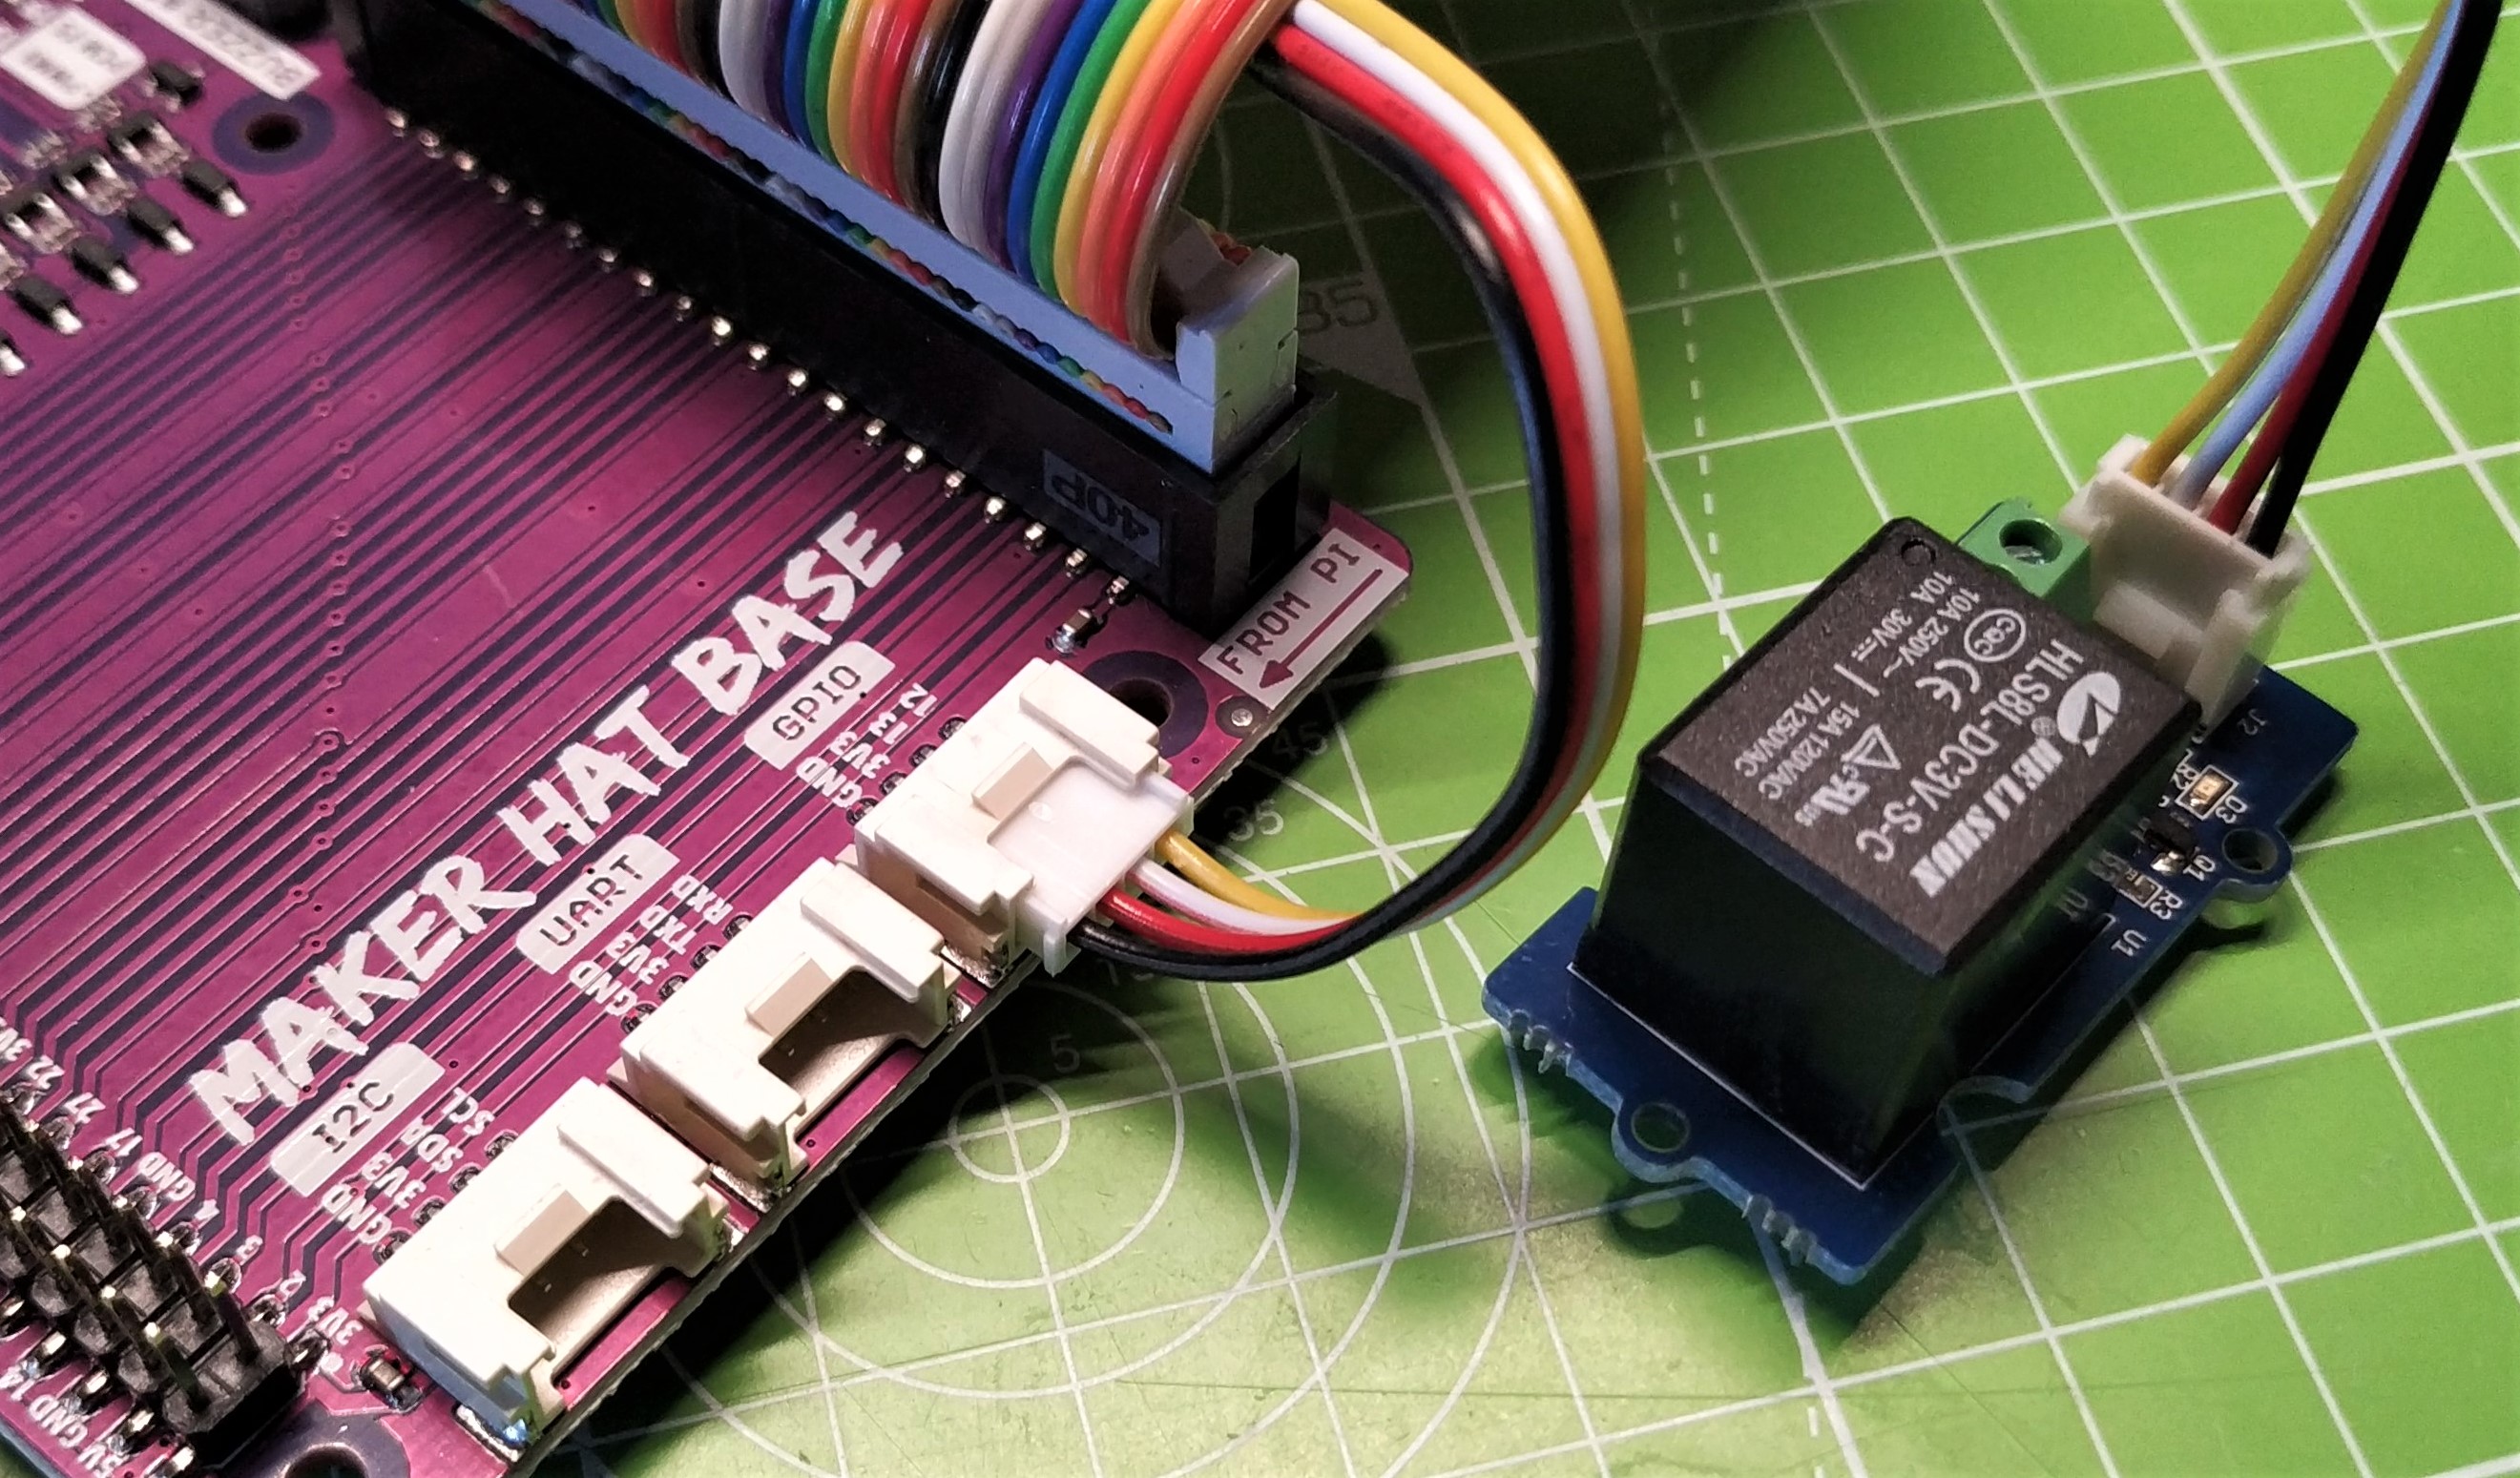
On the left of the Maker HAT Base are three Grove connectors. These are similar to Stemma / Stemma QT and Qwiic connectors in that they are polarized connections for use with compatible devices. The three Grove connectors offer I2C, UART and GPIO access. Essentially these connectors are directly connected to the GPIO of the Raspberry Pi and the connector is more of a convenience. If you have bought into the Grove ecosystem then your components will work. If you haven’t then these ports aren’t essential, more “nice to have” if anything.
What are the Alternatives to Cytron’s Maker HAT Base?
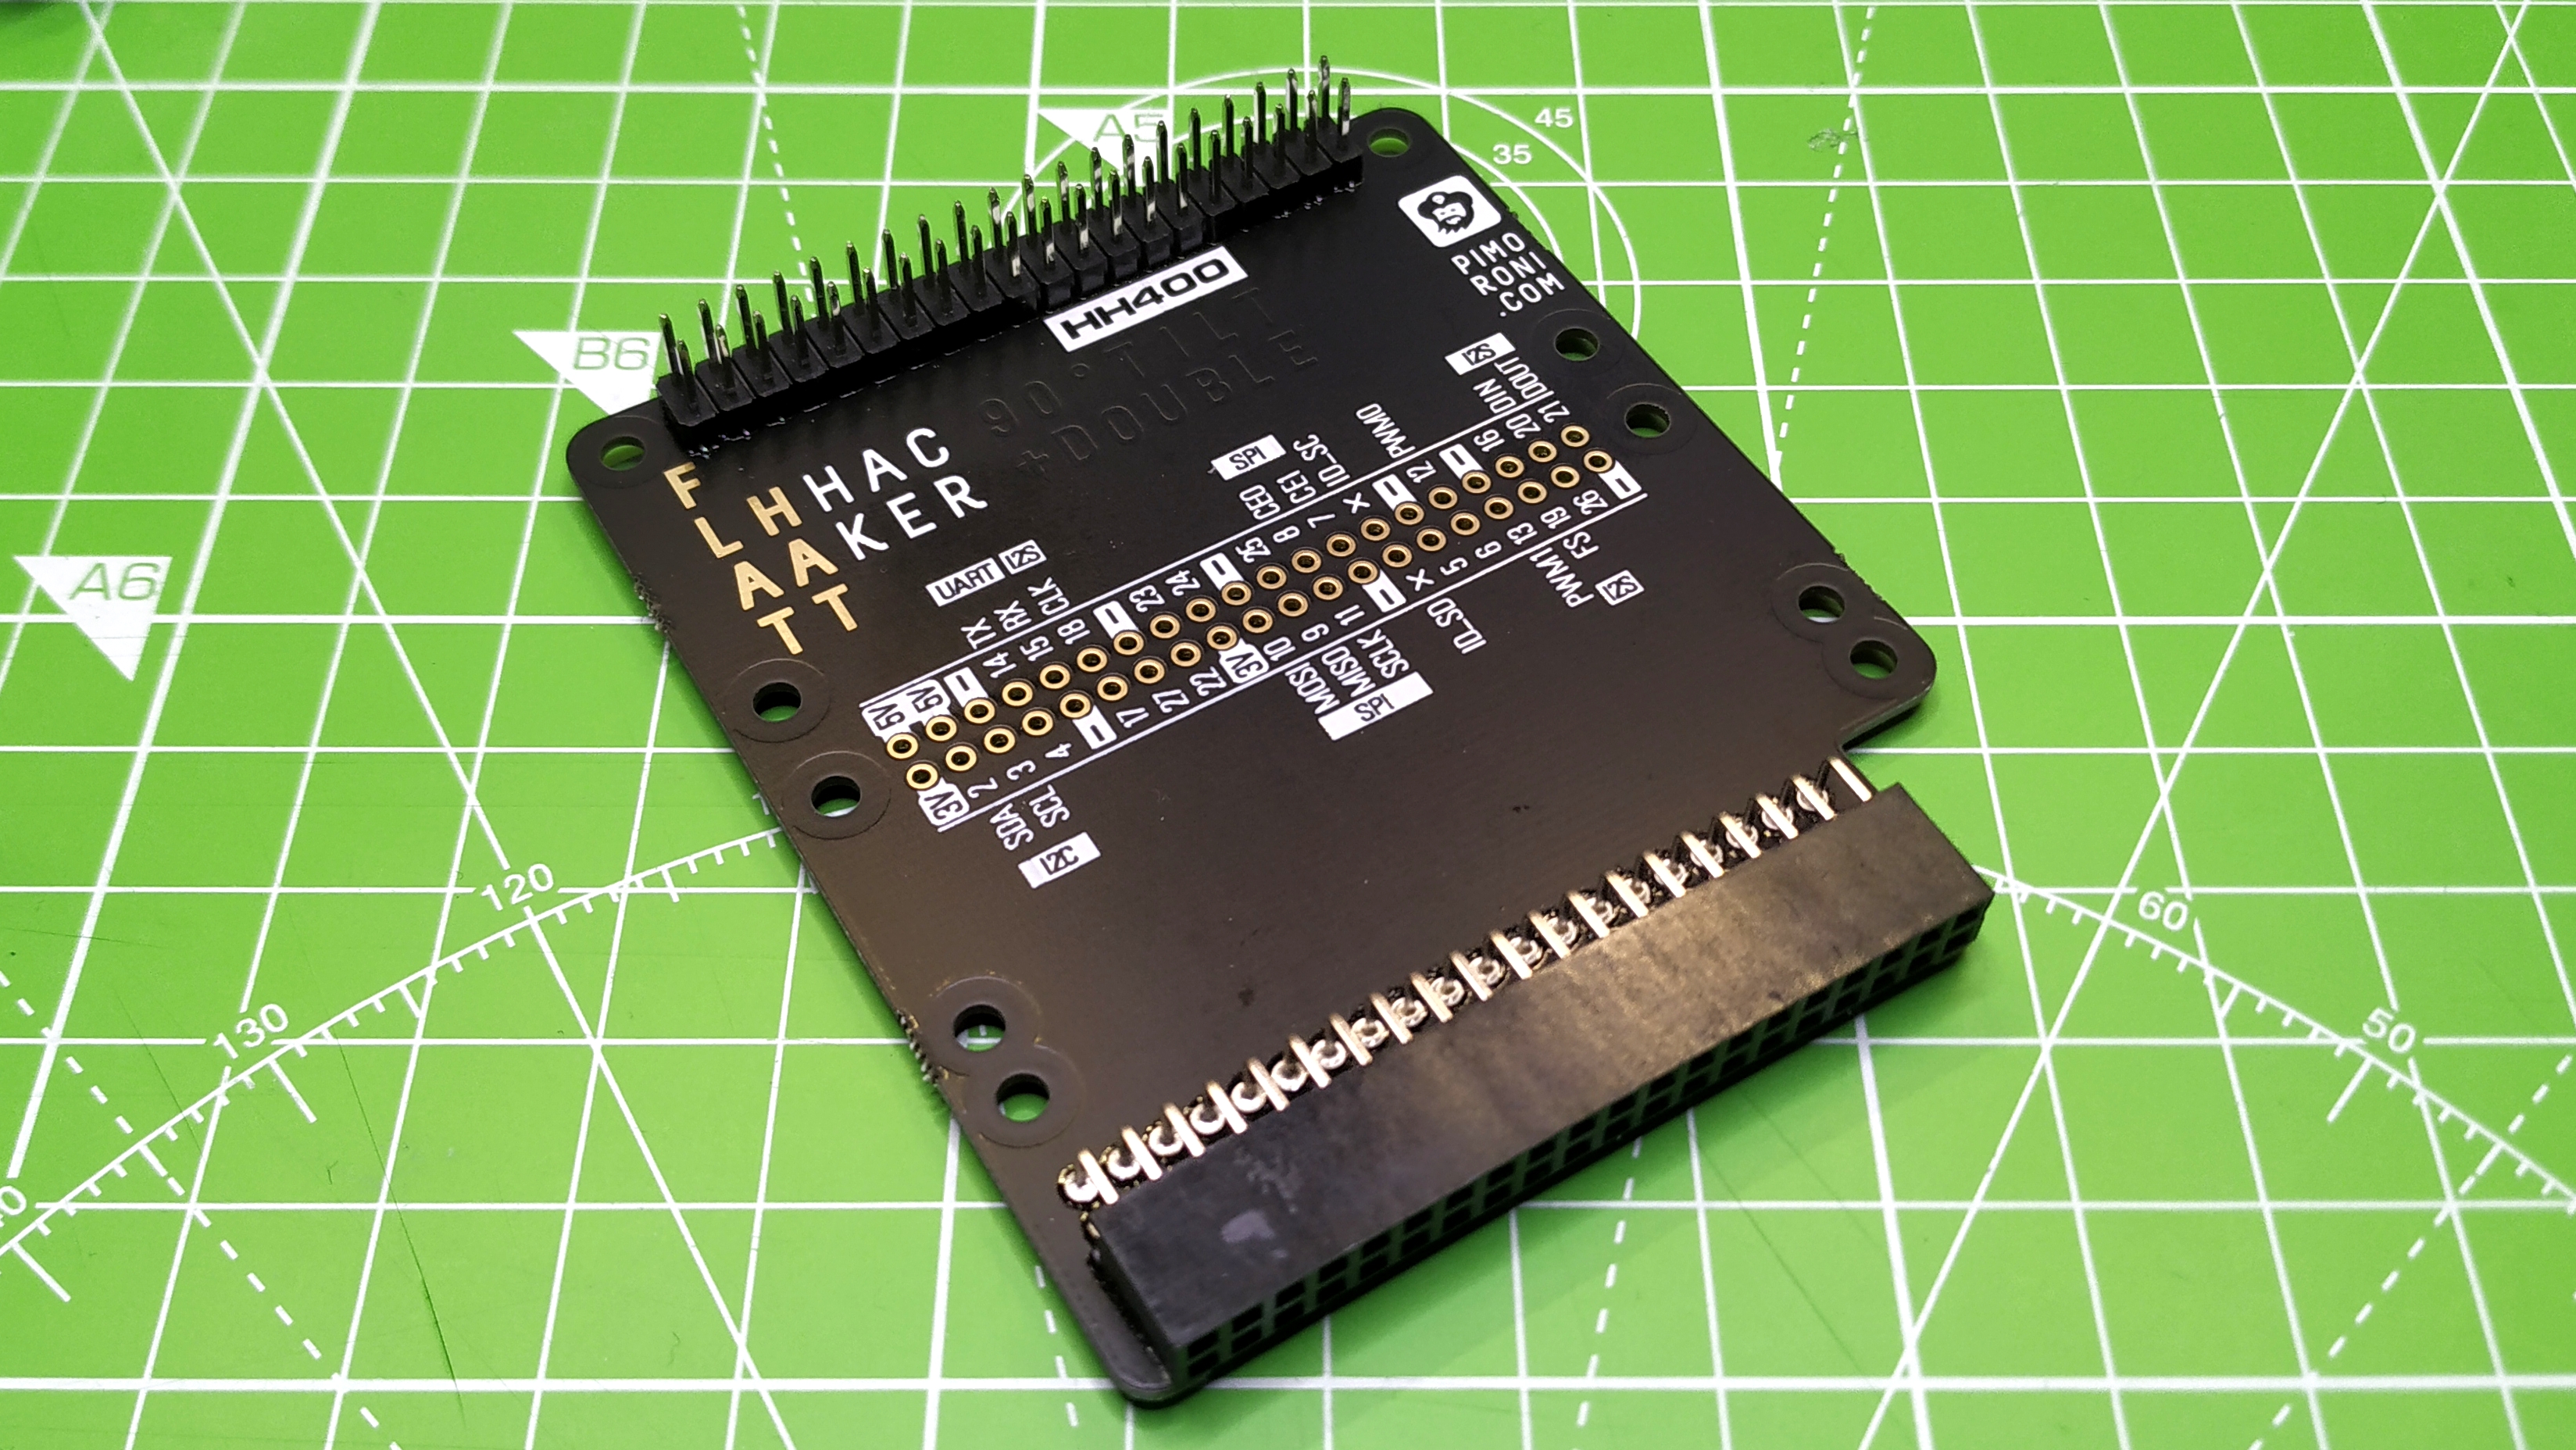
If you want to hack HATs then the alternatives are slim, but present and priced similarly. Pimoroni has the Editor’s Choice Flat HAT Hacker, designed for the Raspberry Pi 400. This board enables us to use two pHAT boards at once, or tweak the GPIO pins of a running HAT.
If you have another model of Raspberry P,i then the HAT Hacker HAT fits atop the GPIO of your Pi and offers the same features. A similar product is RasPiO’s FullpHAT. These alternatives are great, but Cytron’s Maker HAT Base has the edge thanks to the Grove connectors, LEDs and push buttons.
Who is Cytron’s Maker HAT Base For?
We see two types of users who would covet Maker HAT Base. The first is the learner, in class or at home taking their first steps with Raspberry Pi and electronics. The HAT access enables them to experience the world of Raspberry Pi, the Grove connectors simplify electronics and the onboard LEDs and buttons offer the instant gratification that fuels learning.
The second user is the maker / hacker who is eager to tweak and investigate HATs / pHATs and integrate them into their next project.
Bottom Line
$10 doesn’t buy you a lot these days, but it does buy you this. We’ve loved Cytron’s previous two Maker boards. The Raspberry Pi Pico focused Maker Pi RP2040 and Maker Pi Pico both received Editor’s Choice awards and for good reason. The Maker boards are cheap and packed with features for all levels of users and so is the Maker HAT Base. Pi users of all levels will find a use for this great little board, and at $10 it doesn’t take a big bite from our wallets.

Les Pounder is an associate editor at Tom's Hardware. He is a creative technologist and for seven years has created projects to educate and inspire minds both young and old. He has worked with the Raspberry Pi Foundation to write and deliver their teacher training program "Picademy".
