Extreme Air Cooling: Our Five-Slot (Quiet) Radeon HD 7970
The good news is that it’s possible to cool AMD’s flagship Radeon HD 7970 GHz Edition to less than 75 degrees Celsius under full load, maintaining a quiet 32 dB(A) at the same time. The bad news? It'll cost you five expansion slots and more than $100.
Installation: Out With The Old, In With The New
Preparing For Installation
Installing the EKL Peter isn’t rocket science, but it isn’t exactly a simple task, either. The included installation manual consists of one page, it doesn’t really illustrate the features specific to AMD's Radeon HD 7970 GHz Edition, and its schematic has several smaller errors. Even still, the process doesn't involve anything that can’t be overcome with a little bit of patience and our guide.
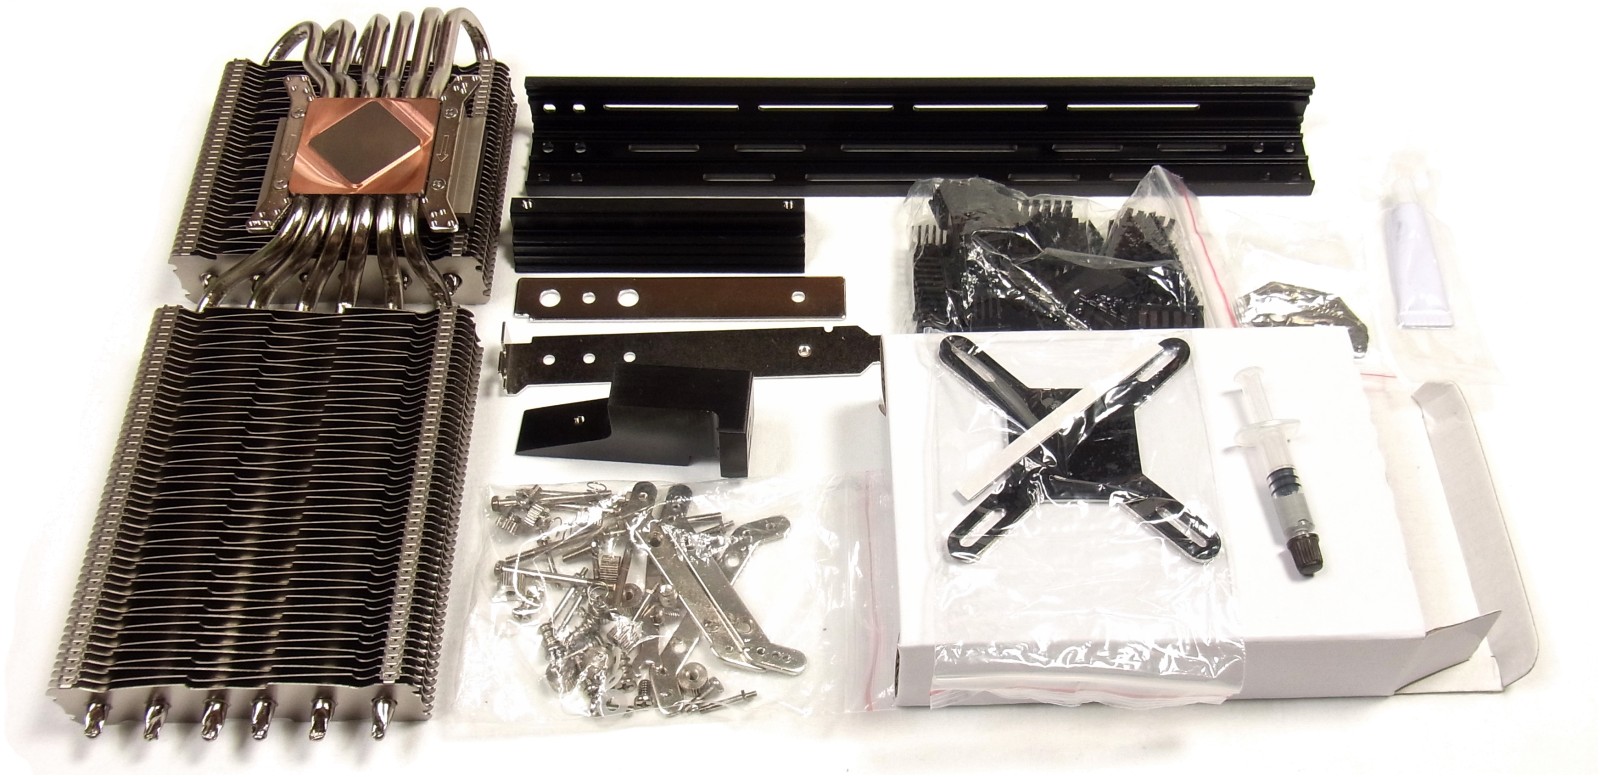
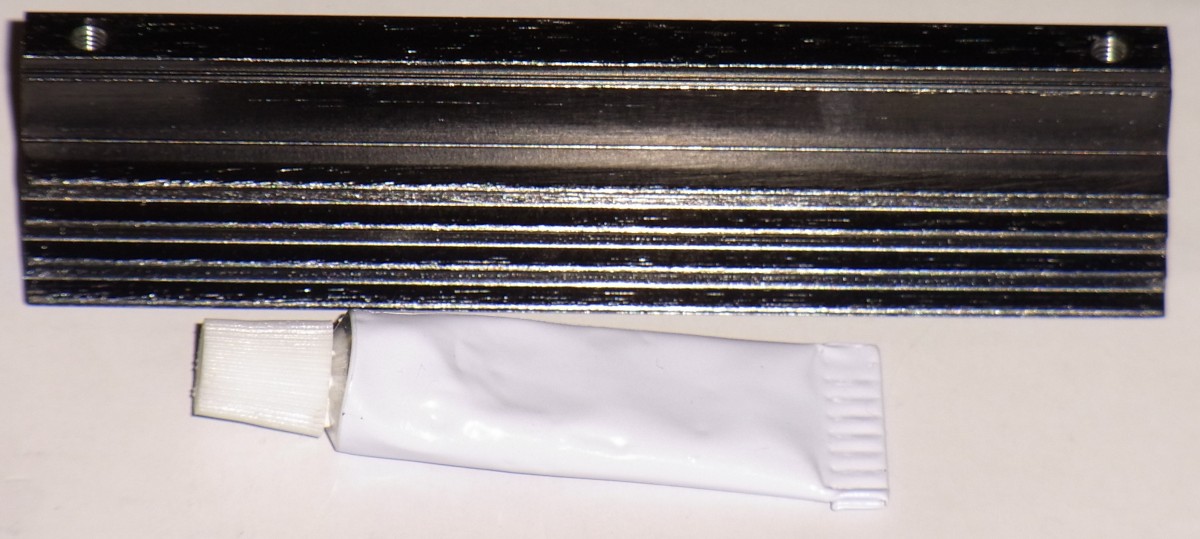
First, let's have a look at the bundled parts.
The two preinstalled brackets can’t be used with the Radeon HD 7970 GHz Edition; they need to be switched out for the ones with 54 mm holes. Once that’s done, the four shorter set screws (that look like threaded pins) are screwed in and tightened using the included tool. Just be very careful to avoid over-tightening the set screws. If you're concerned you won't be able to control your muscular forearms, we recommend that you use your fingers instead. You'll get ample torque from them.
Next, put the heat sinks for the RAM modules and VRM (along with the GPU cooler itself) aside, where they’ll be easy to access later. It’s time to start preparing the graphics card by taking off the reference cooler.
Installing EKL's Peter
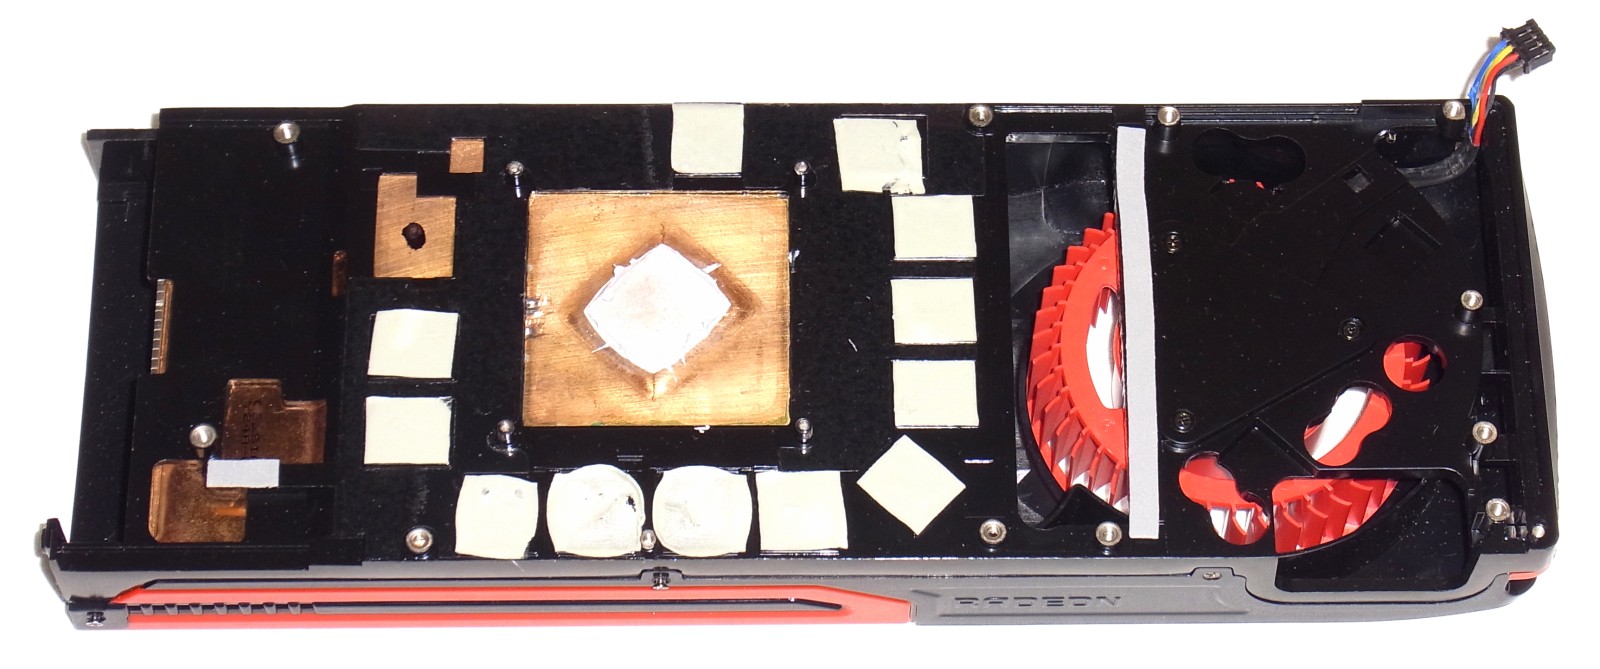
Taking off the reference cooler is unquestionably the worst part of this entire install. First, remove the two screws that hold the card's back plate in place (they face outside the case). Then, take out all the screws on the back of the card that hold the cooler's frame in position. You don’t need to remove the six screws holding the card’s plastic shroud. Finally, take out the cross-shaped GPU cooler retention plate's four screws. Since these are spring-loaded, be careful as you turn them the last couple of revolutions, or you might have little parts flying around the room.
Get Tom's Hardware's best news and in-depth reviews, straight to your inbox.
Now you should be able to take off the whole cooling solution with a slow, twisting motion. Just be careful not to yank it off too quickly; you you still need to unplug the fan’s power cable from the card.
Finally, it's time to clean up. Remove the remains of the thermal pads from the RAM modules with a soft rubber eraser and carefully clean the GPU with a paper towel.
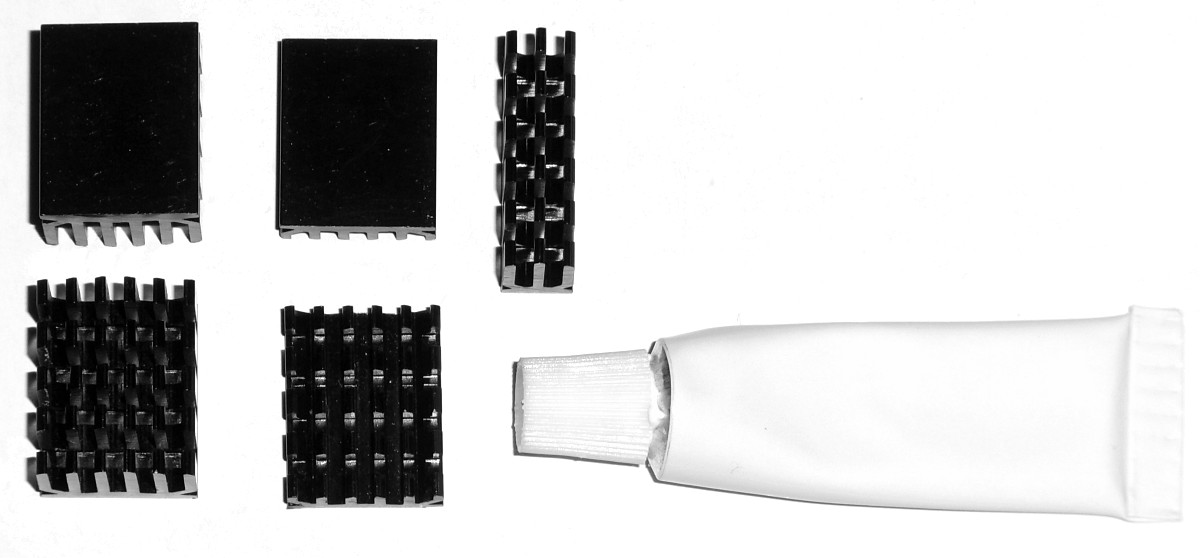
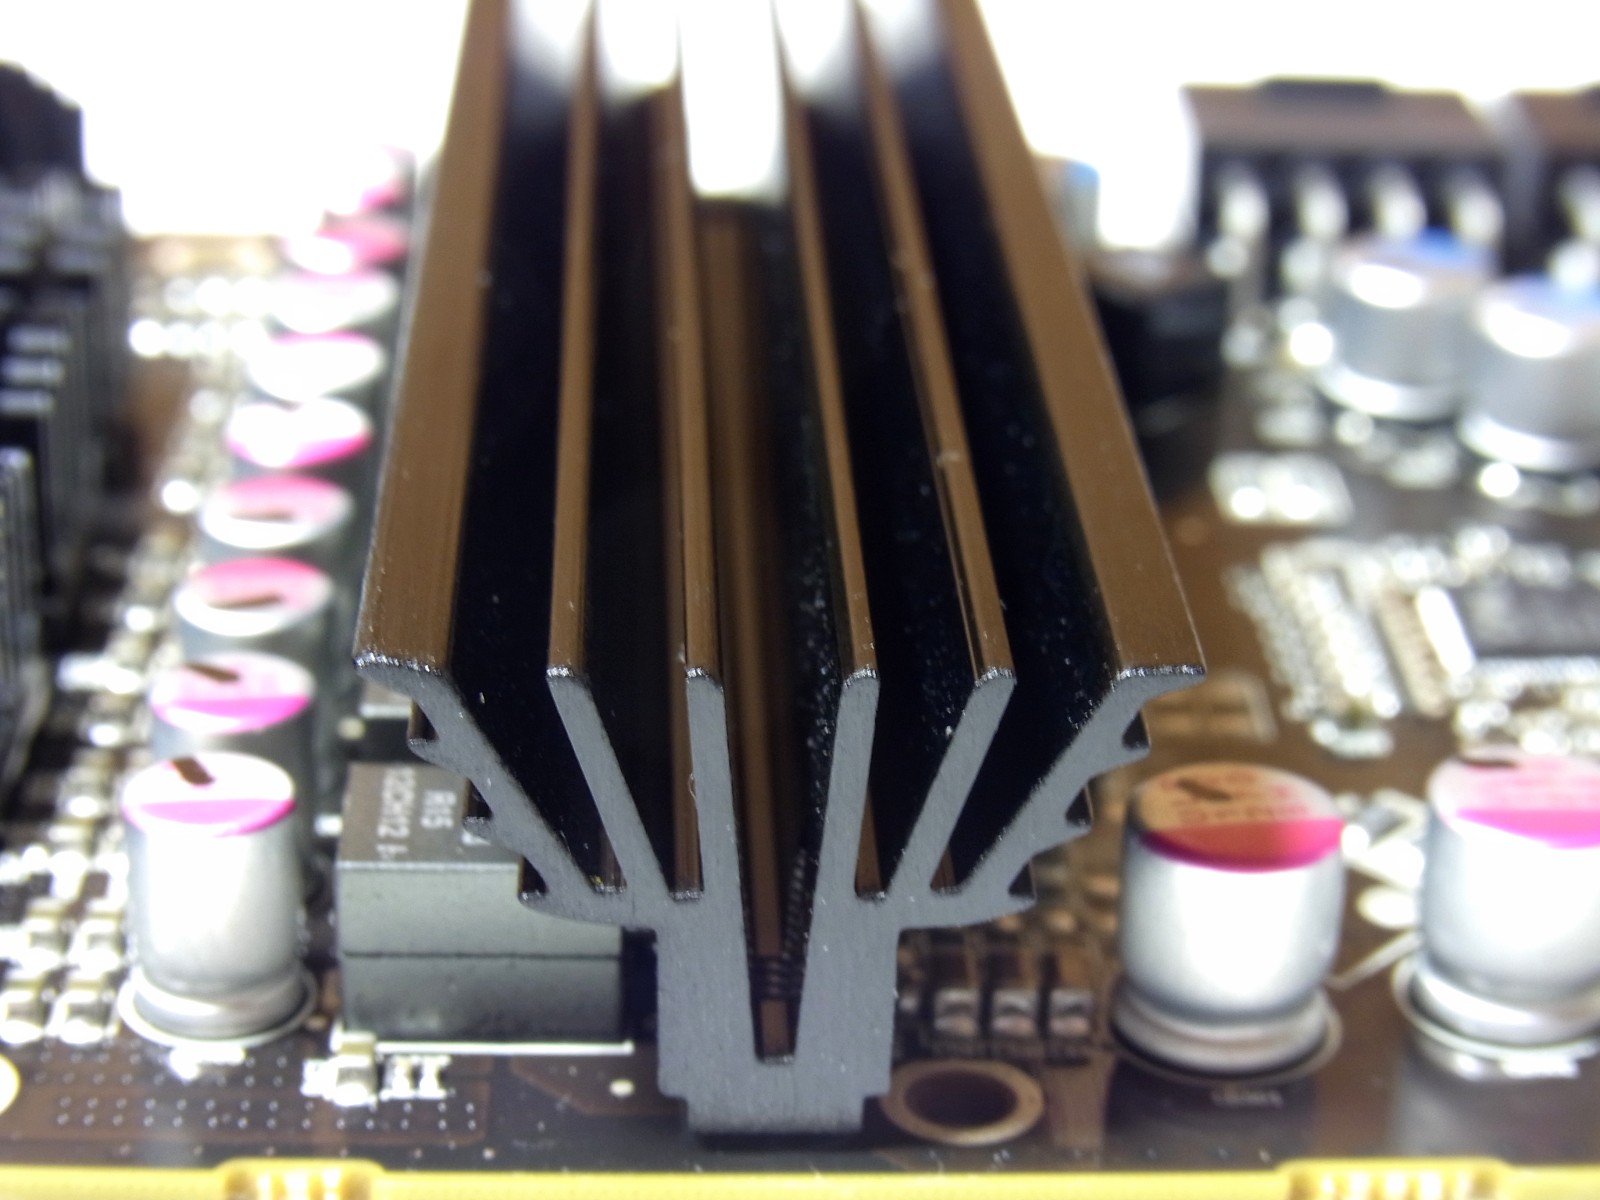
The RAM modules have to be cooled; you can't leave them exposed or they'll overheat. Make sure to use the correctly-sized sink on each RAM module (use the picture below as a guide if you want; EKL's manual doesn't help with this at all). The flat heat sinks need to go on the two modules to the left and the module below the GPU, leaving enough room for the cooler's heat pipes.
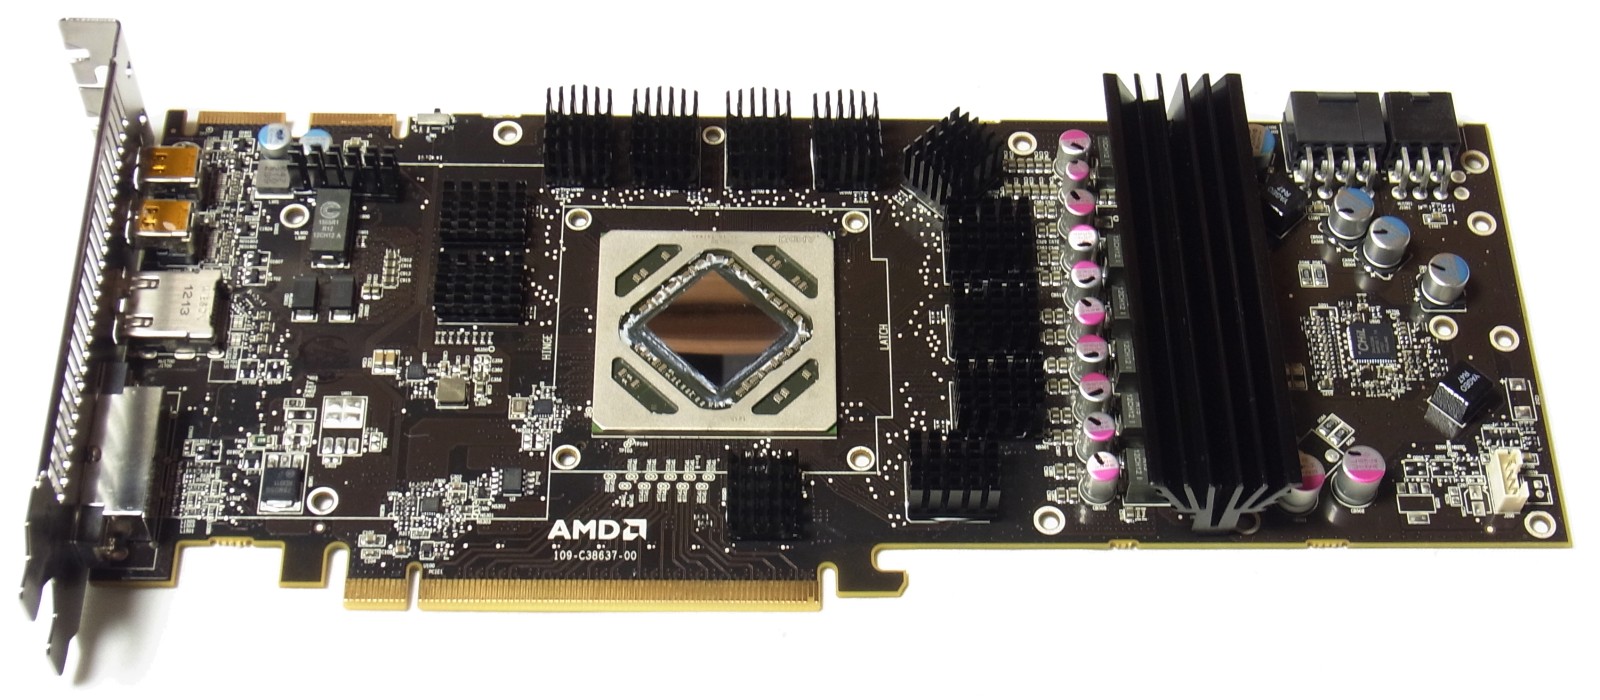
Once you know the right spots for the heat sinks, use a bit of adhesive thermal paste on each RAM module and press them into place. There should be just enough paste on the memory chip to see a bit after pressing down, but not so much that you can’t see the heat sink’s bottom. We recommend trying this with one sink until you know the right amount to use. Once all of the heat sinks are installed, the card should like the following image:
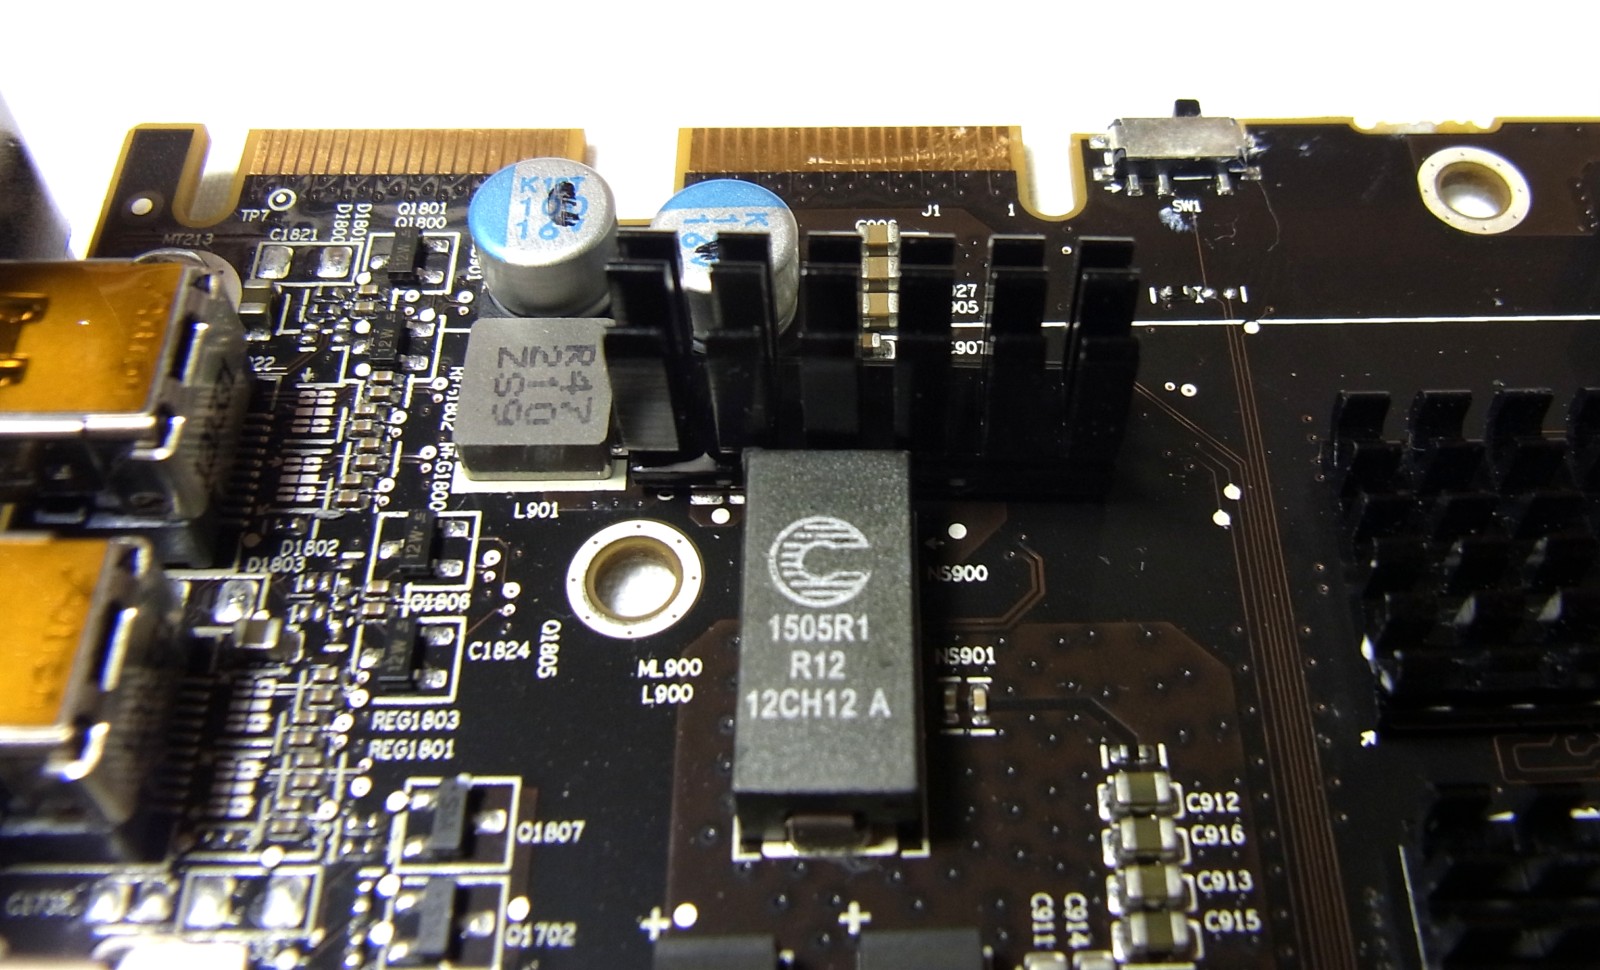
Next, it's time to to cool the Radeon HD 7970 GHz Edition’s VRM. The MOSFETs aren’t all the same height, so we recommend applying thermal paste a bit more liberally than on the memory. Note that the heat sink’s screw holes don’t fit the Radeon HD 7970 GHz Edition. Once again, the only thing holding it in place is thermal paste, so be sure you're using the adhesive variety. The thermal pads that EKL includes simply aren't enough to hold the heat sink on their own.
Once you’re done, the heat sink should be positioned in the middle, like this:
Another point the manual doesn’t mention is that you also need to put a heat sink on a smaller MOSFET, found toward the top-left of the card.
Are you ready to install the GPU cooler? Put a 2 mm blob (about the length of a grain of rice) of the bundled thermal paste on the GPU, and set the cooler, sporting the correct brackets, on top of it. Then, attach the cross-shaped retention plate to the back of the card, tightening each screw a little at a time until they sit nice and tight. You can take a look at the manual for this step, since it’s reasonably helpful.
Note that the adhesive thermal paste only really sticks once it gets burnt-in. Until then, you need to be careful handling the card so that nothing falls off.
Current page: Installation: Out With The Old, In With The New
Prev Page The Heat Sink And Fans, Detailed Next Page Installation: Fans
Igor Wallossek wrote a wide variety of hardware articles for Tom's Hardware, with a strong focus on technical analysis and in-depth reviews. His contributions have spanned a broad spectrum of PC components, including GPUs, CPUs, workstations, and PC builds. His insightful articles provide readers with detailed knowledge to make informed decisions in the ever-evolving tech landscape
-
Hazle that is so sexy... too bad it's not compatible with a 6870, pointless as it seems (to me, at least) , but goddamn, them temps and noise make it hard not to consider the idea....Reply -
jossrik Seems to me if you're willing to go 140$ or whatnot to cool your Gfx card, you might be interested in water cooling. 80$ for a Noctua and 100+ for this put you into cheap water cooling territory, and while you could easily spend double or more water cooling, that seems the route to take. Just my two cents.Reply -
ShadyHamster how about comparing this with other aftermarket coolers? such as arctic coolings accelero extremeReply -
JOSHSKORN what a waste...unless a manufacturer comes up with a motherboard and case specifically made for this so you don't waste expansion slots.Reply
