Why you can trust Tom's Hardware
We are using the following system for our case test bed:
| CPU | Intel Core i9-9900K |
| Motherboard | Asus Maximus XI Hero WiFi |
| Memory | Corsair Vengeance LPX 3000 MHz, 16 GB (2x 8GB) |
| Graphics | Nvidia GeForce RTX 2070 Super Founder's Edition |
| CPU Cooling | Noctua NH-U12S Chromax.Black |
| Row 5 - Cell 0 | Noctua NT-H2 Thermal Paste |
| Storage | Corsair Force Series MP510 NVMe SSD, 480GB |
| Power Supply | Fractal Design Ion+ 2 Platinum 860W |
Motherboard Installation
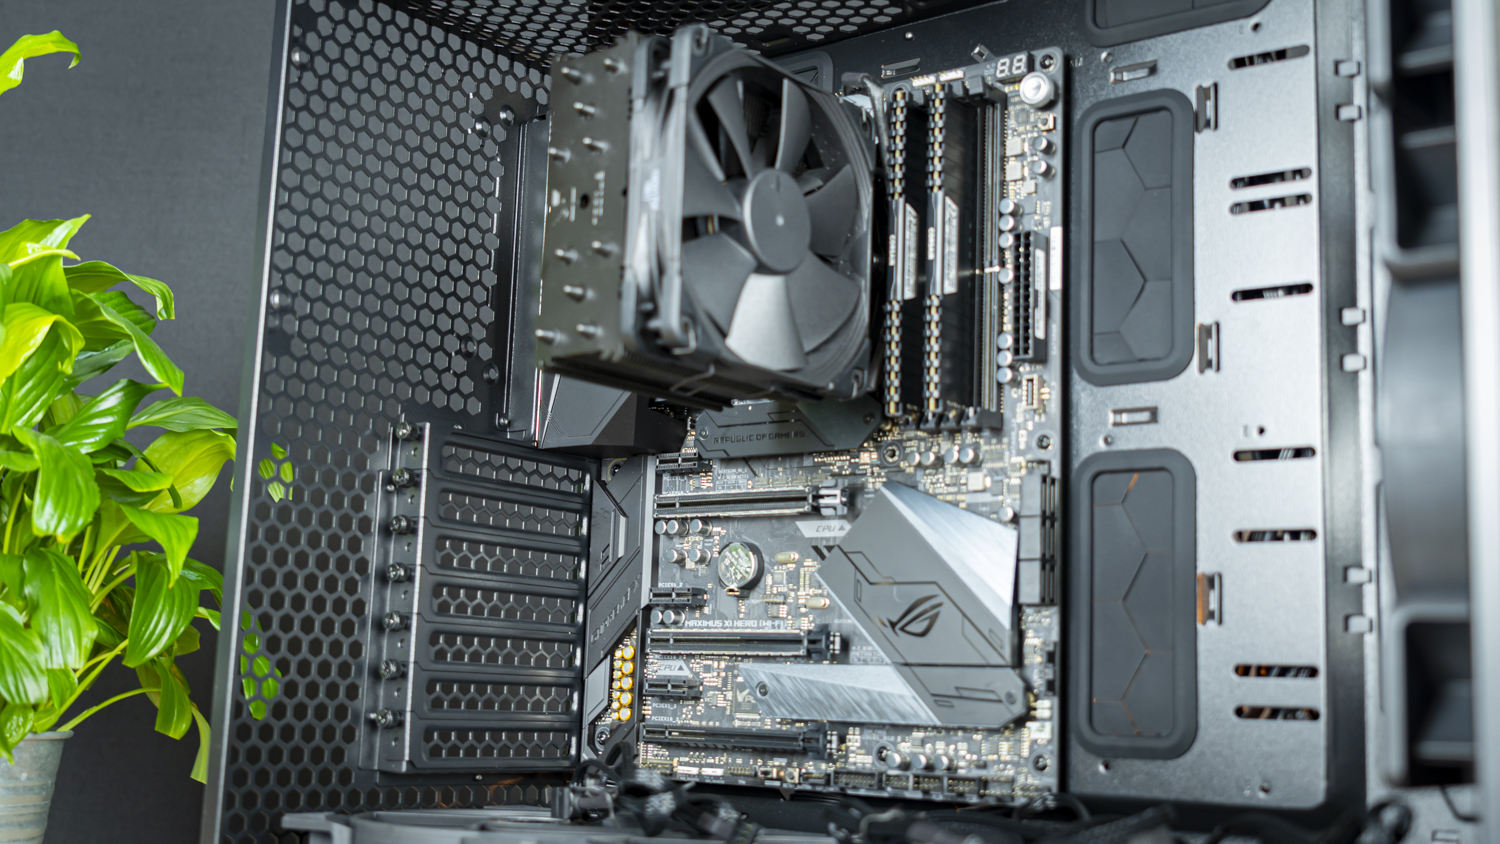
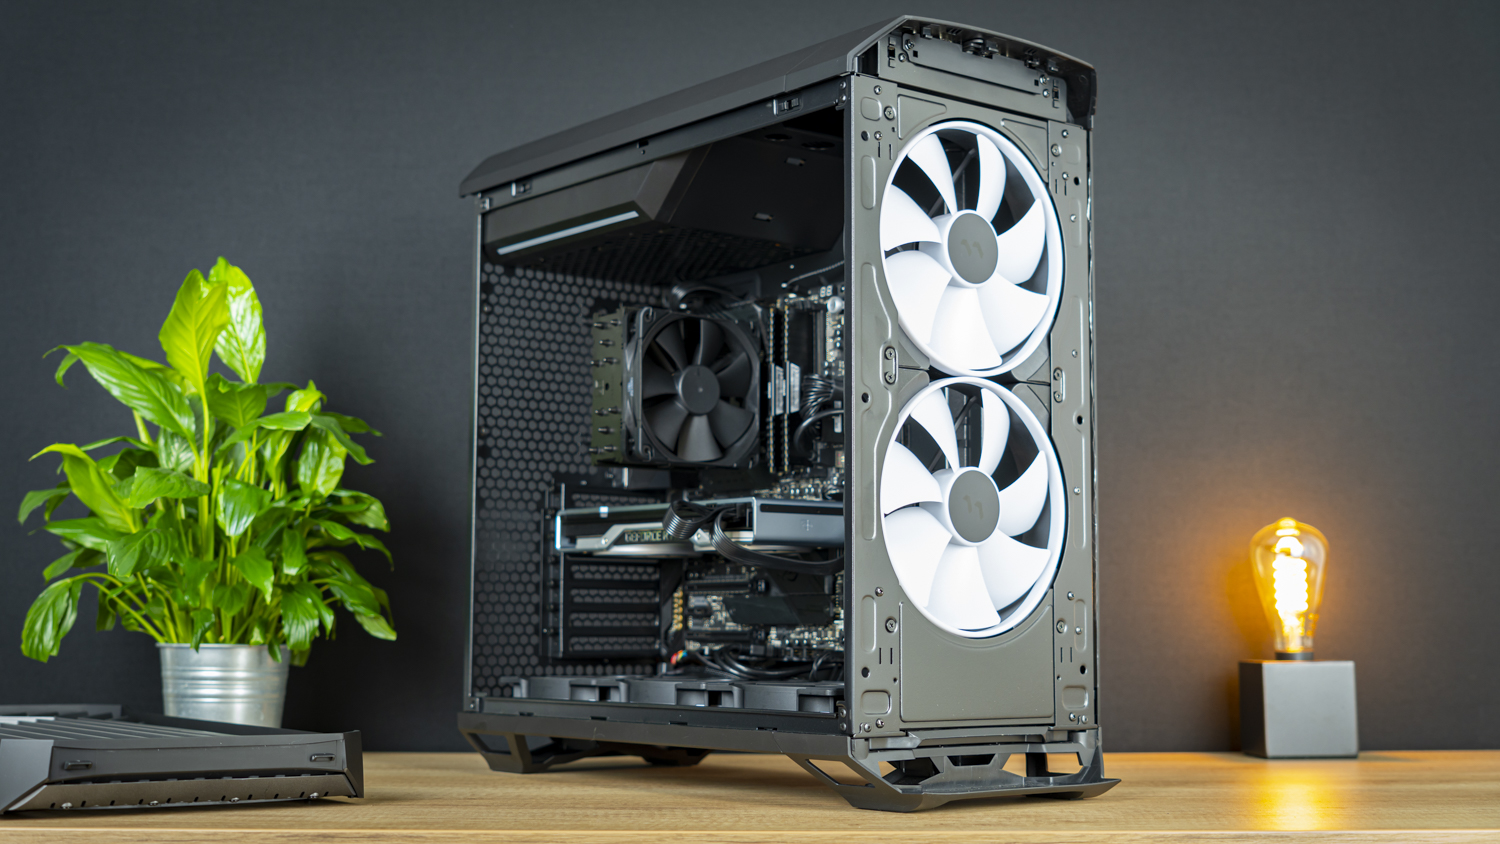
Dropping the motherboard into the Torrent was a breeze, as the chassis has tons of space and a central anchoring standoff is included. Of course, we did already pre-install the CPU, cooler, memory, and SSD to save time.
GPU Install
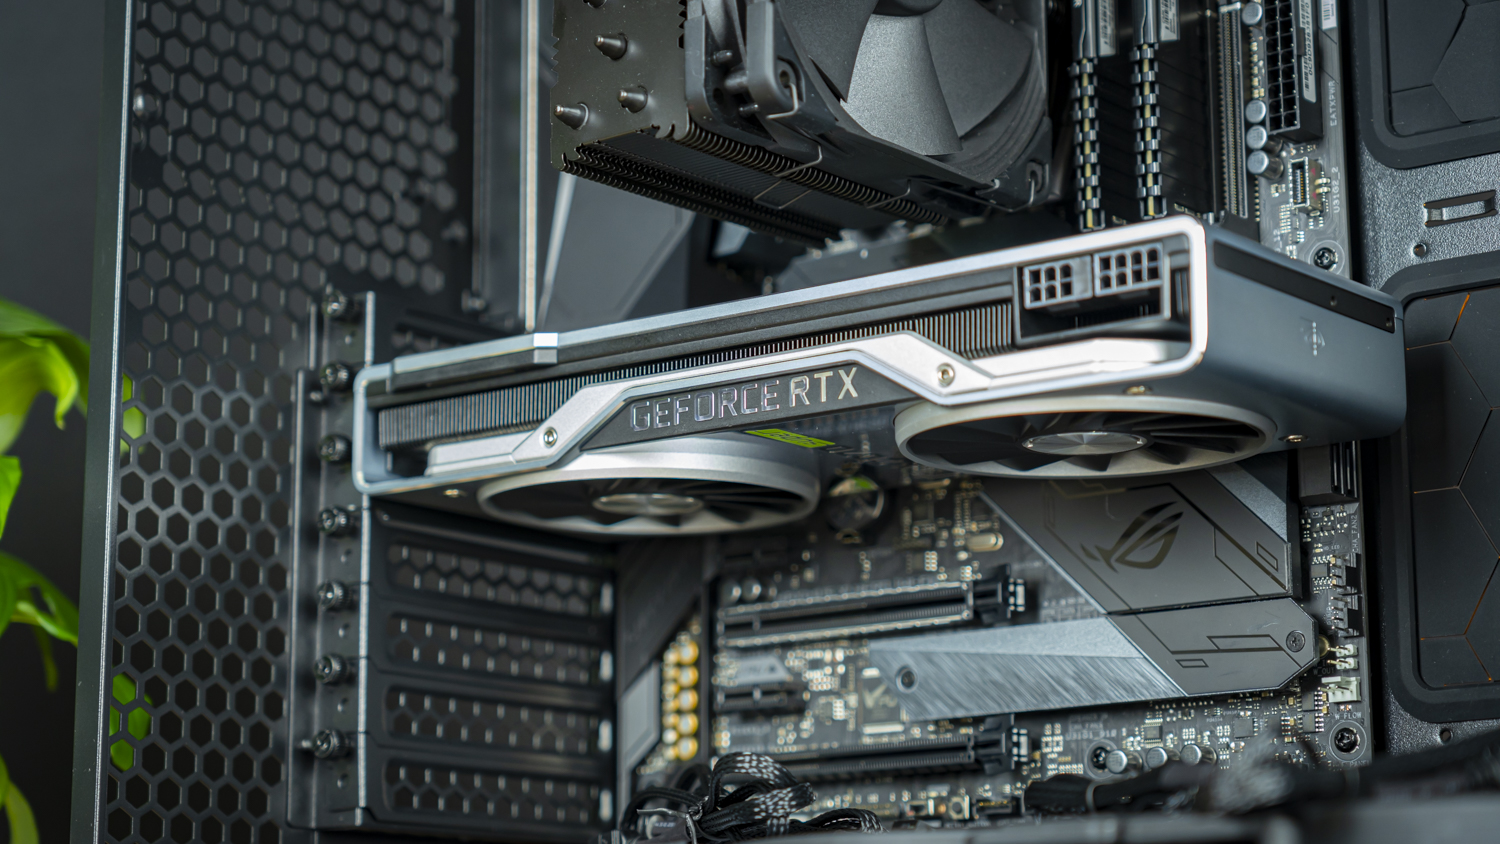
Our RTX 2070 Super installed just as easily, slotting right into place in the second and third expansion slots.
PSU Install
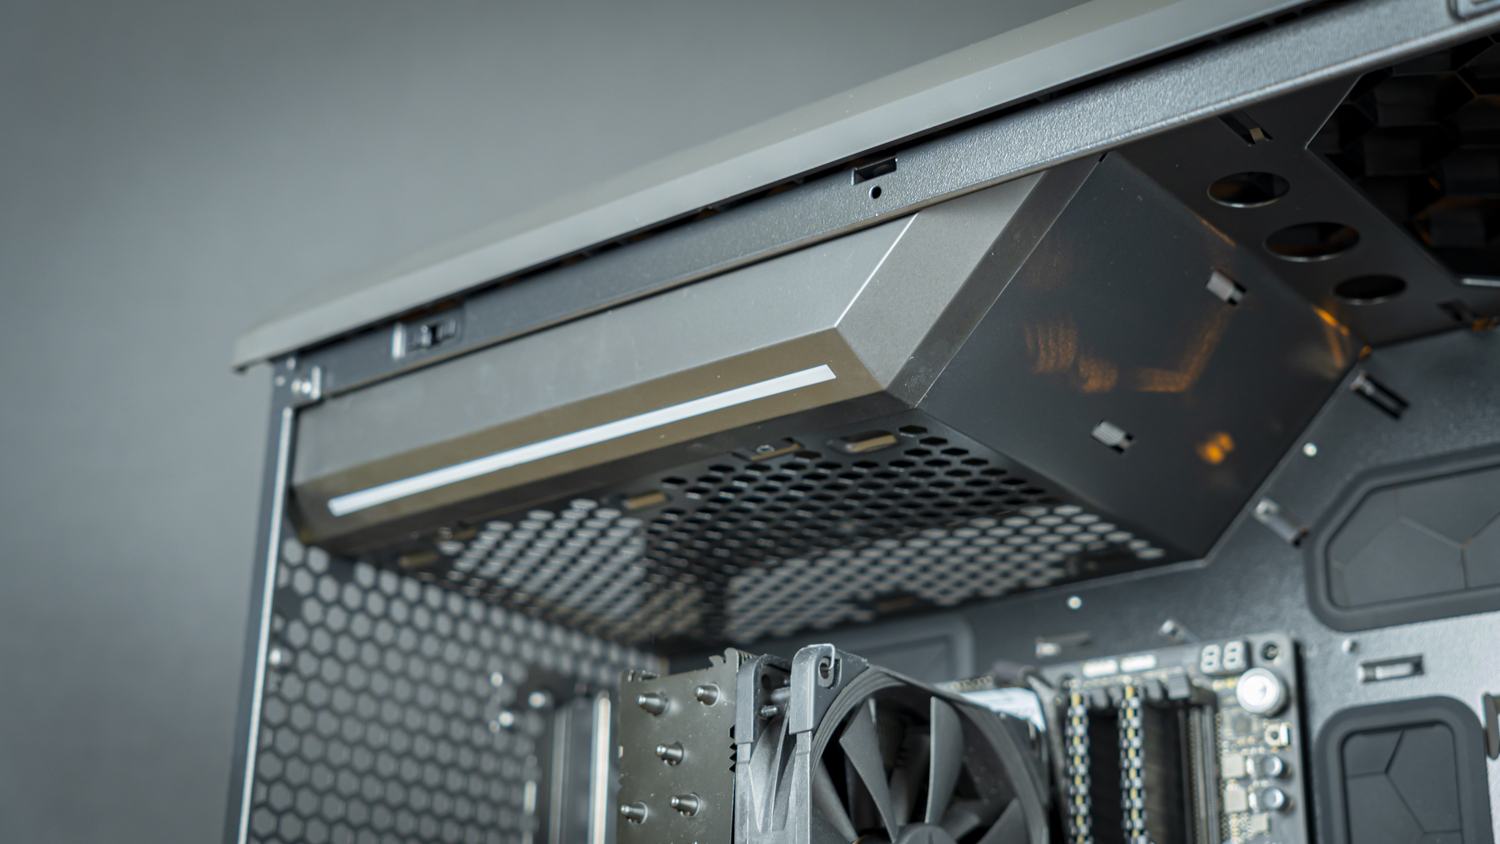
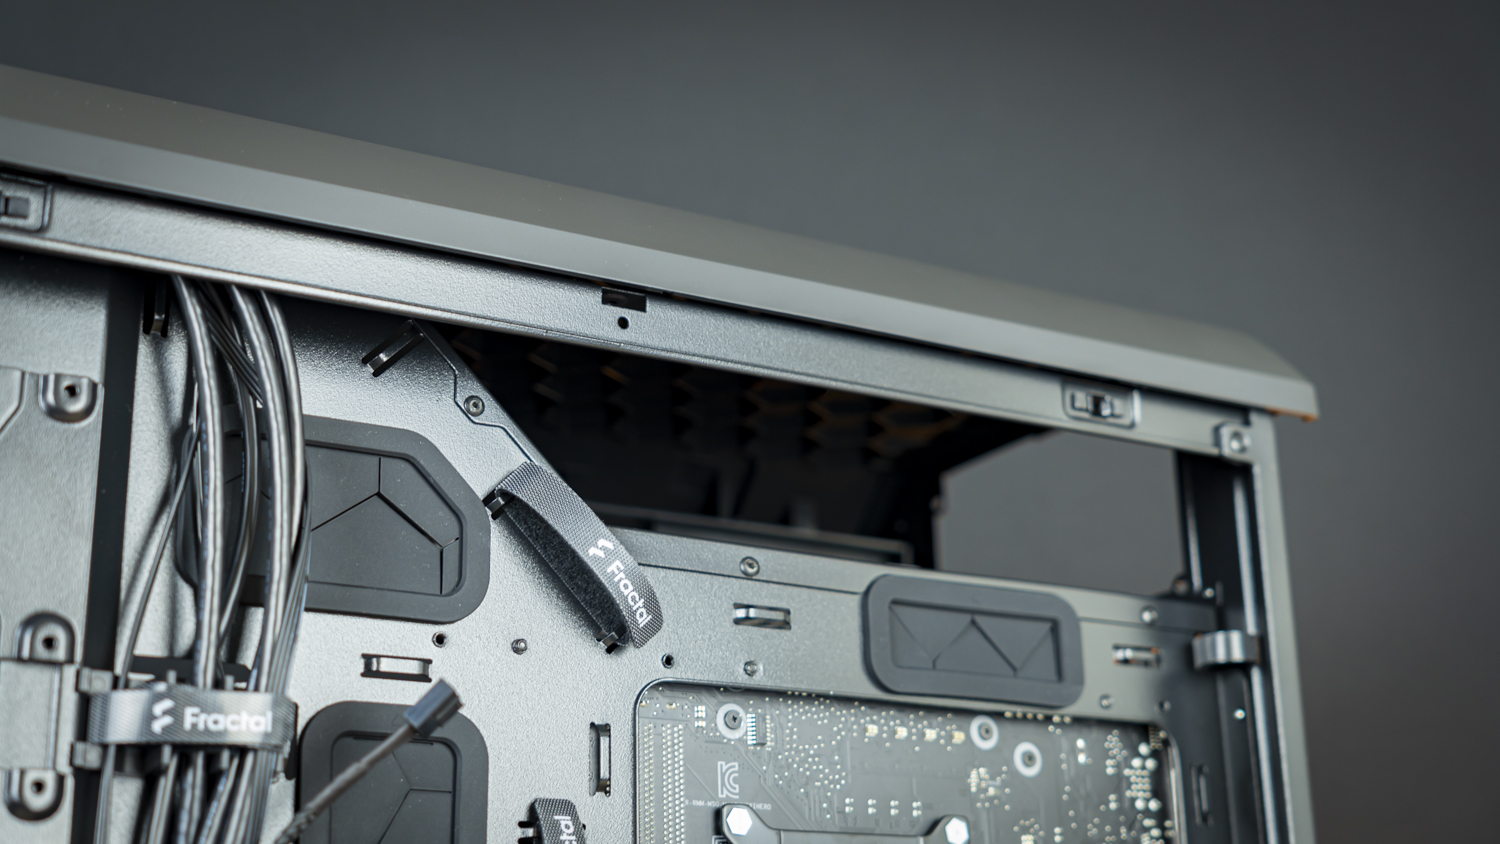
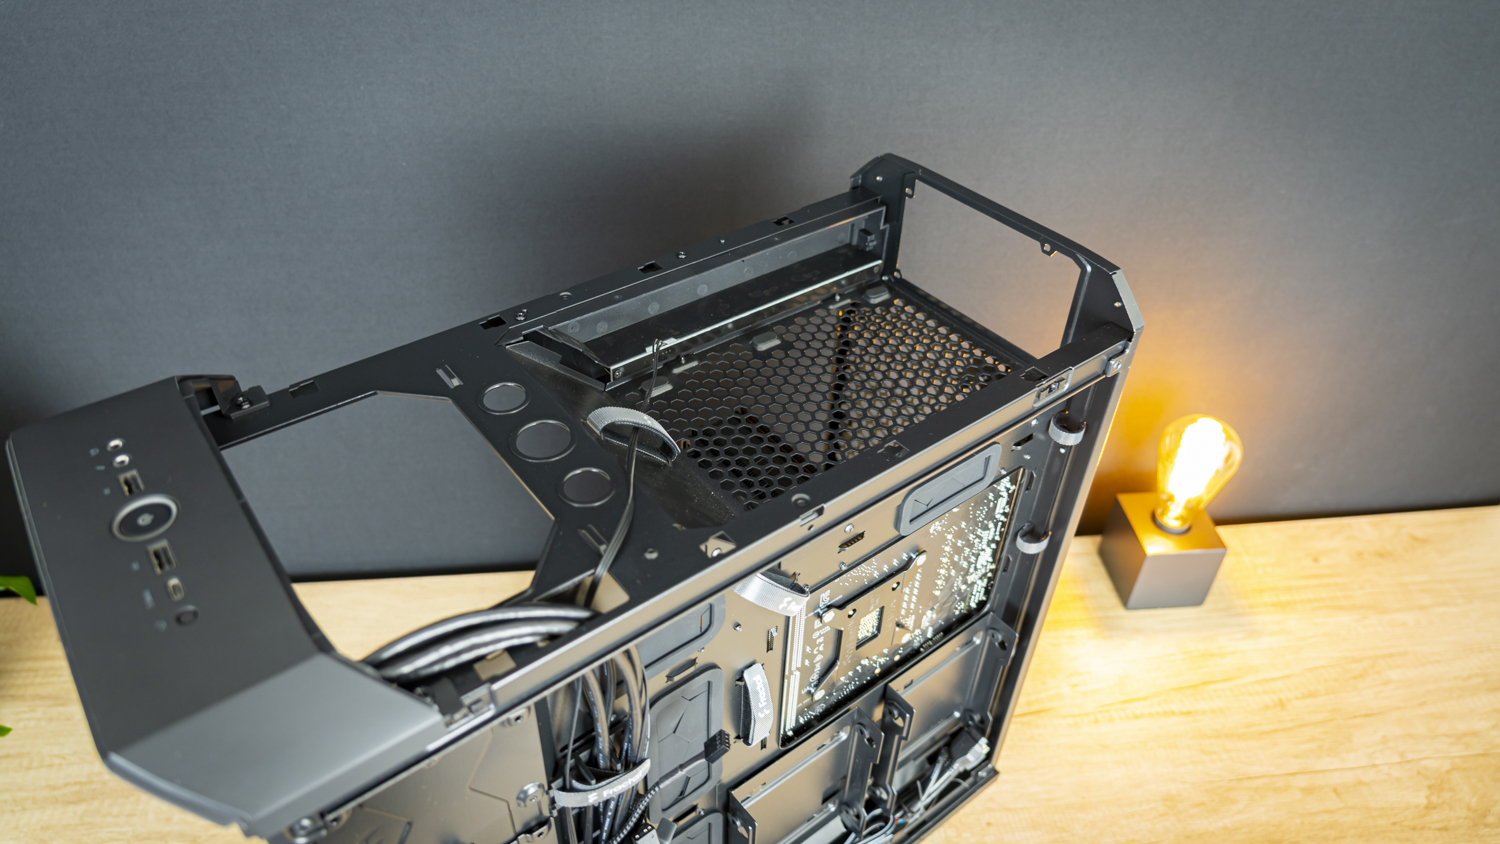
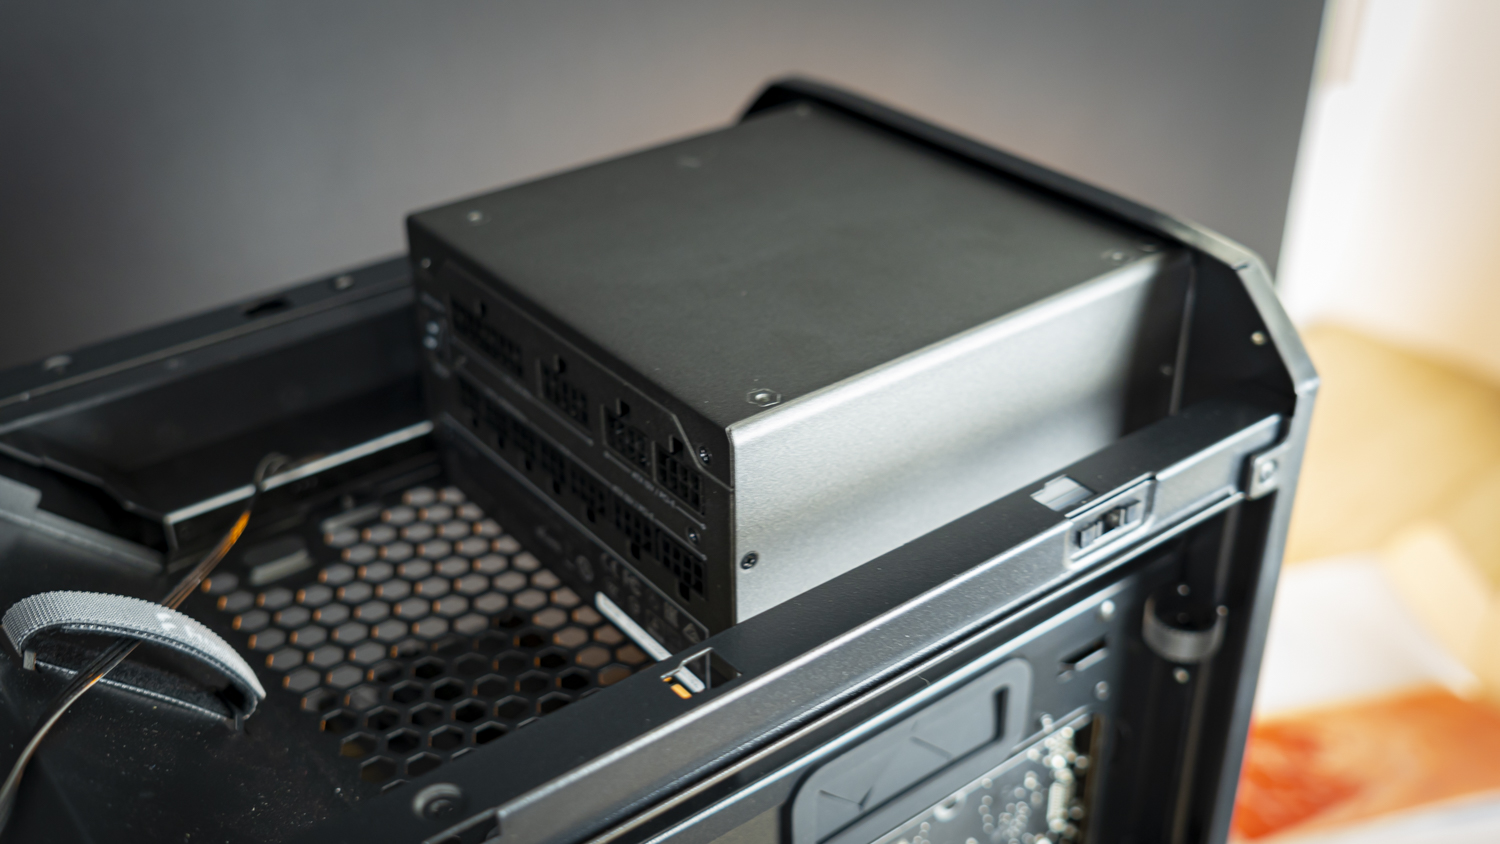
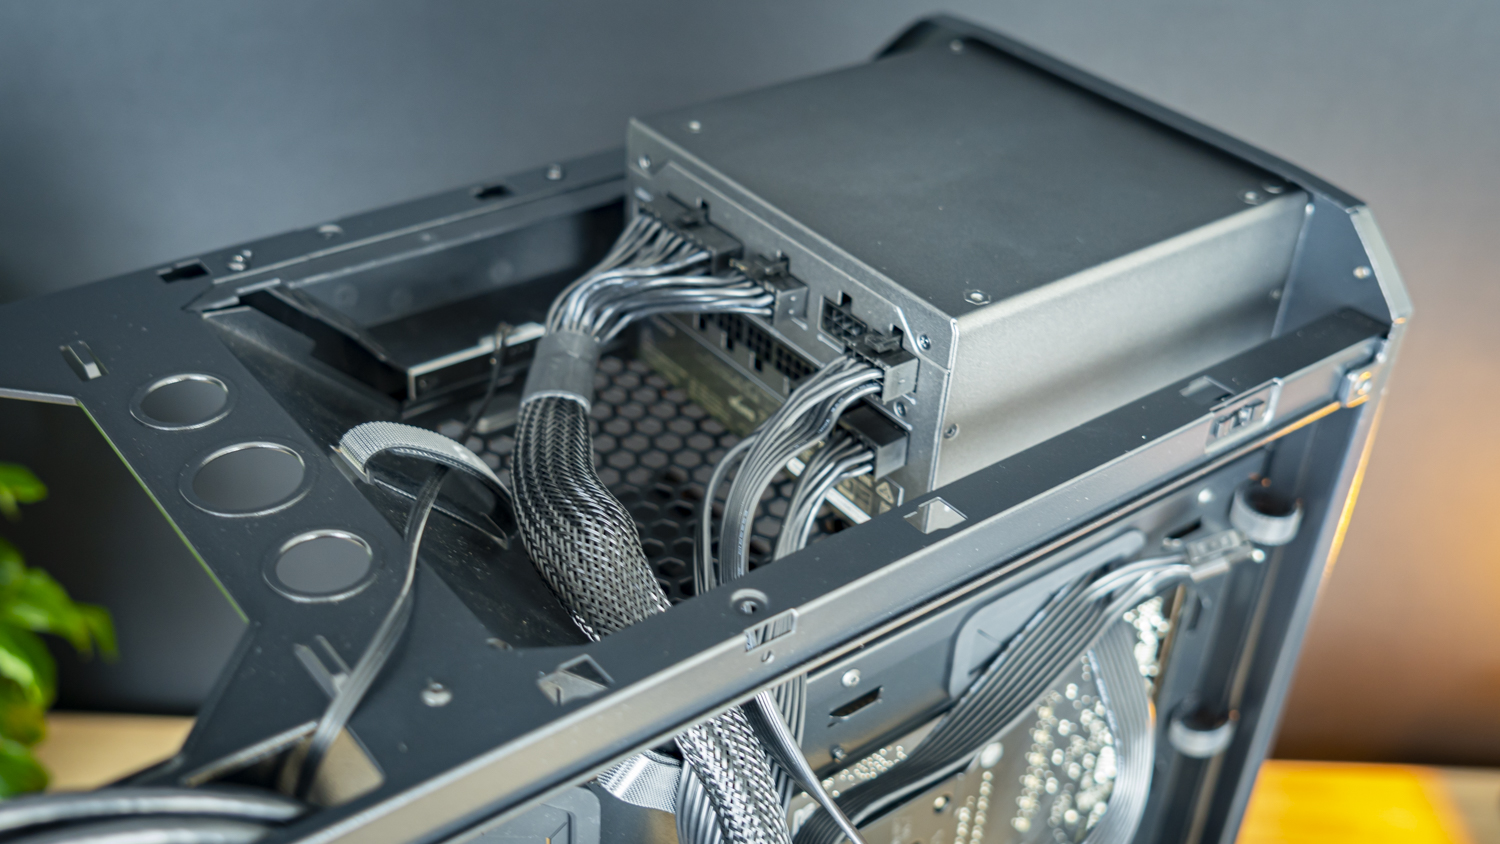
Installing the power supply required the extra step of opening the top of the case, exposing a sort of ‘bucket’ into which the PSU is dropped. I quite like this system actually – not only does it make installing the power supply a breeze, connecting cables is also easy, there is a ton of space for larger power supplies, and with the case’s design placing half the PSU below the top line, and half above into the cover, the power supply is visually hidden away quite well.
Cable Management
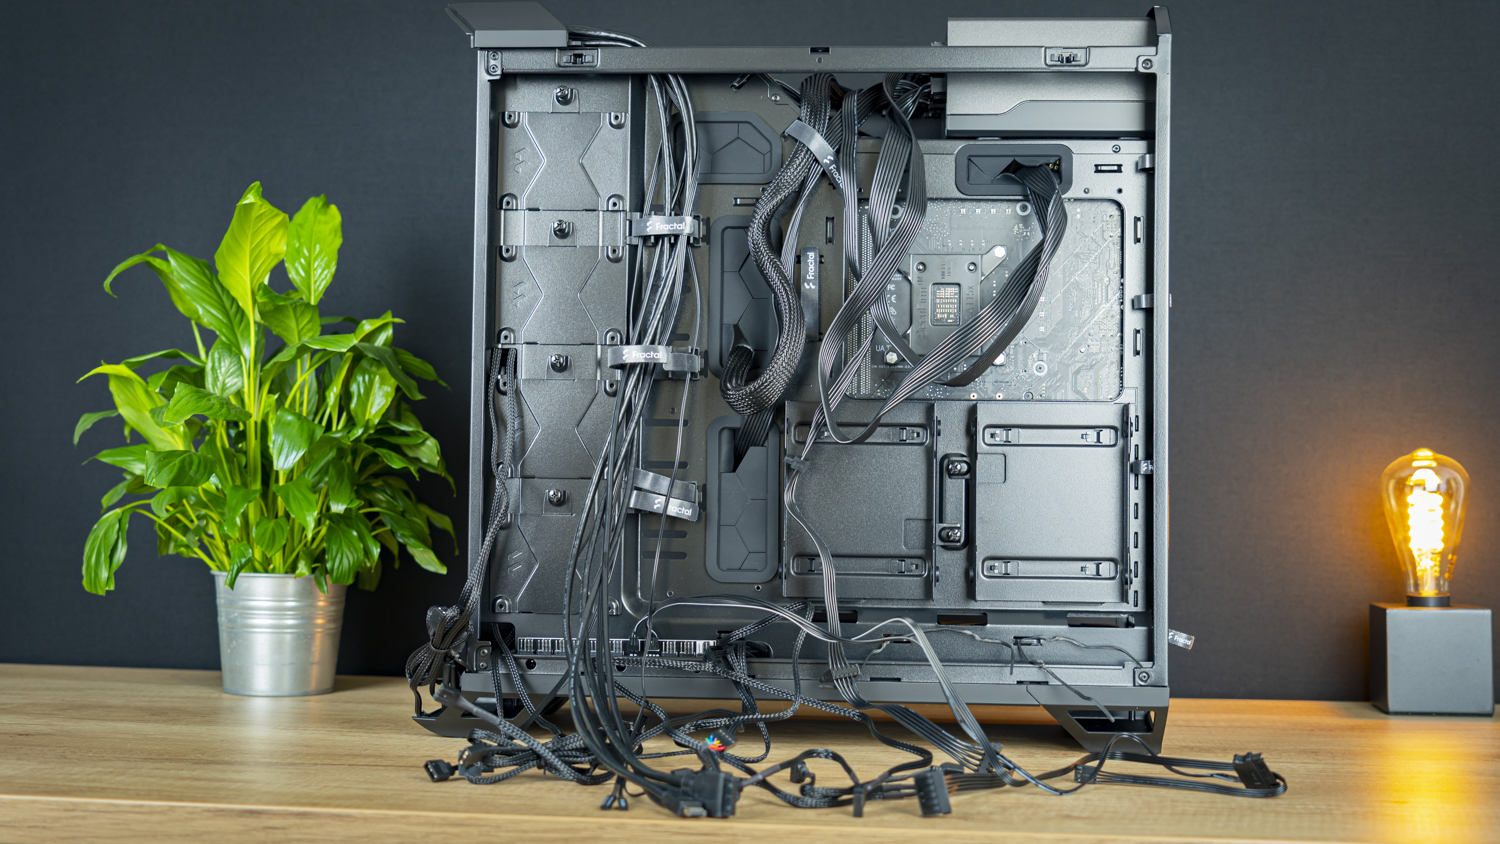
When it comes to cable management, I was a little less impressed with the torrent. In theory, all the basics are present: ample space behind the motherboard tray, Velcro ties, space in the PSU compartment to chuck cable slack – but it’s the fan and RGB cables that upset me most. The case comes with five fans, and each has its own power cable and RGB cable – that’s a total of ten cables you have to tidy up just for the fans, and they all come together at the bottom of the chassis where there isn’t a lot of space to chuck excess length.
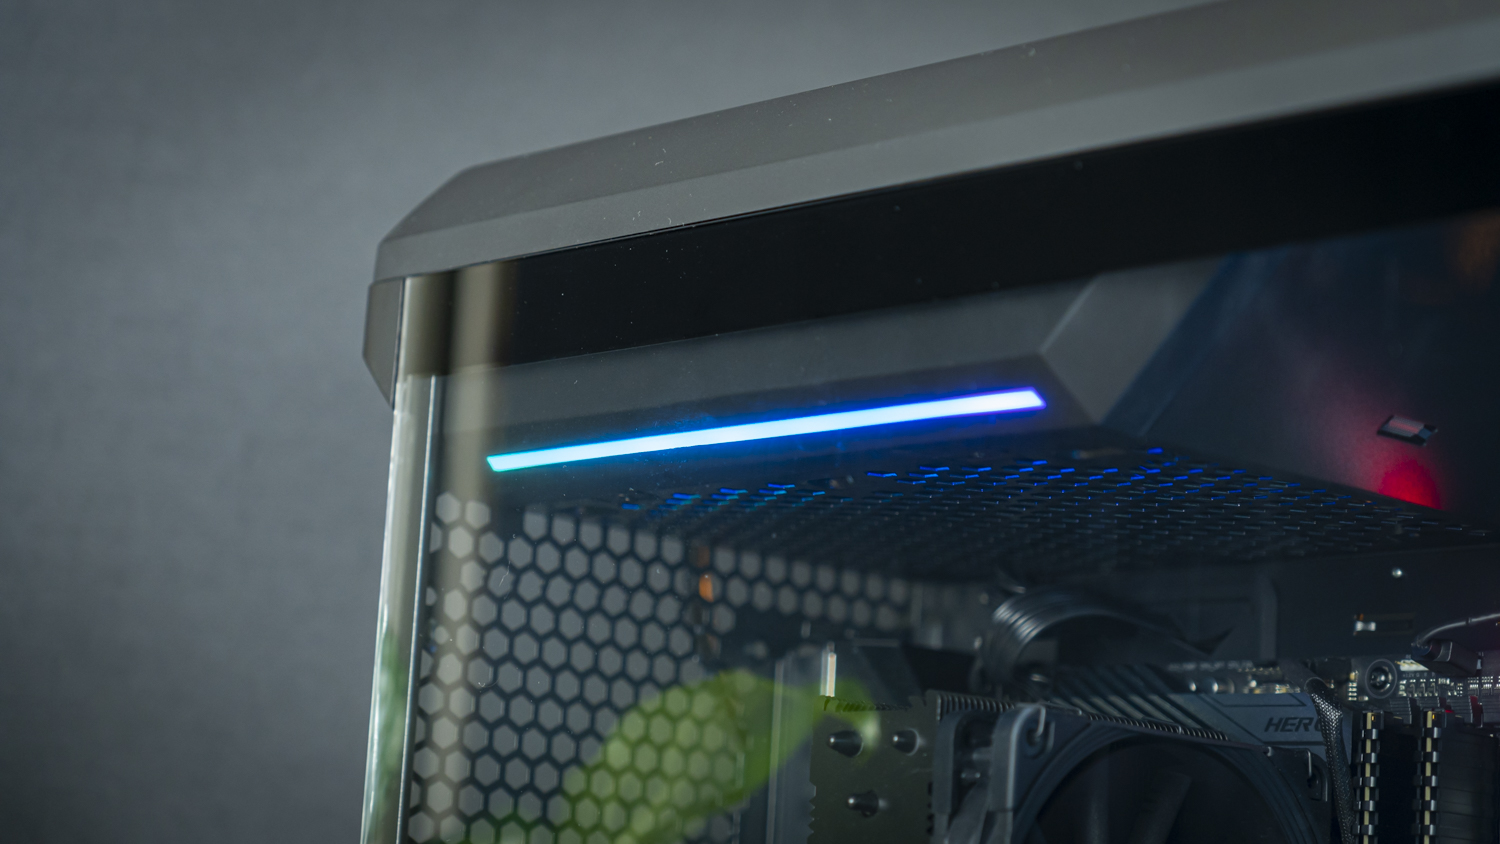
There is also no RGB hub, but the cables do daisy-chain so you can connect them all without needing extra gadgets. That said, I do recommend you split the devices over two A-RGB ports on your motherboard, so as not to overload a single connector, as five large fans and an RGB strip near the PSU may be a bit much otherwise.
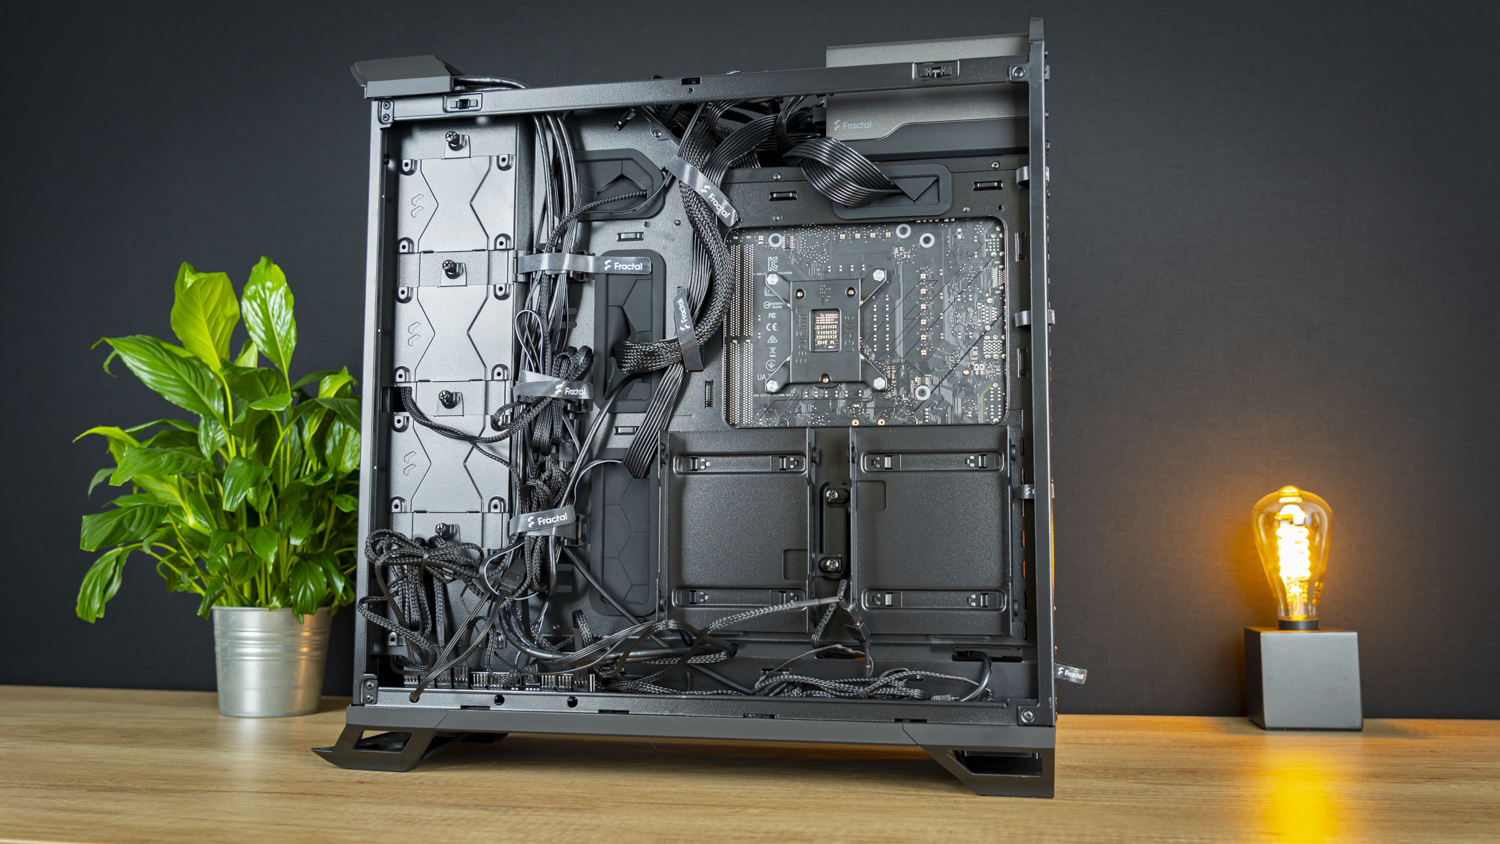
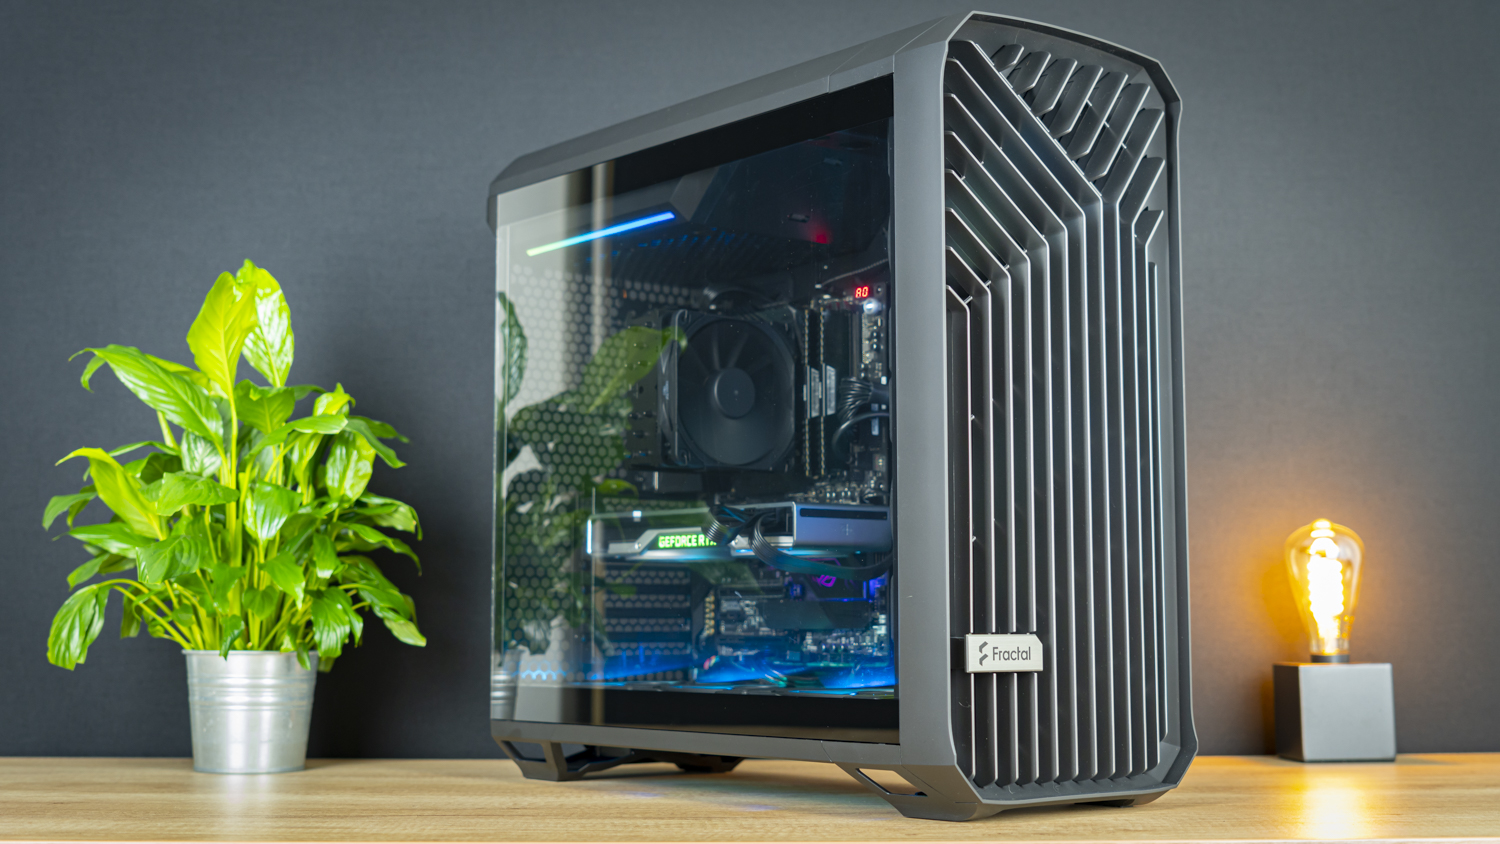
Regardless, after about 15 minutes of connecting and tidying cables, above is the end result. It isn’t particularly pretty, and you can do a nicer job than this with some added effort and zipties to minimize the clutter in the excess fan cables, but this system is about to be de-installed anyway, so I didn’t bother spending more time on it. I slapped the panels on, and with that, the build was complete.
Get Tom's Hardware's best news and in-depth reviews, straight to your inbox.
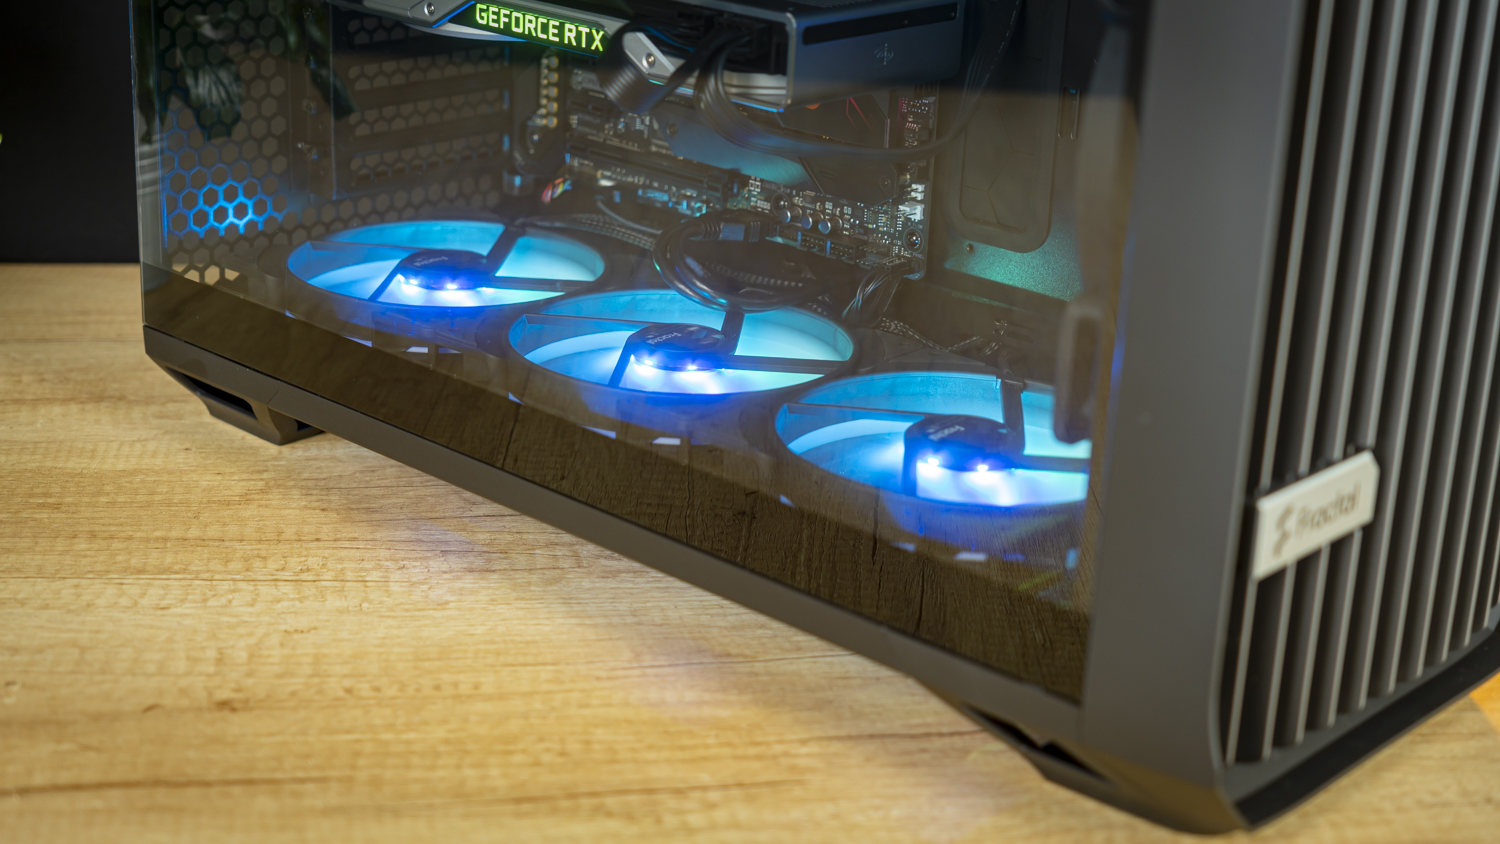
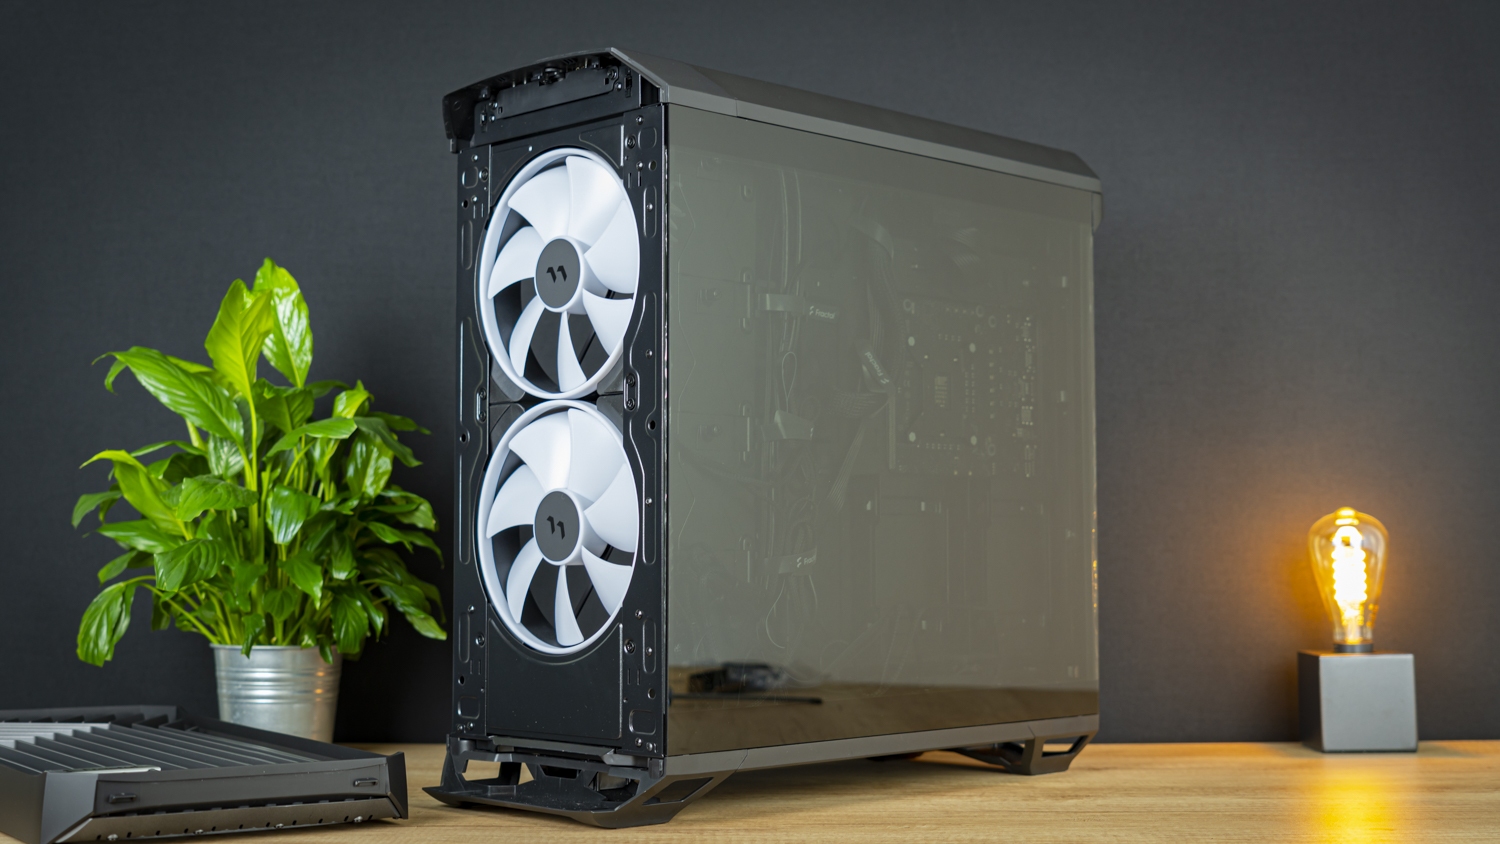
Build Complete
Current page: Hardware Installation
Prev Page Features and Specifications Next Page Testing and ConclusionNiels Broekhuijsen is a Contributing Writer for Tom's Hardware US. He reviews cases, water cooling and pc builds.
-
waltc3 Don't care for the PSU mount--reminds me of very early ATX (and pre-ATX) motherboards that put the PSU up at the top! I remember it well. I much prefer it at the bottom of the case in a walled off compartment. What happens with the PSU at the top is a lot of the hot air from the CPU and the GPU gets sucked into the PSU's intake fan, reducing its efficiency. Sort of a weird arrangement here...;)Reply -
derekullo It would be interesting to see how cases compare to open bench with the same acoustic and thermal tests.Reply
A "bench"mark you could say. -
Sippincider At the exchanger/fins level you can definitely have too much airflow. Don't have the engineering details in front of me, but it's possible to push air so quickly the heat transfer isn't effective; a given amount of air needs to spend so much time in contact with the fins. (Or in other words, bolting on a bigger faster fan doesn't necessarily make it cooler; learned this the hard way many years ago!)Reply
At the case level, if you go mass overkill, only a portion of the air will actually be doing cooling. The rest will be along for fun, making noise and pulling dirt into your system. Then there's the opposite extreme favored by a certain fruit company, of pulling just barely enough air through to keep the system from thermal throttling... -
peterf28 I own fractal design define mini .. very nice case - but too heavy. Always check weight.Reply -
peterf28 Reply
It is called positive pressurePytheus said:Too many intake fans, not enough output fans. -
Gross. Poor airflow. Seems this case will suffer from a positive airflow. In hot places like where I am that is not a good thing.Reply
No side fans. No, there isn't a situation where you can have too much air flow!
I have a Thermaltake W100. Changed the left side door to the same as the right side door and added and extra 4 fans. Total 13 fans (counting rad), with negative air flow. -
Pytheus Replypeterf28 said:It is called positive pressure
I'm well aware. I believe it's better to be moving hot air out just as fast as pushing cooler air in. Mixing cool air with the hot will not produce optimal results. -
magnusb ReplyPytheus said:I'm well aware. I believe it's better to be moving hot air out just as fast as pushing cooler air in. Mixing cool air with the hot will not produce optimal results.
You can mount fans any way you want ... -
Pytheus Reply
Not really. The case has a total of 7 fan placements. 3 front, 3 bottom, and 1 back. Front and bottom fans are always intakes, that leaves one fan as an out. Not at all customizable.magnusb said:You can mount fans any way you want ...
