Tom's Hardware Verdict
A great soldering iron for beginners and experts alike.
Pros
- +
Low cost
- +
Easy to use
- +
High temperatures
- +
Fast heat up
Cons
- -
Not much different from V1
Why you can trust Tom's Hardware
The humble soldering iron has come a long way. From a simple piece of hot metal which melts a mixture of tin and lead, to RISC-V powered, temperature controlled precision instruments. Soldering is a great skill to learn, it can be used to create custom circuits, or to solder the GPIO pins on your Raspberry Pi Pico W. But which soldering iron do you buy?
In the past, when choosing a soldering iron, it was a decision between a cheap “getting started” solder iron, or a brand leader such as Weller or Haako.The cheaper irons often had a fixed temperature. In stepped Pine64, mostly known for its range of Raspberry Pi alternative single board computers, Linux powered phones and Arm laptops, with its Pinecil temperature controlled soldering iron. Version 1, released in 2020 was a lower cost alternative to similar irons from Waveshare. But Pinecil introduced a RISC-V CPU inside the low-cost soldering iron.
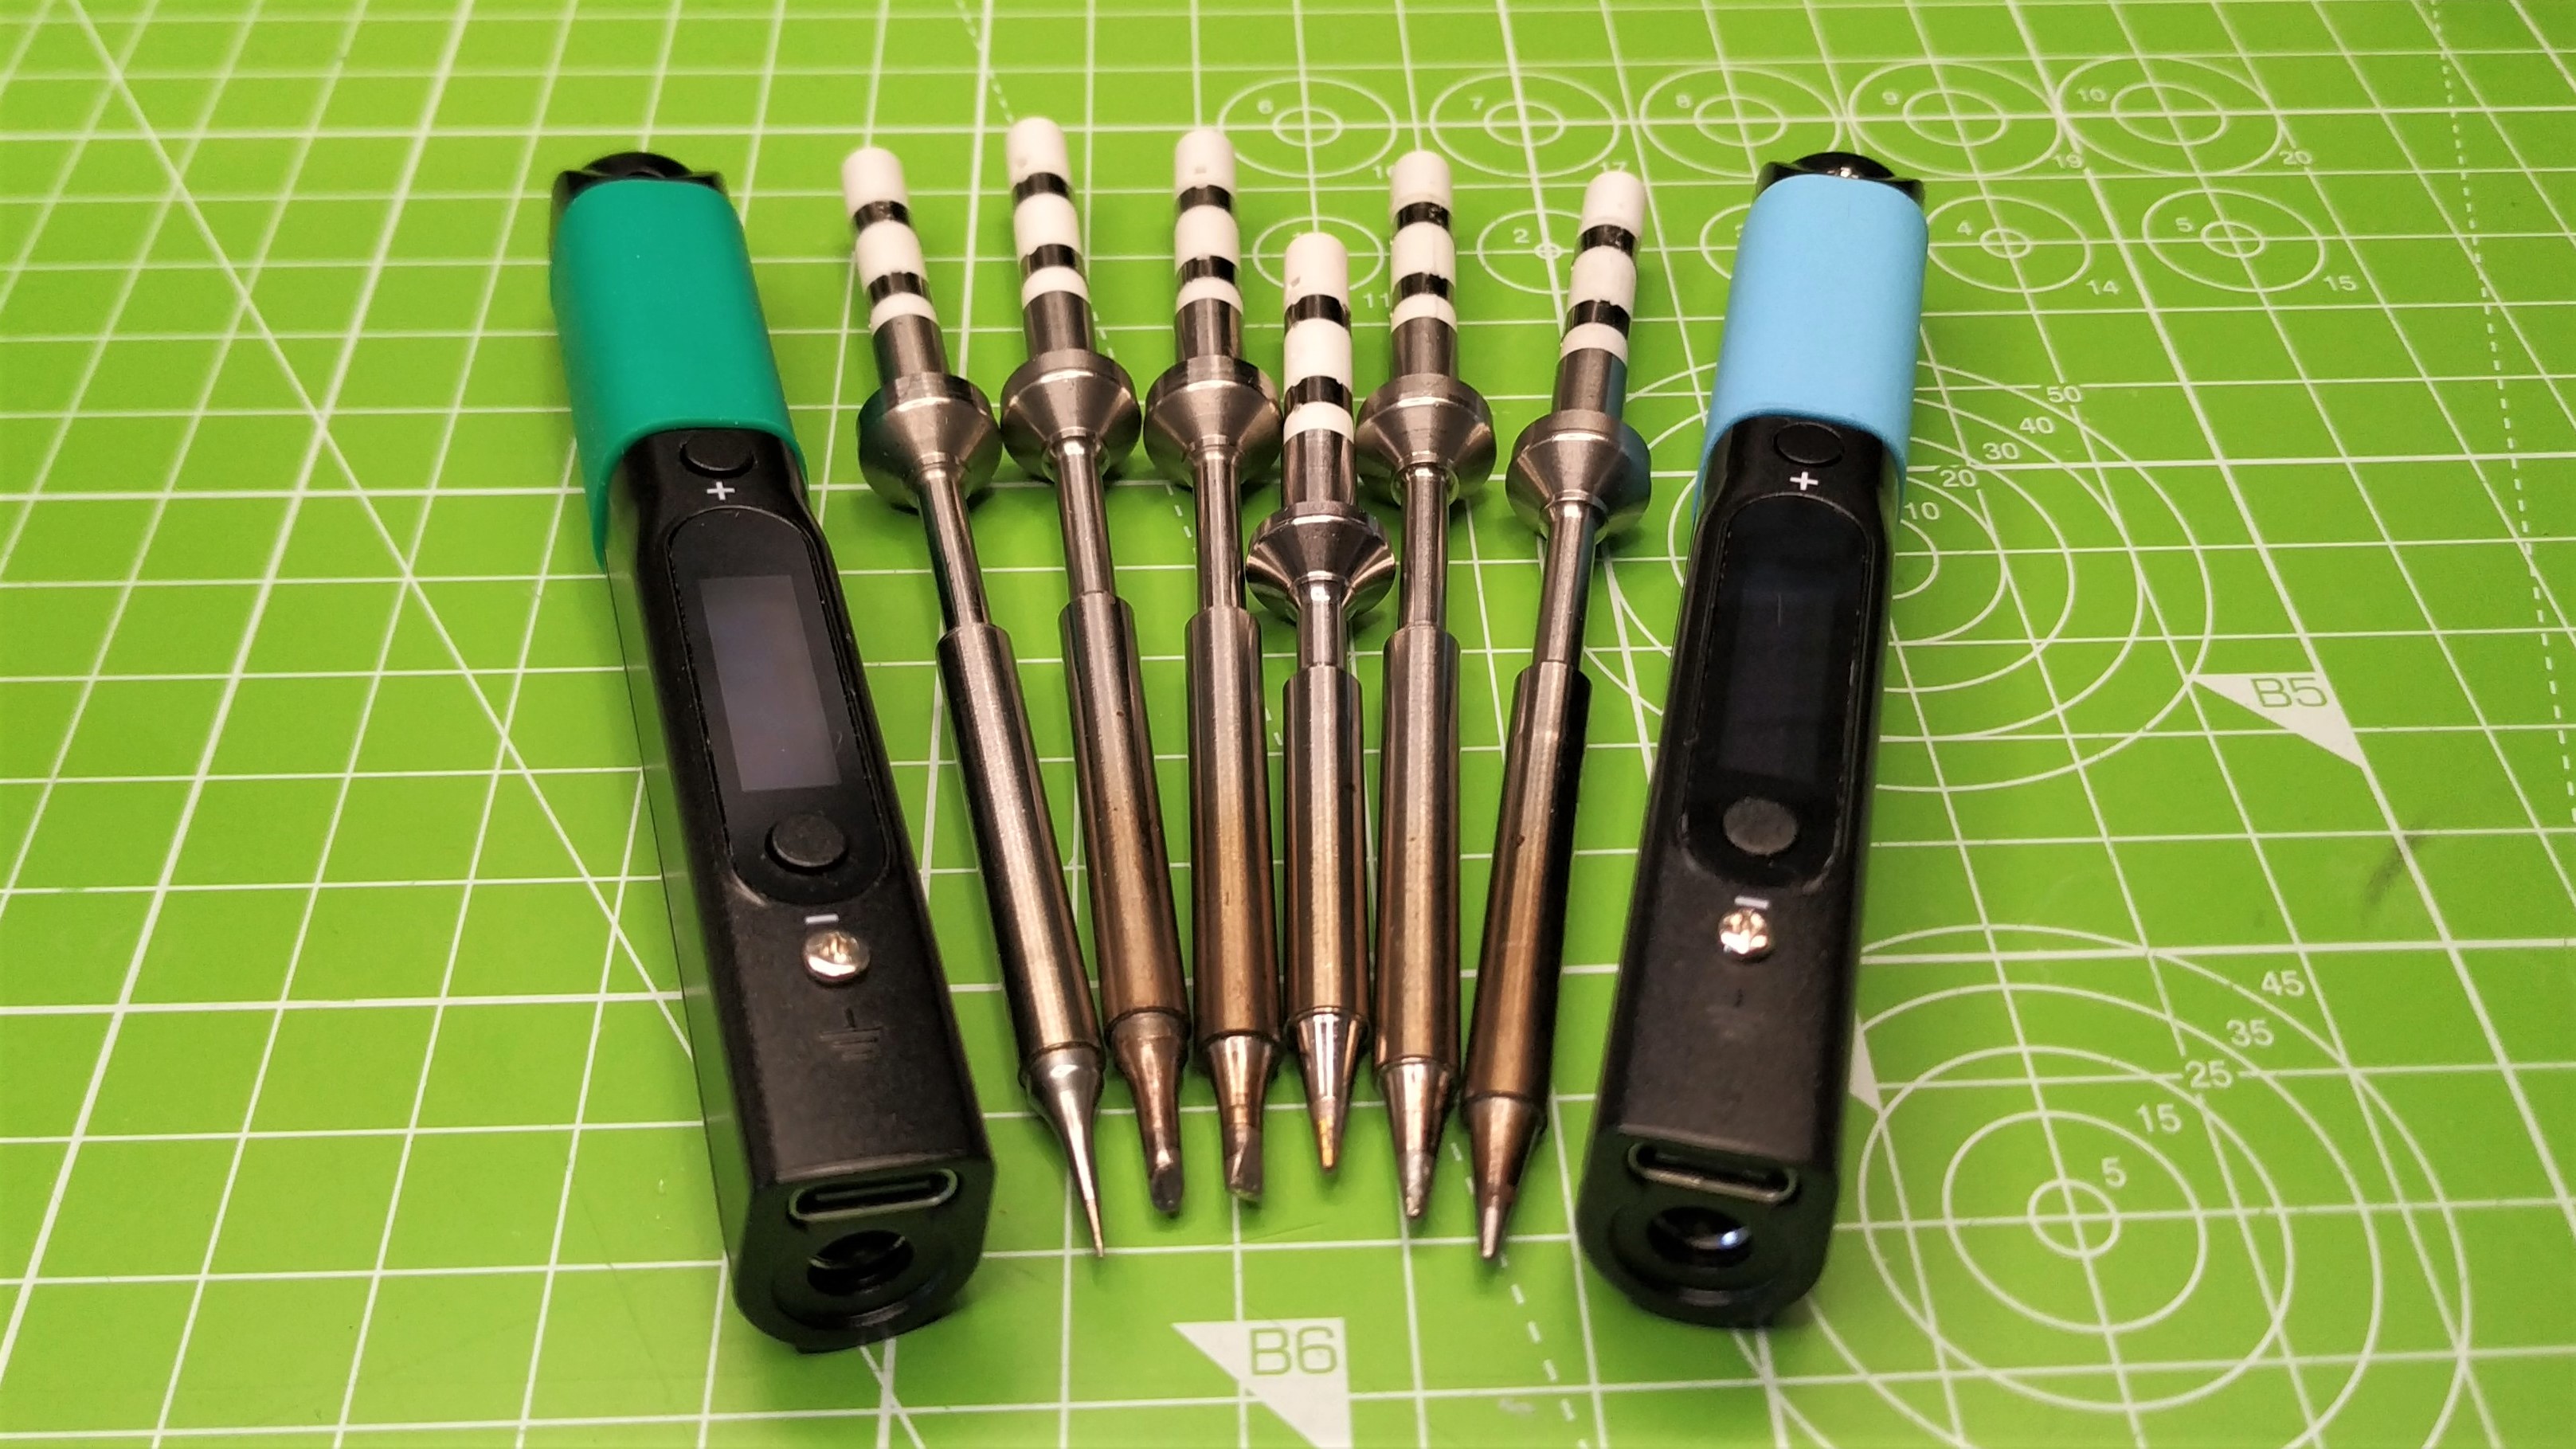
Pinecil V2, released in August 2022 for $26, is more of an update on the original model. The two look the same, with only a shorter soldering tip and a colored band to distinguish them. Under the hood there is a more powerful RISC-V CPU, more memory, and the option to use higher wattages for those heavier connections.
We took Pinecil V2 to the bench and put it through its paces as we soldered, and desoldered a selection of boards.
Pinecil V2 Specifications
| CPU | 32-bit RV32IMAFC RISC-V “SiFive E24 Core” @ 144 MHz | Row 0 - Cell 2 |
| RAM | 132KB SRAM | Row 1 - Cell 2 |
| Storage | 192KB | Row 2 - Cell 2 |
| Power | USB C PD and QC 3.0 12-20 Volts at 3 Amps | Row 3 - Cell 2 |
| Display | 0.69 Inches 96 x 16 pixel OLED | Row 4 - Cell 2 |
| Temperature | Max 450 degrees Celsius | Row 5 - Cell 2 |
| Dimensions | 103 x 12.8 x 16.2 mm (Body) | Row 6 - Cell 2 |
| Row 7 - Cell 0 | 155 x 12.8 x 16.2 mm (Body and tip) | Row 7 - Cell 2 |
Pinecil V2 Look and Feel
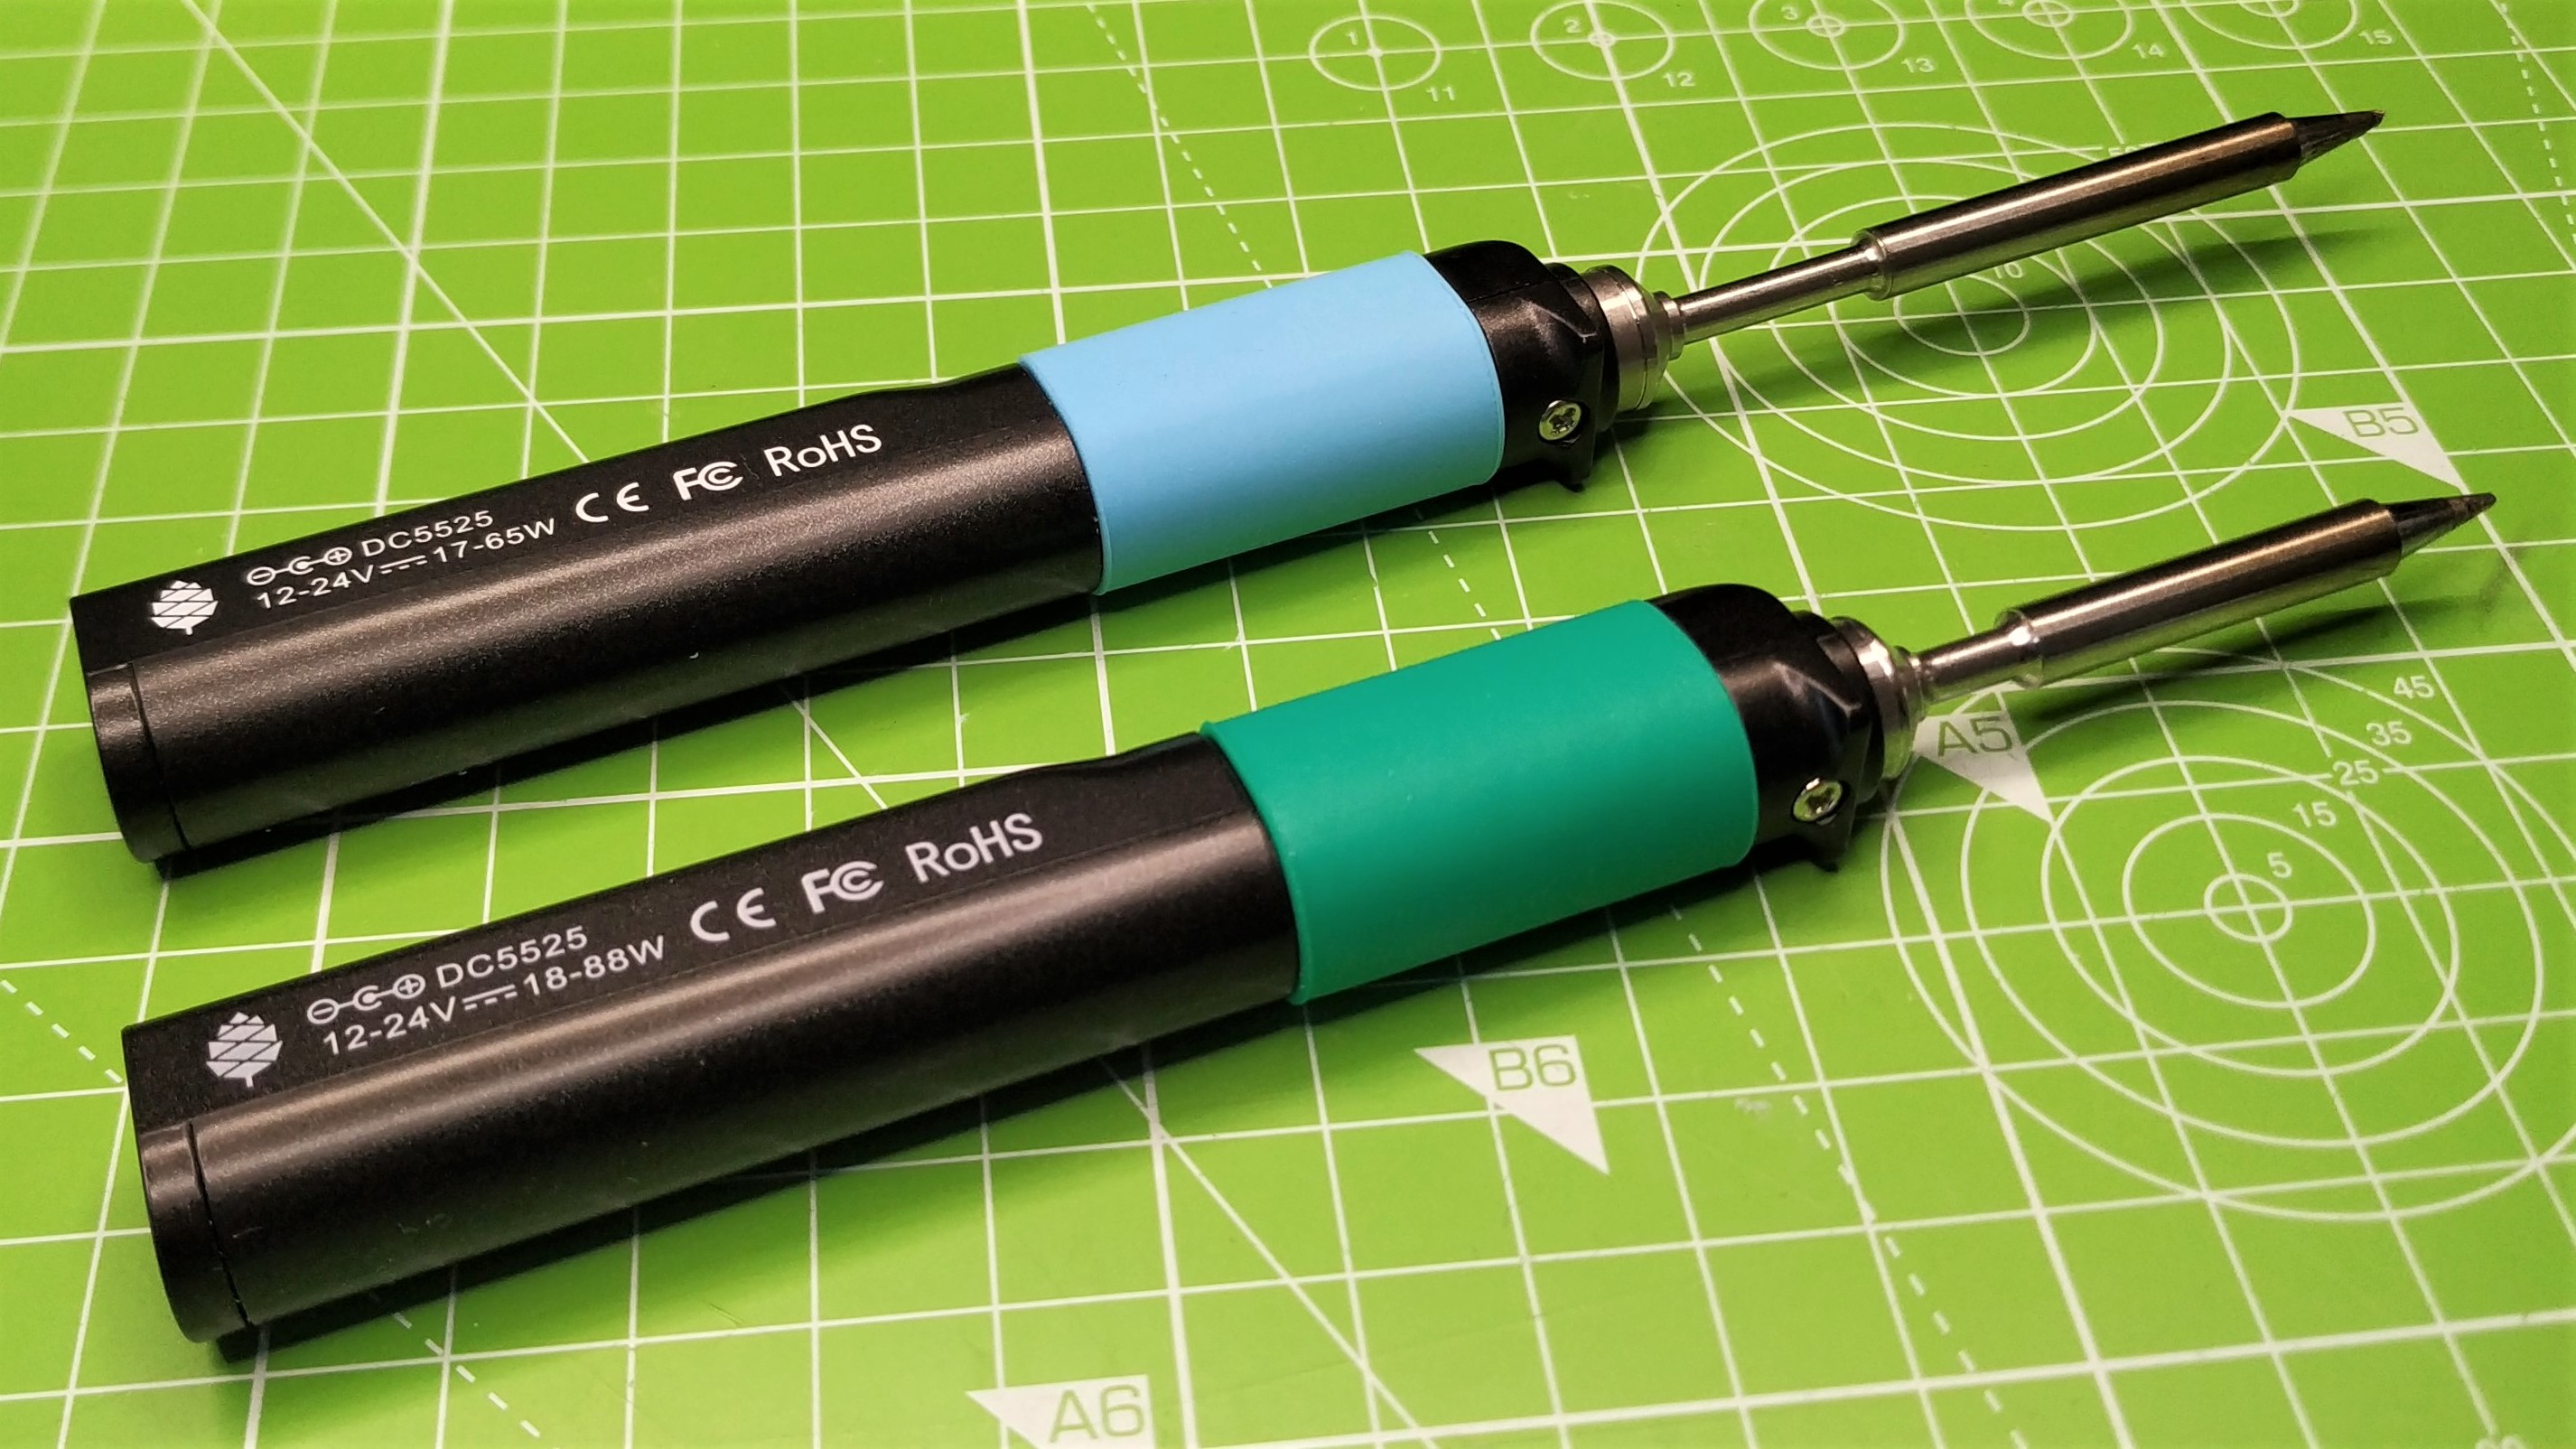
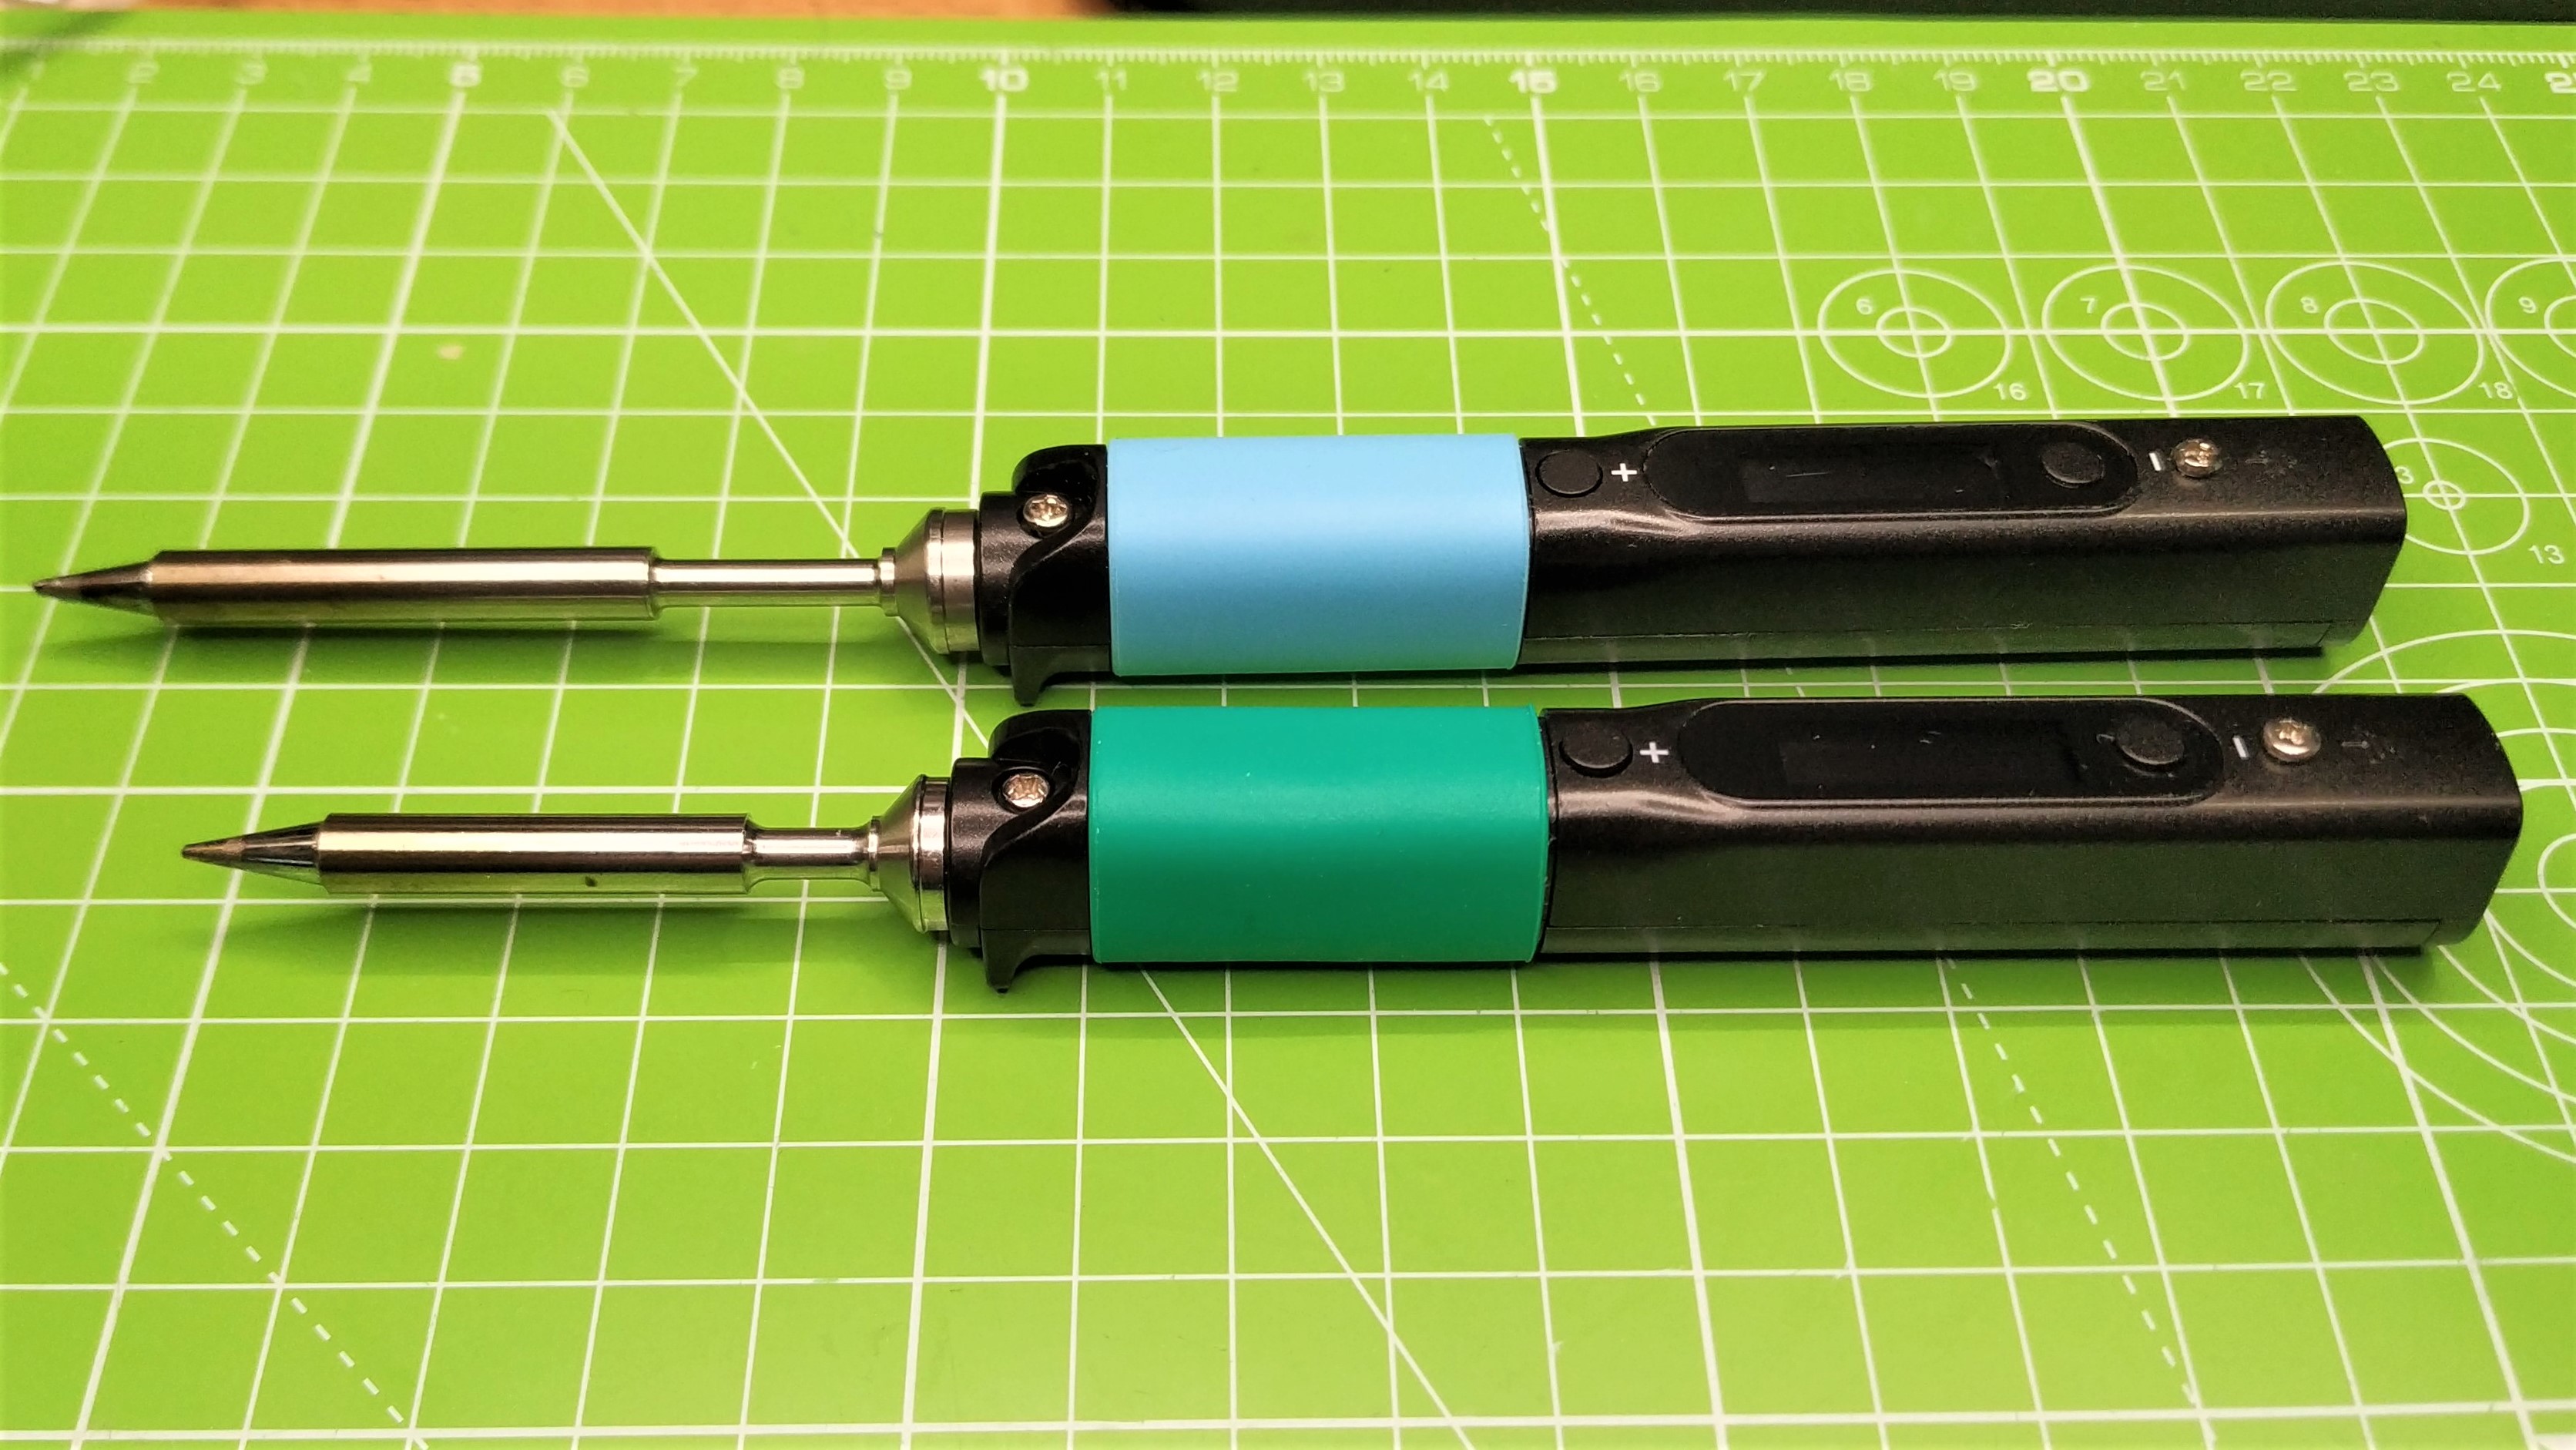
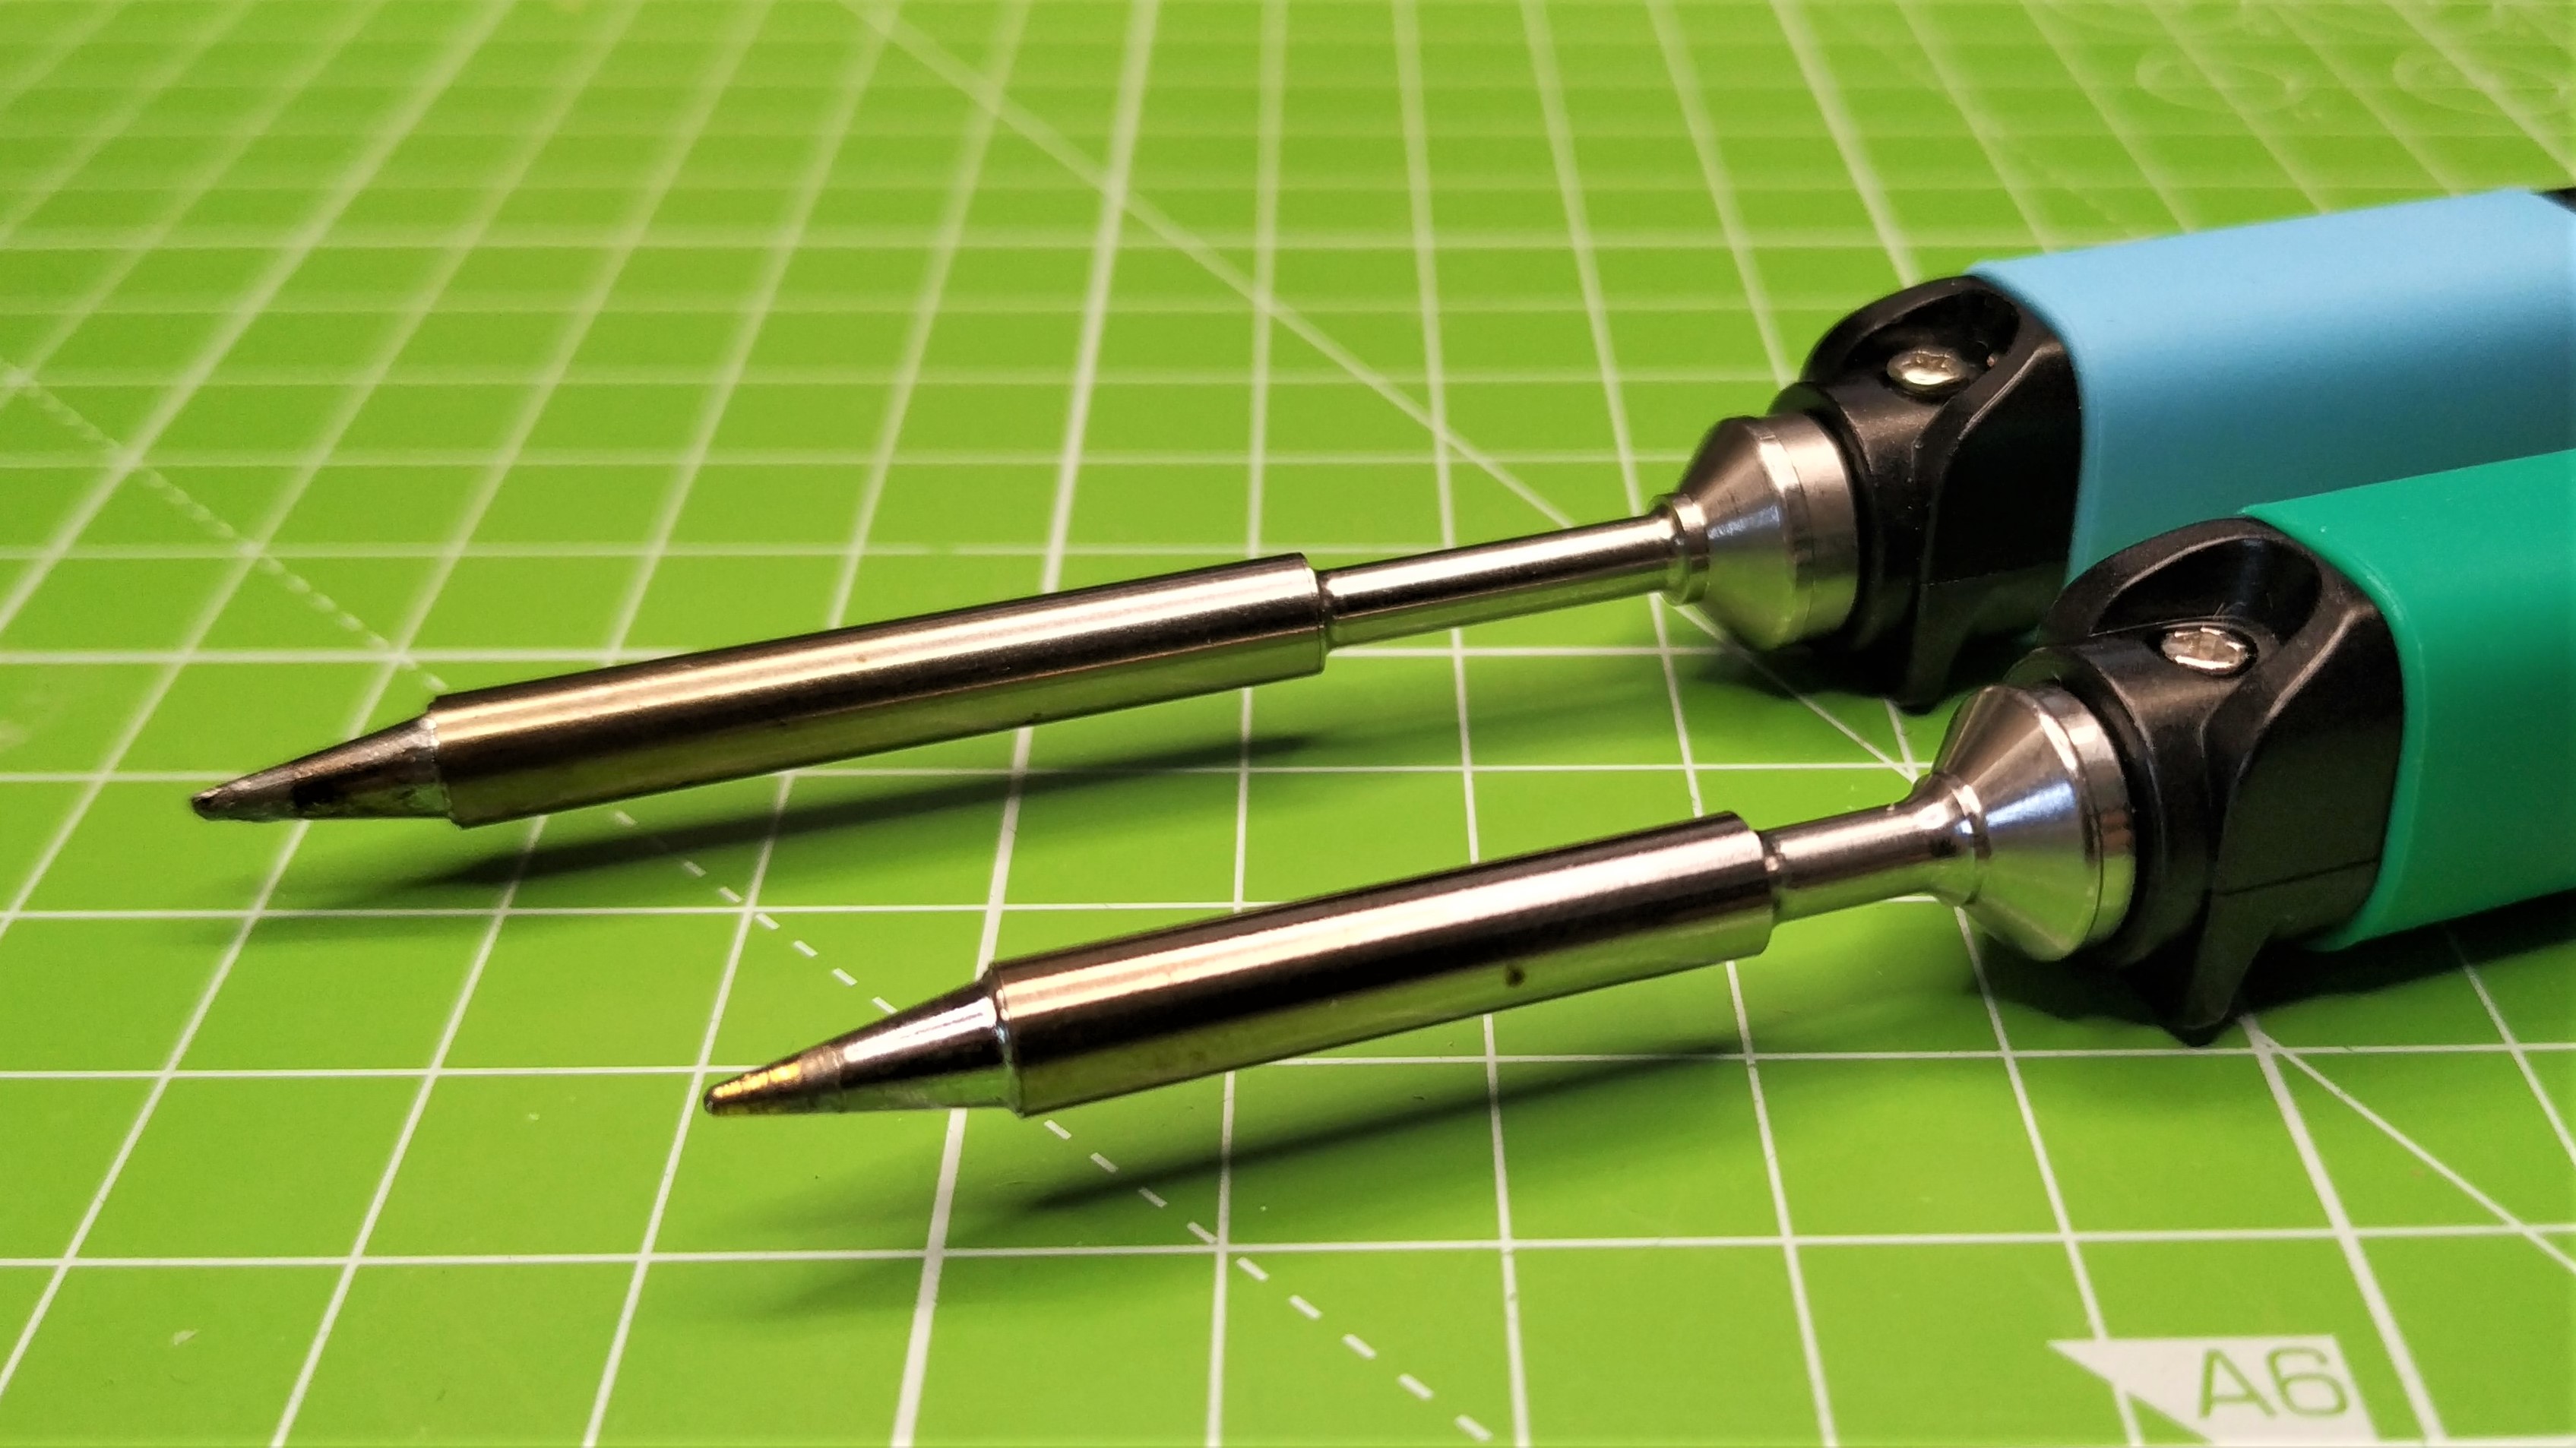
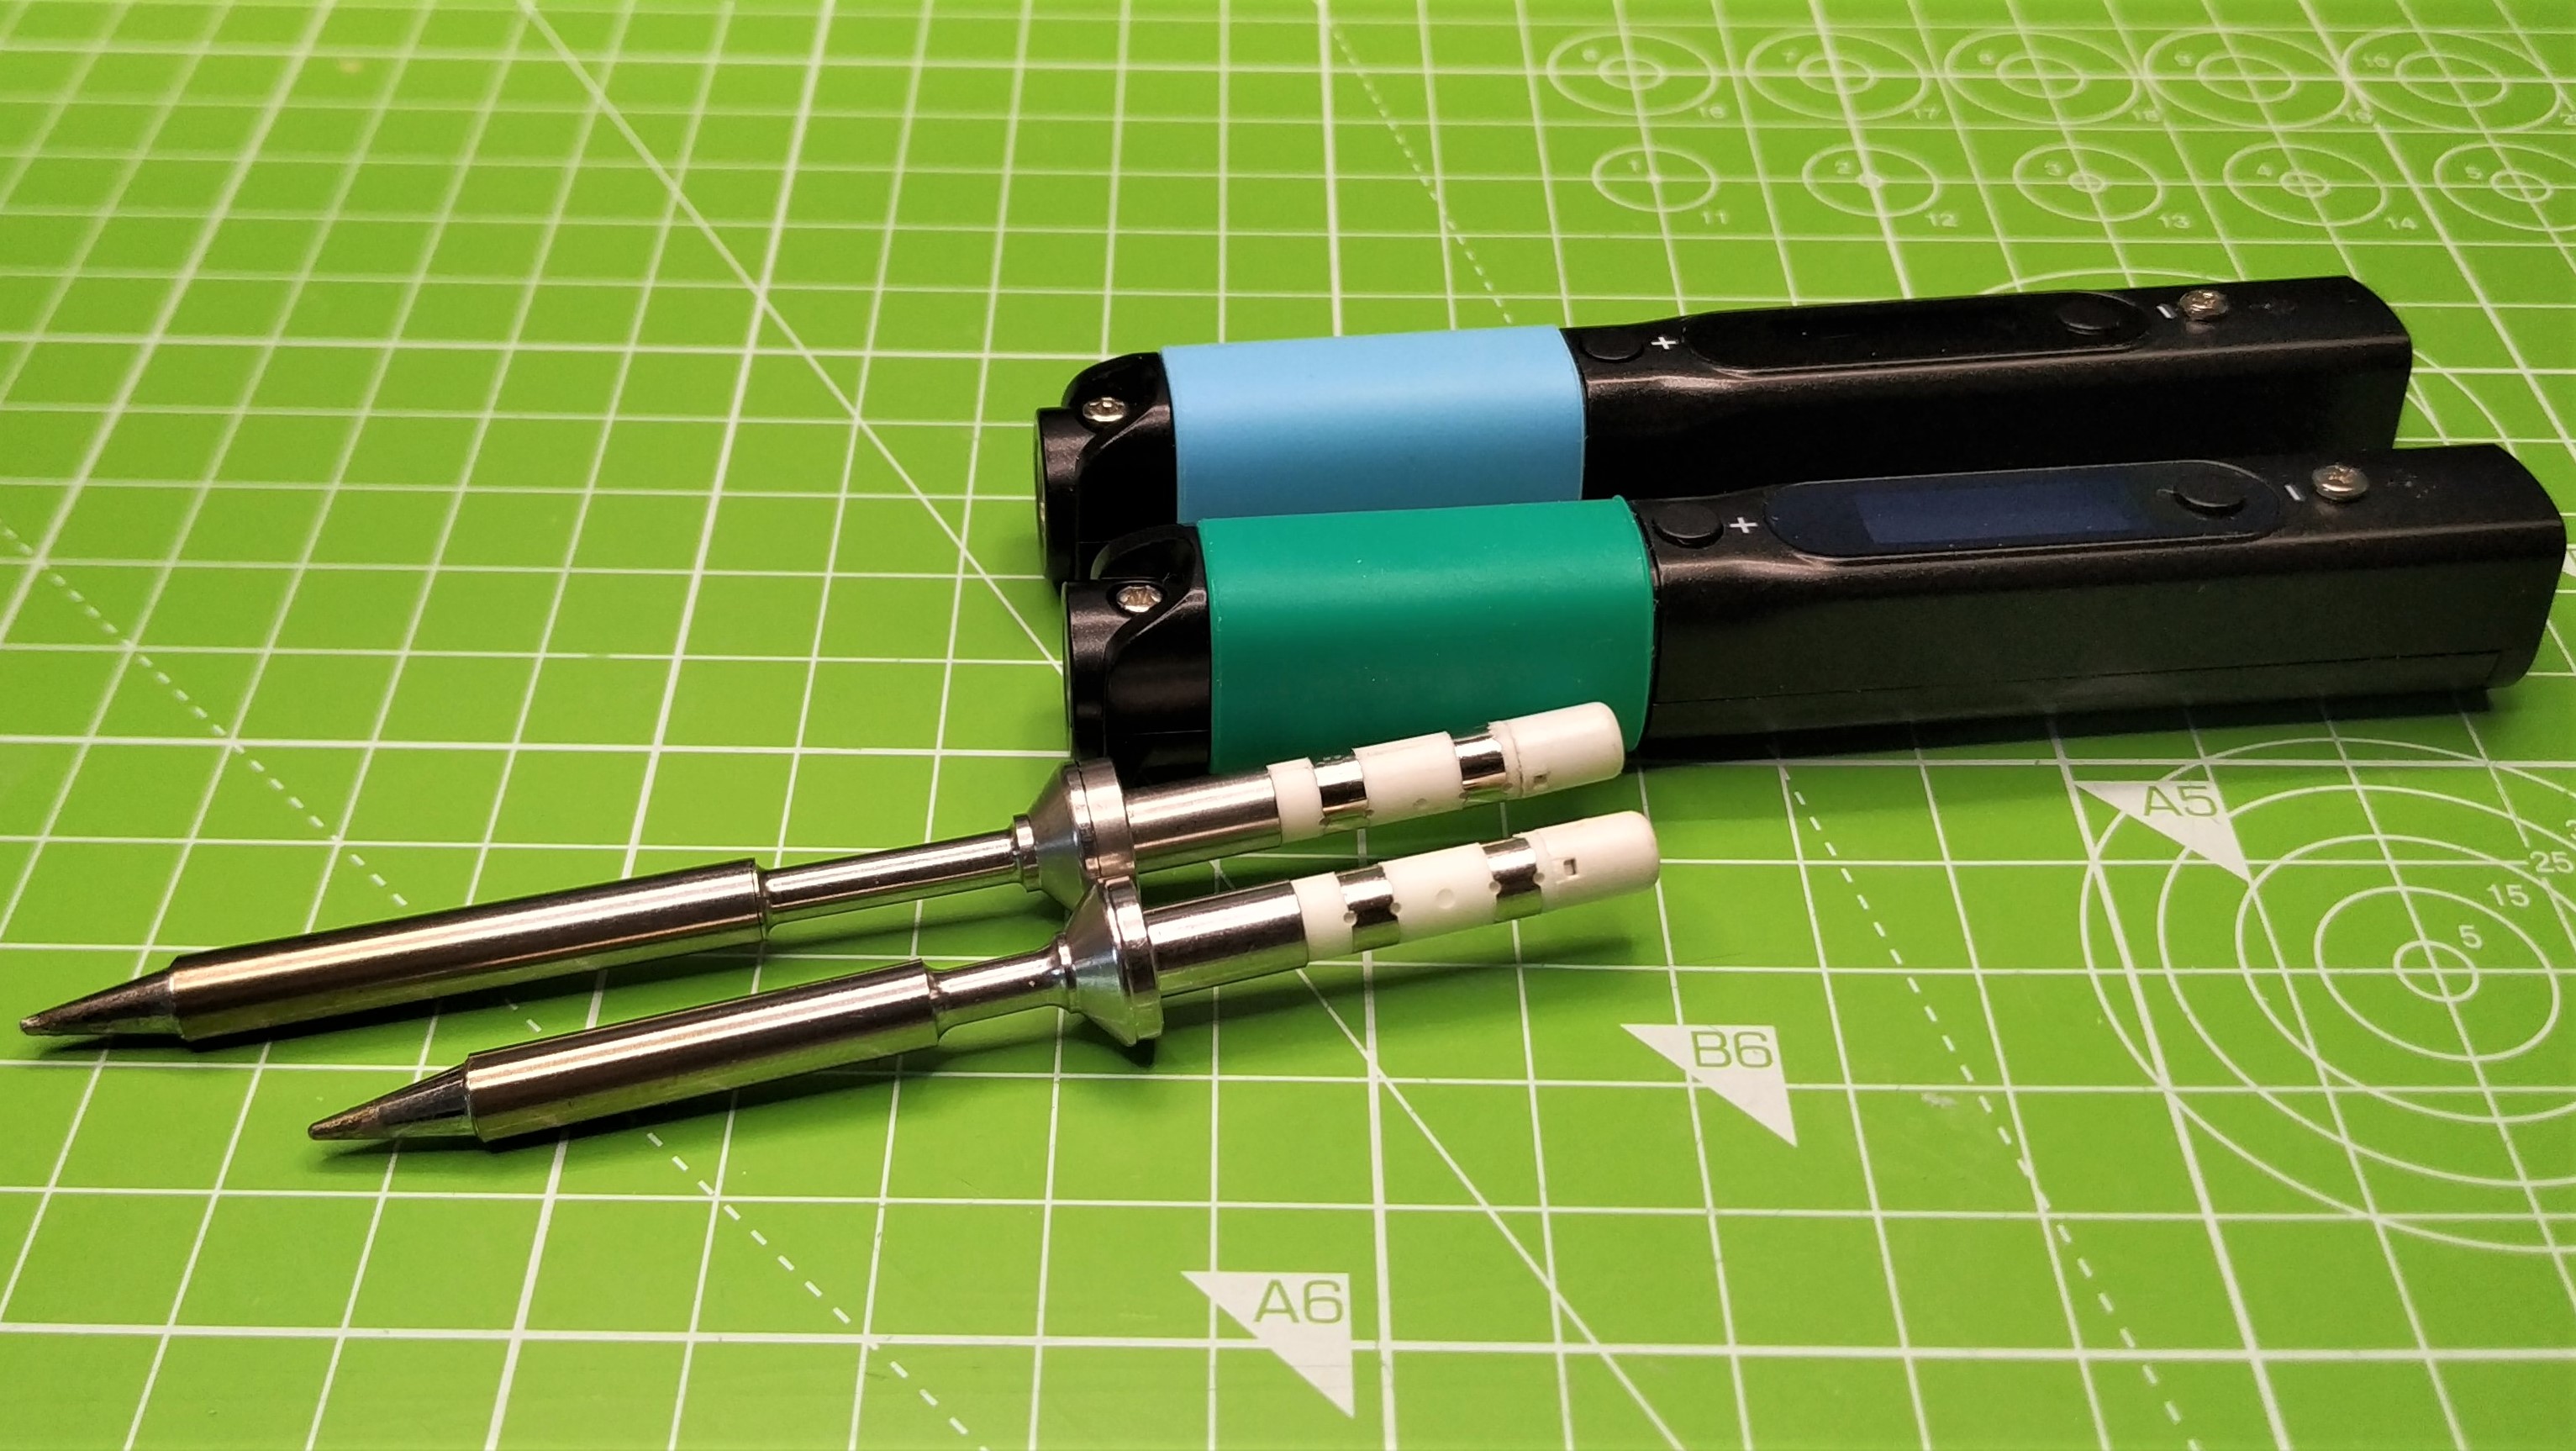
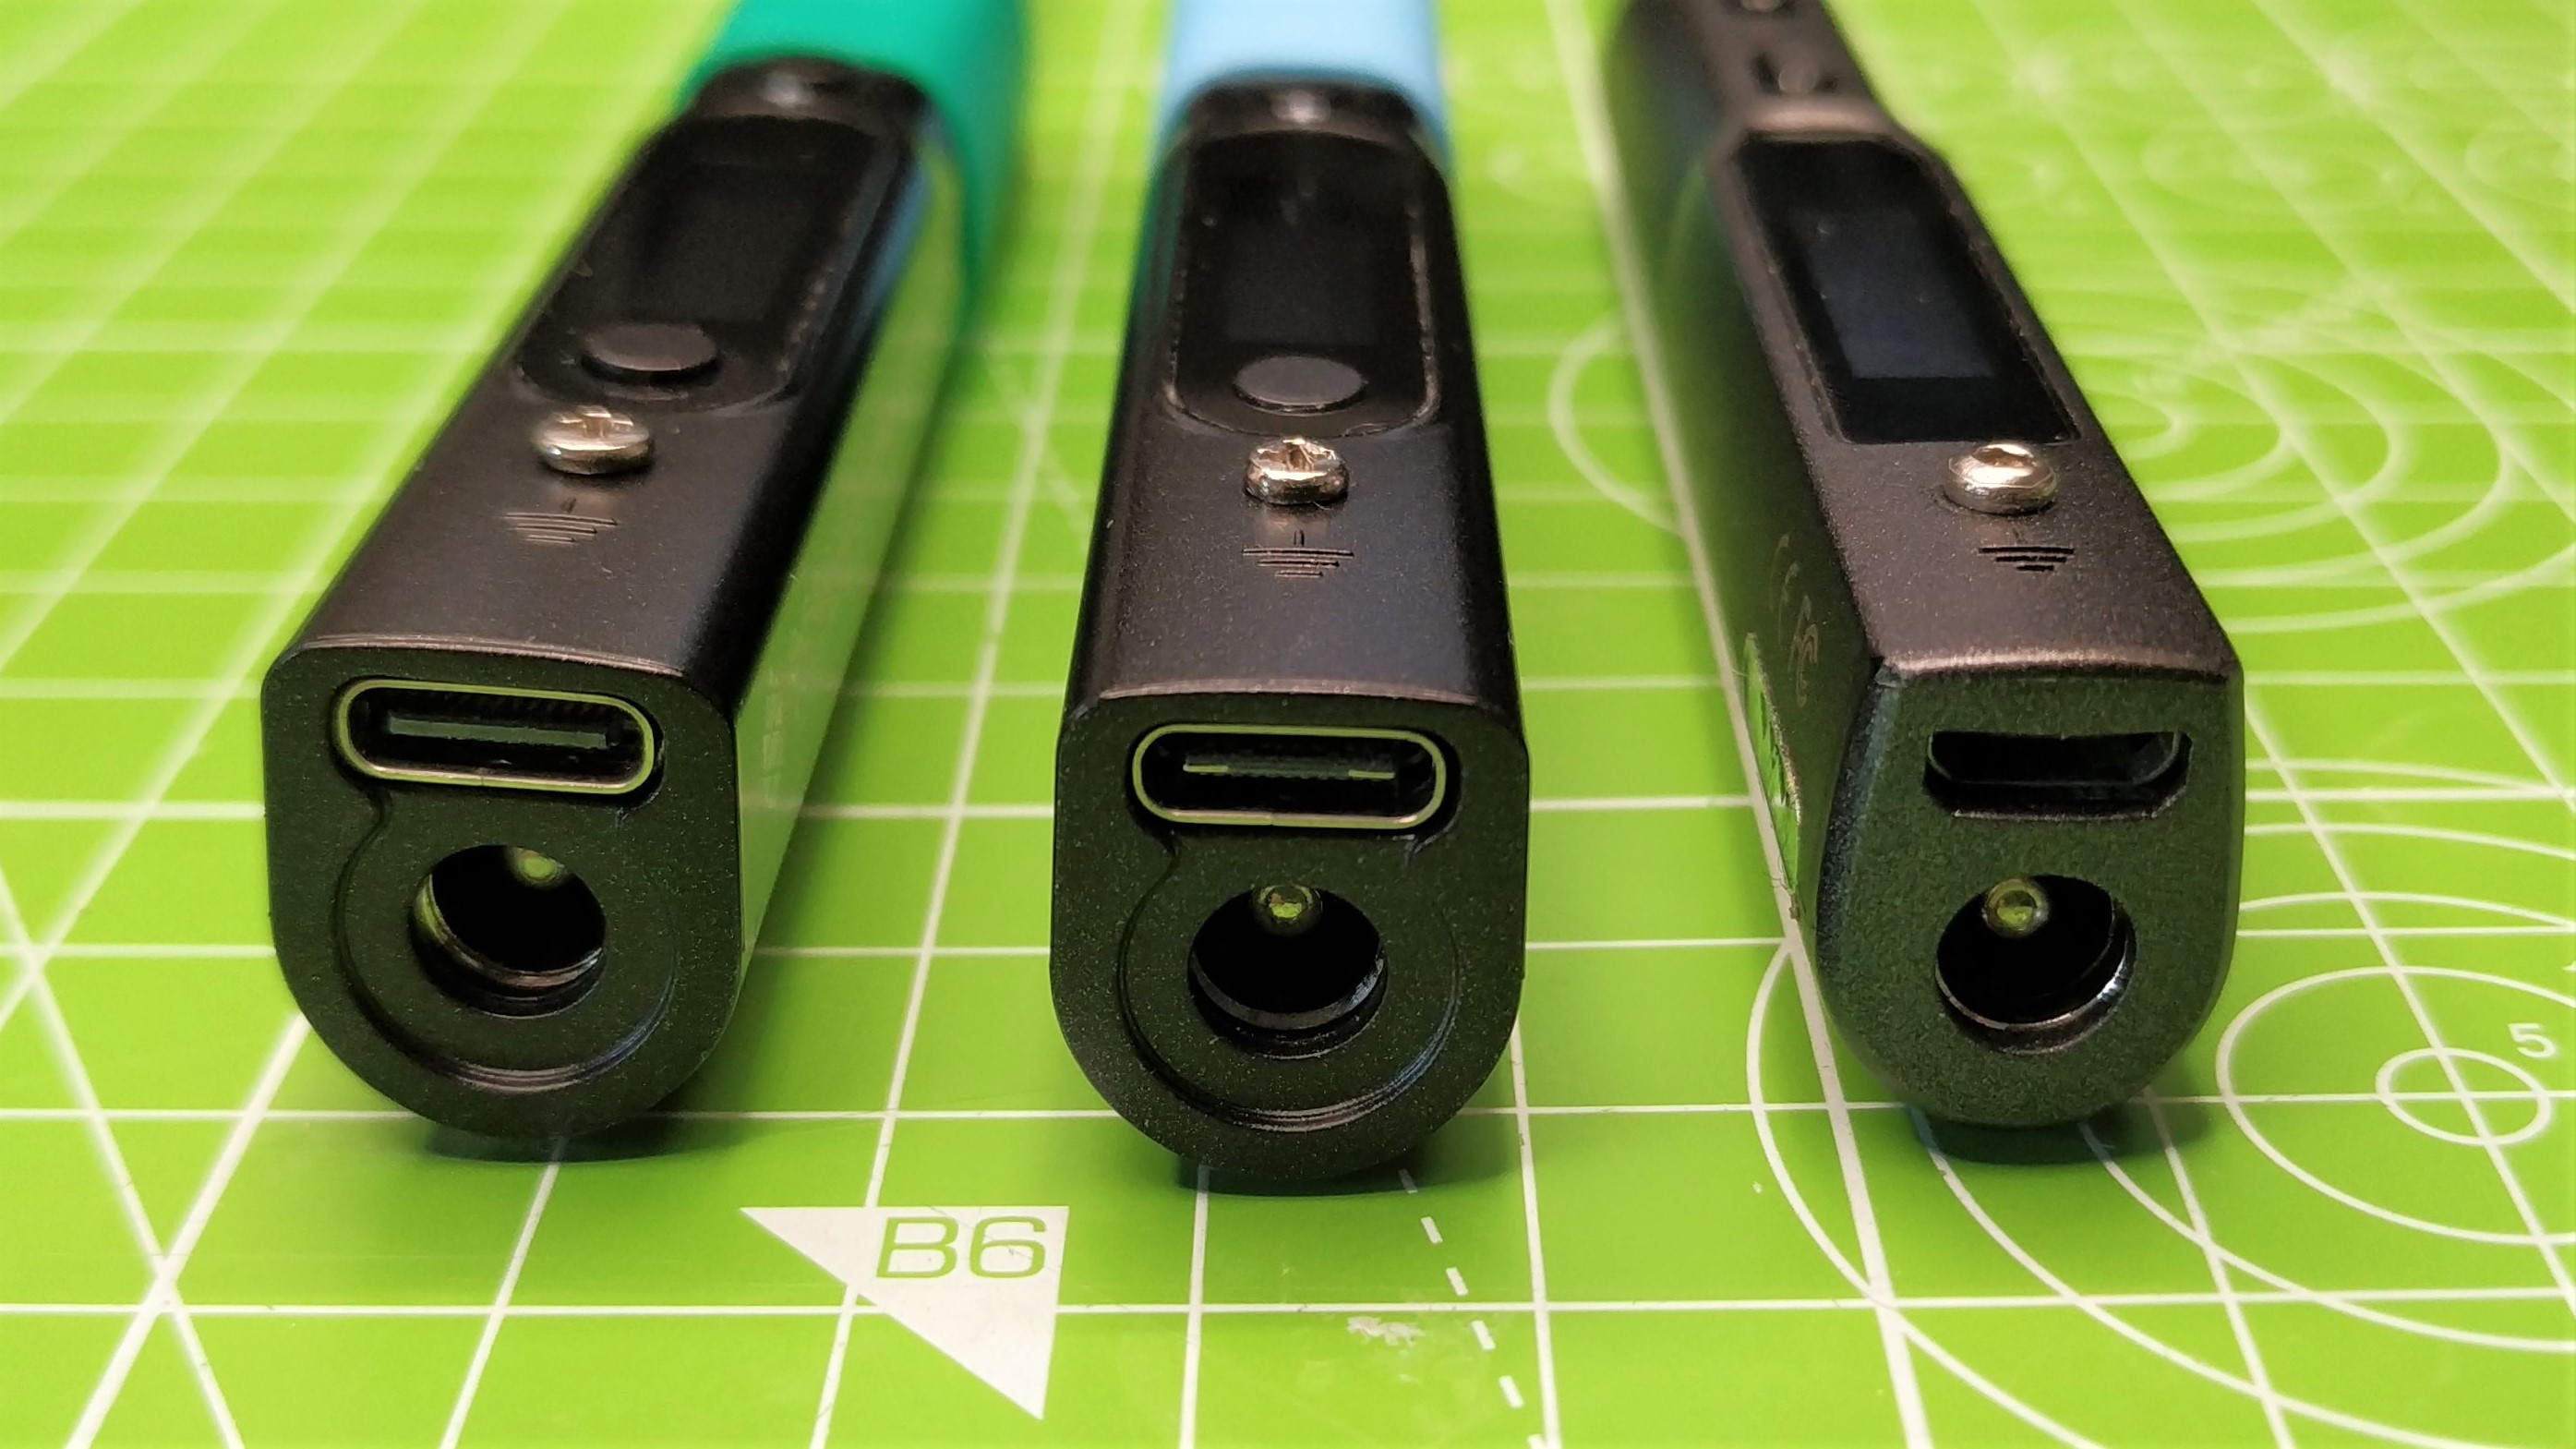
Pinecil V2 doesn’t look any different than its predecessor. Apart from the green sleeve of the V2, the two are virtually identical. The body of the iron is simple, with just two buttons (+ and -) which are our only interface with the iron’s OS. The business end of Pinecil is the tip, and this is held in place via an M2 screw. The supplied tip, a conical general purpose tip, is a ST (short tip) B2 that is much shorter than the stock tip supplied with the Pinecil V1.
The Pinecil V2 measures 157mm with the supplied tip. The V1 comes in at 175mm. The size difference is impressive, but it isn’t a reason to throw away your Pinecil V1. The body size is the same between V1 and 2. At 103mm long, the body is comfortable to hold for extended periods. Button placement, with + at the hot end of the iron, - at the opposite, is decent. It keeps the buttons away from our fingers, minimizing the chance of a stray finger changing the temperature.
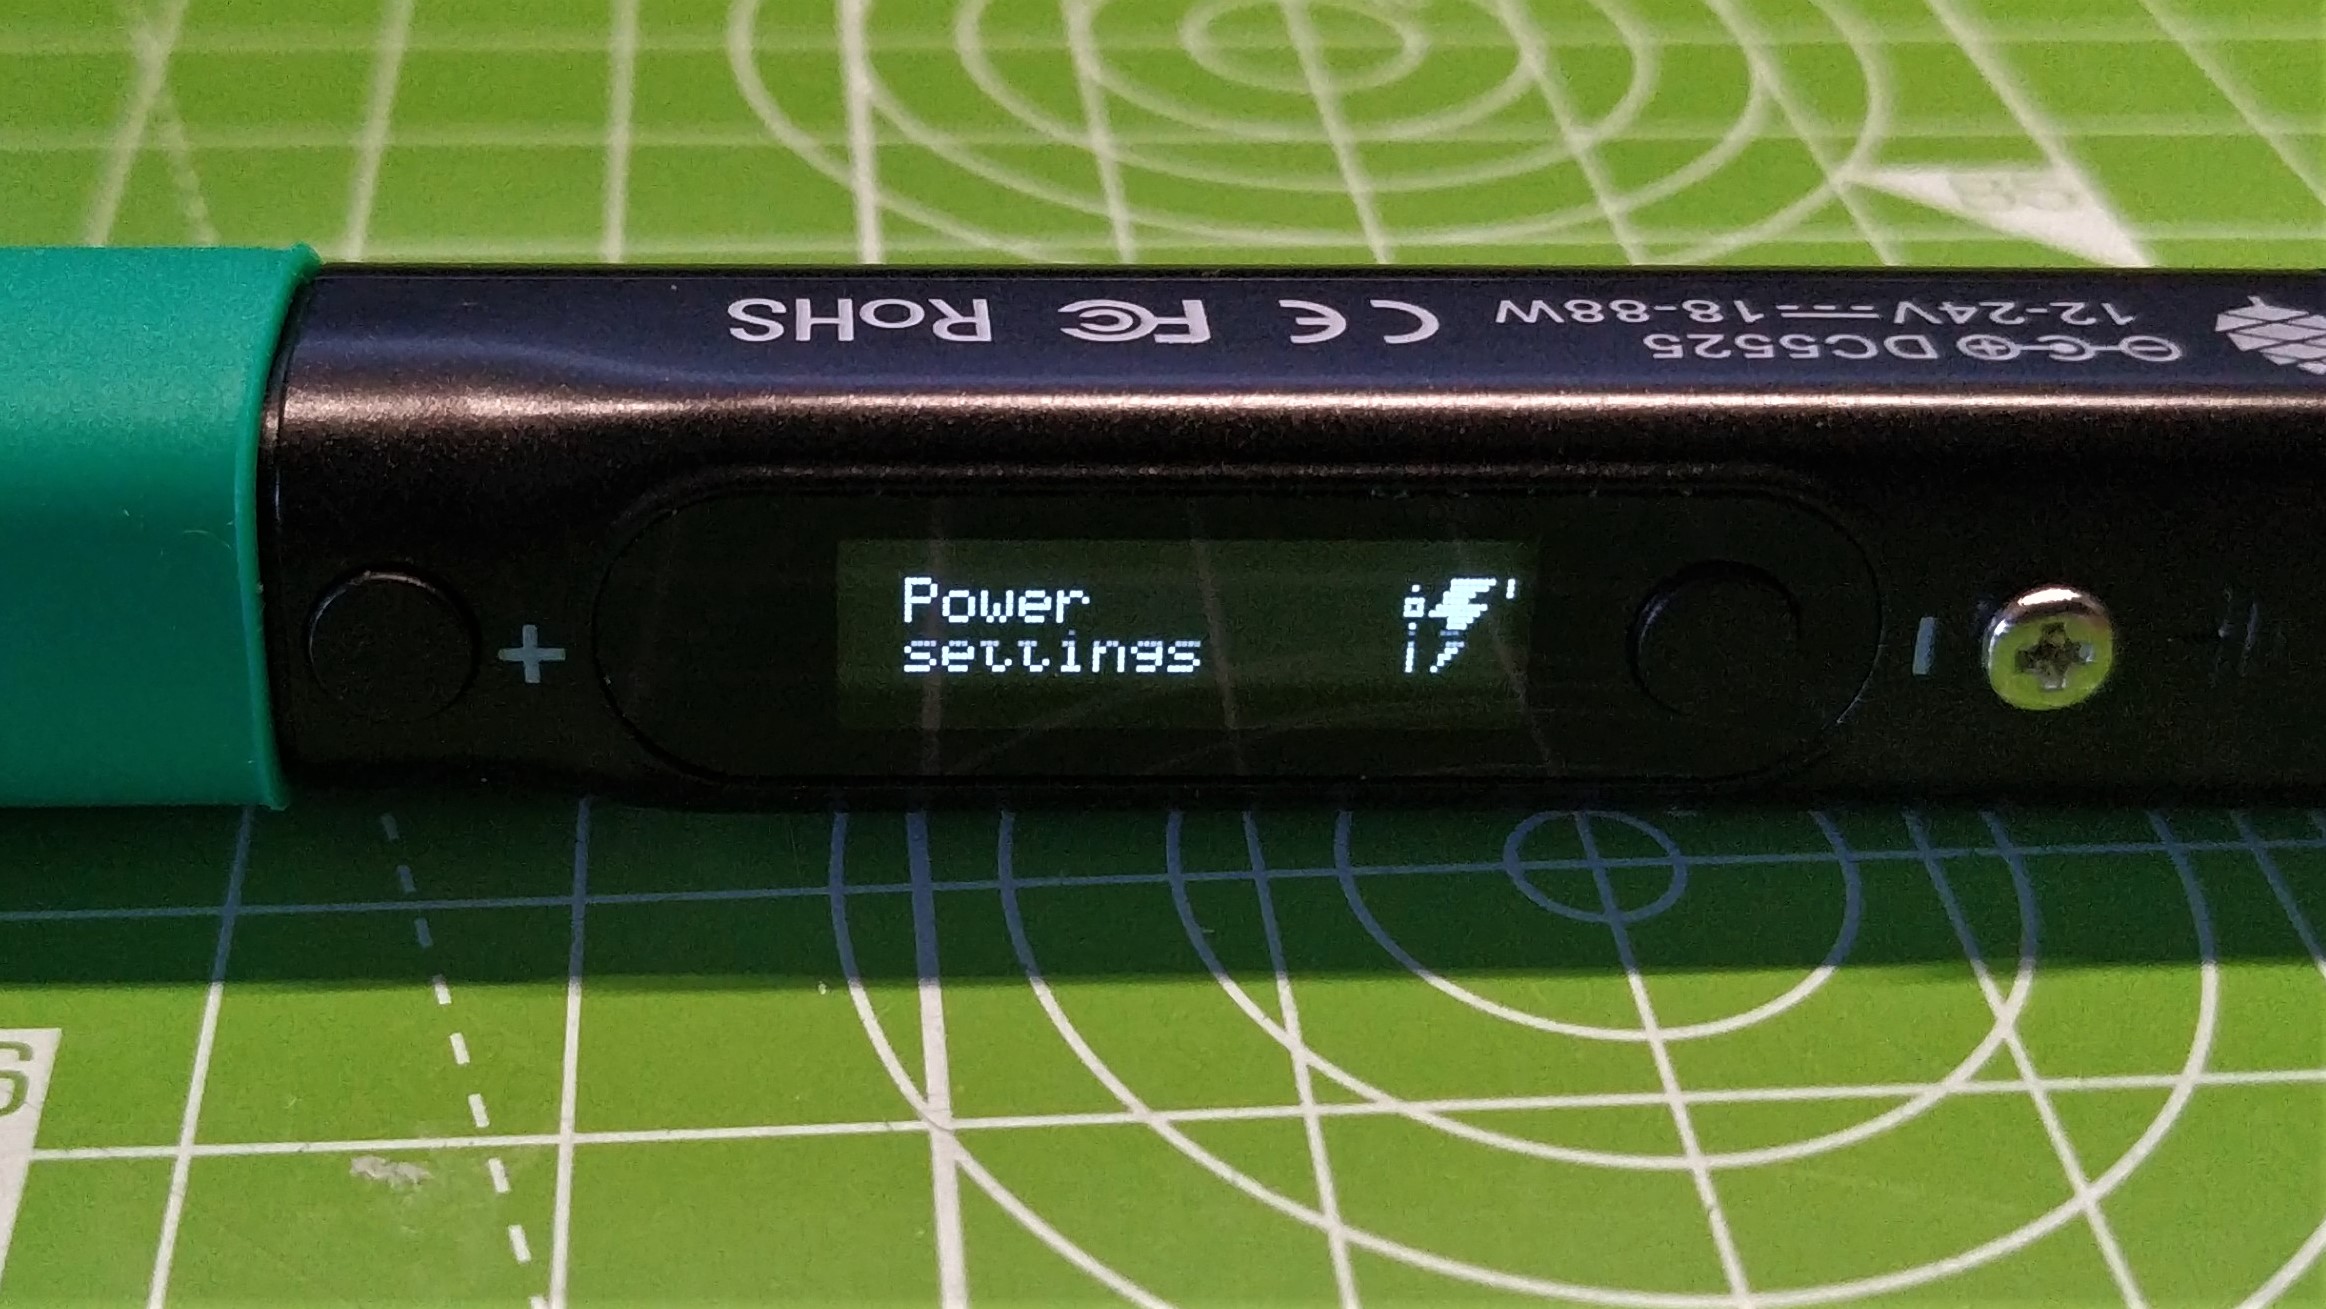
When powered up, Pinecil V2 defaults to a basic start screen, waiting for user input. Pressing the - button will open the configuration menu and additional pushes will navigate the main menus. Pressing + will go into a menu and enable us to tweak the settings, of which there are many.
Get Tom's Hardware's best news and in-depth reviews, straight to your inbox.
We can configure the power source, set the soldering tip to auto heat up to a lower sleep temperature (150 degrees Celsius by default), or have it heat to your preferred temperature. The sleep mode menu is how we configure the iron to go into low temperature mode if left for a user determined time. The user interface menu is used to change animation speeds, temperature units and to set a detailed standby screen (we recommend this as it shows the voltage and temperature.) The advanced menu is where we can calibrate the iron’s temperature and voltages.The onboard accelerometer can detect the orientation of the iron, flipping the UI on the OLED display accordingly.
Soldering with Pinecil V2
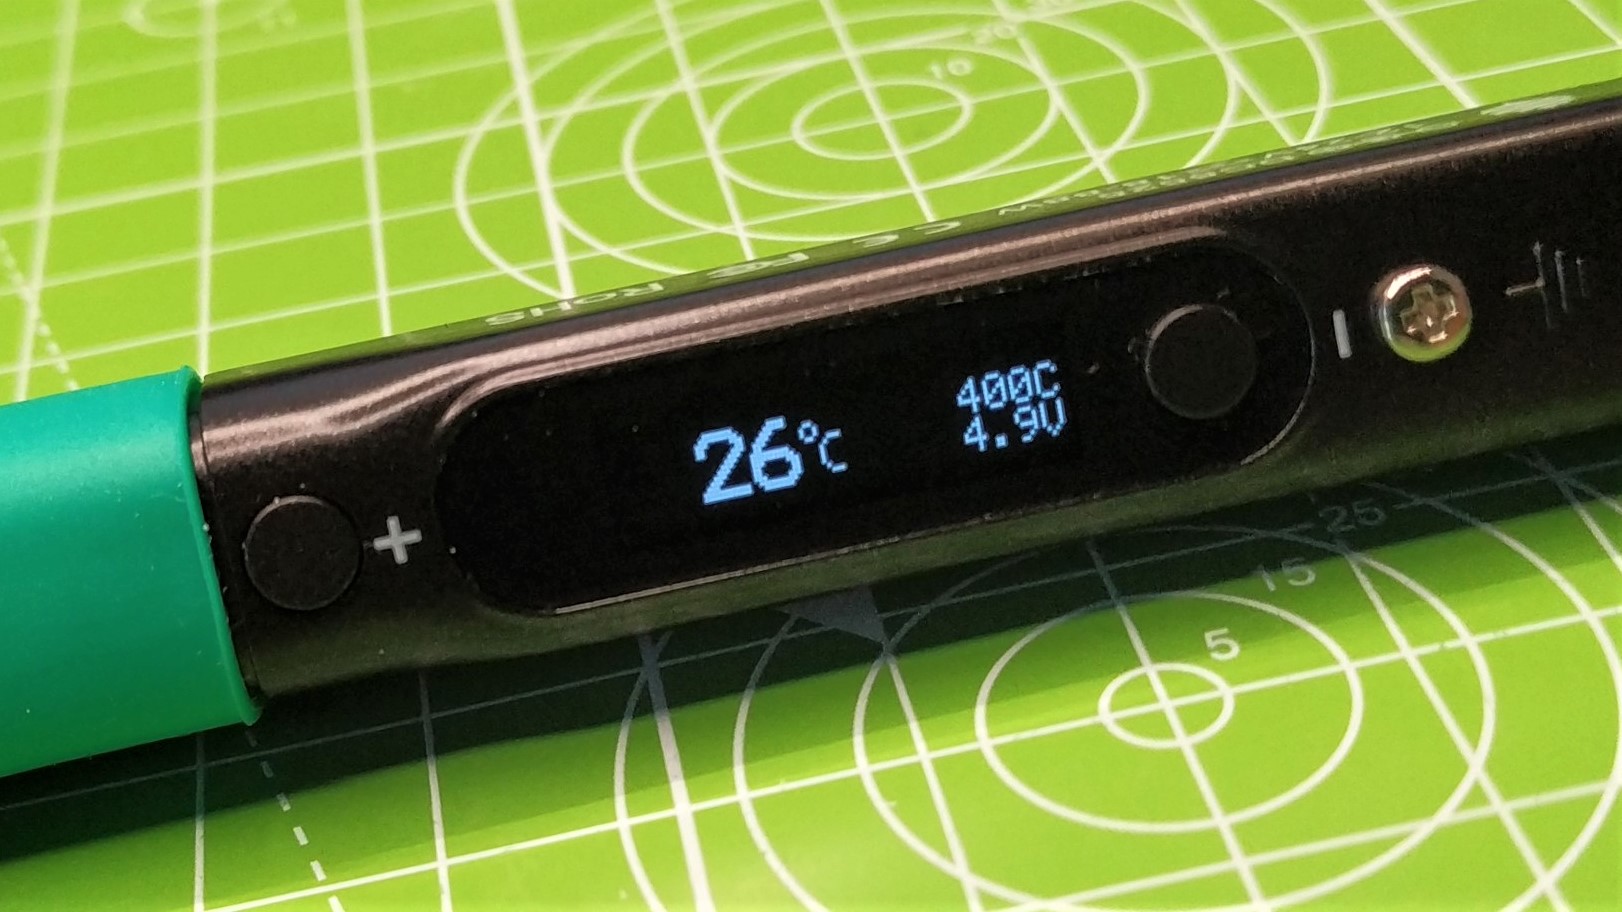
We’ve been through the menus, so now let's get Pinecil V2 ready to solder. Pressing the + button will heat the iron to your preferred temperature. Subsequent short presses of the + and - buttons will adjust the temperature by single digits, long presses will adjust by 10 degrees.
The Pinecil V2 is quick to heat up. Using the included conical tip and connected to a 20V USB-C power source, Pinecil went from 35 degrees Celsius to 350 degrees Celsius in 20 seconds. This is great for those of us that need to solder something quickly. Pinecil V2 is a temperature-controlled soldering iron, and typically irons of this standard come with a large base unit where we control the temperature. Waveshare’s TS100 (and later TS80) set the standard for temperature controlled soldering irons, without a base unit. Pinecil offers the same features, but at half the cost.
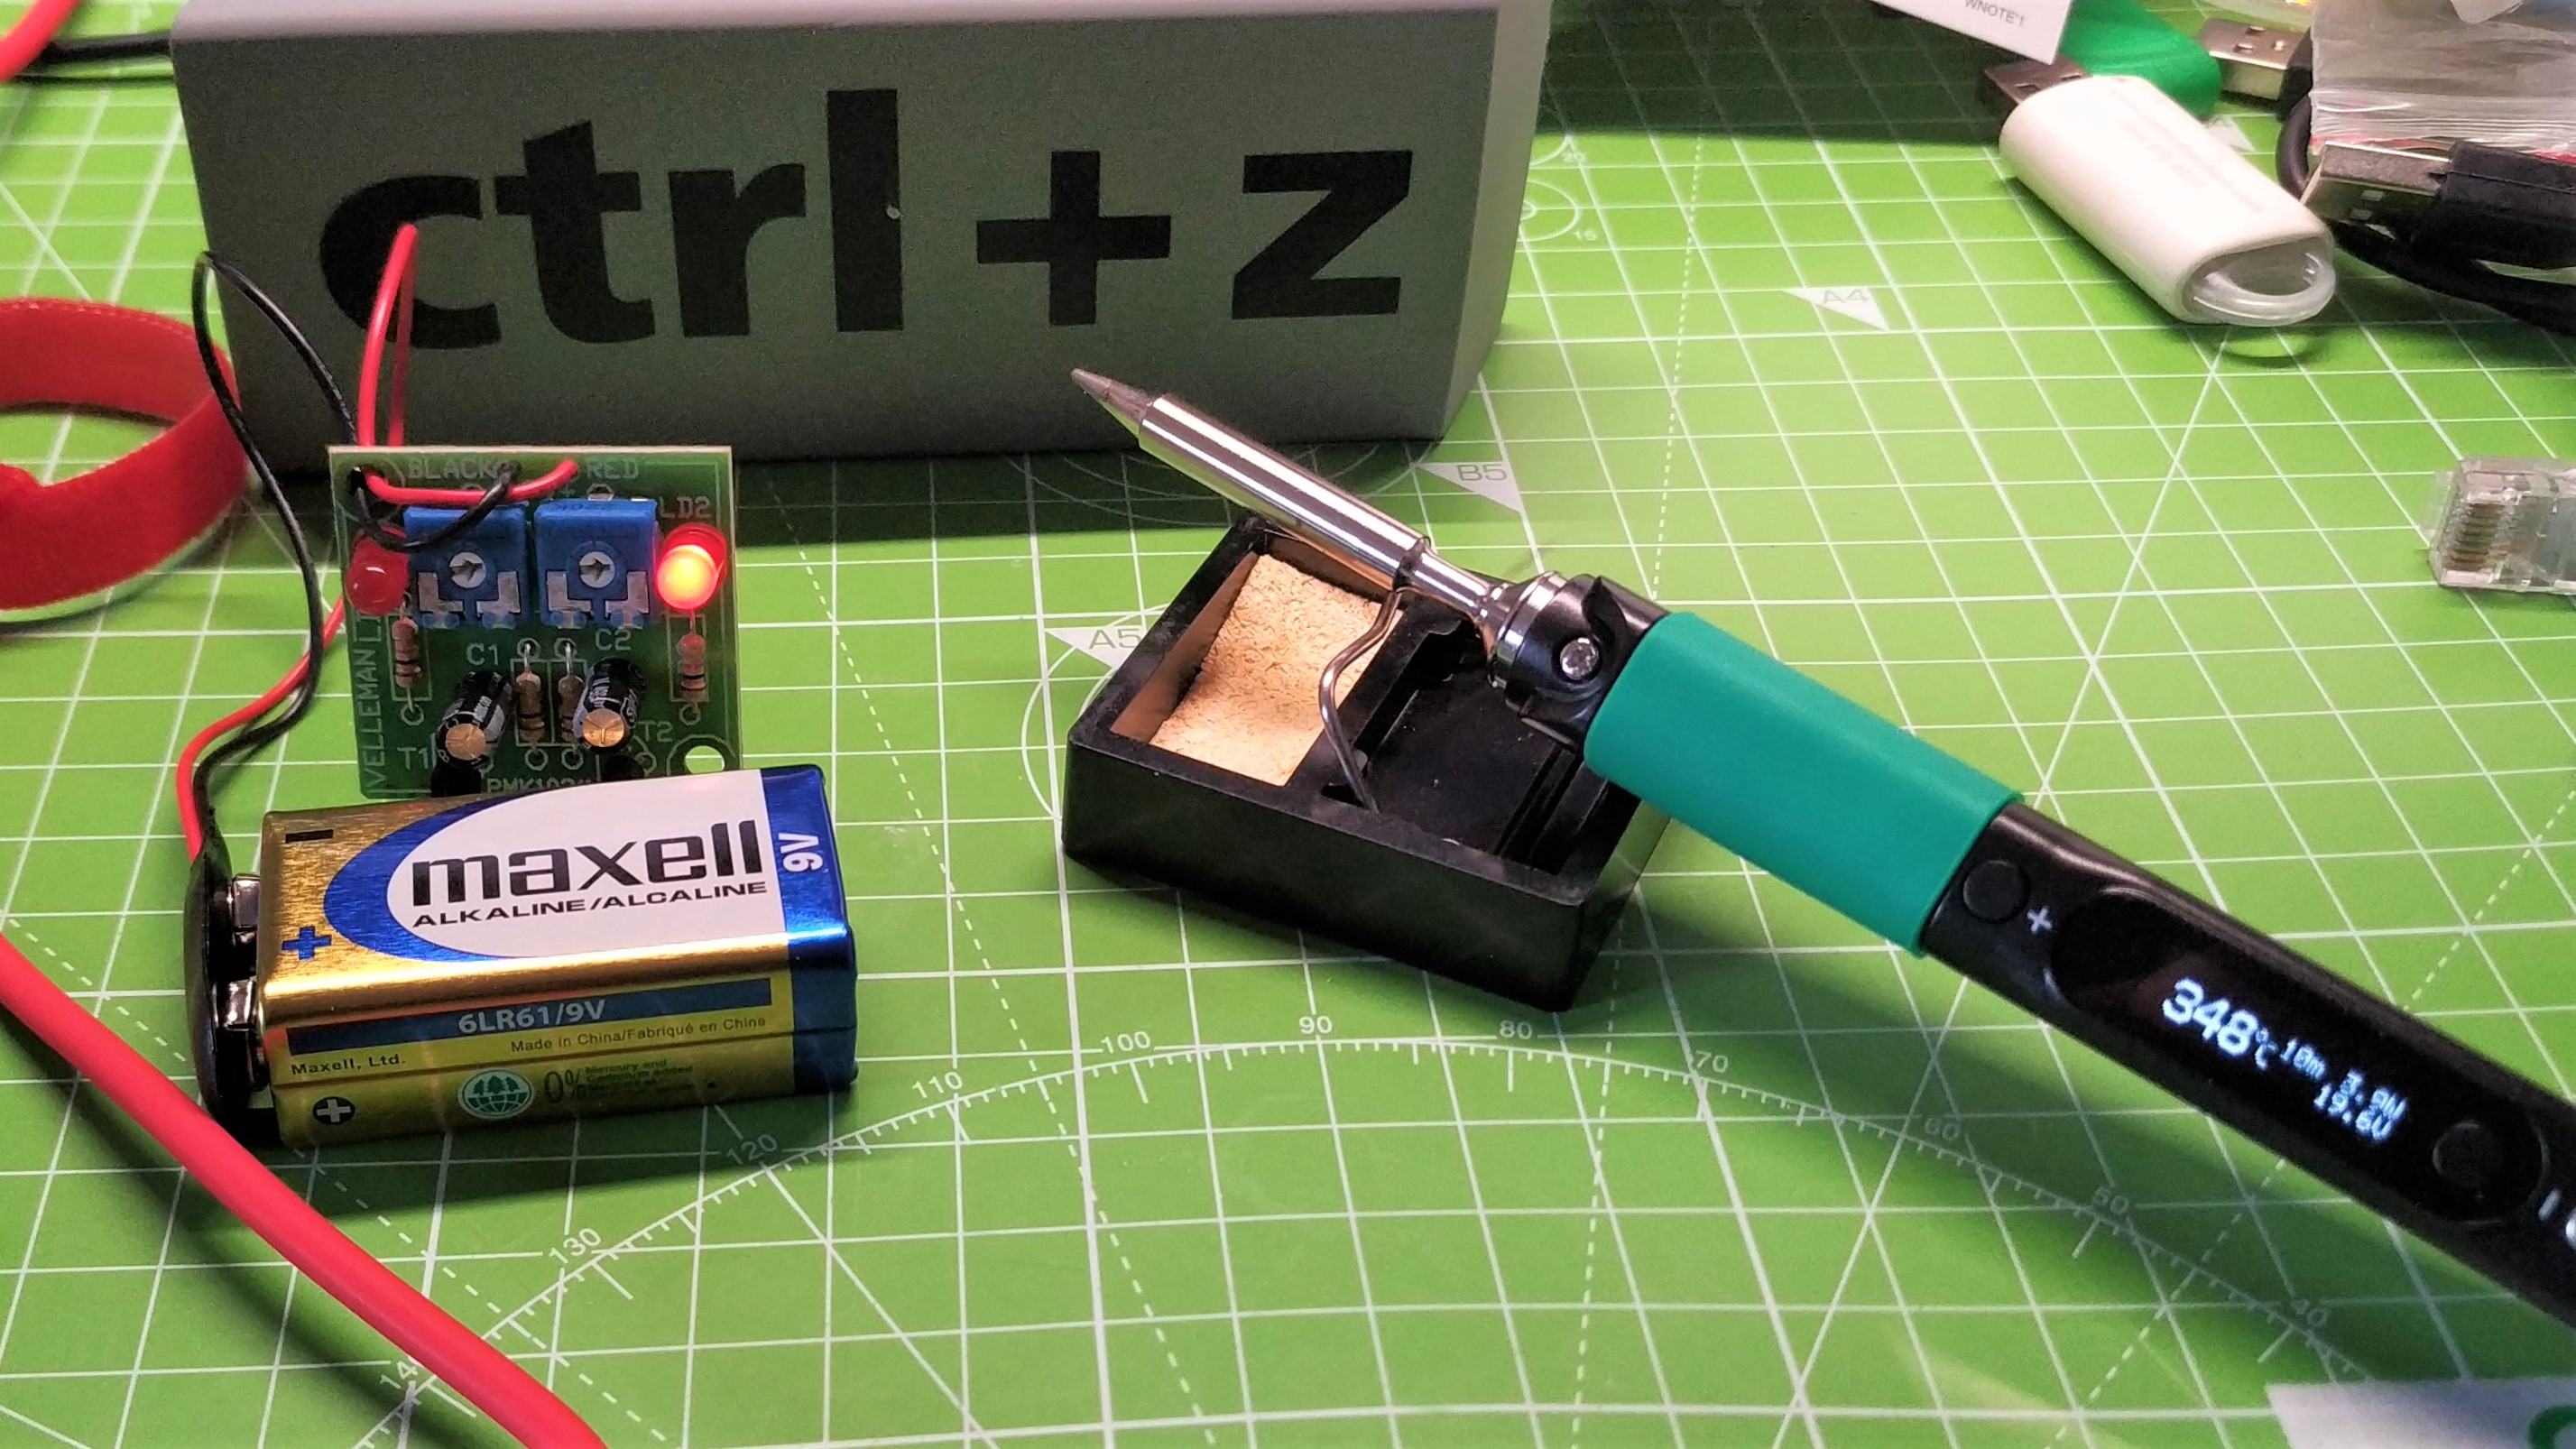
We tested Pinecil V2 with a simple flashing LED project kit. We used the supplied conical short tip and connected the iron to a PinePower desktop power supply with a USB C port capable of delivering 65 Watts. Pinecil V2 made short work of the kit, the lead solder melted perfectly, with peaks that connected the PCB to the component. There were no cold solder joints (where the solder doesn’t bridge between the PCB and component) and our LEDs flashed happily.
For 90% of the projects Pinecil will be used for, it will sail through with no issue, but where it could struggle are boards that soak heat via large ground plains or multi-layer boards with huge amounts of copper. PC motherboards are notorious for soaking every last degree of heat from a soldering iron, trust us, we’ve tried to desolder a capacitor from an early 2000s Asus motherboard and it required a heat gun and a soldering iron. We tested the power of Pinecil V2 by trying to desolder the alignment tabs of a USB 2.0 port on a dead Raspberry Pi 3. Our normal soldering temperature of 350 degrees Celsius didn’t work, even flowing fresh lead solder did nothing. We bumped the temperature up to 400 degrees Celsius and repeated the steps. It worked! Taking the iron to 450 degrees Celsius produced better results, with less time stressing the components, reducing the risk of damaging the PCB.
A RISC-V CPU in a Soldering Iron?
Pinecil V1 introduced a 32-bit RV32IMAC RISC-V “Bumblebee Core” CPU running at 108 MHz. This CPU was the brains that worked with IronOS (the soldering iron’s operating system) to coordinate reading temperature, voltage and motion sensors, all of which are necessary for using the iron. For Pinecil V2, we get a spec bump to a 32-bit RV32IMAFC RISC-V “SiFive E24 Core '' running at 144 MHz.
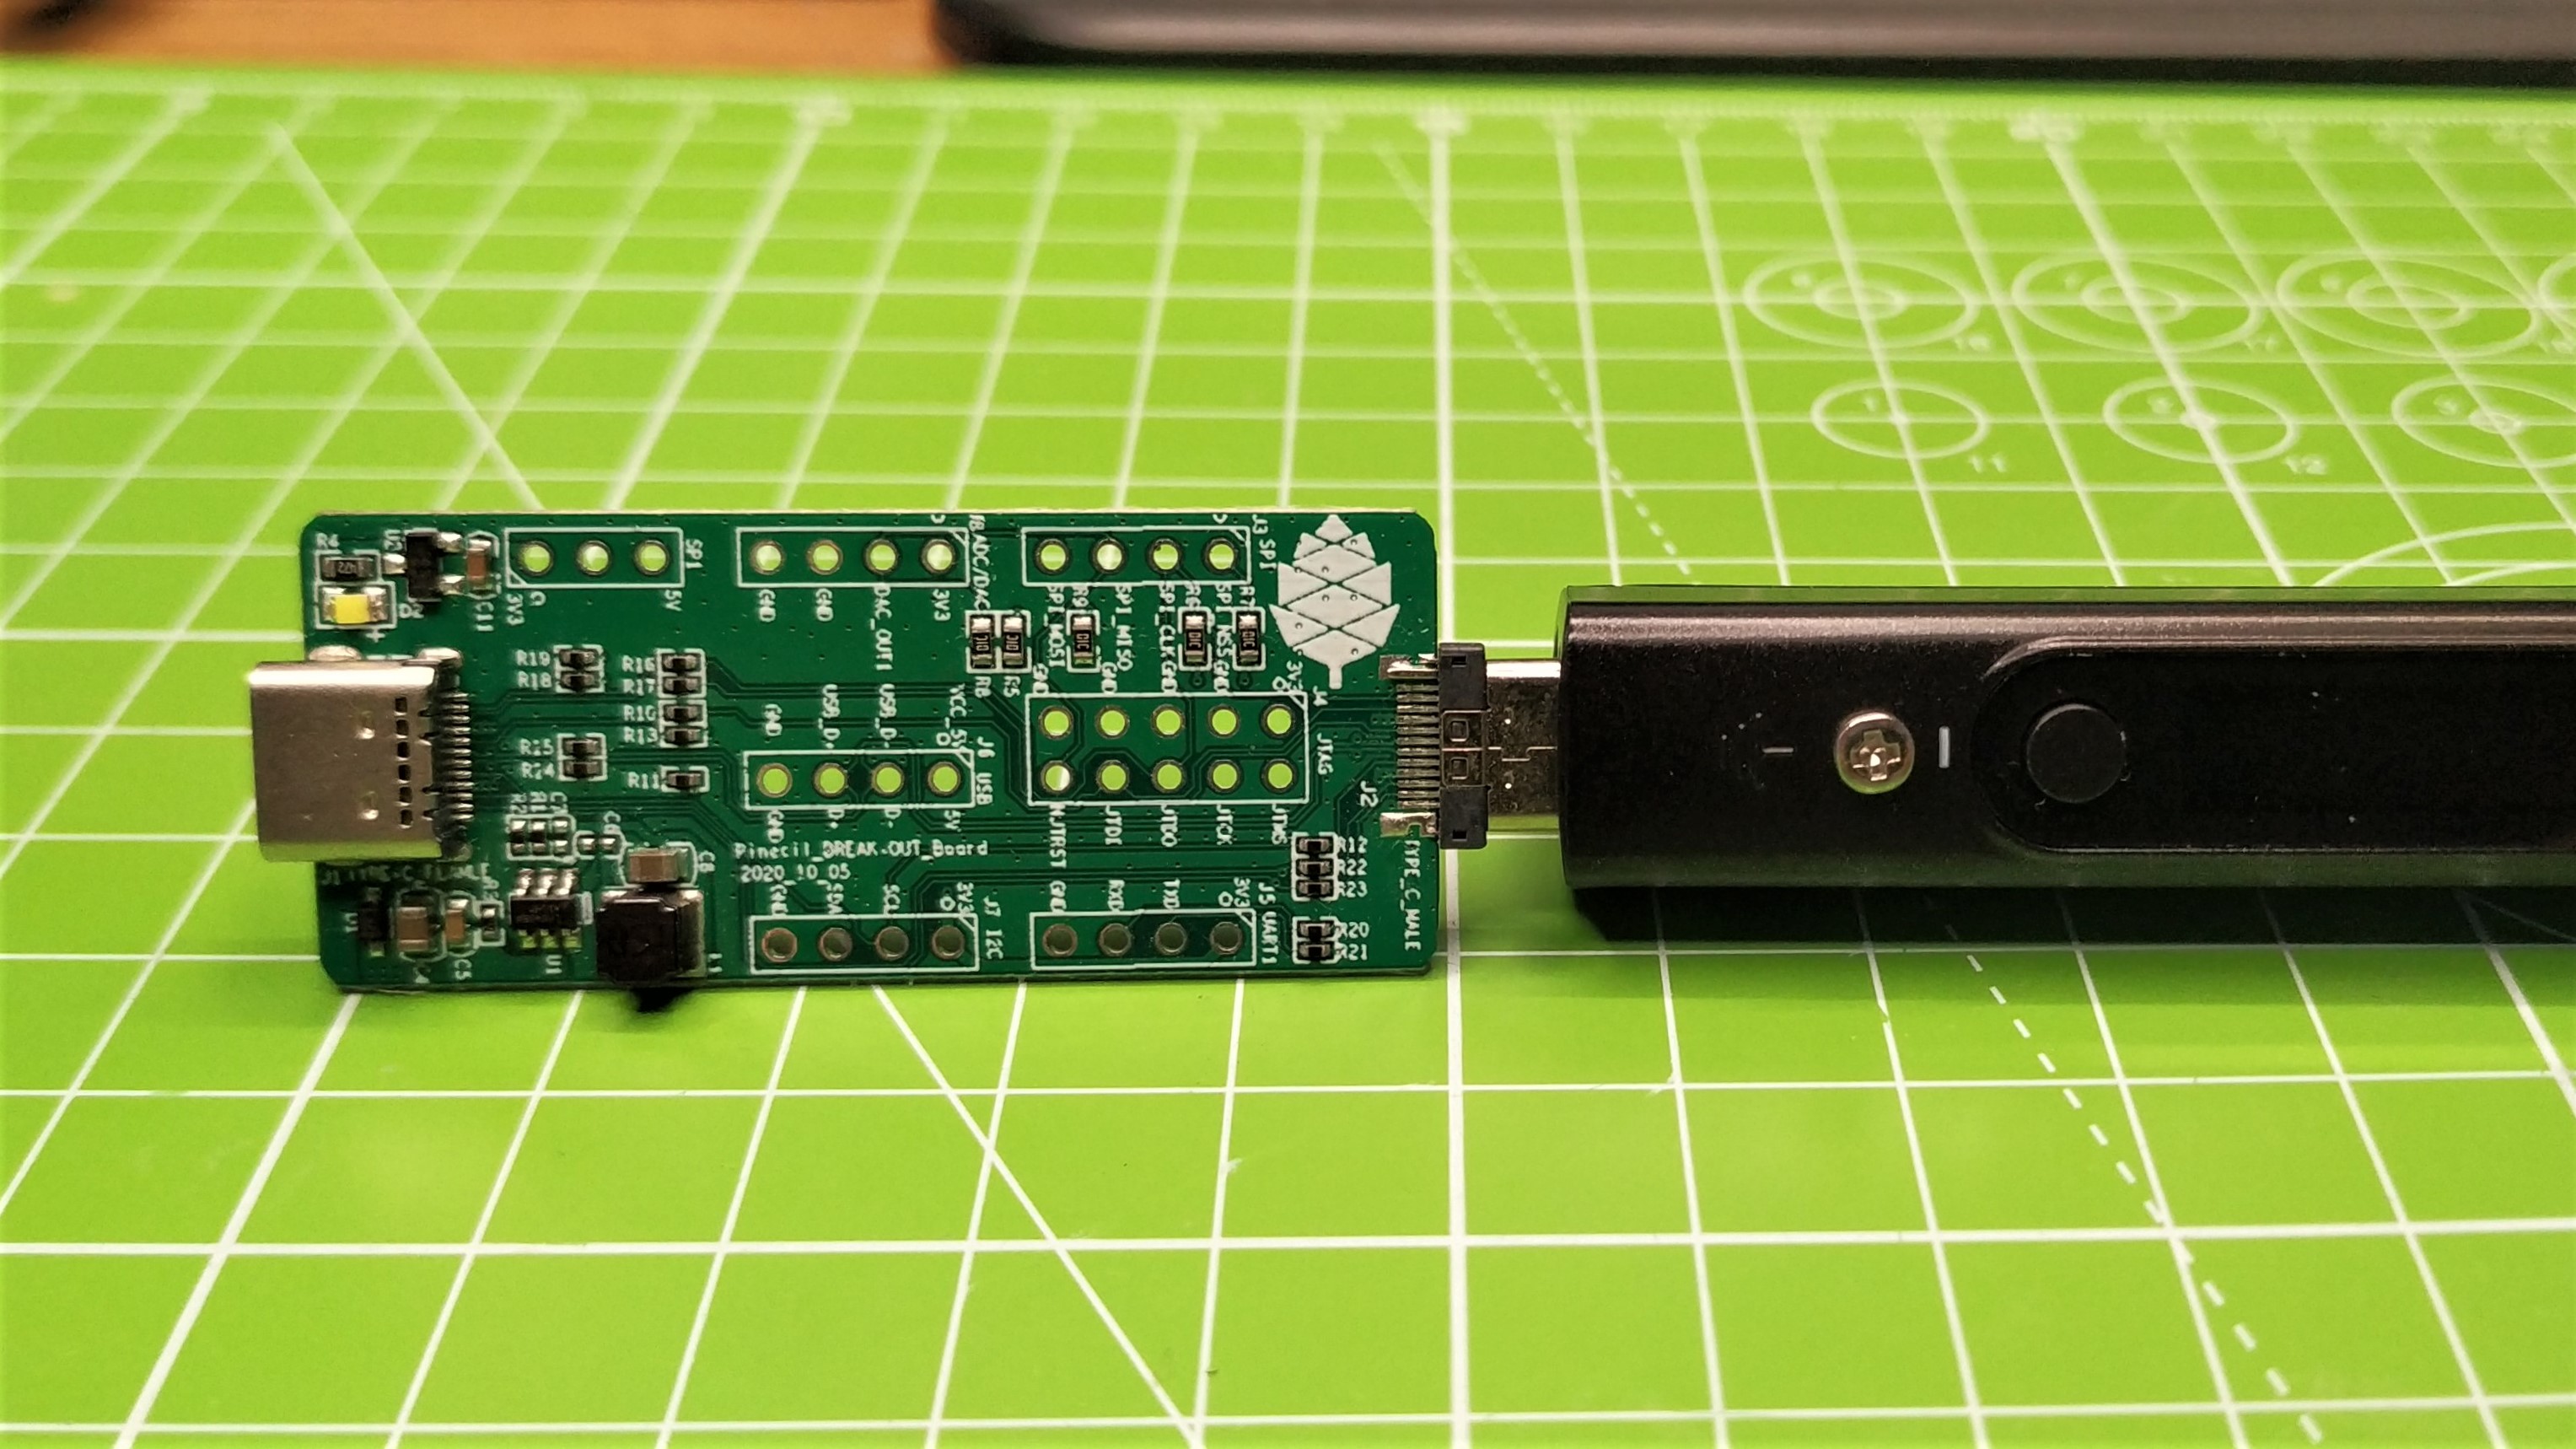
An optional breakout board, which plugs into the USB C port and passes power through it, provides GPIO pins which can be used to test, debug and create projects using the iron as a controller. The RISC-V CPU doesn’t really come into play for most users. We turn on the iron, heat it up, and start soldering. Its inclusion is more of an example of what can be done with the alternative architecture, an architecture which is steadily gaining ground in open source projects.
Flashing IronOS to Pinecil V2
Did you ever think that you would need to update the firmware of your soldering iron? Well you can. Our Pinecil V2 came with version 2.18 of IronOS, and we went to Pine64’s wiki to learn what the latest version was (2.19 at the time of writing) and how to update Pinecil.
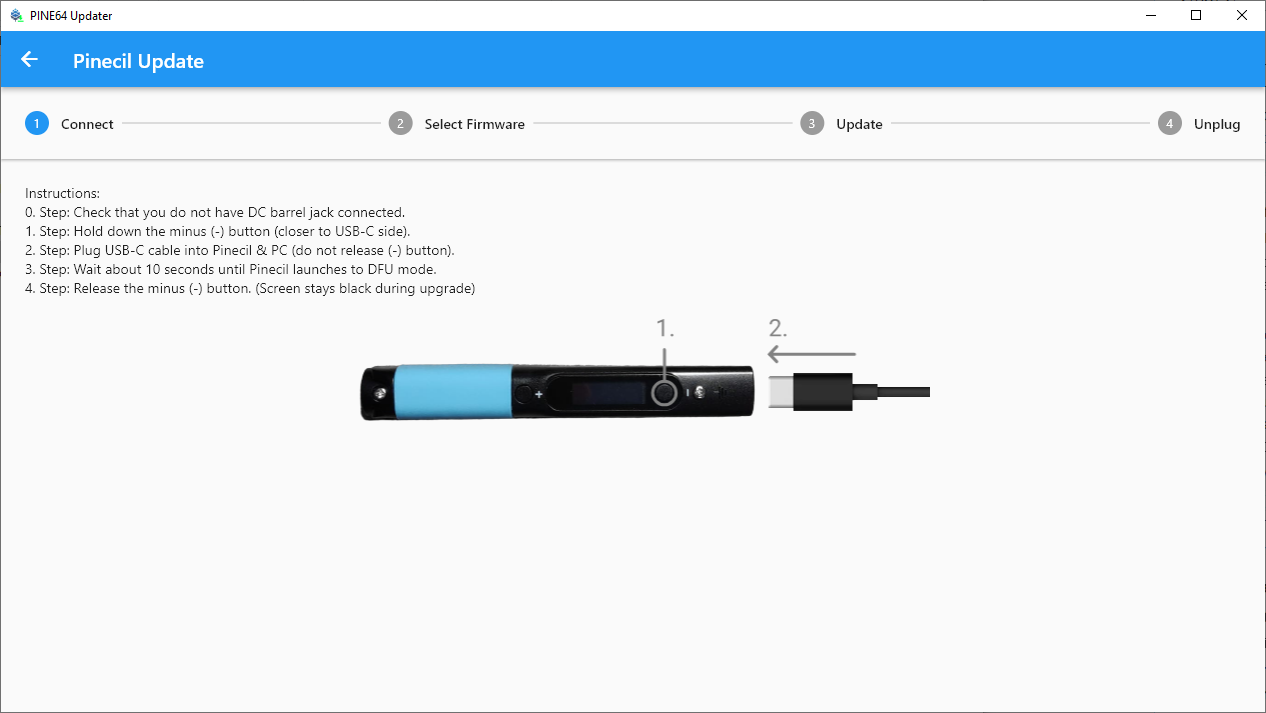
The Pine64 Updater app, for Windows and Mac is the tool for the job. You can just download and run the app, elect our Pinecil, then power the iron on while holding the - button. But when we tried this, nothing happened. Was our Pinecil V2 faulty? Did we do something wrong? Luckily we have a V1, so we performed the same steps. The updater detected the iron and proceeded to update V1 to the latest firmware. For now, V2 is either stuck at v2.18, or there is a bug in the updater. Time will tell.
Powering Pinecil V2
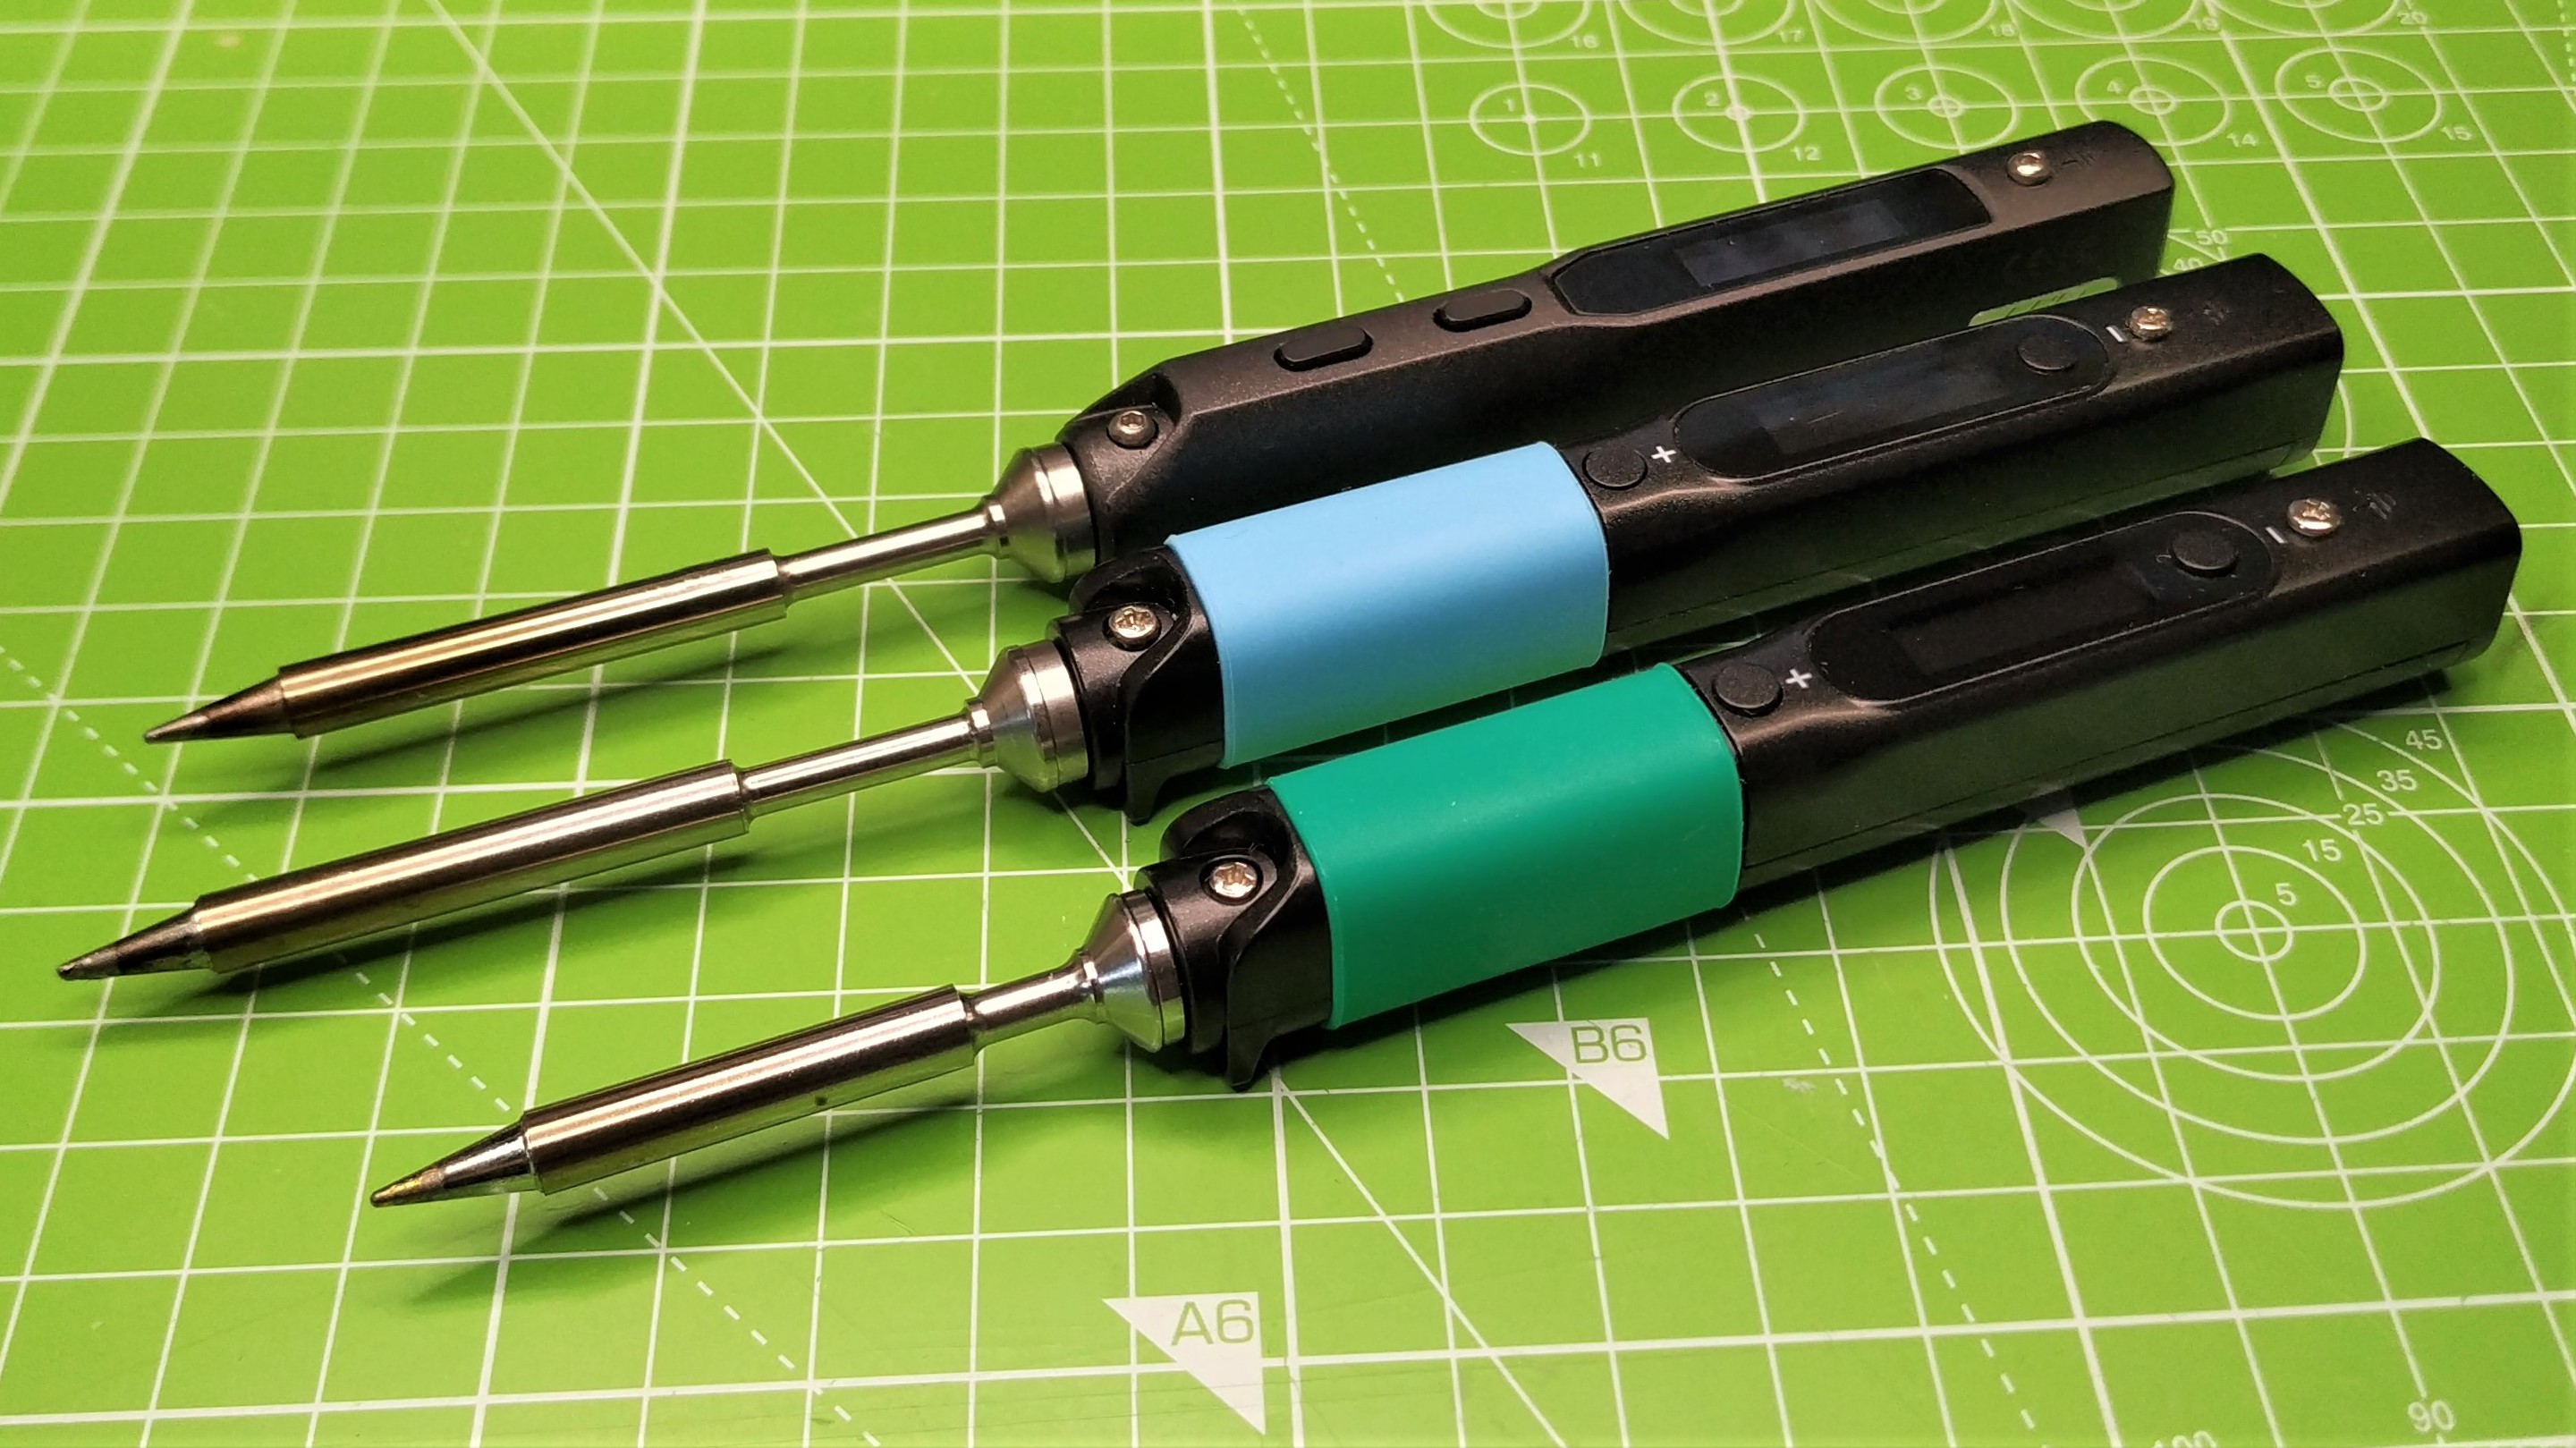

Pinecil V2, like its predecessor, can work with voltages between 12 and 24 Volts. The higher the voltage, the faster the iron will heat up. The DC5525 barrel jack offers flexibility for those of us soldering in the field. DC power supplies with 5525 jacks are common and that means we are never far away from a viable power source.
If you are truly “in the field” with no access to an outlet, you can power Pinecil V2 from a USB C powerbank, as long as it can produce the necessary voltage. You can also use LiPo batteries in 3 / 4 or 5S configurations, or in a pinch an 18-20V Lithium Ion tool battery can be used.
Pinecil V2 is capable of reaching 450 degrees Celsius, and at that temperature, the iron is pulling 66 Watts (20 Volts at 3.3 Amps), the maximum we can supply from our USB-C power source. Pinecil V2 differs from V1 in its power range. With V1, we could get between 17 and 65 Watts. V2 takes this further with a range of 18 to 88 Watts. You’ll need a decent power source to reach the 88W target (24V at 3.66 Amps), and soldering at this level of power is not the norm.
Pinecil V2 Soldering Tips
Every maker has their preferred soldering iron tip, and the Pinecil V2 comes with a decent conical short tip that will do the job. It isn’t the most precise tip, but it is able to solder through hole components, and the GPIO of a Raspberry Pi.
The tips of the Pinecil V2 are compatible with those of the V1, and by extension they are also compatible with Waveshare’s TS100 soldering iron. Pine64 offers a selection of replacement tips, and Waveshare TS100 tips can also be found via Aliexpress.
We have a range of soldering iron tips as we own each of the aforementioned soldering irons. The ones that we use the most are a chisel tip and bevel. Both provide enough thermal mass to make contact with the component and PCB, but the chisel affords a little more precision. When purchasing a soldering iron, it is wise to grab a few different types and take them for a test drive before settling on just one.
Bottom Line: Who is Pinecil V2 For?
If you have a Pinecil V1, there isn’t much reason to upgrade to V2. The extra power (88W) is nice to have, but how often do we really need it? On the other hand if you are looking for a soldering iron, then Pinecil V2 is an ideal starter iron. We get a low cost iron, with high-end features.
We don’t need to dedicate a spot on our workbench, but we get the benefits of a temperature controlled iron. Even a cheaper soldering iron will come in at around $15-20, so for the little bit extra, we get a lot more functionality.If you are getting started, or a seasoned maker, Pinecil V2 is a great iron for your workshop.

Les Pounder is an associate editor at Tom's Hardware. He is a creative technologist and for seven years has created projects to educate and inspire minds both young and old. He has worked with the Raspberry Pi Foundation to write and deliver their teacher training program "Picademy".
-
Findecanor A common complaint of the TS irons is that the handle gets too hot after a while, so you can't use it for too long.Reply
Does the Pinecil suffer from this limitation as well? -
KaiNie Do you have any idea where to purchase the Pine V2? Can't find it in any online shop. Seems to be unavailable currently.Reply -
River-mochi ReplyFindecanor said:A common complaint of the TS irons is that the handle gets too hot after a while, so you can't use it for too long.
Does the Pinecil suffer from this limitation as well?
not for me and I own two V1 original models and 2 of the newest V2 models. part of this is Pinecil has the Silicone comfort grip at the end.
I choose Pinecil because it has 3 ways to power on USB-C PD65w 20V, DC barrel up to 24V/3amps+, and DC barrel with any of my tool batteries (18V-21). the older V1 supports up to 21V (but 24 if you do a modification).
V2 tentatively supports up to 28V EPR 140W chargers (pine upgraded all relevant components from V1 original model). I personally tested this it works on Apple 140W 28V charger and other members have Anker 717, anker 737 (28V battery bank), and several other EPR PD 3.1 chargers tested. however officially on the side of the V2 it only says up to 24V 88W (the new shorter tip is only 6.2 ohm unlike longer 8ohm ts100 tips). shorter tip gives higher performance. pine wants to be conservative on what it supports in the specs of 24V 88w, but several of us have already tested with success 28V 140W chargers and batteries ( with 6.2 ohm short tip that is potential of 126W). there is a Video on youtube comparing the speeds. and on EPR 28V, V2 model goes from 0 to 300C in < 3 seconds. "Search Pinecil V1 vs V2"
right now the Pinecil V2 surpasses ts100 on several levels for performance and comfort. it also has little plastic molded feet so it doesn't roll over on the table when you place it down. -
River-mochi Reply
check out the Pine64 Pinecil Wiki for all authorized sellers of V2 Pinecil link here right now it's on Amazon USA, but Pine Store only sells the V2 on amazon. if you want the other accessories like Clear case, you have to get it from Pine Store main (ships from China ) pine64.com or Pine64eu.com (EU shop). other resellers listed on the Pinecil wiki that sell some Pinecil but may have some accessories. Only pine64.com has all the possible Pine64 options.KaiNie said:Do you have any idea where to purchase the Pine V2? Can't find it in any online shop. Seems to be unavailable currently. -
River-mochi ReplyAdmin said:Pine64’s latest RISC-V soldering iron comes in at a low price point, but with features commonly found on more expensive irons.
Pinecil V2 Review: Smart Soldering Iron, Powered by RISC-V CPU : Read more
Only the older Pinecil V1 can be updated with the Pine64 easy Updater.
The Pinecil V2 has a completely new MCU, the BL704 which does not use DFU for updates.
There is no bug in the Updater, it says on the website it only works for V1 right now.
there is no official V2 update available yet, but when it is available, there will be an Update Flash method to go with it.
see: PINE64official/comments/xjt82vView: https://www.reddit.com/r/PINE64official/comments/xjt82v/new_pinecil_owners_firmware_tips_info/ -
grein002 is anyone else concerned about this device having just a 30-day warranty? I've seen a couple of purchase reviews that claimed the device only worked for a couple of months...Reply
