Raidmax X08 Open Air Chassis Review: Style Over Substance
Why you can trust Tom's Hardware
Hardware Installation and Test Configuration
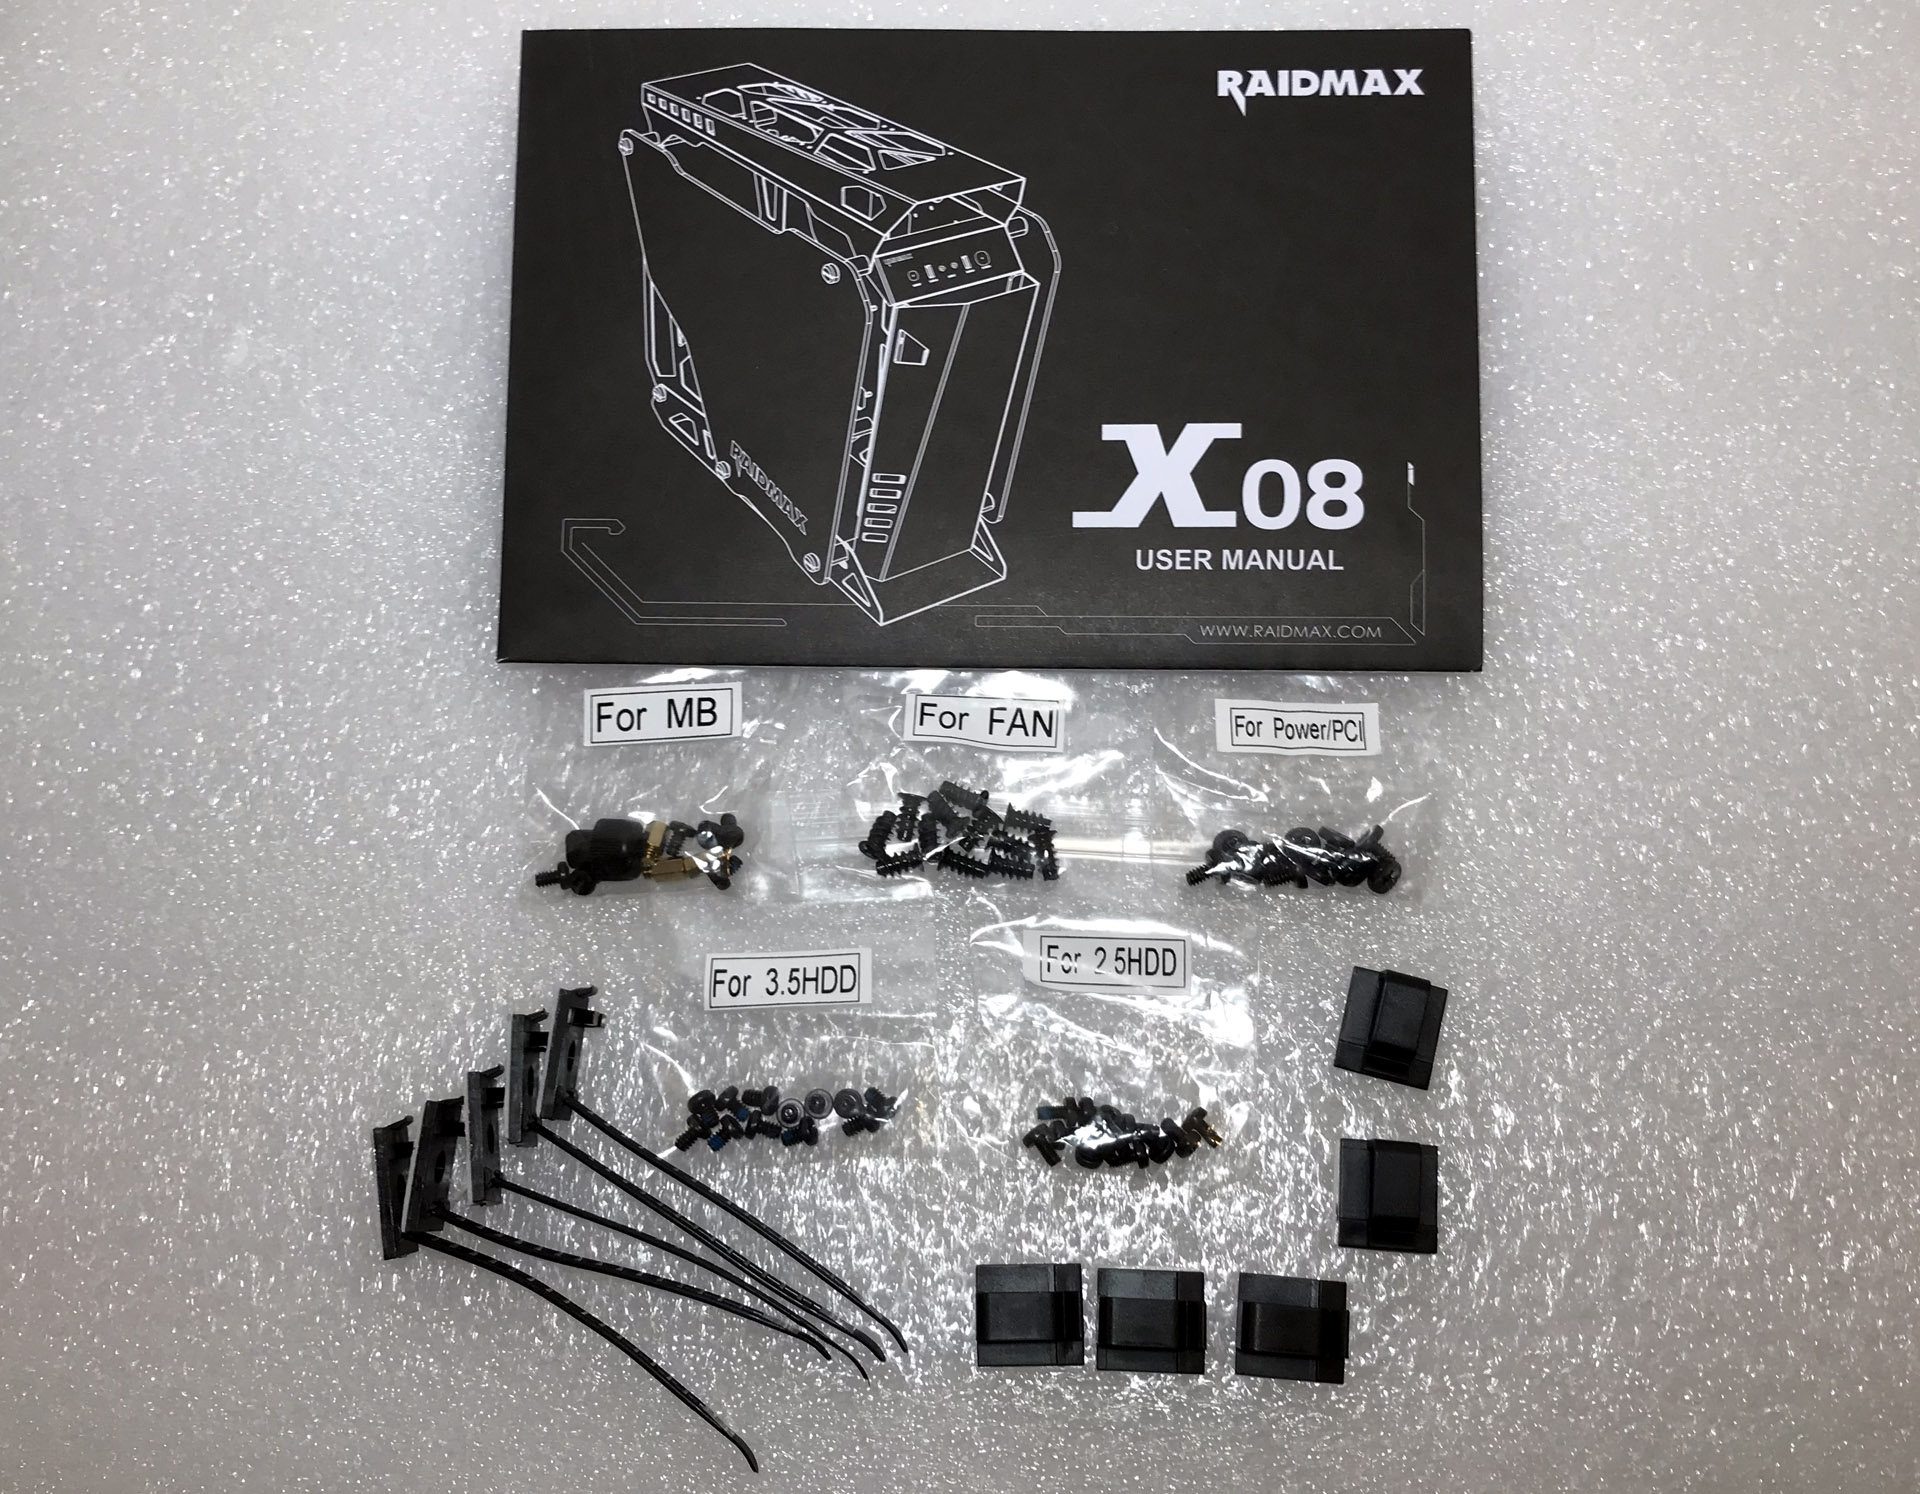
Included accessories for the Raidmax X08 are plastic tie-downs, various screws and a printed manual in a clear zip-style bag.
Test Configuration
Drivers & Settings
| Chipset | Intel INF 10.1.1.42 |
| CPU | 4GHz (40x 100MHz) @ 1.1V core |
| Motherboard | Firmware 1.10 3/2/2018 |
| RAM | 14-14-14-34 |
| Graphics | Maximum Fan for Thermal Tests | NVIDIA GeForce 398.36 WHQL Game Ready Driver |
Interior
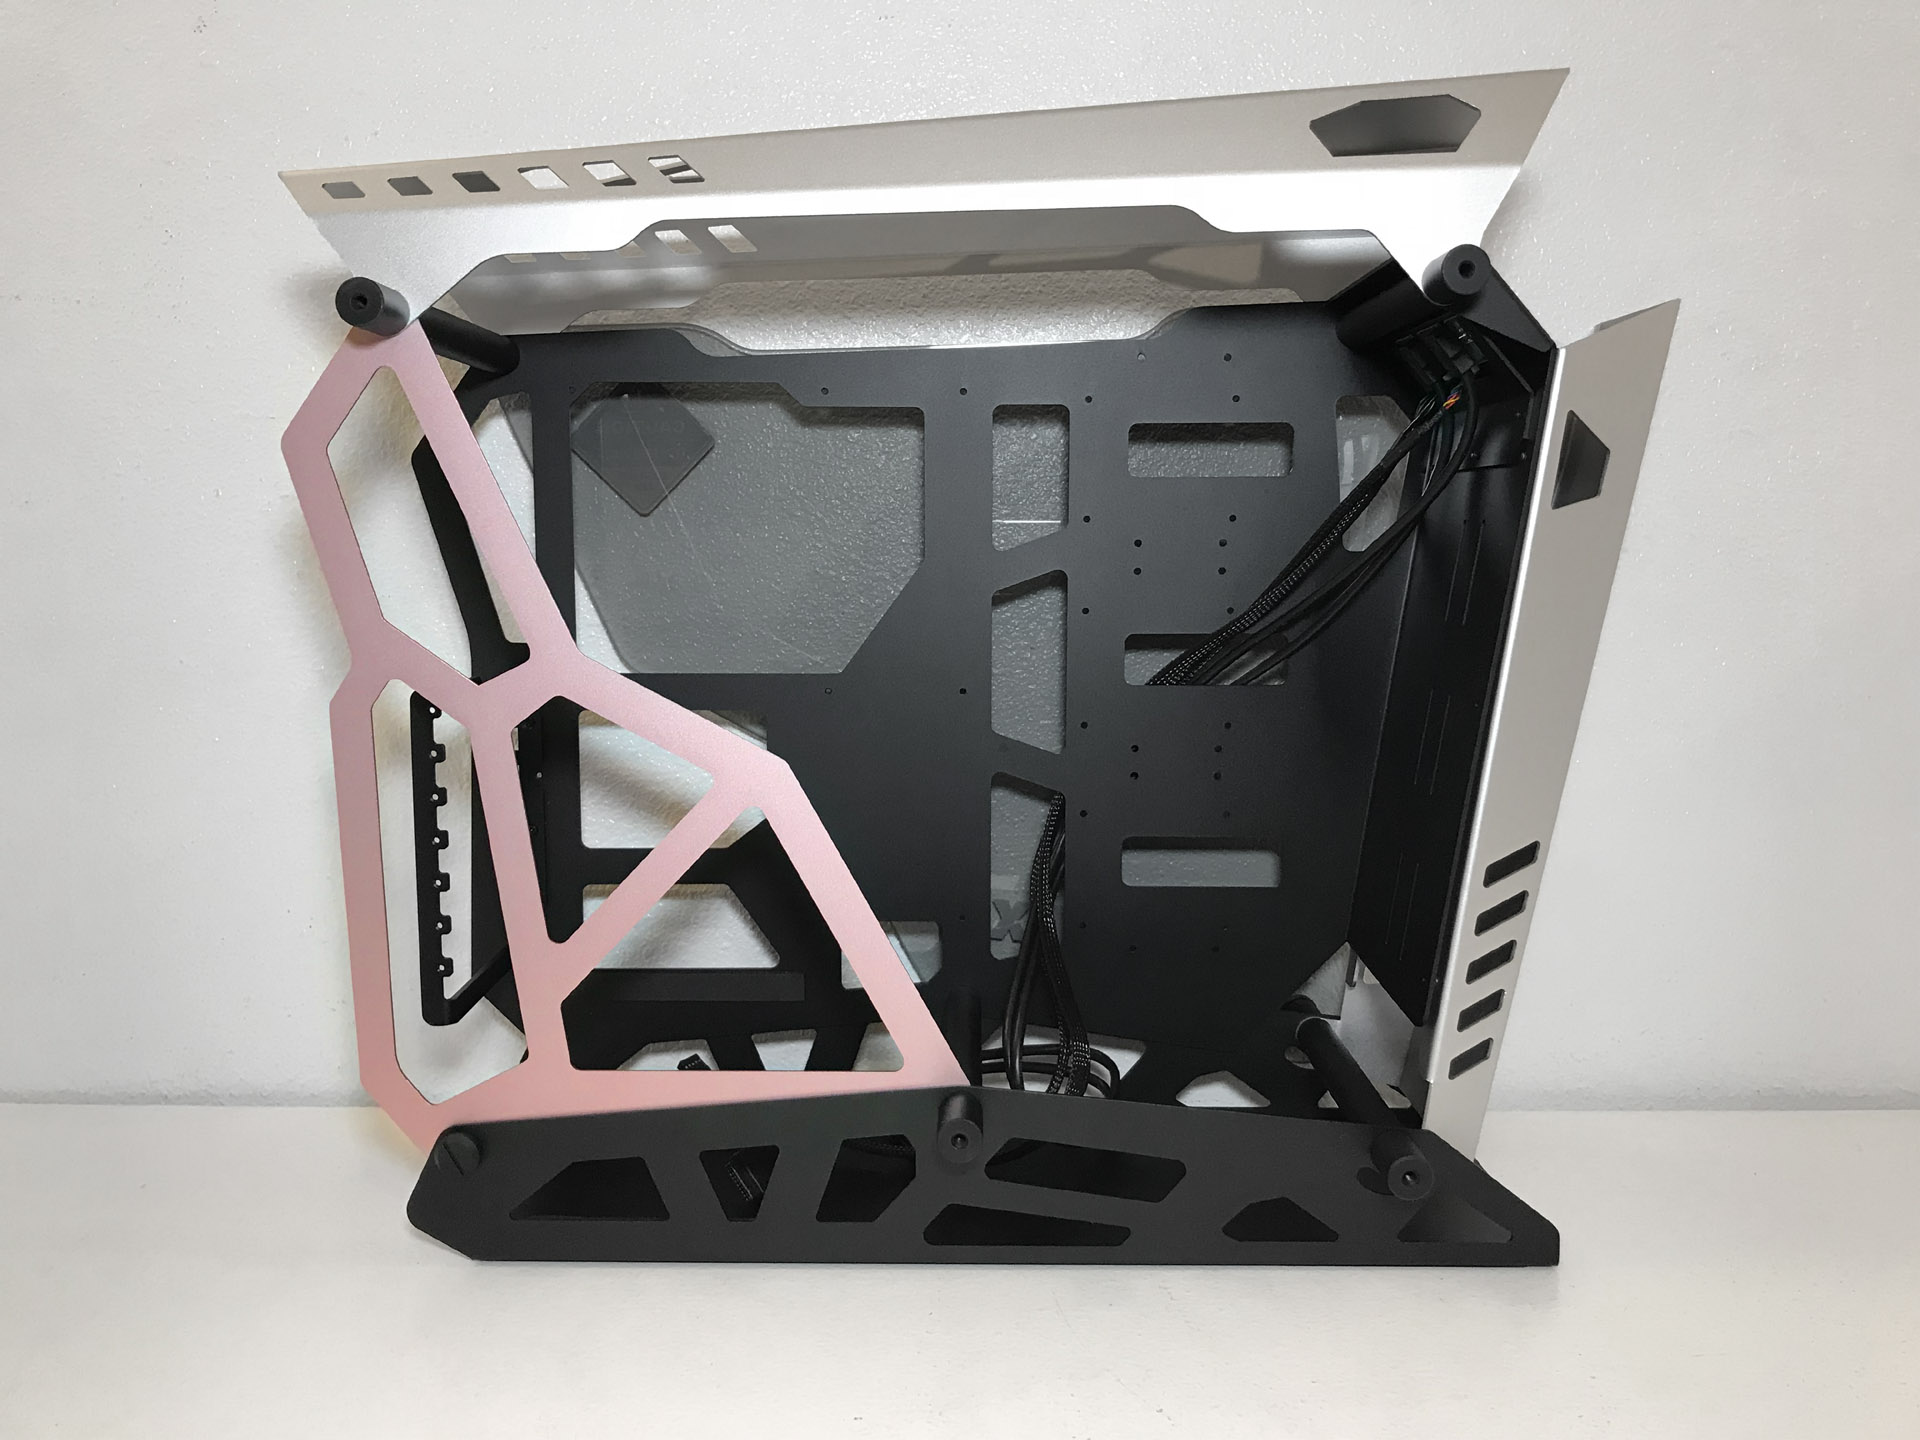
There are nine cable pass-through holes in the motherboard tray for cable management: six large rectangular openings and three smaller holes in the bottom of the motherboard tray. Additionally, there's a large notch in the top of the motherboard tray, designed specifically to route fan cables and the 12v motherboard power cable.
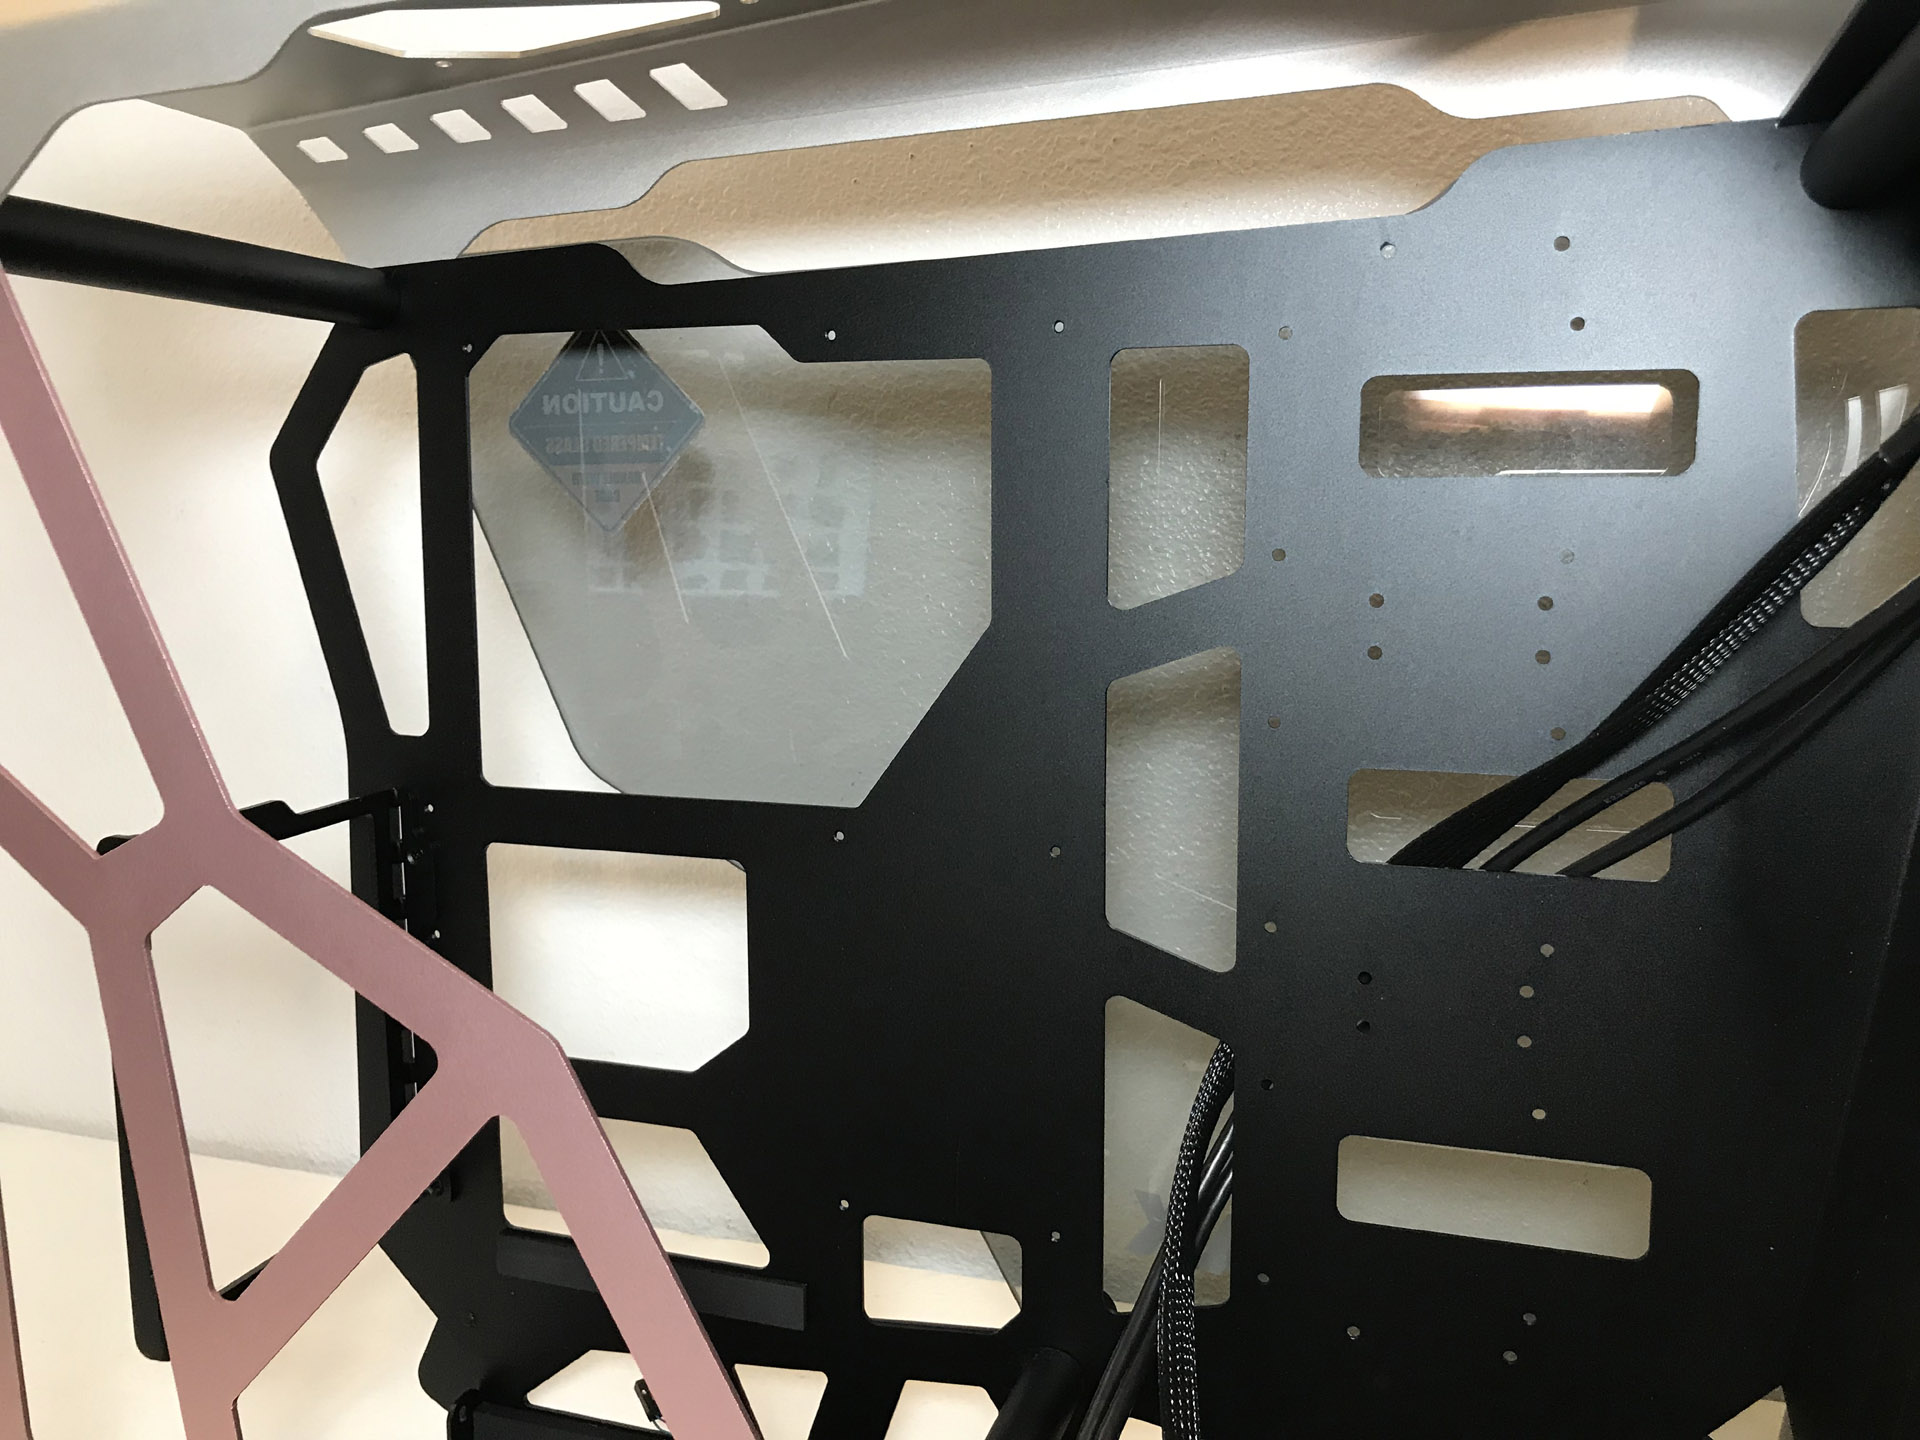
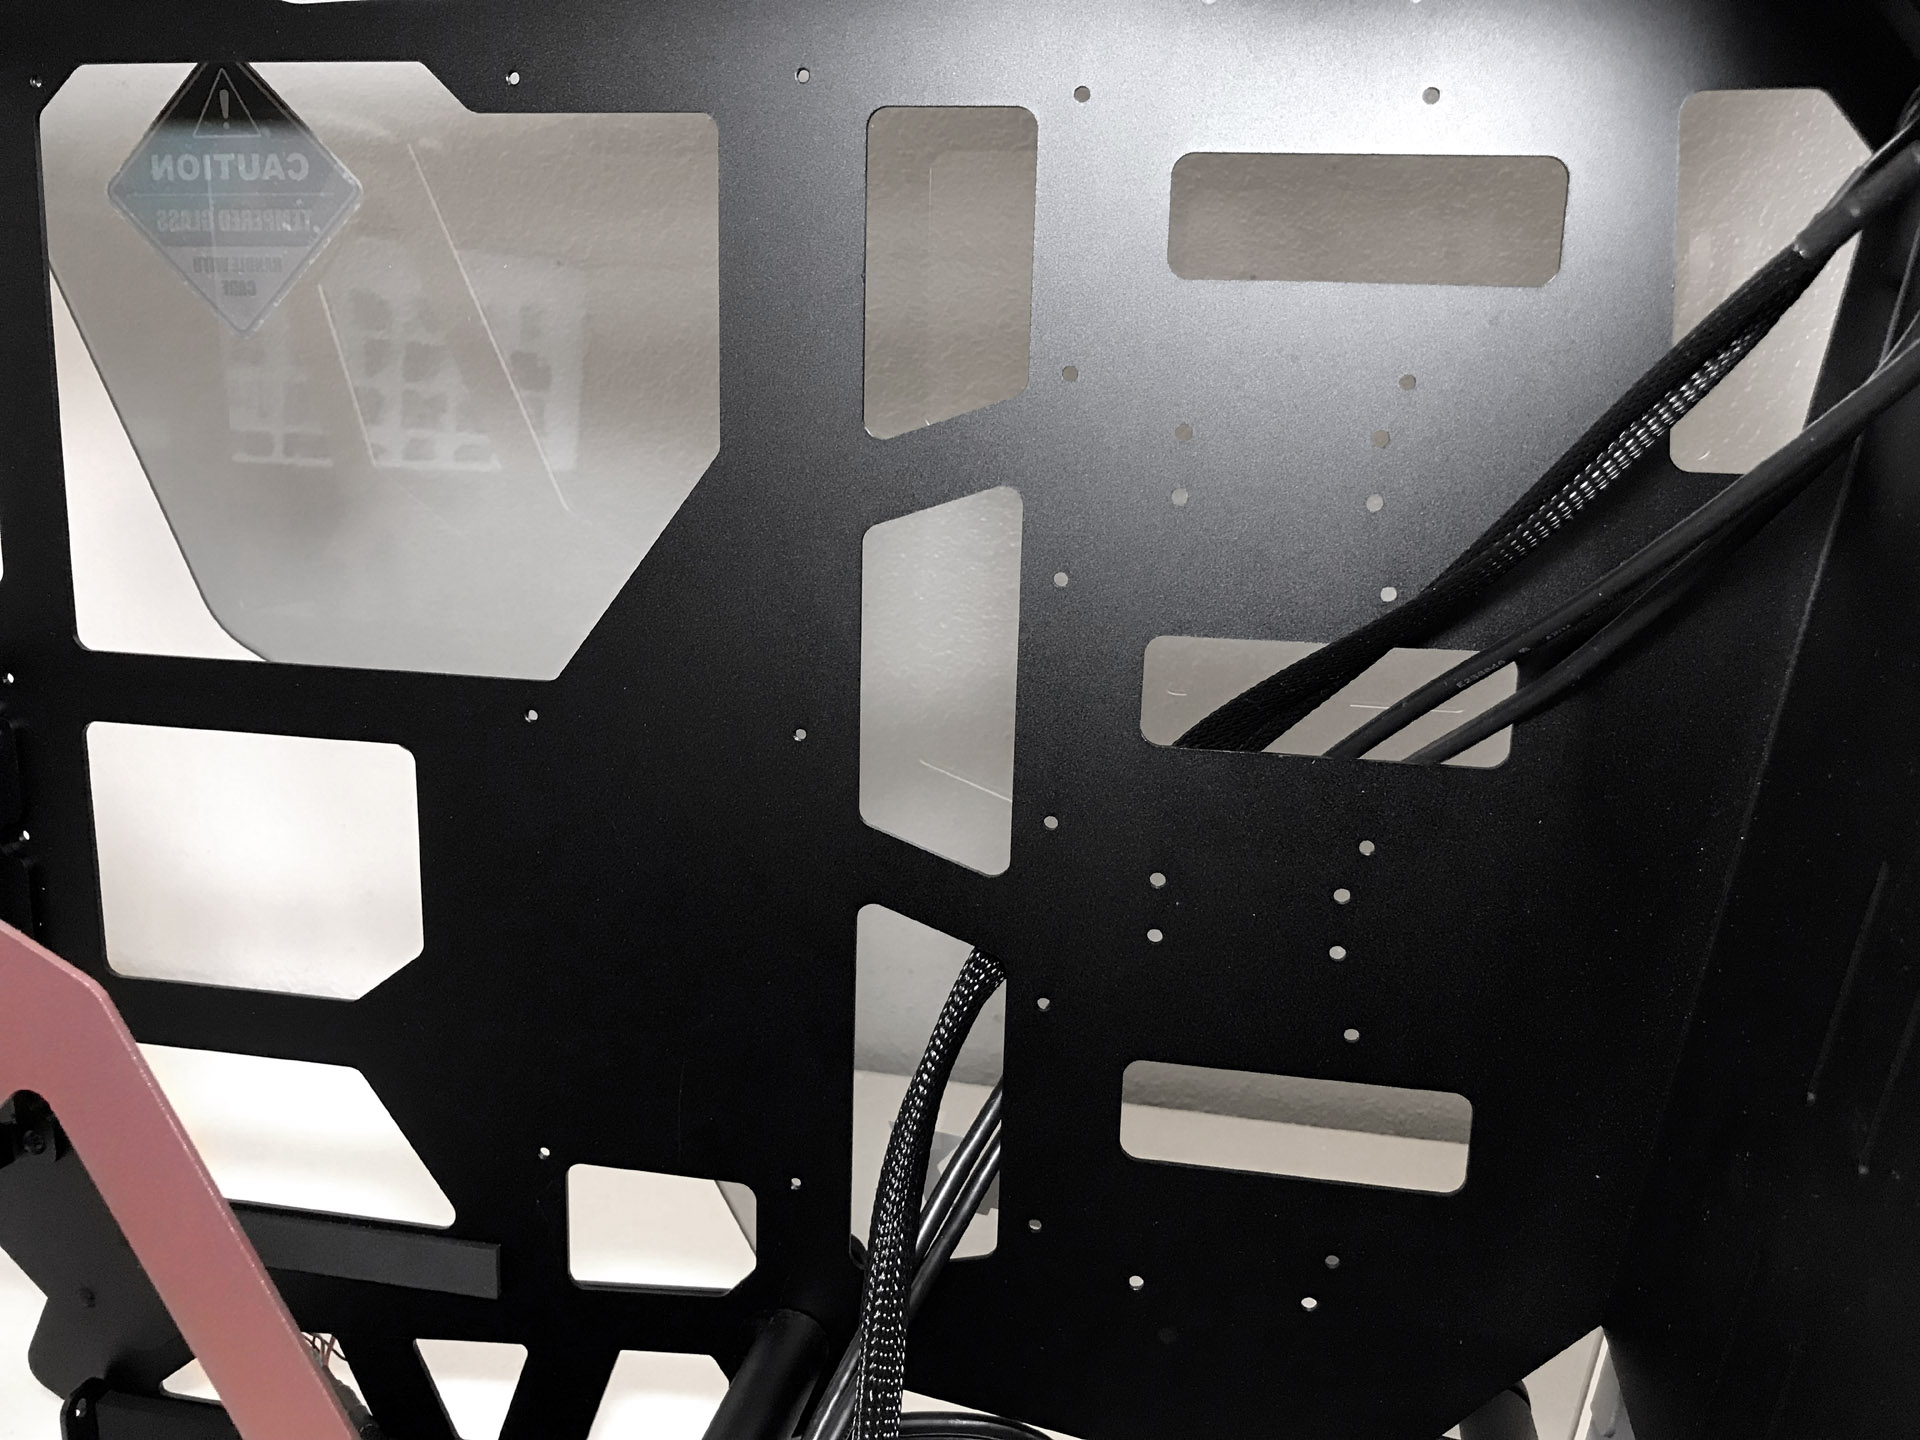
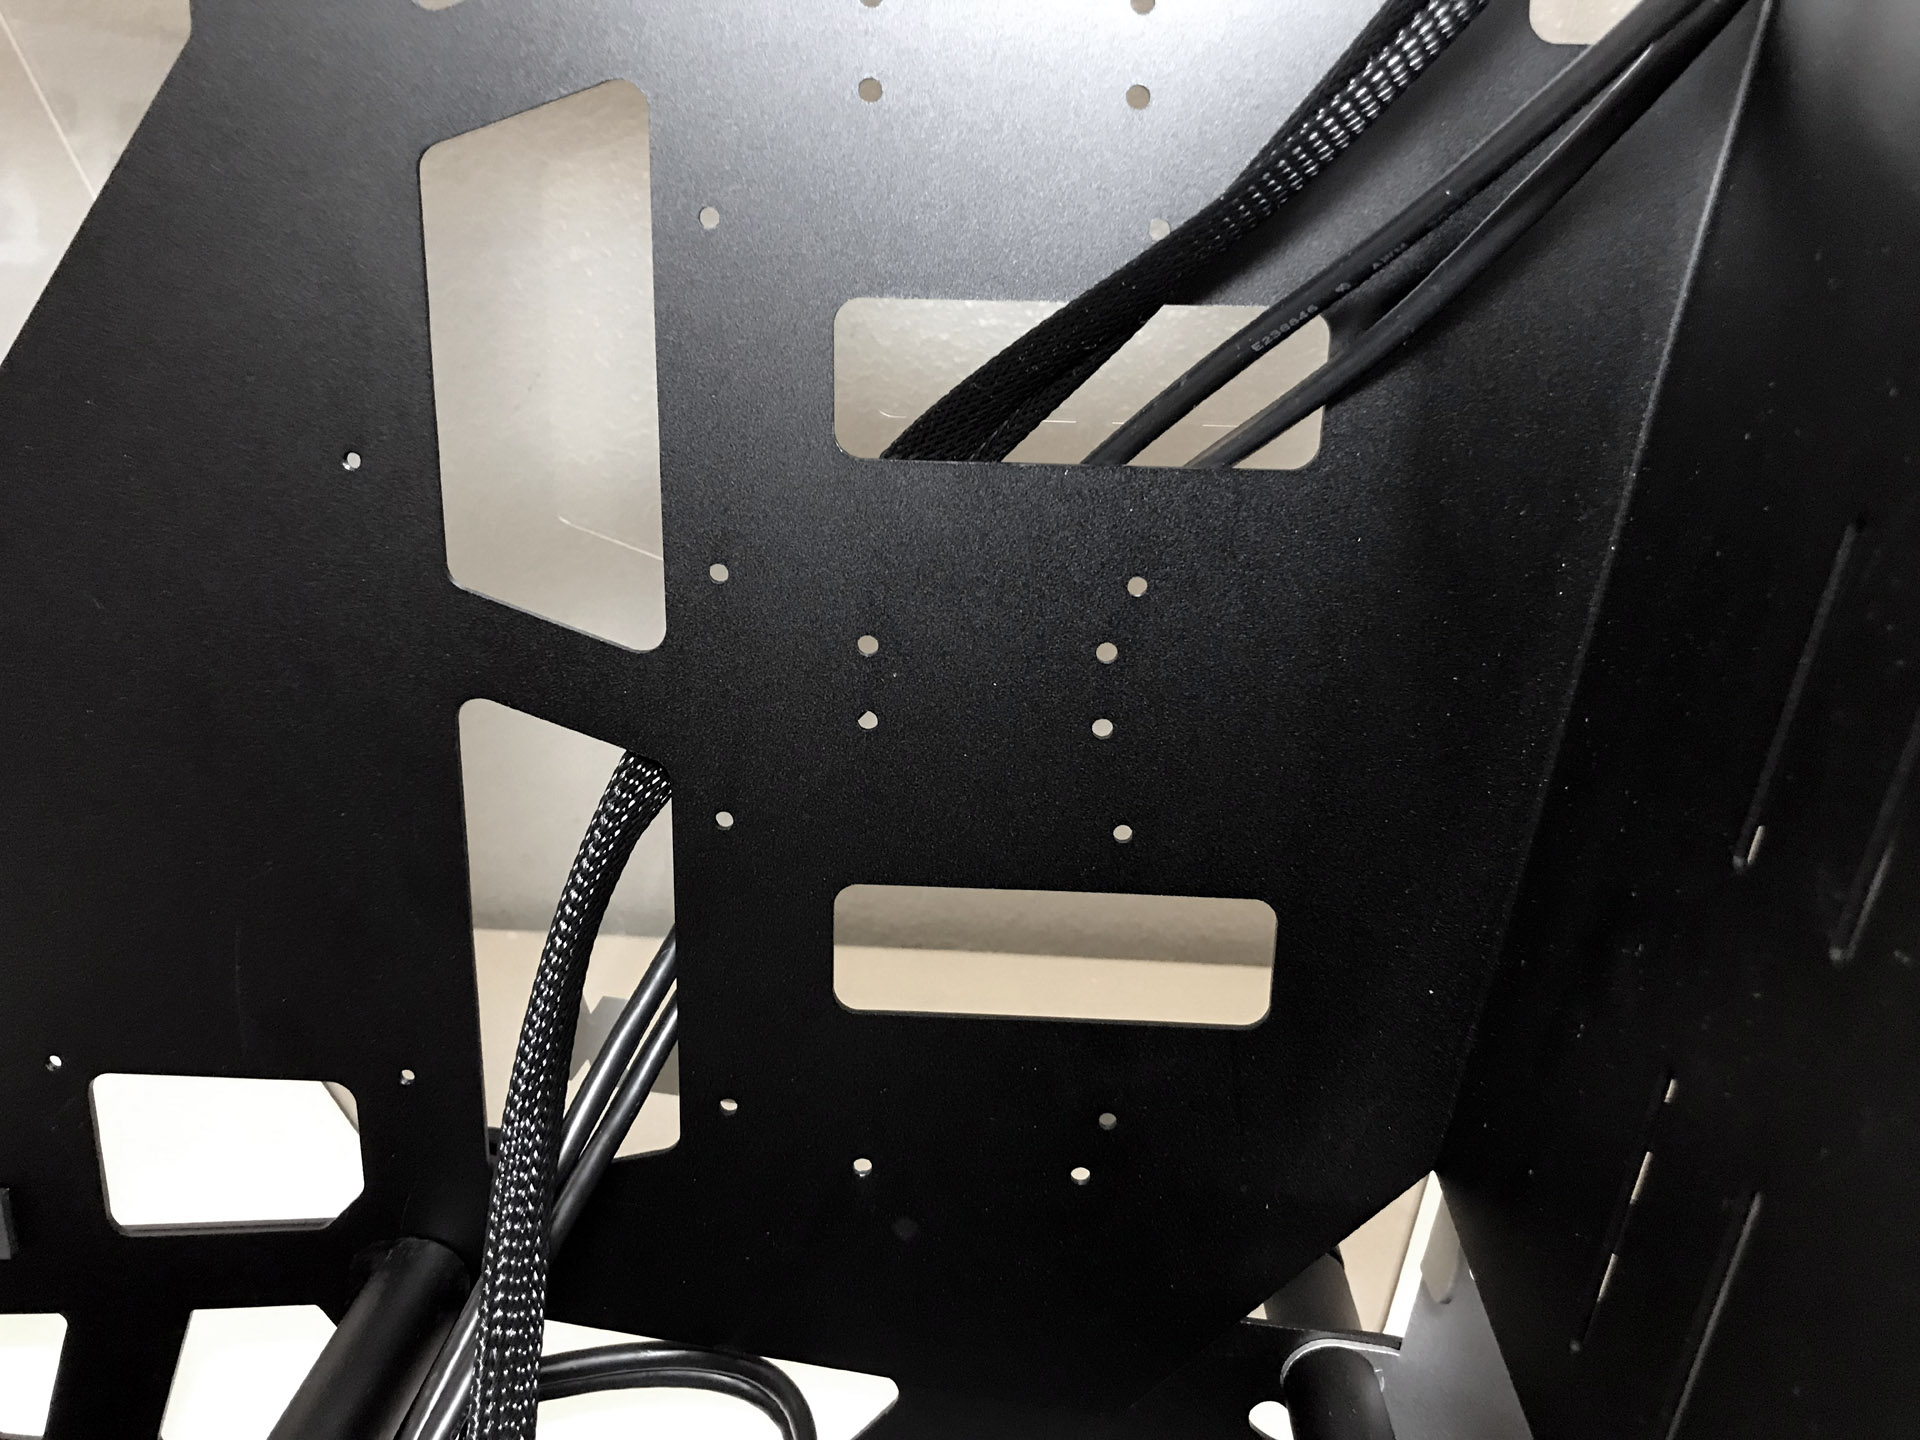
You'll also find a large hole in the motherboard mounting plate behind the CPU socket area to facilitate heatsink changes without removing the motherboard.
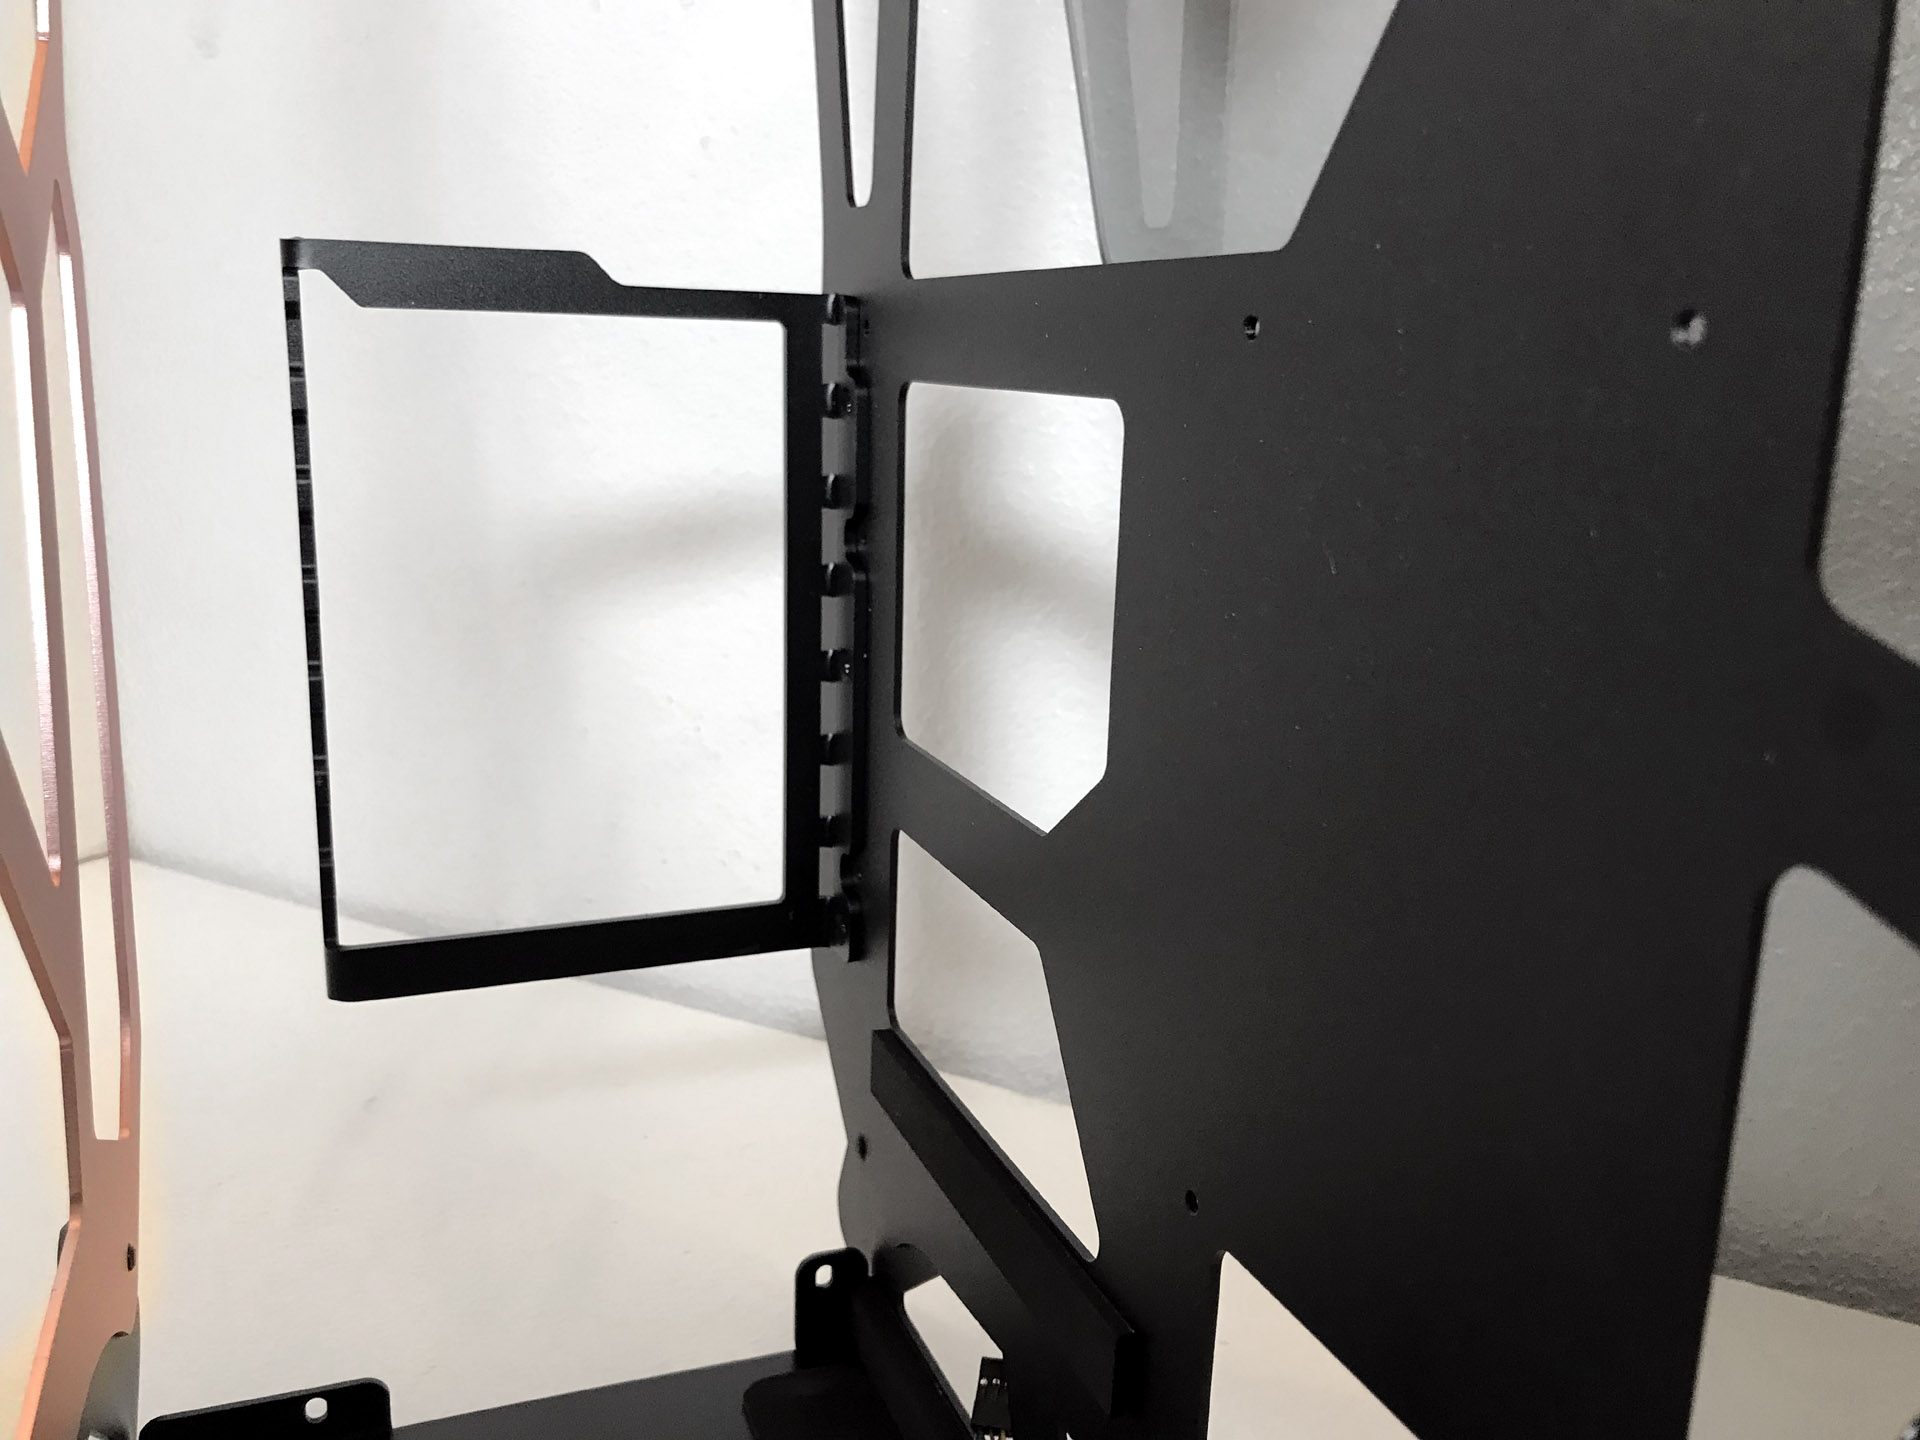
The seven expansion slots will accommodate graphics cards up to 400mm (15.8 inches), even in multi-GPU configurations. There are no expansion slot covers included with this case, which perhaps isn't surprising given its open-air nature. CPU air coolers are limited to just 150mm (5.9 inches) but, in defense of Raidmax, it's obvious this chassis is specifically designed for water cooling.
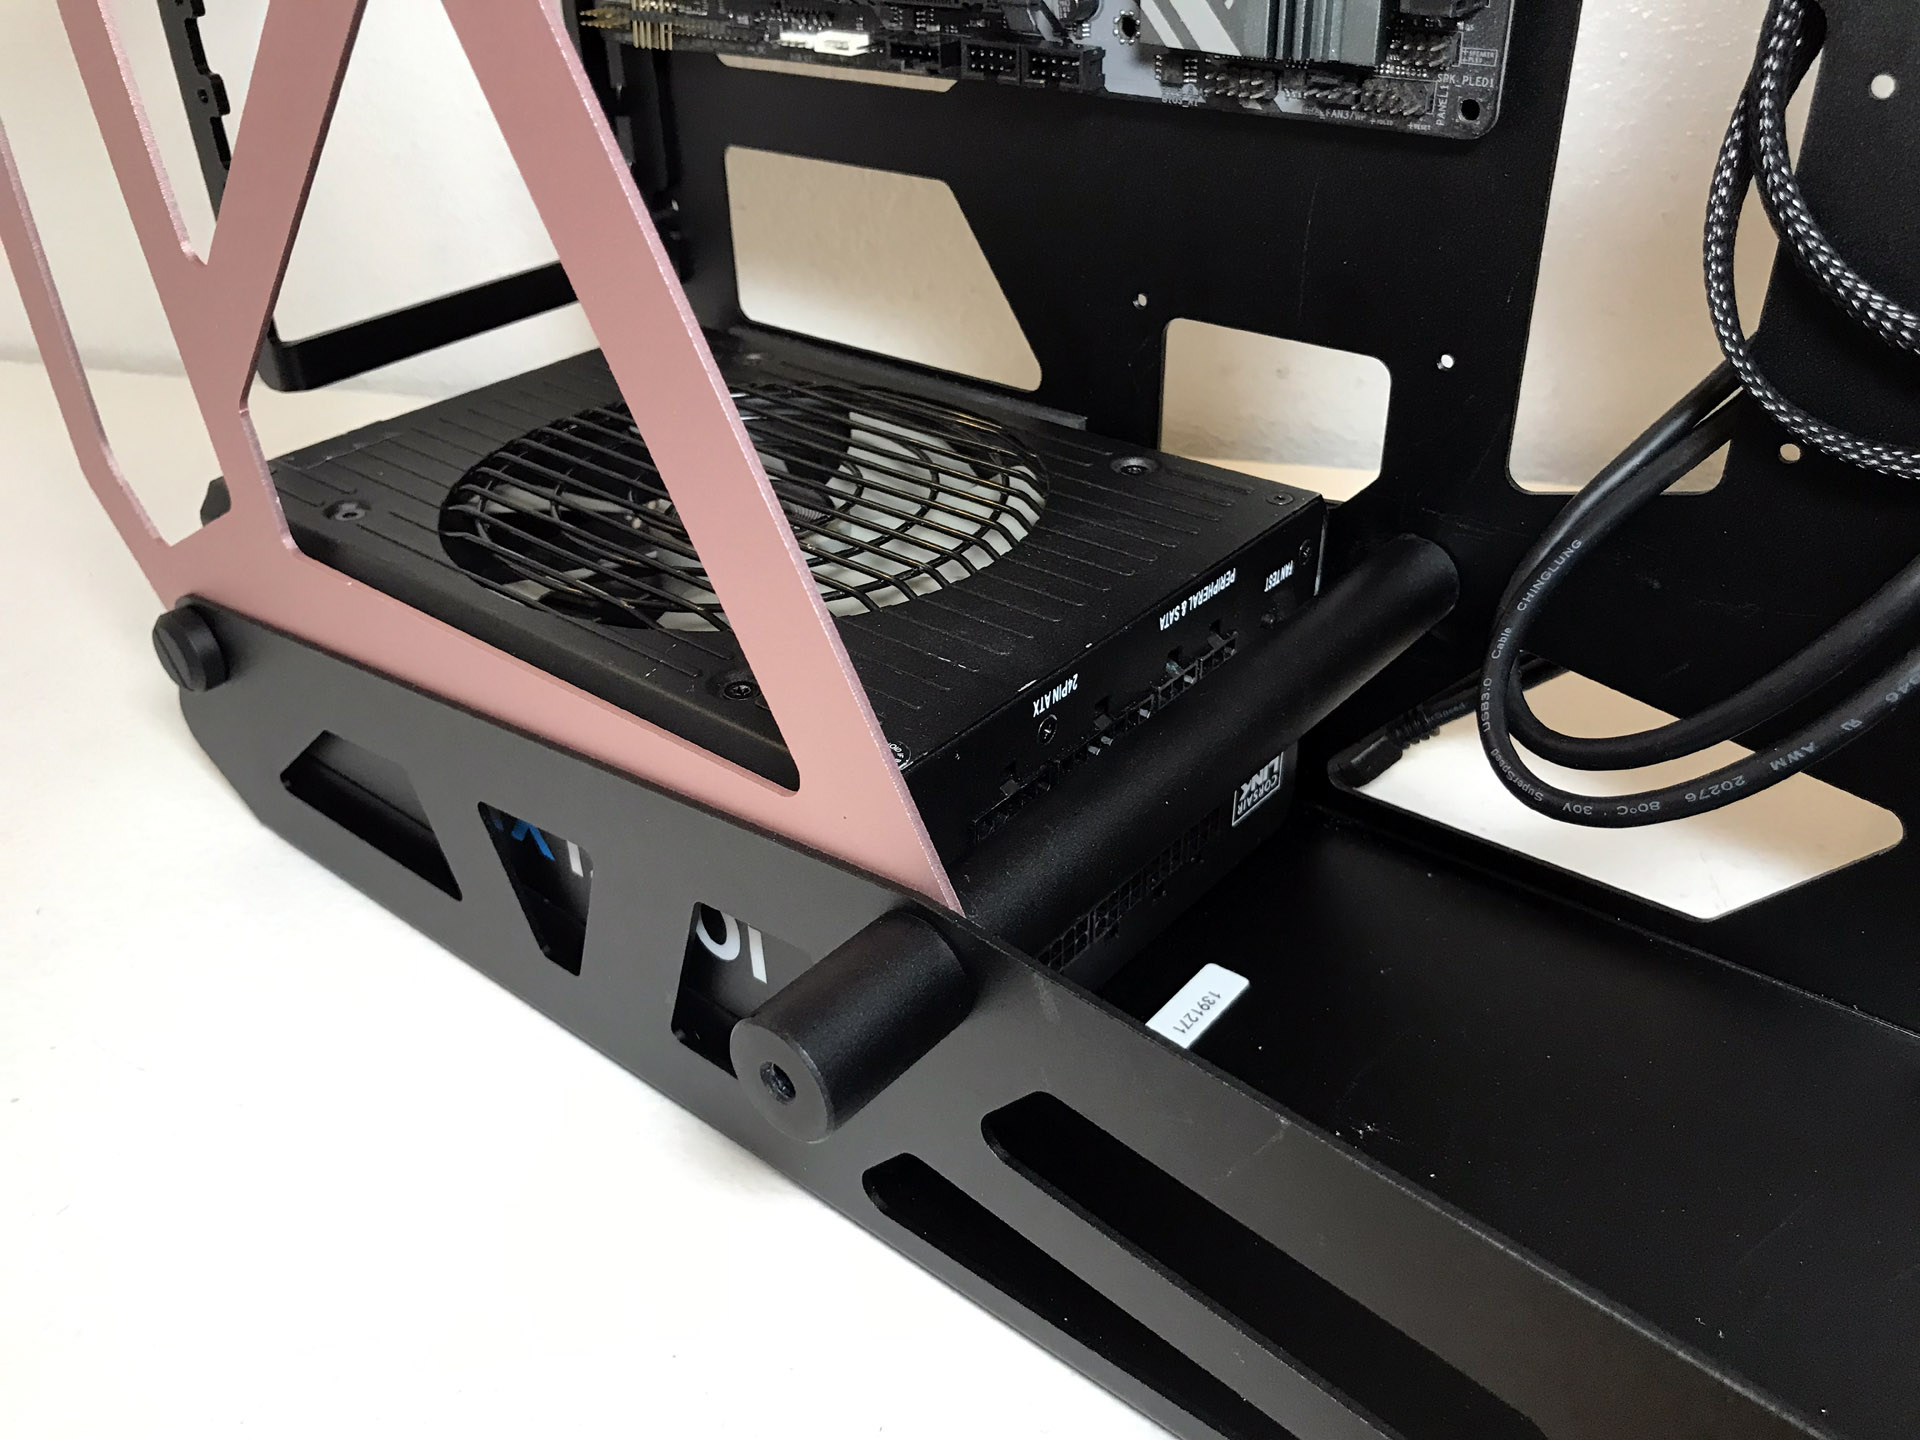
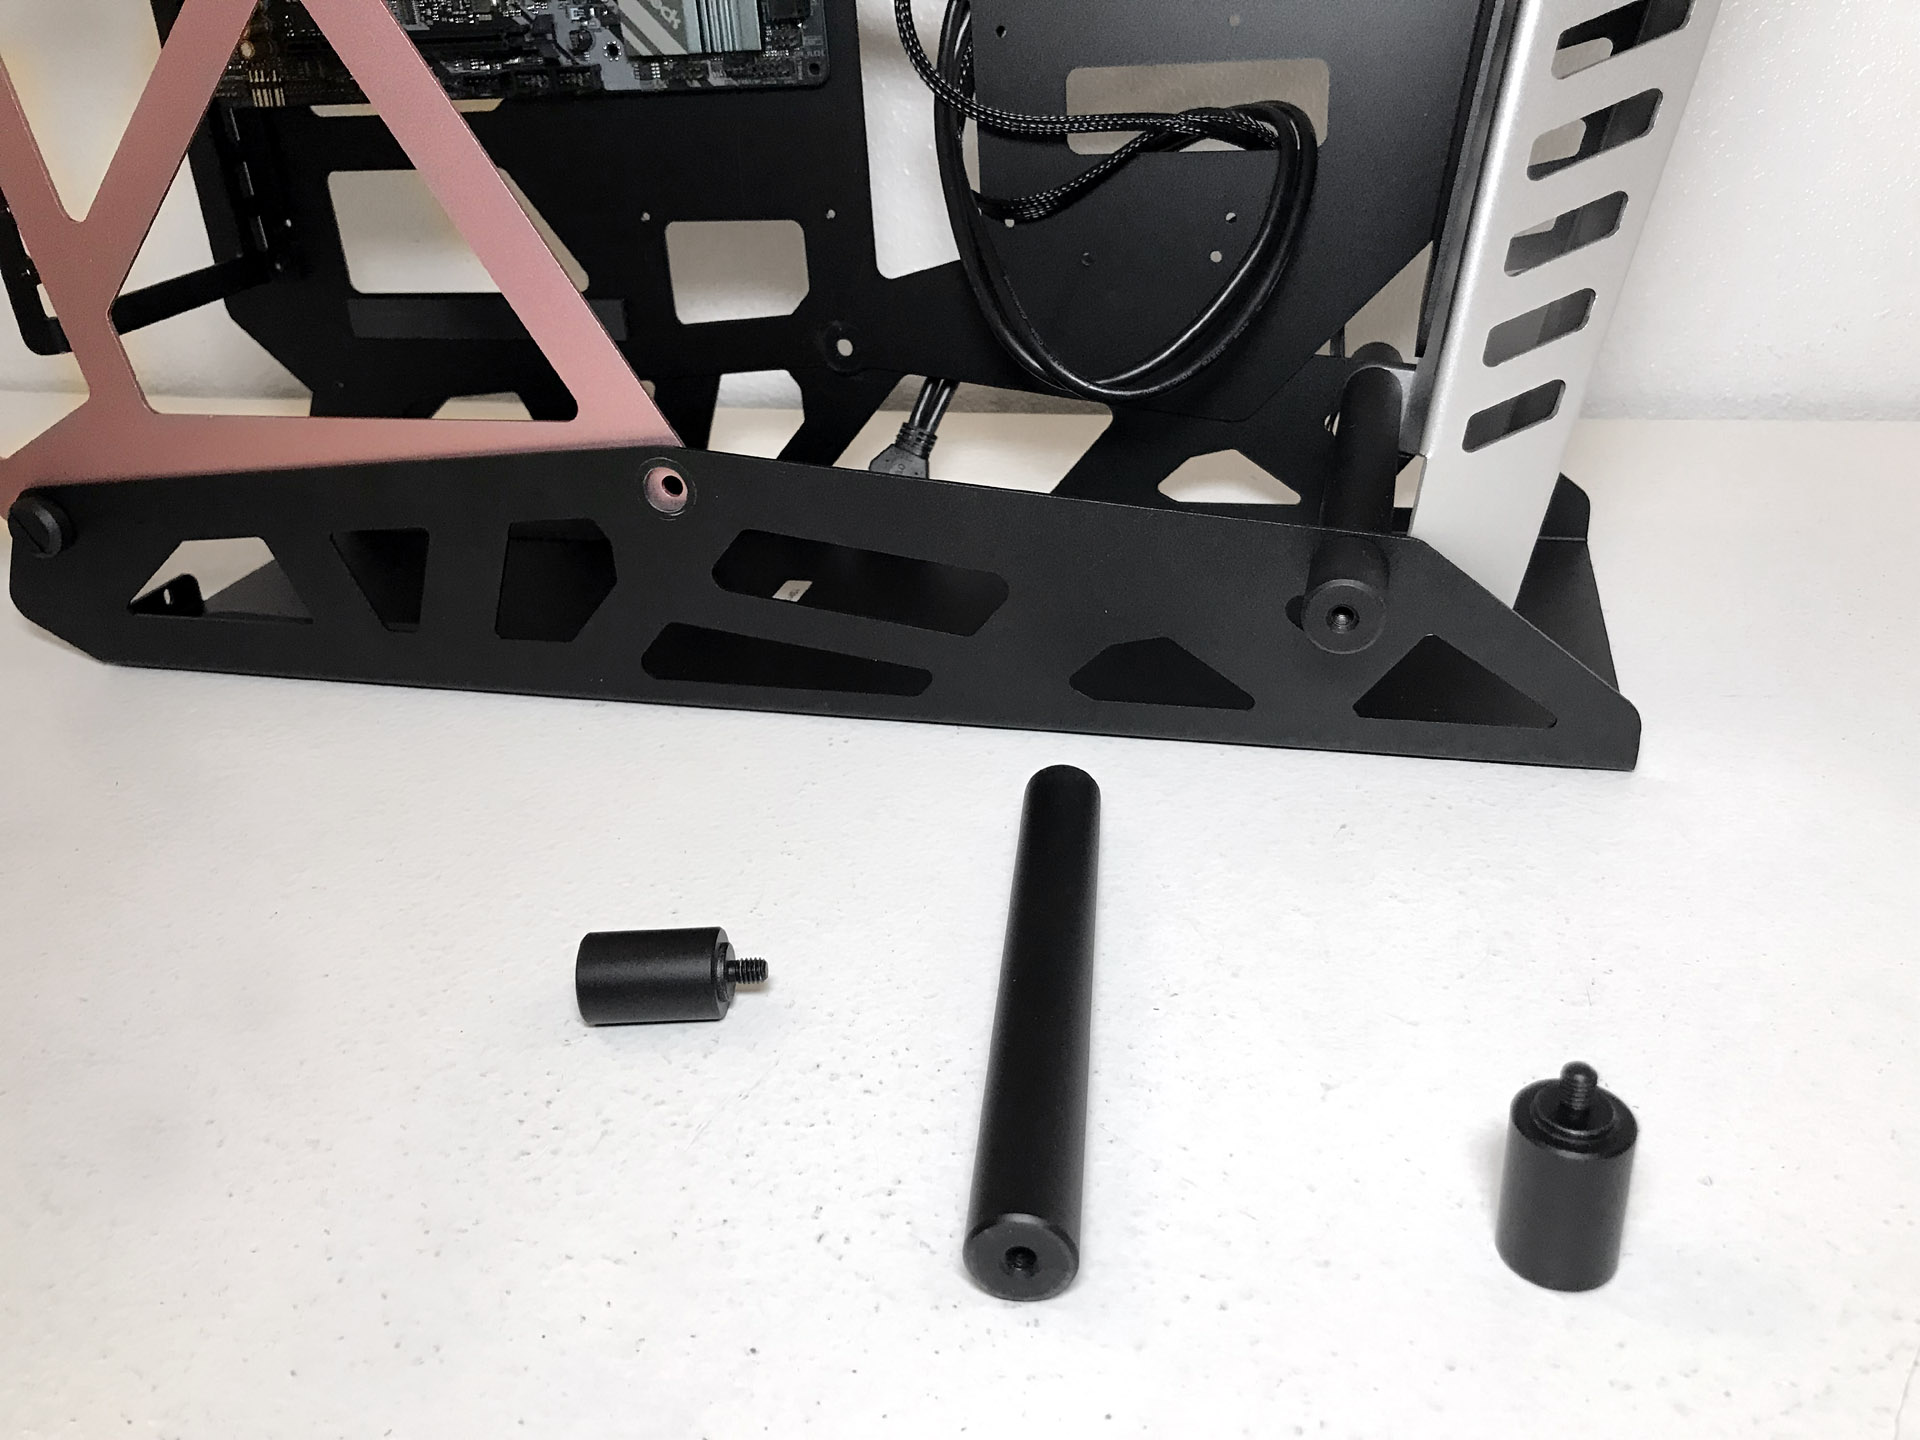
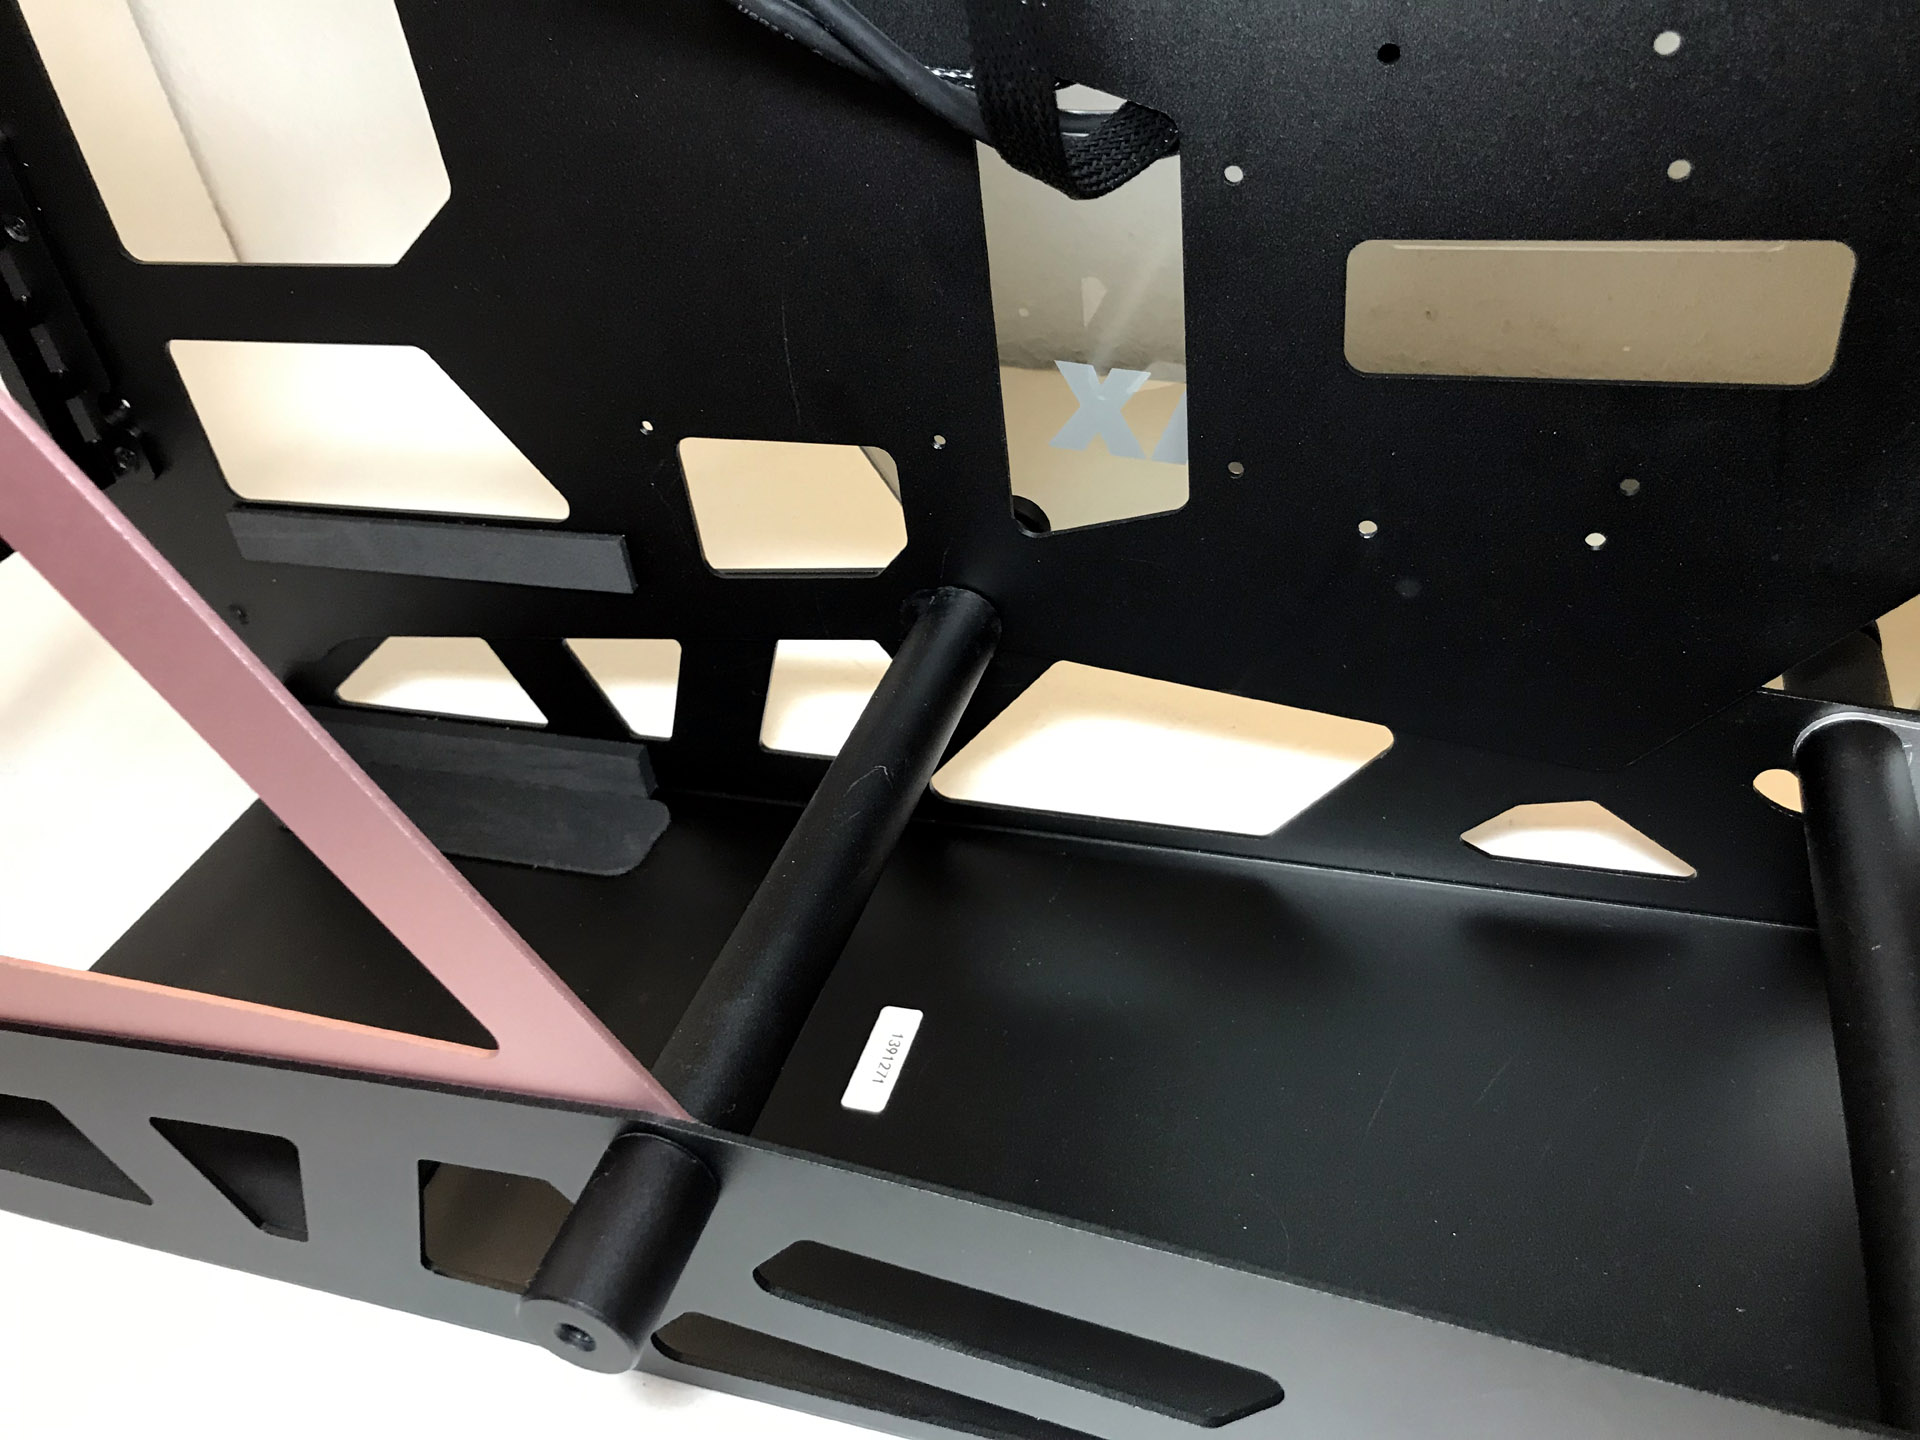
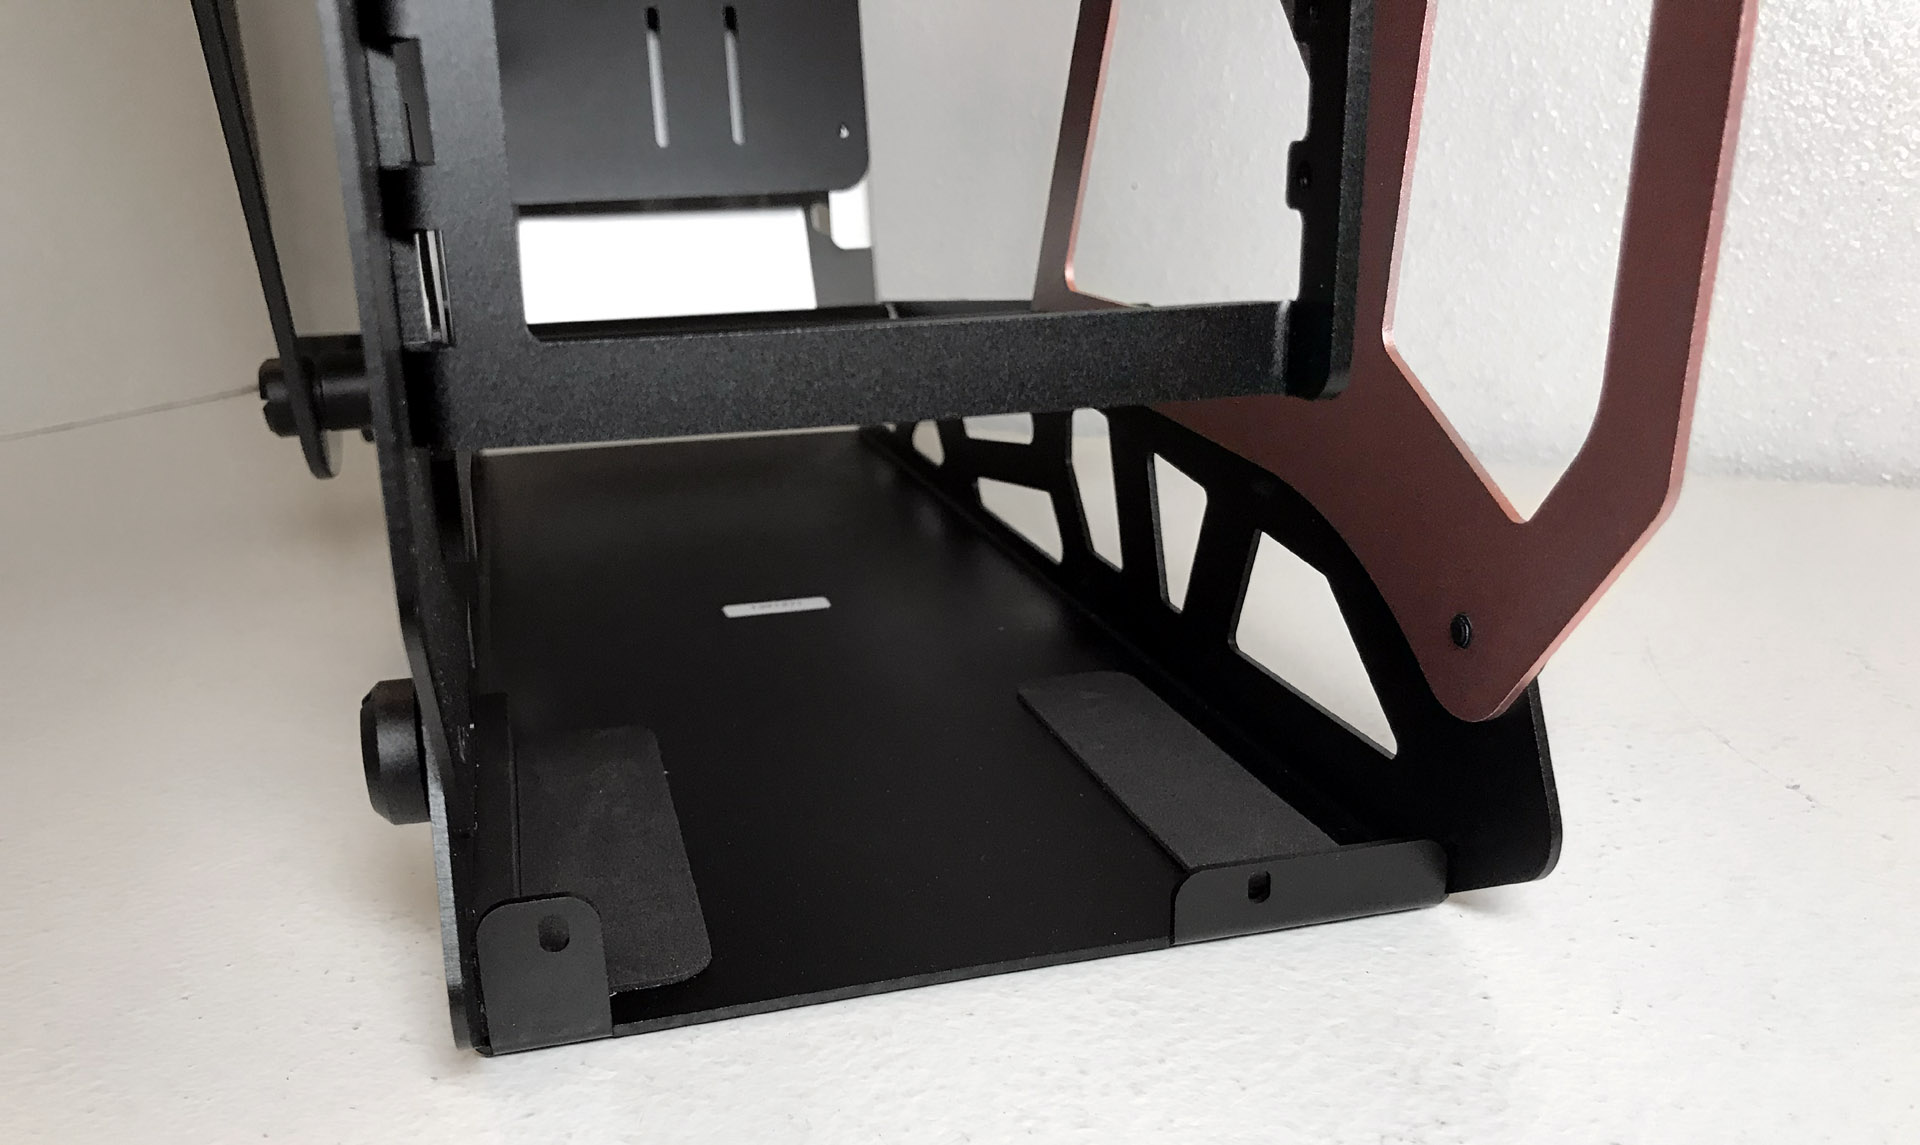
As demonstrated in the photos above, PSUs over 180mm can run into clearance issues. The problem is the aluminum alloy support bar blocking larger PSUs. This could have been easily avoided by moving the bar a few millimeters up and out of the way. Due to the lack of a ventilation hole in the bottom of the X08 (a strange omission in a case literally full of holes) the PSU must be mounted with the fan facing up.
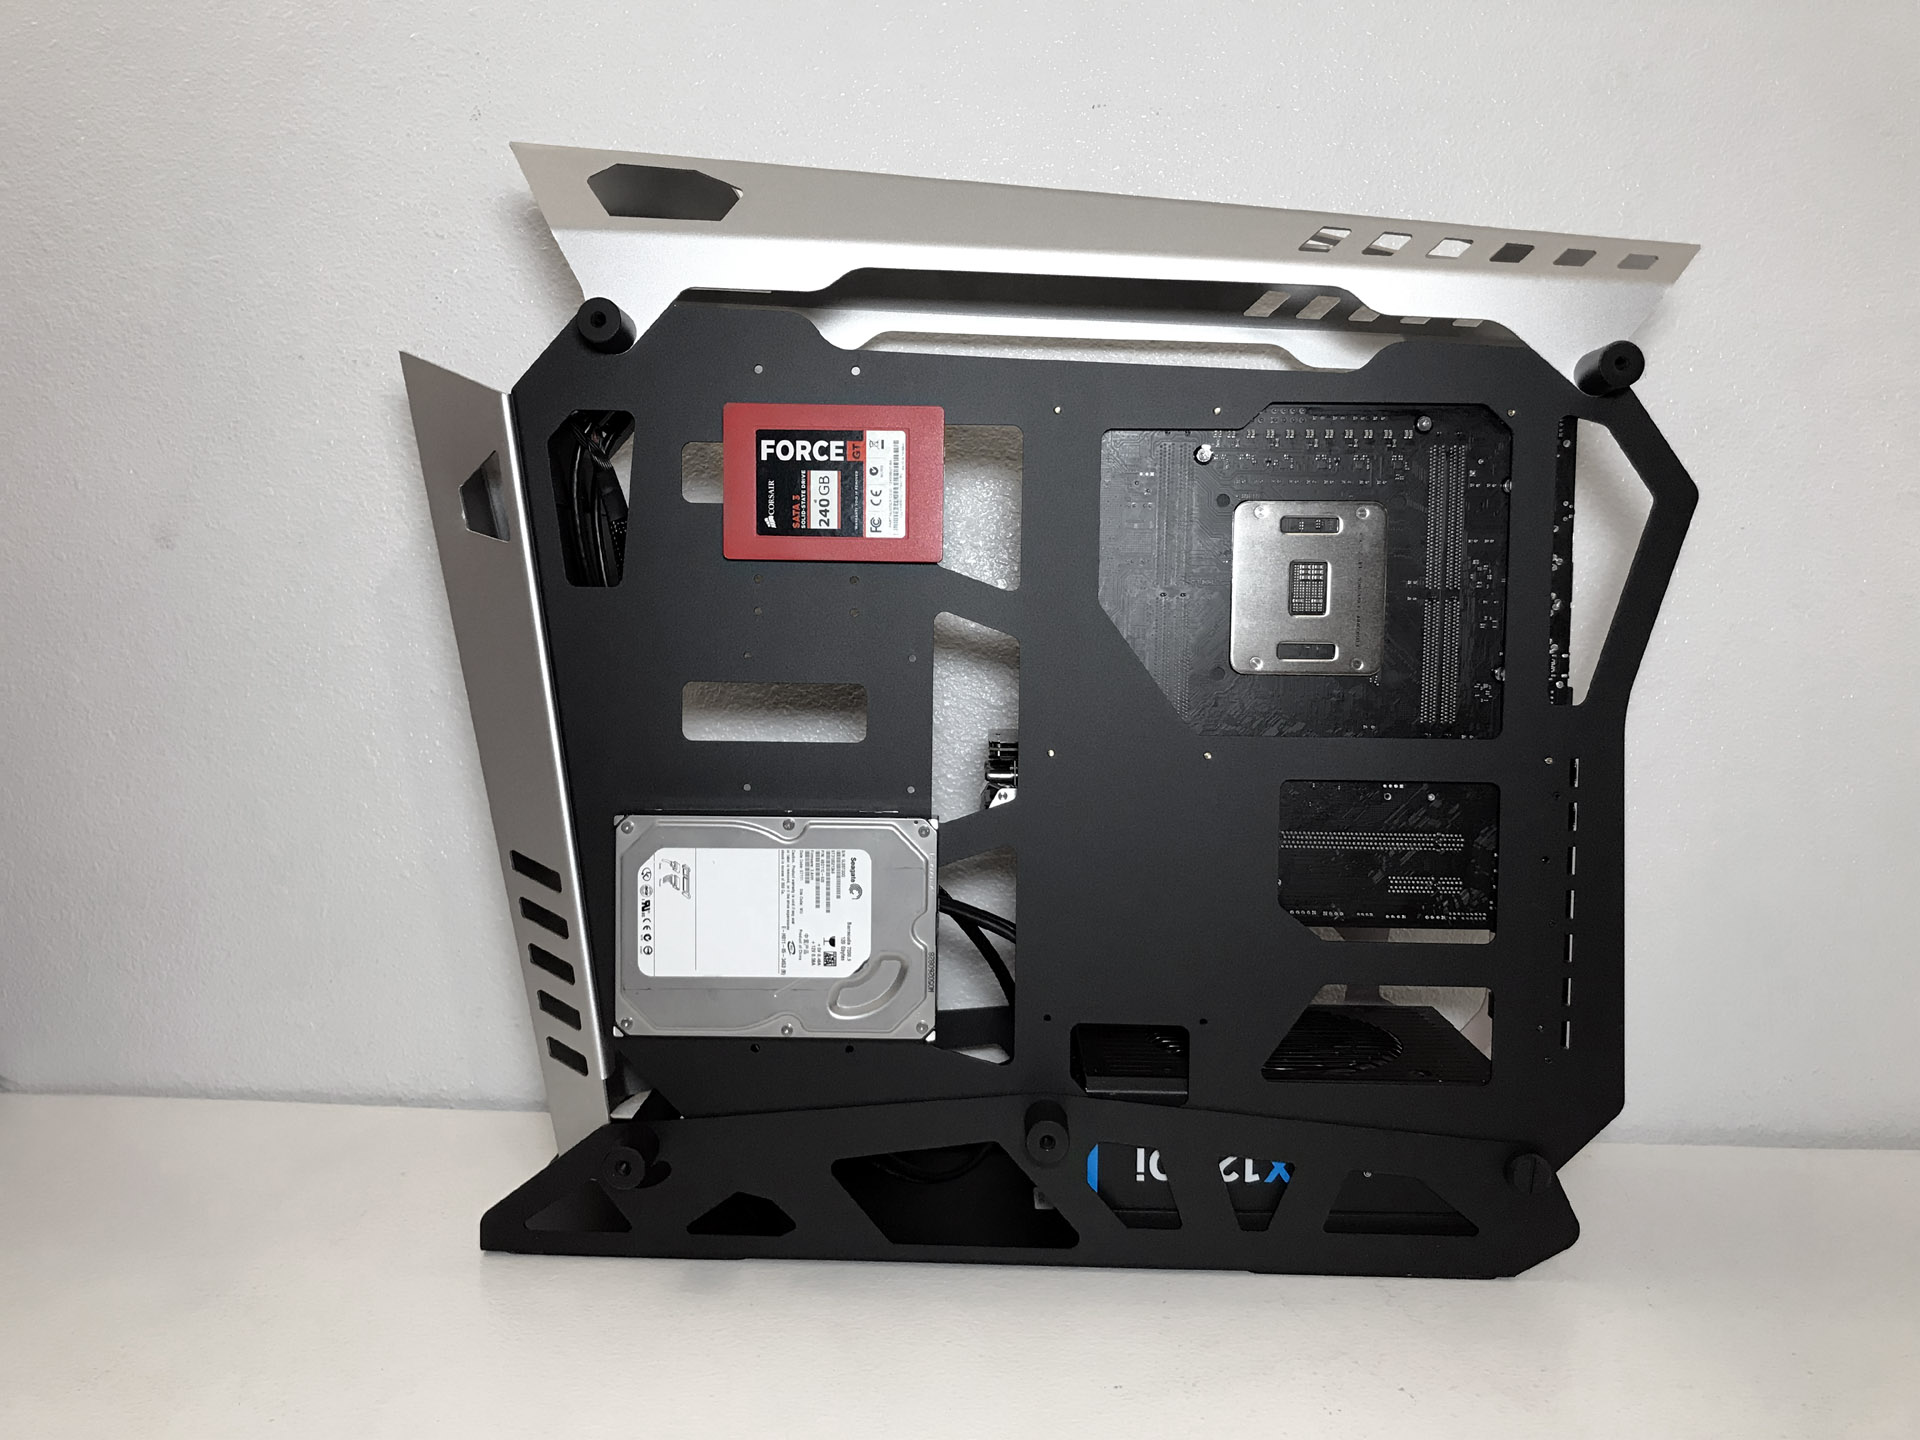
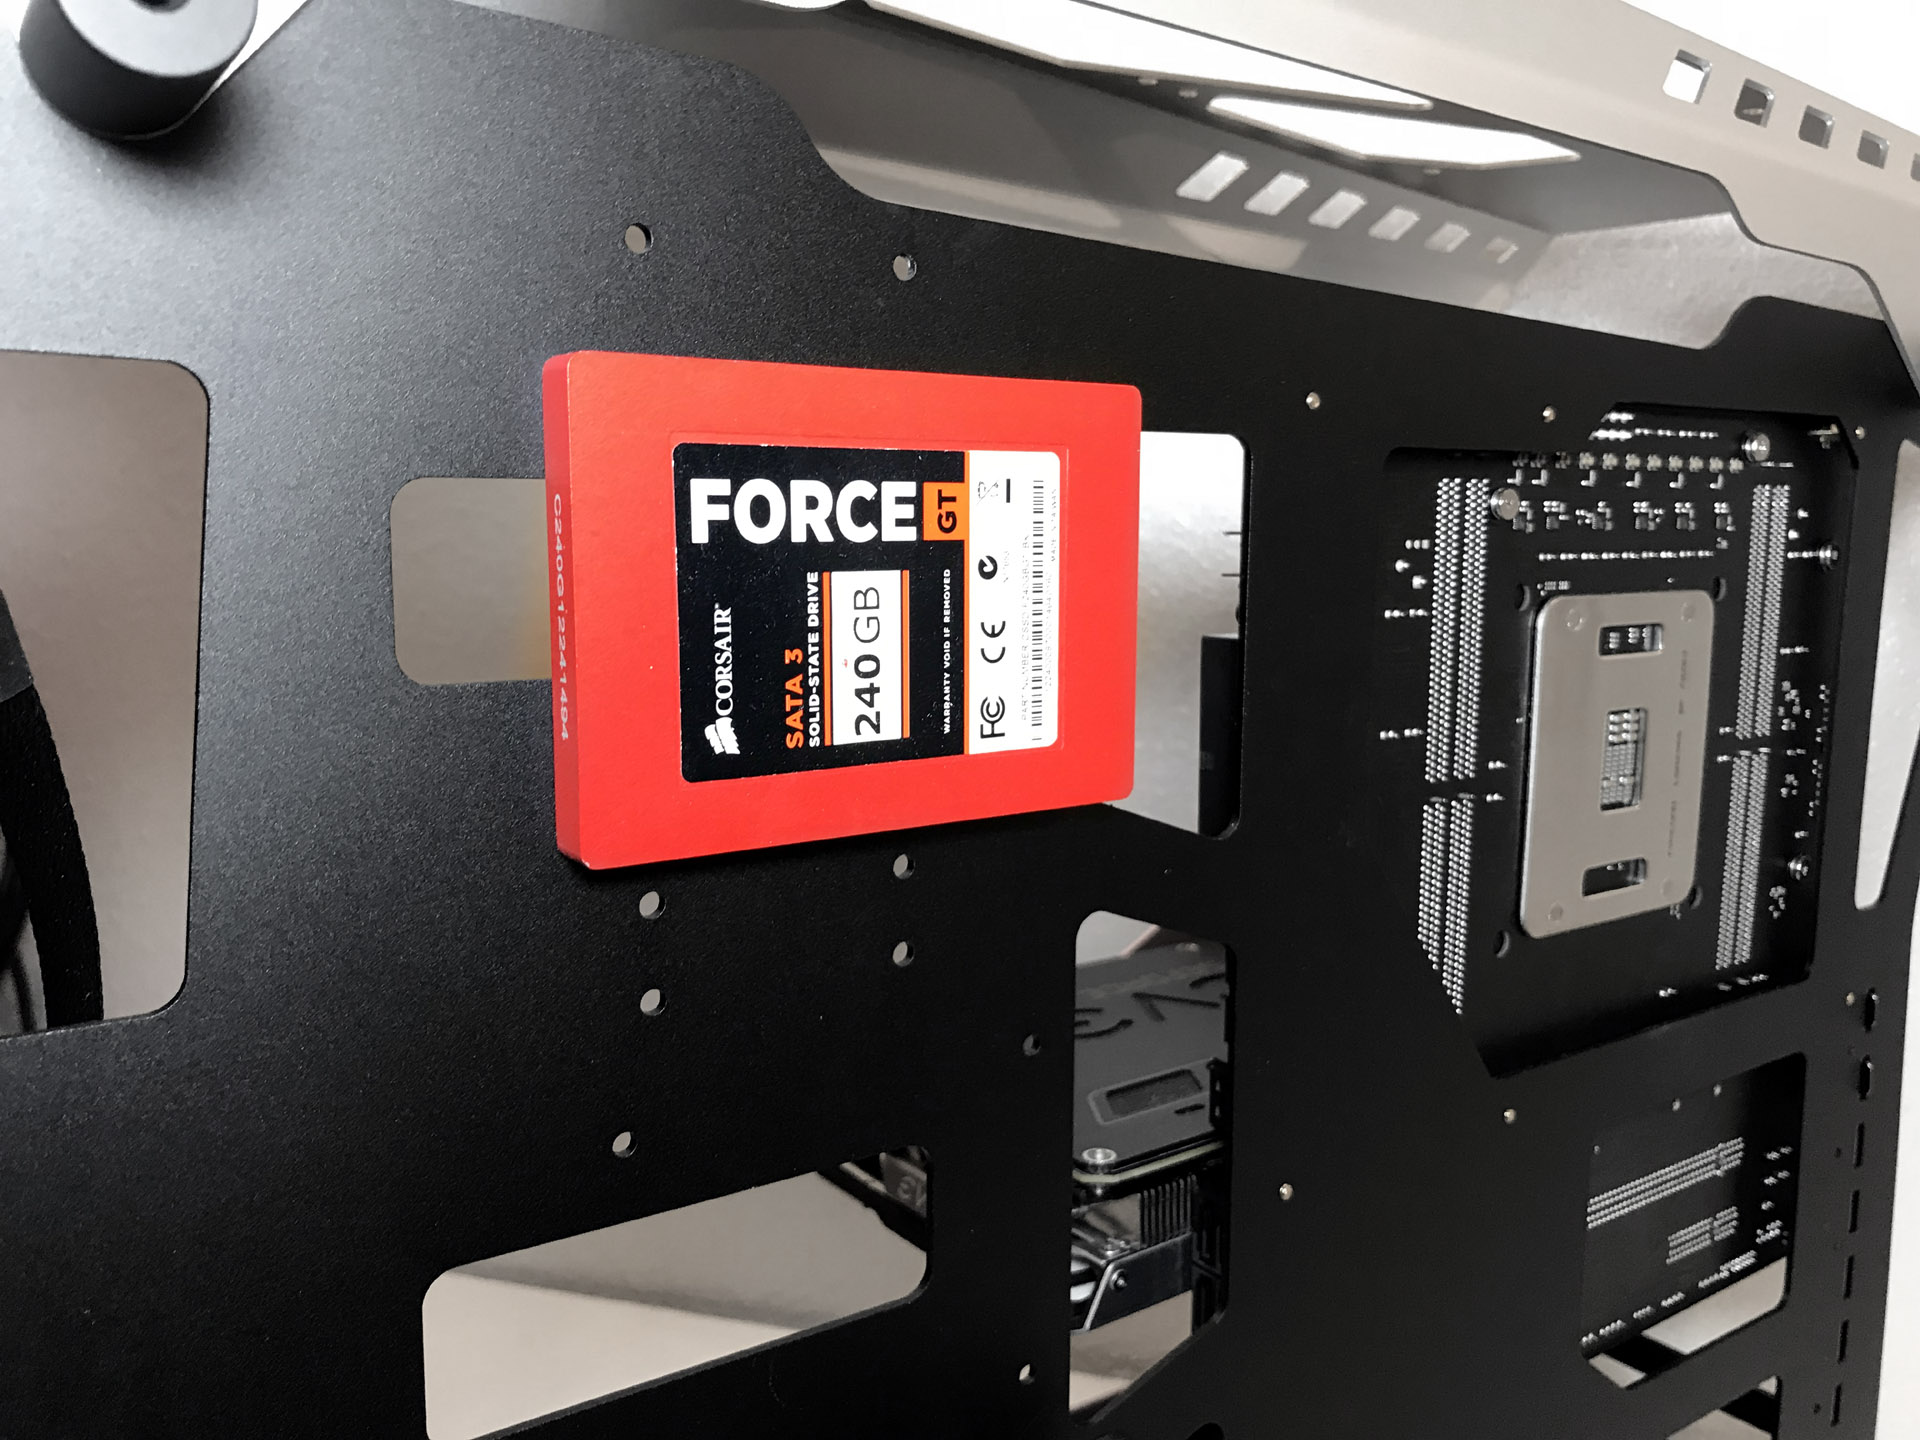
The Raidmax X08 features three mounting locations for 2.5-inch and three 3.5-inch drives. If you plan on mounting more than three drives, we recommend installing your SSDs inside the main compartment and your 3.5 -inch storage drives behind the motherboard tray. This gives you more space inside the component compartment. Also, due to the layout of the screw holes in the motherboard tray, 3.5 -inch drives block the screw holes for your SSDs. This means you must mount the 2.5 -inch drives first before your larger storage drives.
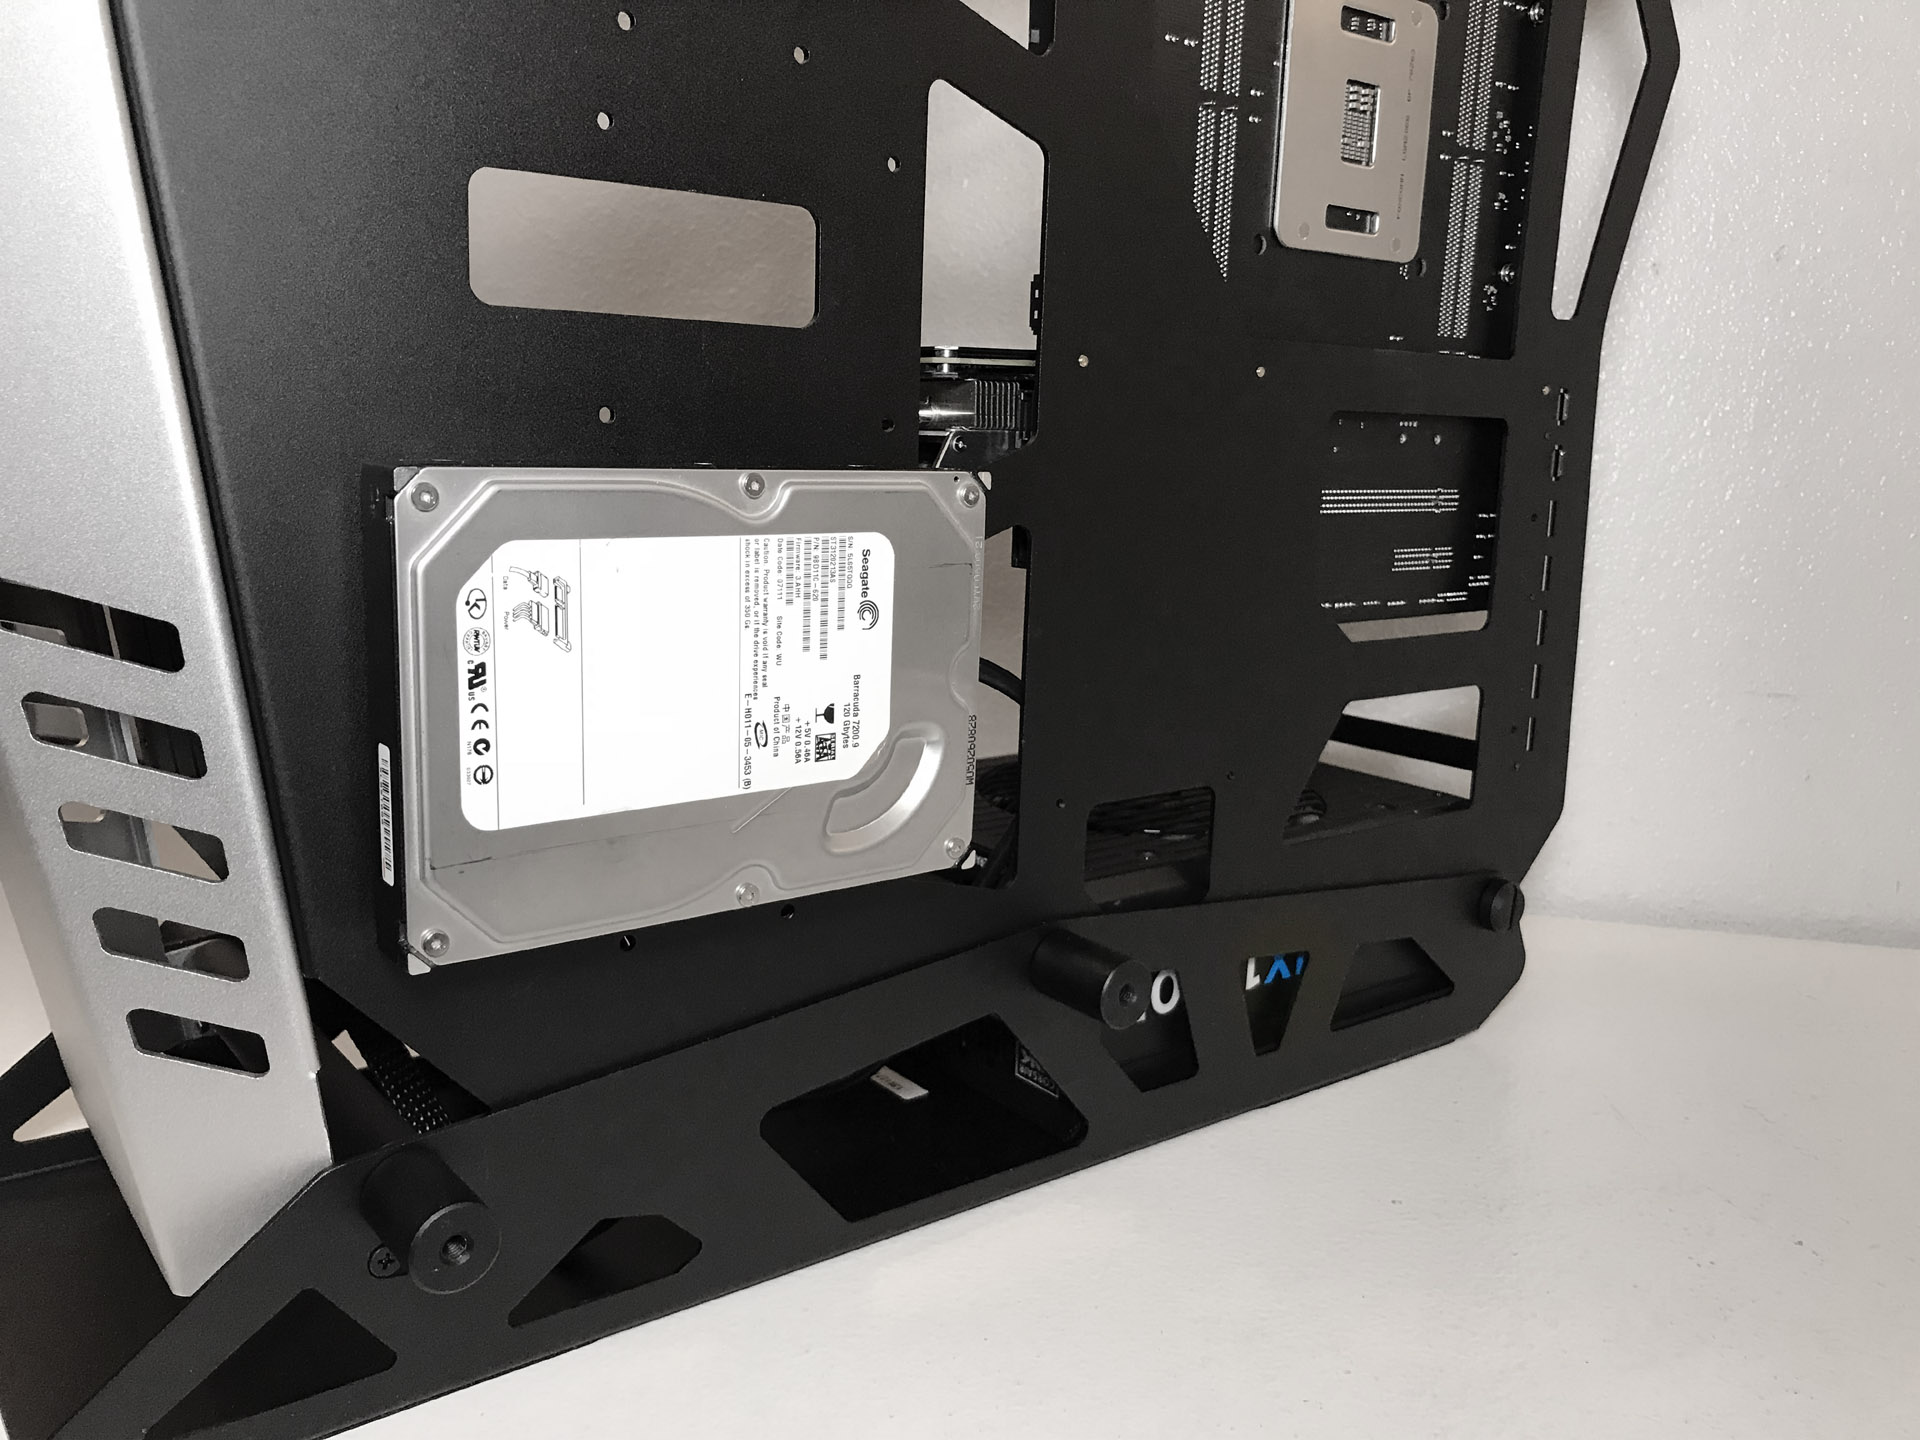
Also, because of the open nature of this case, there isn't really anywhere to hide cables, making cable management vastly more difficult than usual. Even if a modular power supply is used, careful planning and routing is still a must unless you want your build to look like a ball of wires under glass.
As previously mentioned, there are no fan mounting locations in the front of this case, although there are slots for mounting reservoirs, pumps and other accessories in that location.
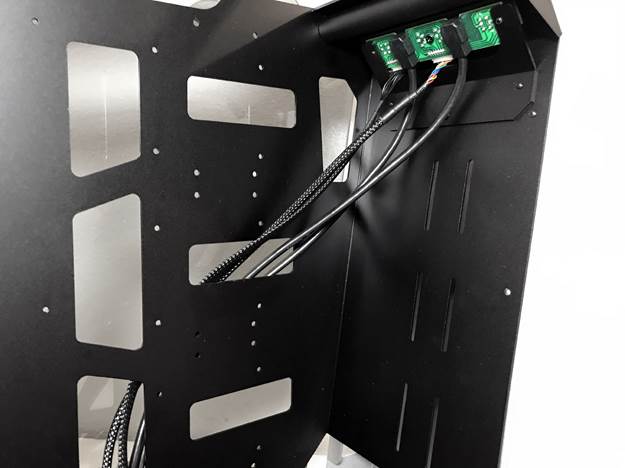
We're always disappointed when we come across a chassis that doesn't ship with any fans from the factory. Of course, this can easily be remedied by the end user at an additional cost, and enthusiasts often prefer to install fans of their choosing anyway. But it would have been nice to see at least a couple fans included with a case that costs $240 (£182.28). In total, this chassis can be equipped with up to three 120mm fans.
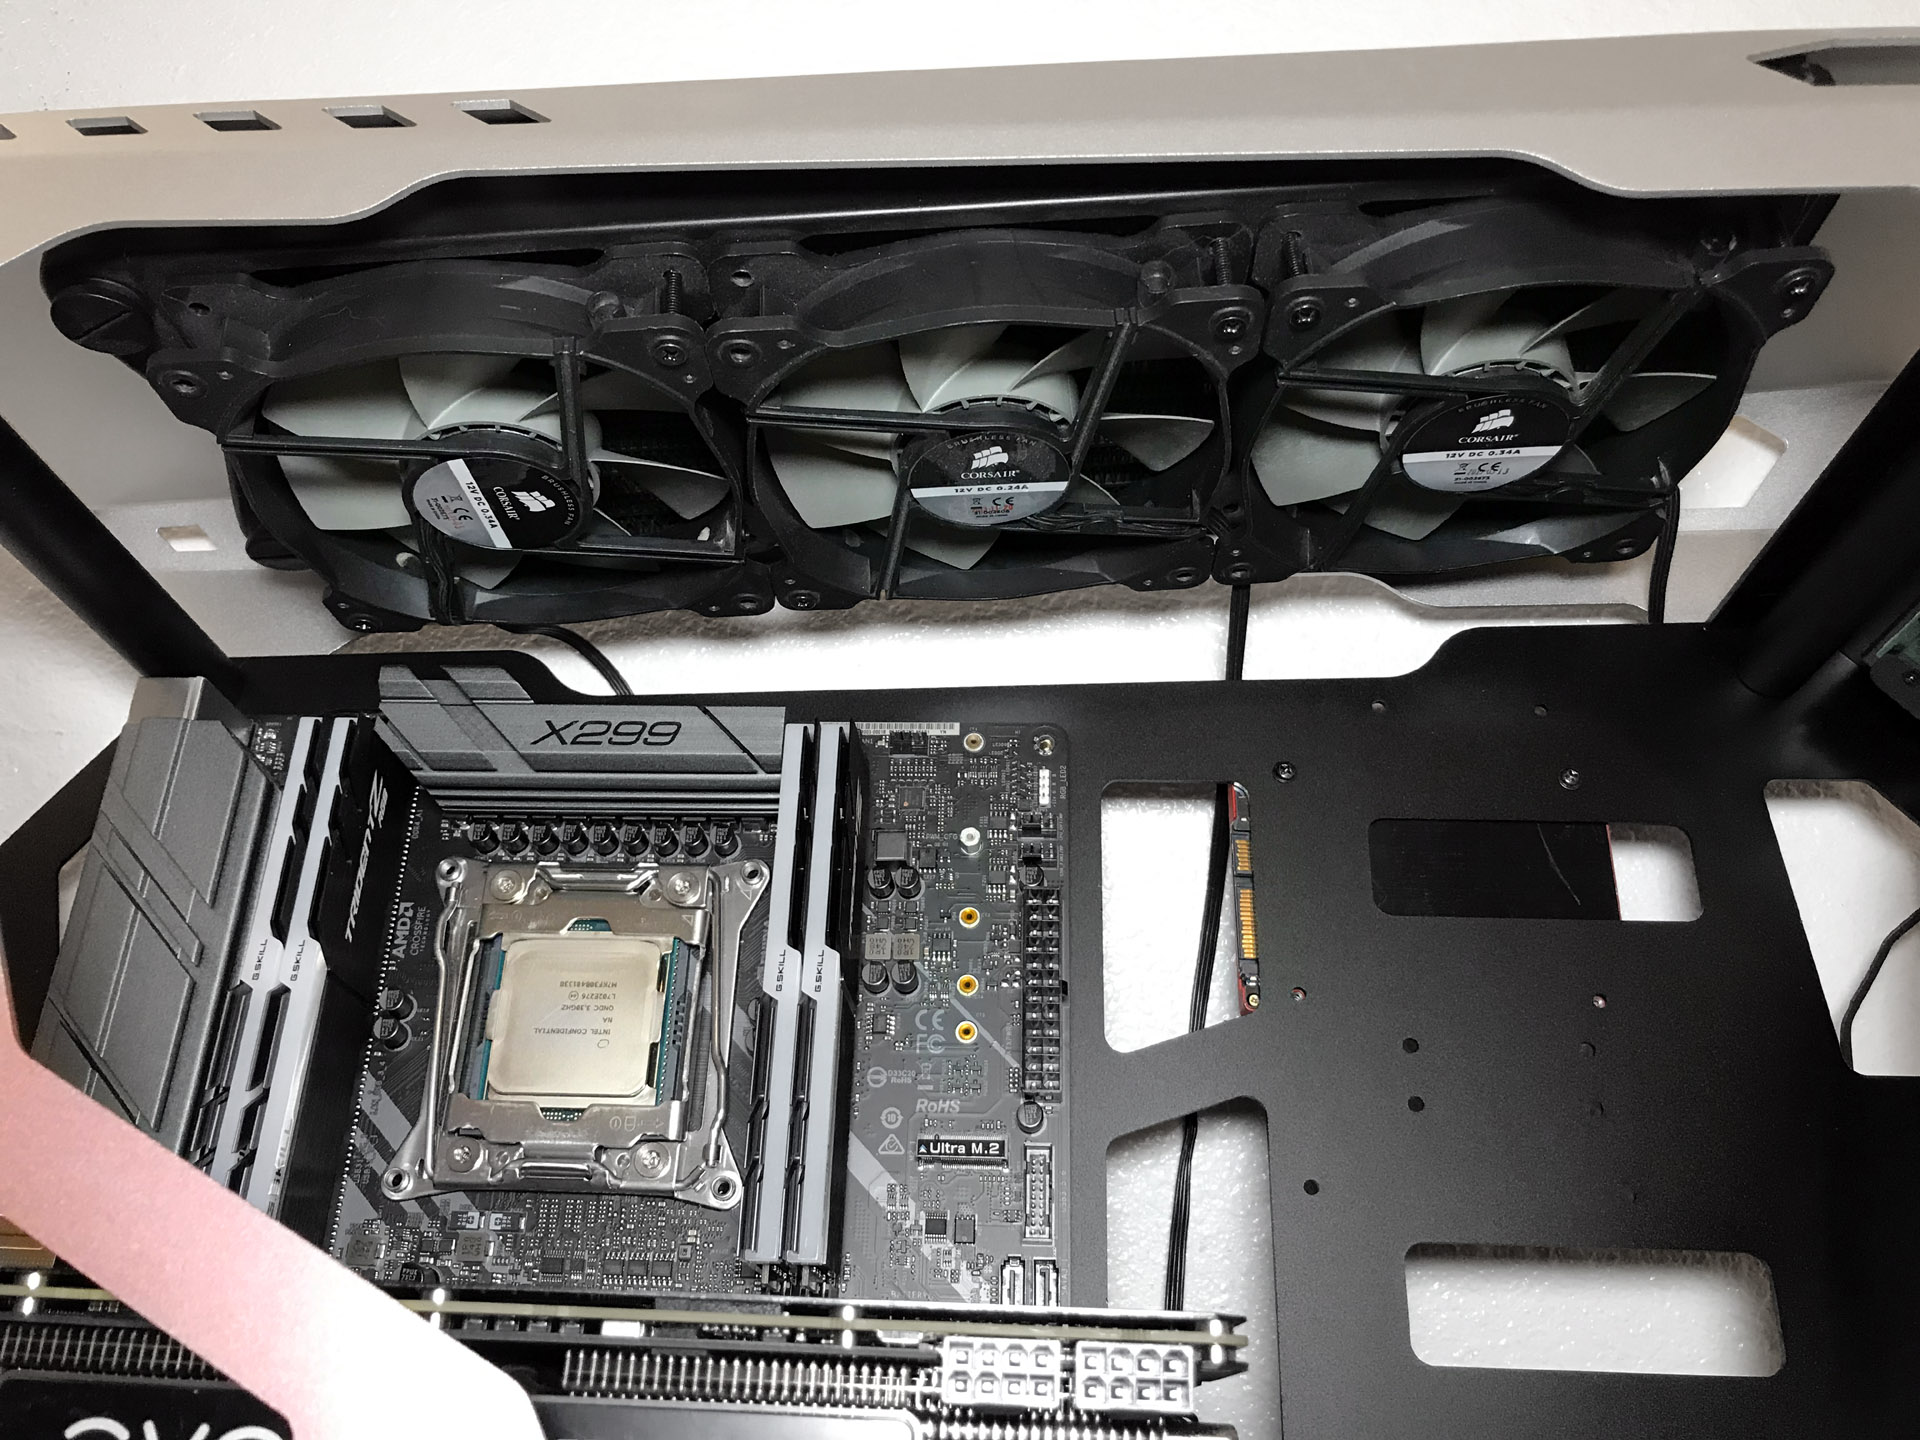
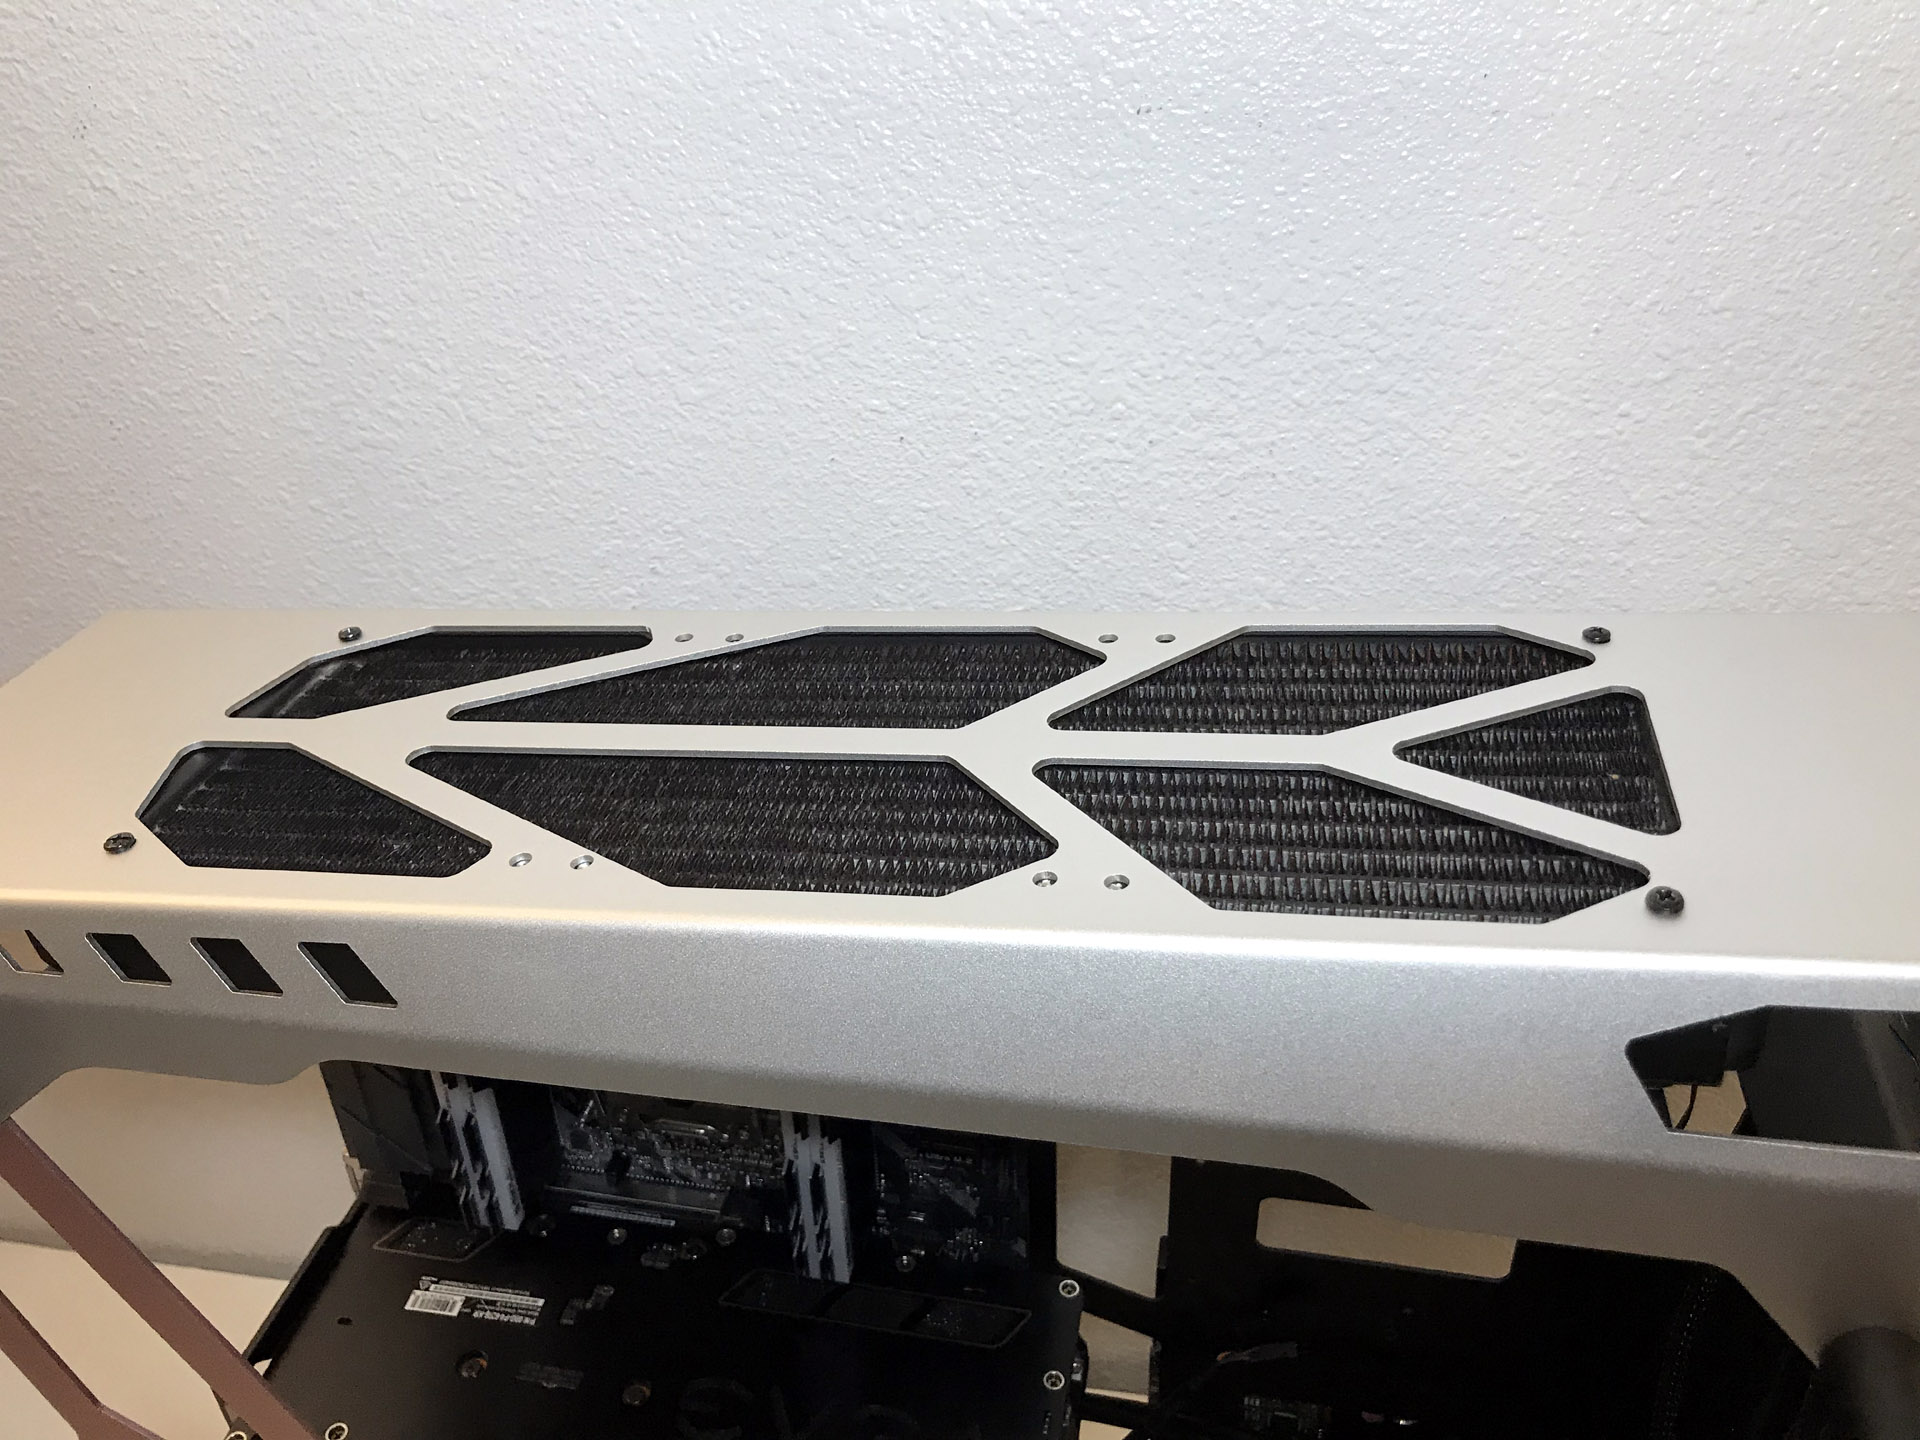
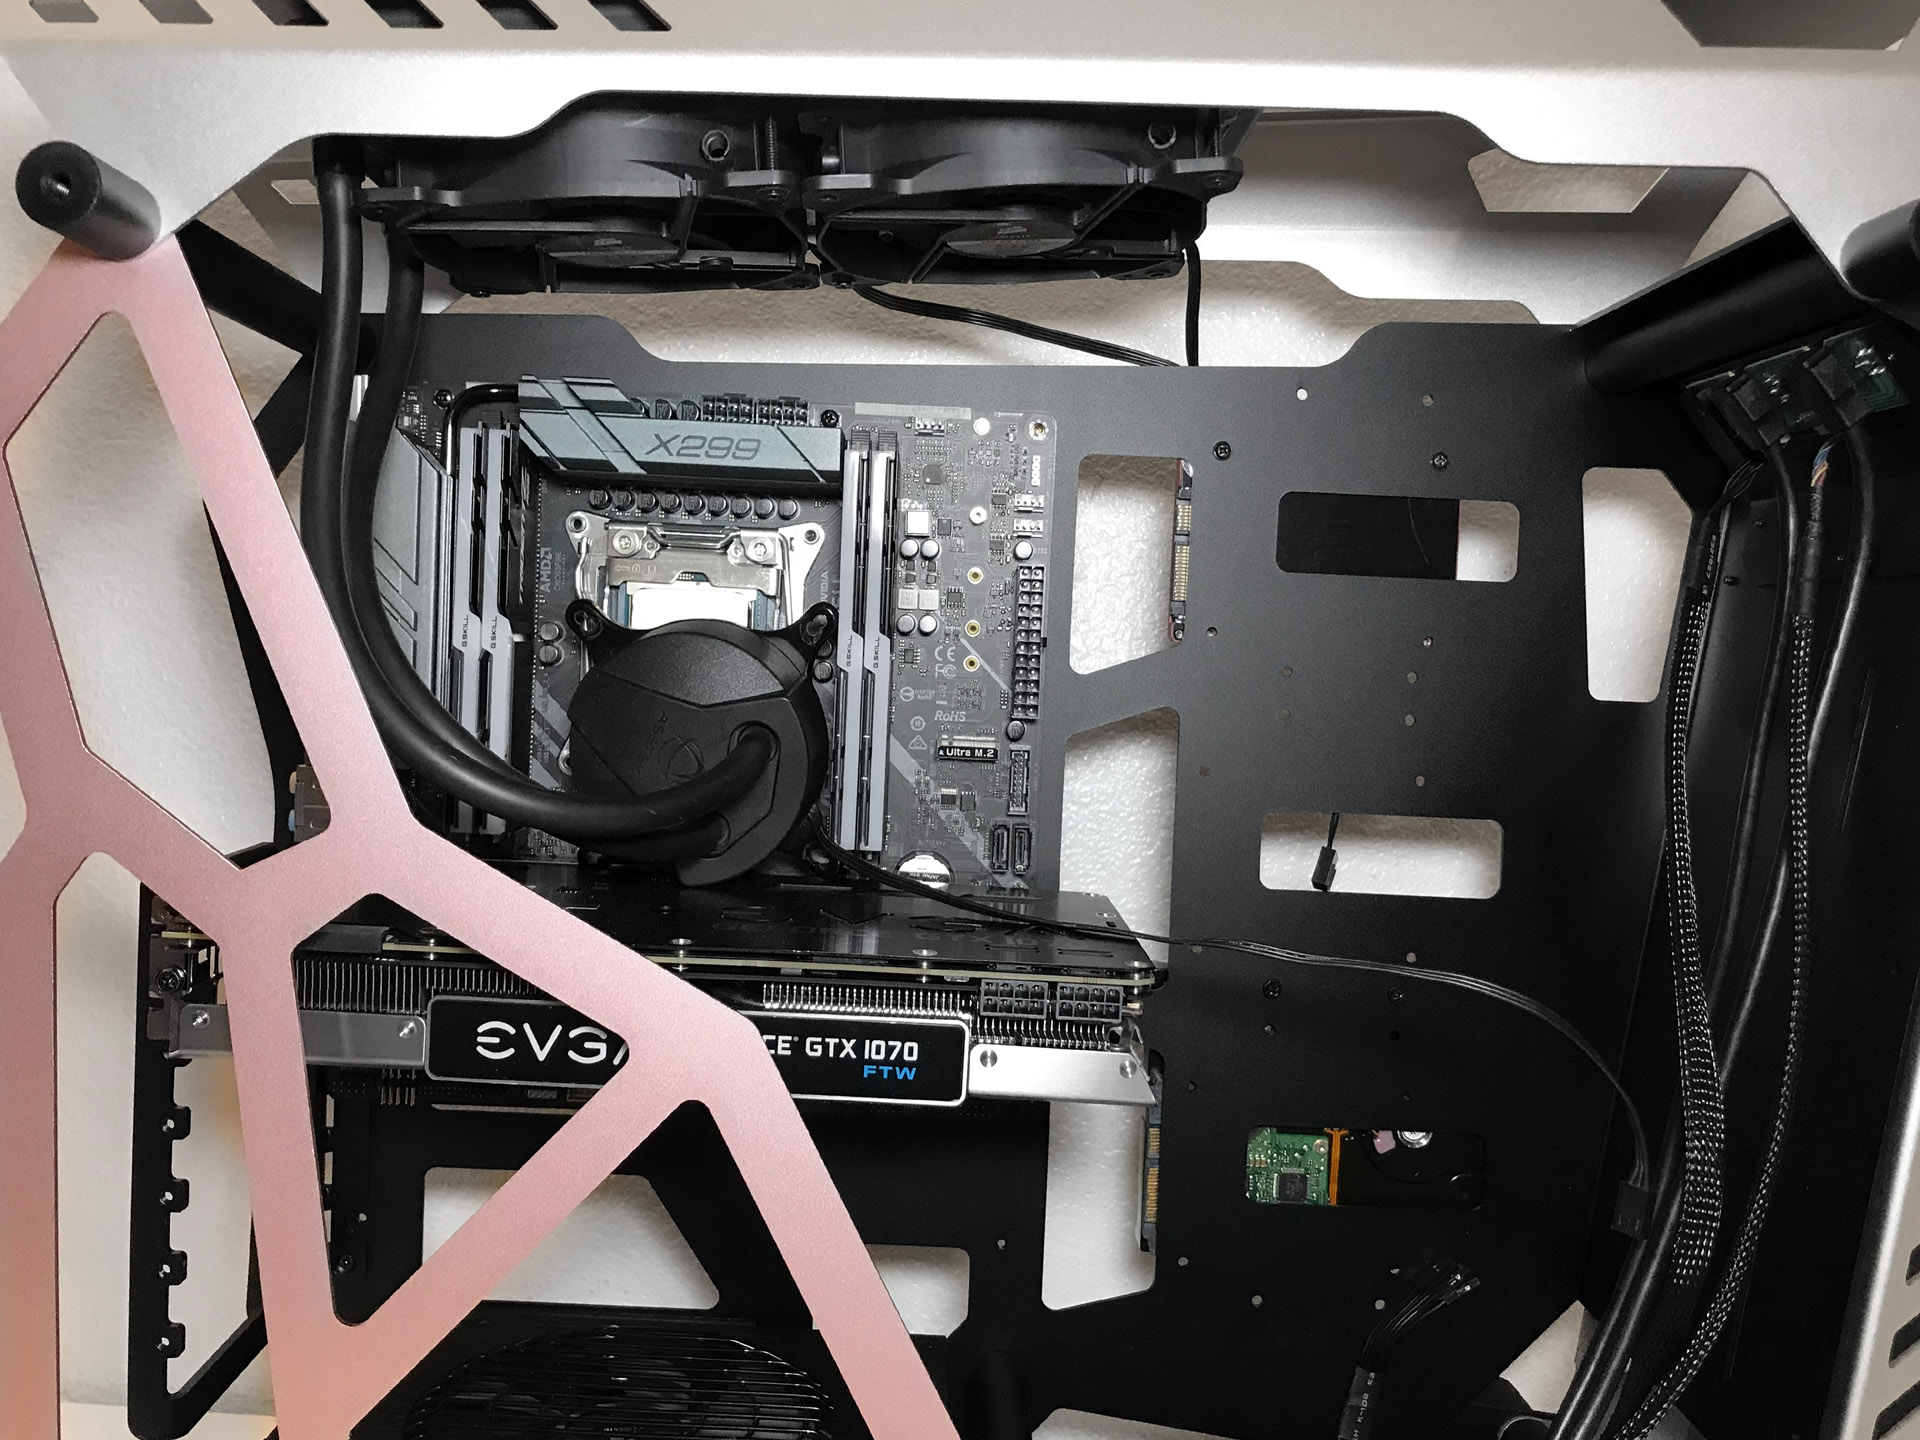
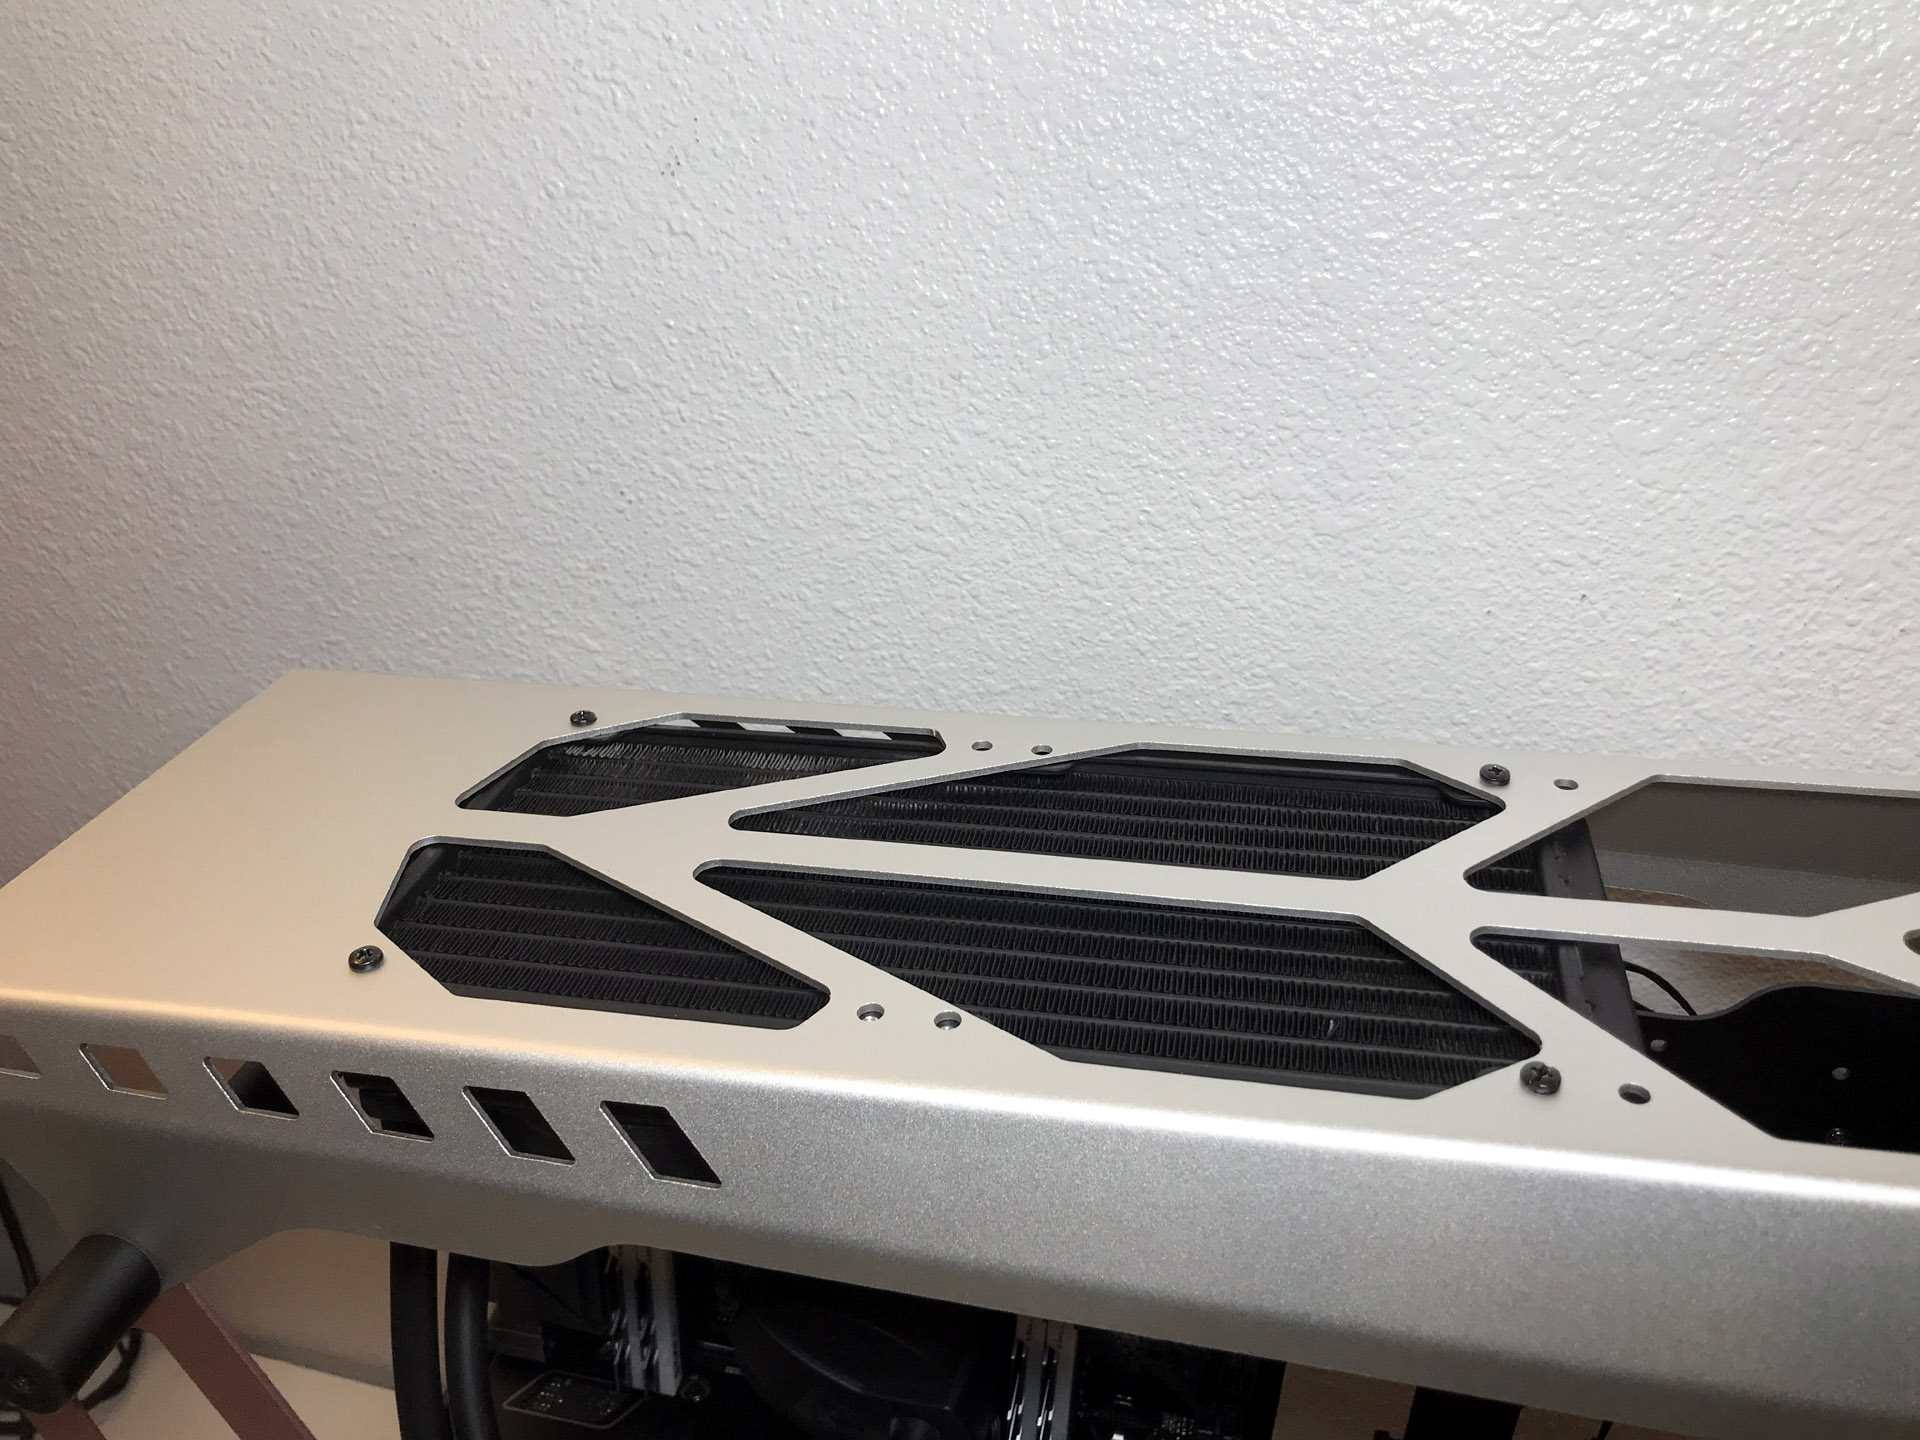
Radiators and all-in-one coolers up to 360mm can be mounted in the top of this case. The mounting location in the top can easily support radiators up to 360mm sandwiched between fans in a push-pull configuration.
MORE: Best Cases
MORE: All Case Content
Current page: Hardware Installation and Test Configuration
Prev Page Features and Specifications Next Page Benchmark Results and ConclusionStay On the Cutting Edge: Get the Tom's Hardware Newsletter
Get Tom's Hardware's best news and in-depth reviews, straight to your inbox.