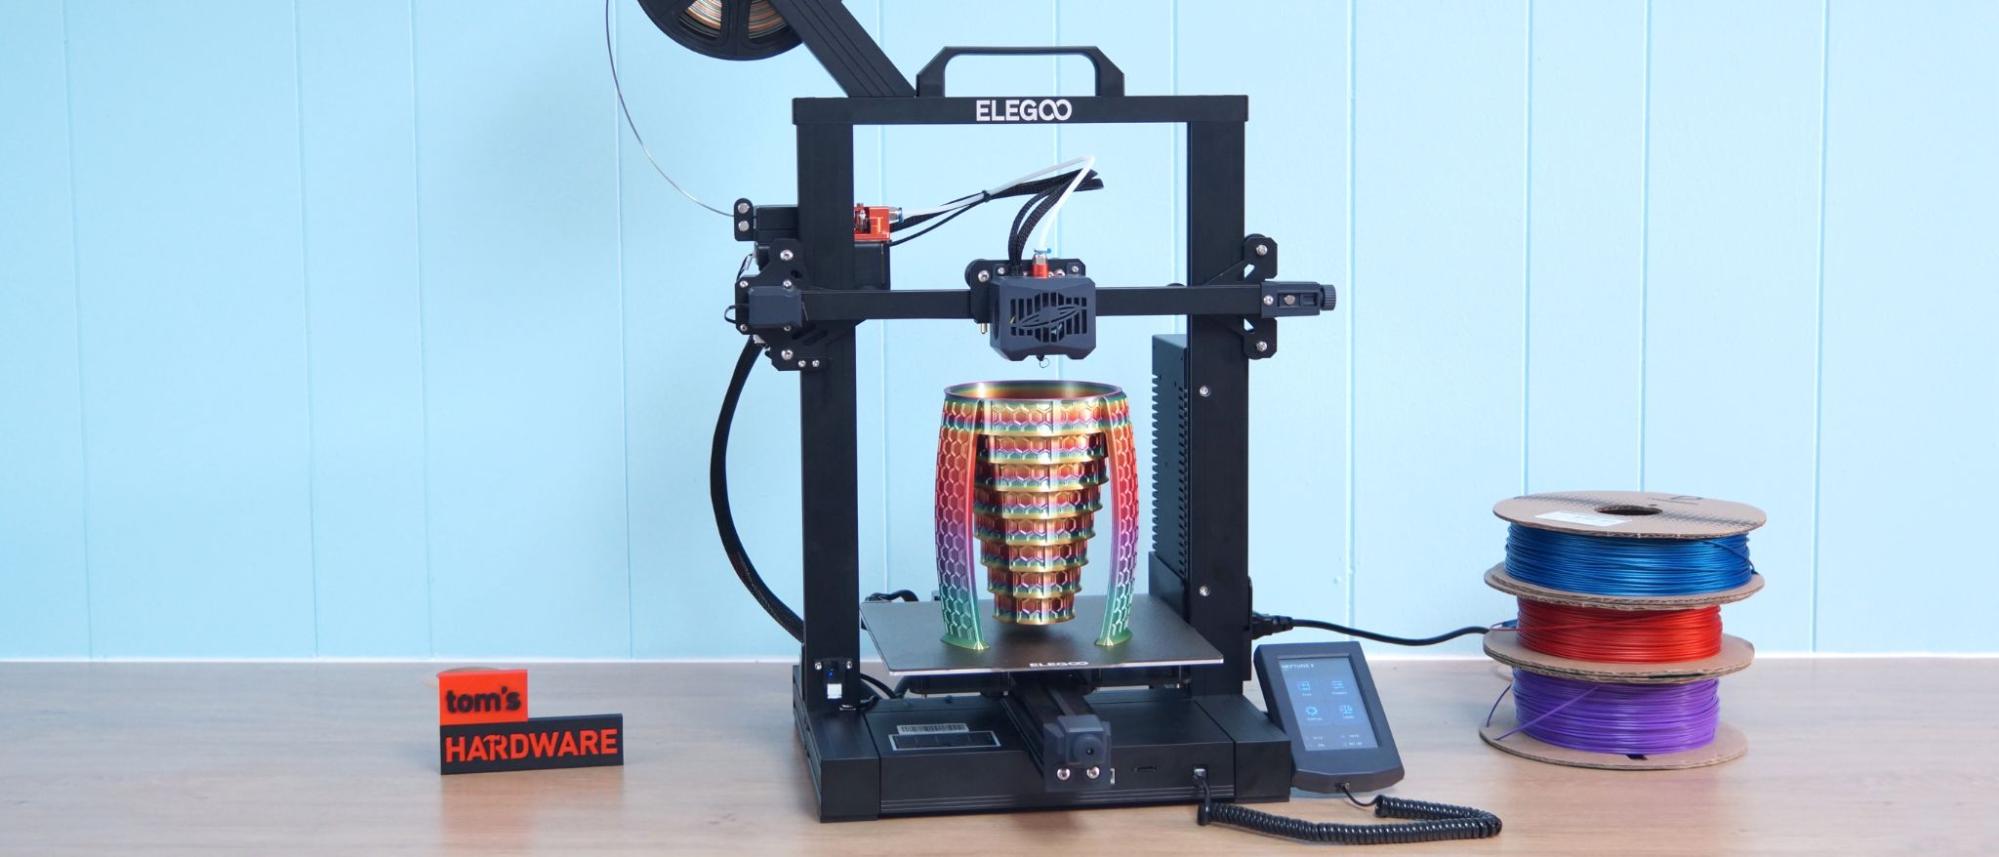
Tom's Hardware Verdict
The Neptune 3 is quite the bargain, delivering both quality prints and premium features in a budget printer.
Pros
- +
Easy assembly
- +
Auto bed leveling
- +
Quality prints
- +
Dual gear extruder
- +
Quiet operation
Cons
- -
Doesn't support thumbnails
- -
PEI coating needs scuffing
- -
Test machine was poorly assembled
Why you can trust Tom's Hardware
Sometimes an “Ender Clone” is a worthwhile bargain, like this Elegoo Neptune 3. It has nearly all the features of their competitor's flagship printer, the Ender 3 S1, but for half the price. Currently on a pre-order sale of $209.99 on the Elegoo website, the Neptune 3 delivers quality prints that are on par with those of the best 3D printers while being easy to operate.
Assembly takes a brisk 20 minutes. However the printer I tested came with a misaligned X gantry which threw off its ability to auto level. This wasted a good chunk of time sorting out why complex models failed to adhere properly. Once the machine was squared, the Neptune 3 produced excellent prints. This problem should be rare (other reviewers I spoke to didn’t experience it), but it’s a good reminder that even preassembled printers should be checked for tight bolts and good connections.
The Neptune 3 has a Bowden extruder with dual gears that feeds filament smoothly and an advanced filament sensor that looks for movement in order to catch jams and prevent “spaghetti” fails. It also comes with a textured PEI coated, magnetic flex plate – one of my favorite build surfaces to use.
If you’re looking for help with your new printer, Elegoo’s website is full of useful information. You can find a copy of Elegoo Cura, helpful printing tutorials, manuals and lots of videos. There’s also a gallery of models specifically designed to mod your Neptune.
Specifications: Elegoo Neptune 3
| Machine Footprint | 442 x 452 x 530 mm (17 x 17.7 x 20.8 inches) |
| Build Volume | 220 x 220 x 280 mm (8.5 x 8.5 x 11 inches) |
| Material | PLA/PETG/TPU/ABS |
| Extruder Type | Bowden |
| Nozzle | .4mm (Interchangeable) |
| Build Platform | PEI textured spring steel sheet, heated |
| Filament Runout Sensor | Yes |
| Bed Leveling | Automatic resistance strain gauge |
| Connectivity | microSD card, USB Wire |
| Interface | Color touch screen, removable |
Creality Elegoo Neptune 3: Included in the Box
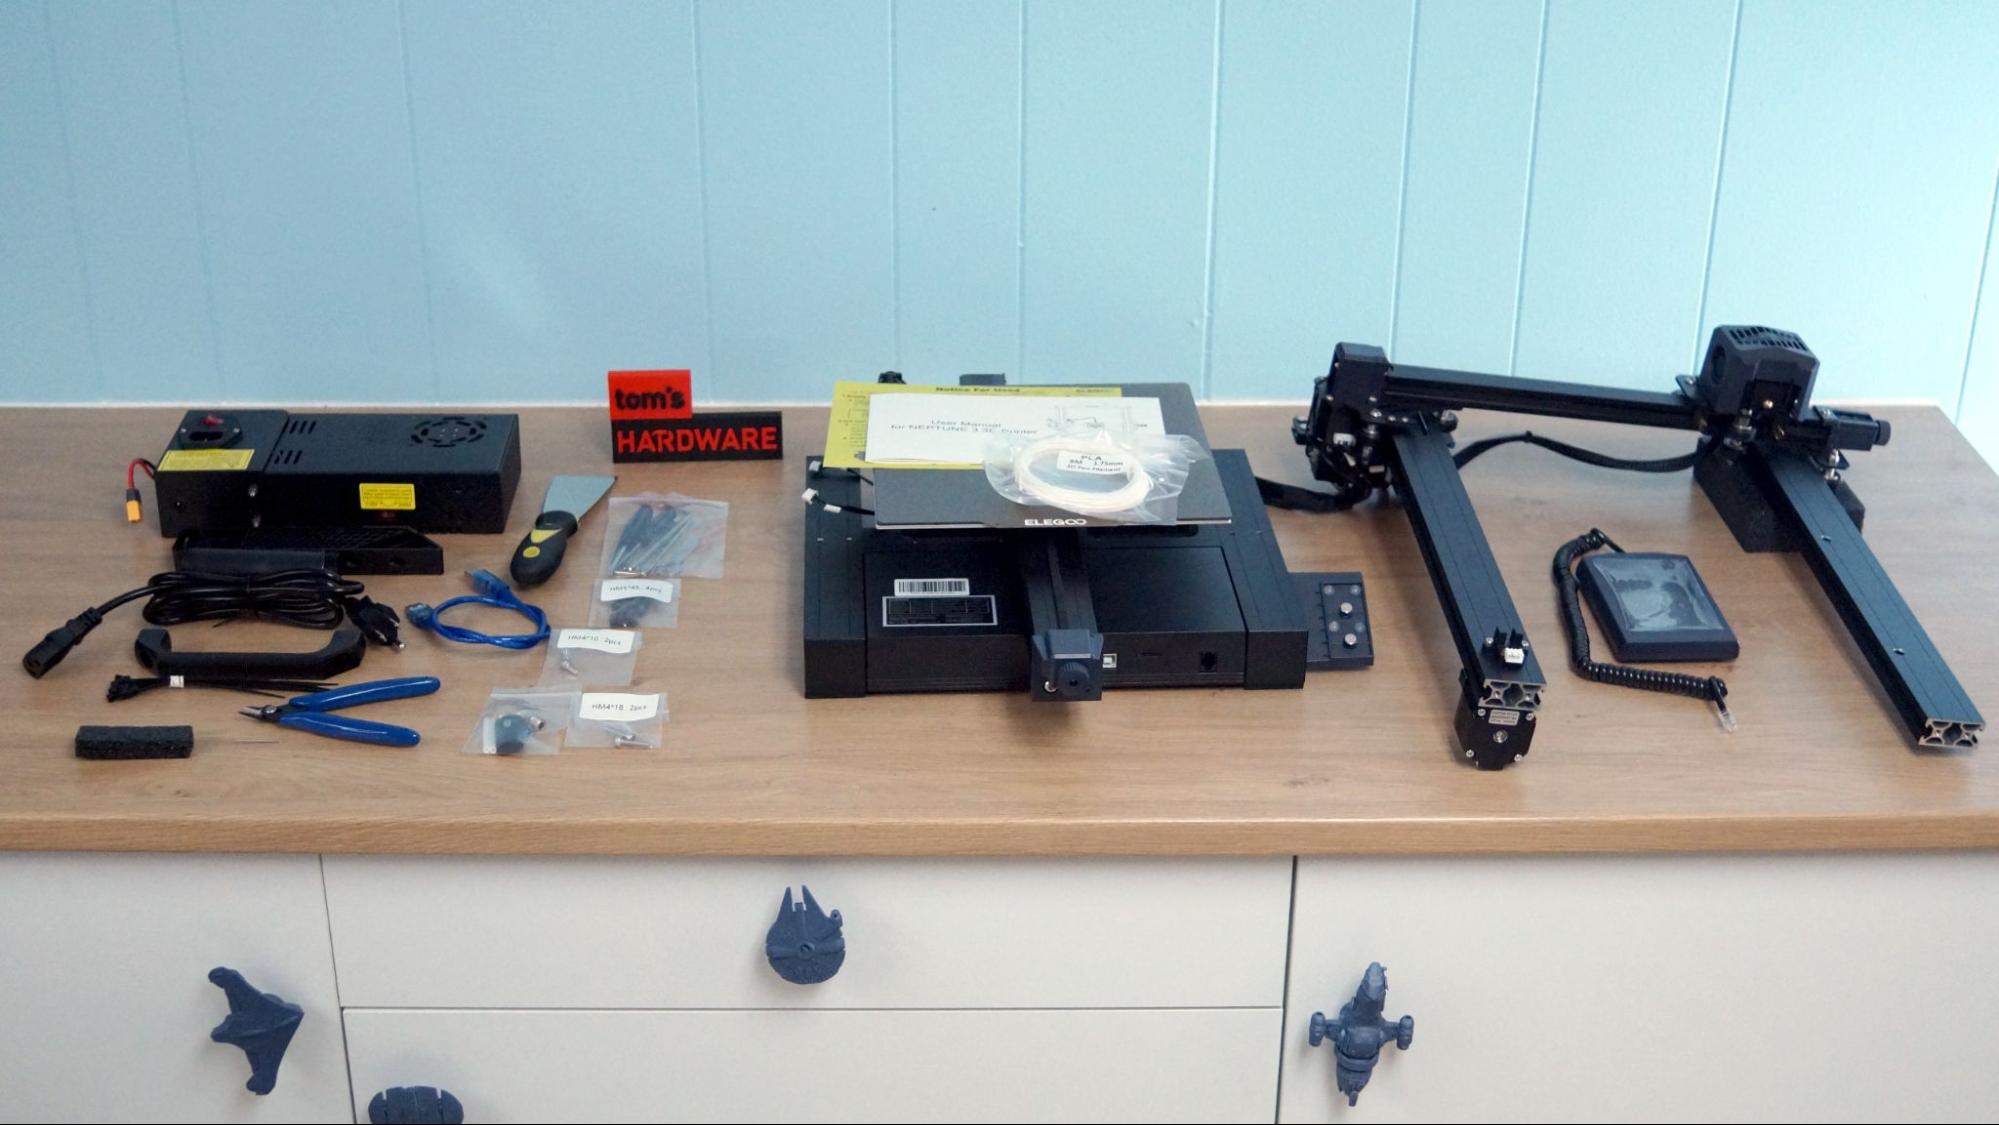
The Neptune 3 comes with everything you need to get your printer set up. You get tools to build and maintain the printer, side cutters, a metal scraper, a spare nozzle, and a microSD card with a USB adapter. There’s also a small sample of white PLA to print your first model.
The microSD card has a very helpful short video on assembling the printer. You also get a PDF copy of the manual, a copy of Elegoo Cura and a sample model in both pre-sliced .gcode and .stl format.
Design of the Elegoo Neptune 3
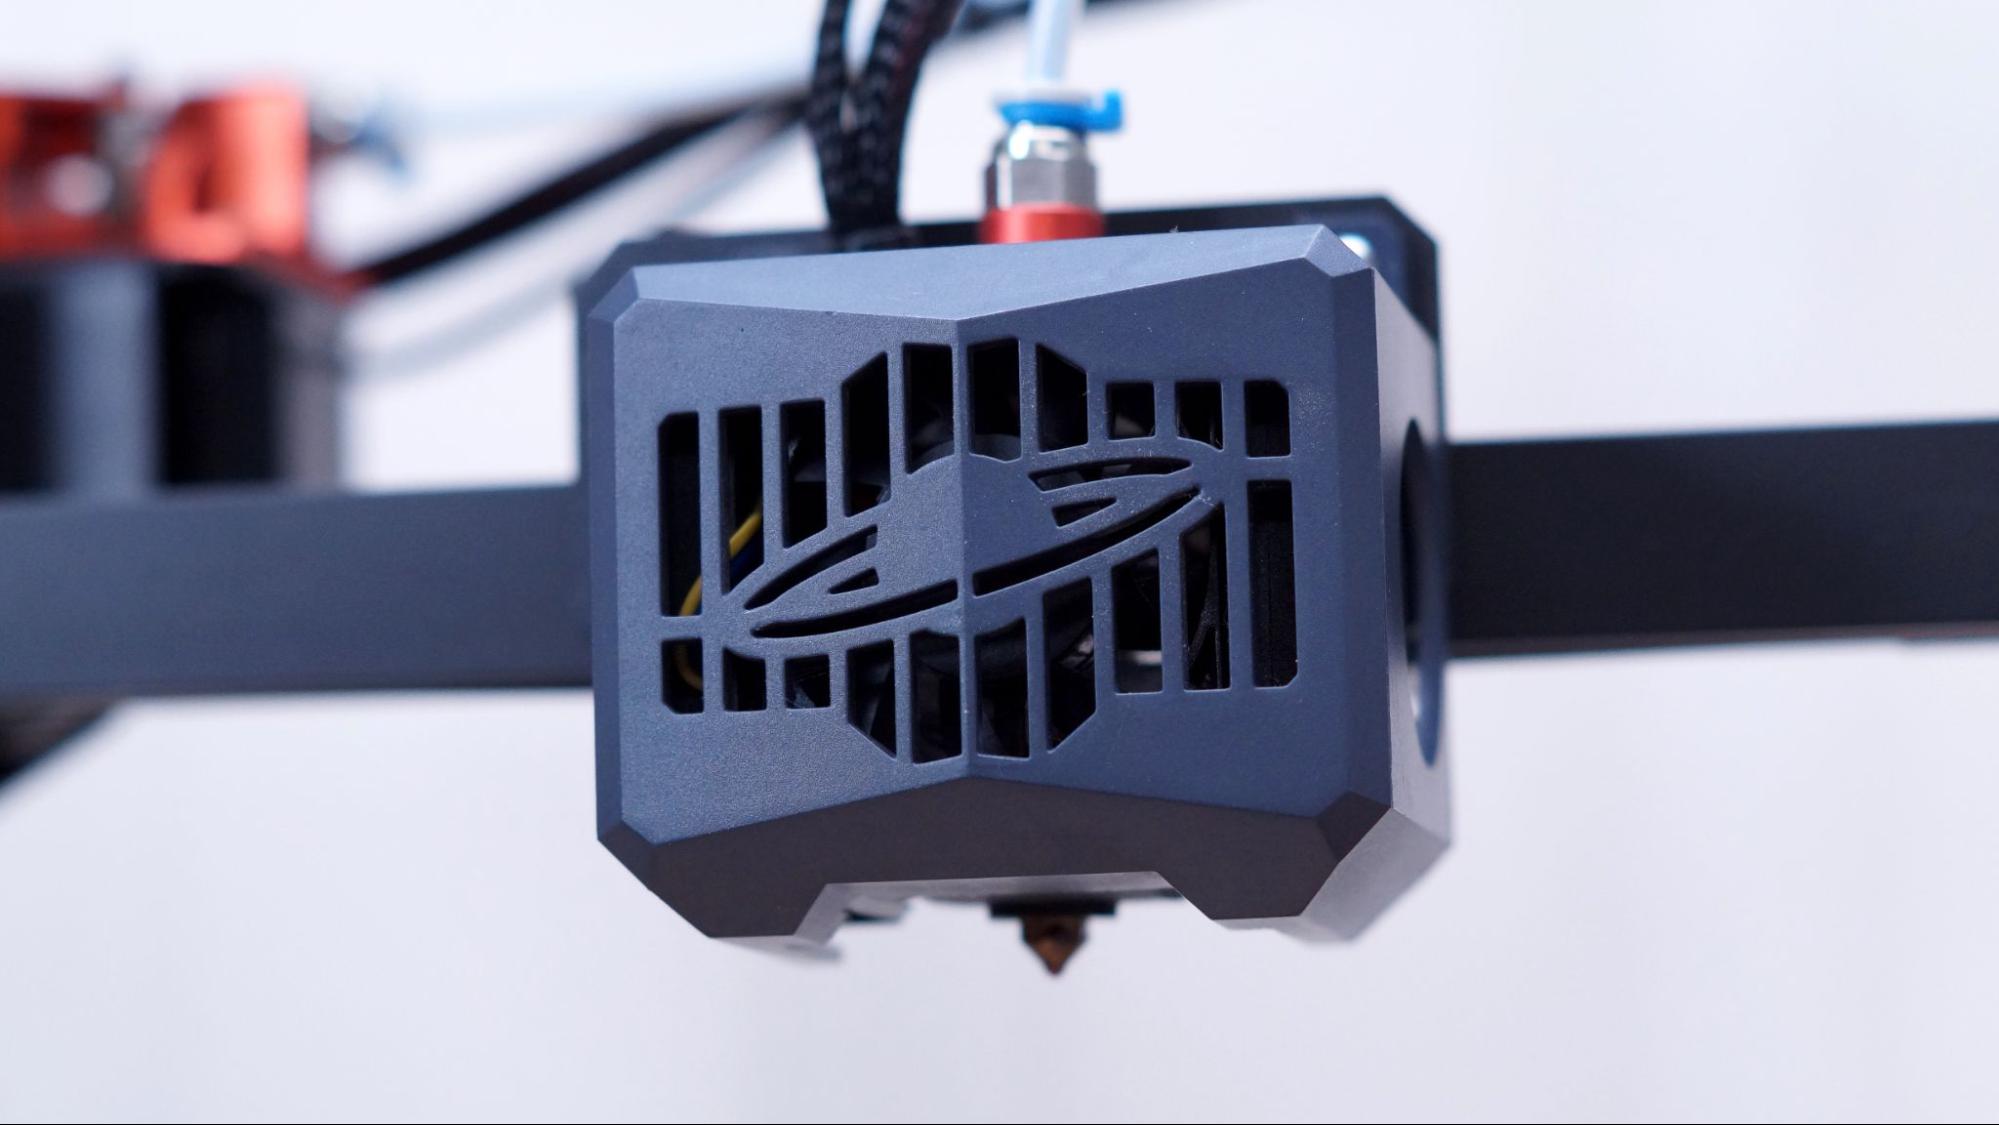
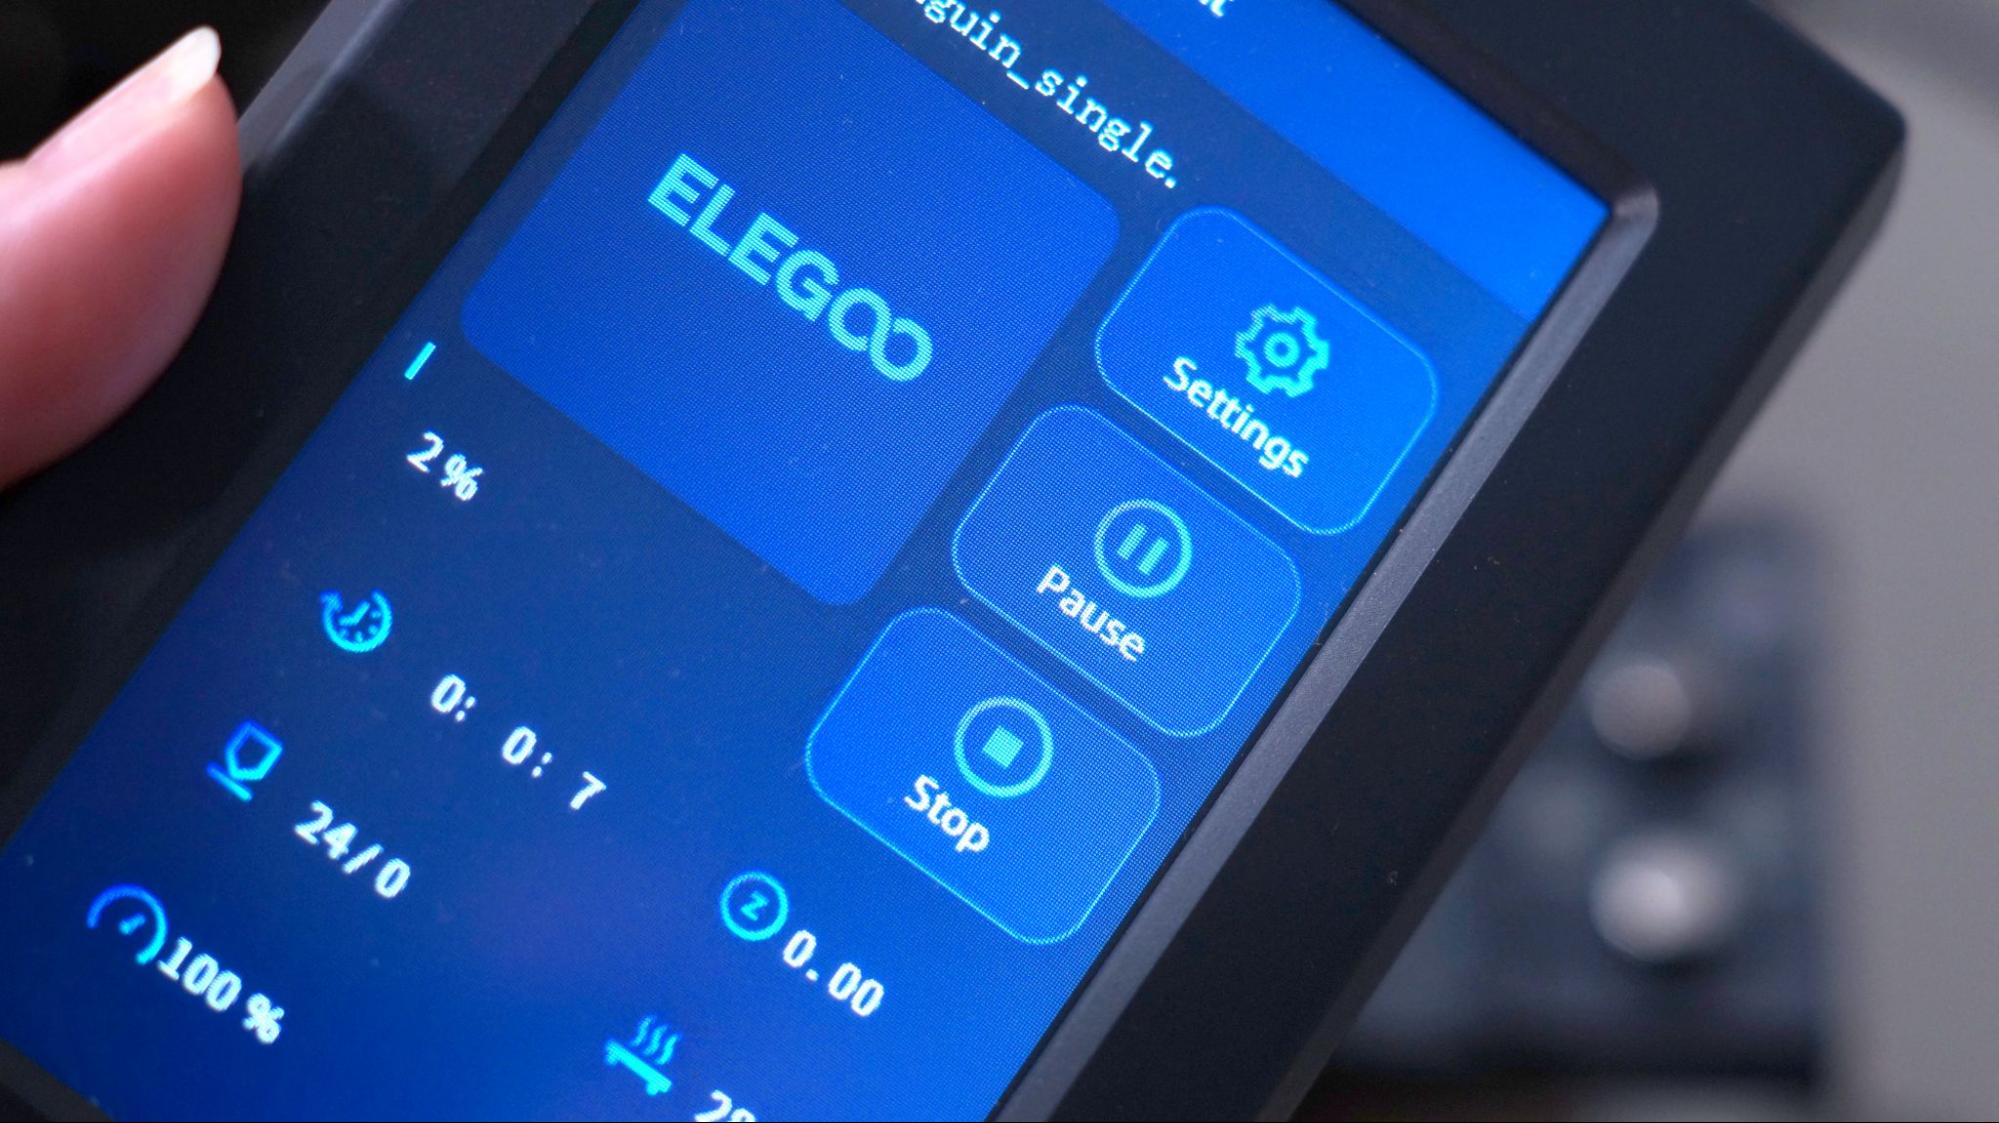
The Neptune 3 isn’t very distinctive and looks a lot like other modern desktop printers on the market. It's built of sleek black aluminum with a few gray plastic parts and has a carrying handle on top for portability. The power supply is mounted on the right Z axis and the processor is tucked underneath the build plate. Unlike with the Neptune 2s, the touchpad is mounted off to the side and is removable, so you can hold it at any angle for better visibility.
This is the first Elegoo Neptune printer to come with auto bed leveling and a static build plate bolted to the frame. It uses a resistance strain gauge that physically taps the nozzle at 16 points around the bed to form a mesh. This information is used to compensate for slight (.1 to .2mm) variations on the build plate.
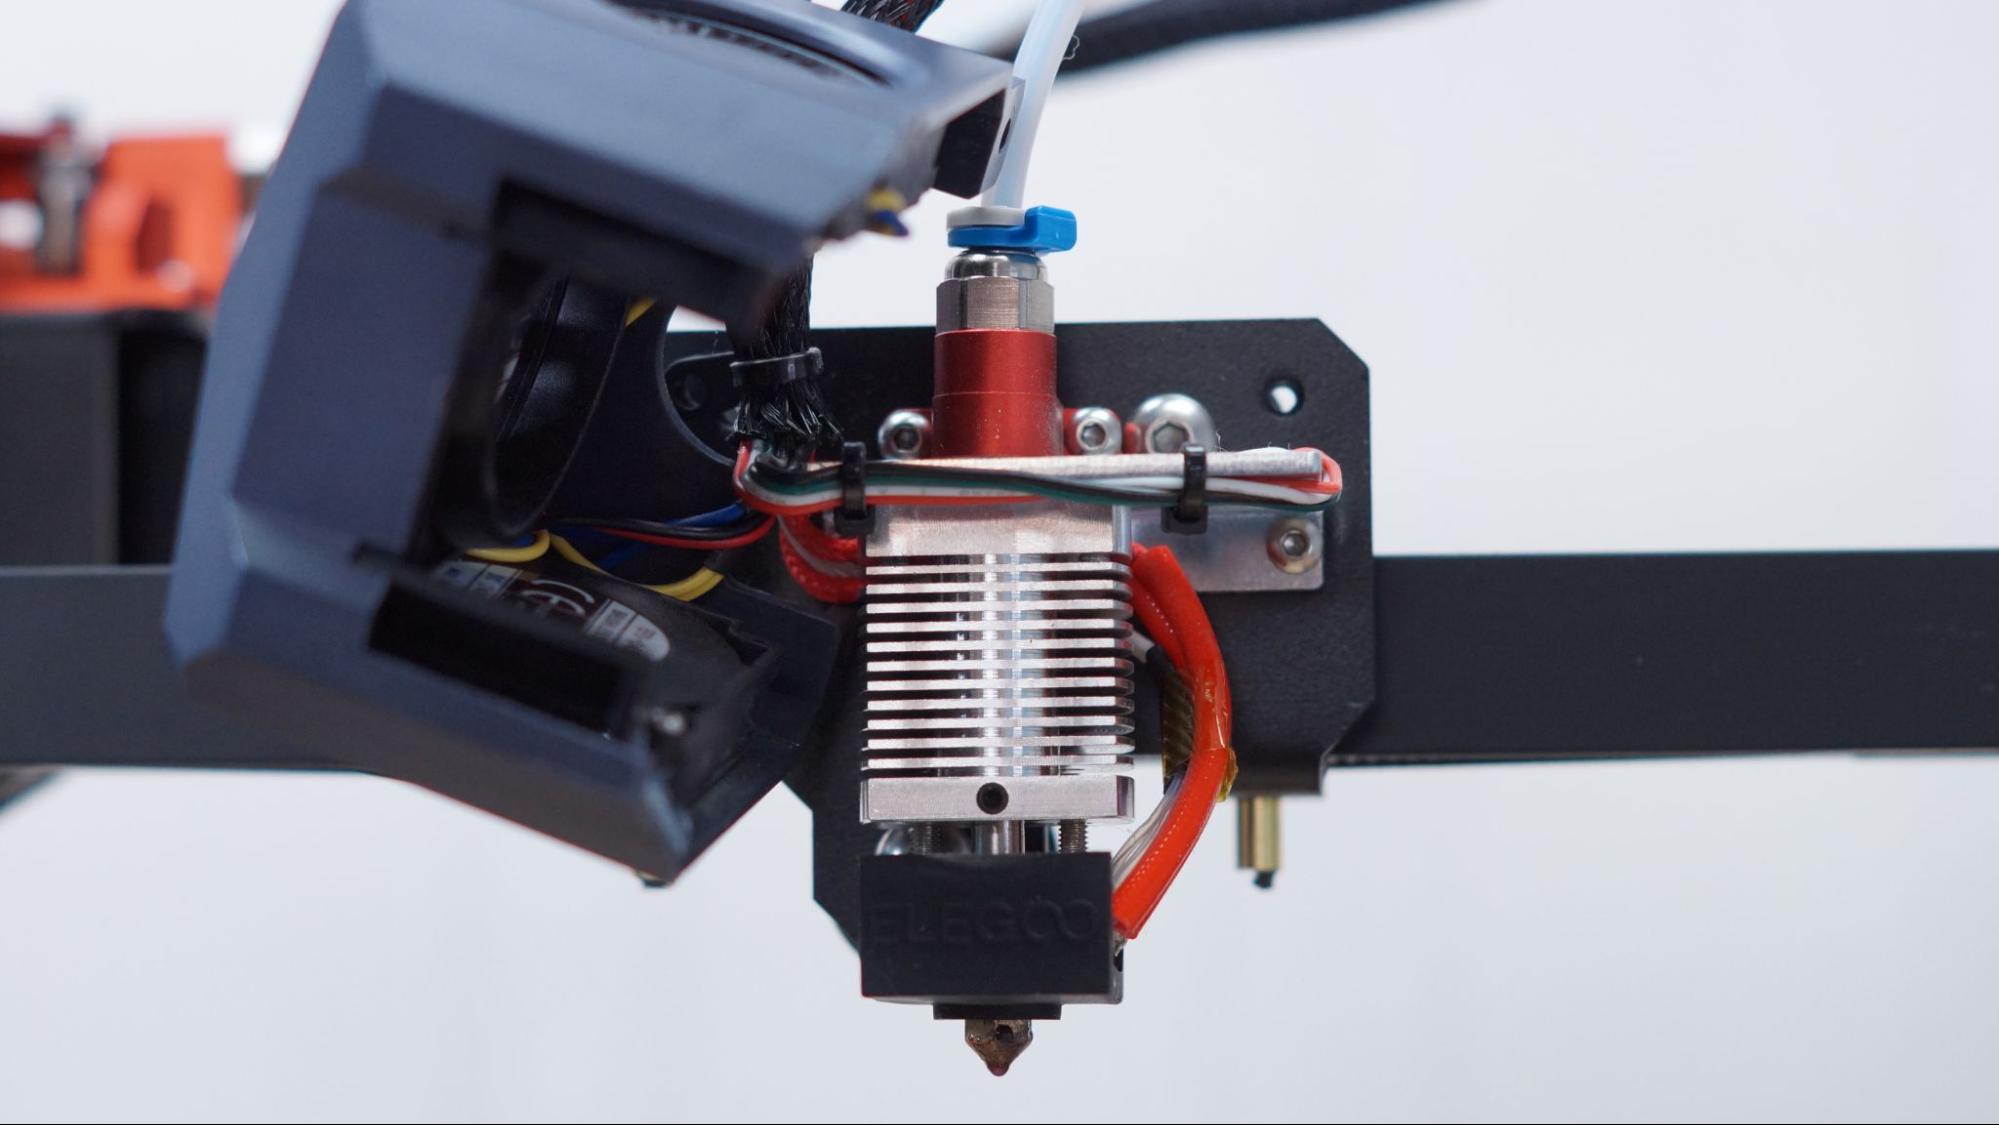
More improvements on Neptune 3 (over prior models) are the addition of belt tensioners, a second cooling fan and an improved runout sensor that can sense movement. Not only can it spot a lack of filament, but it can sense a jam and stop the print for you. The inner gear is so tight I wasn’t able to push TPU through it, but the sensor is easy to remove and can be turned off from the control panel.
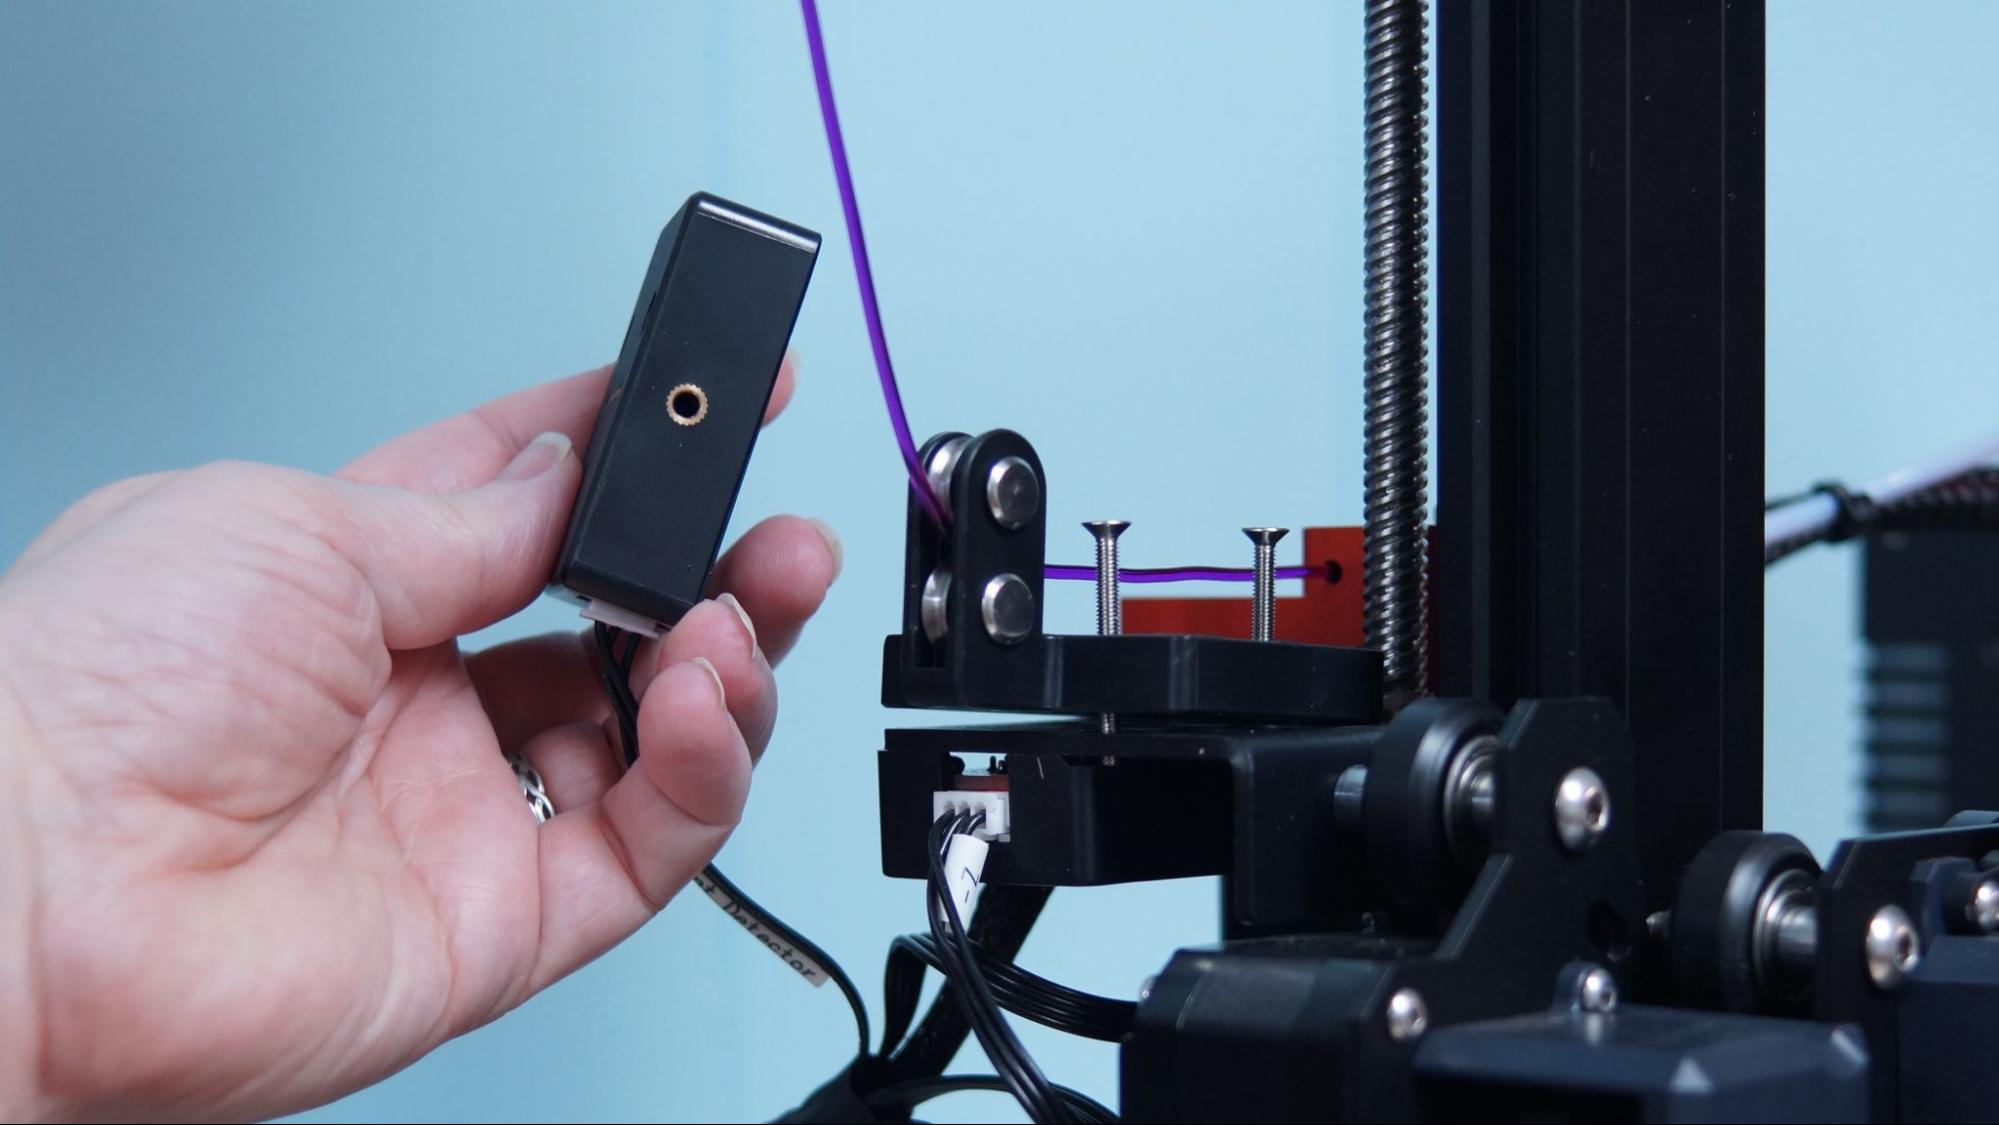
Carried over from the Neptune 2S is an excellent dual gear extruder that handles flexibles with ease – once you get around the runout sensor. The Neptune 3 only has a single Z rod, but I didn’t notice any problems in quality.
The flex steel PEI textured build surface wasn’t as “sticky” as others I’ve seen, but this was resolved by scuffing the surface with fine steel wool followed by a quick wash with dish soap. Once the plate was squeaky clean, it worked properly – prints stuck to the plate while warm and popped off with a flex.
Assembling the Elegoo Neptune 3
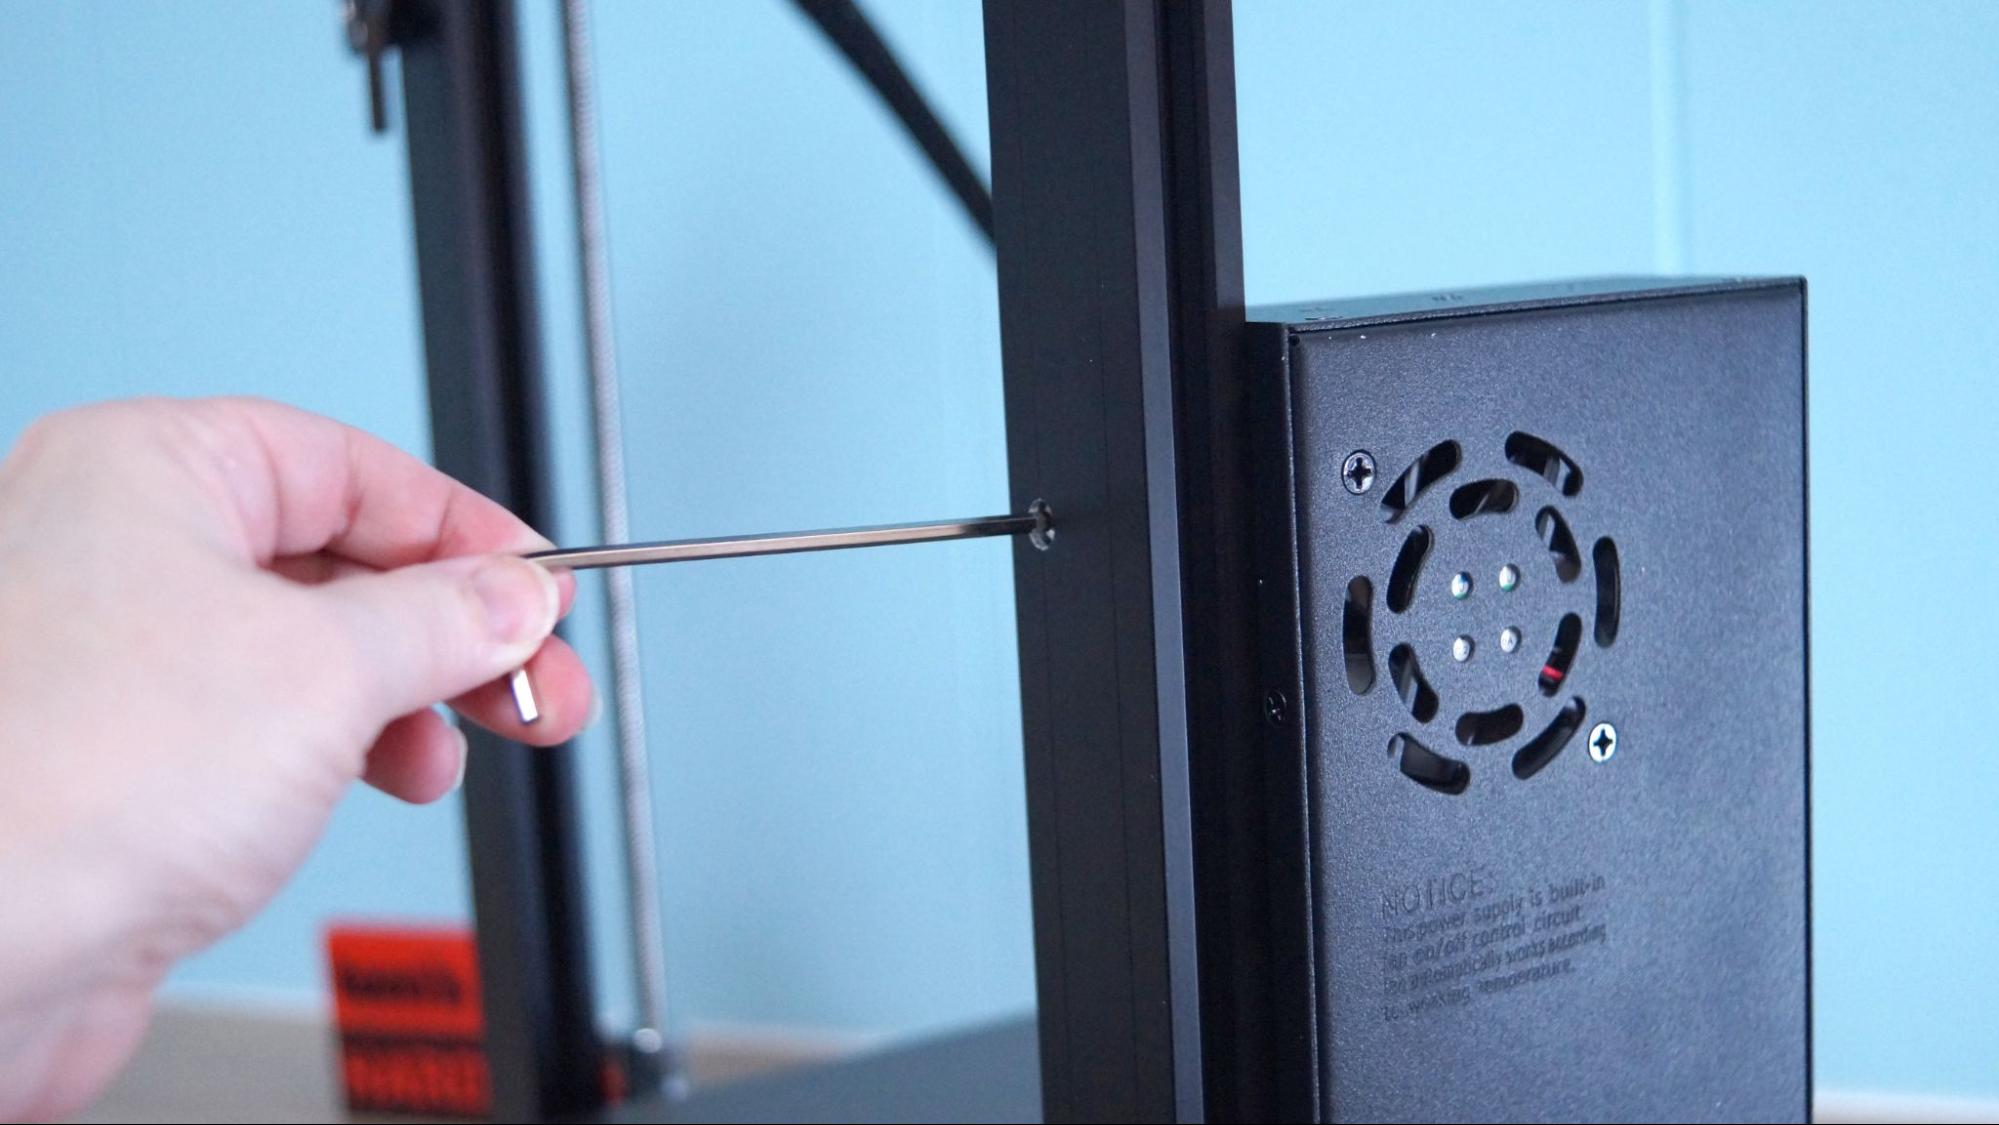
The Neptune 3 comes mostly assembled, which really speeds up setup time. The gantry frame is attached to the base with 4 bolts that come up from the bottom. The power supply is secured to the frame with 2 more bolts.
The handle and spool holder are attached to the top of the frame with t-screws – two of which are pre-installed for you.
The touch screen snaps into place and is meant to be removable. It has a curly cord like an old landline phone. It looks a bit odd, but does its job well.
There are only 4 electrical connections to make, and these are clearly labeled. The last thing you should check is the voltage mode on the power supply and make sure it matches your local outlets. US users generally require 115V.
The video included on the microSD card is very helpful, and shows how to build the machine, tighten the eccentric nuts and level the bed.
Leveling the Elegoo Neptune 3
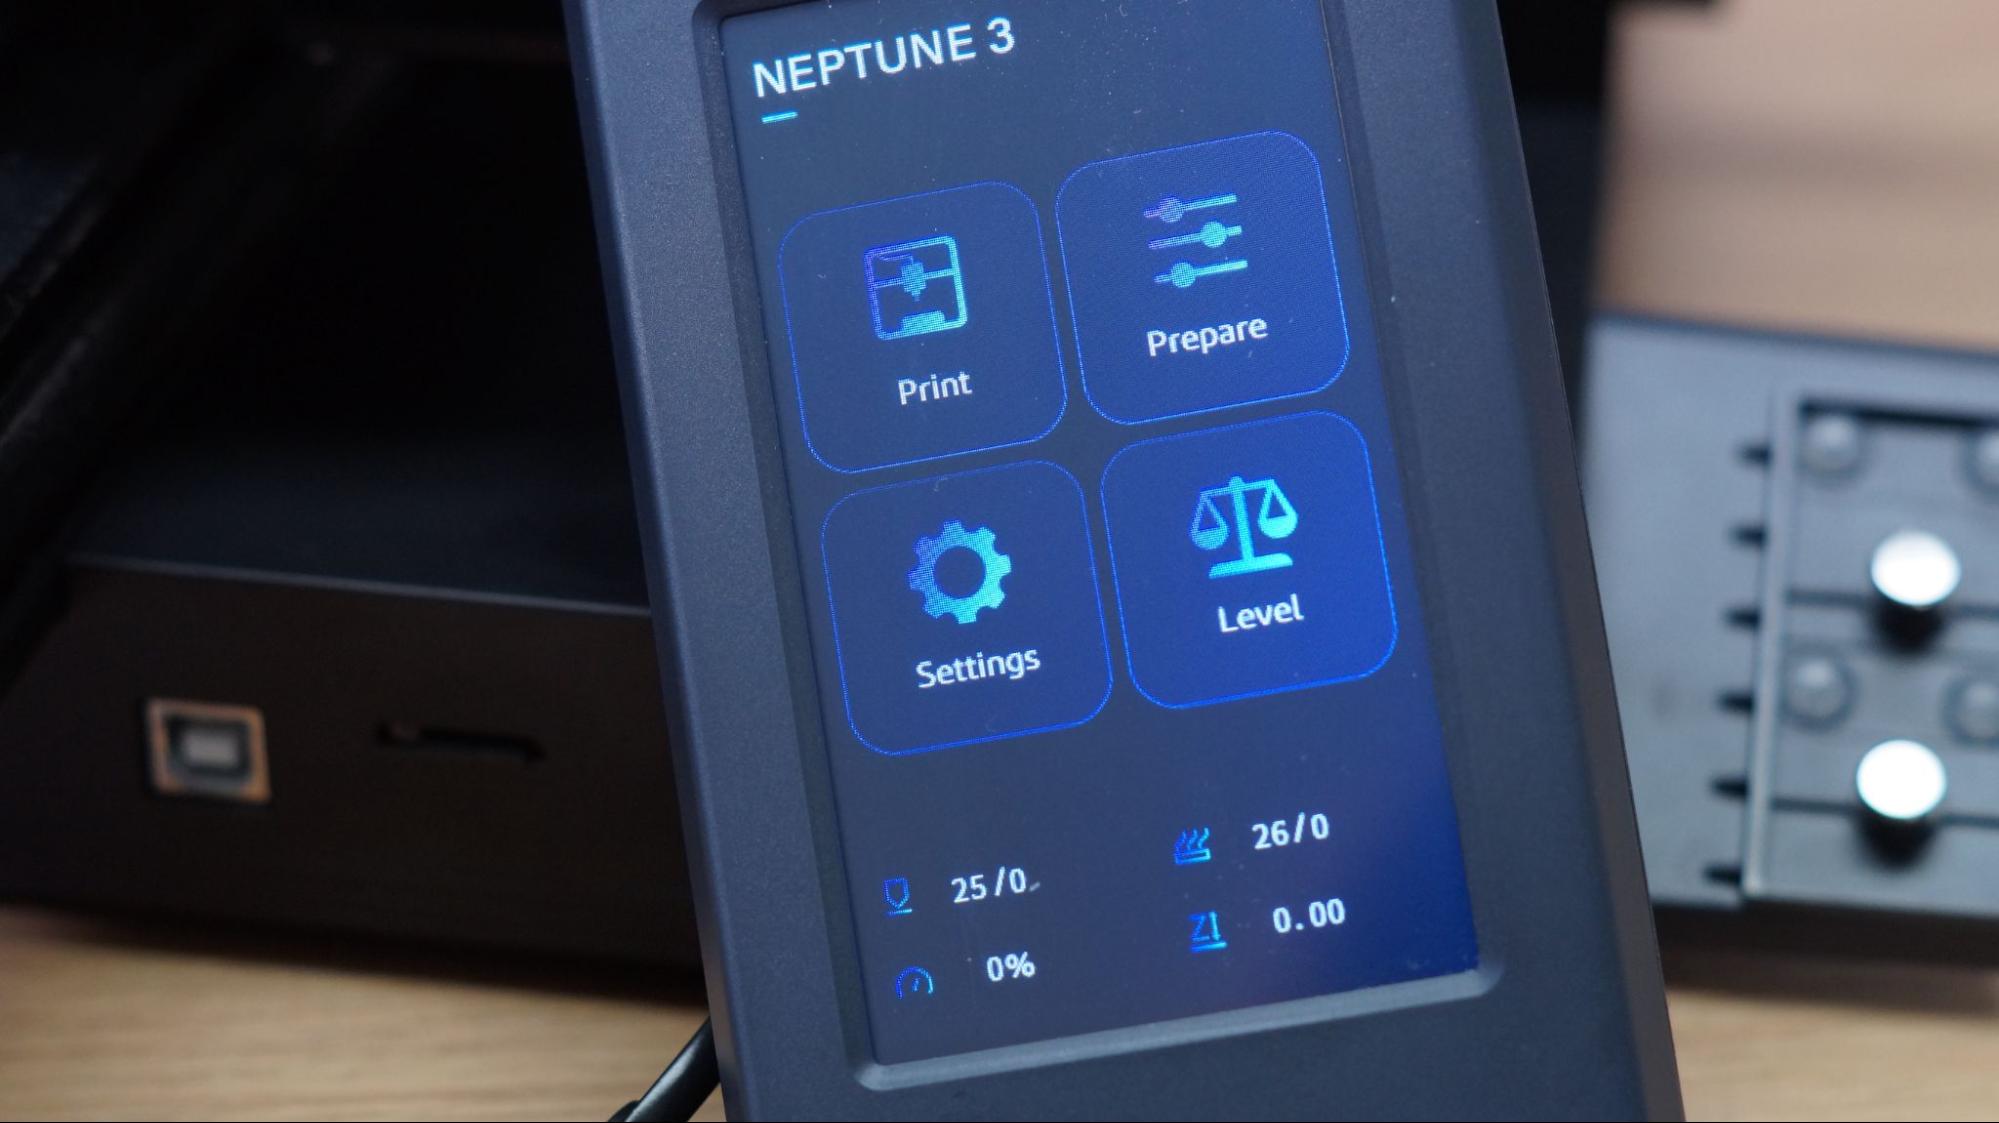
The Neptune 3 comes with auto bed leveling and a strain relief gauge sensor that physically taps the bed with the nozzle. Simply select Level on the main menu and the printer will heat up to 140 degrees on the nozzle and 50 C on the bed. After it homes, it will tap 16 points across the bed.
It will then stop at the center of the bed and wait for you to double-check the Z height. Do this by placing a piece of ordinary paper under the nozzle and lowering or raising it with the buttons on the touch screen until the nozzle just scrapes the paper. I had better results using a double thickness of paper.
You can also fine tune the Z height from the print menu while running a print.
Loading Filament on the Elegoo Neptune 3
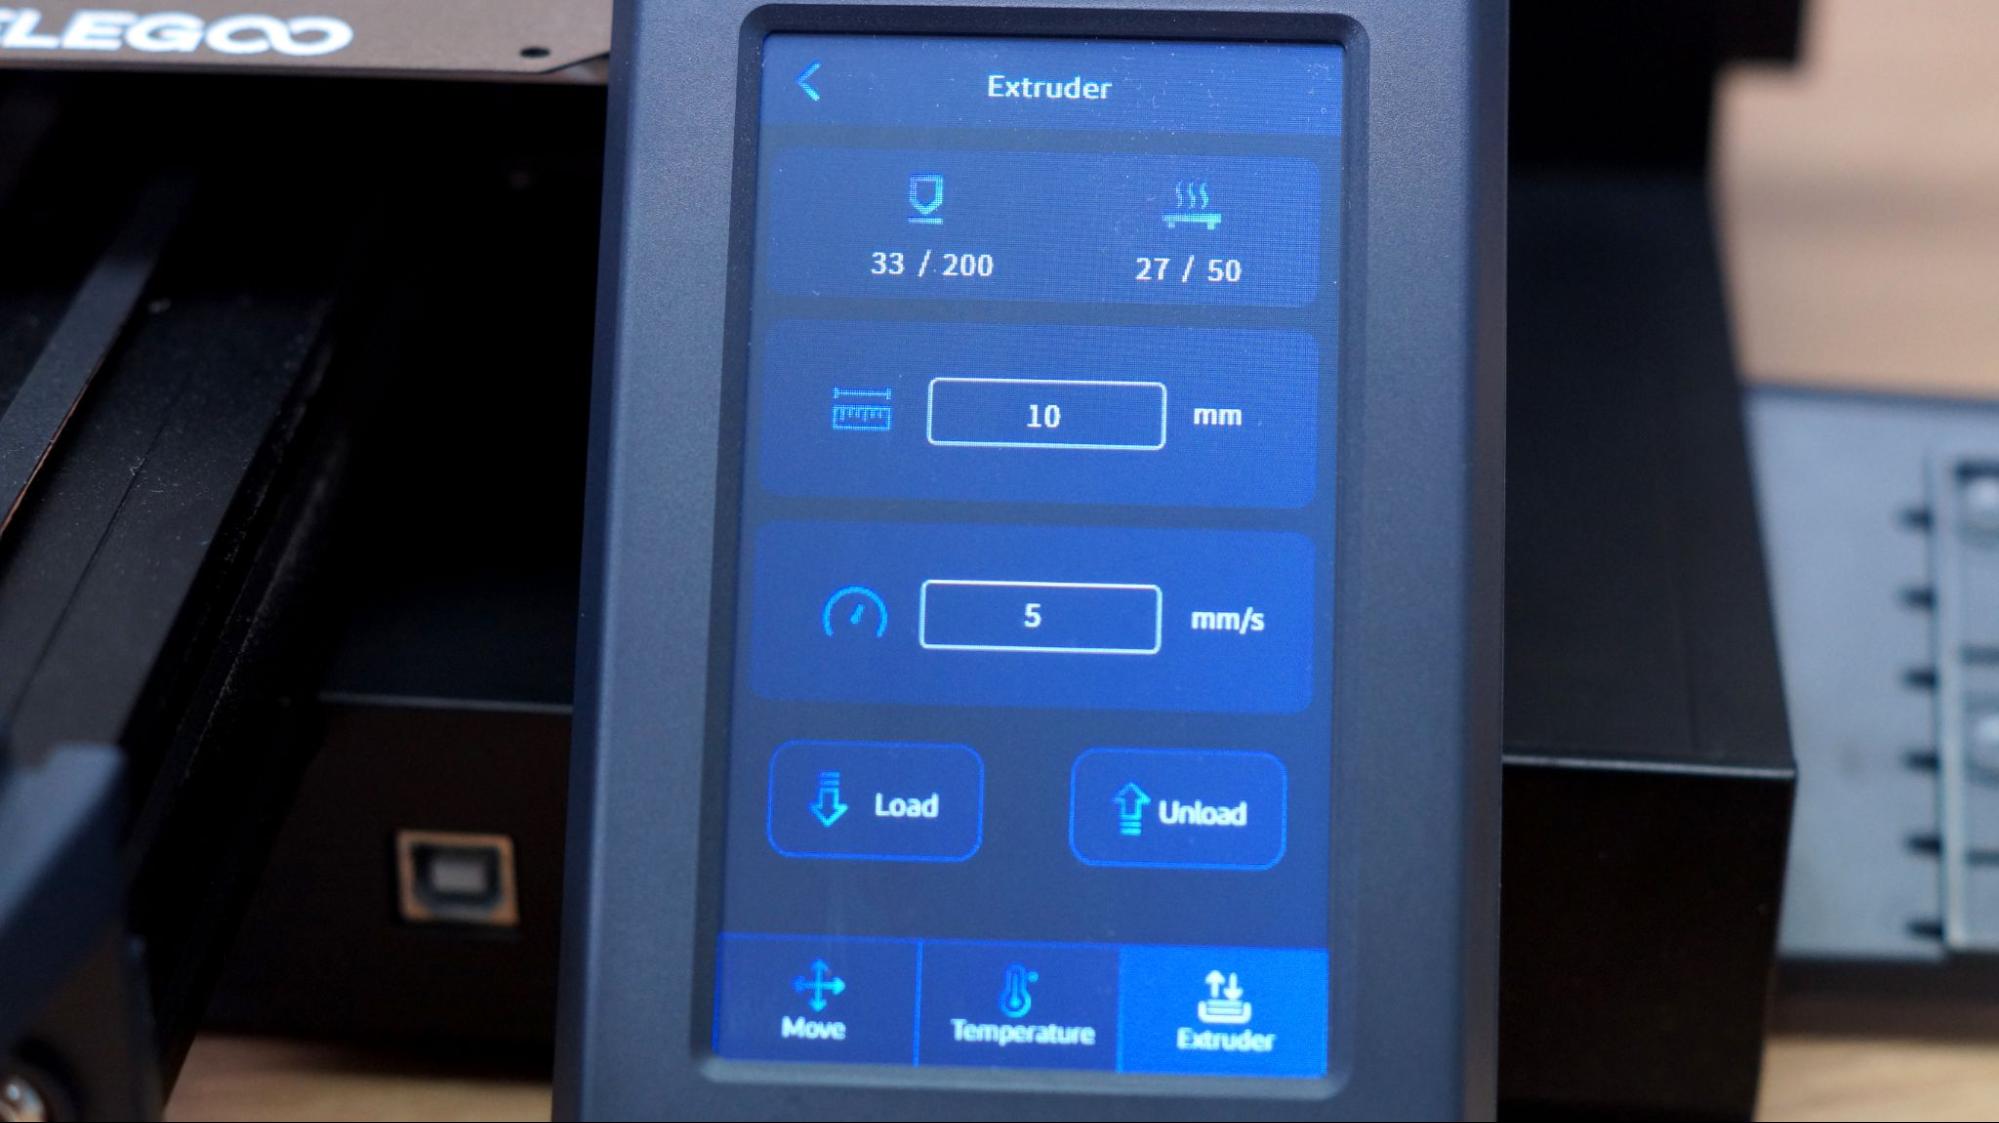
The Neptune 3 is a Bowden style printer with its extruder mounted on the left side of the X gantry. To load filament, tap Prepare on the main menu, then Temperature and select the preset PLA or ABS. Once the hotend is warmed past 190 degrees, you can insert the filament into the run out sensor and the extruder. Squeeze the extruder lever to open it, and push the filament all the way through. Click the Extruder button to advance the filament through the hotend.
To unload or change colors, simply reverse the process.
Note: TPU is difficult if not impossible to push through the runout sensor. You can temporarily remove the sensor by loosening two screws on the top, setting the sensor aside, then placing the guide wheels back into position. On the touch screen, disable the sensor by tapping Settings → Filament Detector. You MUST turn the sensor off rather than just tricking it with a piece of filament because it senses motion. If you forget this step, the print will stop after a layer of printing.
Preparing Files / Software for Elegoo Neptune 3
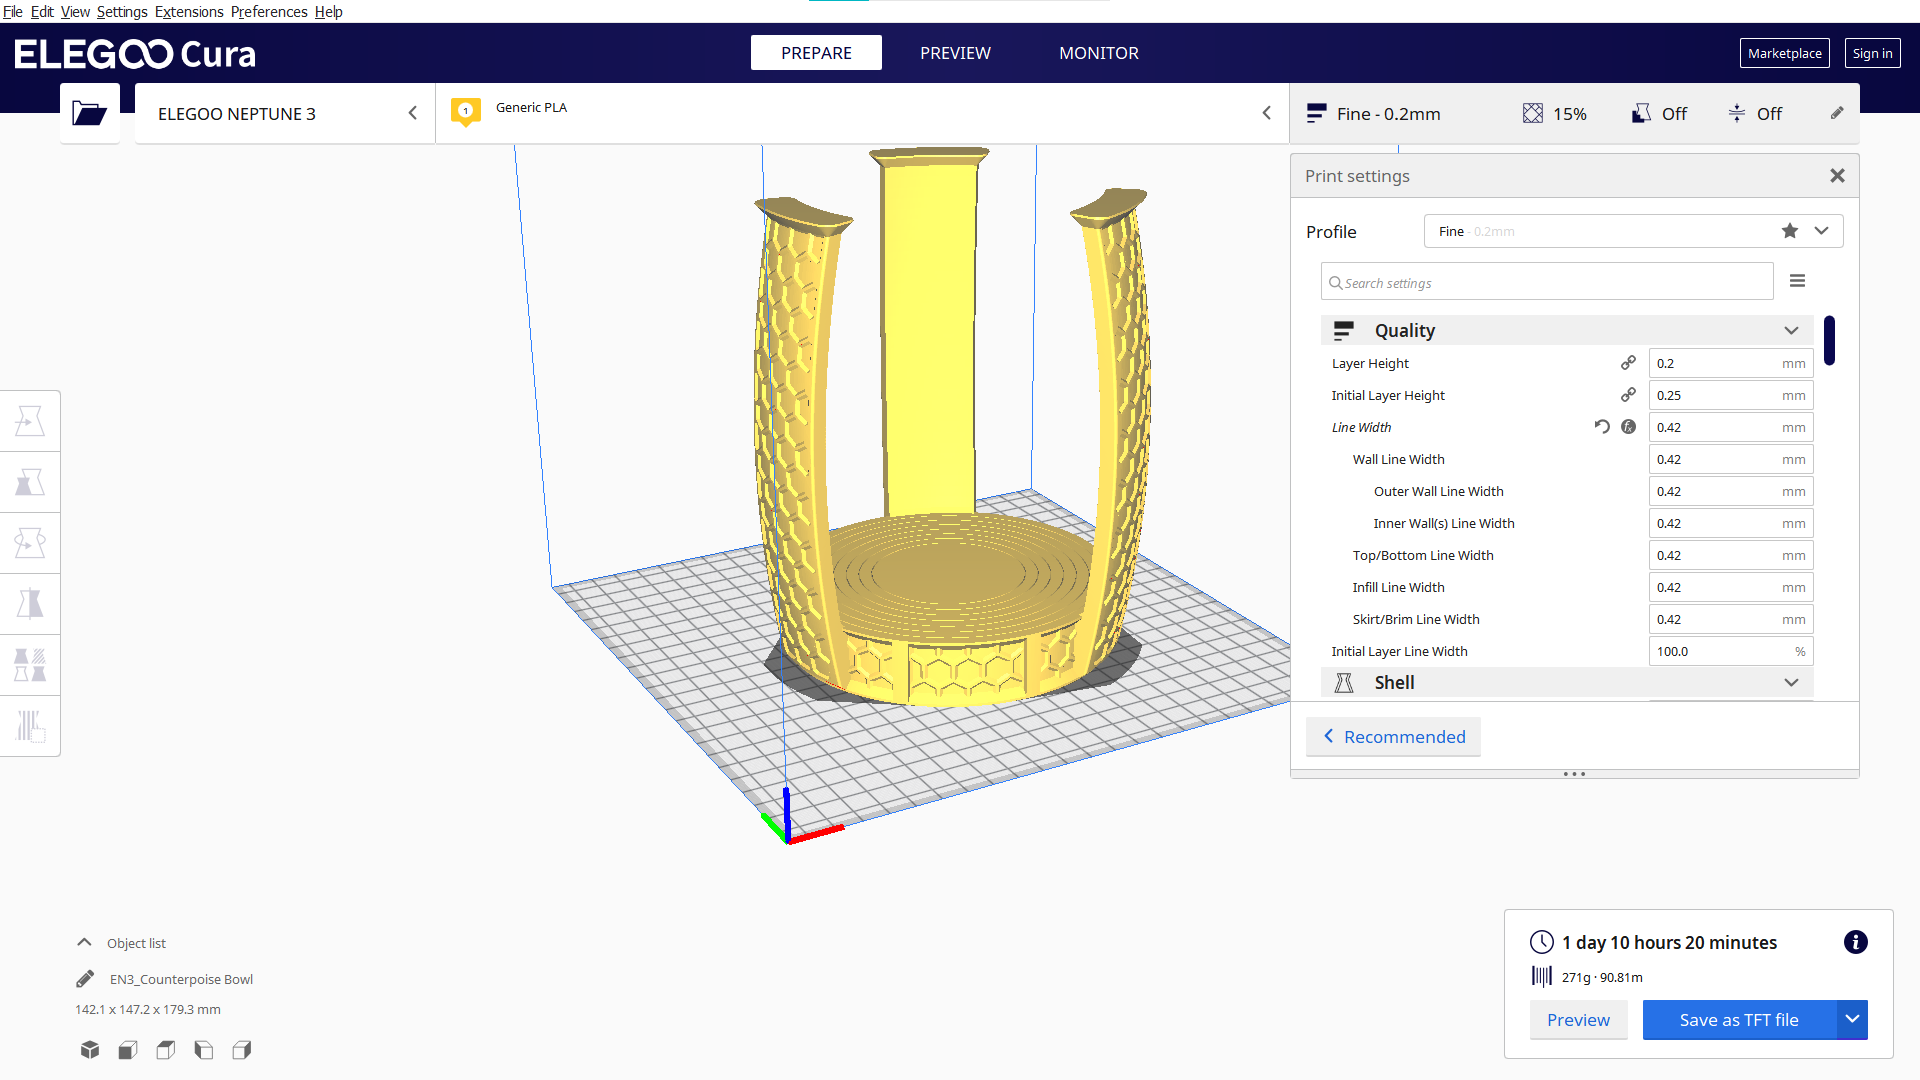
The Neptune 3 comes with a copy of Elegoo Cura, but there’s nothing special about this version if you already have plain Cura or want to use PrusaSlicer. Both Cura and PrusaSlicer are free to download.
Standard versions of Cura or PrusaSlicer do not have a profile for the Neptune 3, but you can use the profile for the Ender 3 Pro and adjust the build height to 250.
At least for now, thumbnail images are not supported on the Neptune 3 as they were in previous models. There’s still a place for the image, so they could return in a firmware update.

Printing on the Elegoo Neptune 3
The Neptune 3 I tested had a leveling issue due to poor assembly at the factory, but once everything was reseated and tightened properly, I had excellent results. I don’t think this is a knock against the machine itself, but more of a reminder to check over all the parts when putting together a printer for the first time.
My first print was the pre-sliced Buddha Elegoo provided on the microSD card. I used the supplied sample PLA and it turned out great even though the bed was not actually level.
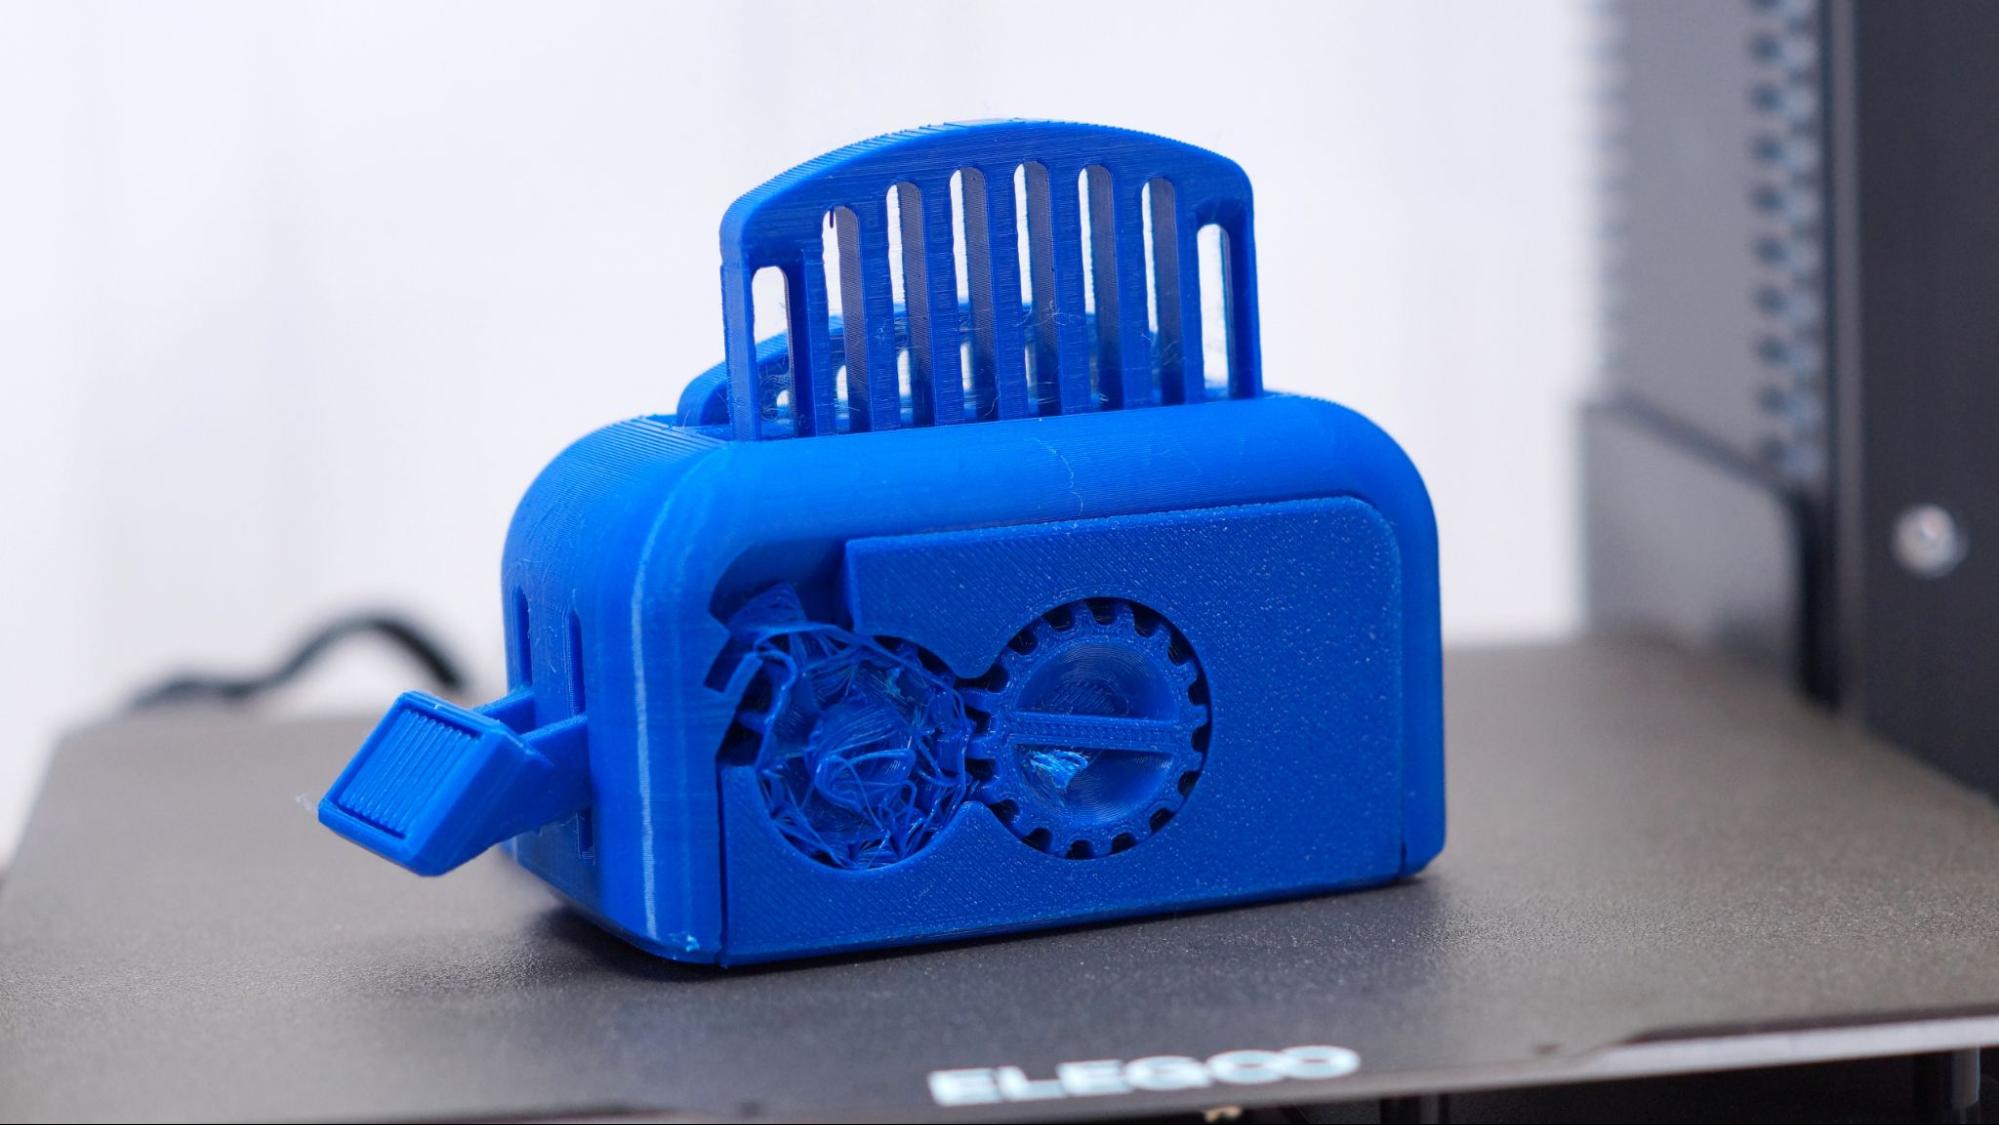
I printed the Clockspring Torture Toaster, an extremely tricky print in place model that’s also a calibration print. It failed pretty hard – note the messed up gears and how only one toast was able to pop. This told me that there were issues with the bed level. Again, we have to remember that the auto bed level can only correct minor flaws under .2 mm.
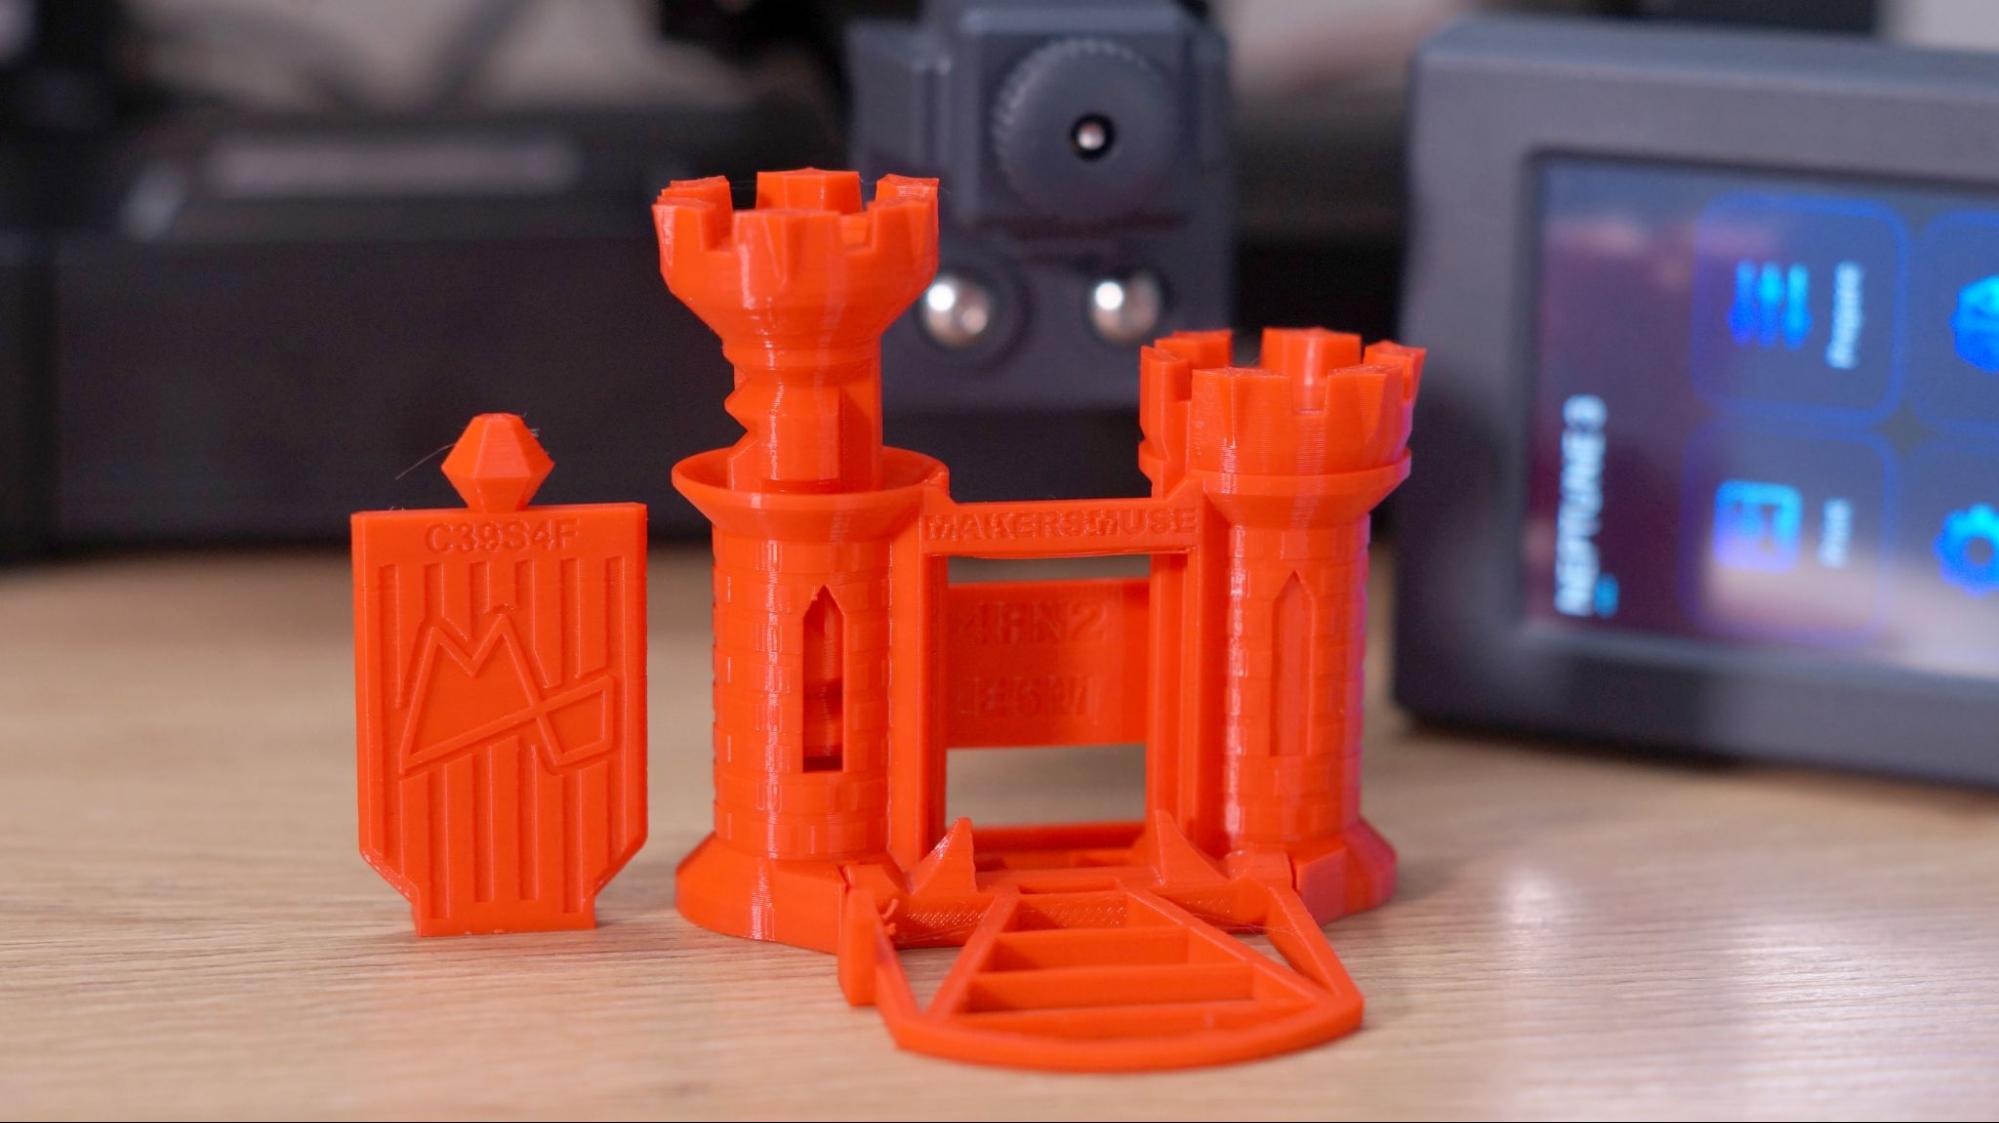
After I dug into the printer and hunted down all the loose screws, I ran a perfect bed level print. We were ready for the Maker’s Muse Calibration Castle. This printed successfully and with very few flaws in Matterhackers Build Series Red PLA. Even the drawbridge, which prints upright, was a success.
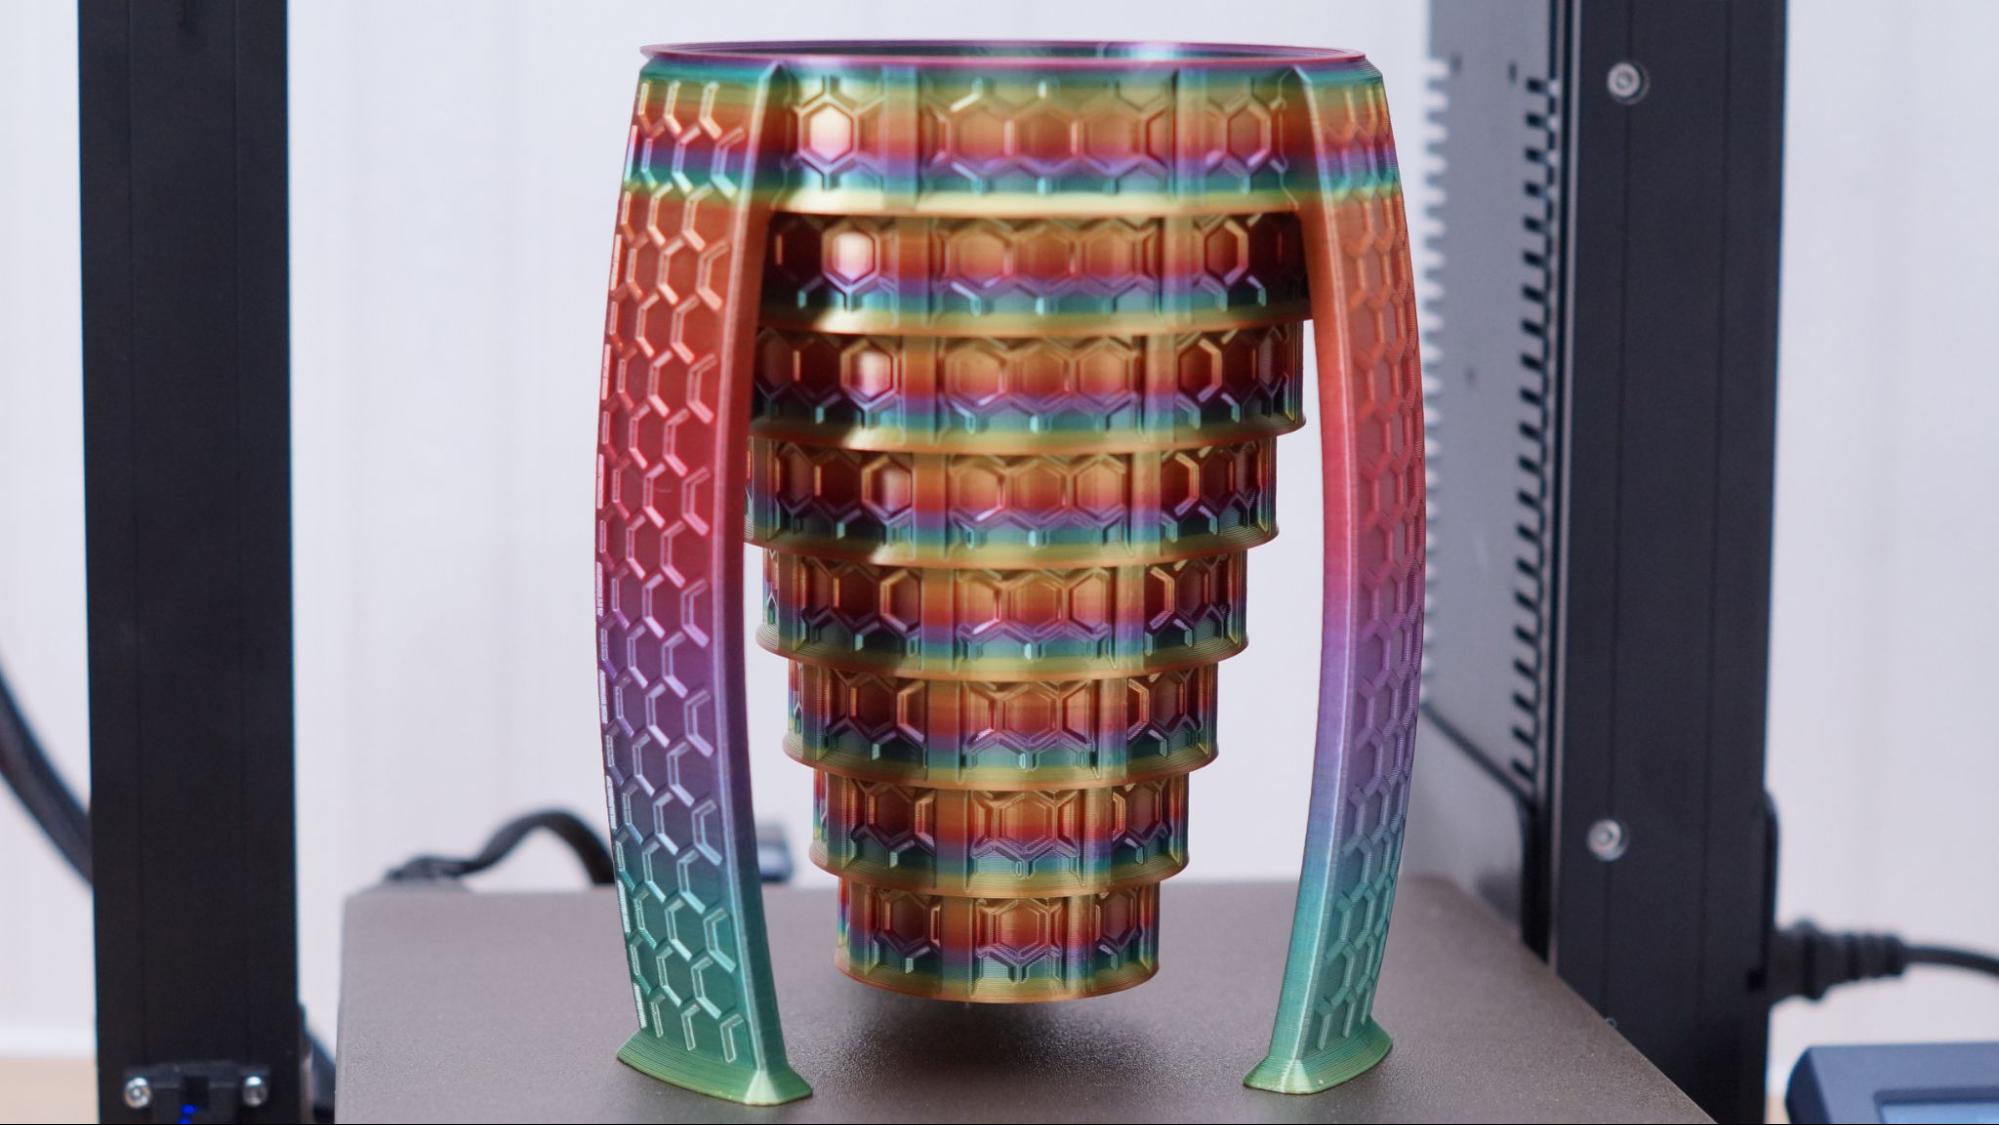
I printed several models while testing the Neptune 3, but this collapsing basket vase is one of the most interesting. It’s from Clockspring3D and was printed in Mika3D silk rainbow. The model prints upside down, with all the concentric rings of the print nestled tight together. The rainbow is a bit noisy, but the print is excellent quality at a .2mm layer height.
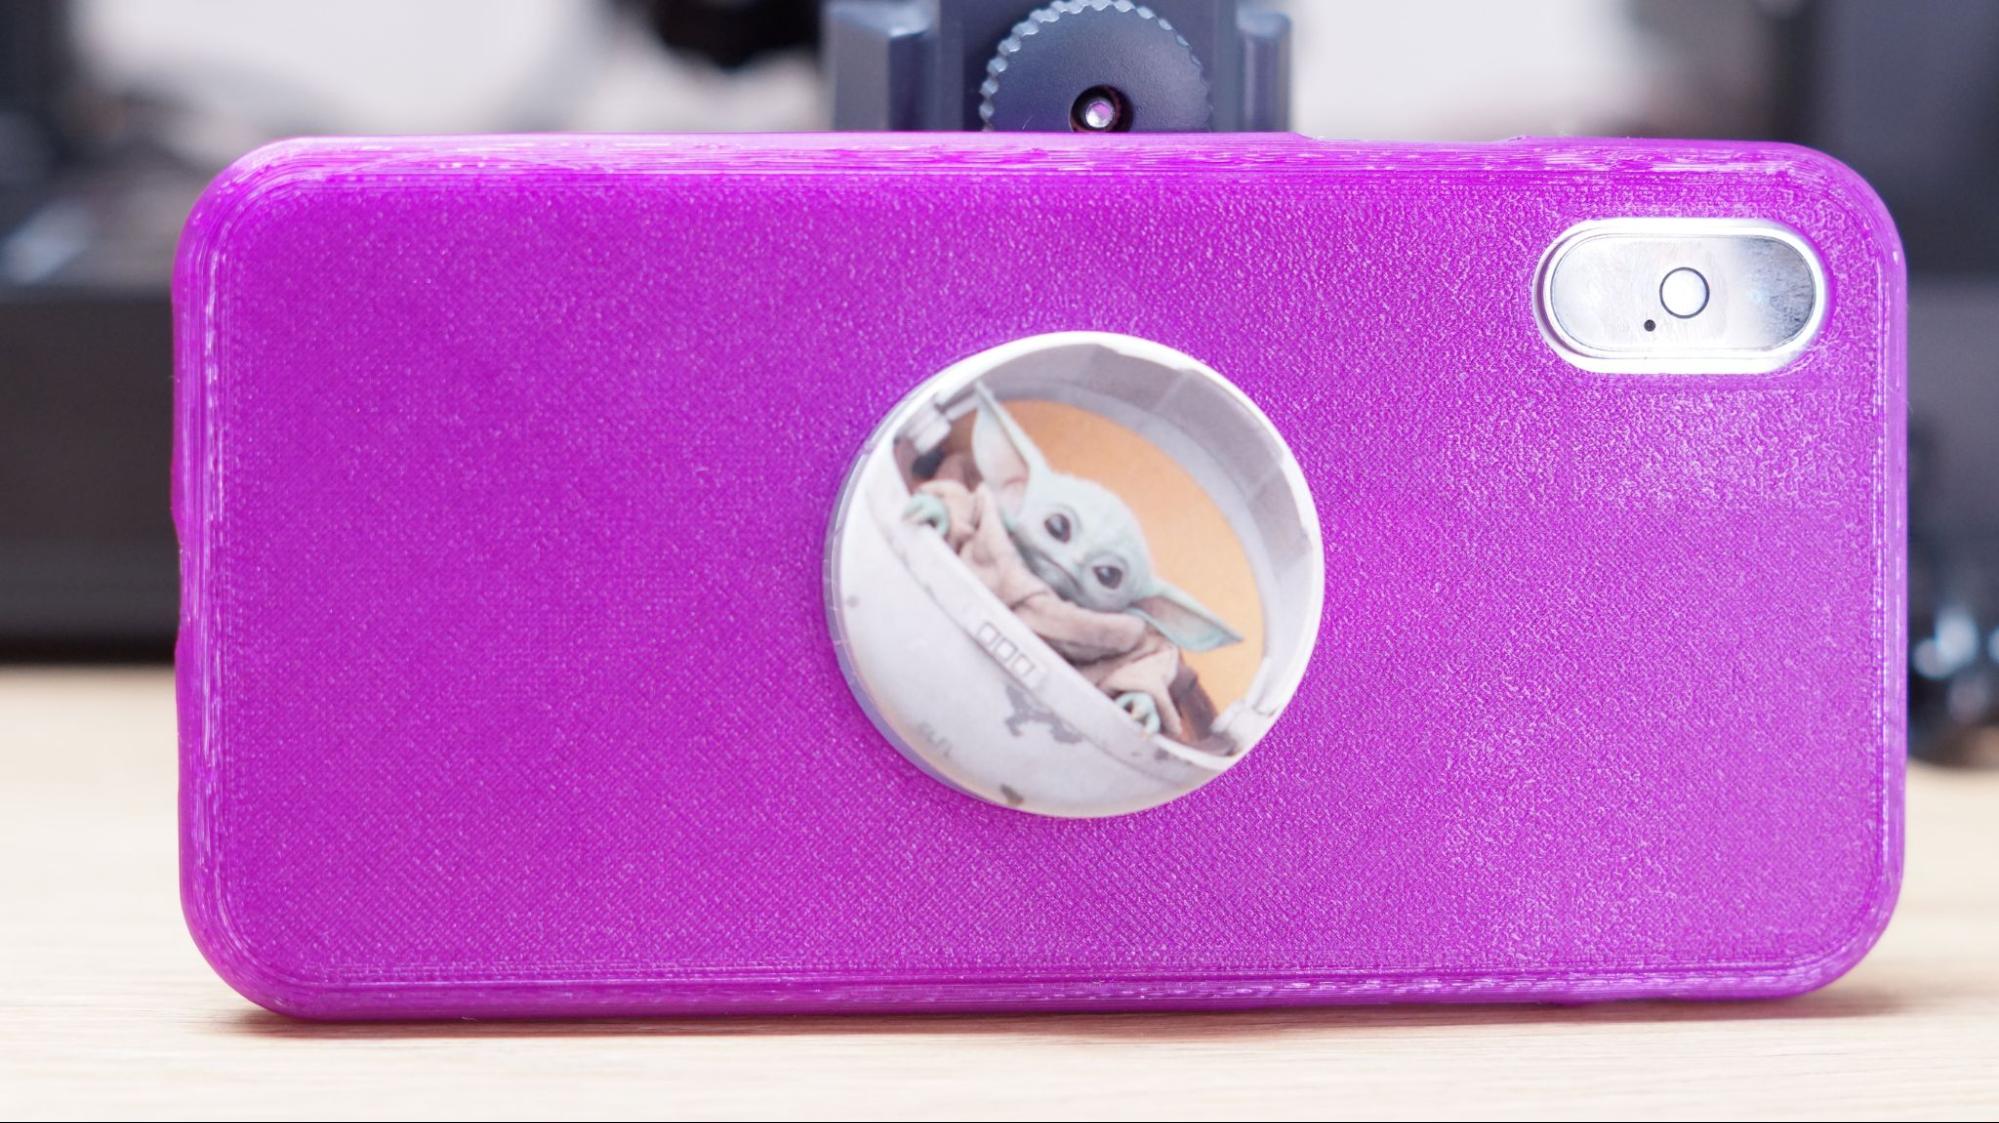
I printed a phone case in Matterhackers Build Series Translucent Purple TPU and it showed off a fantastic first layer. The textured bed even added a little extra grip to the back of the case.
Last I printed RandomizY’s Cupcake. The wrapper is in Matterhacker Build Series Translucent Purple TPU. The cake is Protopasta Still Colorful 011 Recycled PLA and the frosting is a dollop of Keene Village Edge Glow PETG Pink. All the layers are beautifully smooth in a .2mm layer height and standard settings.

Bottom Line
The Neptune 3 is a real leap forward in features for Elegoo. Currently available for $209, a pre-order price on the Elegoo website, it’s a great deal for anyone wanting an easy-to-assemble 3D printer on a budget. It has many of the features we used to think of as “premium” but are now becoming more and more common.
The dual gears on the extruder feed filament smoothly, even when dealing with soft TPU. The textured, PEI coated flex plate was a little slick at first, but after a good scrub worked perfectly, grabbing those prints while hot and releasing them with a slight bend of the plate.
I’m a little concerned that our test printer arrived misaligned. This is a problem that would have stumped a newbie, as it was able to print many flat bottomed objects, but failed when printing more delicate first layers. It was fixable once I identified the problem, but I wasted a few print sessions while puzzling it out.
If you're interested in a good beginner printer with auto bed leveling that’s mostly assembled, go for the direct drive Anycubic Kobra, our editor’s choice for beginners that’s available for $319 on Amazon. If you’re looking for an even bigger bargain, check out the $169 Creality Ender 2 Pro, a quality budget printer with a similar hotend and manual leveling, but much smaller build volume.

Denise Bertacchi is a Contributing Writer for Tom’s Hardware US, covering 3D printing. Denise has been crafting with PCs since she discovered Print Shop had clip art on her Apple IIe. She’s been a freelance newspaper reporter, online columnist and craft blogger with an eye for kid’s STEM activities. She got hooked on 3D printing after her son made a tiny Tinkercad Jeep for a school science project. Excited to learn more, she got a Creality CR10s and hasn’t looked back. She loves reviewing 3D printers because she can mix all her passions: printing, photography and writing. When she’s not modding her Ender 3 Pro or stirring glitter into a batch of resin, you’ll find her at the latest superhero movie with her husband and two sons.
